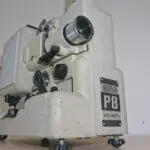
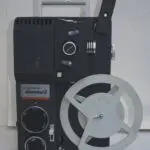
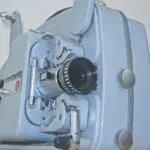
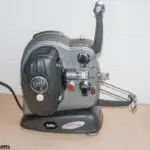
This post gives a more detailed description of the changes I made to the Eumig P8 Novo projector shutter for its new function in the 8mm telecine machine.
Background to the Telecine Machine
For anyone who hasn't seen the original article, this is a series of posts about how I converted a Eumig P8 Novo 8mm projector into a telecine machine for transforming standard 8mm home movies into video clips. The driver behind this is my Vintage Home Movies site, where I publish any of these films which look interesting.
The Telecine Machine Shutter assembly.
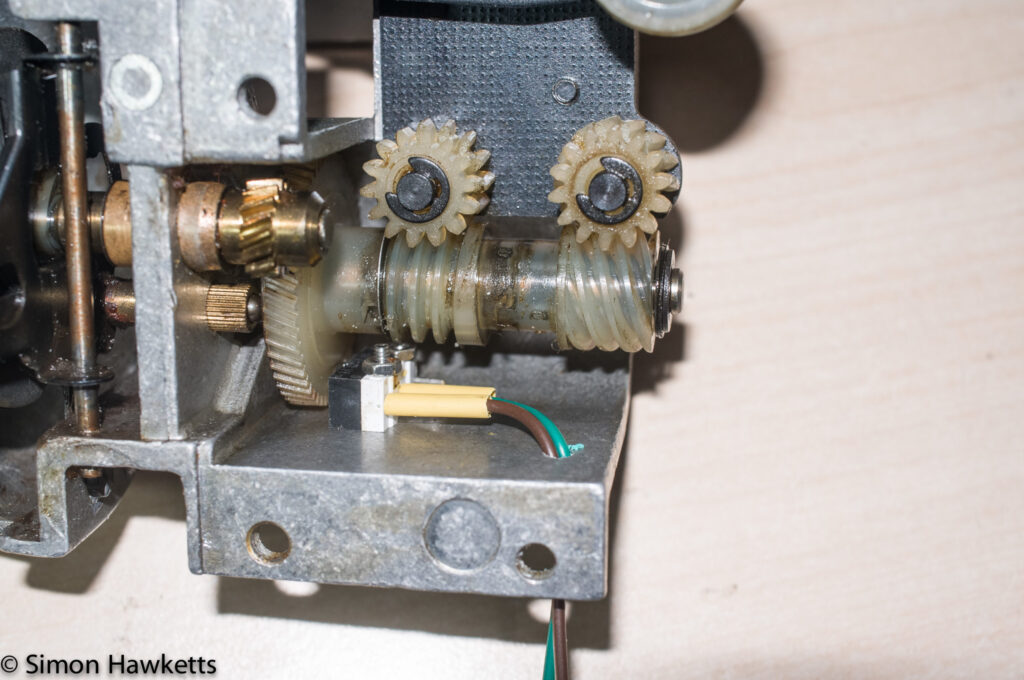
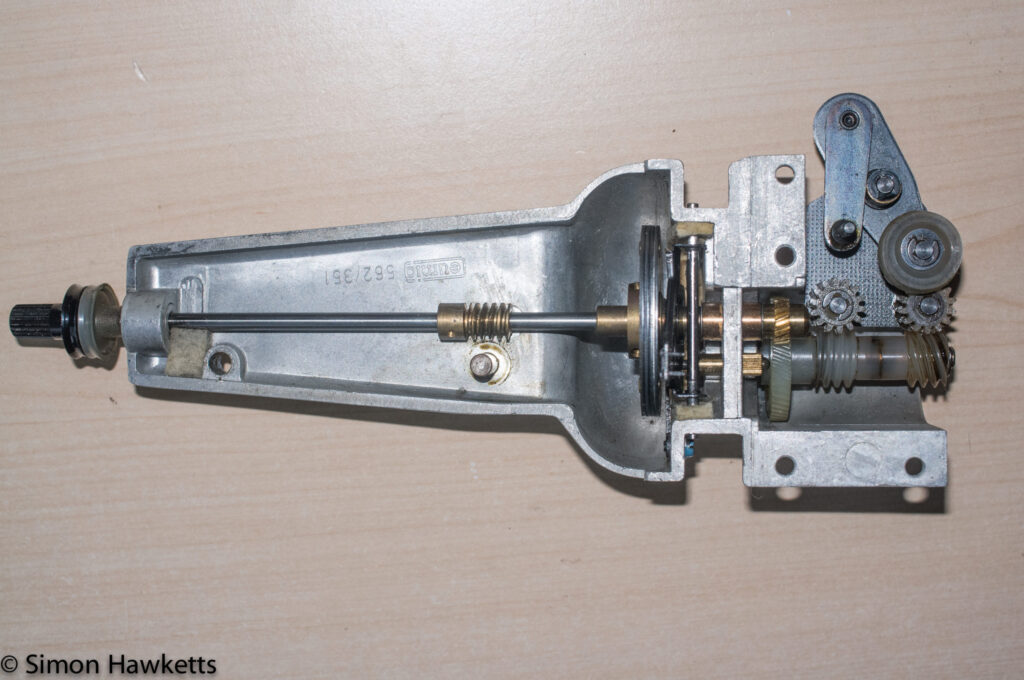
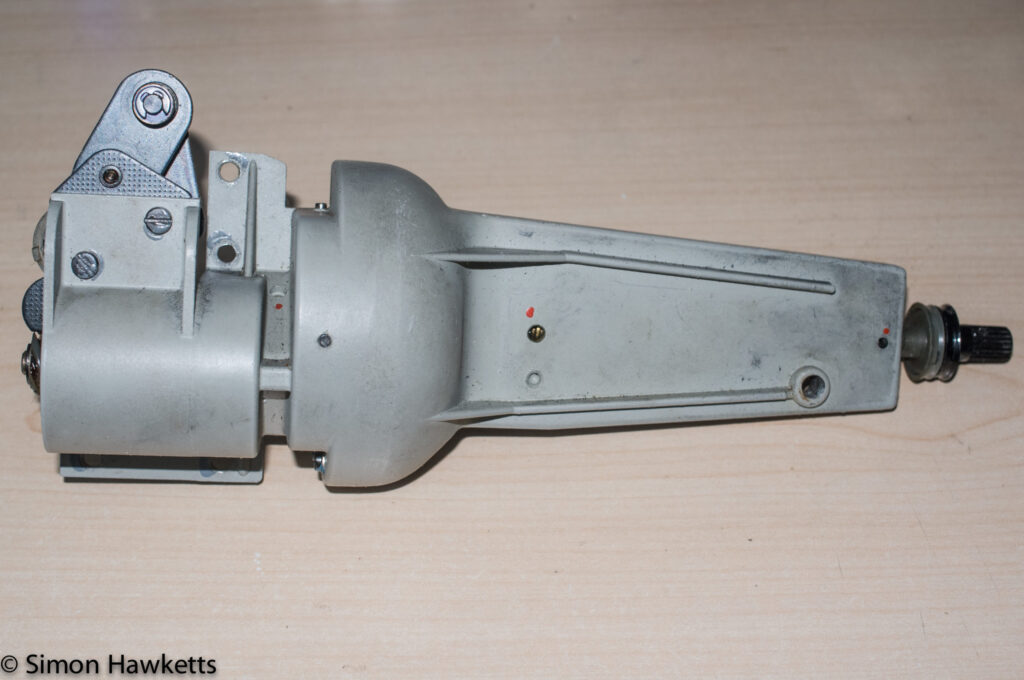
The shutter assembly from the Eumig P8 series of projectors is shown in the images below. This particular one is not from the final Novo version, but an earlier P8 Automatic which I had acquired a while ago but the design is essentially the same.
Interestingly, when I got the P8 Automatic there was a fault with it which made me decide to use the machine for spares - now I've constructed the Telecine machine I have worked out a lot more about how these projectors work and I could probably fix it now!
Adding the Frame Ready Trigger
For the operation of the Telecine machine, I needed to add an electrical signal to tell the Raspberry Pi computer when a frame of the film was correctly positioned in the film gate and was ready to be photographed.
The first thing necessary was to understand how the shutter operated in order to find some part of it that I could attach a microswitch or magnet to so I could generate this signal. With a bit of careful inspection I worked this out.
Shutter Operation
Drive is transmitted to the shutter via the long shaft which has a pulley on the end and is driven by the motor. As the shaft turns, a claw mechanism moves up and down, and on every third turn of the shaft it moves forwards and aligns with the film sprocket holes to move the film one frame down.
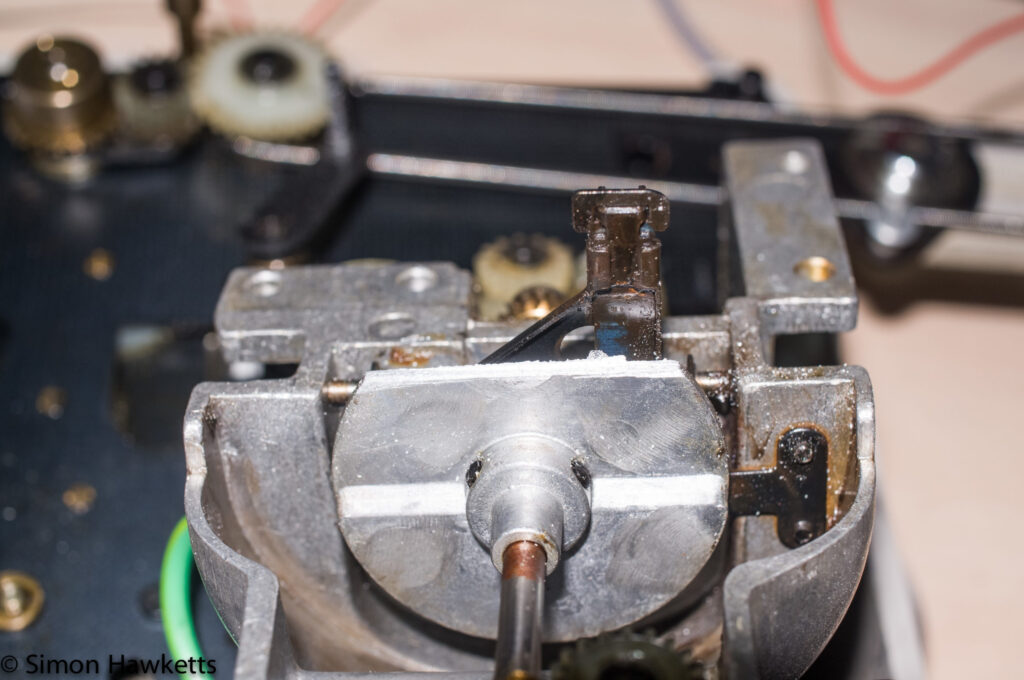
At first, I couldn't see how the claw moved forward every third turn, but with more careful inspection I realised that the claw is pivoted on a metal rod, and there is a sprung loaded shaft acting on the bottom of the claw which is pushed in by a cam every third turn.
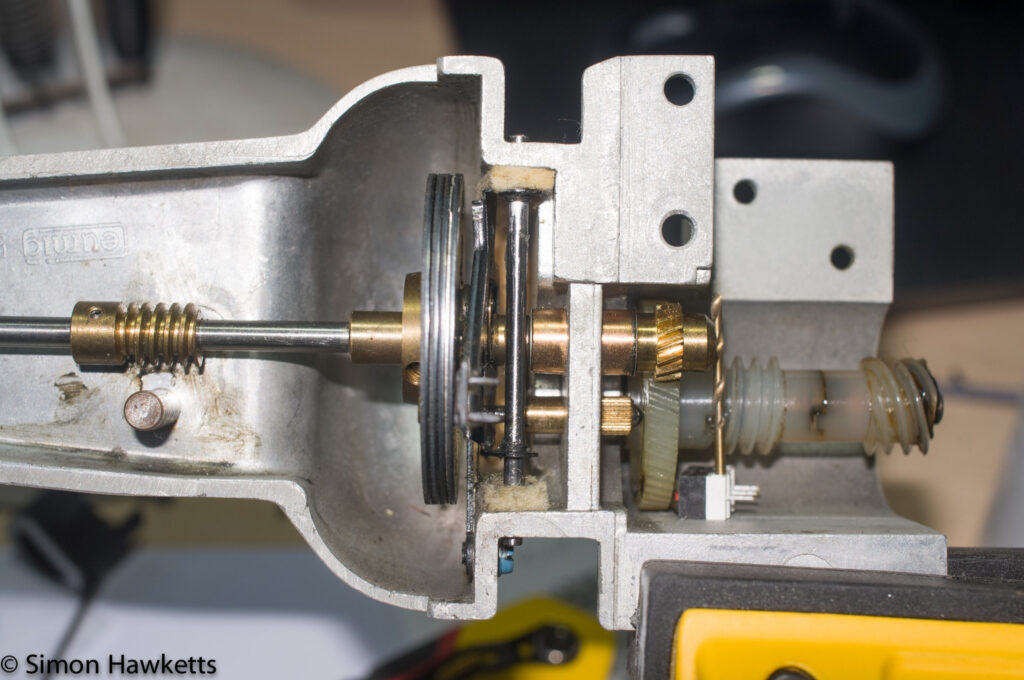
The picture here shows the major components of this: The claw is a bit difficult to see because it's a bit unfocused, but the metal rod it pivots on is shown vertically in the center of the image, and the cam can be seen just coming into play to the right of the pivot rod.
Fitting the Frame Ready trigger switch
Once I'd worked out how the claw was working I realised that if I could fit a microswitch to the body of the shutter next to the wheel with the cam and get it to trigger at the correct point, that would give me the signal I needed.
I looked on Amazon and found this microswitch which seemed to be ok in terms of its size and drilled two small holes in the shutter casing in order to position the switch in the correct place. The gallery below shows this being done. The eagle eyed may notice that not all these pictures show the same shutter assembly - that is because I tried the operation out on the original Eumig P8 Automatic assembly before I tried it on the final version.
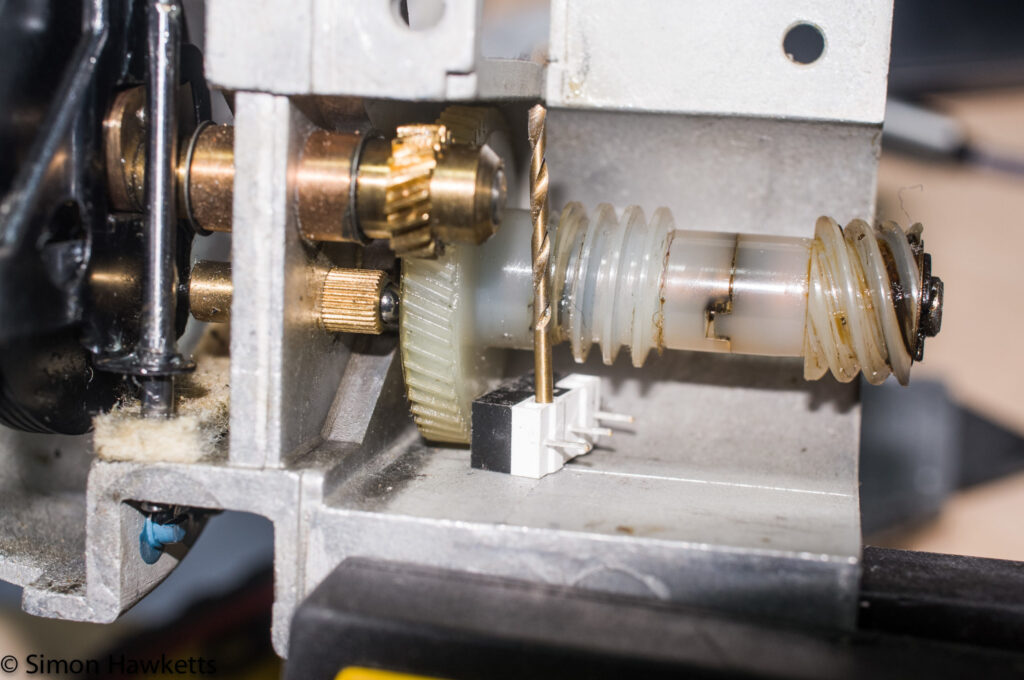
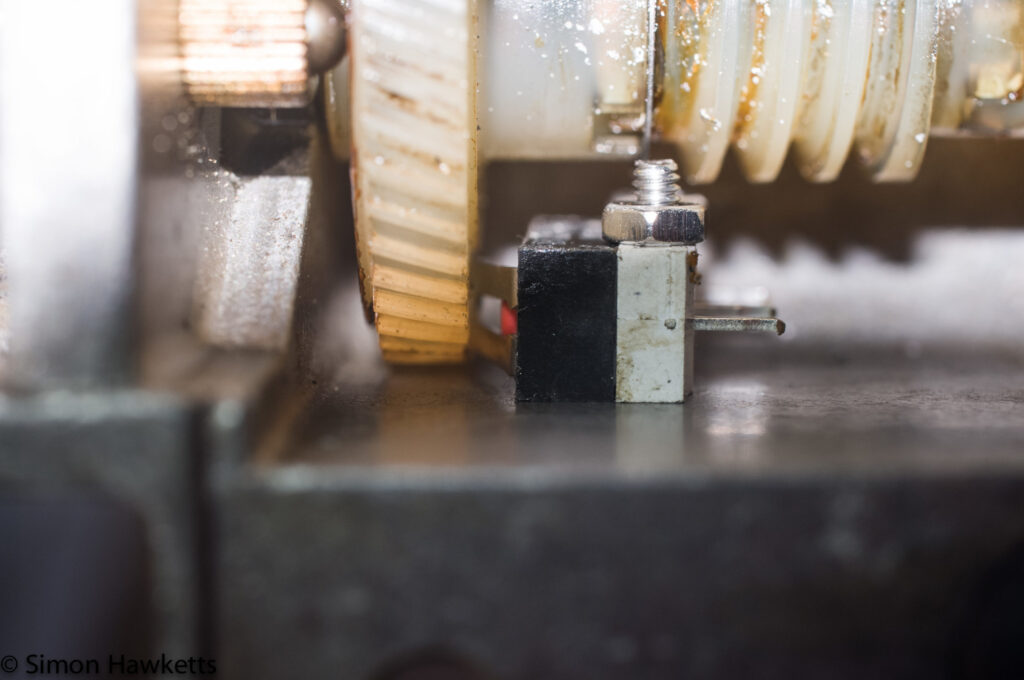
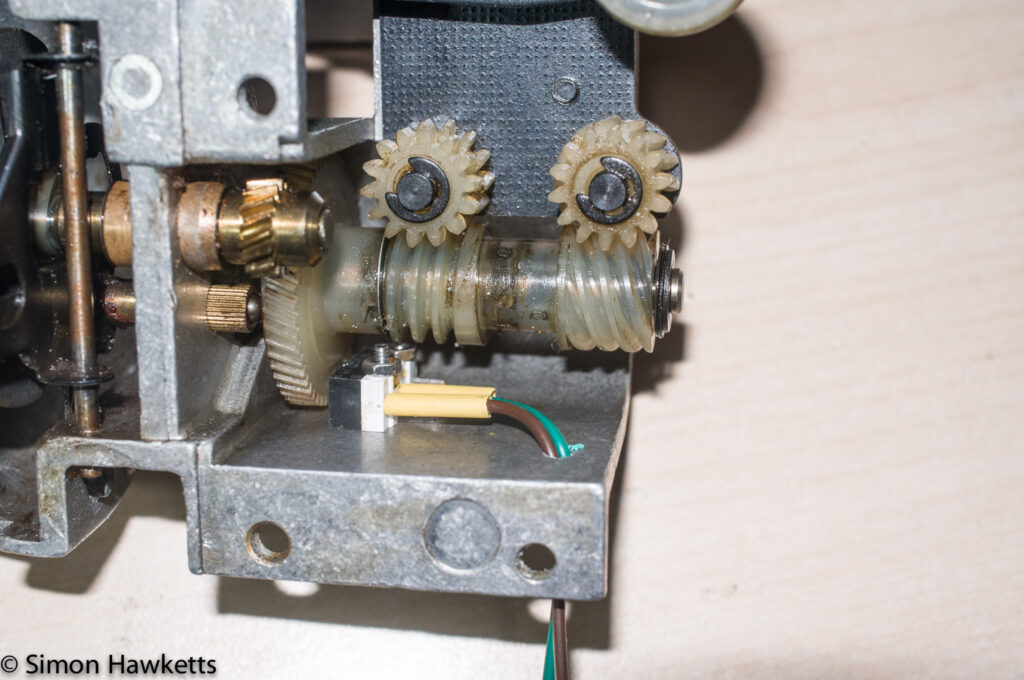
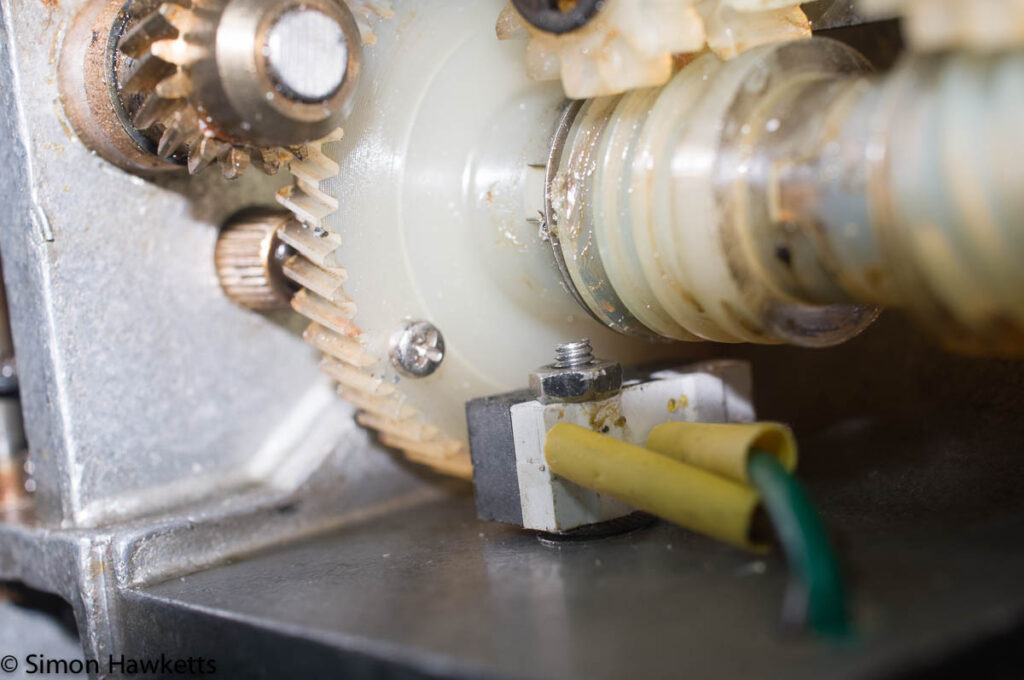
In order to make the switch operate I drilled a very small hole in the plastic wheel with the cam and screwed a tiny screw in which pushes the microswitch lever at the correct point in the rotation.
I worked out the correct position by fitting the shutter, threading up a film and getting the frame correctly selected and then carefully removing the shutter again without turning the shaft. Once I'd worked this out and fitted the screw, I had to bend the microswitch lever so that it curved down and didn't catch under the screw head as it passes the switch.
The one other change I needed to make was to remove the actual shutter blade.
In its operation as a projector, this blade is needed to make sure the projected image doesn't flicker, but for its new function as a Telecine machine it just blocked the light three times every frame so it needed to be removed.
I looked at removing the actual shutter component, because it was attached to the shaft with grub screws, but i didn't want to affect the timing of the claw by dismantling the whole shutter, so I cut through the shutter blade with a hacksaw. Although this could lead to the shutter having a slight mechanical imbalance, I didn't think this would be likely to affect its operation at the very slow speeds the Telecine machine would be operating at.
As a brief aside from the telecine machine I'll just explain why the shutter is needed in projectors.
Standard 8 film was shot at a quite low rate of 16 frames every second to keep the cost of the film down. If the film was projected at this rate it would look as if it was flickering because the human eye can distinguish 16 individual pictures every second. To overcome this, projectors used a shutter which interrupts the light source and so projects the same image briefly several times. In the case of the Eumig P8 series, each individual frame of the film was projected 3 times which made the effective projection speed much faster than 16 fps and therefore eliminated the flicker.
Now back to the Telecine machine.
Refitting the shutter and software.
With the changes shown here I refitted the shutter to the projector chassis and changed the original plastic pulley with a 3d printer drive pulley. The stepper motor then engages with that pulley using a ribbed drive belt and turns the shutter as in the original design.
When the film reaches the correct position, the microswitch closes and sends a signal to the raspberry pi to indicate that a frame is ready to photograph.
With the shutter refitted, I tested the frame trigger by running a film through the machine to make sure the switch would signal that the frame was ready to be photographed. On the first run I found odd behaviour however - the telecine machine advanced the film until the frame was ready and then just took multiple images of the same frame.
After a bit of thought I realised that in the software which reacts to the change, rather than stop the motor as soon as the signal changed, I needed to actually advance the motor slightly until the frame trigger opened again so it was ready for the next frame.
Once I'd made that change, the Telecine machine frame trigger seemed to work correctly.
The next part of this short series will explain the change I made to the light source.
