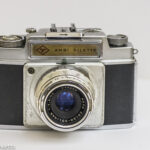
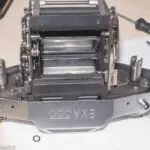
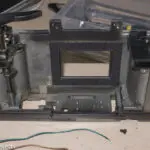
Over the last couple of days I've been stripping down and repairing my Exakta Exa II 35 mm SLR which had a fault with the shutter first curtain sticking in the frame and this post covers the process I used during my Exakta Exa II shutter repair.
I'm happy to say I managed to get that fault fixed, and also cleaned up the focus screen, replaced the light seals and generally cleaned up and re-lubricated the mechanism. The following describes how I did this, and the pictures should act as a guide for anyone else who needs to do the same. There are a lot of pictures, but in my experience you are better off with too many than not enough, so I thought it's better to include most of the pictures I took.
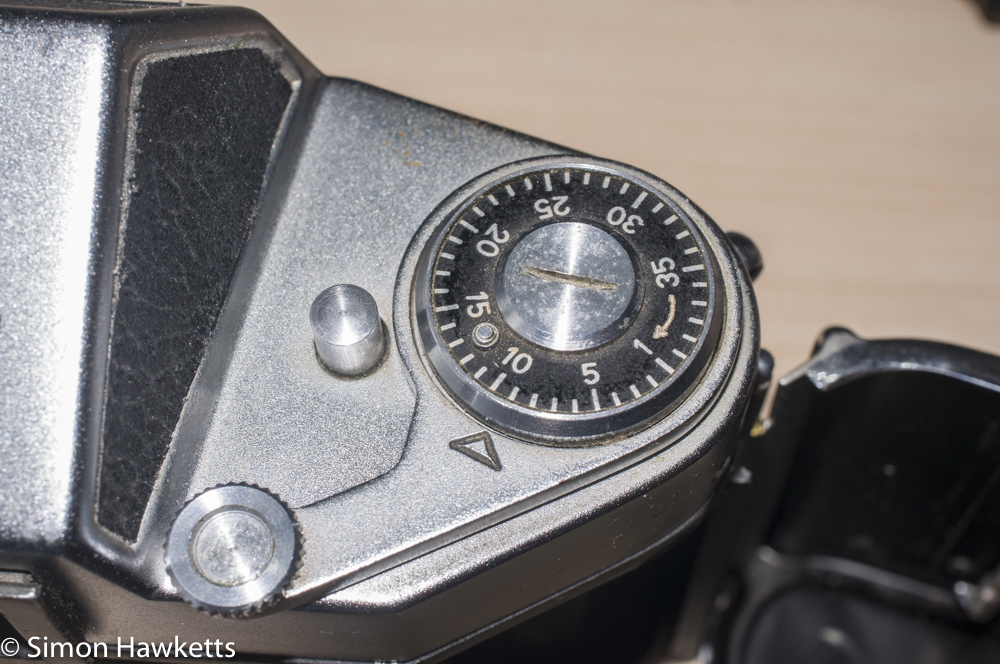
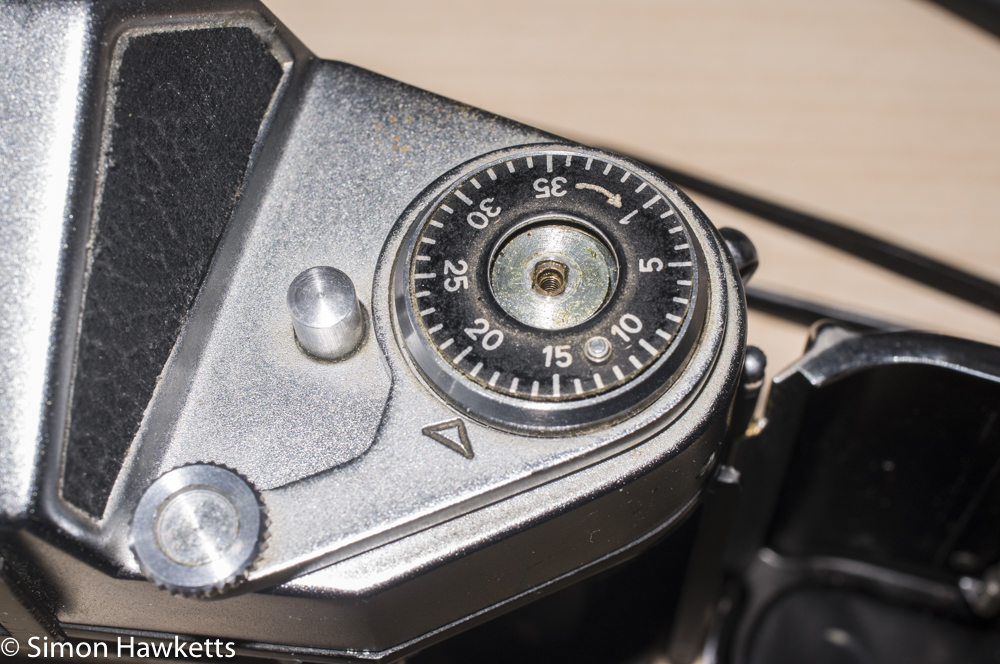
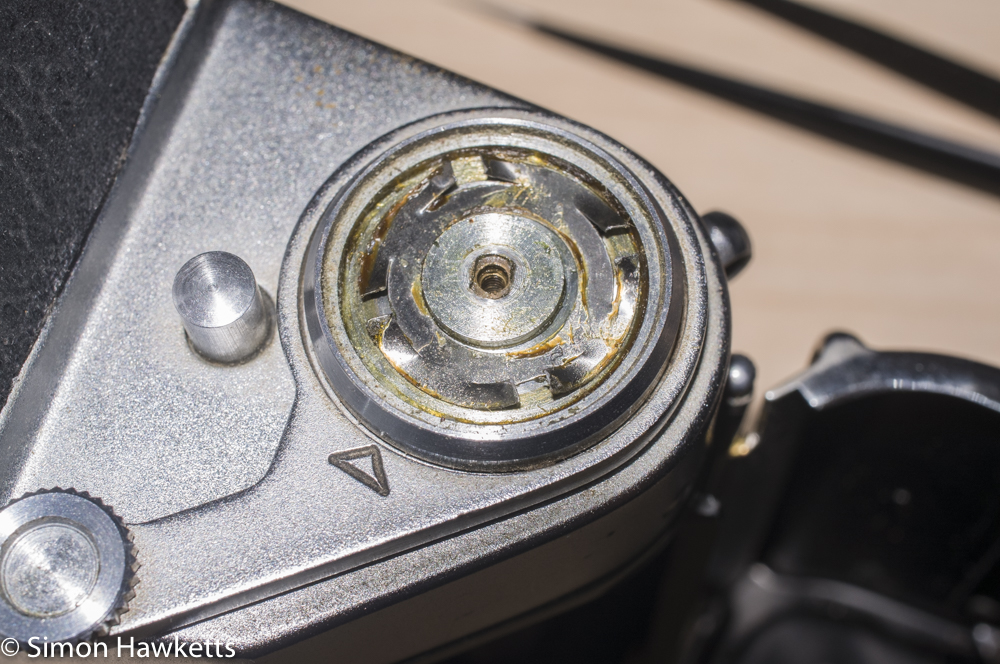
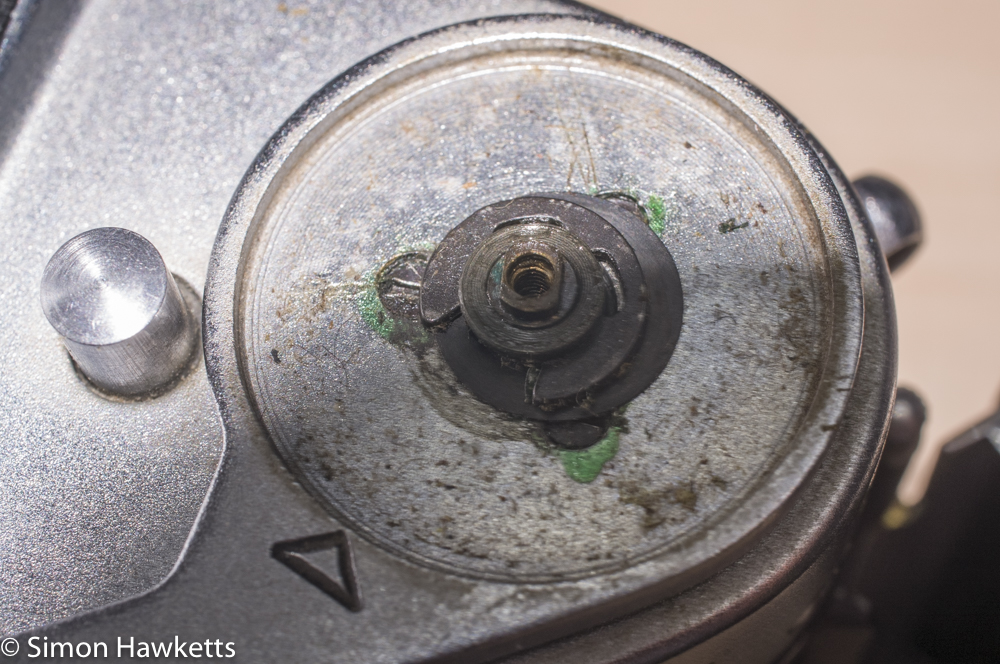
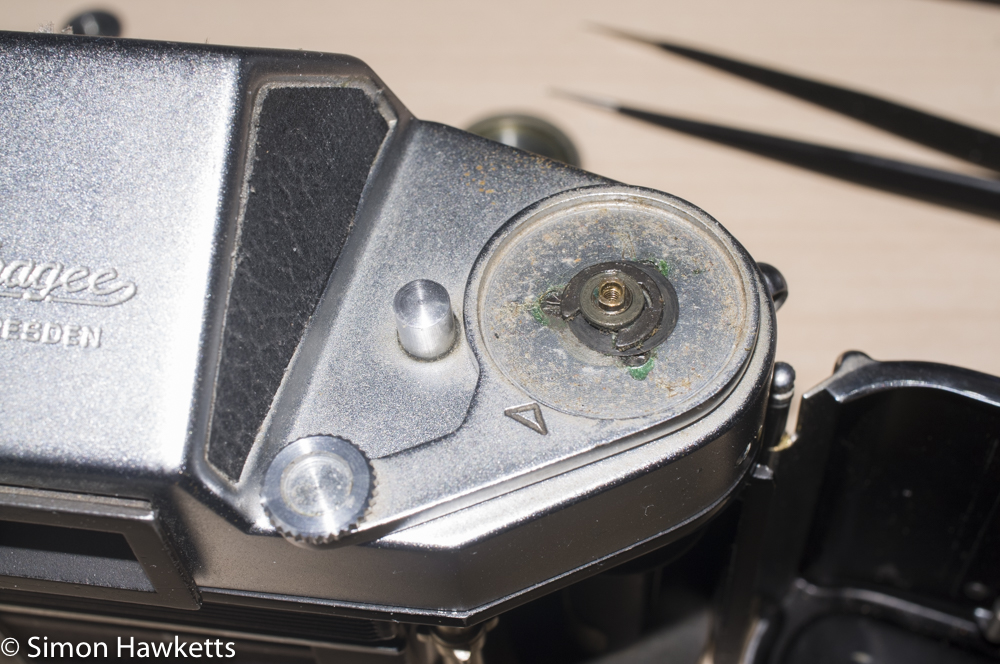
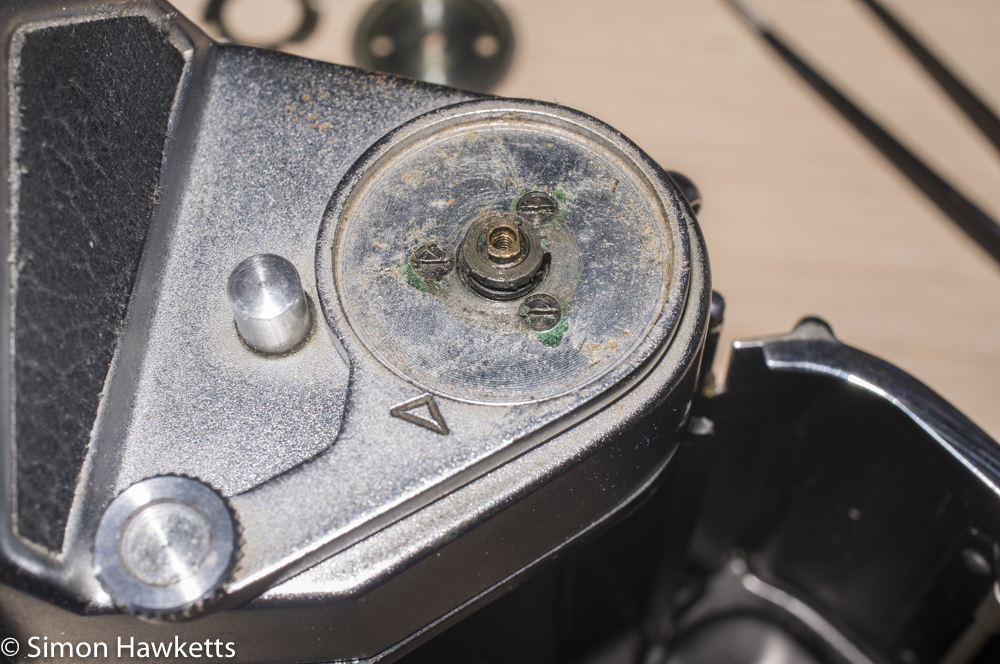
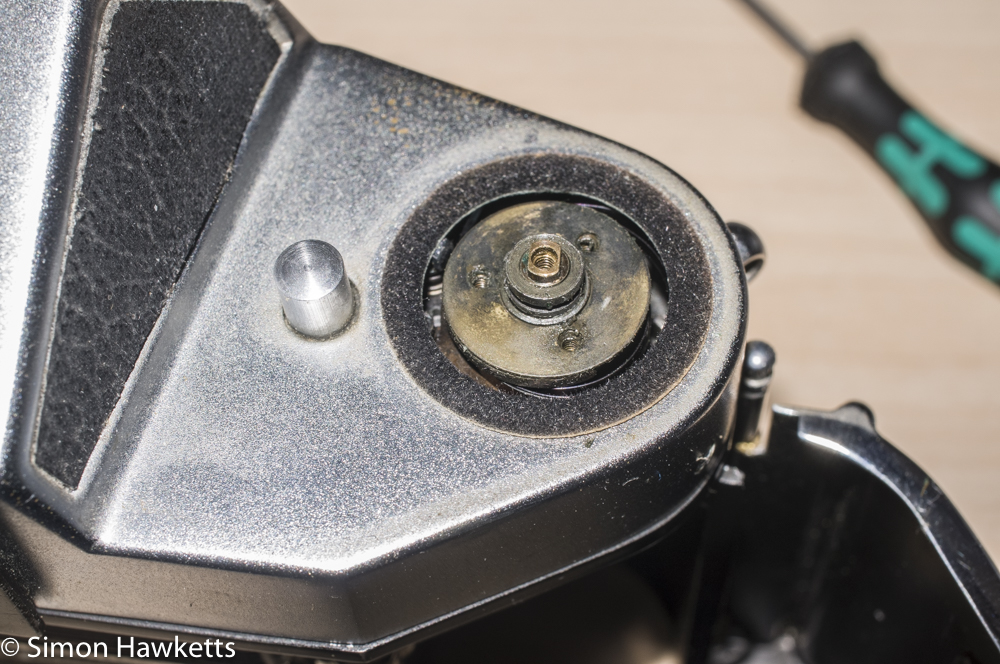
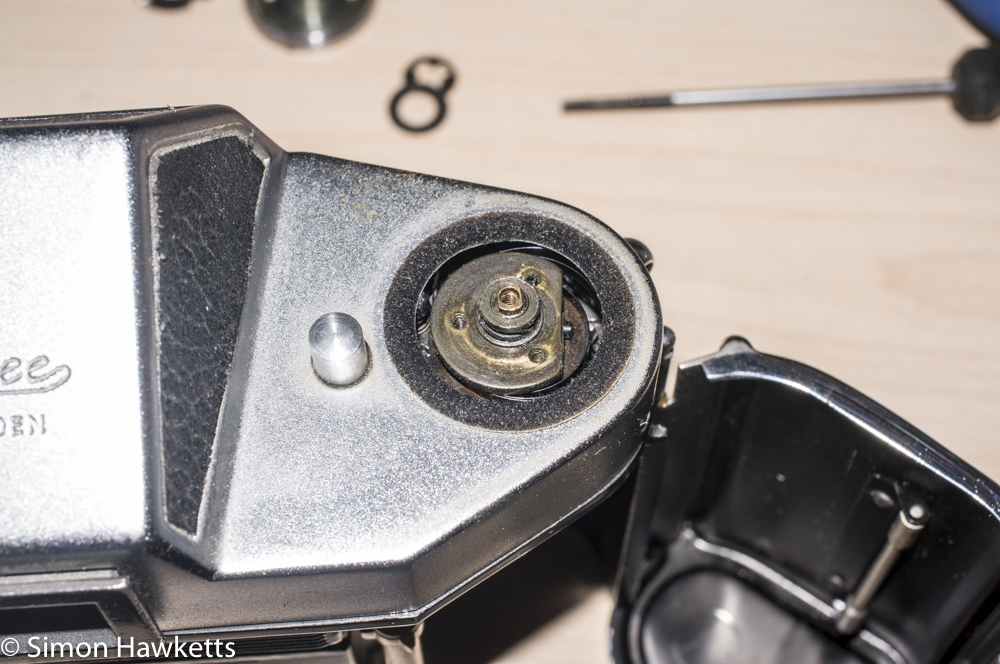
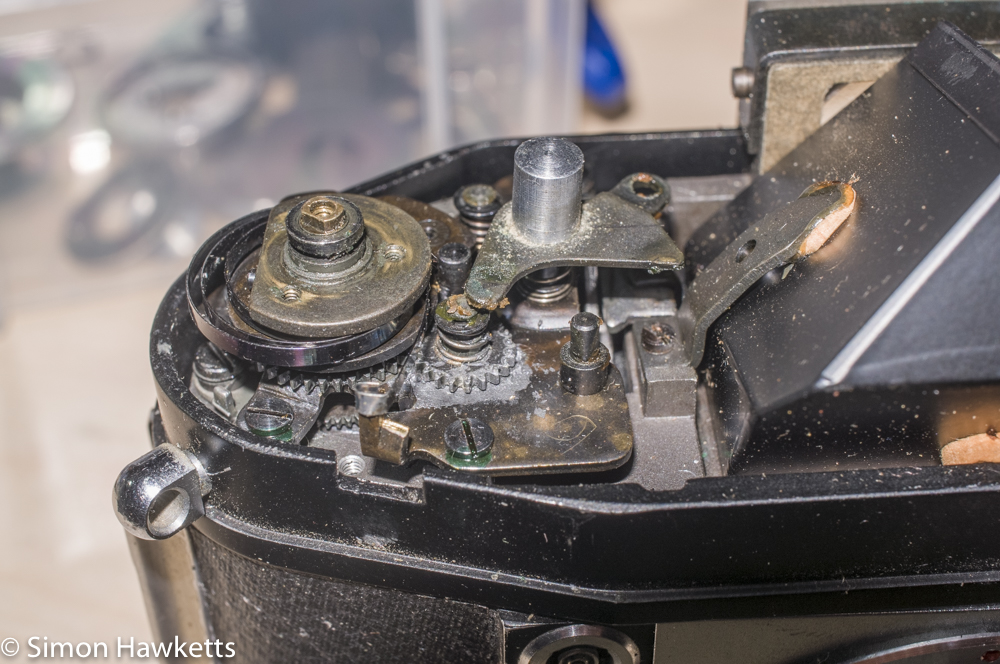
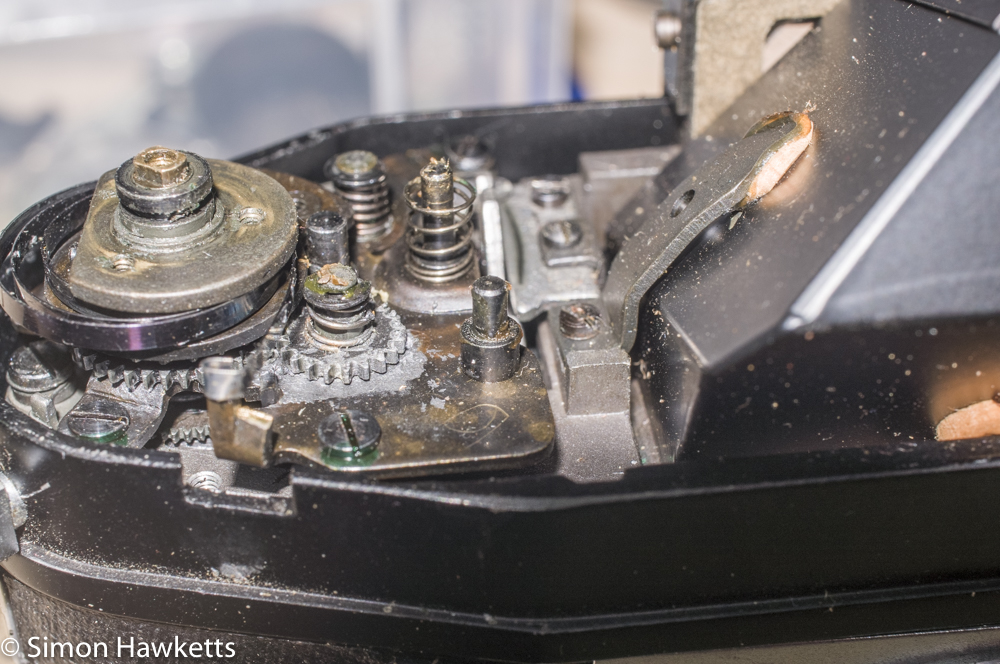
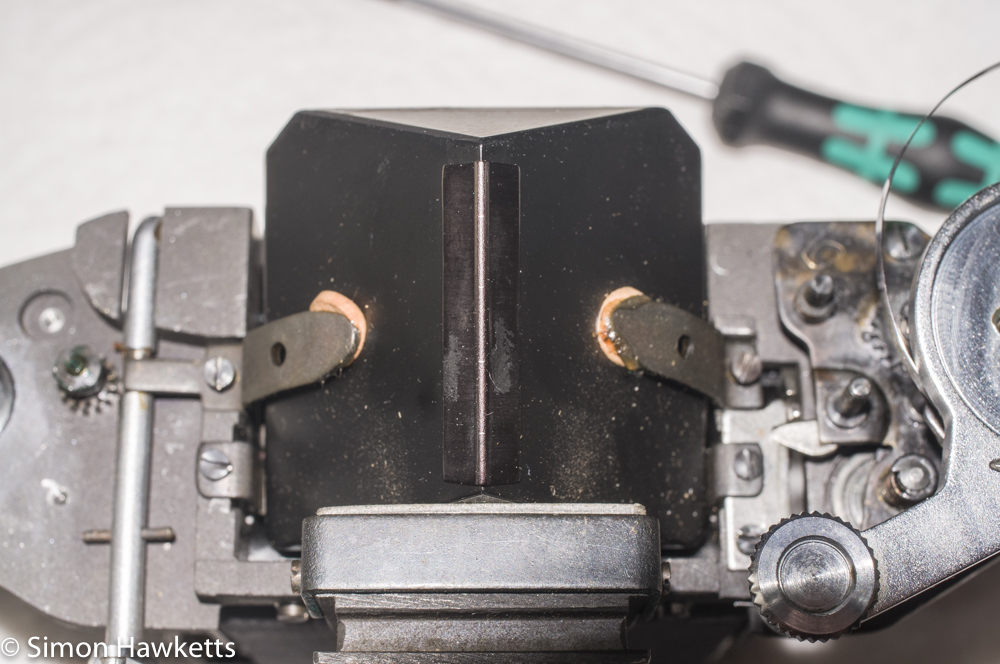
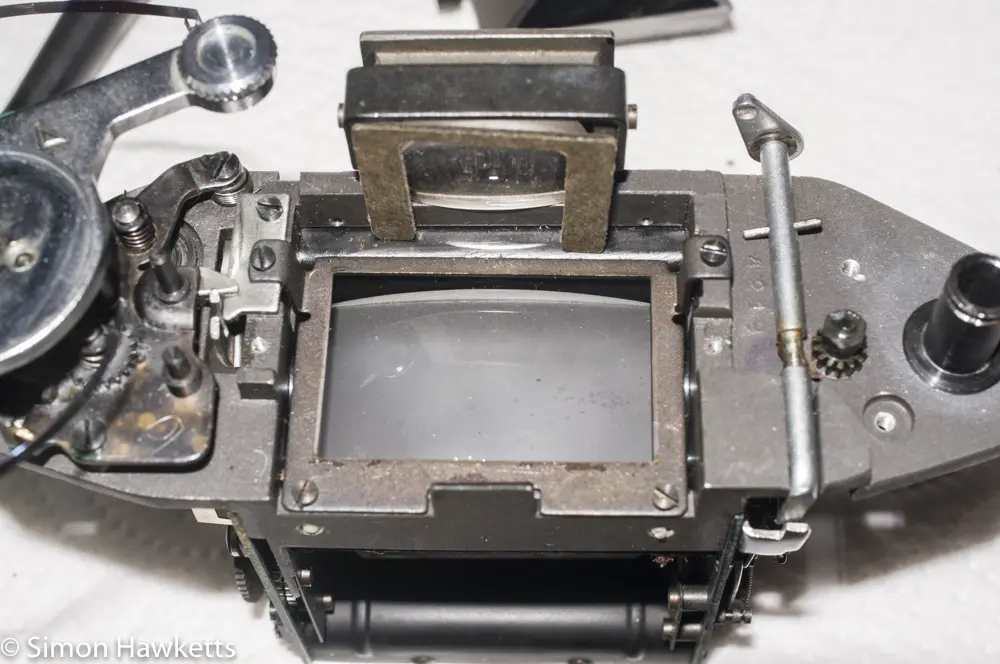
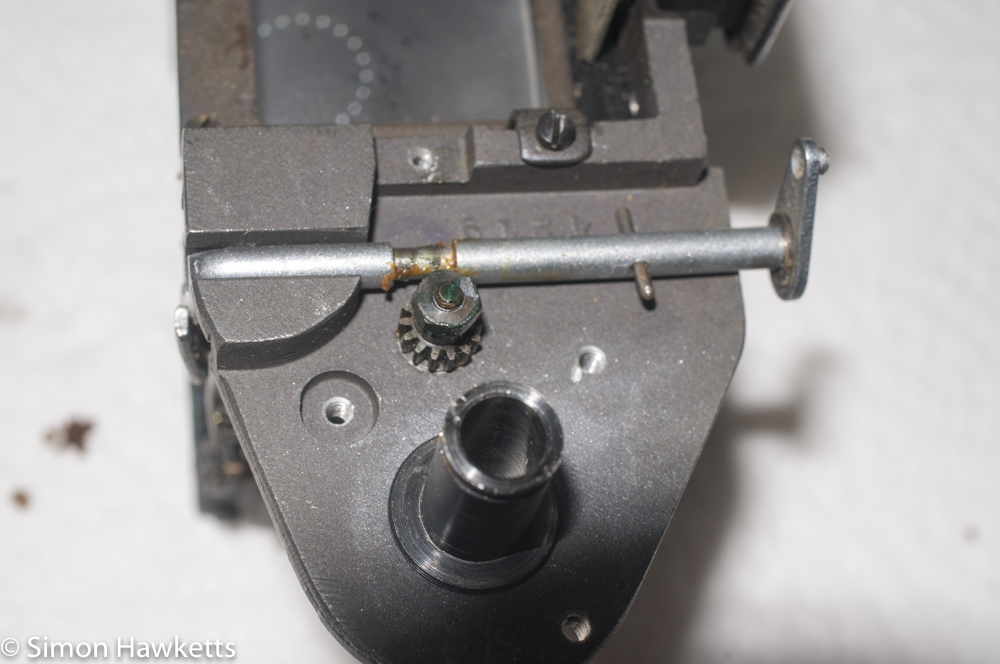
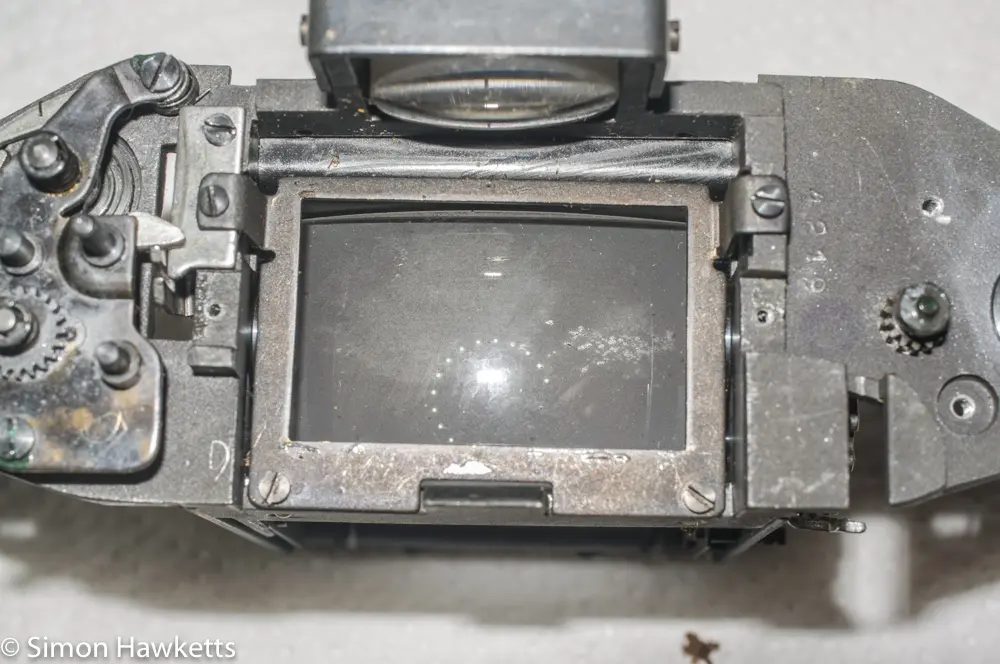
Removing the Top Cover
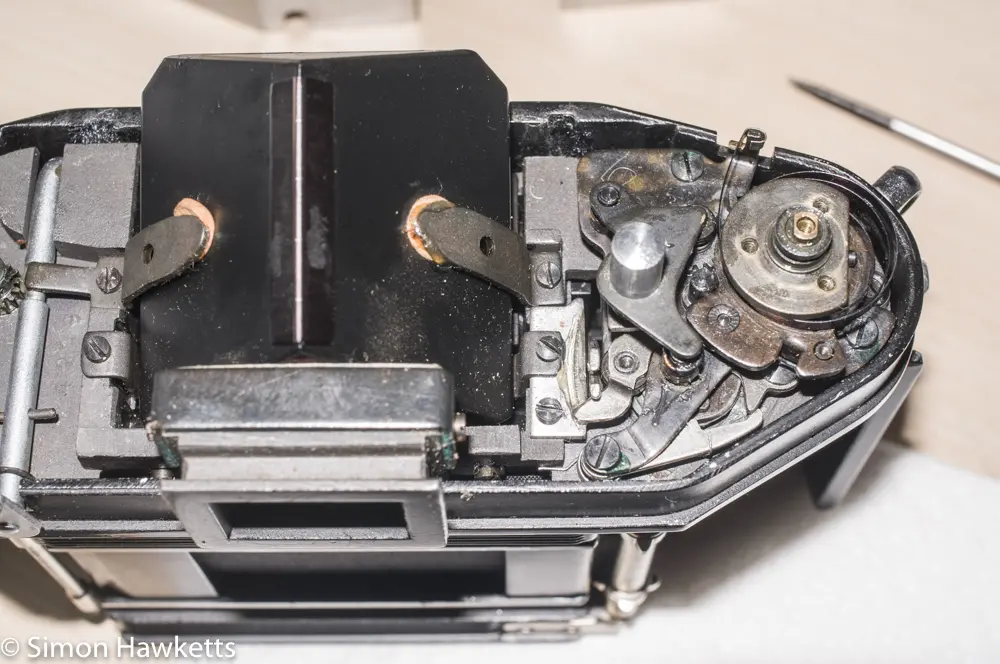
The first thing I did was to remove the top cover, which actually turned out to be easy, although I was stuck for quite a while at this stage.
The initial part is quite easy - there are a couple of screws in the back of the top cover and two large screw heads on the film advance and film rewind caps.
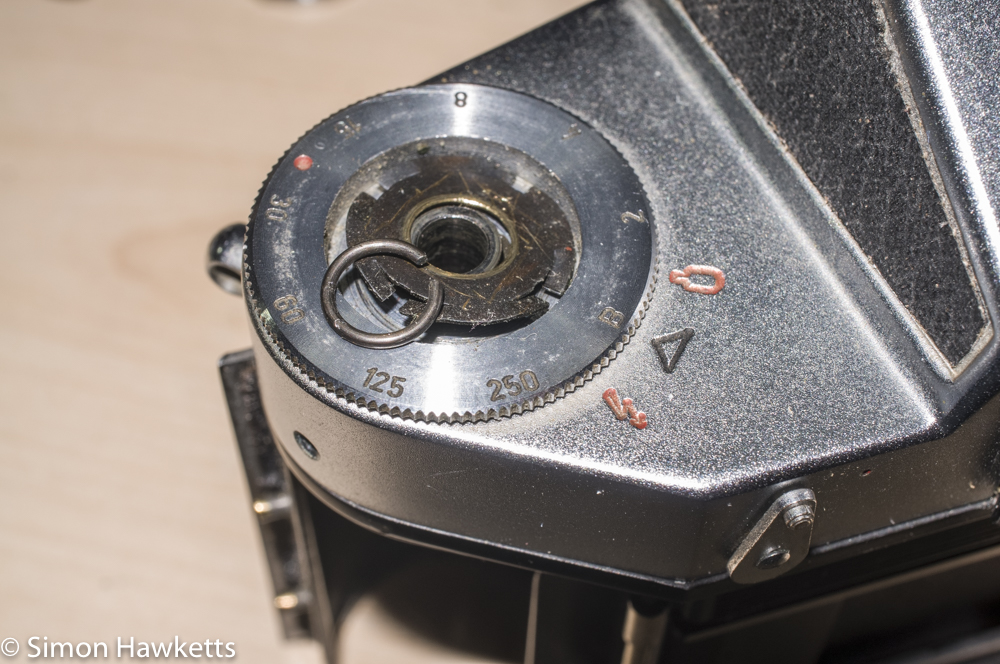
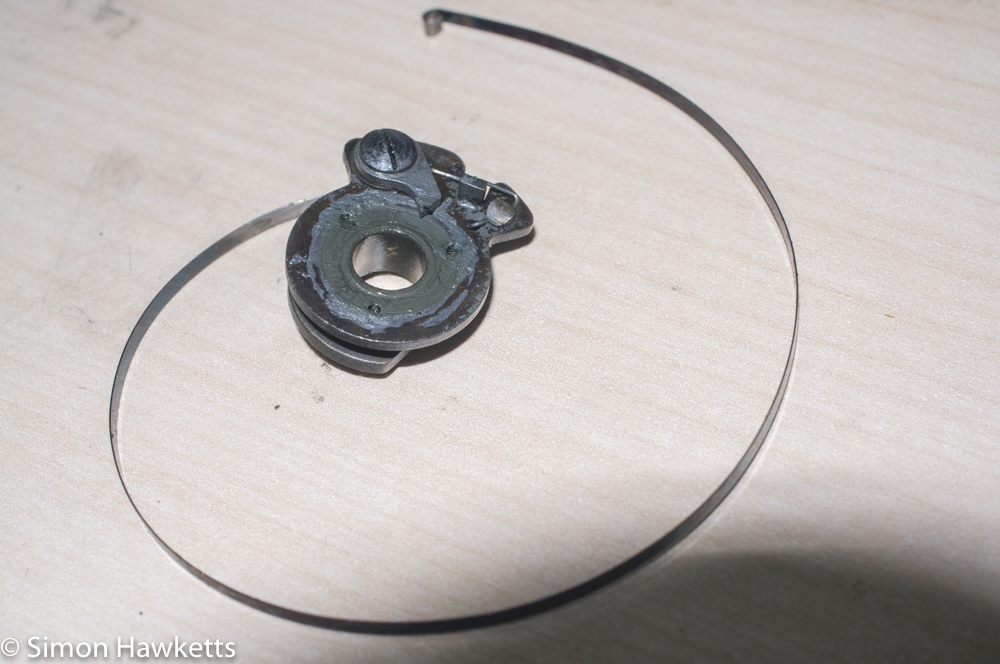
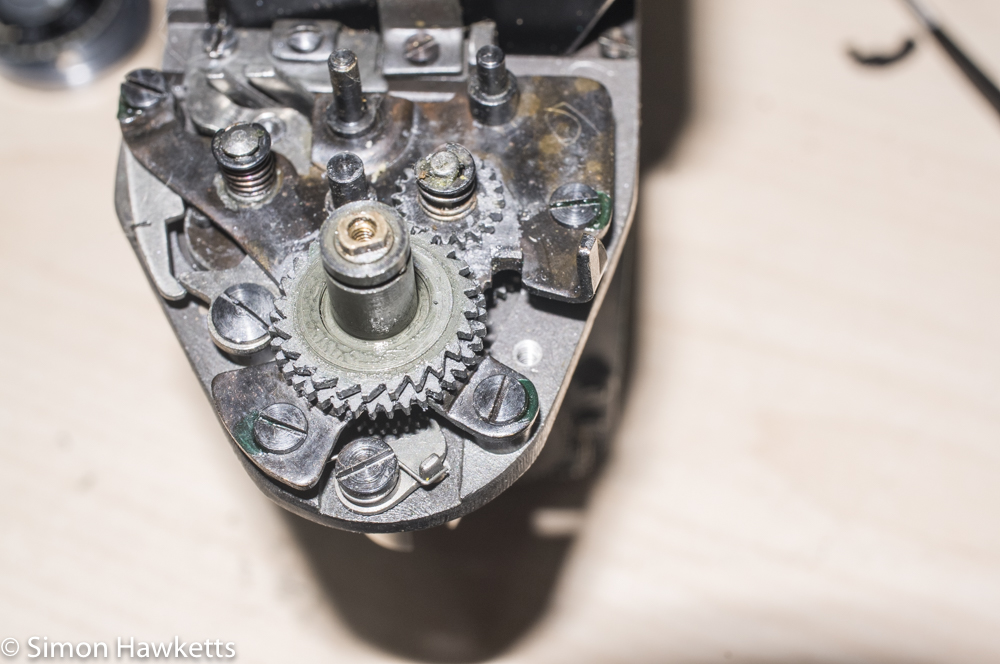
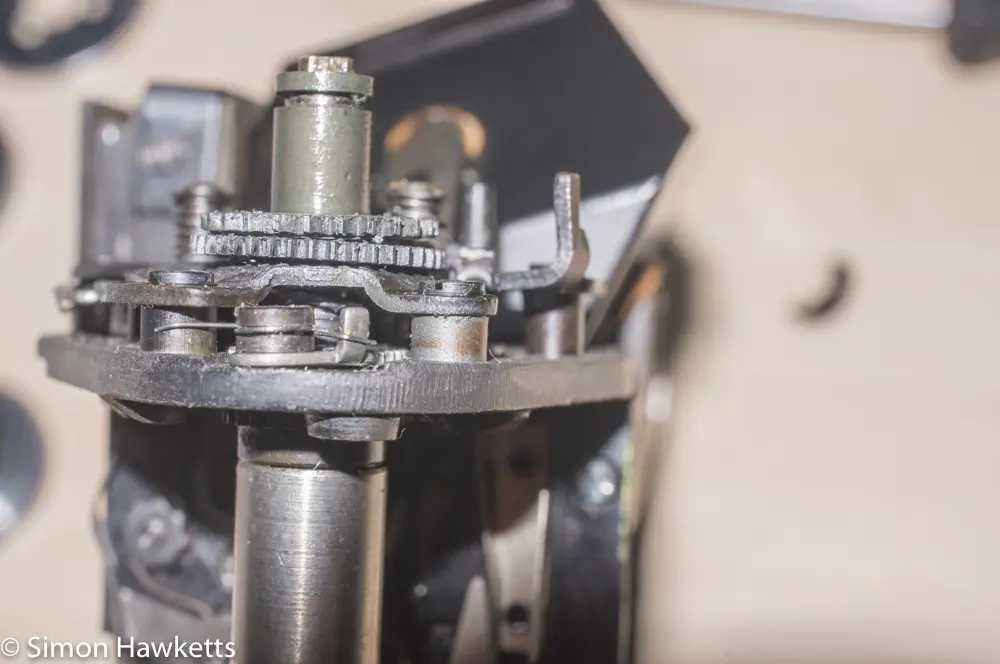
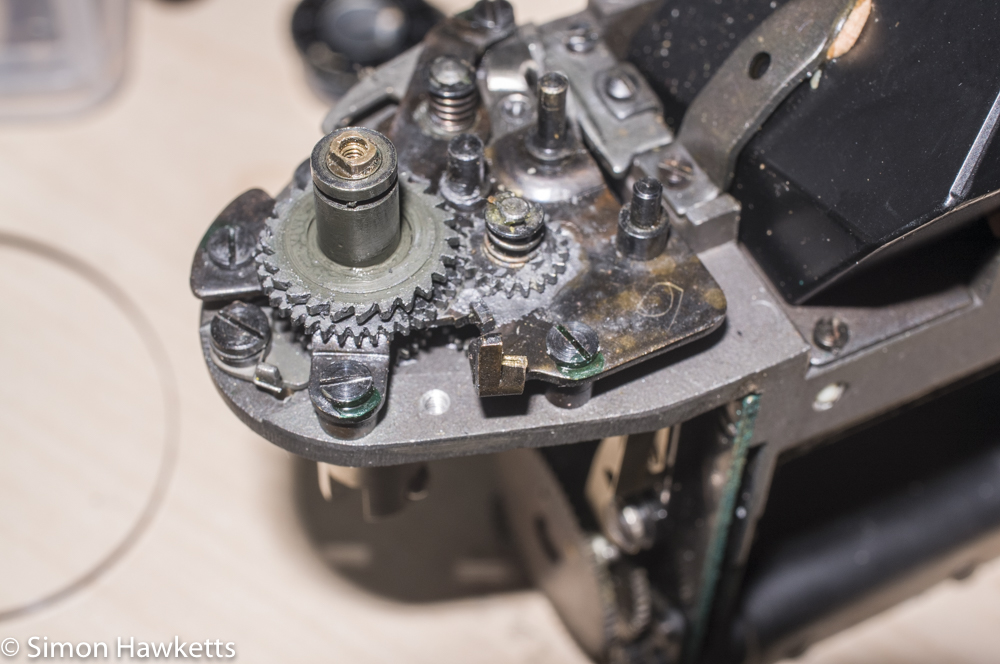
The film advance side was simple - under the screw cap was the frame counter dial and when this was lifted of an obvious set of screws, lock washer, etc before the film advance was off.
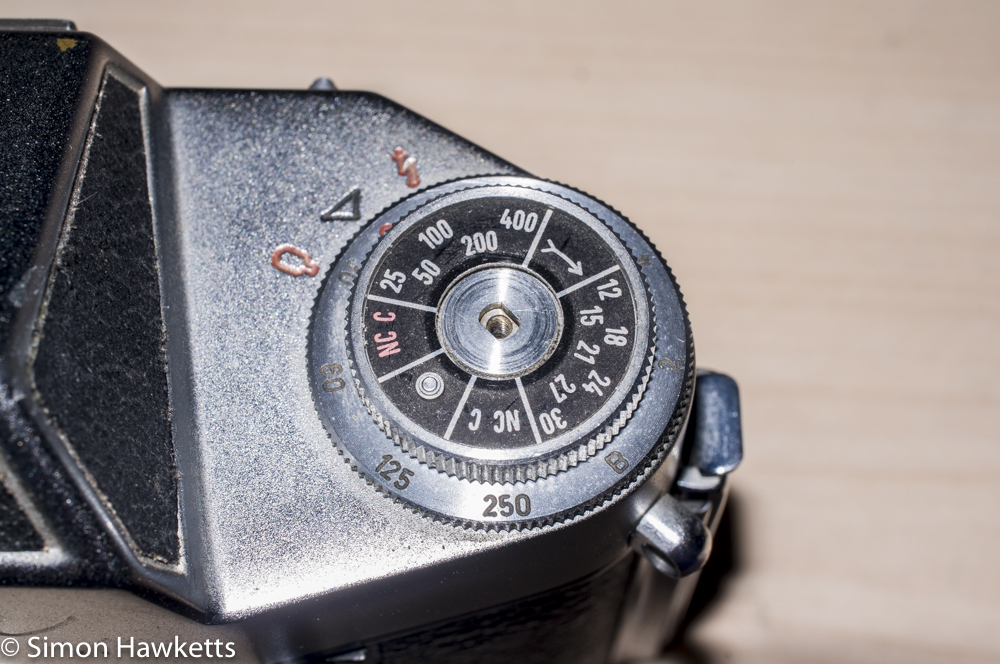
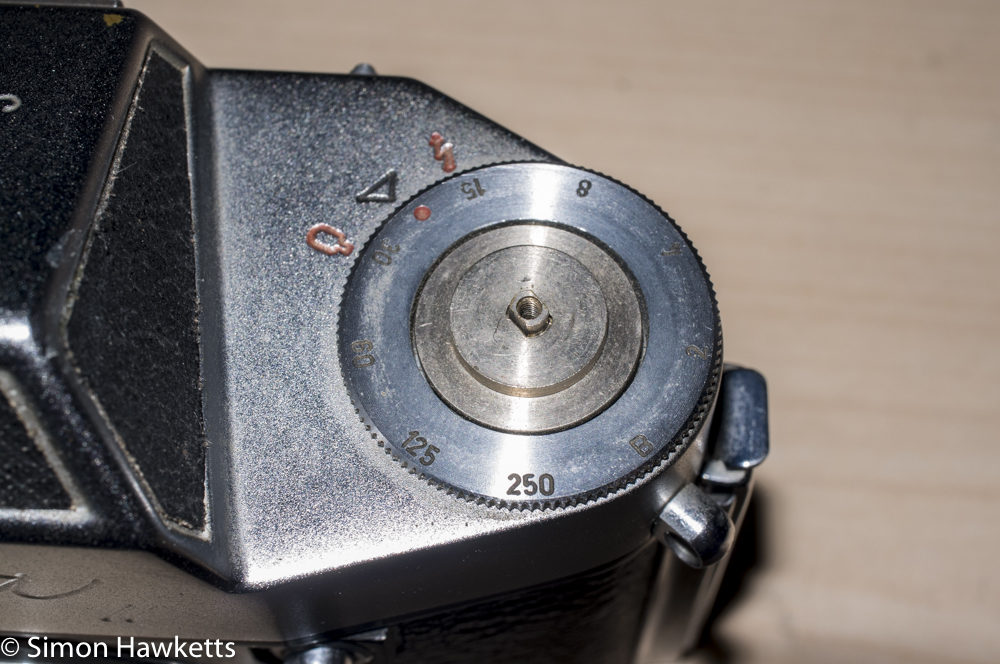
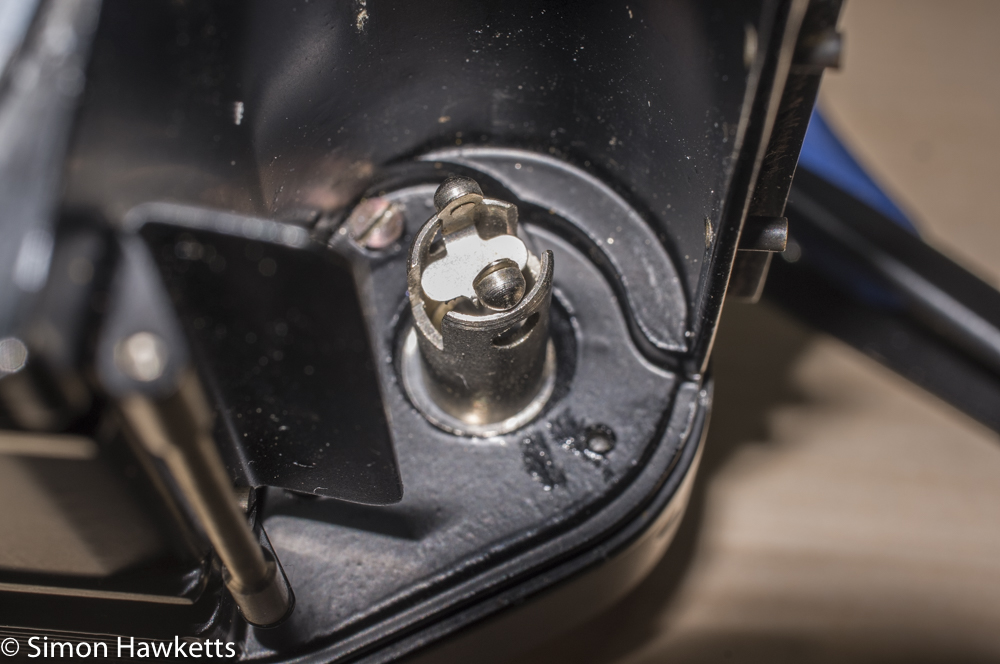
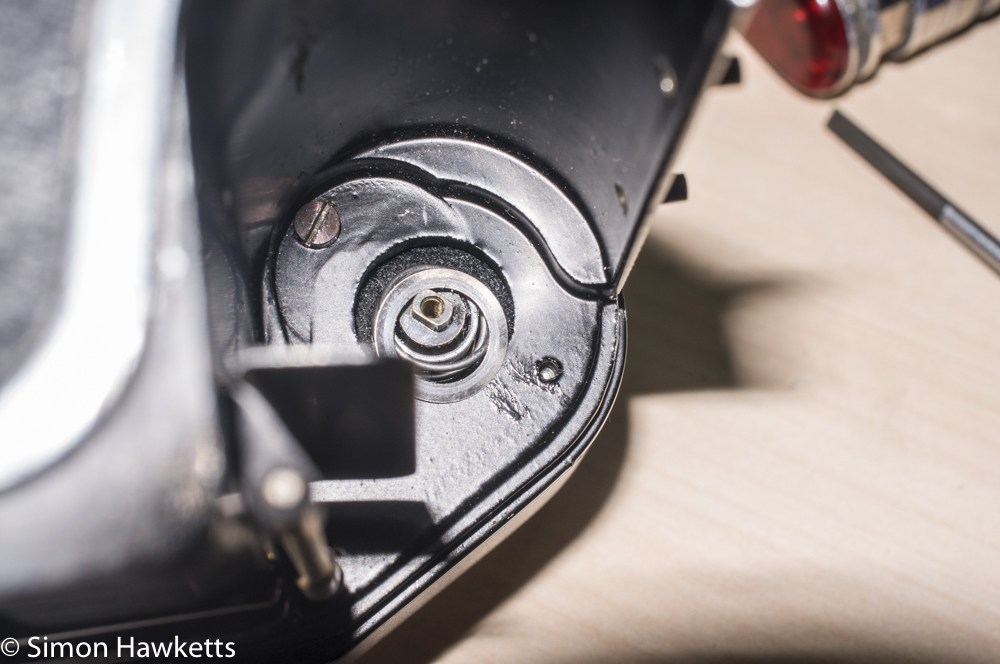
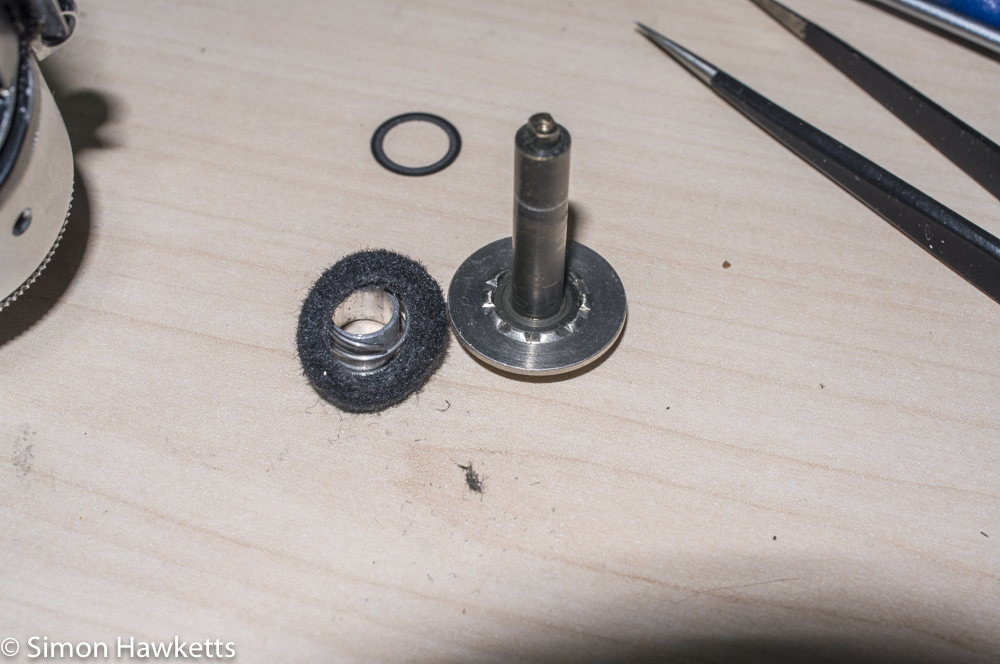
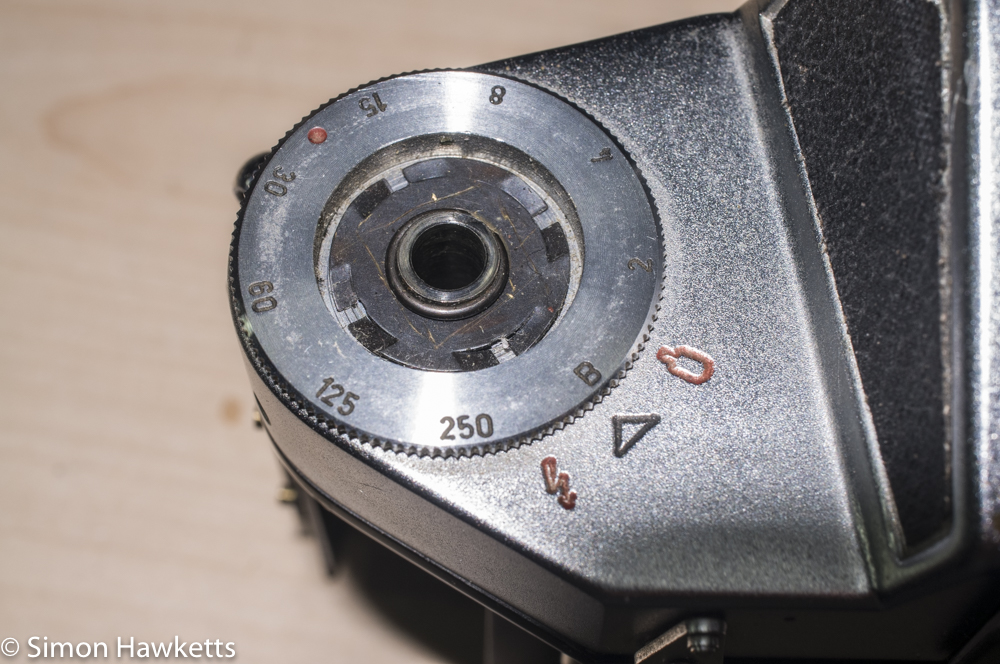
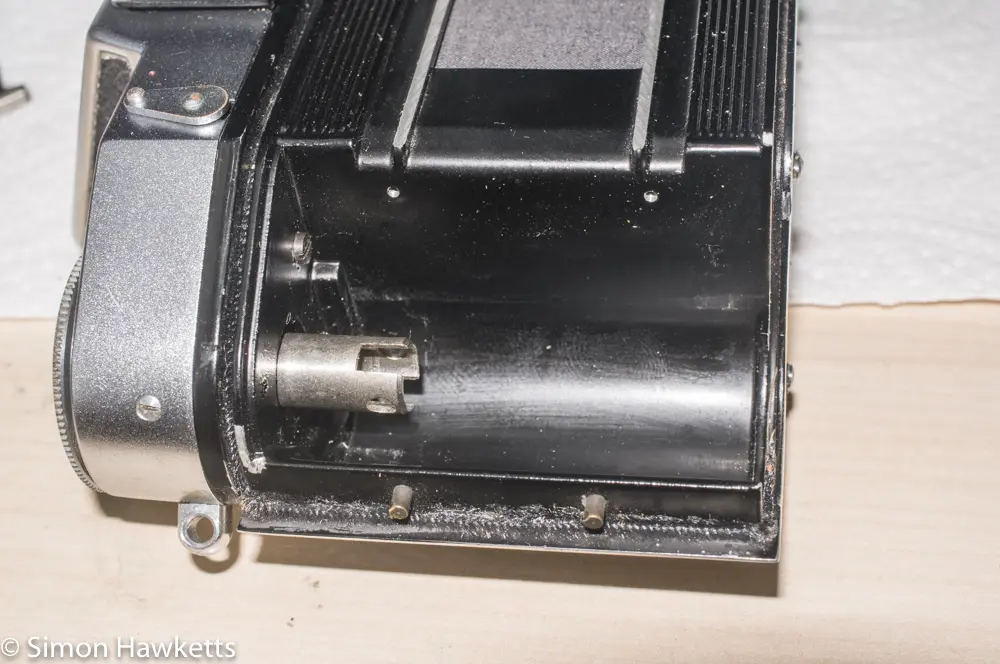
On the rewind / film speed side, however, I couldn't see an obvious way to remove the speed setting ring after I'd removed the film type reminder. After a lot of messing about and unhelpful internet searches, I eventually found that there is a screw in the inside of the film rewind shaft. You need to turn the camera over and remove the spring-loaded insert inside the shaft, and there is a screw which needs to be undone.
With that out the shaft comes out, along with a spring, washer, cylinder and felt washer, and then it is obvious to see how the speed setting ring comes off (by removing a spring washer) and lifting it up. Once all these parts are off, the top of the camera lifts away.
Removing the shutter mechanism
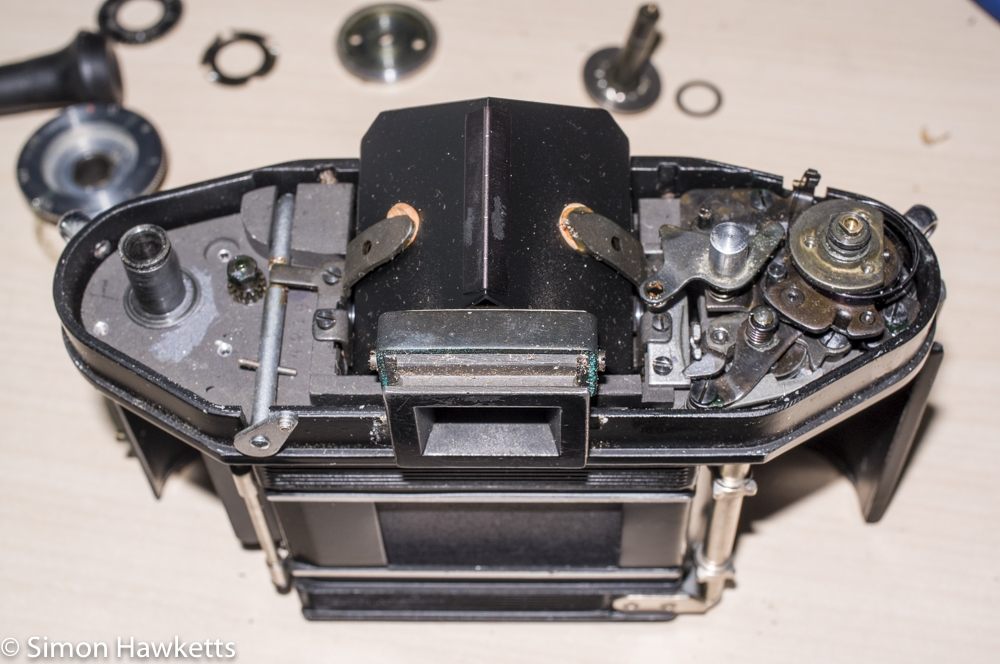
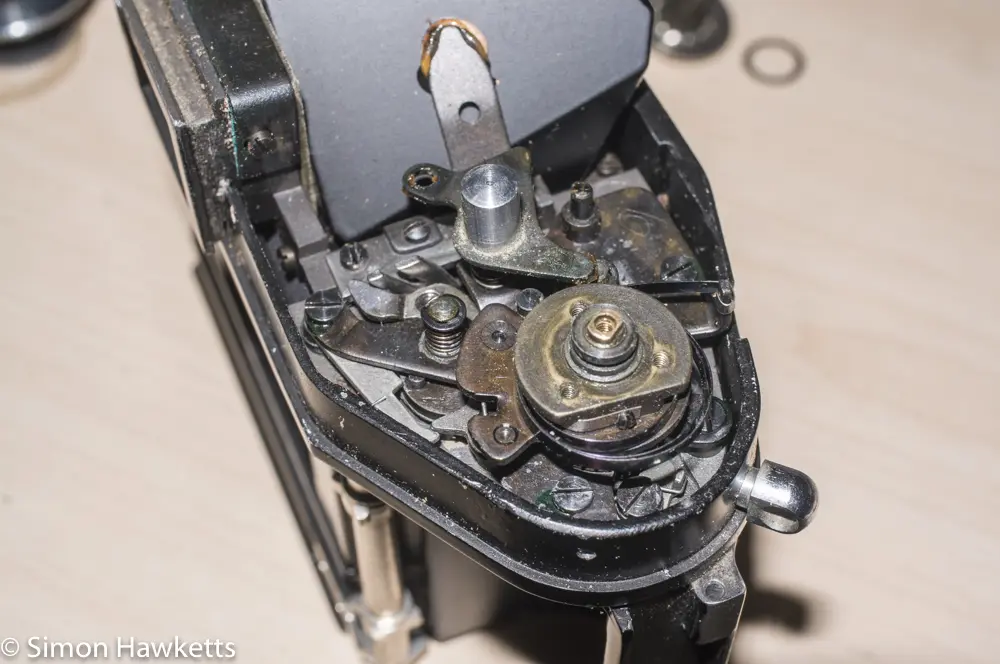
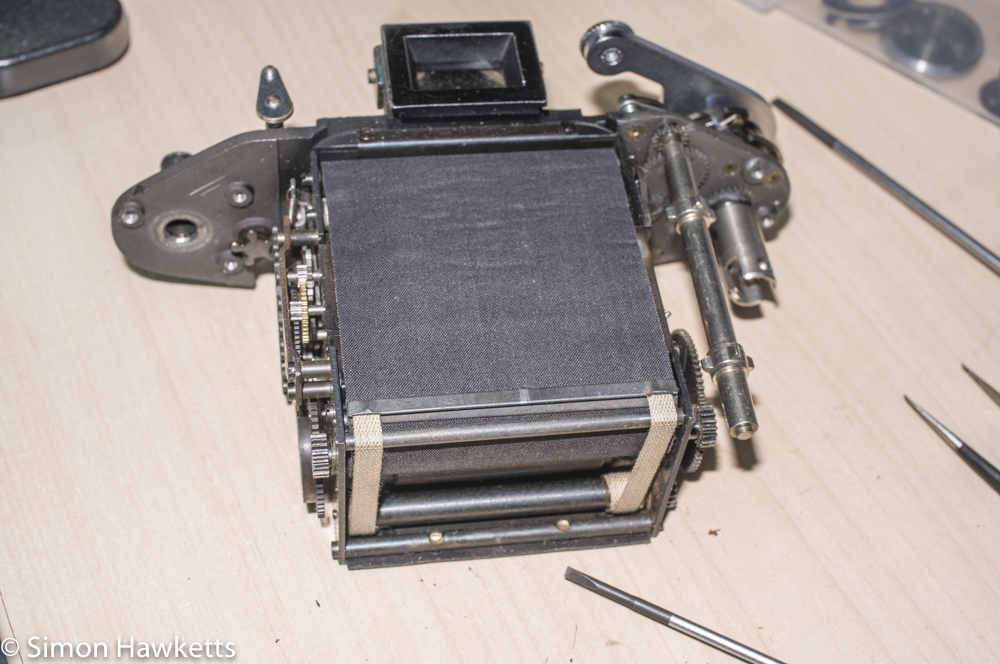
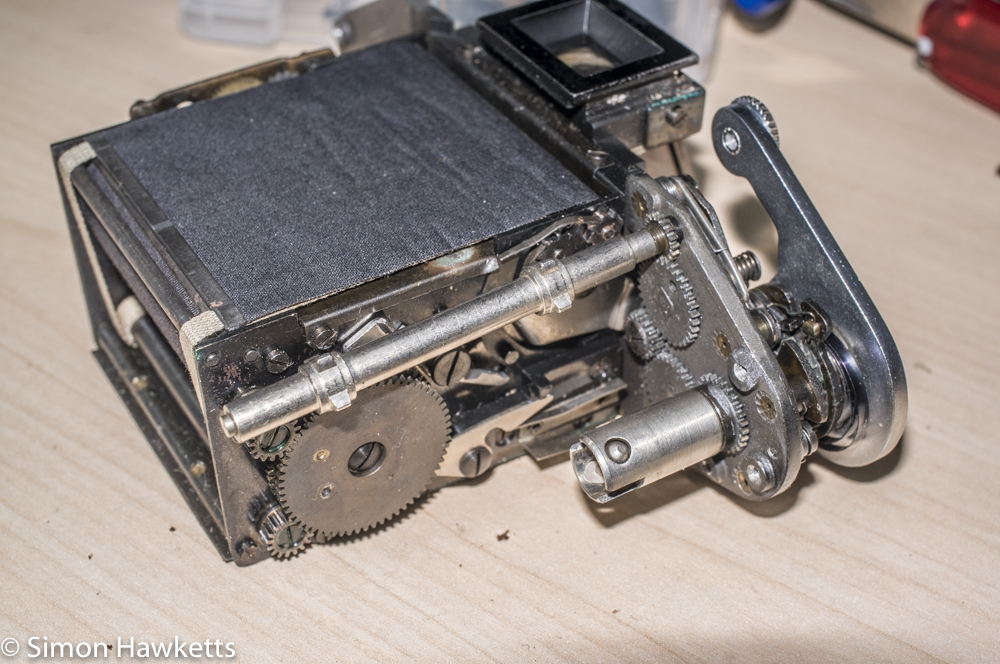
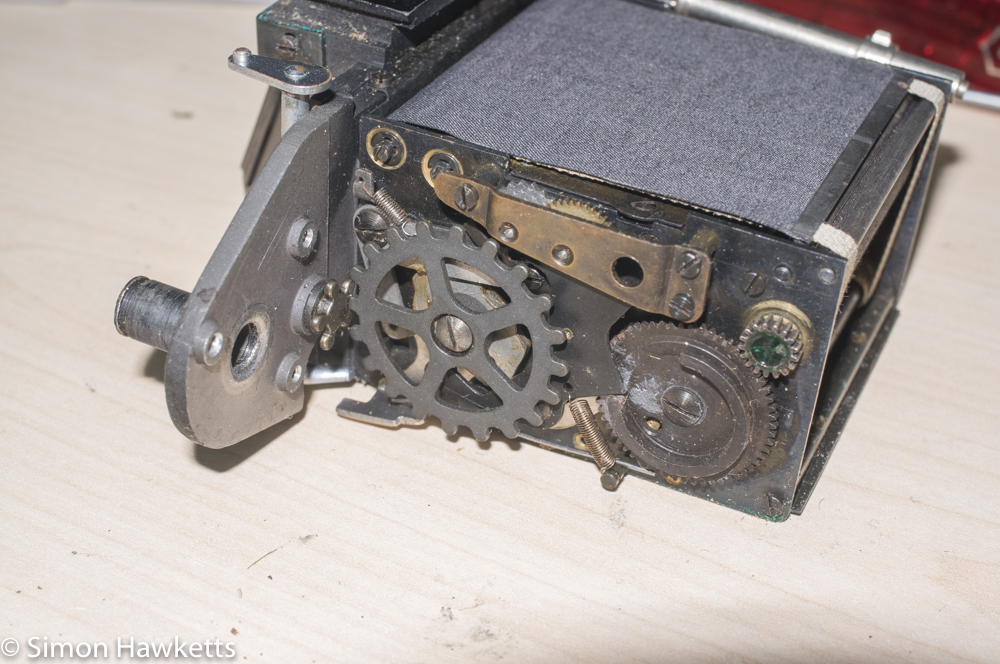
Once the top cover was off, I could see that it wasn't actually going to help me fix the shutter because the mechanism under the cover simple deals with the film advance and frame counter. So, although I wanted to take the opportunity to clean all this mechanism up and re-grease it, I still needed to do some more dismantling.
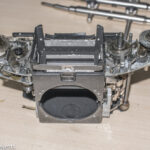
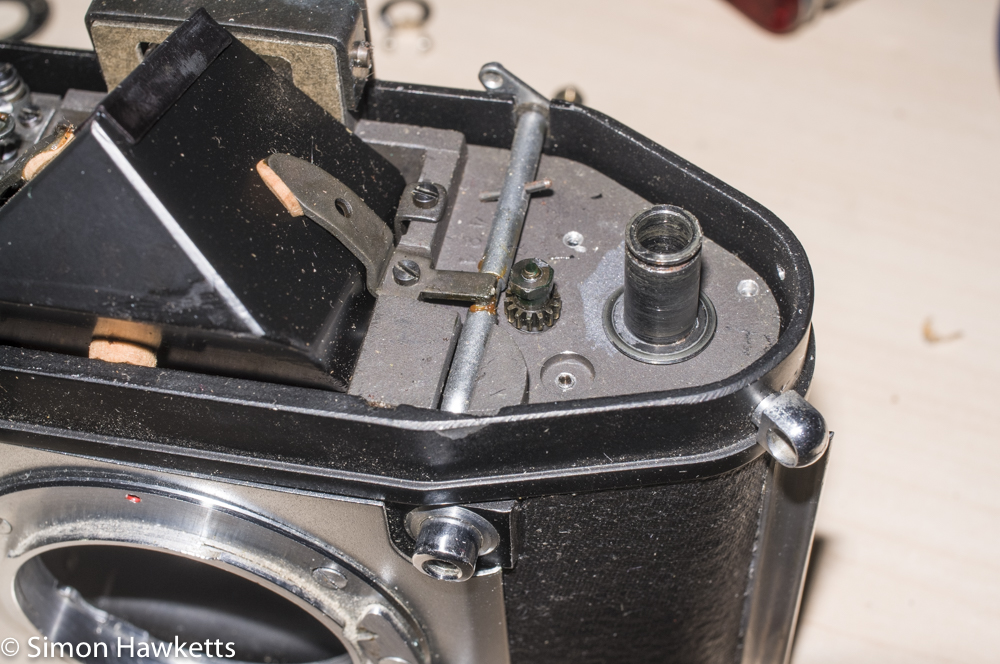
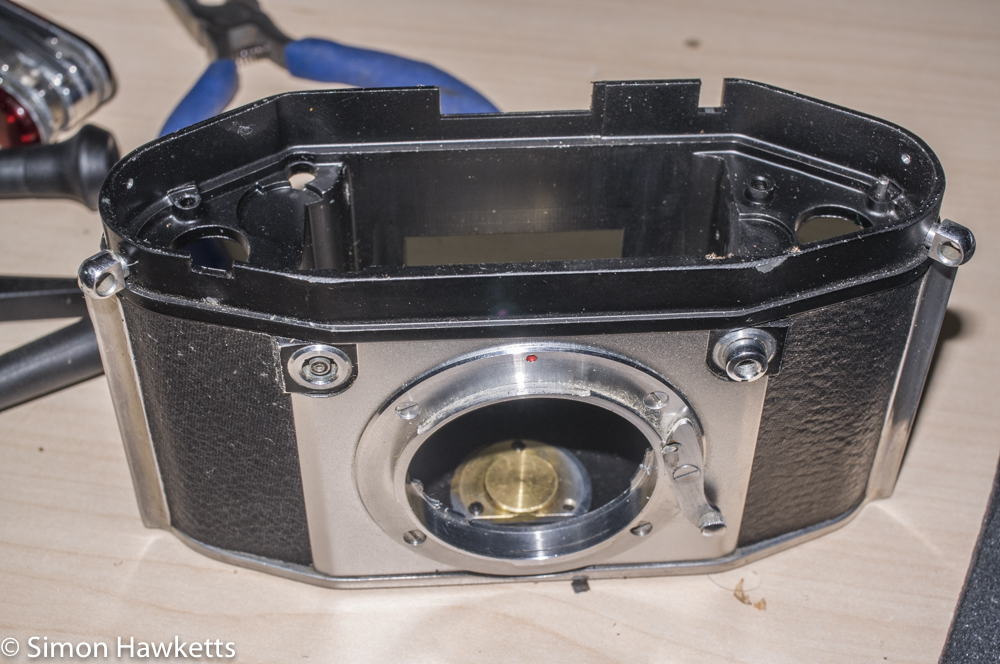
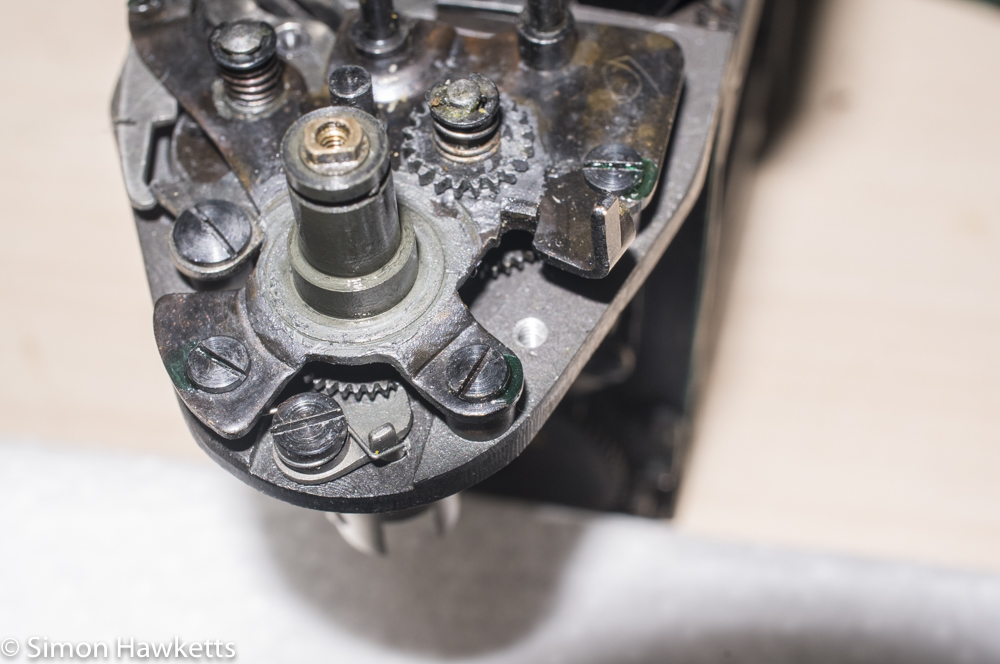
I found that inside the camera there are 4 screws in the top which hold the internal mechanism into the camera chassis. With these four screws out, I found I could lift the mechanism up and out of the chassis and get to look at the shutter itself. Just as a word of caution, as the mechanism is lifted out the film advance gear will stay in the chassis, but the cog fitted to the top of it might fall off, and also the shutter release button may fall out of its hole.
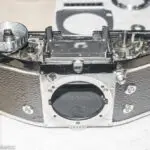
At the time I took the shutter mechanism out I also discovered that the back door can be easily removed by lifting the hinge pin and removing it - the door then just lifts away, making work on the chassis much simpler.
Fixing the shutter and cleaning
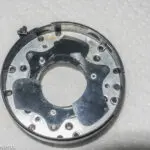
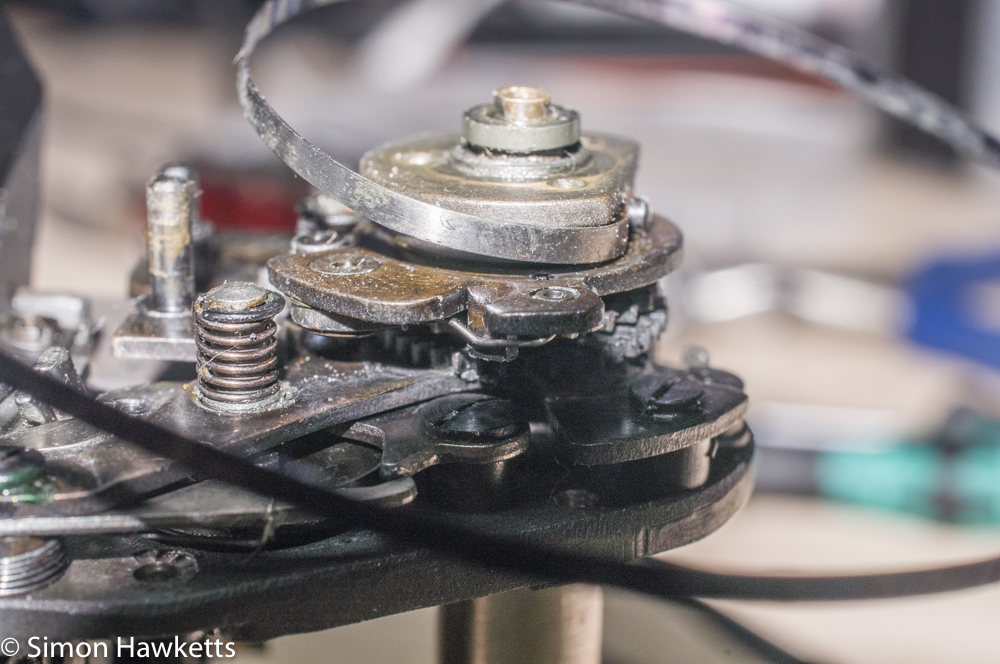
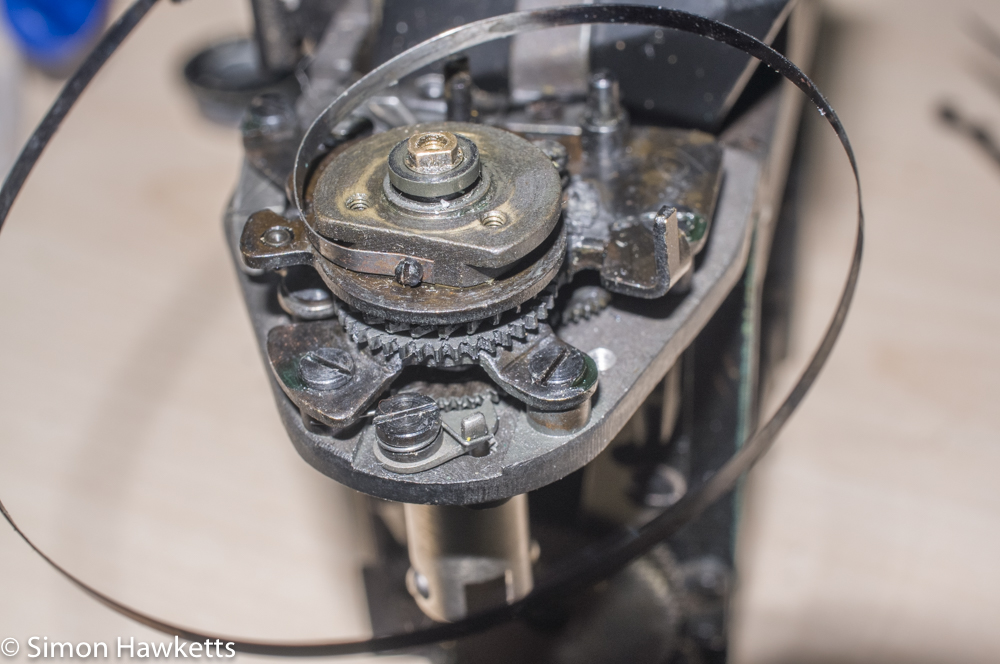
Once I had the shutter out of the camera, I found that with the film advance lever temporarily re-fitted, I could cock the shutter and fire it to see what was wrong. In the case of my shutter, I fixed it with a very simple procedure - I just added some turns to the first curtain tensioner so that there was enough energy to return it to the correct position during shutter release.
As a word of warning - this may not be the correct procedure to fix the camera, although it seems to work fine with mine. Generally, you shouldn't need to retention the curtains, but that seemed to do the trick for me and the shutter timings still seem to be right.
Once I had the shutter working, I gave some attention to the rest of the assembly and did some general cleaning up and lubrication. Although I didn't strip everything down, I did use lots of cotton buds and IPA to remove all the old grease and then put a tiny smear of fresh grease on places where there was obviously metal moving against metal.
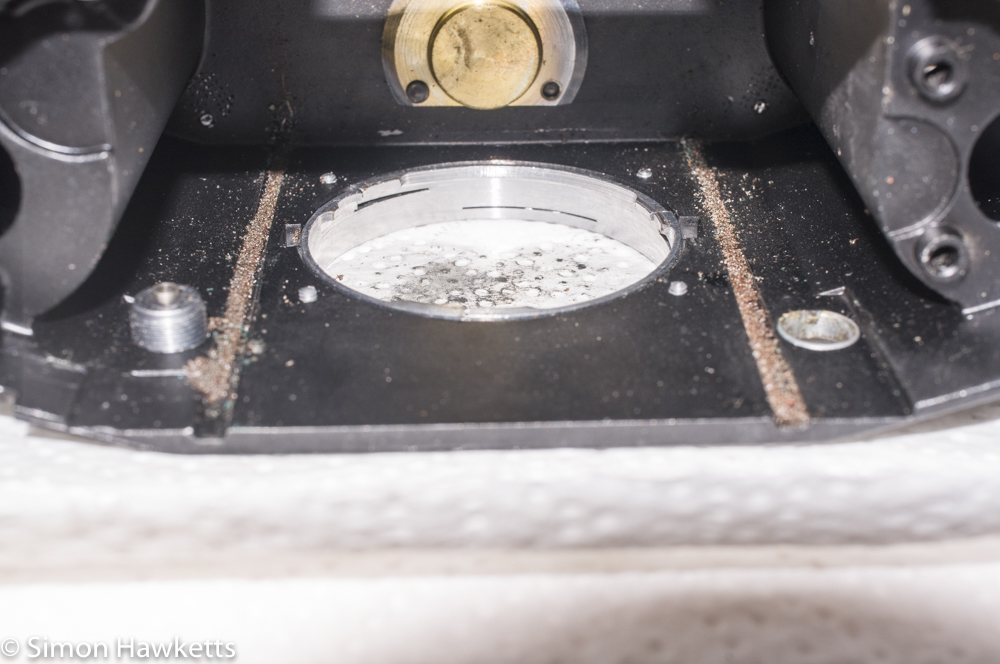
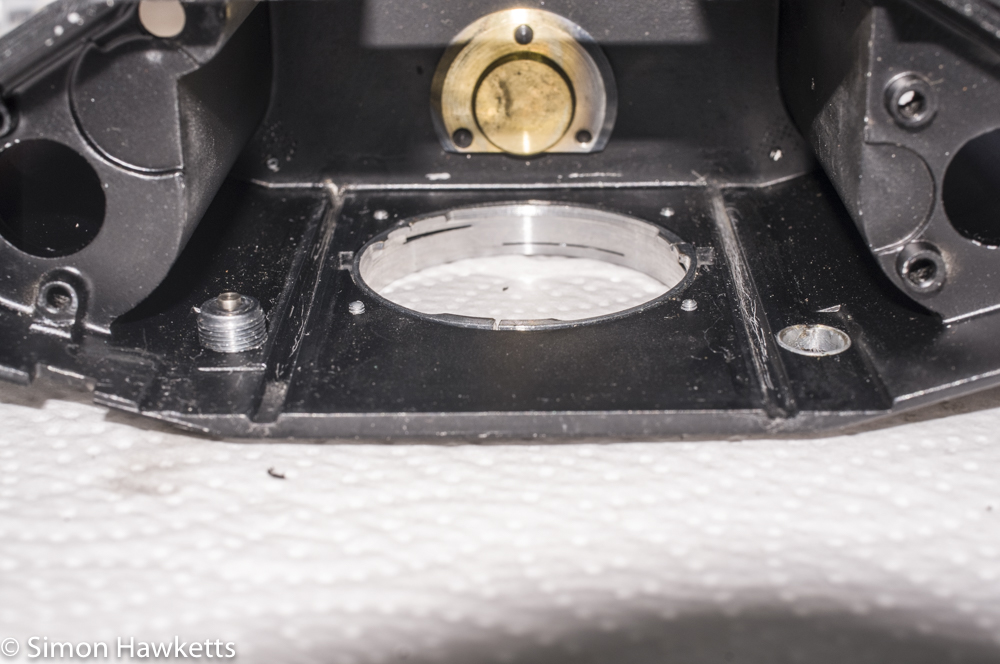
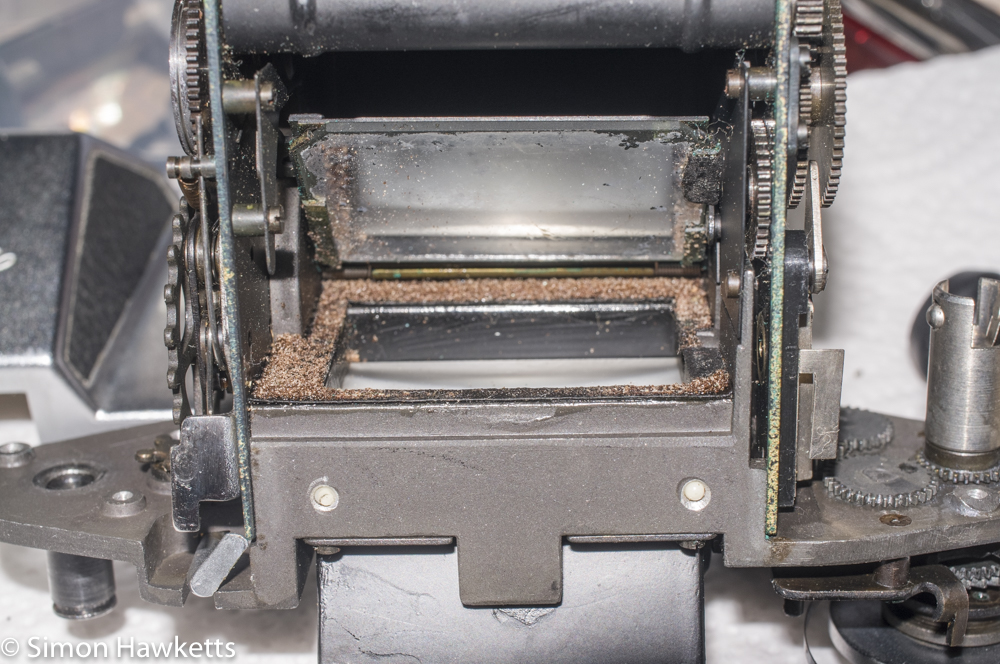
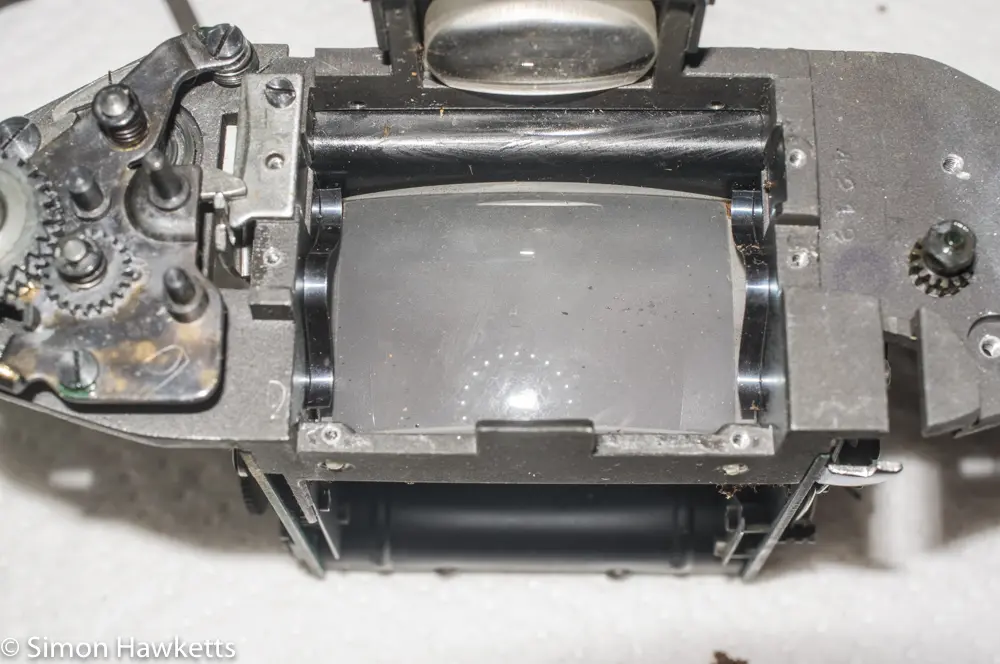
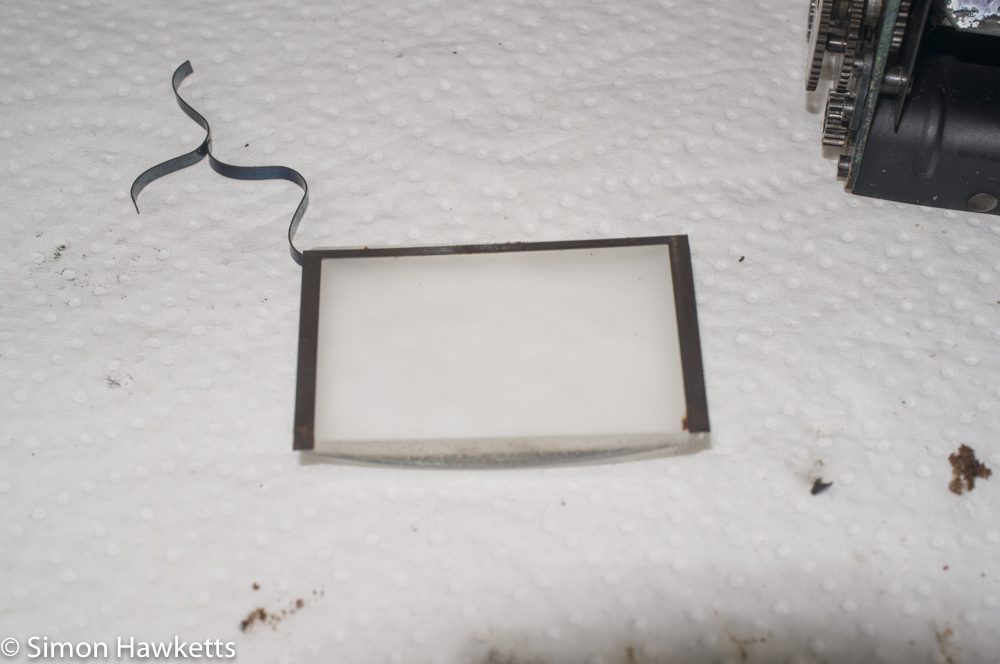
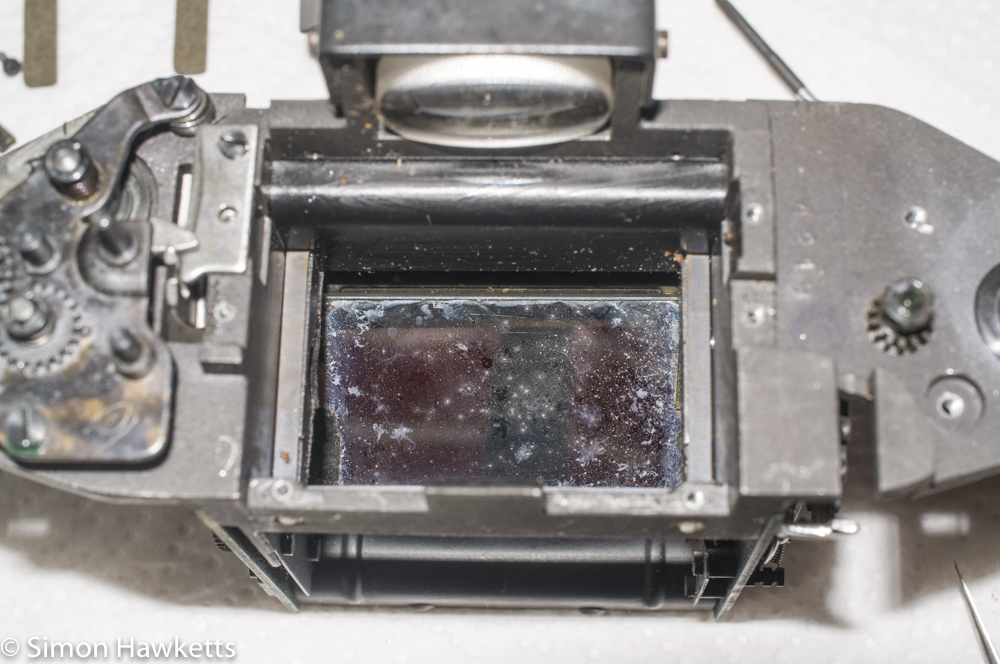
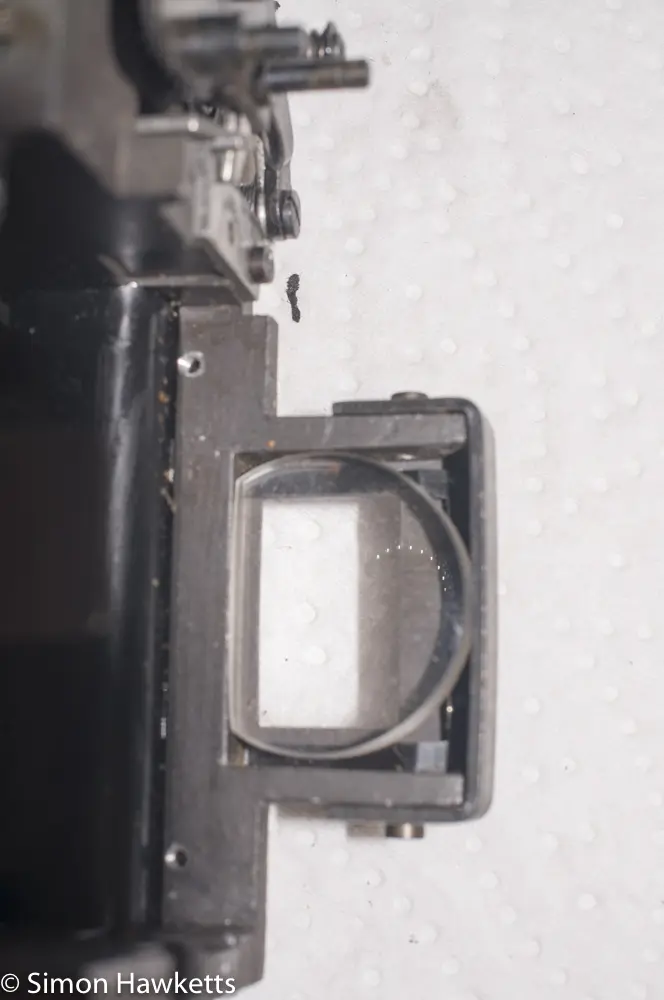
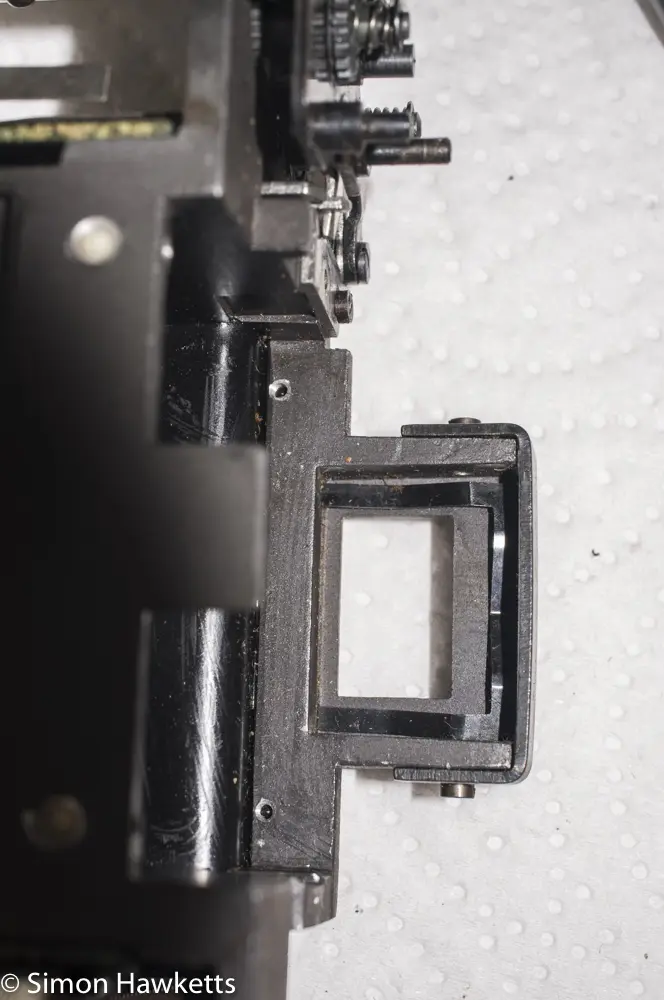
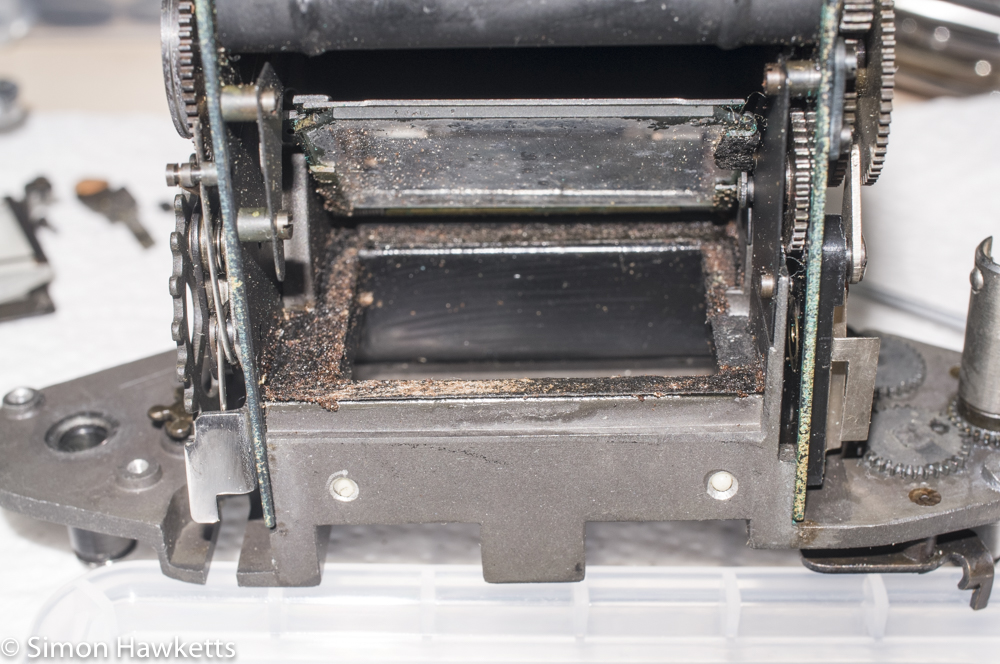
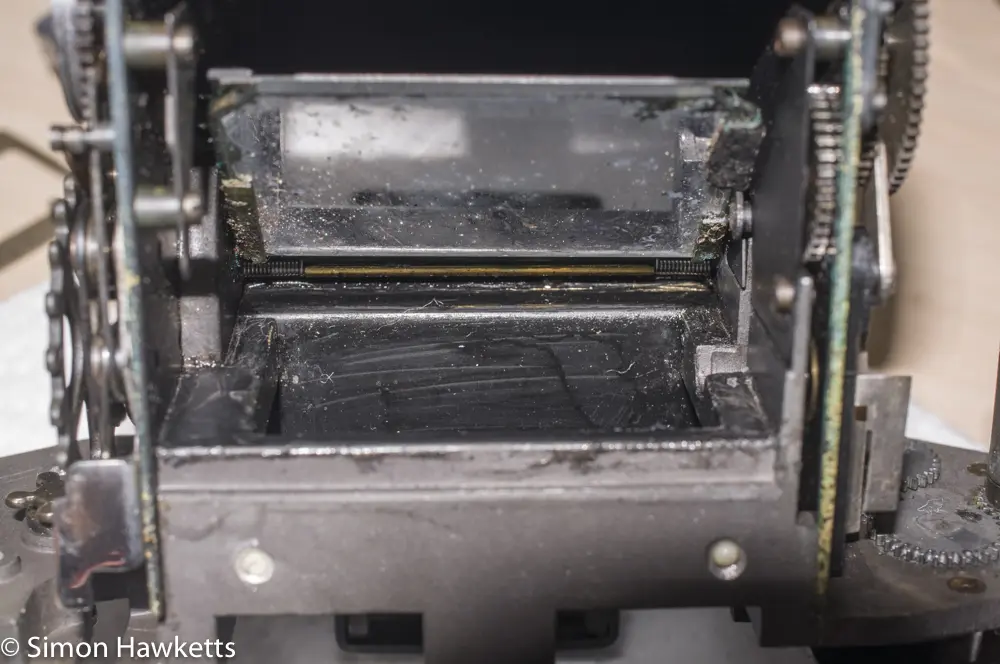
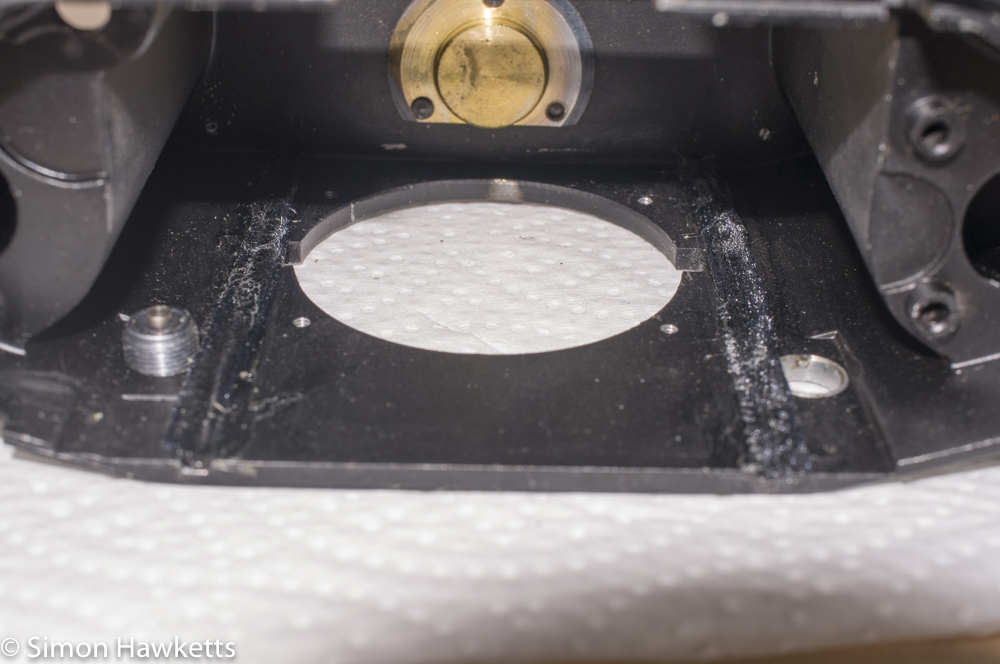
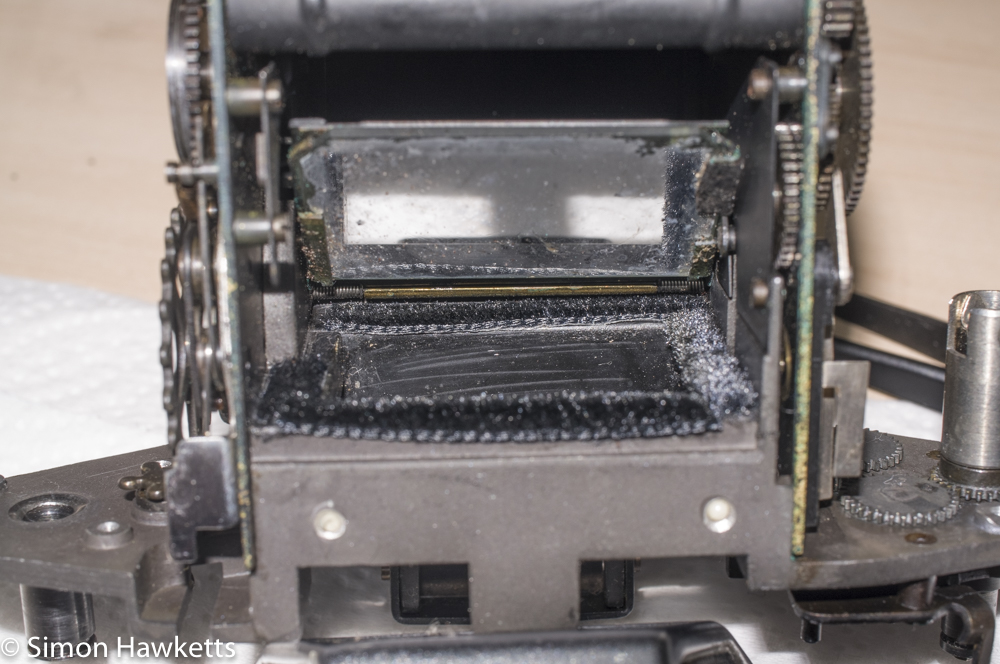
With the mechanism working well, I then removed all the old light seal from the front of the chassis where the shutter fits, and replaced it with some fresh material. I also cleaned out all the old crumbly light seal from the mirror box and focusing screen. Initially I tried to do this without removing the prism, but it was obvious that I would get muck over everything like that, so after a while I removed the prism and focus screen as well. Once all the old light seal and sticky had been removed and replaced with new, I cleaned the focus screen in warm soapy water and re-assembled it all.
Re-assembly
Re-assembly was relatively straight forward and just the reverse of the strip down procedure, but there are a few points of note.
When fitting the shutter back into the chassis, you need to make sure the shutter release is back in the body and in its fully out position, so it doesn't foul with the mechanism. Also, the film transport shaft needs to be fitted to the chassis and have its cog fitted, and then as the mechanism is dropped into the body push the transport shaft up to meet the mechanism so the cog properly mates. This can be done before the mechanism is fully into the body, and then the pair dropped into place together.
When the shutter speed dial is fitted, it is important to get the correct speed selected on the dial. I found it best to set the speed to bulb before the mechanism is replaced in the body, and then the dial can be set to B as it is replaced. Although you can do this at any speed, B is the easiest one to find when the shutter is out of the camera body!
When it comes to re fitting the film shaft under the shutter speed dial, I found it useful to remove the film guides, so I could get more finger space to hold the shaft in-place as I did up the screw inside the shaft. Without the guide removed, I couldn't keep the sprung loaded shaft in the right place without the washer and spring getting misaligned.
One other word of warning - when it comes to tightening up the screw caps on the film type reminder and the frame counter, take extreme caution - I managed to shear the top off one of mine. I'm not sure if they are different and need to go back on the shaft they came off, but please take more care than I did - I now need to find another one to replace mine.
Although I had the mishap with the screw cap, I was pleased to find that the shutter is now working at all speeds and the view through the viewfinder is much better. I'm quite surprised that the very poor condition of the mirror doesn't make more difference to the view - I would have thought it would make it very bad, but the camera is quite usable.
