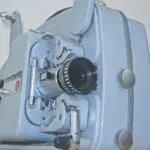
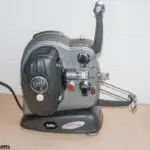
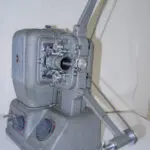
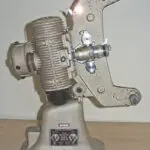
This post describes how I converted a Eumig P8 Novo 8mm Projector into an 8mm telecine machine to convert the films I publish on the Vintage Home Movies site to digital clips.
This is a project which I've thought about many times over the last couple of years, and even made a start on on a couple of occasions, but each time I've hit upon issues. Initially I was going to use a later model Eumig projector which, being dual standard, would have given the option to convert both standard 8 and super 8 film, but I found the design inherently unreliable. I looked at a total of three different example machines and each had the same issue with deteriorating motor mounts.
I then tried a project which 3d printed the parts to make the film transport, but found that I couldn't get the level of accuracy the project demanded.
A couple of weeks ago I thought about using a Eumig P8 projector because the design is quite reliable and has a good amount of space within the chassis for the electronics and new motor.
Source of Eumig P8 Novo
The source of the base model for the conversion was a £10 parts machine I bought from eBay. Although I could probably have used any P8 version machine (and in fact I had an old P8m laying about), I decided to try to find a Eumig P8 Novo because of the following reasons:
- The Novo model has a smaller, more modern design of lamp which I decided may be easier to replace with a modern LED light source.
- It is easier to get to the lamp because there is a sliding compartment cover in front of it for ease of changing.
- The Eumig P8 Novo model is fitted with a better auto threading system which I hoped I'd be able to use.
As it happened, the source machine I obtained didn't have the auto threader included, so I'll need to try to find one of those. In fact, the cheap machine I found, although it seems to be fully working mechanically, is quite tatty, so I decided to treat it as a prototype to iron out all the problems and then get a better machine and repeat the operation on once I have it working.
Some images from the 8mm telecine / Projector Conversion
In the next sections I'll describe the steps I took in creating the 8mm telecine, but these images provide a taster for some of the actions taken to carry out the conversion.
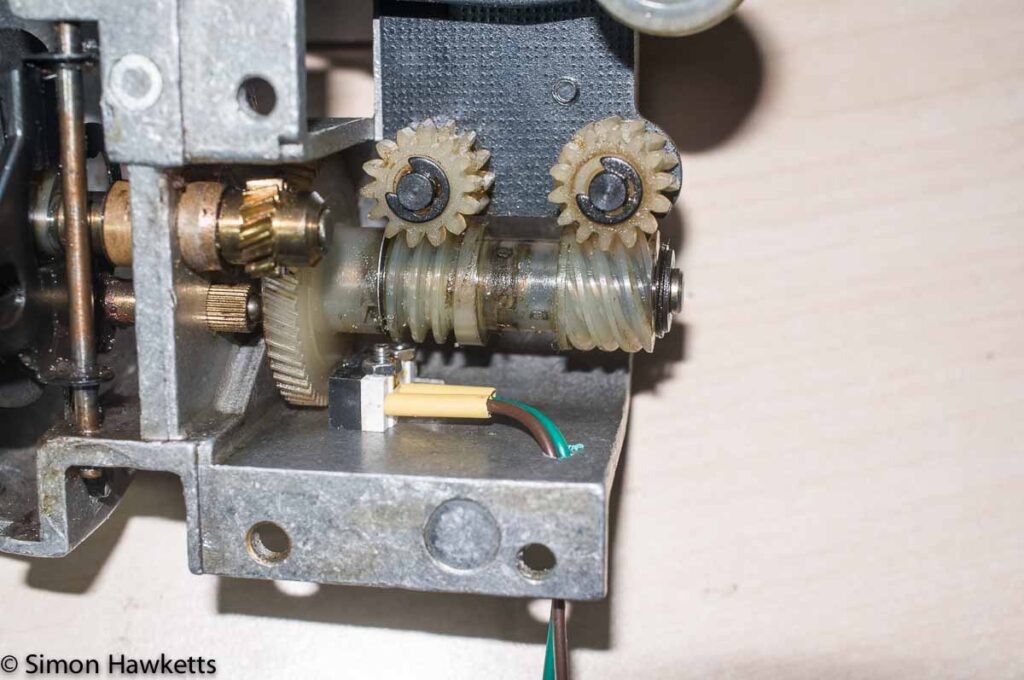
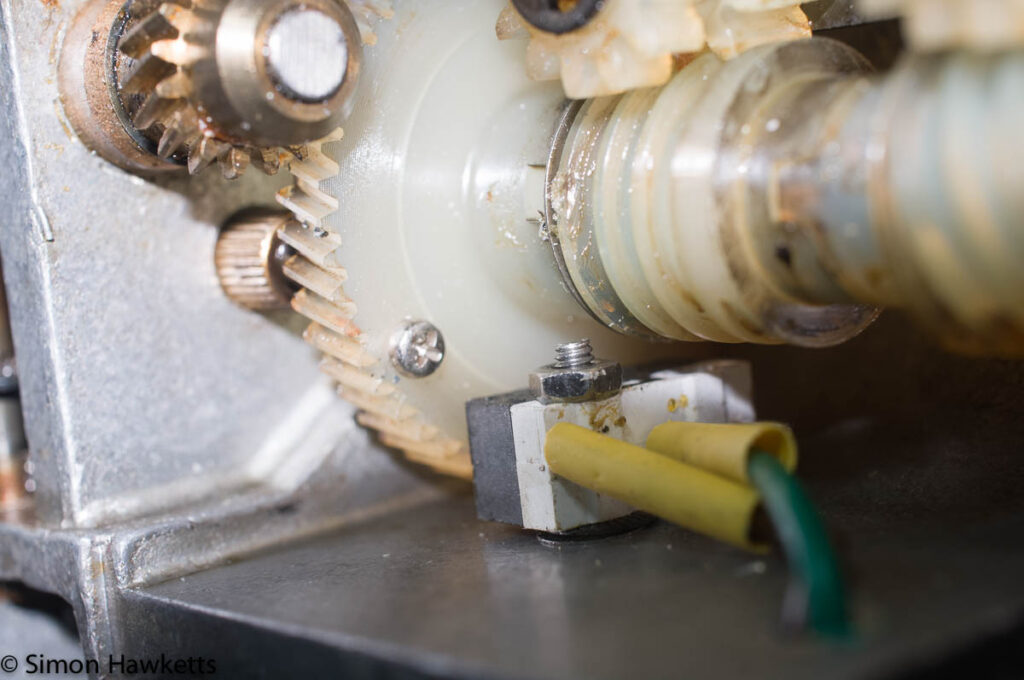
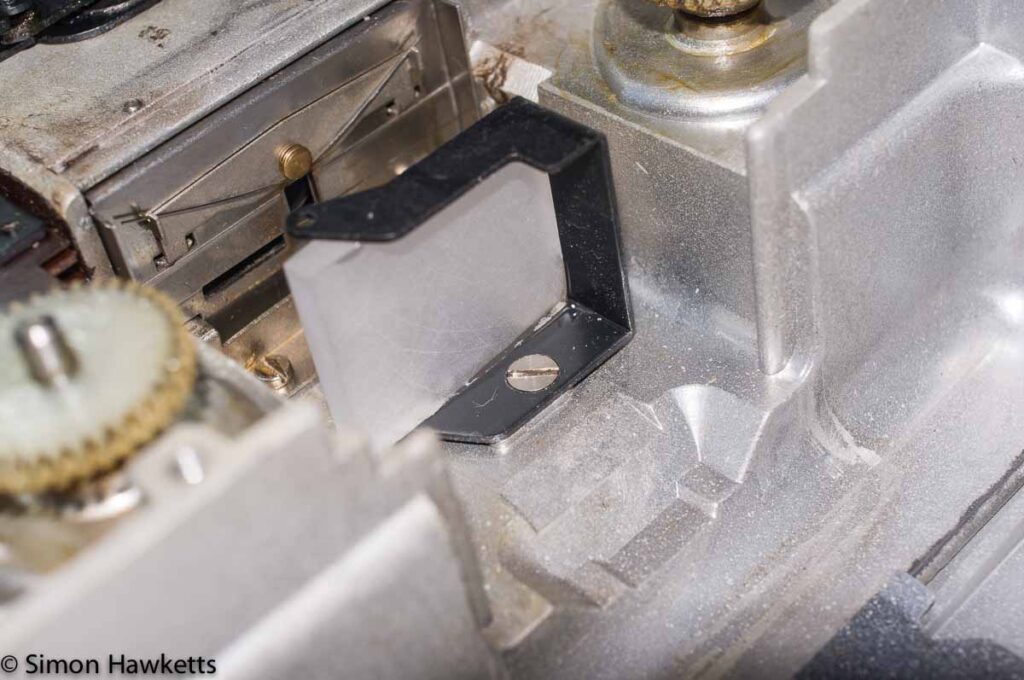
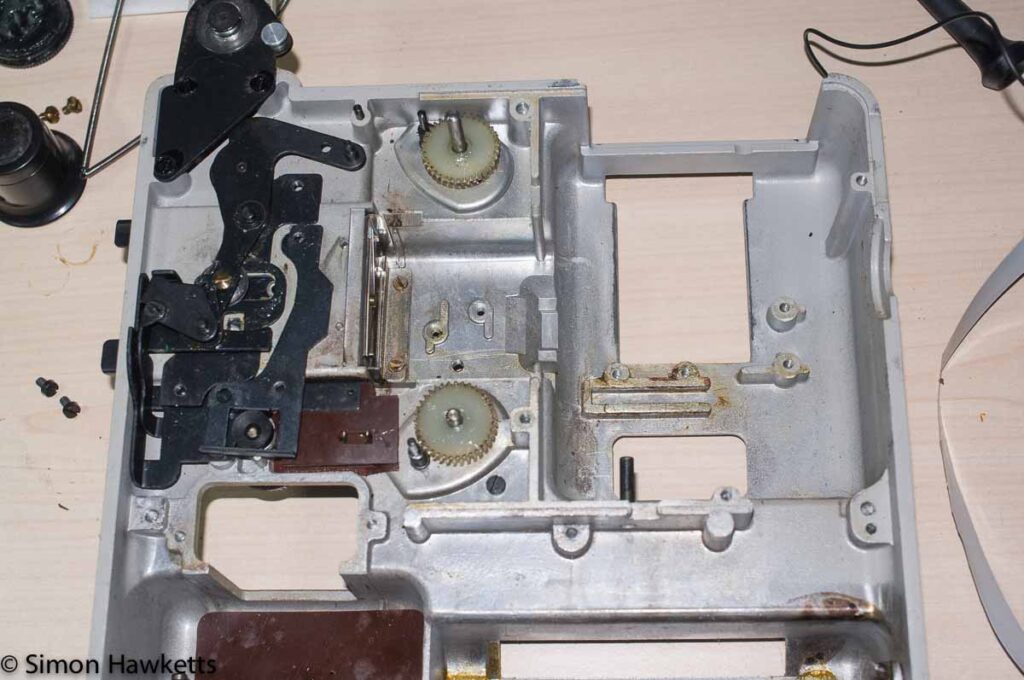
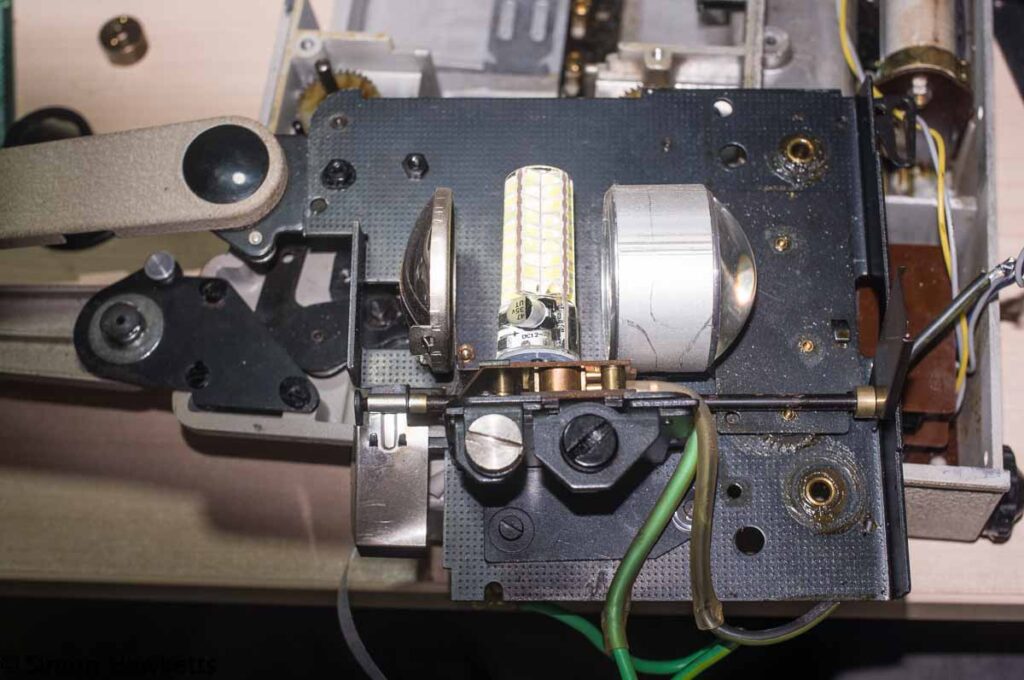
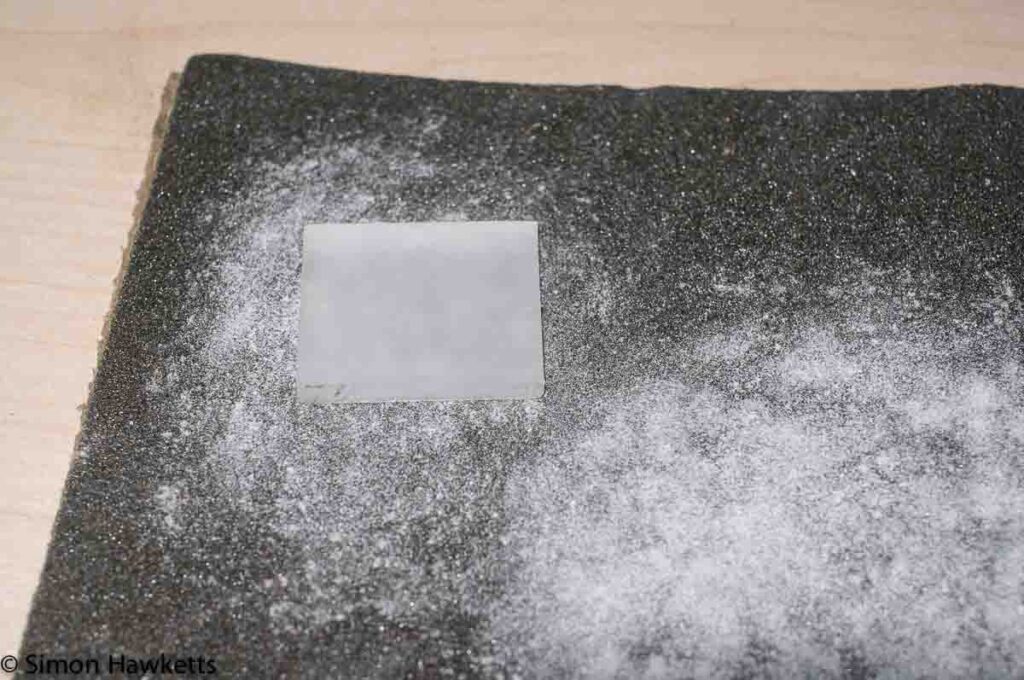
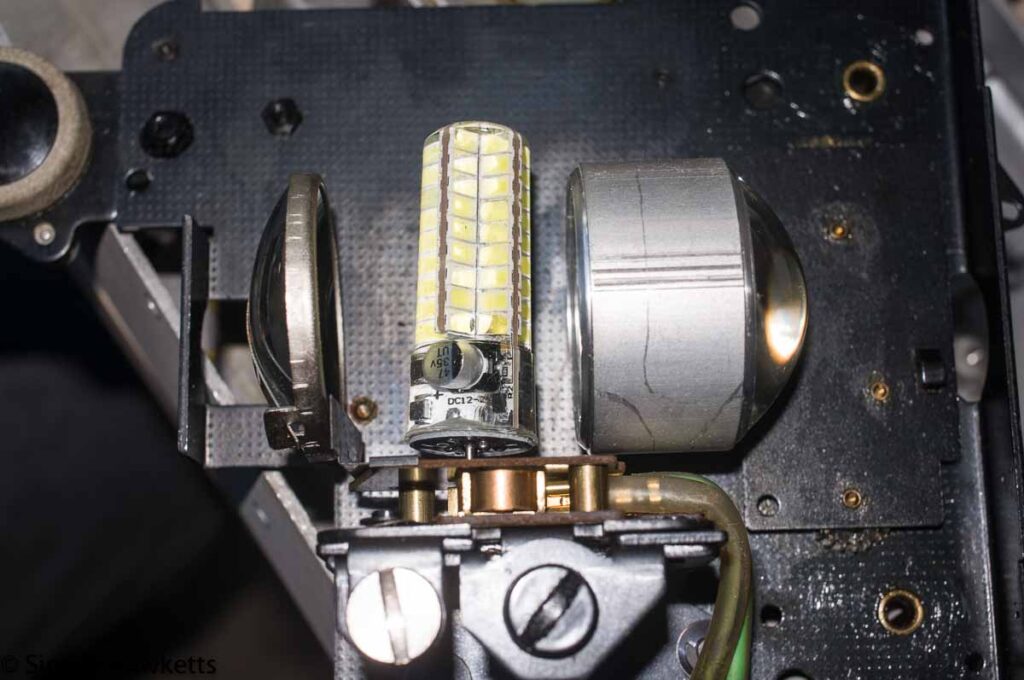
Although I'll describe the general changes I made in this post, I'm intending to create some more detailed posts over the next few weeks which will cover the most important parts of the conversion more comprehensively.
First Steps in the Conversion.
The first thing required when I received the Eumig P8 Novo projector was to strip out everything which wasn't needed in the projector to give me some room to add the new electronics and to make sure the new motor I intended fitting was only going to be doing absolutely essential work.
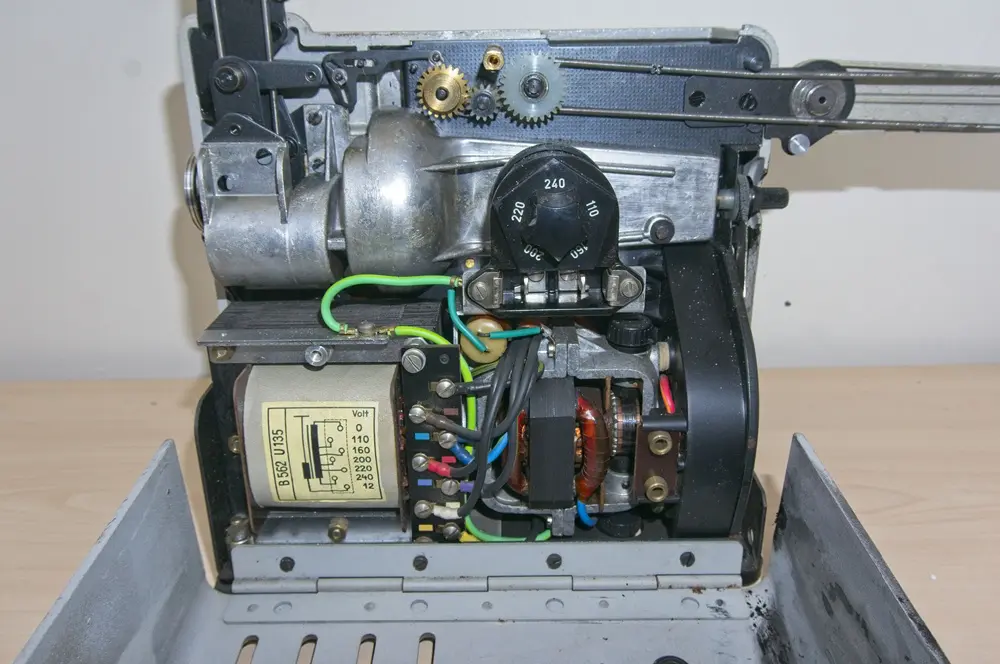
Unfortunately, I didn't take any photos of the internal layout of the P8 Novo, but the picture shown here is of an earlier Eumig P8 and is of a virtually identical design.
The majority of the items to remove are at the bottom of the unit mounted on a solid steel platform.
I took out the large transformer to the left, the motor and fan arrangement to the right and the voltage selector panel mounted above both of those components.
Since I knew I wouldn't need to reuse any of these I just cut the wiring and then later cleaned up the solder connections to the main switches because I wanted to use these in the final telecine design1 .
The Eumig P8 Novo, like many of the P8 series has a heat shield which is positioned behind the film to stop it burning when the projector is put into 'freeze frame' mode. This is operated by a lever under the lamp housing, but for the new functionality I didn't need it and removed the lever and all the mechanics of the heat shield - well all but the framework which held the heat shield in place. I used that to hold a homemade light defuser so the individual LED light sources didn't show on the captured image.
There is also a clever device which rests on the original P8 drive belt and moves a shield in front of the lamp if the drive belt breaks - again that was a hindrance to me so I removed it.
Caution about the drive belt
If you ever need to work on one of the Eumig P8 series I would just provide a caution about the drive belt which fits between the fan and the long aluminium component which houses the film transmission. The belt is made of a rubber material which will almost certainly have degraded over time to leave a sticky mess which will get everywhere if you aren't very careful.
I took particular care to get it all picked out and safely held on a square of kitchen roll which I then deposited in the waste paper basket by my desk. Unfortunately, our dog Freddy decided to pull this out of the waste when I wasn't looking and got it on his fur and then laid on the landing carpet before I discovered him. I had to cut the mess out of his fur and we now have a permanent stain on the carpet which no amount of steam cleaning or scrubbing will remove.
Intended operation of the Telecine machine
I'll outline here what the intended operation of the machine is.
The idea is to replace the original high power lamp with a modern LED lamp, change the motor for a stepper motor which would be controlled by a raspberry pi single board computer, fit a camera unit in place of the projection lens and devise some way of signalling to the raspberry pi when a frame of the film has been moved into position in the film gate.
The basic operation is that the motor would turn the projector film advance until a frame was available and then stop the motor, take a picture of the frame and store it with a sequential number in the filename, and then repeat the process. When the film has been run through the projector a complete set of images will be available which can be assembled into a movie clip.
From my experience of trying to get a telecine working in the past the bits I thought I would have trouble with were:
- Getting the motor mounted somewhere with an easy way to get the drive transmitted to both the film transport and the take up spool
- Fitting an LED light source in place of the original lamp
- Signalling that a frame is ready to be captured with the camera
With the Eumig P8 Novo stripped down I found fitting the motor to be relatively easy and by purchasing a few 3d printer drive pulleys I could get that part working without too much hassle. There are some issues with the actual belt, because I need to construct one of a size appropriate for the new motor, but that's a problem which should be solvable.
The replacement of the lamp was actually simple because it's possible to get LEDs which have the same base as the original lamp so I could just plug one in and wire it up.
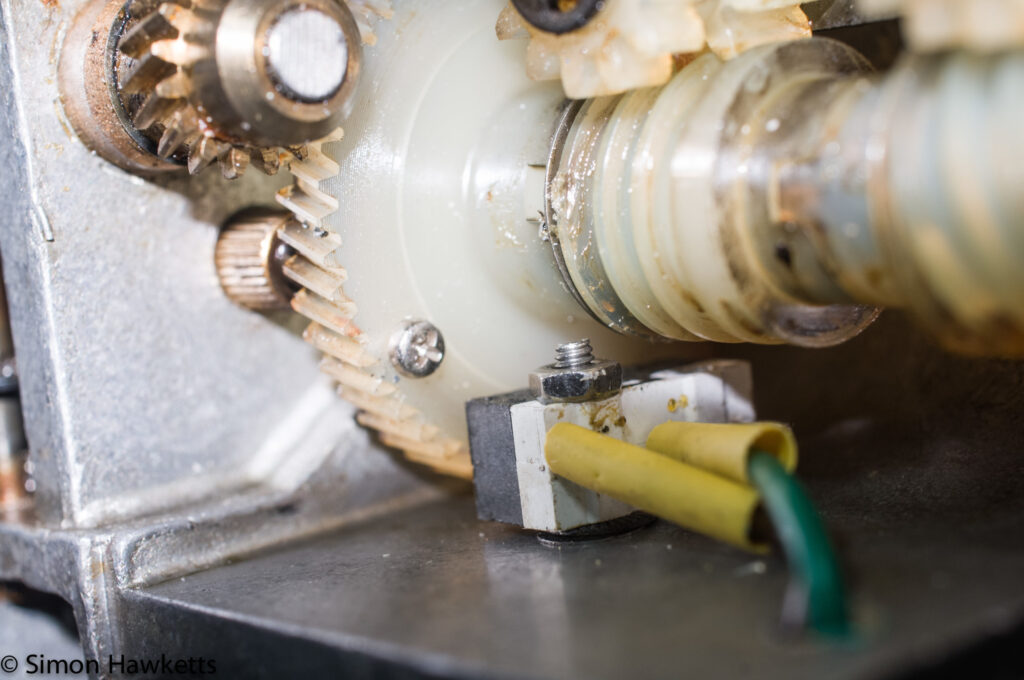
The most difficult bit of the 8mm telecine was the trigger device to signal that a frame is ready but I found I could position a micro switch inside the film shutter assembly and arrange for it to close at the correct time which acts as the signal.
With these issues solved, and with a bit of electronics and software thrown together, I have a working machine, albeit one which needs some improvements to many parts of its operation.
Clip of Telecine in operation
The clip below is of the Eumig P8 Novo Telecine machine in operation. This is an early iteration which was running quite slowly, but shows the general way the machine works. (Apologies for the noise of the camera I was using to take the clip autofocusing, there wasn't much light and it hunted around quite a lot)
First 8mm film to video clip
The video below is the first video clip produced from the machine. There is obviously work to do to improve this which I discuss in the final section below.
Results and improvements needed
The video clip above shows that there is still quite a few improvements needed to get good results from this Novo 8mm telecine.
Picture Quality
The first obvious problem is that the video clip is very small, has severe vignetting and the colour balance looks wrong. Mostly this is because I'm just using a series 1 raspberry pi camera which is stuck into the front of the original projector lens with some sticky tape. The white balance issue could be because I used a 'daylight' white LED and film was designed to be projected with a filament lamp.
The raspberry pi camera is made predominantly for wide angle, general purpose use, and isn't made to allow easy change of the lens focal length etc. For the purpose here I need a longer focal length and possibly an extension tube to be able to fill the frame with the image of the 8mm film frame.
To solve this I have ordered the raspberry pi High Quality camera module, which comes with a C mount lens mount. I used this site to work out that with the new camera in place I should be able to get a good image using a 35mm lens, so I've also ordered a cheap C mount 35mm f/1.4 lens to use with it. I suspect that later I may need to look out for a good quality, vintage c mount lens to replace this £18 lens, but this is the fastest way to get something working.
To fix the white balance issue I may need to change the LED to one which can have the colour of the light changed - I'll need to investigate what is available. If I do that I'll probably also arrange to set the brightness level as well; at the moment it's just switched on with the original Eumin P8 Novo lamp switch.
I'm hoping that with the new camera I should be able to get HD quality images which will go a long way towards improving the video quality. I also think that this will help reduce the obvious jitter in the image which is caused, I think, by the digital zoom I'm applying to the image as I capture it.
Speed of operation
At the moment the 8mm telecine operates at about 1 frame per second. The video above shows it operating much slower than that, but that was taken whilst I was experimenting with using png format images rather than jpeg and they take much longer to process.
The software is written so that the motor moves the film until a frame is ready to capture and then stops the film and only starts again when the image is taken. Therefore the speed of the transfer very much comes down to how fast the capture is. I think there are various things I can do to improve this, but I think initially I'll set up the machine to have two speeds2 .
The fast setting will take low resolution images, perhaps 640x480 and run at perhaps 5 fps. This will allow me to run a film through quickly to see what is on it. Then there can be a high quality setting which will run at perhaps 2 fps which will produce high quality, HD video clips which I'll use for films with content which I'm going to publish on everythingvintage.uk.
General machine tidy up
At the moment the 8mm telecine is a bit untidy and has some long wires so I can strip it down without unsoldering parts. These need to be tidied up and use plugs and sockets to allow me to remove the base electronics section from the main machine. Also, at the moment I need to take the motor off it's mount to replace the drive belt, which needs to be fixed.
The electronics could be tidied up as well. There are three separate buck convertors which supply the LED, the motor circuit and the raspberry pi. These could be replaced with a multi output unit which would make more space in the chassis - in fact, the motor could then sit on the base plate which would make the general layout easier to work with.
Hopefully in the future I'll fit a 7 inch LCD display and add a UI to allow me to control the unit without needing to plug a keyboard and monitor into it.
Conclusion
In the next few days and weeks I hope to make improvements to the Eumig P8 Novo 8mm telecine machine so that the results are good enough to use on Vintage Home Movies. I'll also write some more detailed posts about the changes I made and if anyone is interested I can publish the python code which runs the machine.
- I had also intended using the original P8 speed slider control to set the telecine frame rate which would have been quite cool, but in the end didn't do that as I needed a space to put some buttons and the slider positioning seemed ideal for that. [↩]
- This assumes the camera module has been successfully replaced so the image quality problem is dealt with [↩]
