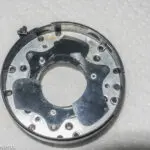
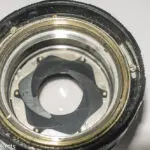
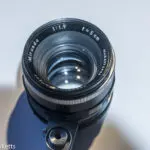
After the strip down of my Kowa SE shutter and body, and the discovery that at least part of the problem is with the aperture assembly, the next stage in getting the camera fully working was to try to get access to the aperture blades to see why they weren't properly opening. This post therefore covers the Kowa SE lens & aperture repair.
From my initial assessment from the outside of the lens, it looked as if at least one of the blades was missing the pin which sits in the curved slot and guides the blade into its open position.
Kowa SE lens & aperture repair images
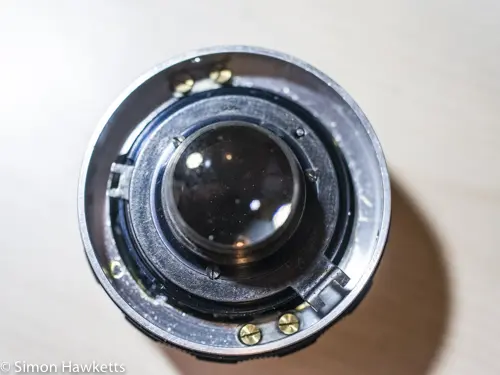
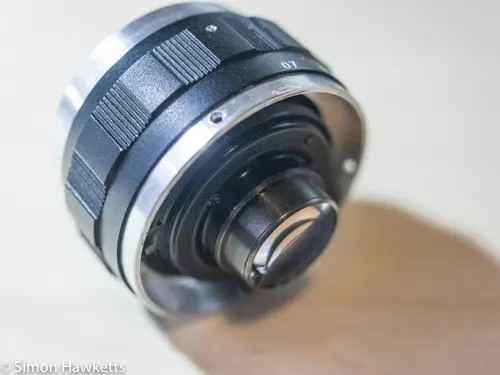
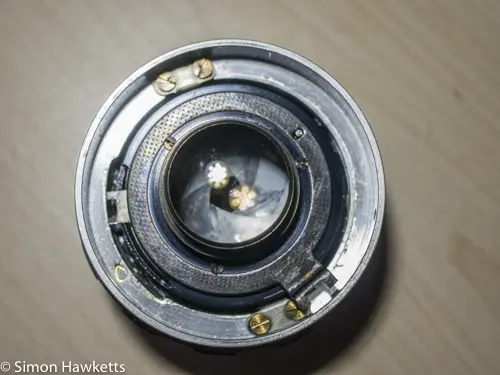
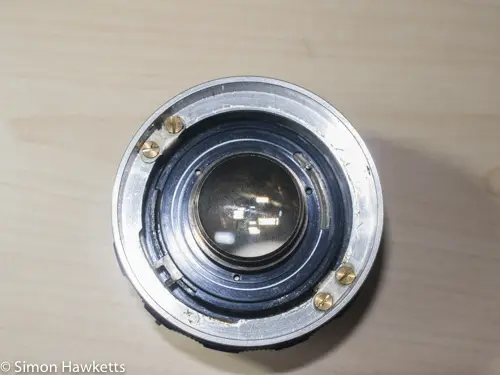
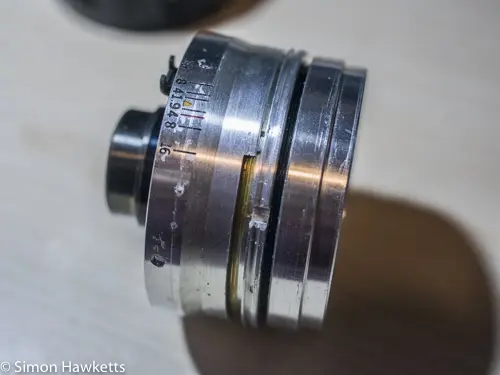
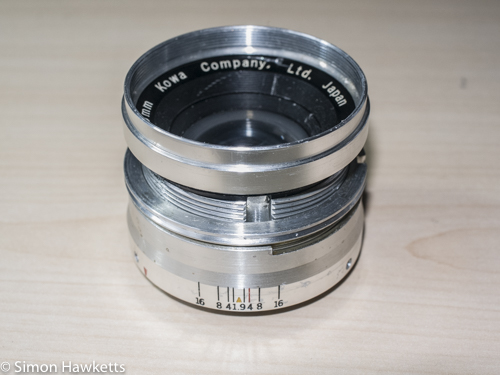
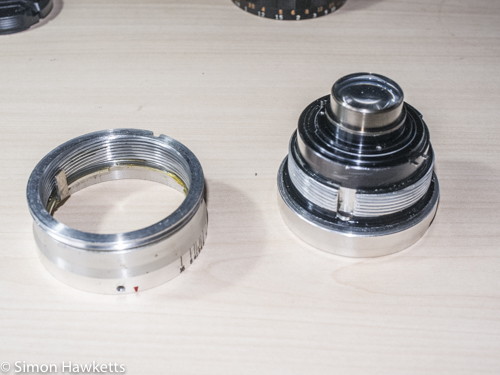
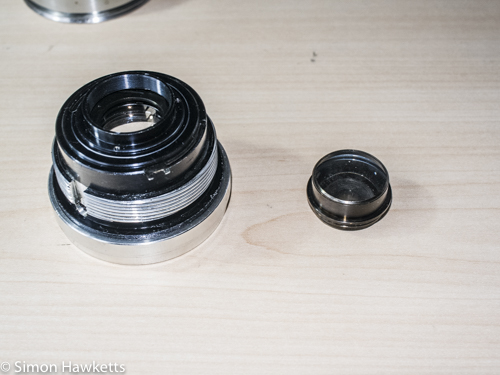
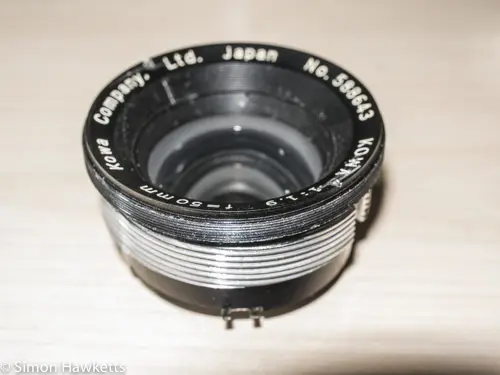
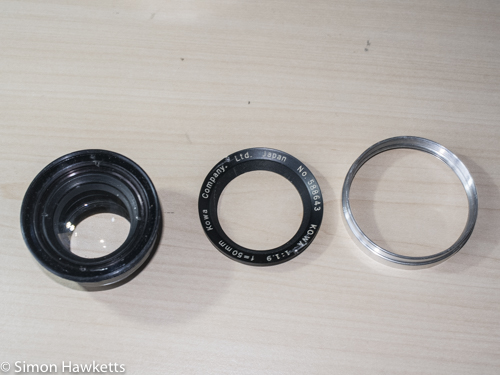
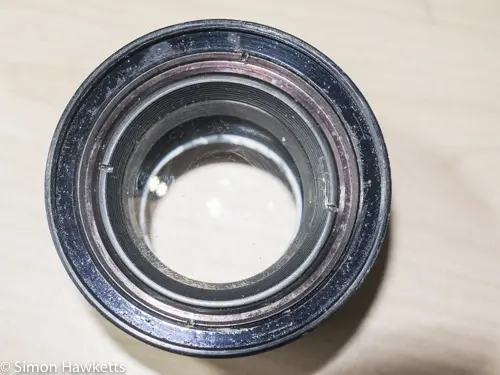
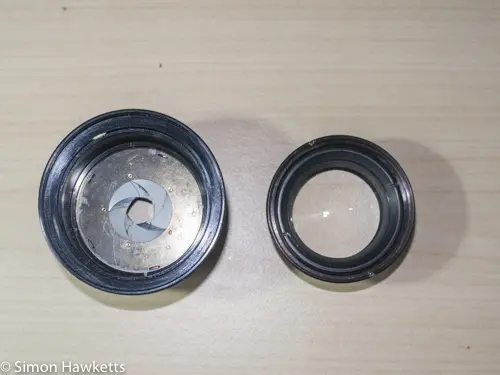
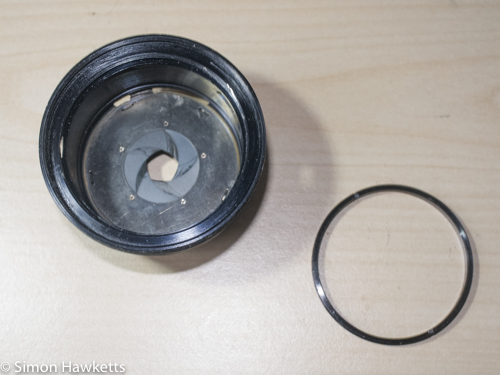
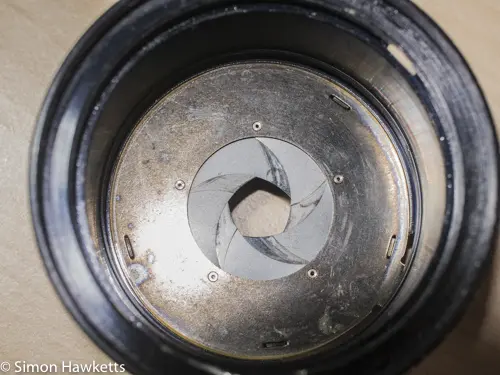
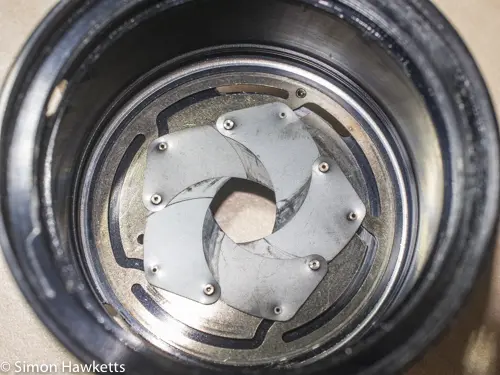
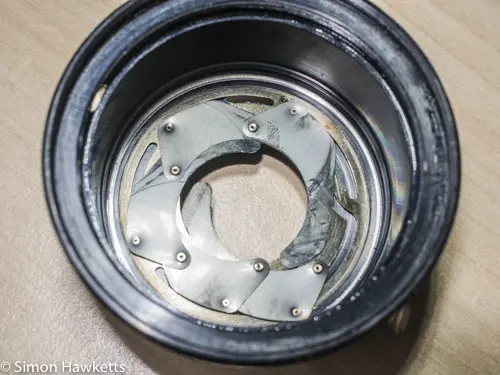
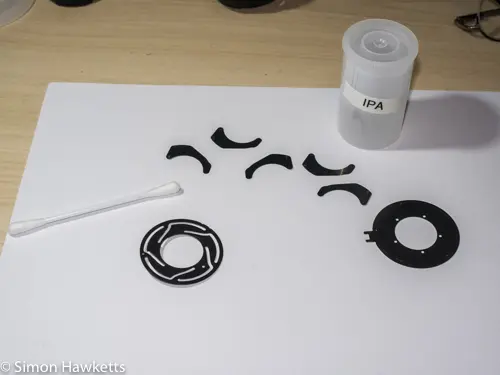
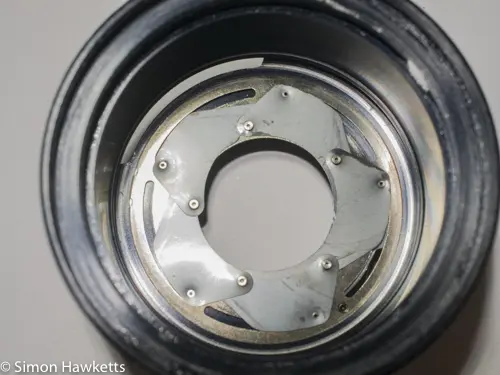
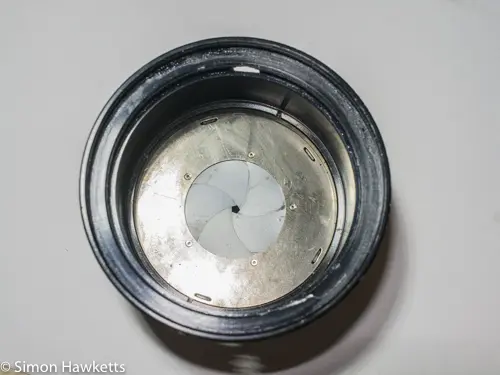
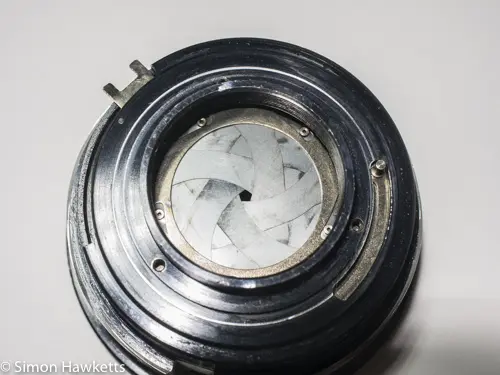
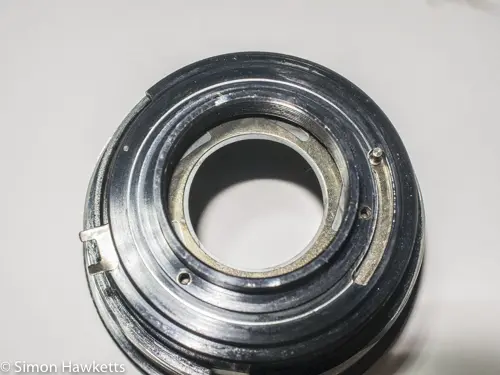
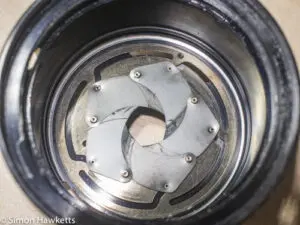
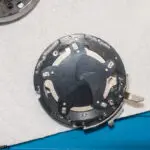
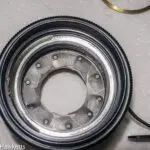
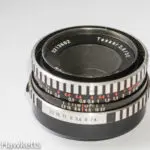
In order to fix the issue, the first thing was to get into the actual aperture assembly, which proved more difficult than I first imagined. The pictures above detail the procedure.
The first part of the lens disassembly was quite straight forward. I removed the three screws holding the focus ring in place and with a bit of wiggling to and fro managed to extract it over the front of the lens.
With the focus ring off, I could unscrew the helicoid, and after I removed the aperture actuator plate from the back of the lens (three small screws held this in place), I could unscrew it completely out of the lens assembly. There was a lot of old grease oozing out of the helicoid and the focus adjustment ring, so I made a mental note to clean up and re-grease that part of the lens before re-assembly.
Unfortunately, I couldn't easily get the lens unit any further apart to get to the aperture assembly. When I looked at the front of the lens, it seemed obvious that the front name plate needed to unscrew because there were holes for a lens spanner to be fitted. However, there was also a large scratch next to one of these holes and when I tried to unscrew it I found it stopped after about half a turn. I also tried the inner lens retaining ring, which also had lens spanner holes, and found the same thing.
I was about to give the whole thing up as a bad job, when I decided to have a look in more detail with an eye-glass. What I discovered was a small thread on the back of the lens leading up to the aluminium front lens trim. I couldn't see anything this would mate with on the rest of the lens body, so I concluded that it must be a thread for the lens trim itself.
Sure enough, with a small piece of rubber matting to grip the trim, I found I could unscrew it and expose the insides of the lens assembly. (Subsequently, I found that removing the lens trim first would make the removal of the focus adjust ring considerably easier!)
Once the nameplate was removed, there was a ring holding the inner lens assembly in place which I could remove and then finally one more ring held the top plate of the actual aperture blades. With both of those removed, I could carefully examine the blades, and I was pleased to find that the actual blades didn't seem to be damaged at all. It looked as if the oil and grease from the helicoid had contaminated the blades, and it was simply the oil itself which was sticking the blades together.
I tipped the blades and the aperture top and bottom plate onto a clean sheet of printer paper and cleaned all the oil off with a cotton bud and IPA. I also thoroughly cleaned the aperture housing, also with IPA. Once they were completely clean, I set about re-assembling the blades into the aperture housing.
I have re-assembled aperture blades before, and I can say that it is an exercise in patience. For a start, you need to make sure you only touch the blades with tweezers and never your fingers, otherwise the oil in your hand will re-contaminate the blades.
I find the best technique is to place all the blade as they would sit with the aperture fully open.
Start with the first blade, fitting the bottom pin in the slot in the bottom plate, and then add the second blade on top of the first, the third on top of the second etc. The hardest bit is placing the final blade, which needs to sit over the previous one but under the first. I find two pairs of tweezers help here - one to hold the first blade in place as you fit the last, and the other pair to manoeuvre the last blade.
Normally, as I am doing this I manage to catch the first blade which leads to a chain reaction, and they all fall out! Imagine my surprise when I managed to get the whole aperture refitted in one go in about 10 minutes! The trickiest part was fitting the top plate which has to engage with all the little pins on the top side of the aperture blades, but this time it all fell into place and I had the plate on and the ring back in place first go.
I was happy to find, once the blades were re-assembled into the lens assembly, that now the aperture will fully open & close with no buckling or hesitation.
The last part in this series of posts will deal with cleaning and greasing the helicoid, and re-assembling the lens onto the camera.
