Strip down, clean and lubricate an Auto Takumar 55mm f/2.2 M42 lens
This post describes my experiences stripping down, cleaning, lubricating and repairing an M42 mount Auto Takumar 55mm f/2.2 lens which dates from about 1958.
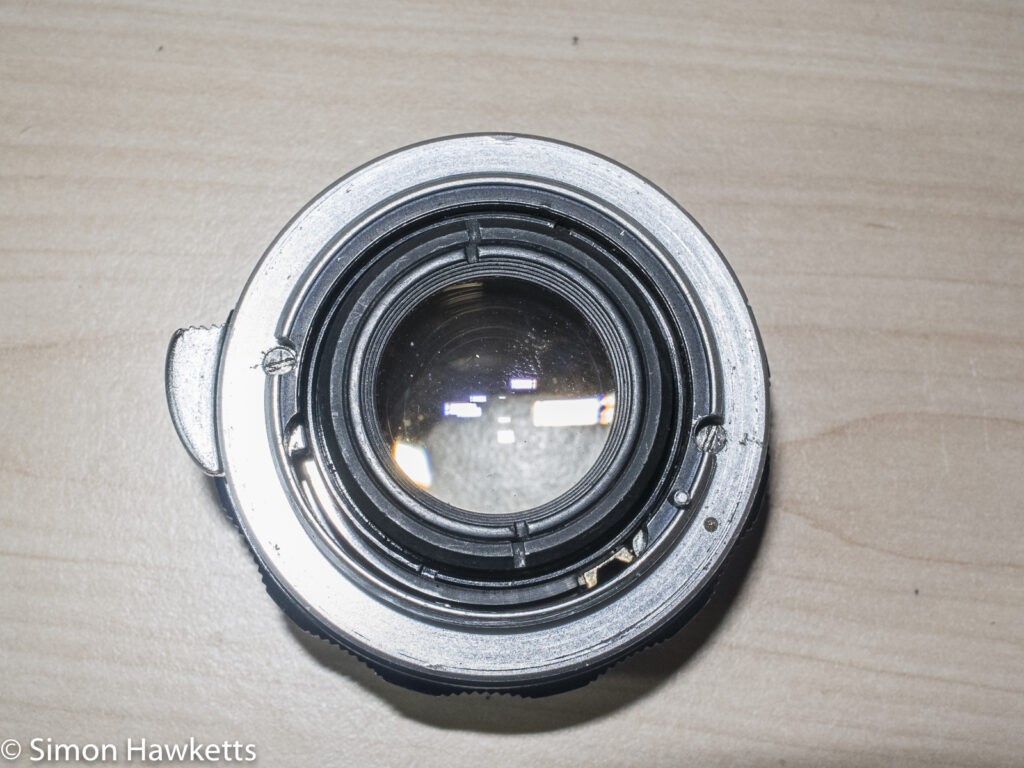
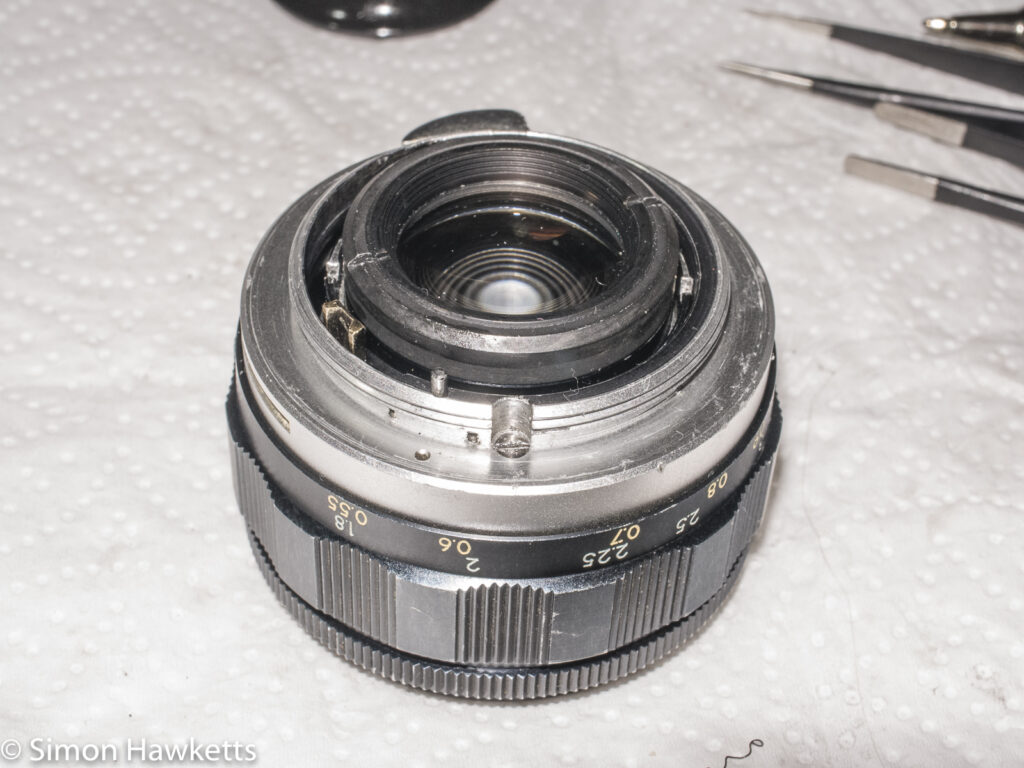
I acquired the lens as part of a purchase of a Pentax S1 35 mm SLR which had the Auto Takumar fitted as a standard lens. The lens looked in pretty good condition all round apart from a problem with the aperture. The lens wouldn’t stop down using the aperture ring although if I moved the actuation arm at the back of the lens I could get it to work. It looked as if something was broken inside the lens, so I started to disassemble it to see if I could find out what it was.
Auto Takumar 55mm Images
Disassembly and diagnosis
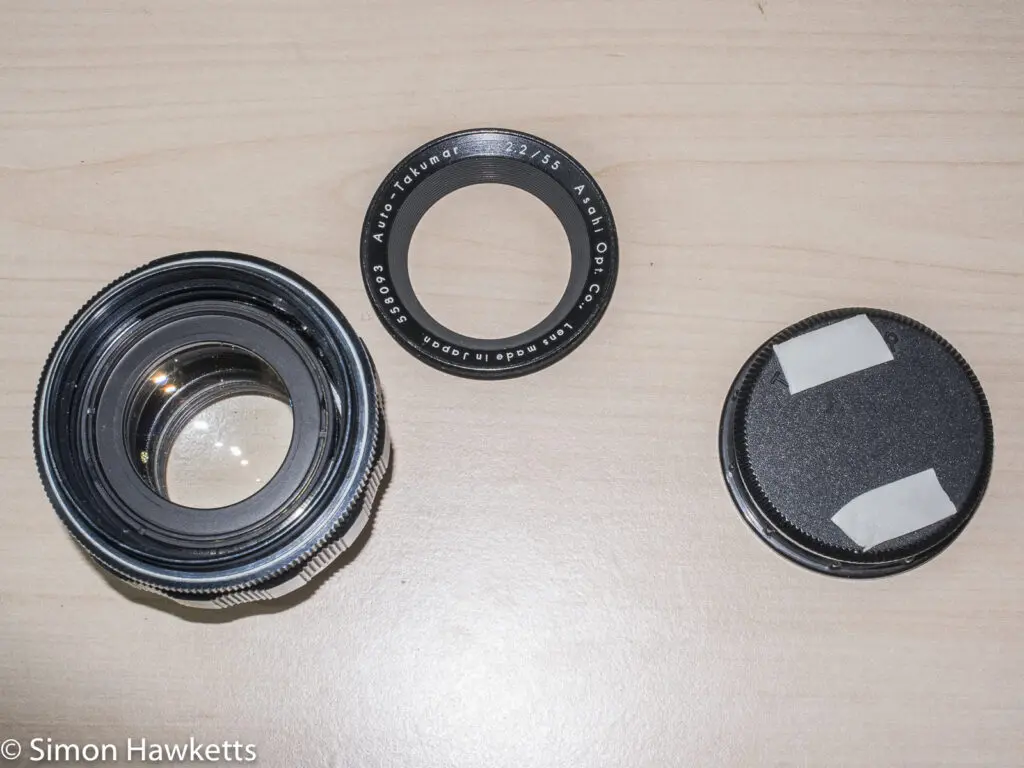
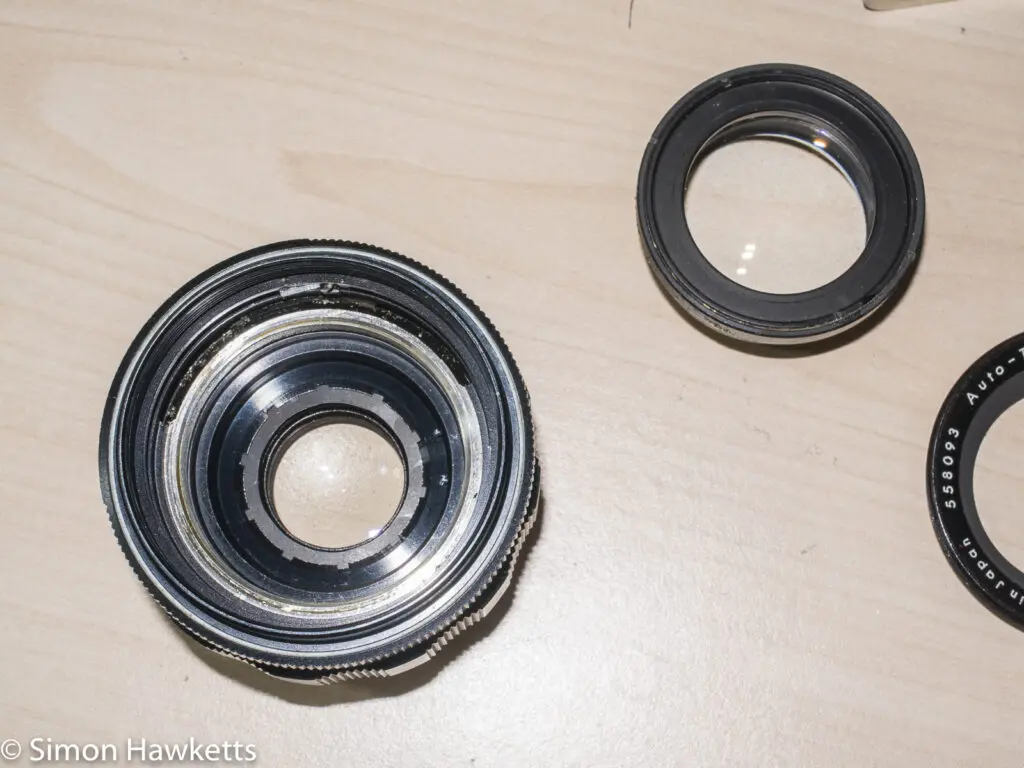
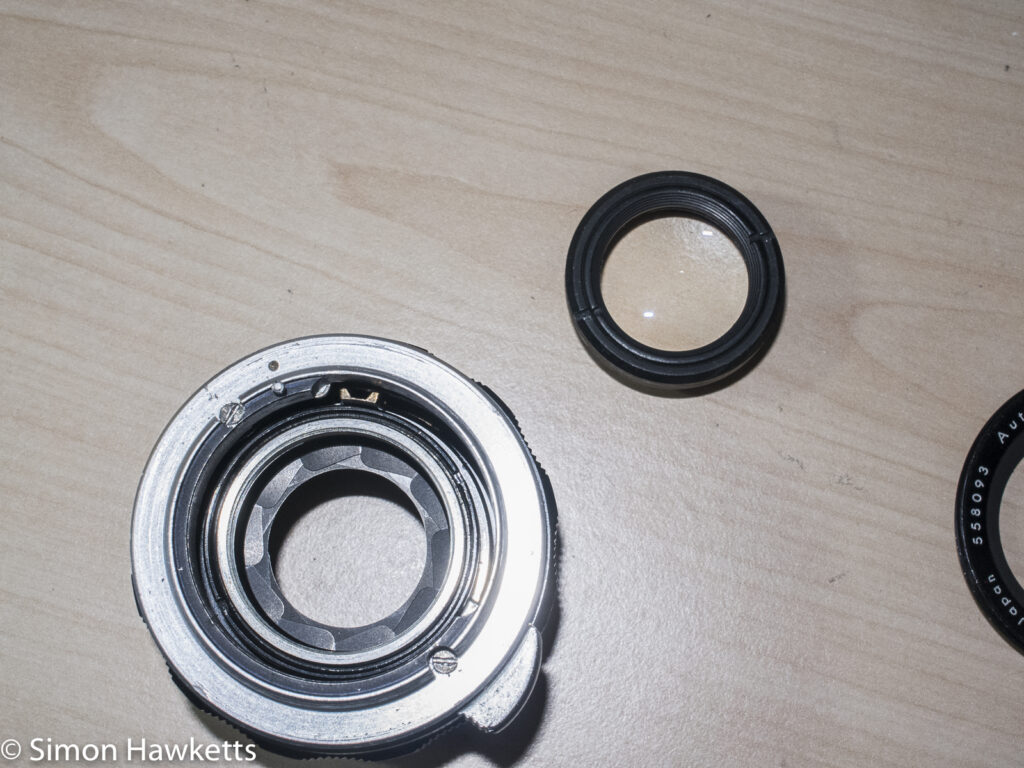
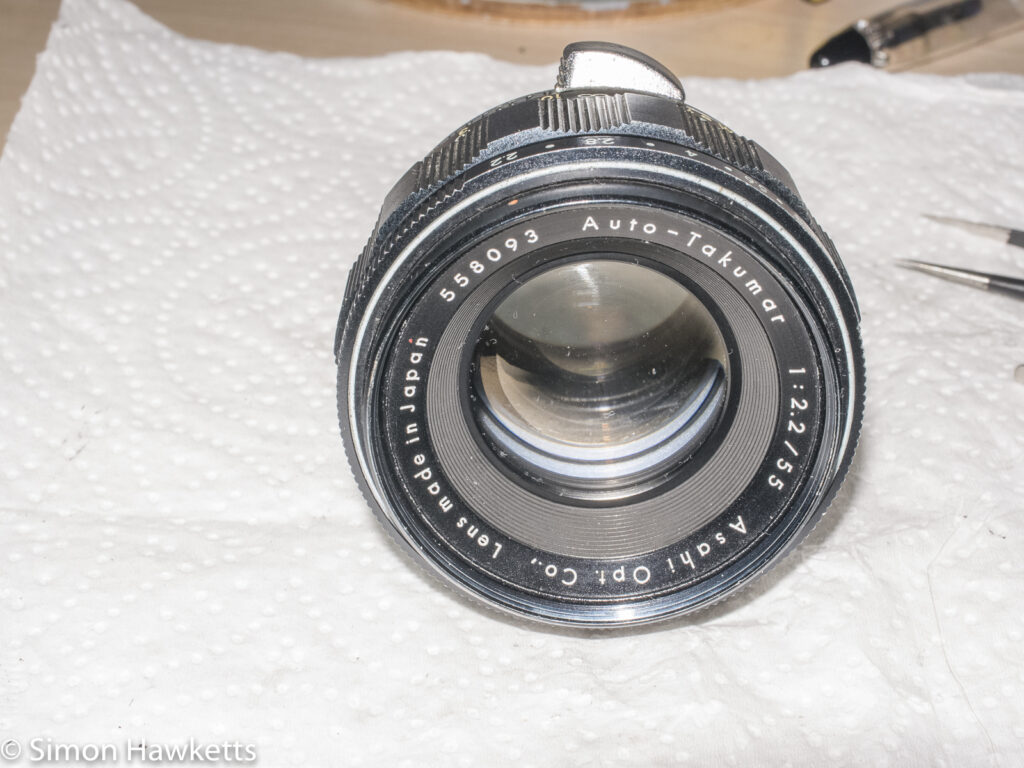
I started by removing the front trim. Since there were no holes for a lens spanner I fitted a couple of pieces of double-sided tape to the back of an M42 mount cover which fitted exactly inside the front of the lens, and used it to grip the front trim and unscrew it. With the front trim off, I then removed both the front lens element group and the rear lens element group and put them in a safe place to stop them getting dirty or scratched.
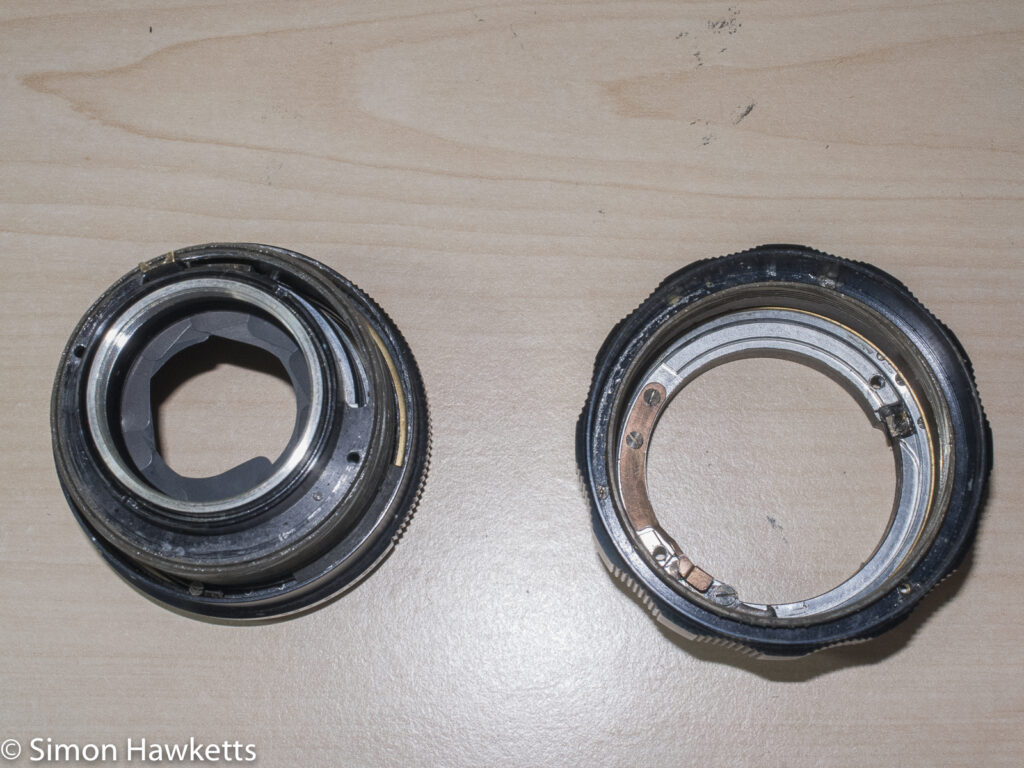
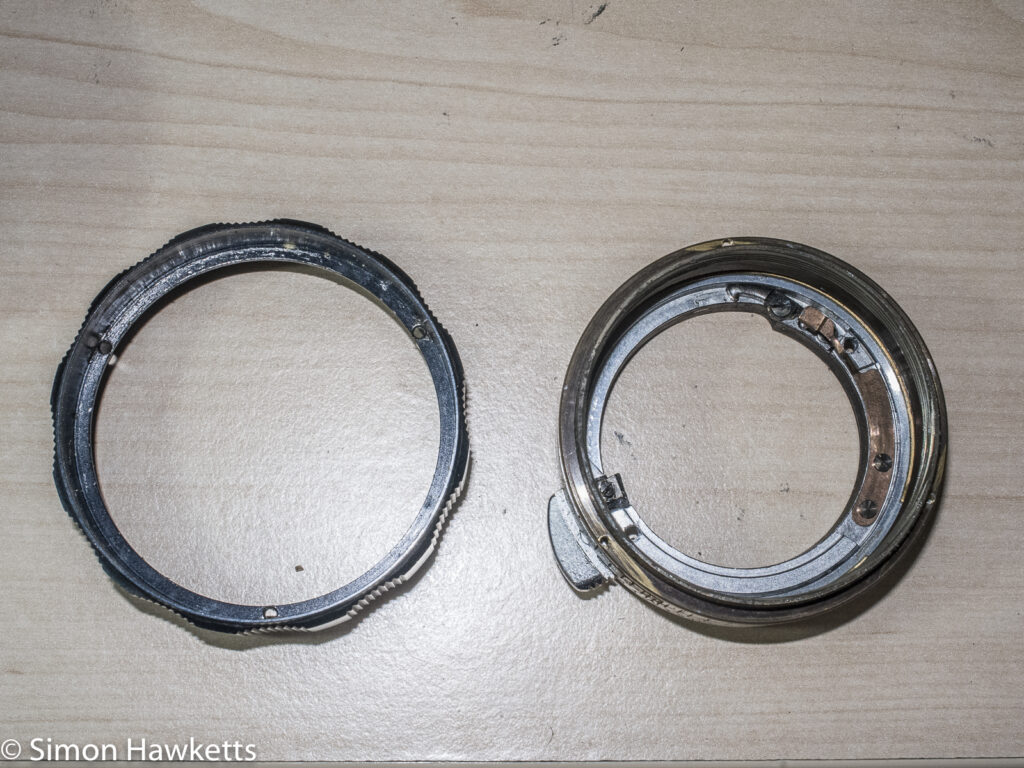
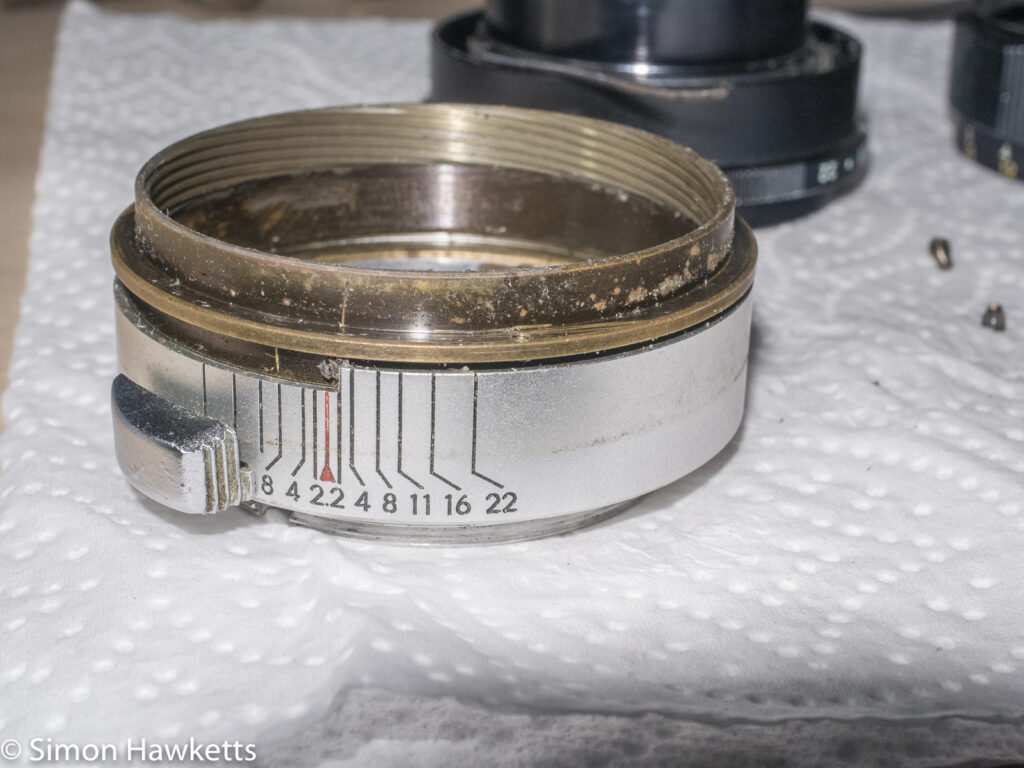
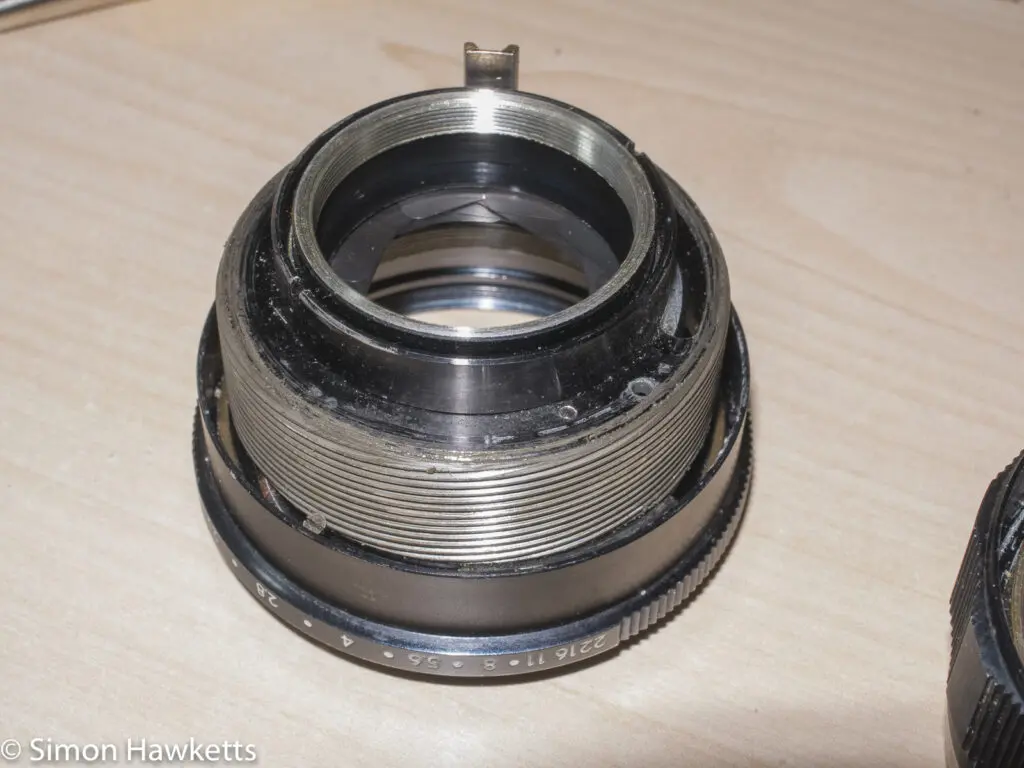
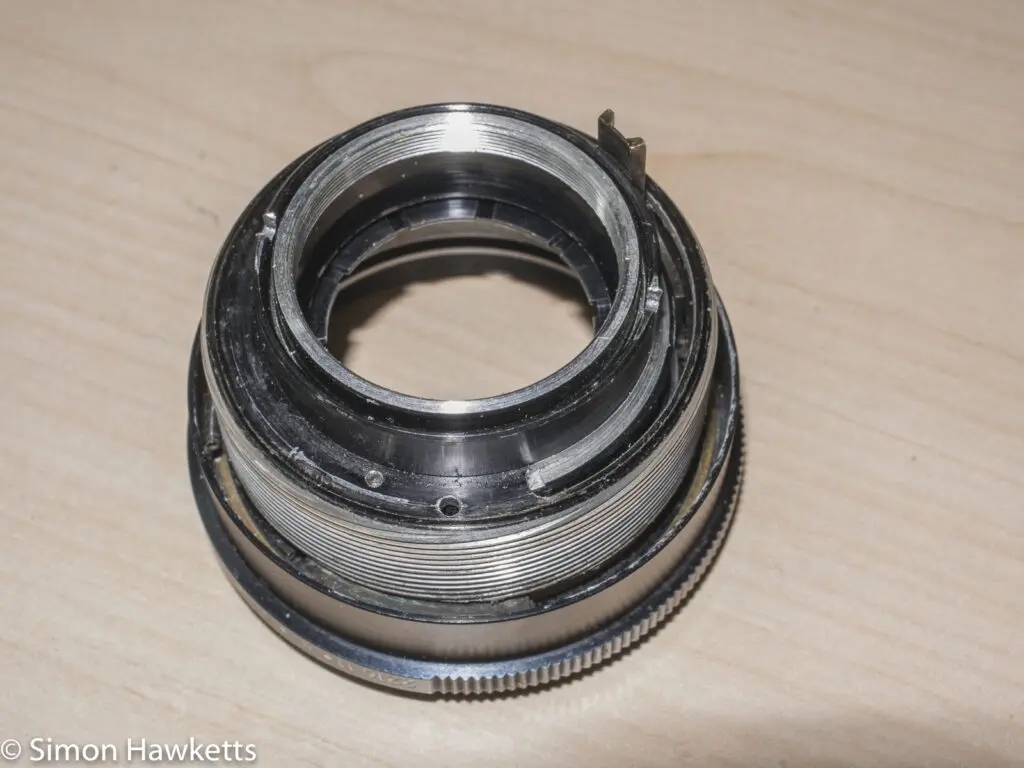
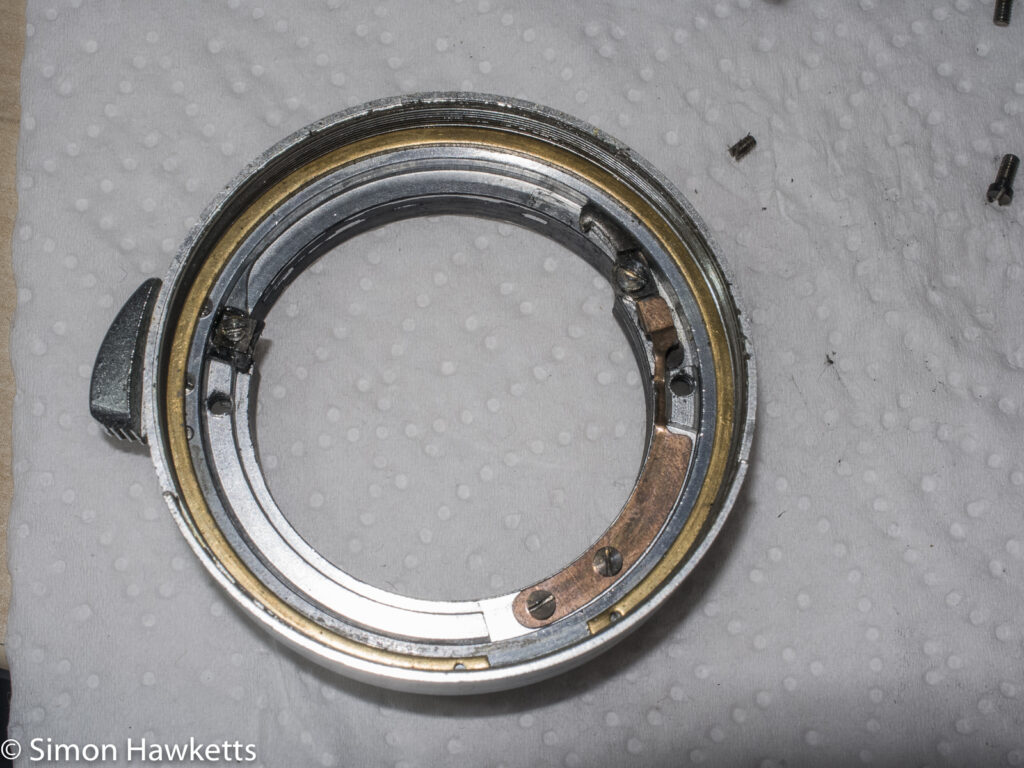
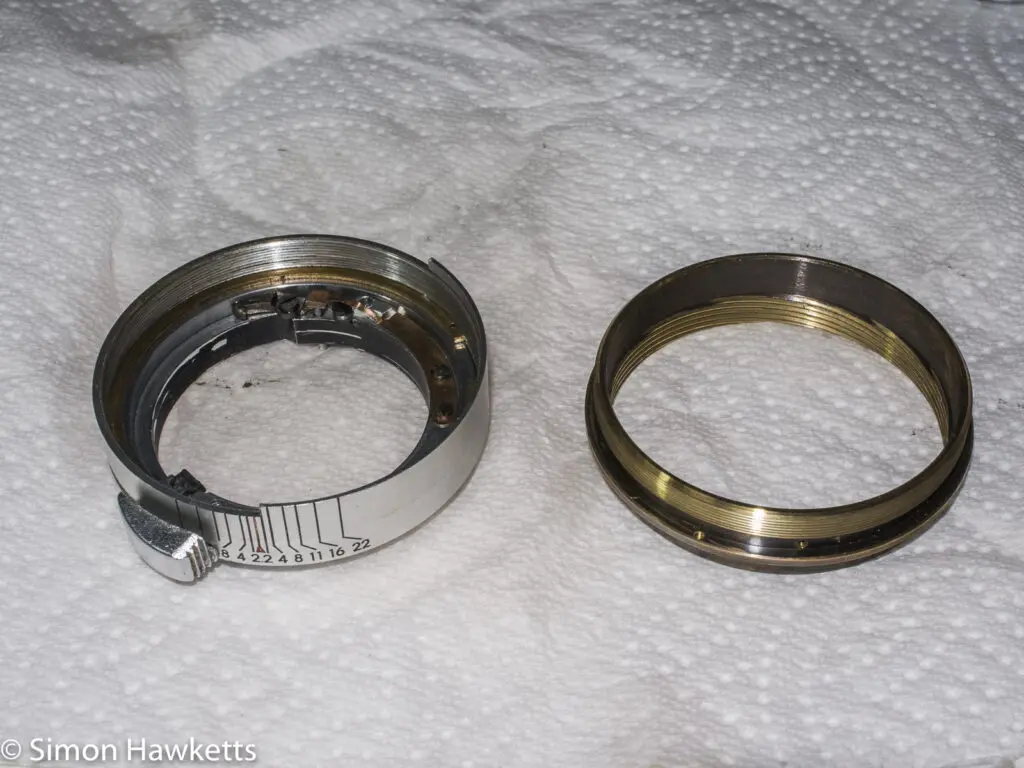
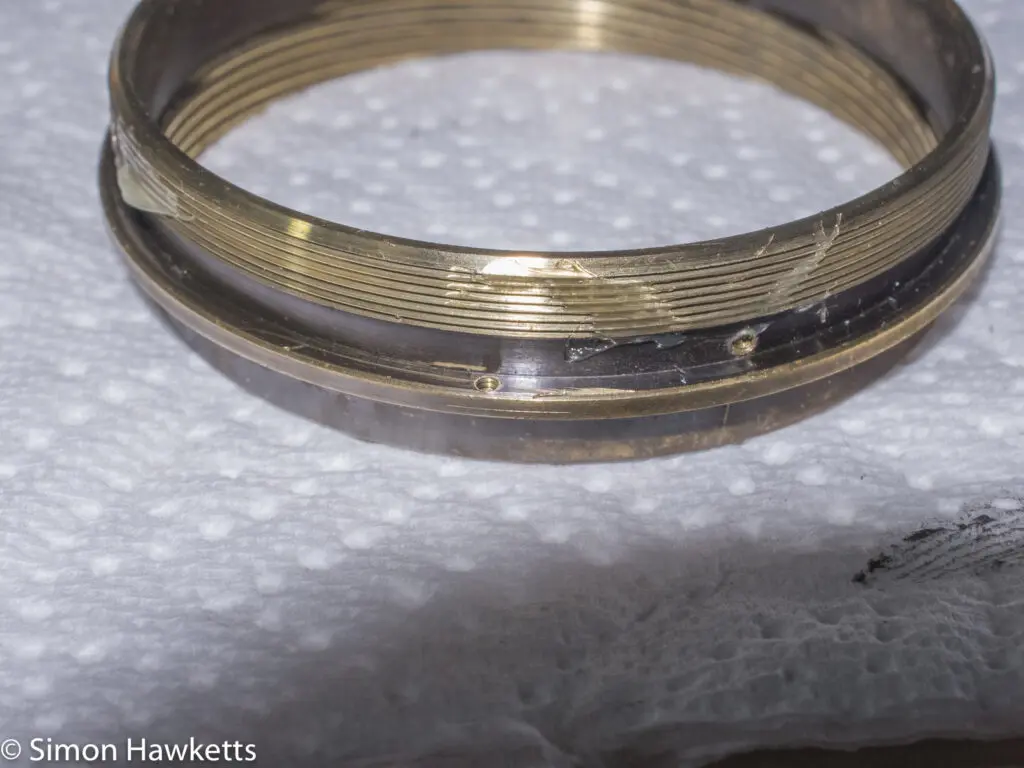
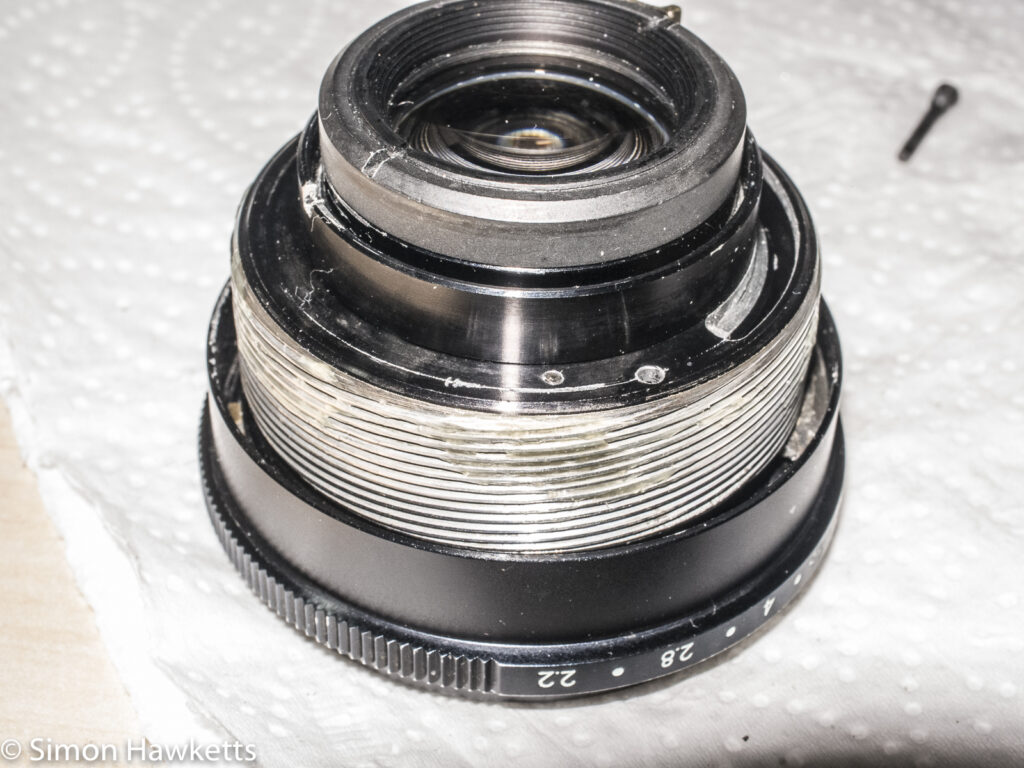
After a bit of puzzling as to how to get the rest of the lens apart, I removed two screws from the base and found that with them out I could unscrew the helicoid from the focus adjustment ring and split the lens in two. Although the problem with the aperture was obviously in the top half of the lens (because that contained the aperture), I next removed the screws in the focus adjust ring which held it on the brass ring and removed it. I also removed the stop screw in the brass focus ring and unscrewed the ring fully from the bottom of the lens, so I could remove the old grease and re-lubricate it – there didn’t seem a lot of point getting the lens completely apart without going through the re-lubrication process.
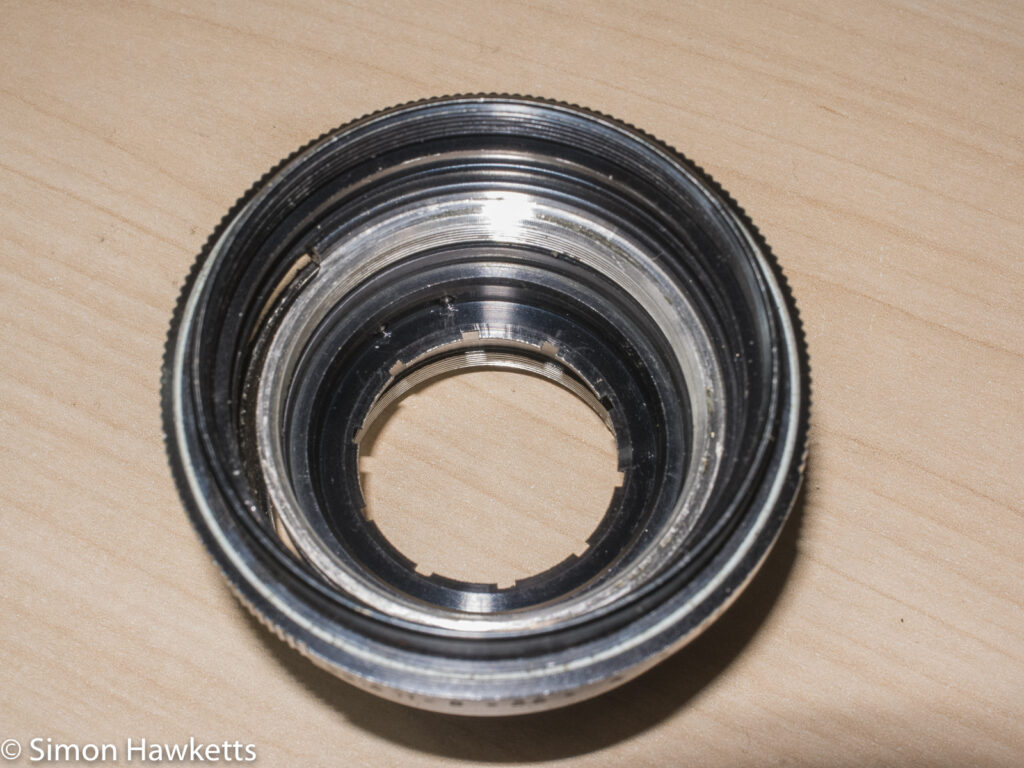
On the top half of the lens I could see that there was a lens spanner ring fitted to the bottom and I assumed this ring had to come off in order to get to the aperture blades and try to find what was stopping the aperture working, but when I tried to undo it I found it was locked solid and wouldn’t budge. At this point I wasn’t completely sure if it was supposed to come off or if there was another hidden screw somewhere.
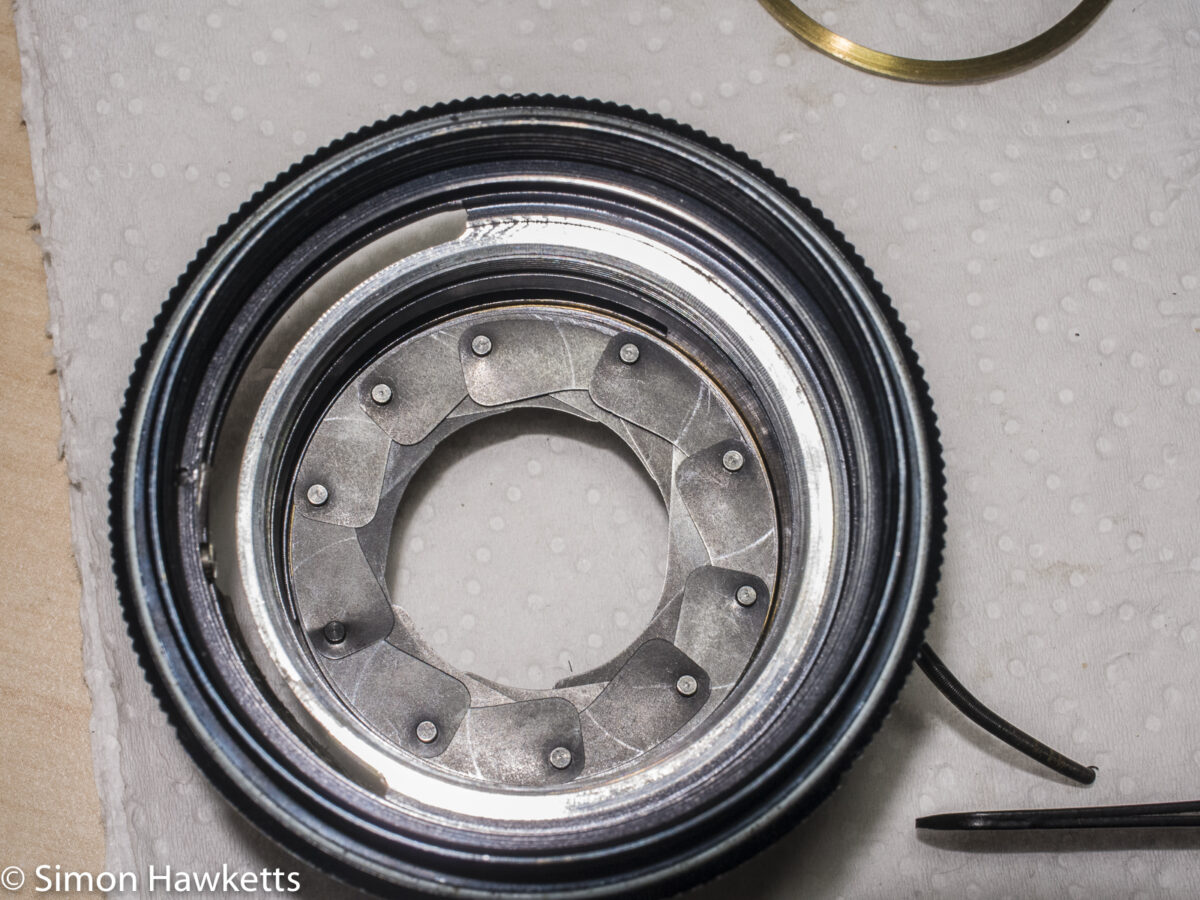
I spent the next day on and off looking at the aperture assembly, and couldn’t work out exactly how to access the rest of the aperture unless it was by unscrewing the ring at the bottom. While I was trying to find out however the condition of the lens took a rather serious turn for the worse, because the aperture blades, which up to this time had been fine, started to not sit correctly in the aperture housing and started to be misplaced. In fact, one blade started to buckle rather badly and eventually one end of it came away from the housing all together and started to stick out of the back of the lens! I suspected that without the front optical assembly in place the aperture housing is not correctly held in place and there was enough room for the blades to make a bid for freedom.
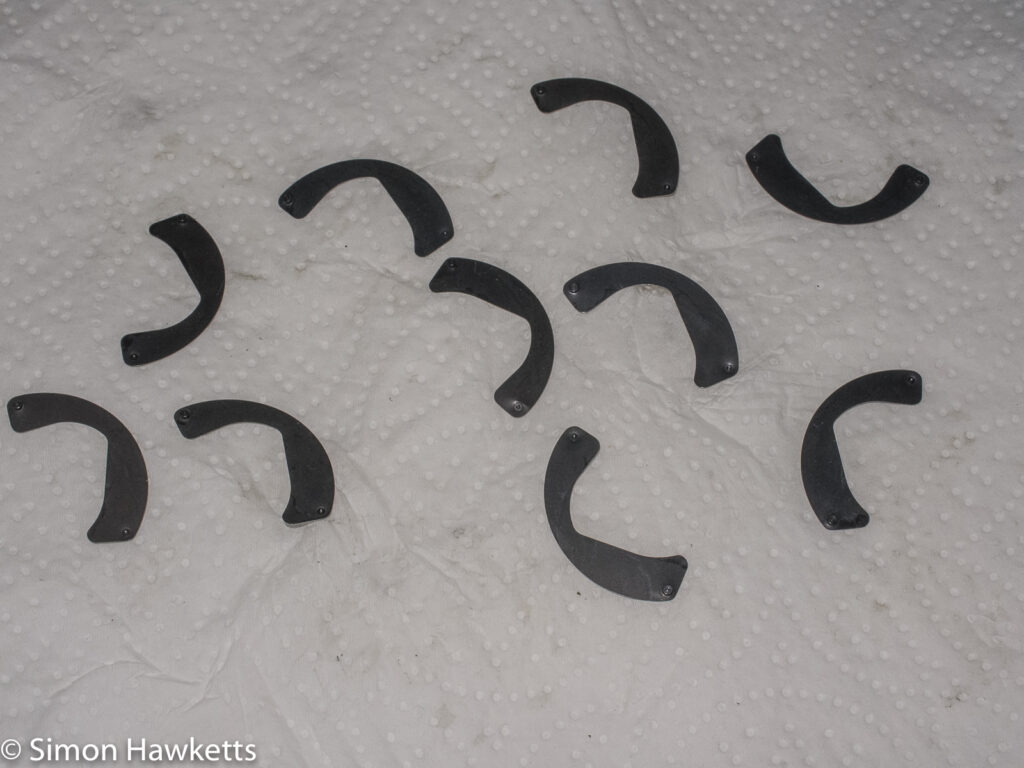
At this point I decided it would be safer if I could get the blades out of the aperture housing until I could work out how to refit them, so using a pair of fine tweezers I pulled each blade out of the front of the lens and placed it carefully in a storage box. The first few blades were quite difficult to manoeuvre out of the aperture opening, but after those tricky ones the rest almost fell out. I’m happy to say that I managed to get all the blades out without damage, so I could rebuild the aperture when I could work out how to get it apart.
Having exhausted all options I decided to ask for help, so I posted a message in the Classic Manual Camera forum of photo.net to see if anyone had experience of this lens. A very helpfully a member, called Charles Monday, was able to confirm that the ring at the bottom of the front assembly should come undone but that it was probably sealed with a locking compound and advised using some acetone to free it up.
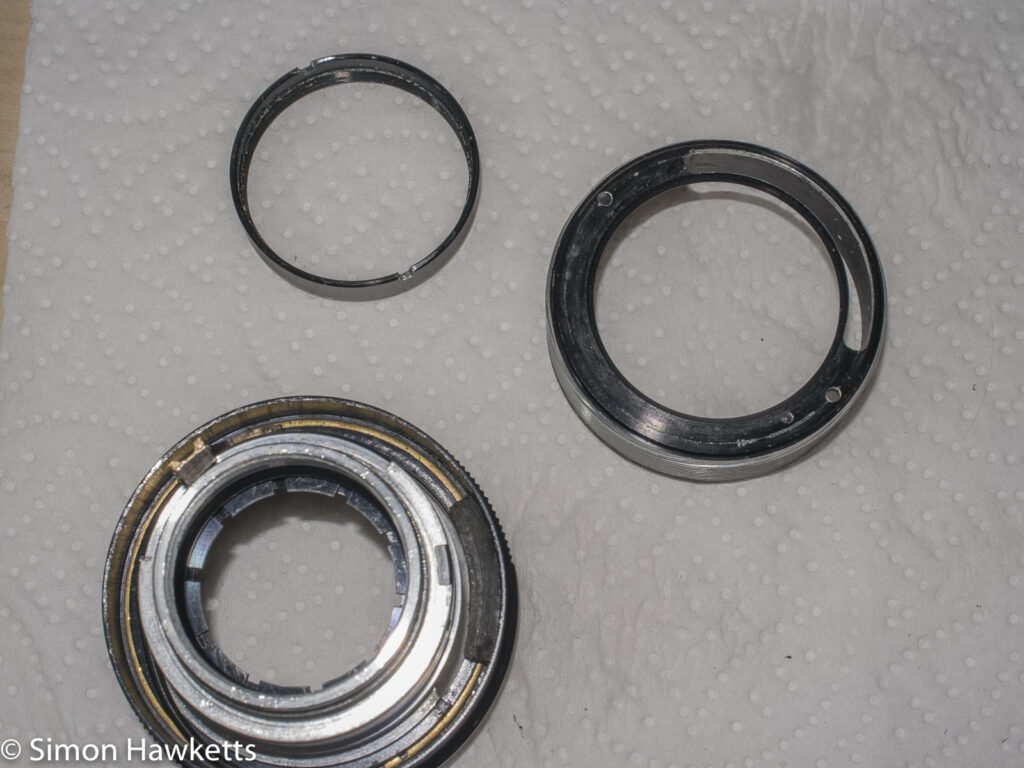
Sure enough, a 15-min soak with some nail varnish remover and I could finally get the ring to start to undo and get the rest of the lens apart.
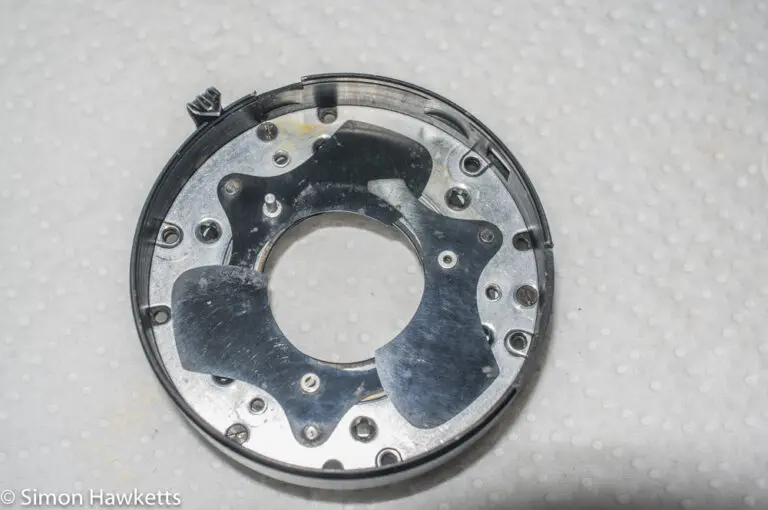
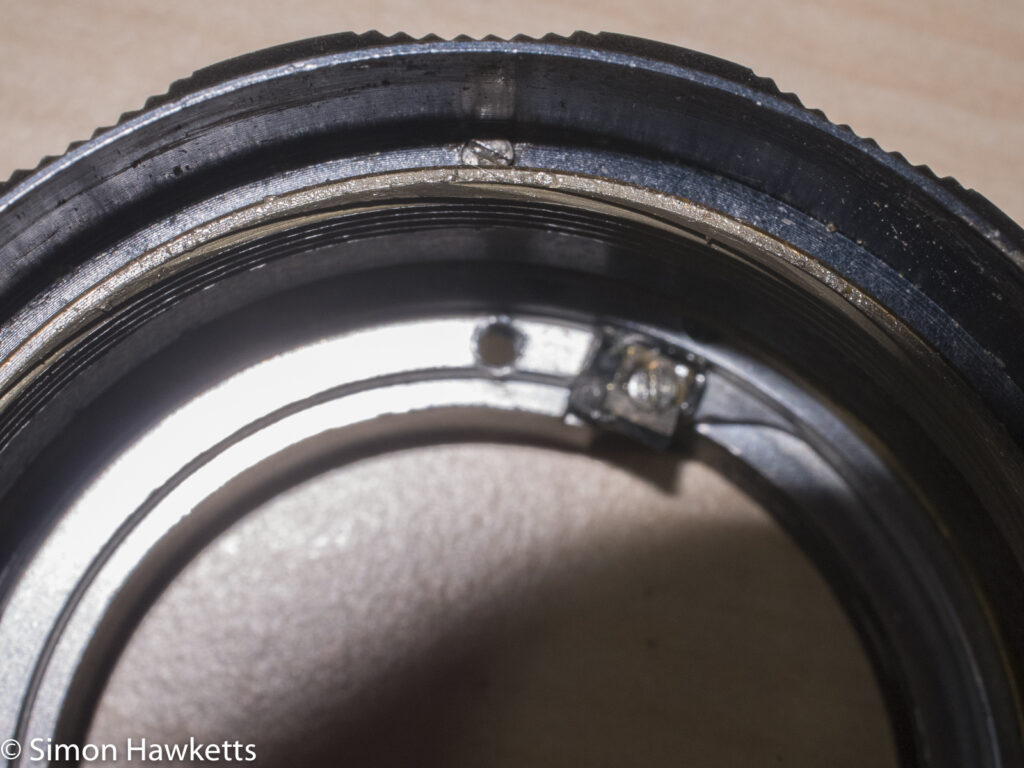
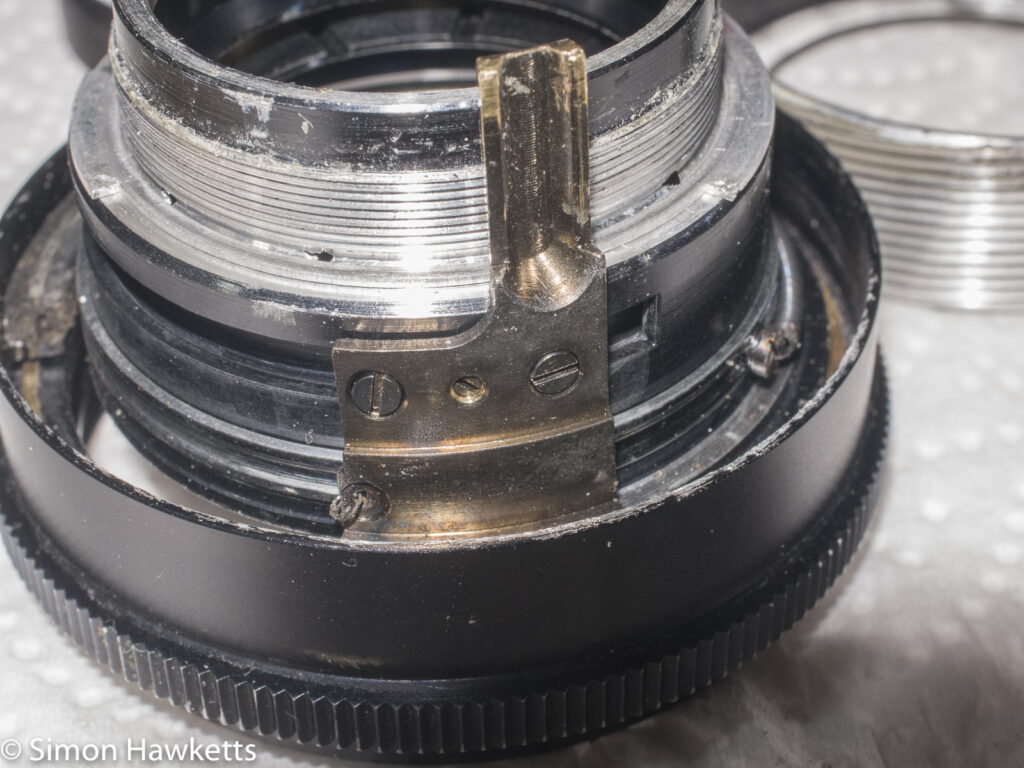
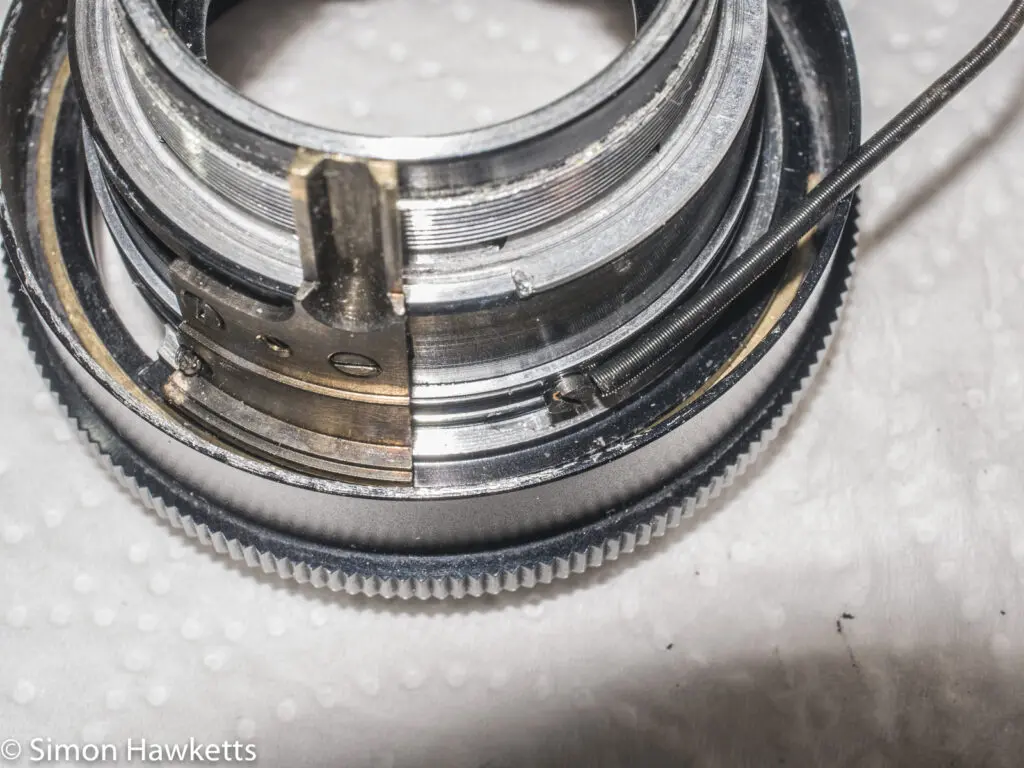
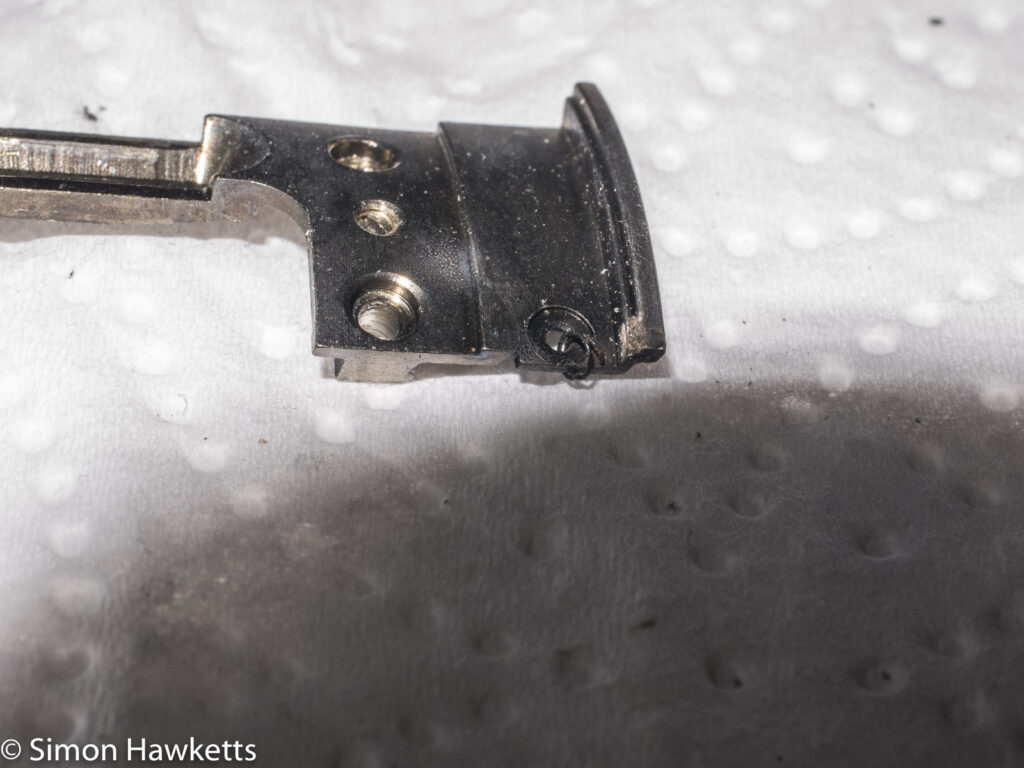
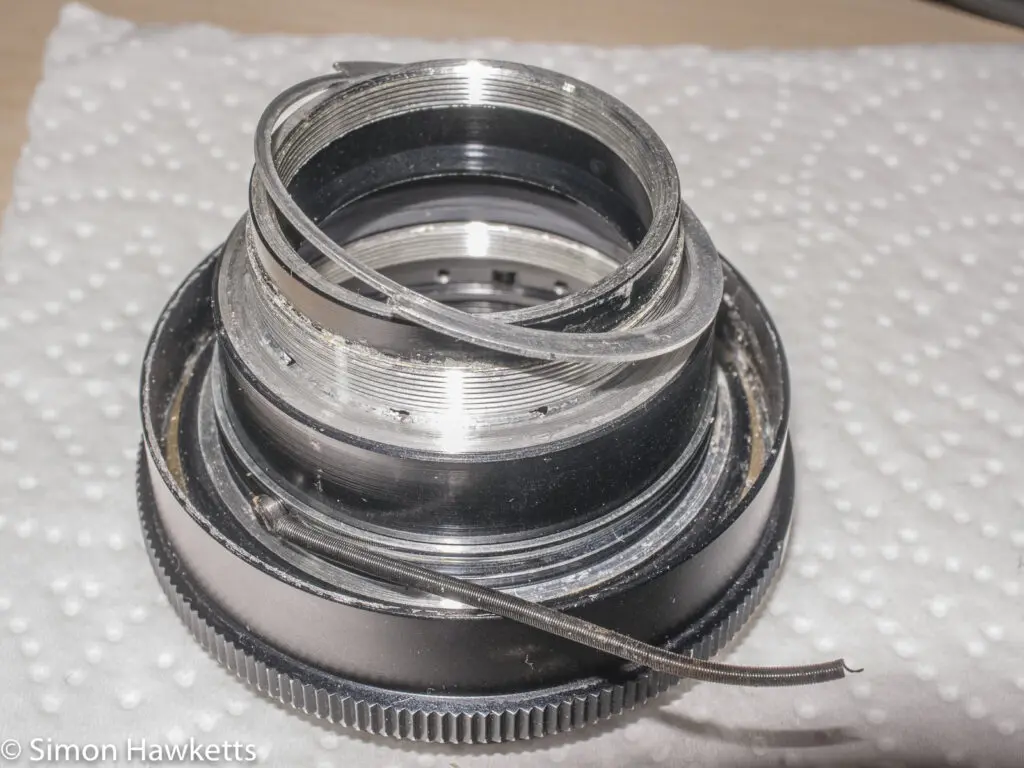
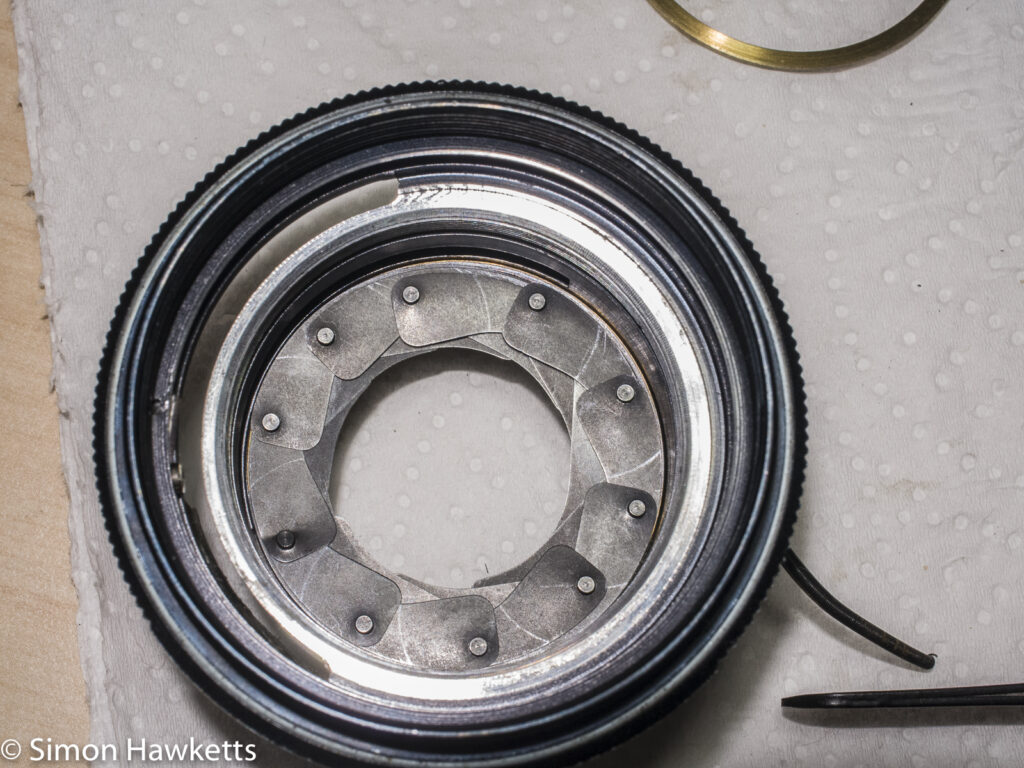
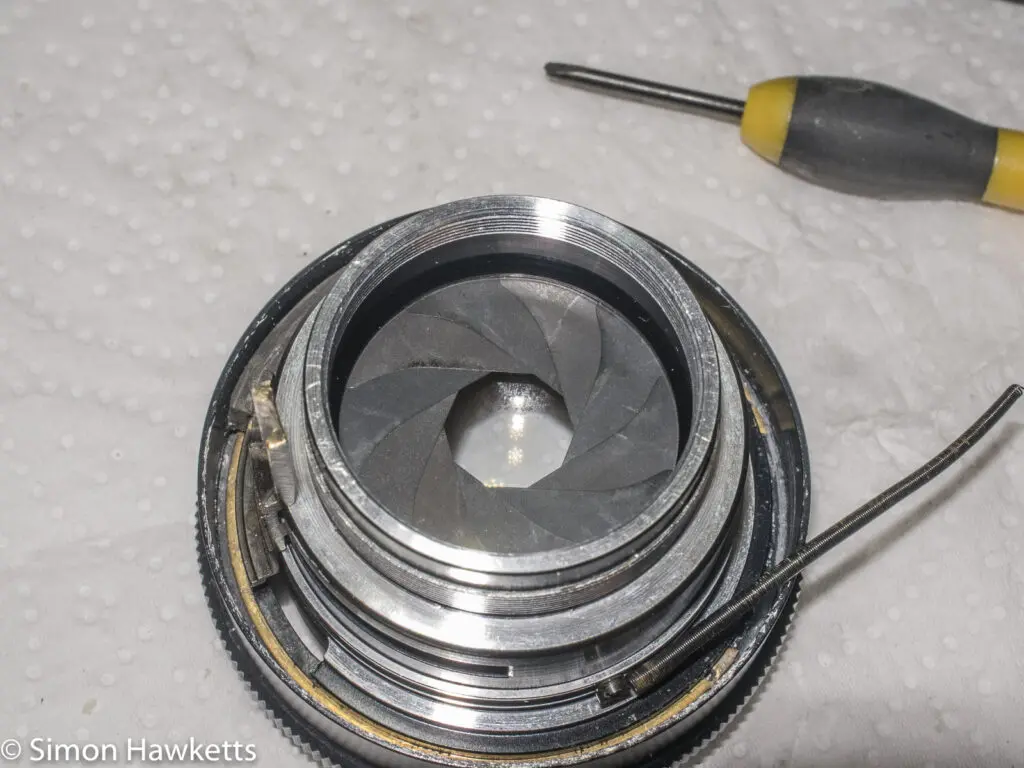
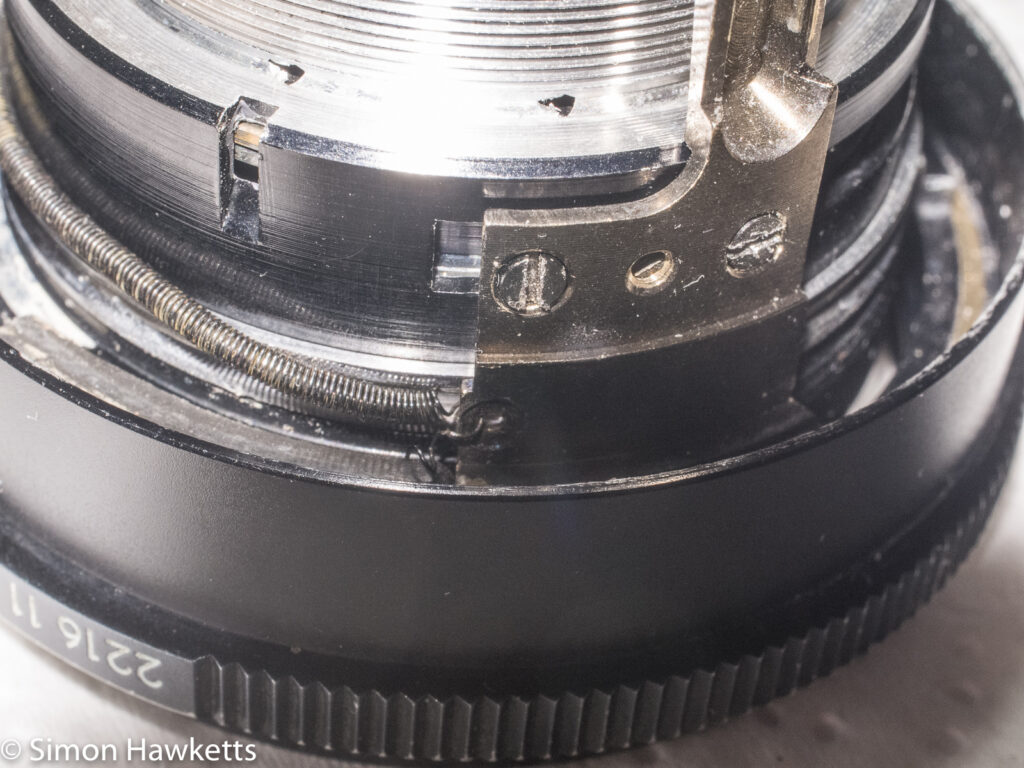
Once I had the aperture assembly out, I could see that the reason the aperture wasn’t setting was because a long spring, which is used to tension the aperture ring, had broken off where it connected to the aperture actuation arm. After I’d replaced the aperture blades I was obviously going to need to fix that to get the lens finally working.
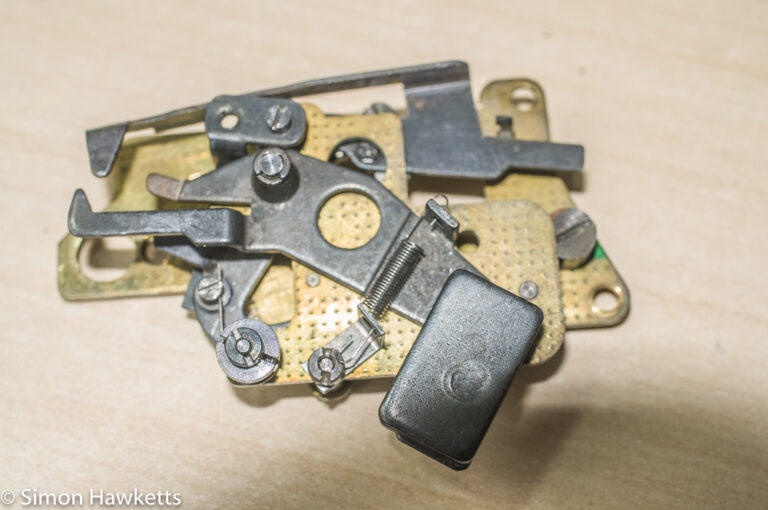
With everything now apart I took all the pieces (except the optics and the aperture blades of course) and ran them for 5 minutes in a hot solution of water with a drop of washing up liquid in the ultrasonic cleaner to get as much of the old oil and grease off as possible. After being left to dry for a while I started the job of re-assembling the lens and fixing the aperture.
Re-assembly
The first part of re-assembly was to re-fit the brass focus ring into the base of the lens. With both pieces nicely clean and free of the old grease I put a small amount of new grease on the thread of the focus ring and refitted it to the lens base. I had made sure as I took the pieces apart to note how much I had to screw it back in, so to get it correctly positioned, I screwed the ring as far as it would go into the base and then unscrewed it until I’d seen the threaded hole for the stop pass the focus point marker twice. At this point I fitted the stop and the focus ring was correctly positioned.
I then set the focus to infinity and re-fitted the focus scale to the focus ring so that the infinity marker was correctly aligned. This is easy with the Auto Takumar because there are three screws which hold the focus scale in place, so once you know the correct orientation it’s just a question of lining up the holes, and it must be correct.
At this point I stopped and had a think about how the aperture blades had managed to come loose. When the lens was originally supplied the aperture blades had been fine, so it must have been the process of dismantling which had disturbed the blades and I wanted to make sure that once I had them back in place I knew I could keep them in place whilst I finished re-assembling the lens. I was under no illusion that refitting 10 aperture blades was going to be simple or easy (or that much fun!).
I suspected that it was the front optical assembly which needed to be in place, so I refitted the aperture plate (without the blades fitted) and then screwed in the front lens element and confirmed that the bottom ledge of the optical group holds the aperture plate firmly in place and is required to be fitted before the aperture can be thought to be ‘secure’.
My next cleaning operation was the aperture blades themselves. They actually looked pretty clean of any oil or grease, but I didn’t want to get them fully assembled and find they were sticking, so I cleaned each with IPA and a cotton bud to make sure they were completely grease free.
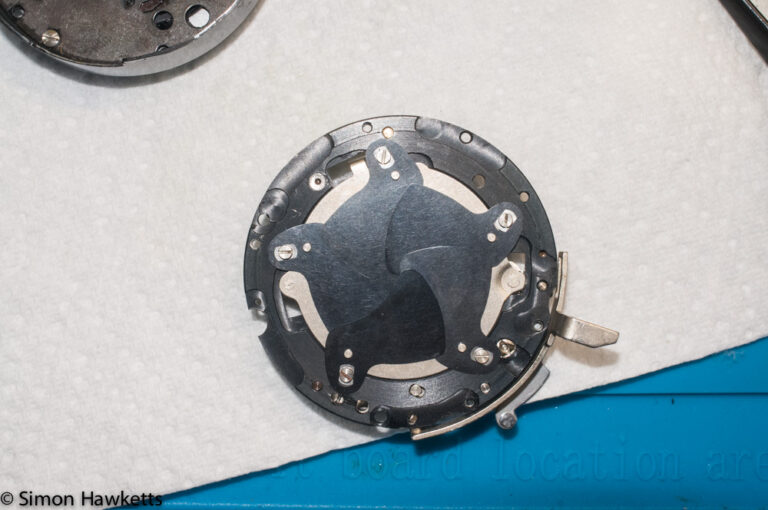
The re-assembly of the aperture blades themselves was a tricky job, in fact just as tricky as I thought it would be. I’ve done 6 blade apertures in the past, but they are relatively simple because the blades don’t overlap too much. You generally need to lift the first blade to slide the last one under it, but with 10 blades you need to lift the 1st, 2nd and 3rd and slide increasingly large amounts of the blades under but as long as you keep to the rules it’s possible.
The rules are:
- Pick a starting point and place the first blade, fitting its peg in the aperture hole
- Keep the blades in the fully open aperture position, so they are fully supported by the lens body
- Work round the aperture in an anti-clockwise order fitting the new blade on top of the one before
This works fine until you have used up all the visible holes, and then you need to start fitting blades underneath blades you have already fitted. As long as you have the blades supported by the lens body you can hold them down, turn the lens over and feed the new blade under the others using tweezers. Ideally you should avoid touching the blades, but I found with 10 to juggle I had to hold them in place with my fingers at times.
I was amazed when I managed to do this on the first attempt and refitted the front lens element only to find that the aperture was working back to front, so I had to start again and fit the blades the other way up, so they closed by turning the aperture the correct way. Needless to say, I didn’t manage to assemble it the first time when I had to do it again!
Eventually I did get all the blades fitted, and the front element screwed in to keep everything in place. I then had to fix the original fault which was the spring which had broken. I found I could re-use the original spring, I just pulled a small amount of wire from it and wrapped it round the hole the original broken piece was attached to.
Then it was a question of reassembling the other parts of the lens and refitting the helicoid into the base of the lens. This is another tricky operation because the helicoid has several different threads some of which will all get you somewhere near the correct position, but only one will be completely correct. You either have to mark which threads mate as you take the lens apart or keep trying positions until one works.
I put a small amount of grease on the cleaned helicoid thread and refitted the helicoid into the focus adjustment ring and after about 3 attempts got it in the correct position. I checked that the aperture arm was correctly registered in the gap at the back of the lens, trying different helicoid threads until it was correct. Then I did the two screws in the base up and the job was complete.
The newly cleaned lens works more smoothly than before because the new grease is in much better shape than the old grease, but the main advantage is that the original prime lens for my S1 is working correctly. When fully working I used the Auto Takumar 55 on my Pentax K5 to take some sample pictures.
Discover more from Everything Vintage
Subscribe to get the latest posts sent to your email.

