An update on my 8 mm telecine machine
An update on the 8 mm telecine machine series that I started a couple of years ago.
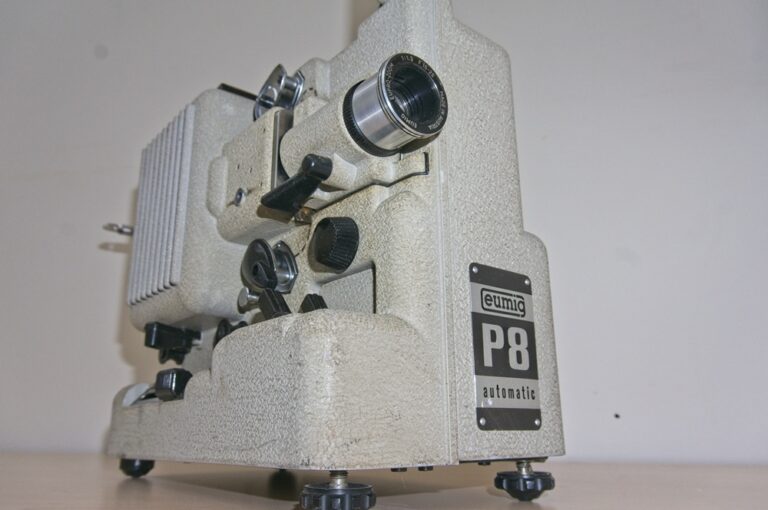
I started a project to convert an Eumig P8 projector into an 8 mm telecine machine a couple of years ago and then the project stalled because of a lack of time. Now I have stopped work and have a little more time on my hands, I’ve picked this project up again, so I thought I’d give an update on the progress I’ve made in the last few weeks.
Recap on the 8 mm telecine machine
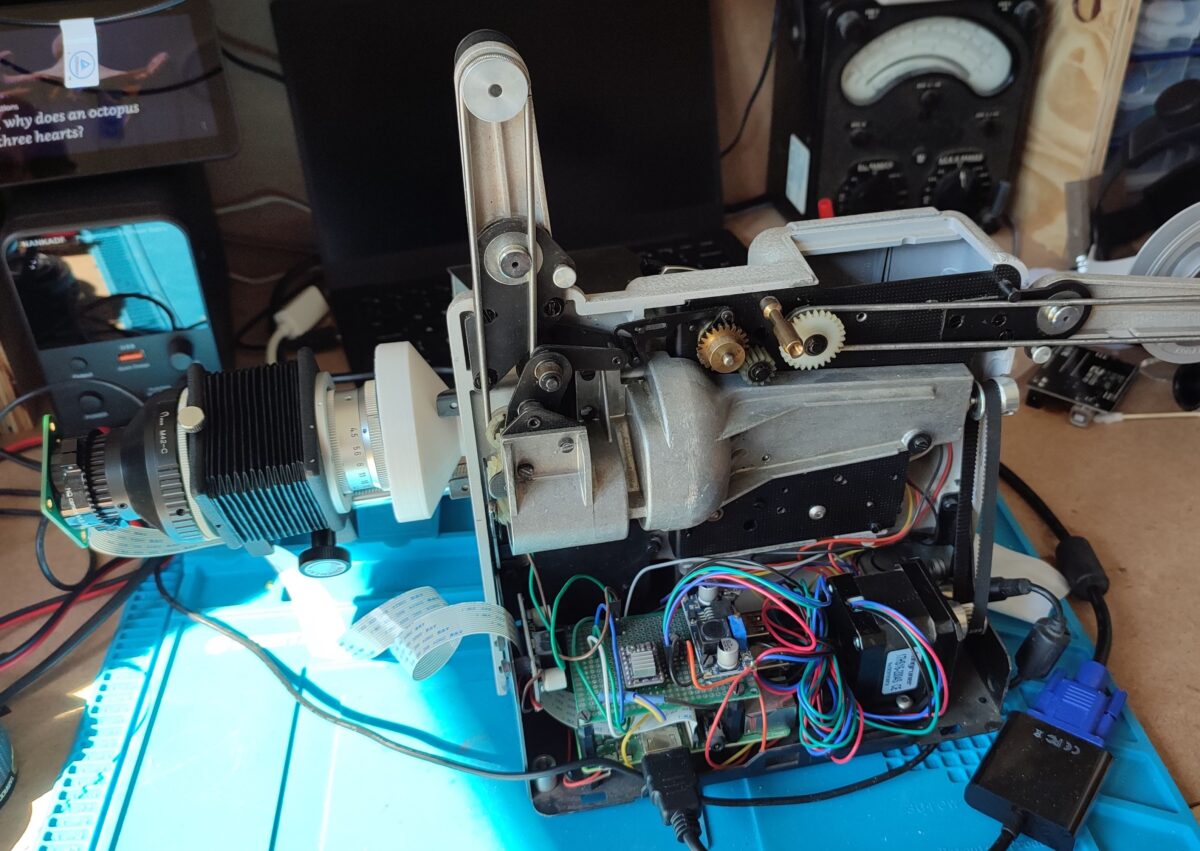
To recap, the machine is based around a Raspberry Pi SBC (Single Board Computer) which controls a stepper motor to drive the film transport, and a camera to take a picture of each frame of the film. The original high current, filament lamp is replaced with an LED light source to reduce the heat and energy consumption of the unit.
When I’d last looked at the project, I had the basics of the film transport working, so that film could be moved a frame at a time through the film gate and a microswitch added to the film gate mechanism triggered a camera to take a picture of each frame, which I could then assemble into a video clip.
The items that needed to be worked on were really centred around the optical performance, the software that runs the machine and the camera.
Improvements made to the 8 mm telecine machine
Optical performance and camera
The first improvement I made was to replace the camera connected to the Raspberry Pi SBC with the high quality camera which is fitted with a C mount and is therefore not limited to the lens supplied with the camera. This camera has much better resolution and performance than the original Raspberry Pi camera, and the addition of the lens mount meant I could use a better quality lens.
The lens I’ve used is a Minolta Rokkor, 35 mm, f/4.5 enlarger lens which I’ve reverse mounted. Because this lens doesn’t have a thread on the front, I epoxied a 39 to 42 mm conversion ring onto the front of the lens, so I could screw it into the end of a set of M42 bellows.
These bellows are then attached to an M42 to C-mount adapter with the camera module attached to the C-Mount end.
In order to align this with the film gate, I 3D printed a part which fits into the hole of the original projection lens, which has an M42 screw thread fitted in the end. This assembly is shown below.
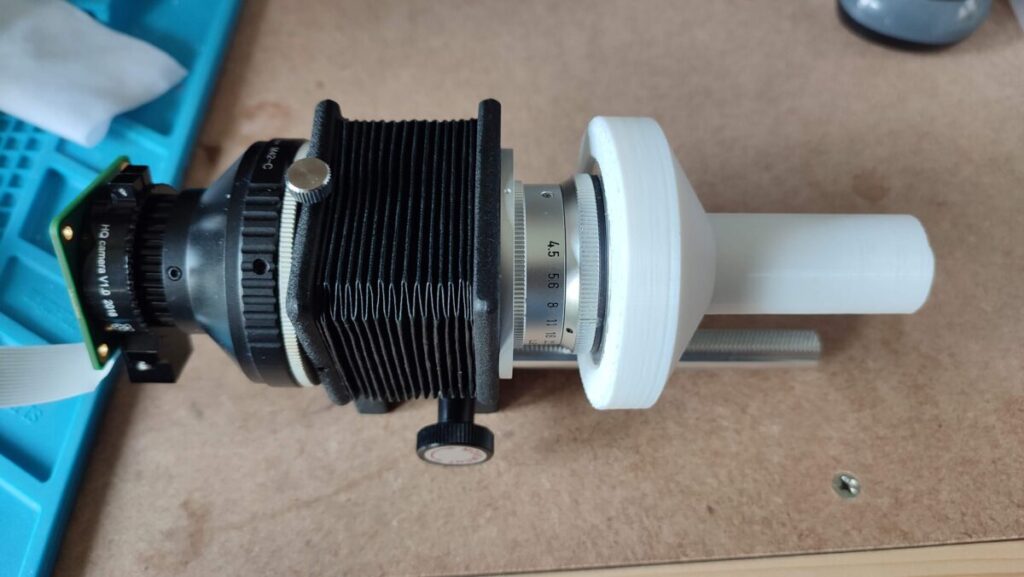
In operation, the camera unit is pushed into the front of the lens mount of the projector and then the image focussed by a combination of pushing the unit into the projector until the frame size is correct and fine-tuning the focus with the bellows.
There are still improvements I need to make to this, but I’ll discuss them later.
Software improvements
The original software I wrote was little more than a test script to confirm that the principle of operation was sound. It was written in python which, at the time, was a language I’d almost no exposure to, and was cobbled together using examples from across the web to control the motor.
Since I started the project I’ve had much more exposure to python (the last couple of years of my job were almost exclusively working on a python API which served video via an AWS cloud formation stack) and I’ve therefore become much more familiar with it, although the exposure hasn’t increased my love of the language1
Camera Preview
The original script had no facility for setting up the camera to make sure it is focussed or to make any adjustments to the camera settings prior to running a film through the telecine, so that was one of the first things I needed to add.
The preview facility on the Raspberry Pi camera is a bit difficult to use within an application because it doesn’t allow you to create an X-Windows GUI window and place the preview in it2 – it actually writes directly to the video memory and overwrites anything on the screen. Because of this, I wrote a camera setup dialog which takes a still image every 100 milliseconds and updates a Tkinter canvas widget with the image. Although this isn’t perfect, it’s a huge improvement on having to run the camera separately from the telecine software to set up the camera.
General UI
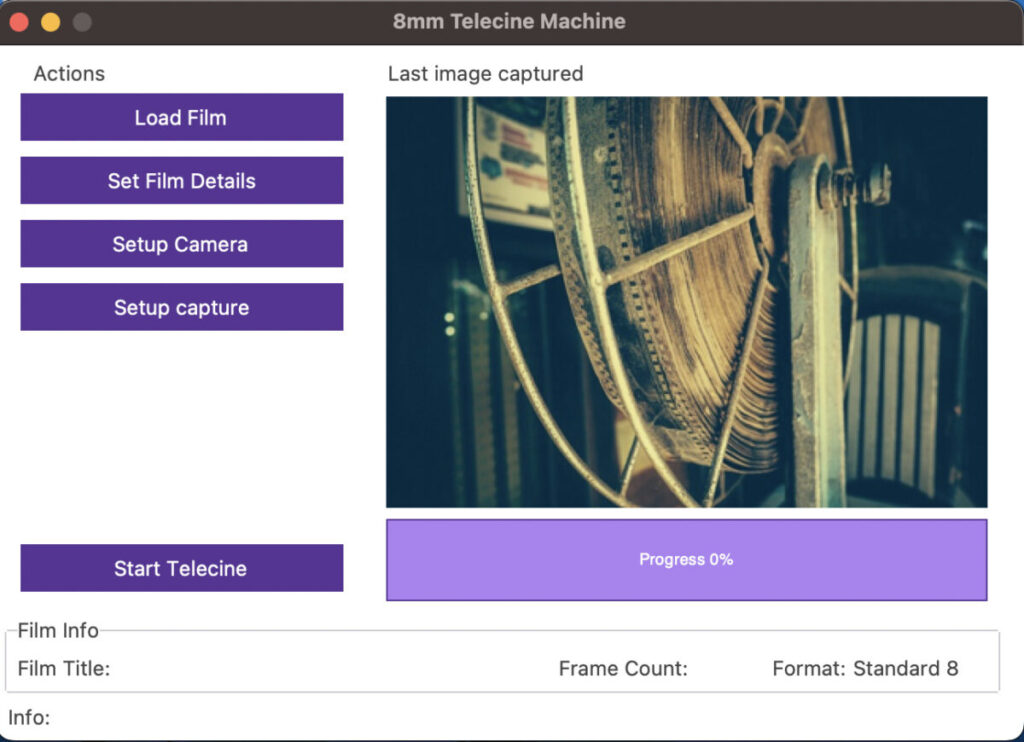
On the original script I wrote the user interface was written using a library called guizero which is a wrapper library around the Tkinter widget set. Although this was useful to get the script working, I changed to using the actual Tkinter set for the latest version. This gives me a fuller set of widgets, and using a class called ttkbootstrap I can create a more modern interface with properly styled widgets – shown below.
General structure of software
Along with the change to the UI, I also restructured the software to use Object oriented code rather than the simple script I had originally. This makes it easier to make additions and changes as I develop new features.
Latest version 8 mm telecine machine running
The videos below show the latest version of the telecine running3, and a short video of an 8 mm film which the machine produced. Although the images being captured on this short clip of the machine running look very dark, that’s because the film was very under exposed.
Updates still needed
Although I have an 8 mm telecine machine that can produce acceptable results there are several changes I need to make to improve things.
First, the bellows unit I’m using to focus the lens has the fixed rail pointing towards the projector, so I need to reverse the bellows so that it doesn’t foul the projector body. Also, the 3D printed part needs to have the M42 threaded ring fixed in place with grub screws or similar, so I can make certain the whole lens unit is absolutely at right angles to the film plane.
I need to change the image grabbing routine so that I take 3 images, one under exposed, one over exposed and one correctly exposed and then merge them into an HDR image. I have sample code that does this, but I haven’t yet added it to the stable branch.
At the moment the film gate is still the original size, but I want to widen this to include the actual edges of the 8 mm film frame. Some 8 mm cameras actually exposed past the sprocket holes so I want to make sure I recover that image if it’s available.
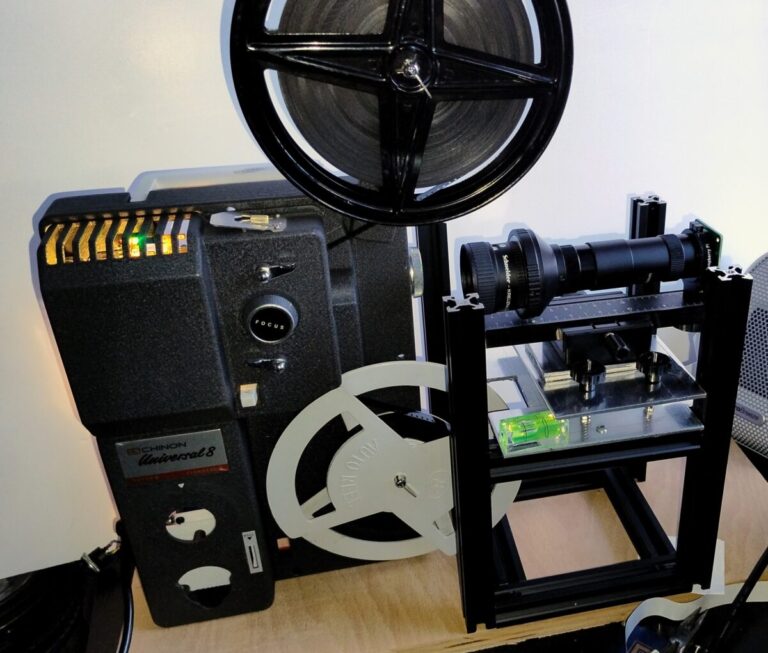
The machine as it stands only works with standard 8 film, so I’m going to build another machine which handles standard 8 and super 8. The current Eumig P8 machine will then become my test bed for trying things out, and the new machine the actual telecine. I’m thinking of creating this with a Copal Sekonic 290 machine that I have which has quite a lot of room in the chassis so should be a good unit to work on.
At the moment there is no sensor to check when the film ends, so I calculate the number of frames based on the film reel size, but I want to add a sensor to indicate when the film finishes, because this will also serve to stop the telecine if a film breaks. This will probably be on the new machine because I can’t find a good place to fit one on the current Eumig P8.
With the machine becoming usable I hope to start publishing new films in the Vintage Home movies section of the site soon.
Update:
There have been several updates to the story of my telecine machine:
- I just don’t like the fact that the language needs to be formatted with whitespace to be syntactically correct. [↩]
- That may not be true with version 2 of the picamera library – I’m currently experimenting with that [↩]
- Well, actually a slightly out dated version since I’ve just realised the lens arrangement was slightly different on this video [↩]
Discover more from Everything Vintage
Subscribe to get the latest posts sent to your email.

This is great! I’ve been waiting for this update for a long time. I have pretty much the same Eumig projector, Raspberry Pi 4 and hi quality camera. I went for a microscope lens, and have the stepper driver board, stepper motor, small LED array shining into a ping pong ball as an integrating sphere (see https://hackaday.com/tag/integrating-sphere/) for a nice clean illumination source, but my project stalled there, and I’ve had precious little time to get back to it. I was also going to open up the gate, and the idea of taking 3 images at once to bracket each frame is great; there was another project I was going to use that does exactly this. So it will be great to see some more updates and examples soon, to encourage me to finish mine and get scanning the family 8mm archive! Do you have any plans to upscale/de-noise/enhance any of the films?
Hi Ian – interesting that you mention the ping pong ball because I saw a machine a couple of days ago which did the same thing, and I’ve just sent for a set of ping pong balls to try the same thing. I’ve just started looking at the Copal 290 projector which seems to have a very simple drive system that should be easier to trigger for the frame ready signal with a hall effect sensor and a magnet, and has a lot of room in the chassis, so I may have an update in the next few weeks. At the moment, I’m planning on using Davinci Resolve to post process the video, but I might also look at Adobe Premier.