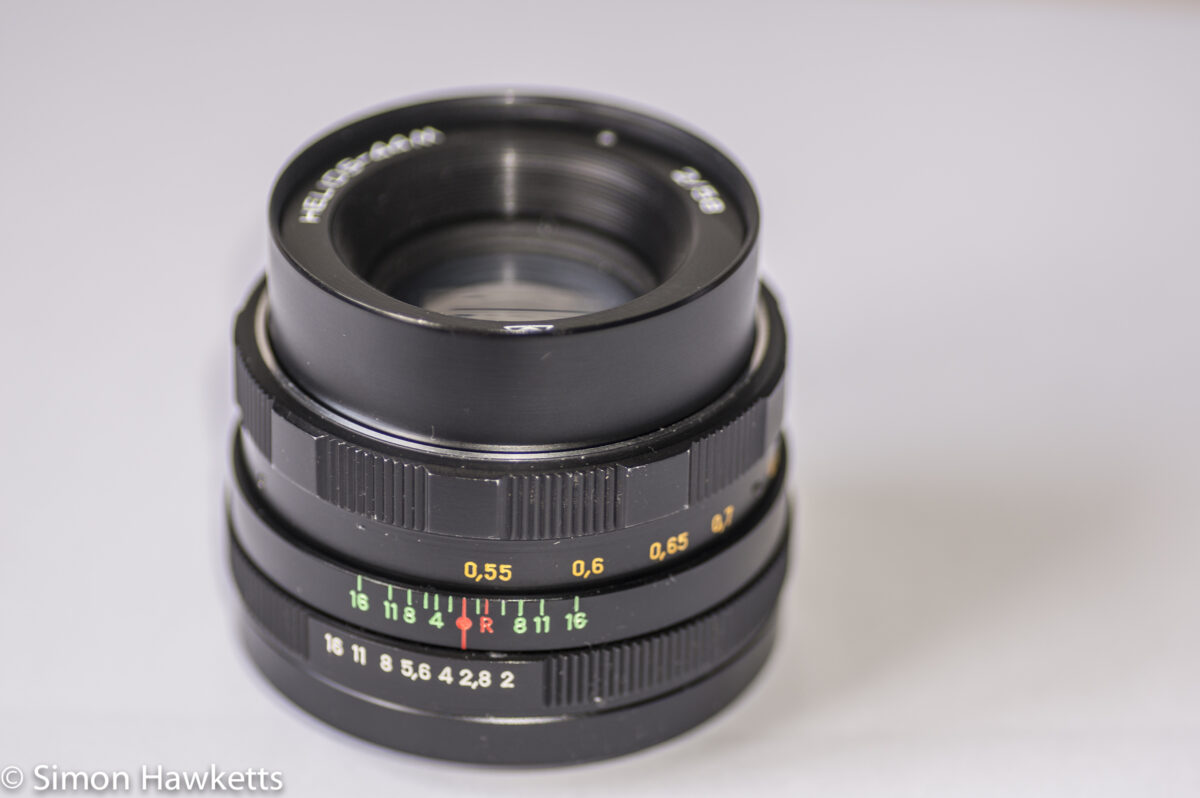
Helios 44M focus thread clean up
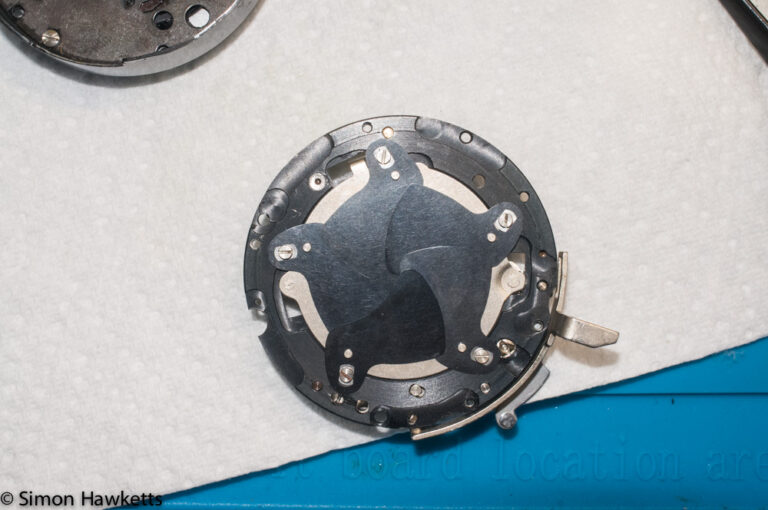
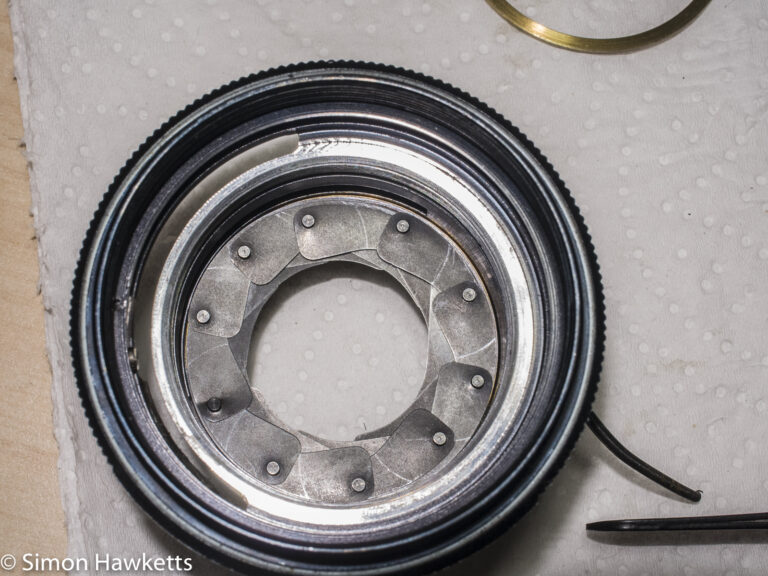
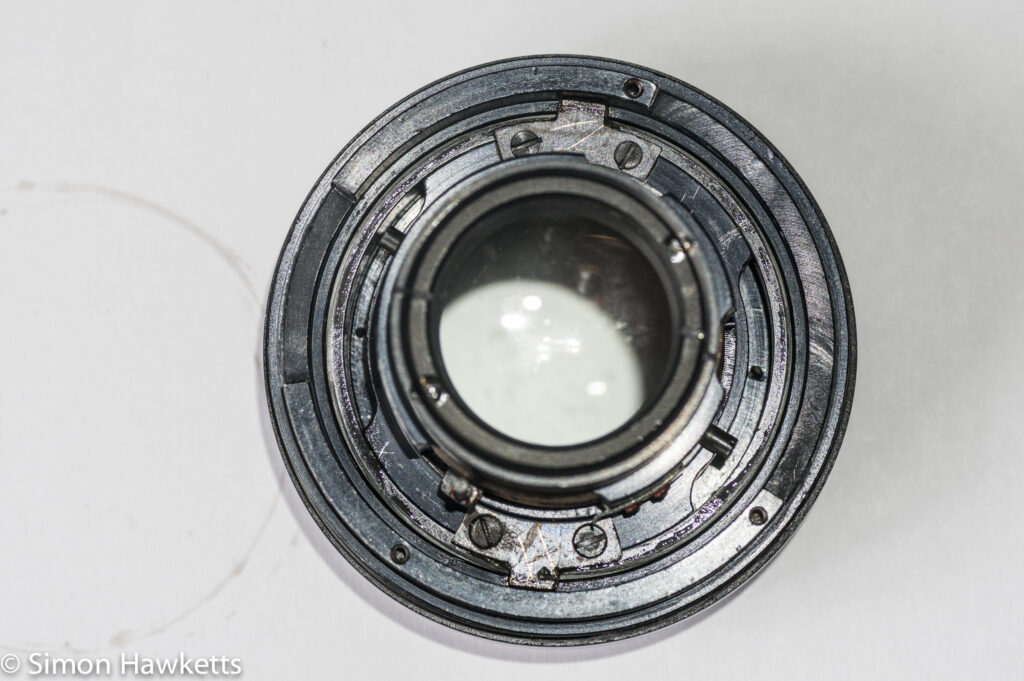
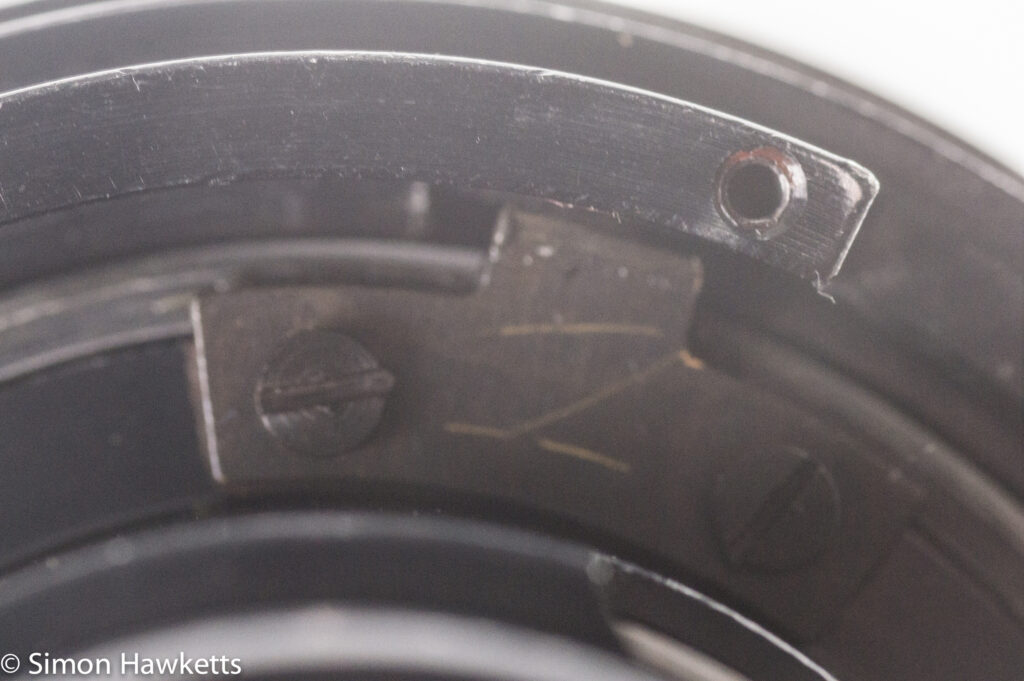
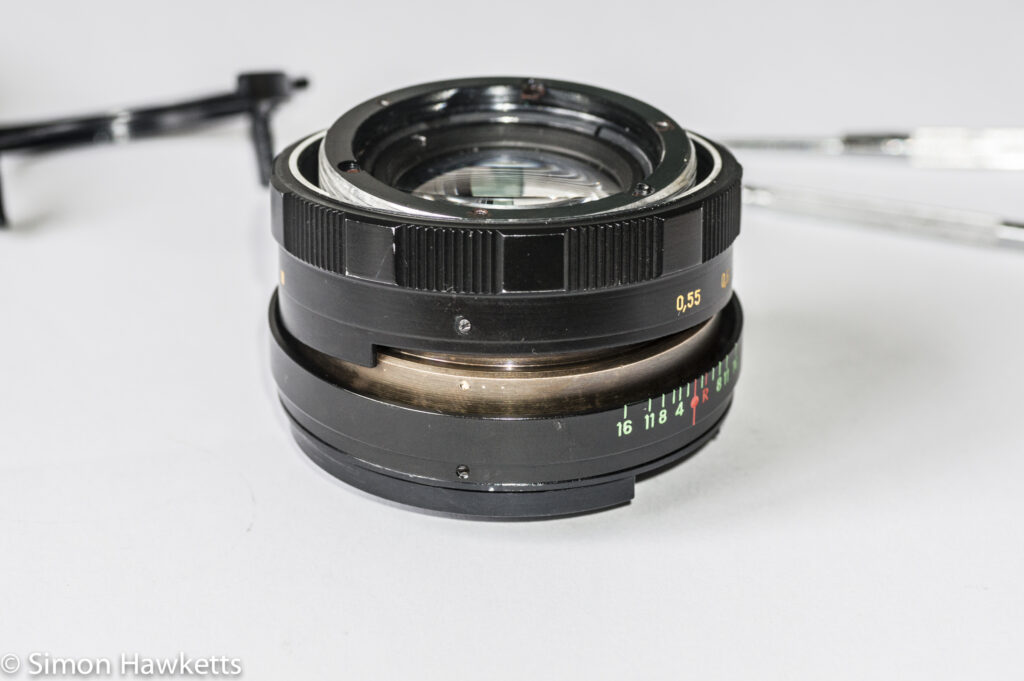
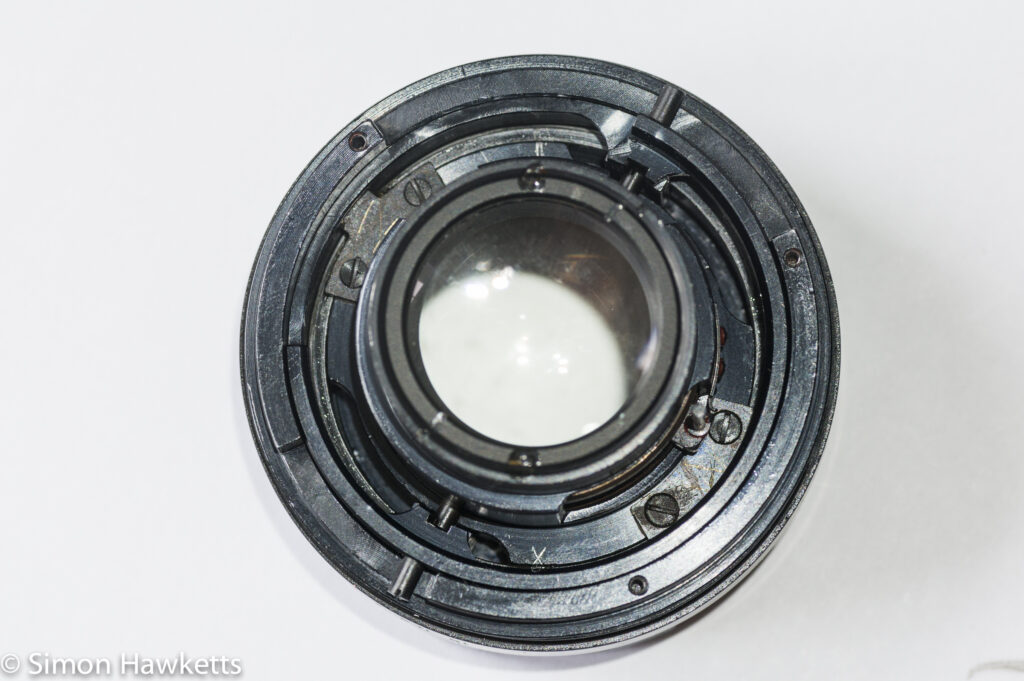
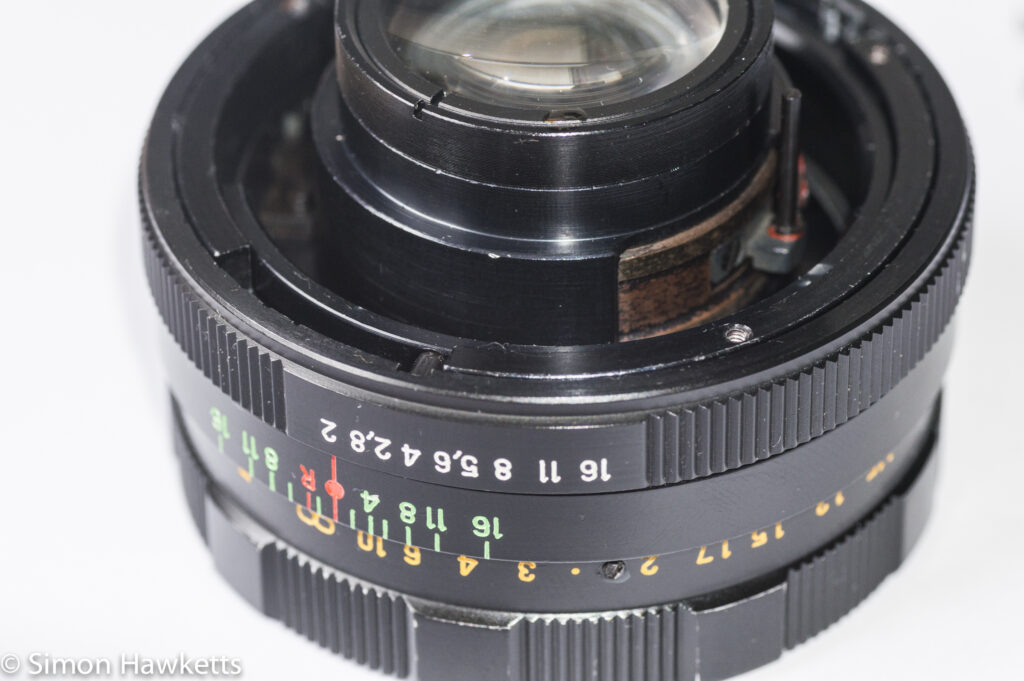
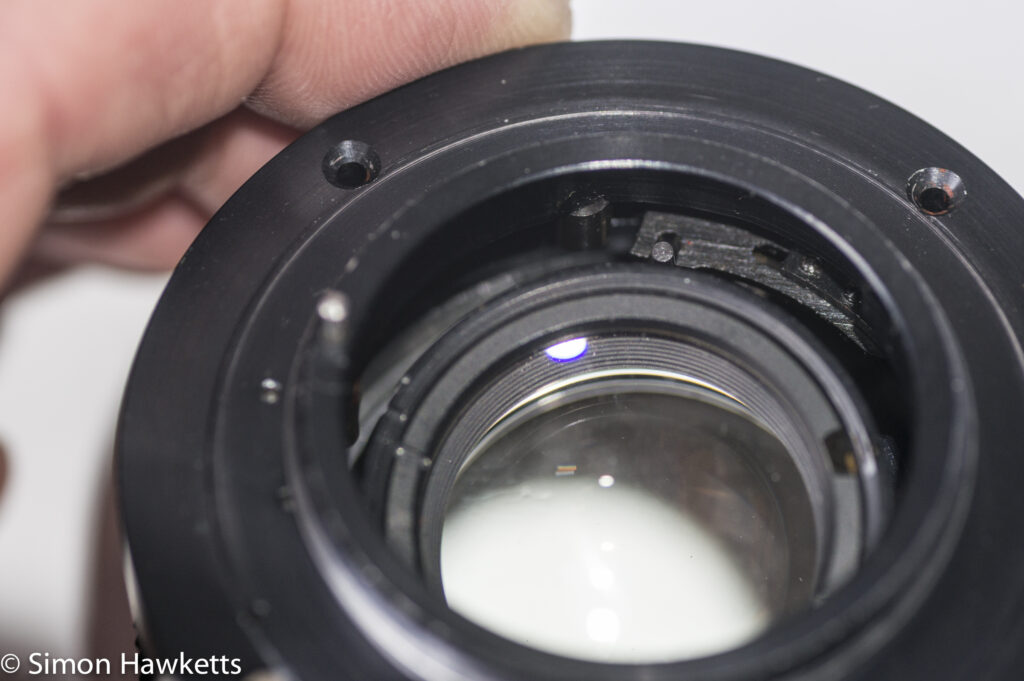
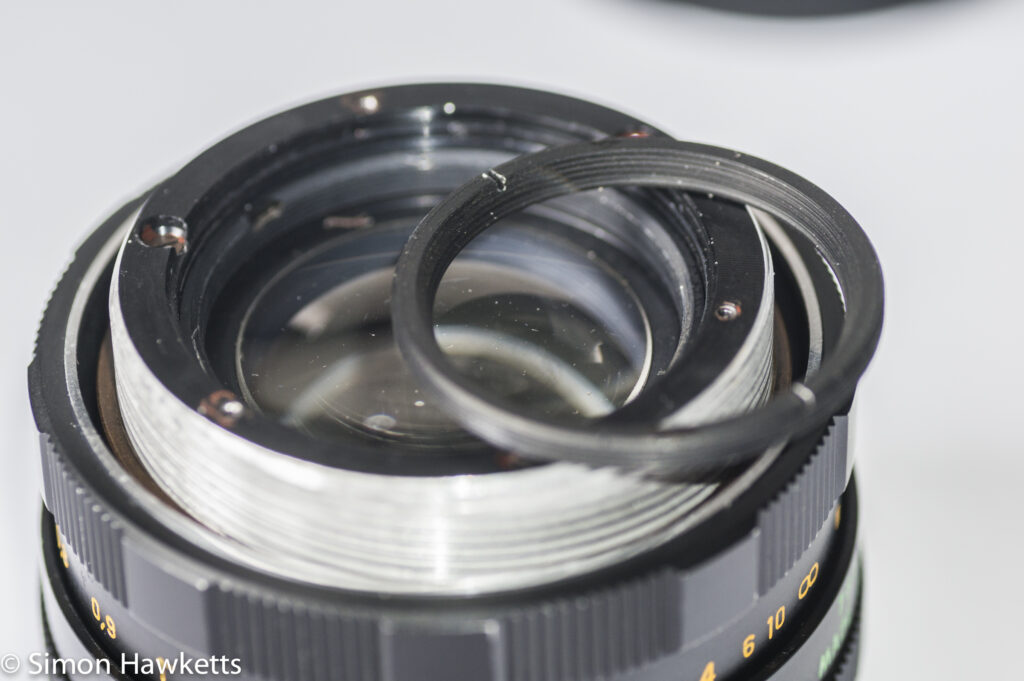
This post describes the procedure I used on my Helios 44m prime lens after I discovered the focus ring was sticky and gummed up with old grease. The pictures which accompany this procedure are shown below as a gallery.
Helios 44M focus thread cleanup images
Background
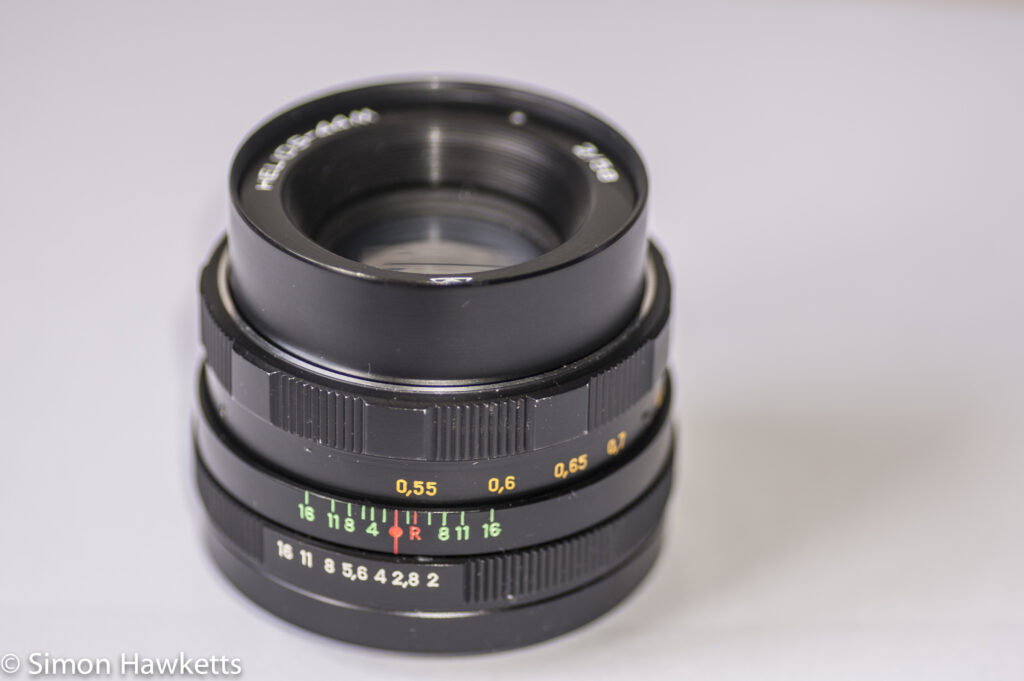
I recently acquired a couple of these lenses when I bought a Zenit EM and a Zenit 11 35 mm SLR which had these Helios 44m fitted as standard lenses. They are very useful lenses to own for portrait work. They have a great reputation for producing wonderful swirly background bokeh which can be very effective and considering the cost of the lens, (I paid a total of £6.50 for both cameras) it’s the sort of lens which every photographer should own!
Why did I buy two ? Well, they were both on eBay and at the time the auction finished I was going to be out, so I couldn’t follow my usual procedure of biding at the last moment for something. So just before I went out I put a bid on both of them in the hope I won one of them and as luck would have it, I won both!
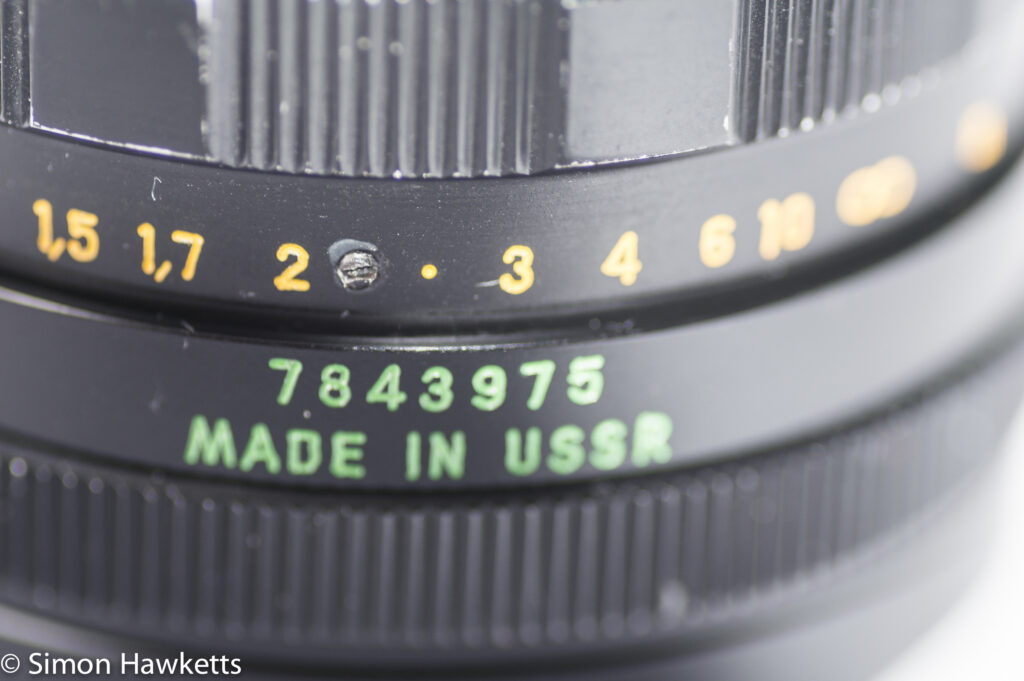
Both lenses are of a similar vintage – in fact the serial numbers are quite close together 7843975 & 7856998. Both lenses also suffered from the same problem; the focus rings on them were quite stiff and also non-uniform when they were turned. This is a classic sign of the grease used to lubricate the focus helicoid being old and turning plasticky.
One of the lenses also had a sticky mark on the inside surface of the front element, so I guess at some point someone has had that element out and left a mark. When I looked at that example in more detail, it turns out that the aperture adjustment ring has had the ball-bearing which makes the click-stop work removed, so that the aperture is continuously variable, which also points to some ‘owner adjustments’. I think I’m going to leave that as it is however, because that will make the lens useful for video (which was almost certainly the reason the mod was made, unless someone lost both ball-bearings).
Helios 44m Repair
Anyway, back to the repair.
I’ve fixed a couple of lenses with sticky focus helicoid, so I decided to have a go at cleaning and freeing them up and cleaning the front element on the one that needed it.
First I had a look on the web to see if I could find any instructions but for this particular version I couldn’t find anything. I did find some generic instructions for a Helios 44 style lens which said that the helicoid could be cleaned by lubricating with lighter fuel and cleaning the gunk off that way rather than by totally dismantling, so I thought I would bear that in mind when I got the helicoid exposed.
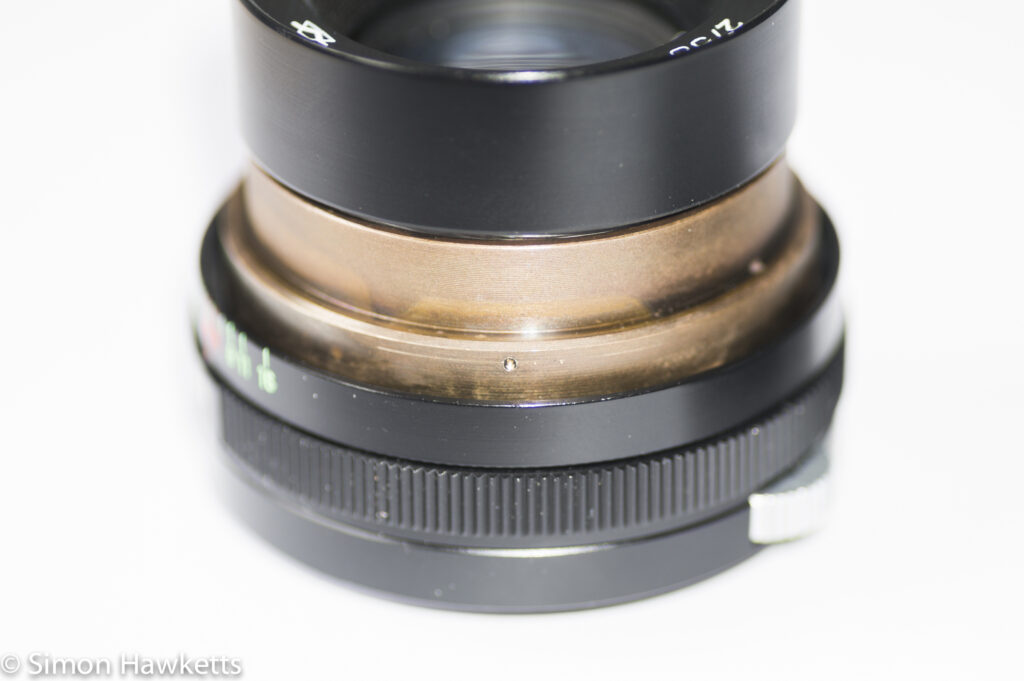
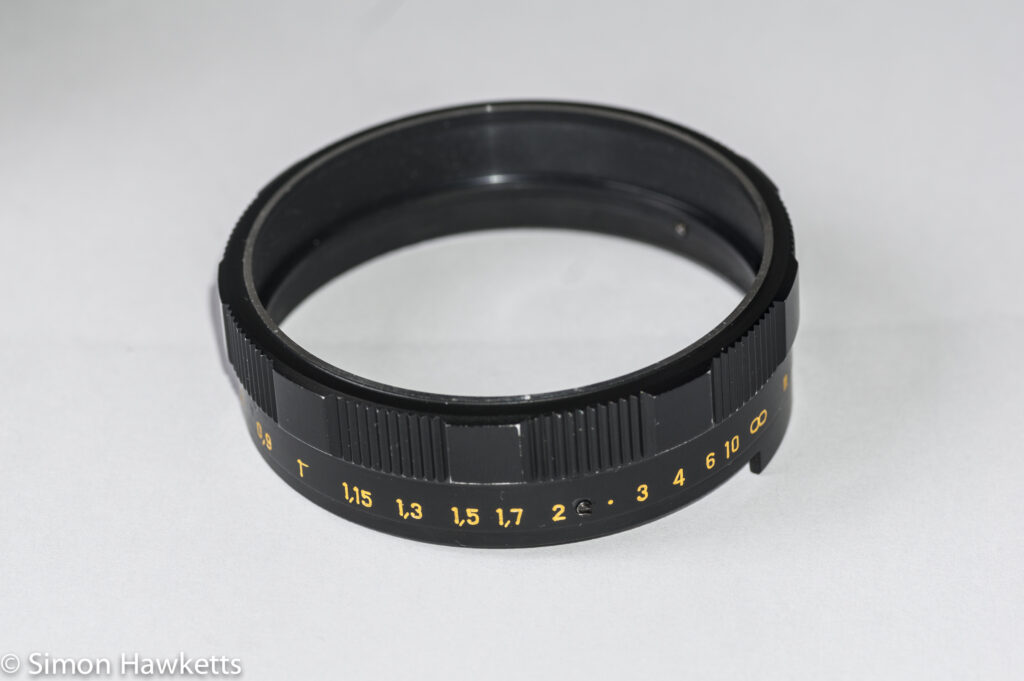
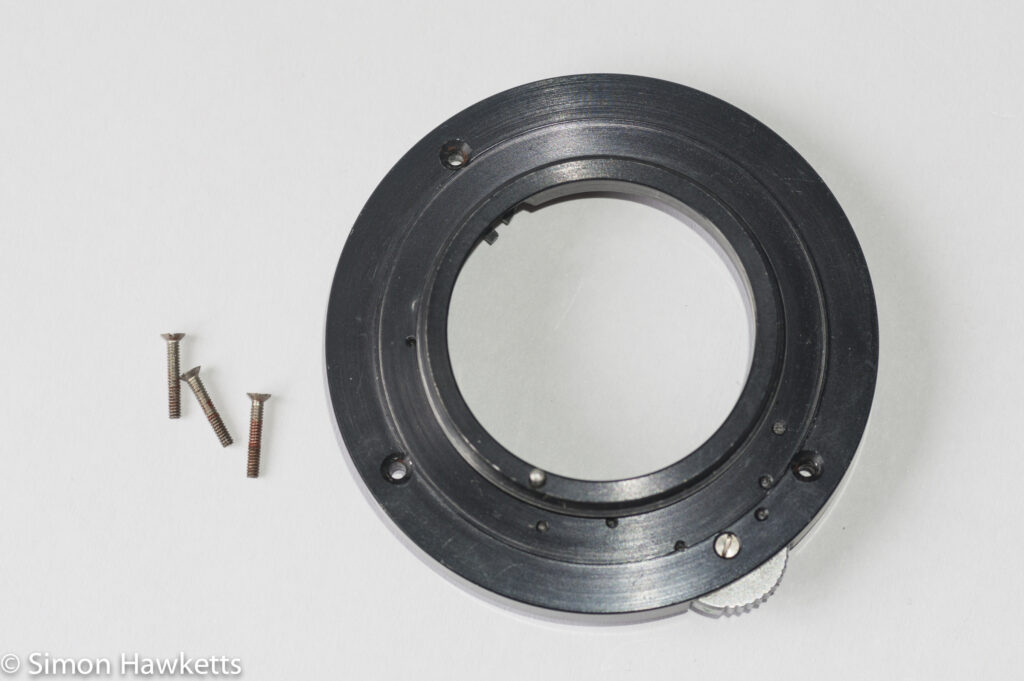
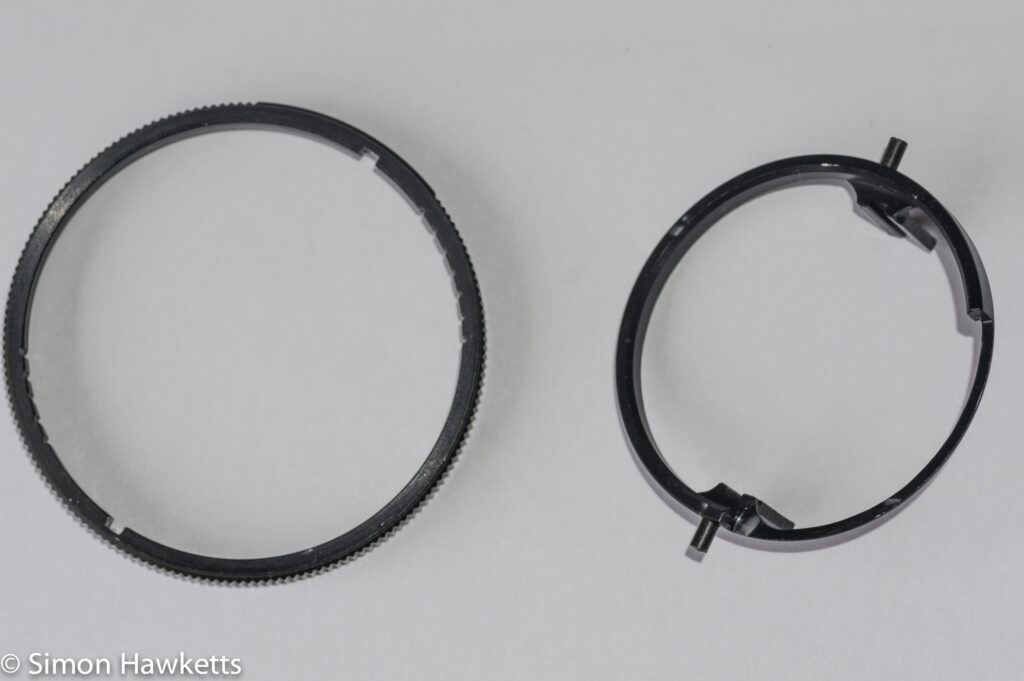
Getting to the helicoid turned out to be relatively easy. There are three small screws on the focus adjust ring which I loosened just enough for it to free up, and then it pulled up over the top of the lens.
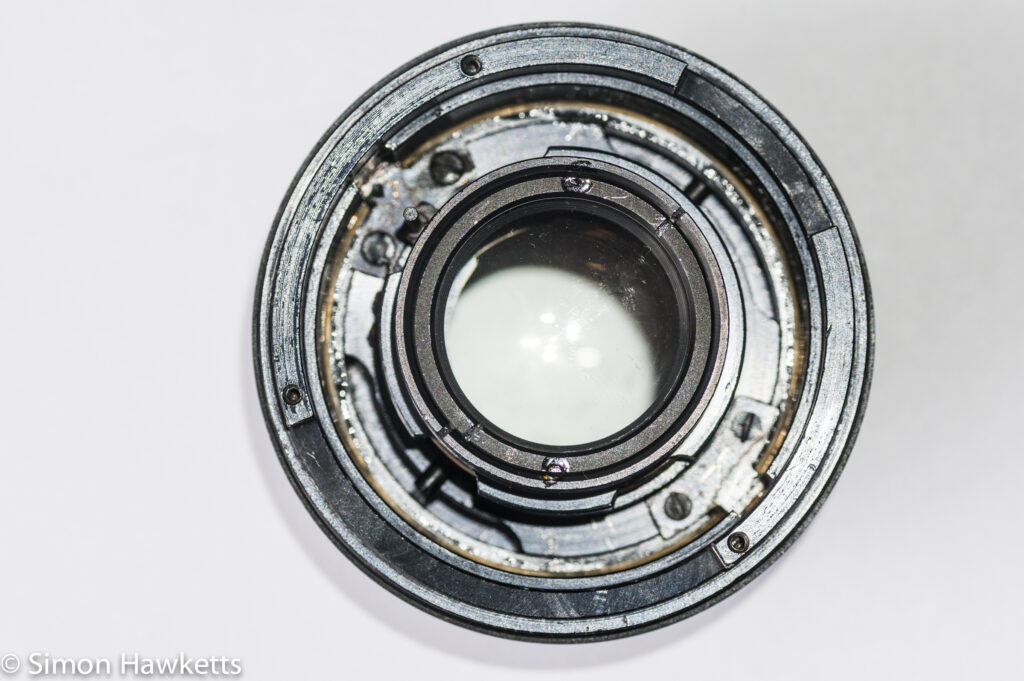
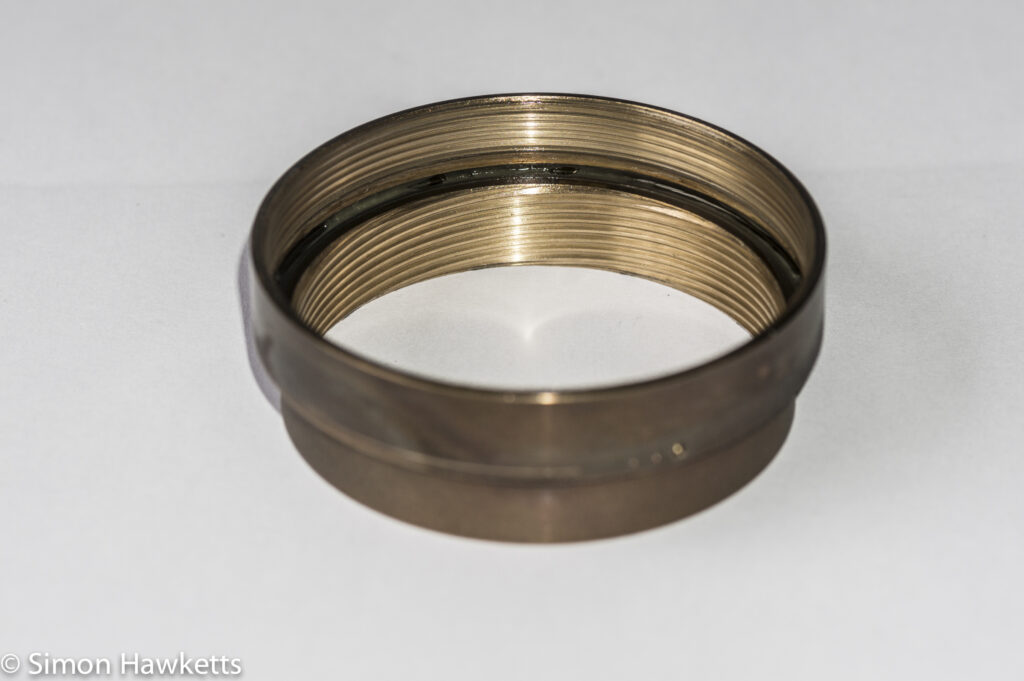
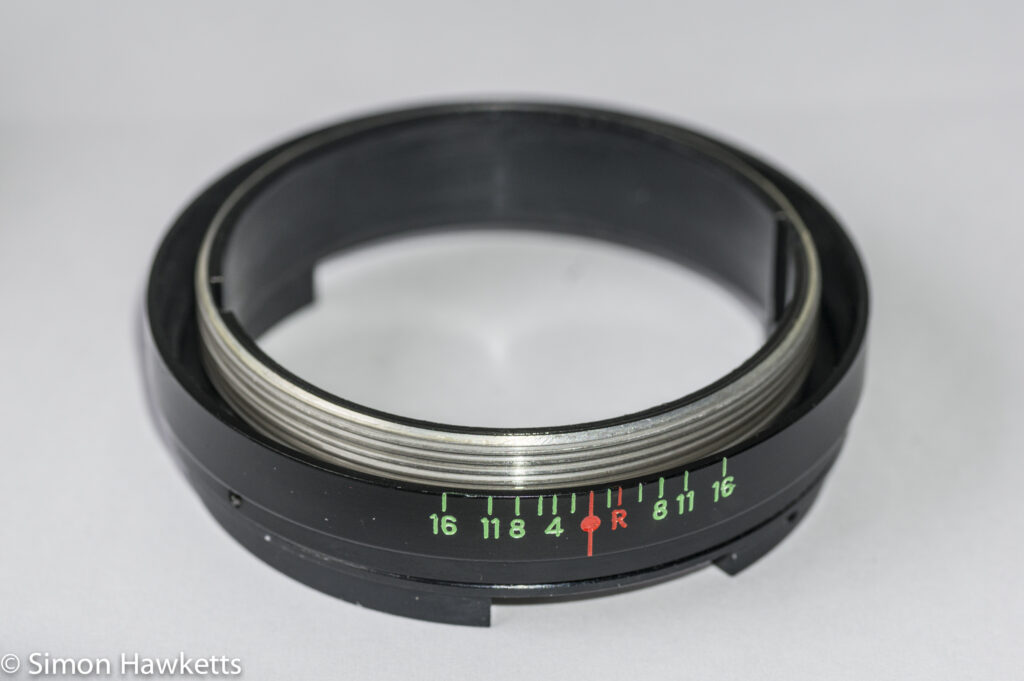
With the focus adjust ring off it’s possible to just see the helicoid under the black cylinder which forms the filter ring of the lens, so I guessed that needed to be removed next. I also noticed that the brass ring had small holes where the focus adjustment ring screws sit, this will be useful later!
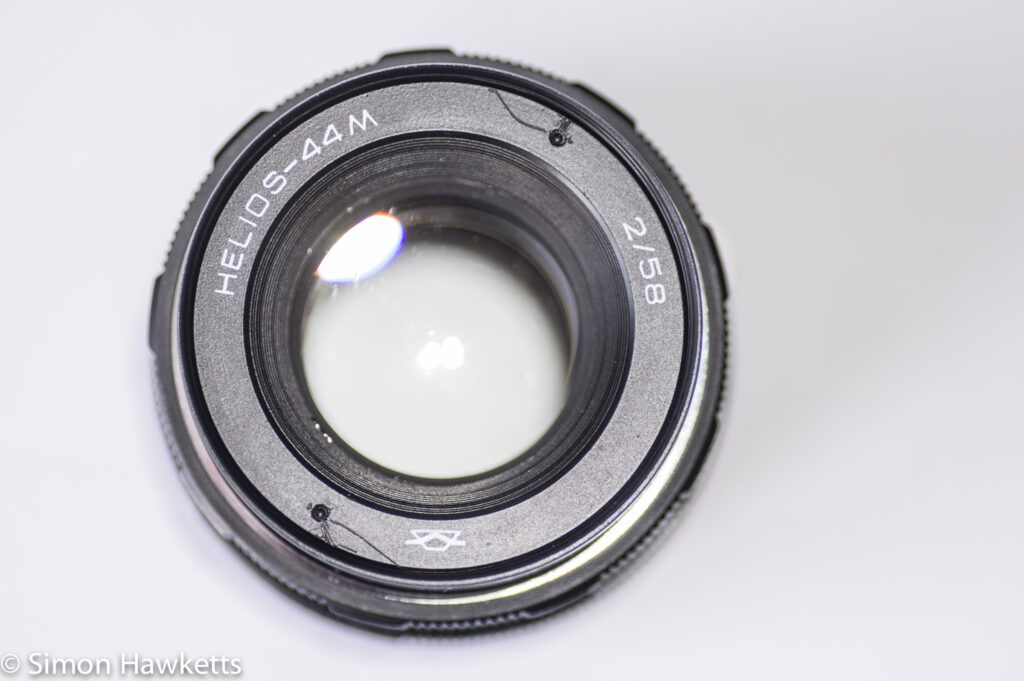
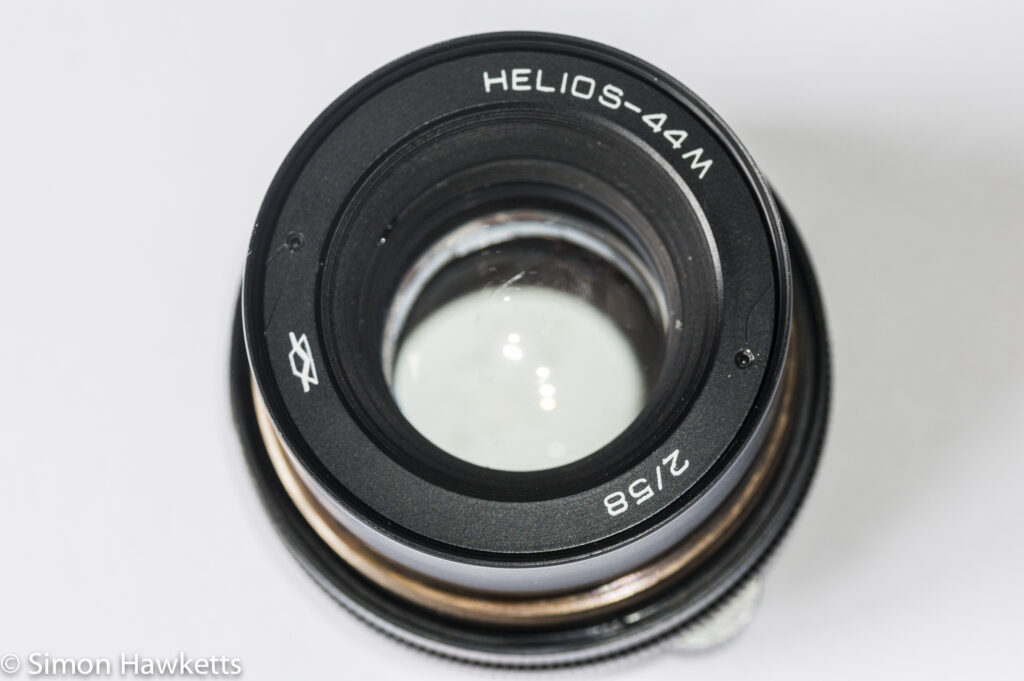
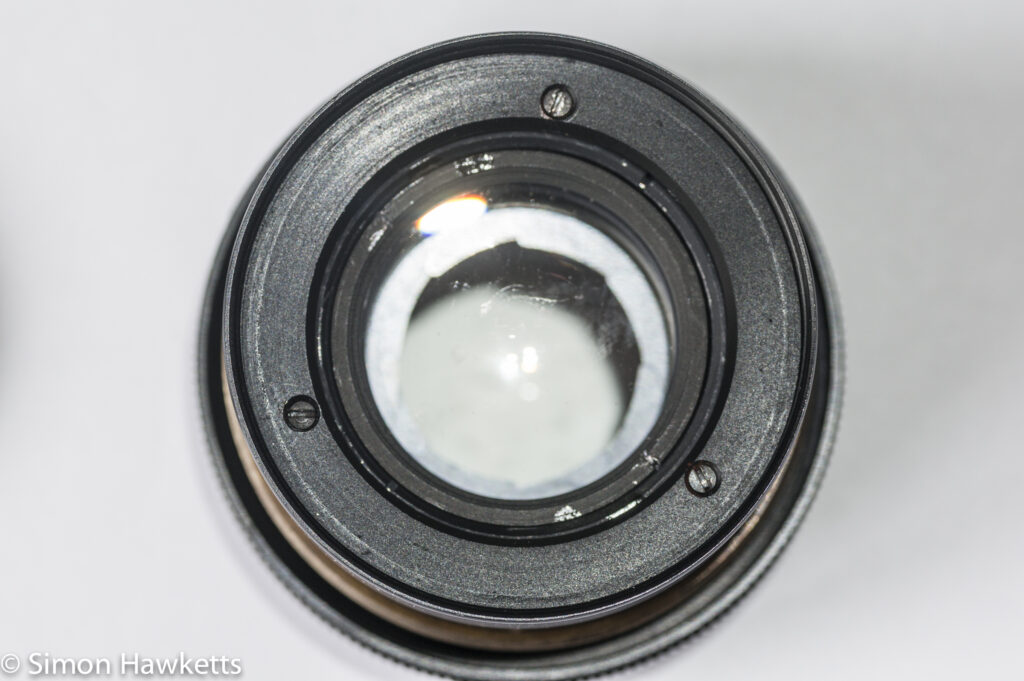
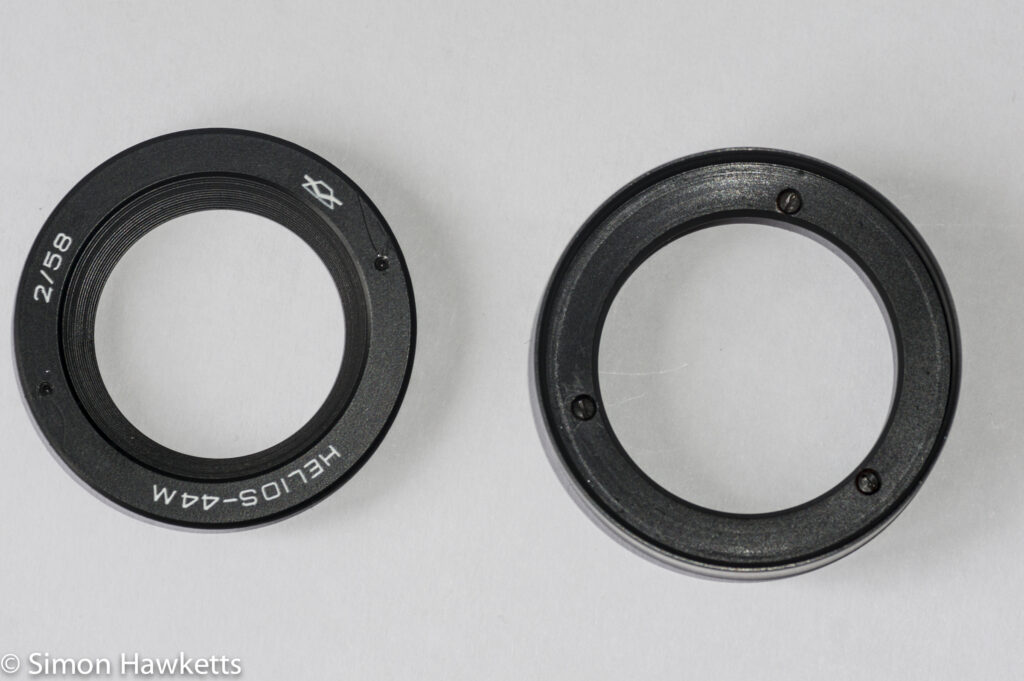
Looking down from the top of the lens the ring with the words “HELIOS-44M” on has two small holes in, so I tried turning that with a lens spanner, and it started to unscrew in an anti-clockwise direction. With it fully removed there are three small screws which need to be removed to lift the filter ring off the lens and the helicoid can then be seen (actually I left the screws in place because it’s easier to relocate them later).
At this point I considered the advice I had seen on the generic cleaning instructions, but it didn’t look to me to be too easy to get the helicoid threads clean with lighter fuel. I also guessed that would also lead to a large quantity of messy, semi-liquid grease floating about which is not ideal near optical elements, so I decided to carry on striping the lens down to do a proper job.
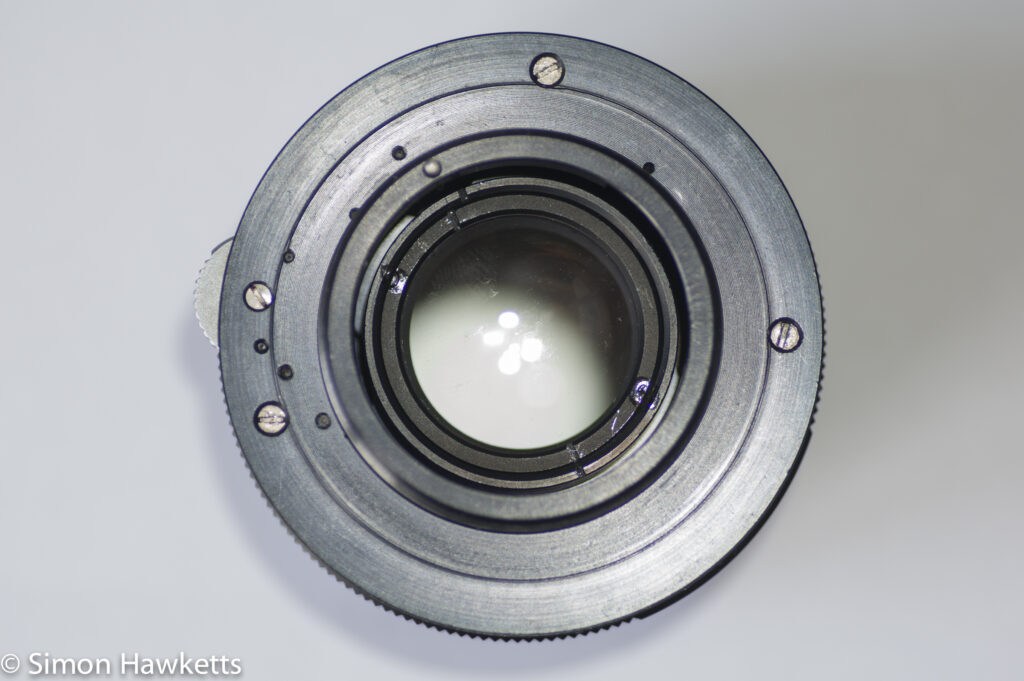
So the next thing I did was turn the lens over and remove the bottom of the lens by unscrewing the three screws in the bottom plate which hold it in place (careful here because there are 4 screws – the one directly under the auto/manual switch holds it in place).
Once the bottom was off the aperture adjustment mechanism also came away (careful of the ball-bearings if fitted) and then it was possible to fully unscrew the helicoid out of the top of the lens.
When the helicoid was out I could clean its threads with some cloth and use an ultrasonic cleaner to clean up the brass focus adjustment ring, the outer focus adjustment ring and the lens body. Once they had been through a couple of timed cleans in the ultrasonic bath I dried them off and gave the focus ring and the helicoid a thin coating of lithium based grease to lubricate it all.
After a few turns of the helicoid to get the new grease distributed, I got ready to re-assemble the lens. As usual this is the fiddliest part of the operation – not difficult but quite often this part will need to be done several times to get the parts in correct alignment.
Re-Assembly of the Helios 44m
These are the steps I used for re-assembly.
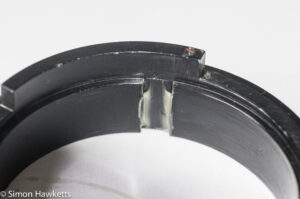
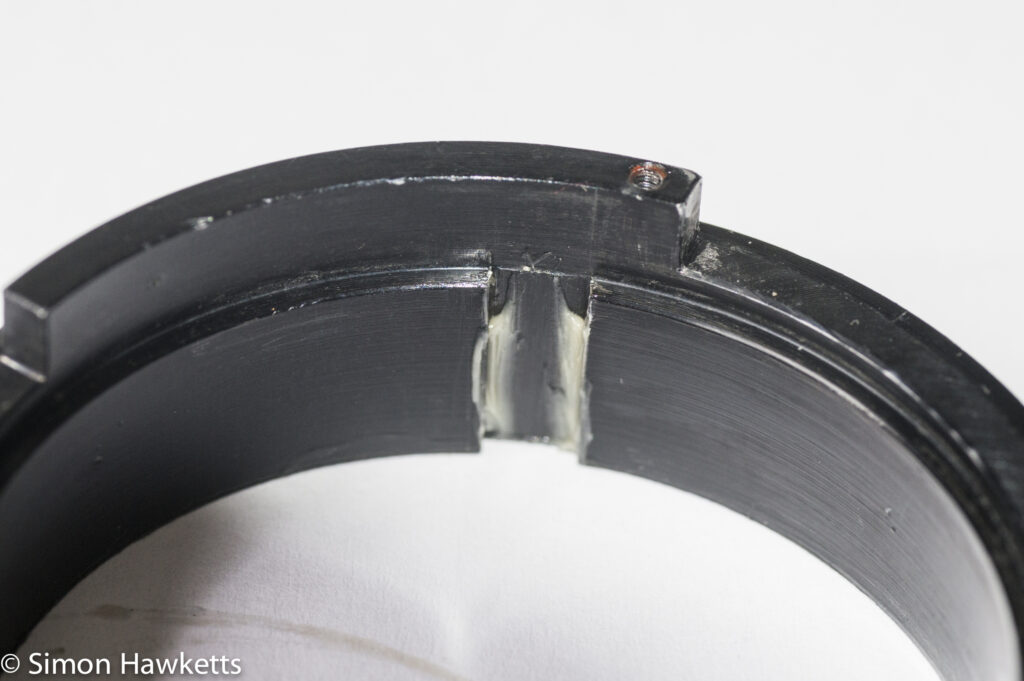
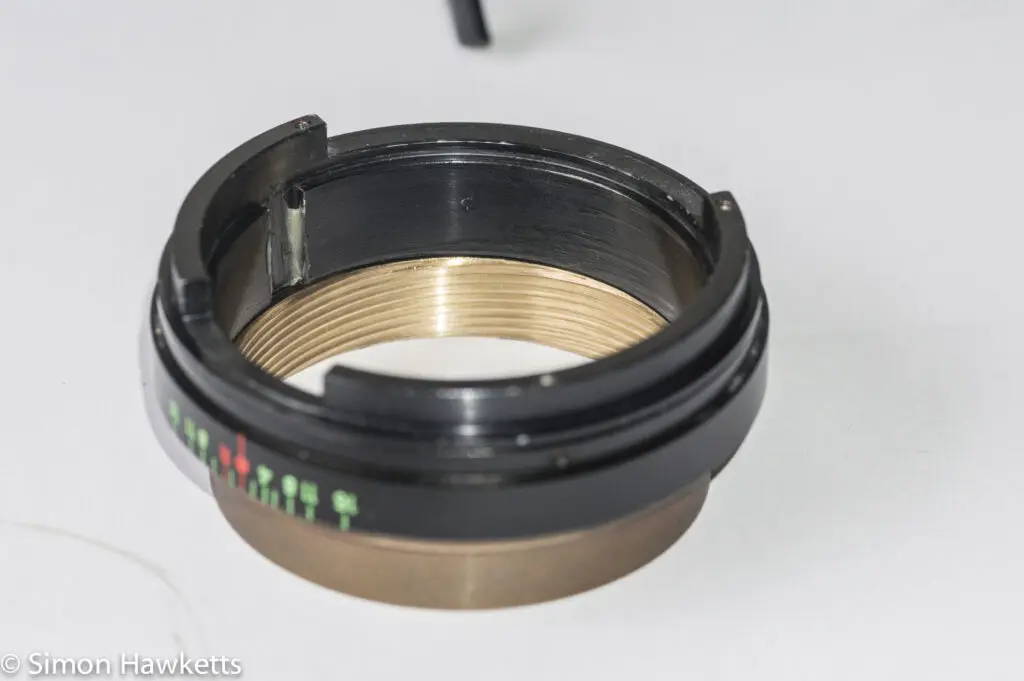
I took the lens body (which is the metal ring with the depth of field scale on and the two slots for the helicoid to drive against) and put a small amount of lithium grease in the two slots.
I then screwed the brass focus ring onto the lens body all the way down, backed it off a quarter turn and placed that on the desk with the brass side down.
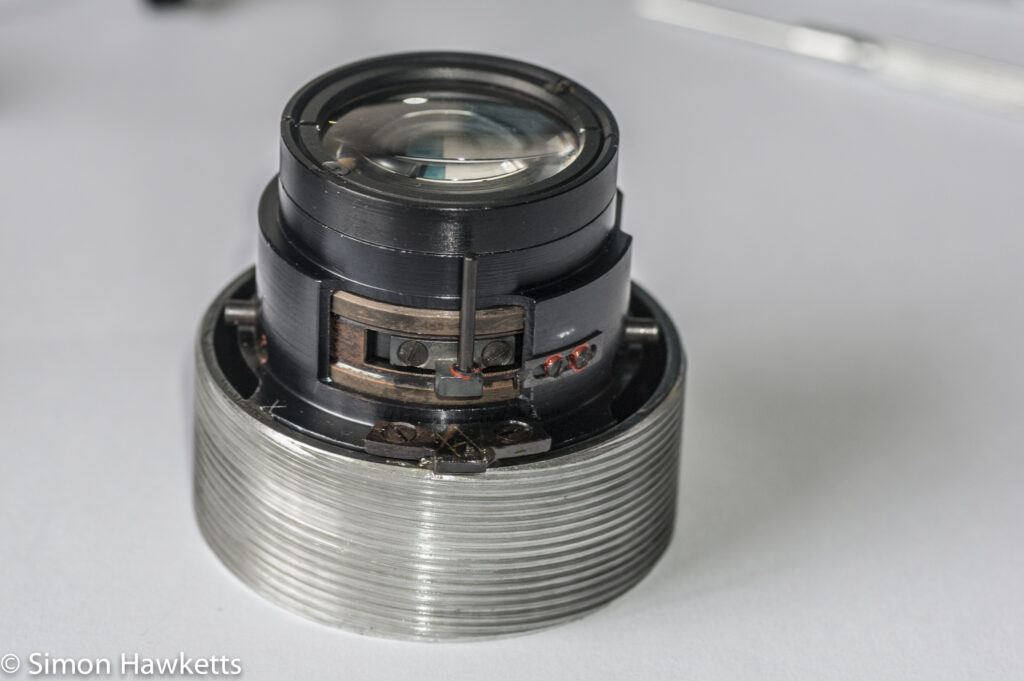
Then I dropped the helicoid lens unit into the lens and started to screw it down anti-clockwise until it hits the lens body and can’t turn any more. At this point, if you look down on the lens you can see the two metal tabs attached to the helicoid, and the two slots in the lens body.
The two tabs need to align with the slots, so the focus ring will push the lens elements in and out. The other thing to remember is that the long pin which adjusts the aperture needs to be on the side of the lens body which has the two screw holes for the lens bottom. This is the fiddly bit where you need to turn the focus ring and hold the back of the lens element against the turn, so the tabs pull into the slots. Once they are in I turned the focus all the way down (to minimum focus setting) and temporarily fitted the focus adjustment ring on the brass ring to see if the screw holes lined up with the small screws in the adjustment ring. You see why this is fiddly?
If you do all this and the holes didn’t line up you need to unscrew the helicoid and turn it until the next helicoid thread lines up and try again.
This can take many attempts before it all works properly, but once the screw holes and screws line up you should be OK. At this point I screwed the focus adjustment ring on but only did the screws up enough to hold the ring in place (be careful, they are not very strong screws!).
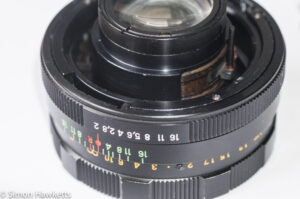
Next the aperture actuation ring fits on the lens, with the thinner side away from the aperture pin.
Then the aperture adjustment ring fits on, so the two slots in the ring fit over the two pins which protrude. Make sure it’s on the correct way round, so the numbers line up with the red mark. As I said, one of my lenses didn’t have ball bearings fitted on the aperture adjustment ring, but if there are, they will need to be fitted as well at this point.
It turns out that fitting the ball bearings is almost more hassle than the rest of the job put together. When I serviced the second lens which does have the ball bearings, I had to fit one ball bearing on one side, and then try to get the other one slotted in as I push the aperture adjustment ring over it. Because the ball bearings are sitting on tiny springs, this is not at all easy and took me about 20 min to get both sides in place at once.
Getting near the end now – I just re-fitted the bottom plate on the lens, lining the auto/manual switch actuation arm with the aperture pin as I did it and screwed the bottom plate down. It’s easy to see if this is working by setting the aperture and switching the auto/manual switch before you do the screws up.
I then had the problem of the top lens element cleaning so to remove the top element I used a lens spanner to unscrew the inner ring of the lens block. Once I did this all the front lens elements fell out as I turned the lens upside down! So I cleaned each element, reassembled the front element block and re-screwed the inner ring. I think I will need to do this again later because I don’t have any lens cleaning fluid and had to just use a lens cloth.
It was just a question then of putting the filter ring back on, screwing it down and refitting the name plate. Once all this was done the focus is quite easy to adjust, and I can try to see the sort of pictures it can achieve, and that’s the subject for another post.
Discover more from Everything Vintage
Subscribe to get the latest posts sent to your email.

