Minolta Dynax 700si sample pictures
Over the last few weeks, since I got my Minolta Dynax 700si, I’ve been carrying it around with me to test it out and get some sample pictures. When we were on holiday in Lincolnshire recently I completed the film, and yesterday I developed it, so today I’m posting the Minolta Dynax 700si Sample pictures.
Minolta Dynax 700si Sample Pictures
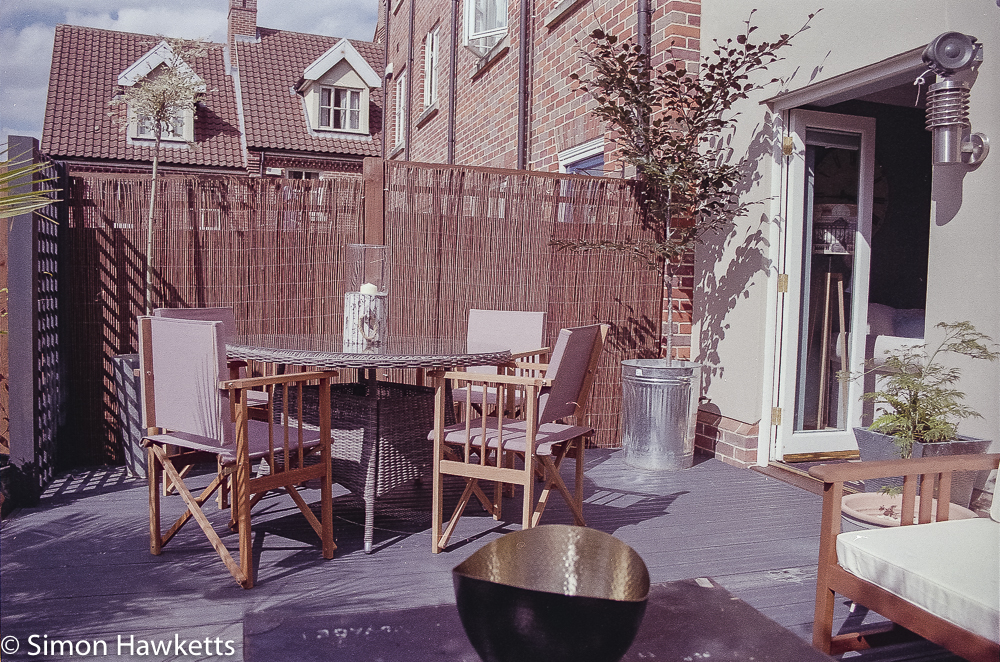
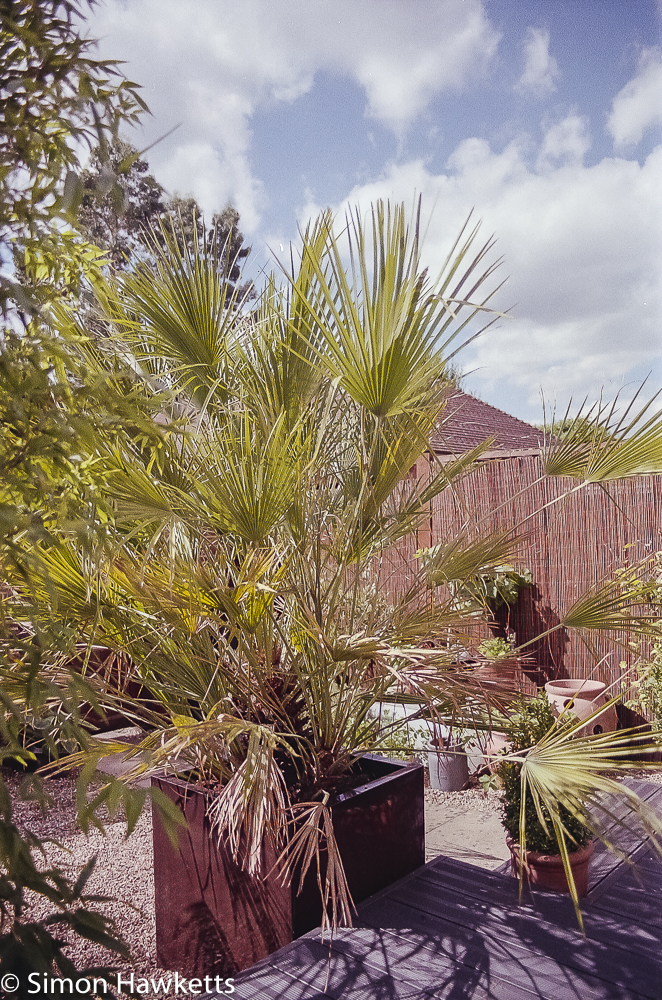
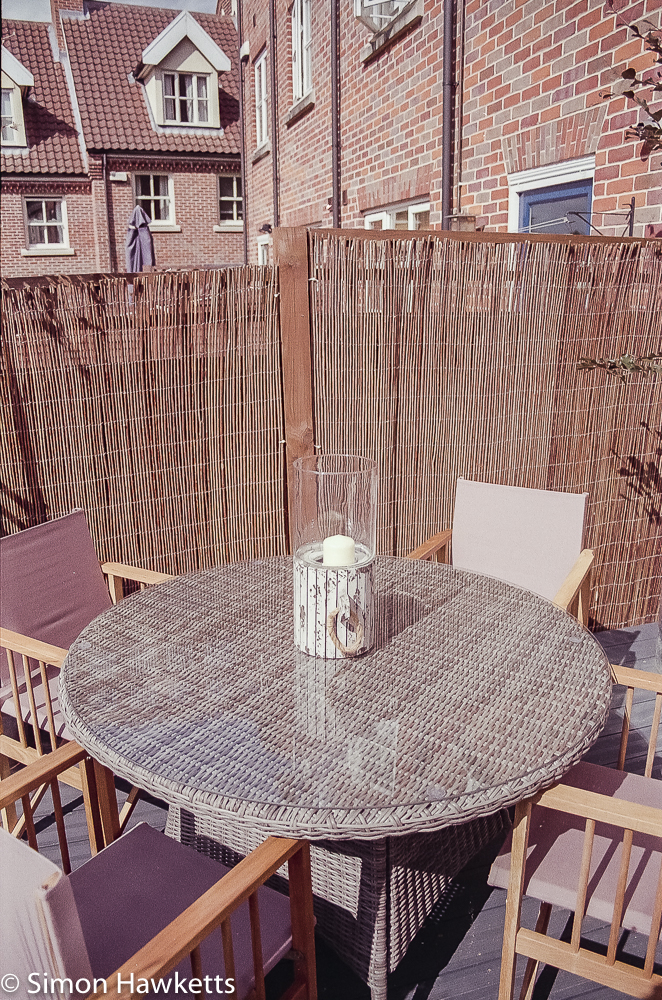
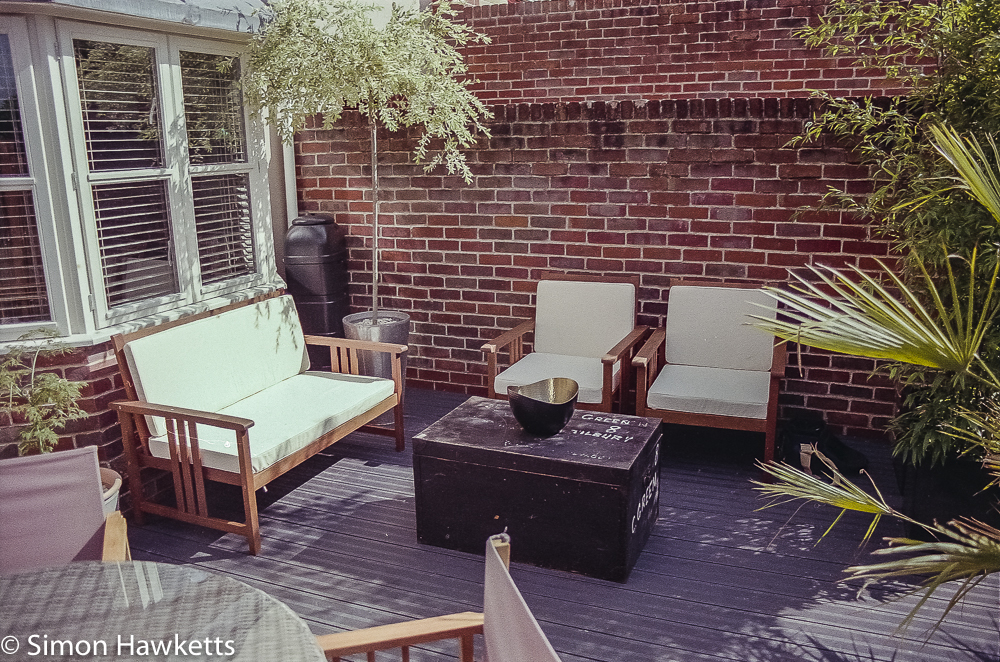

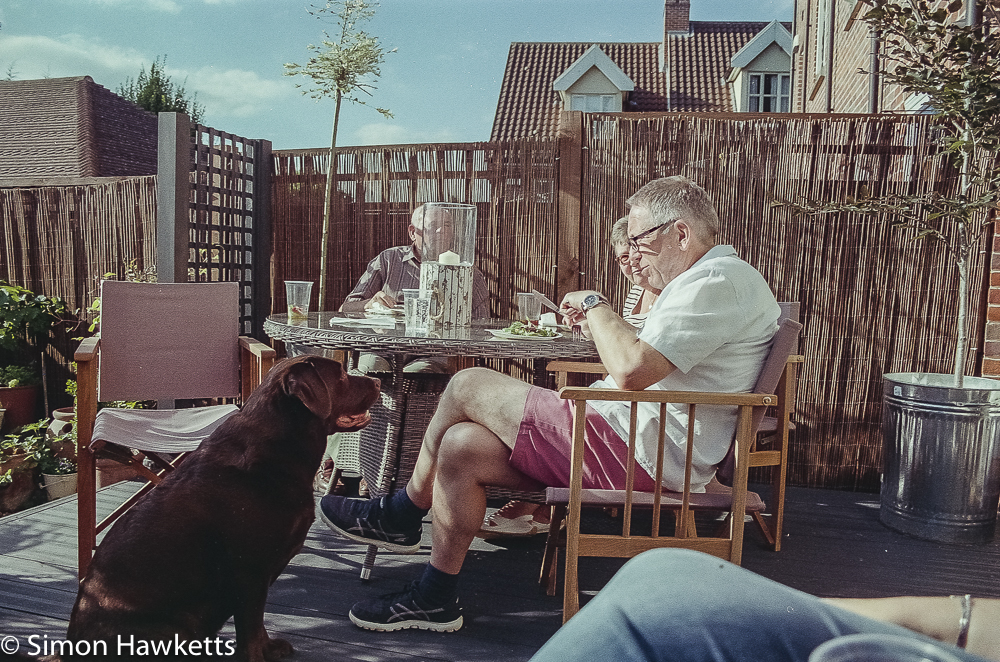

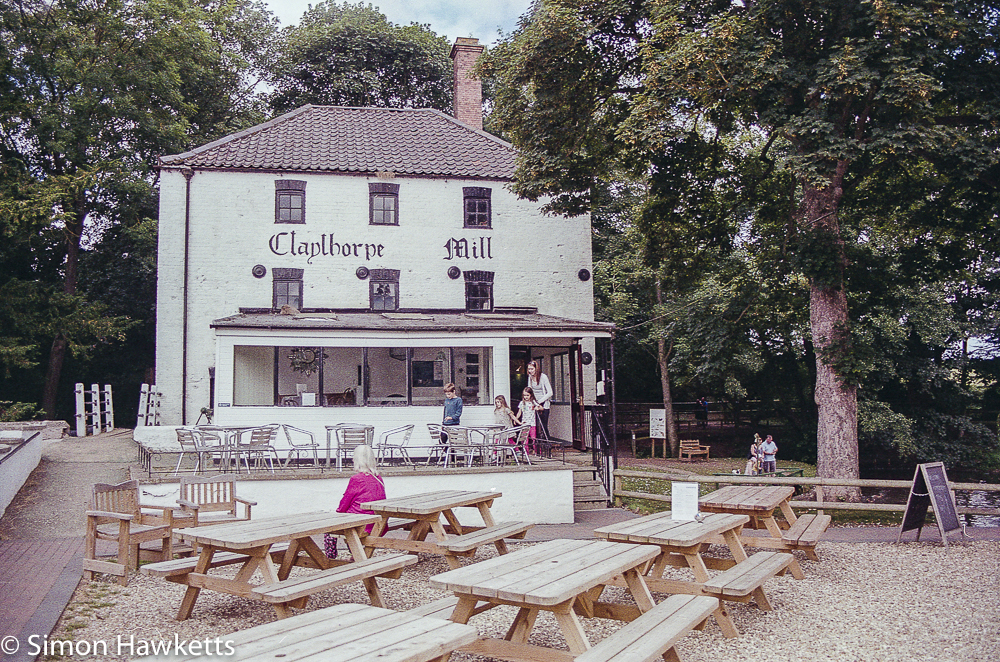

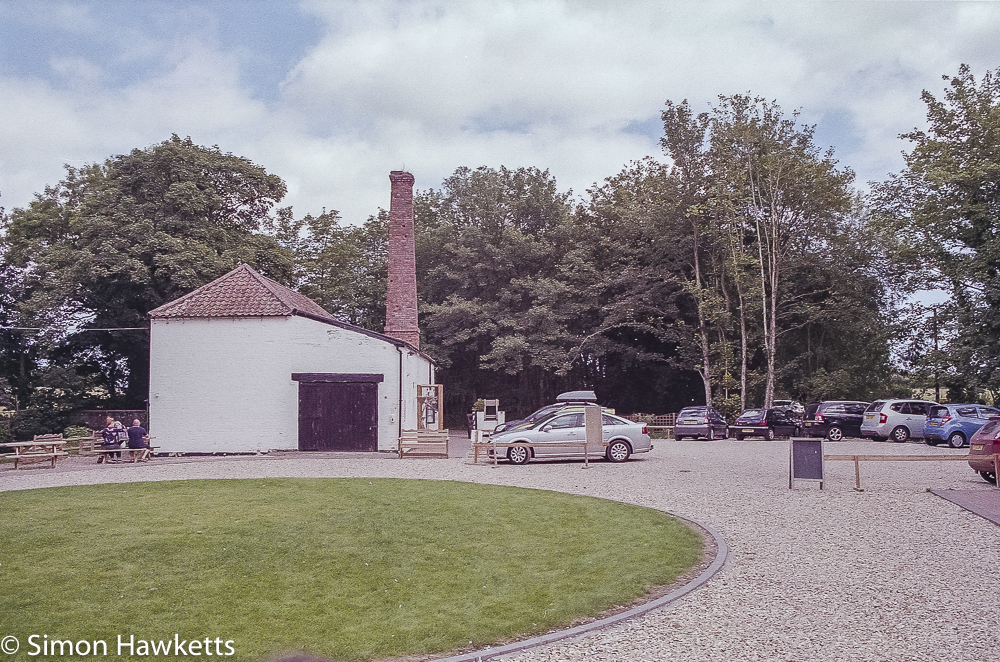
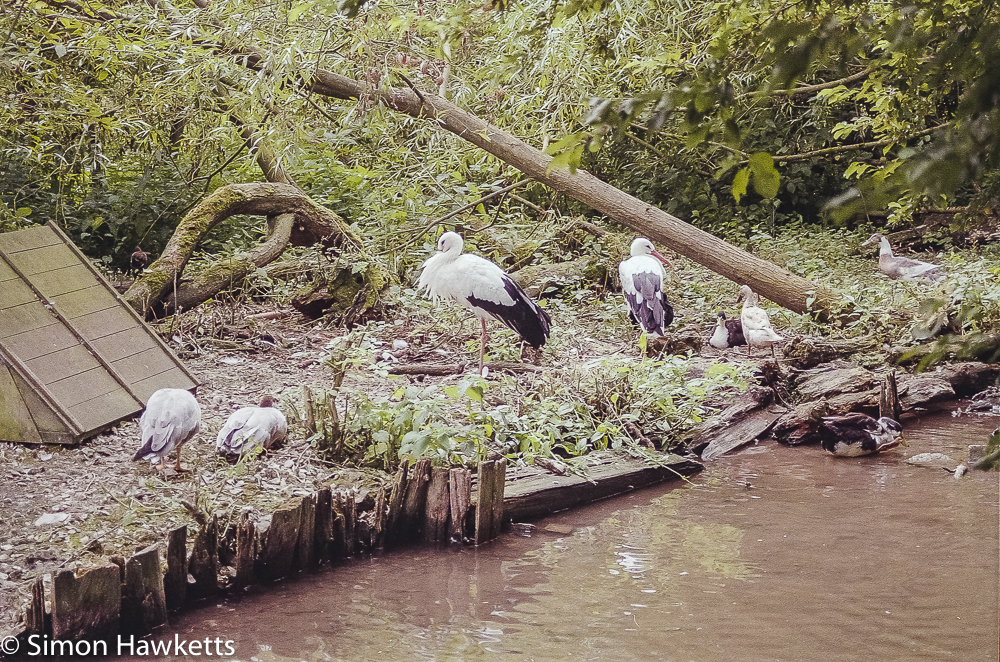
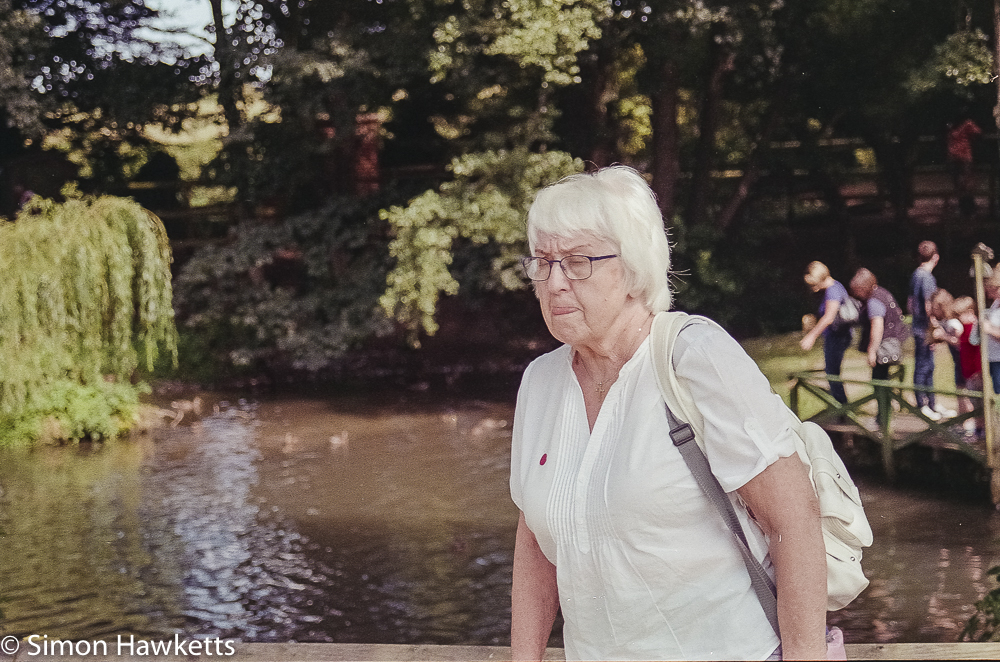
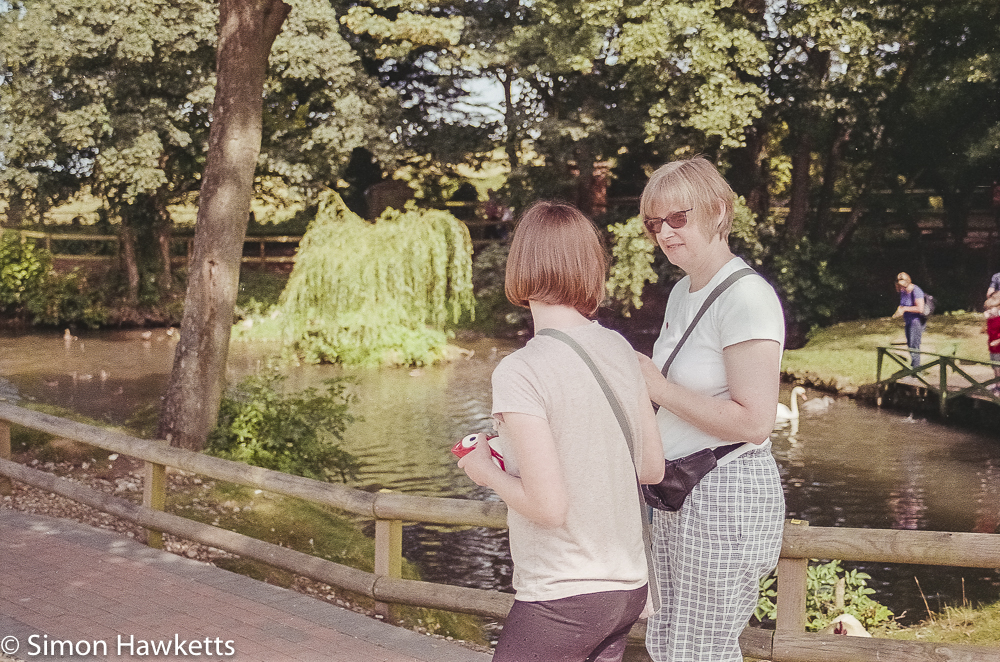
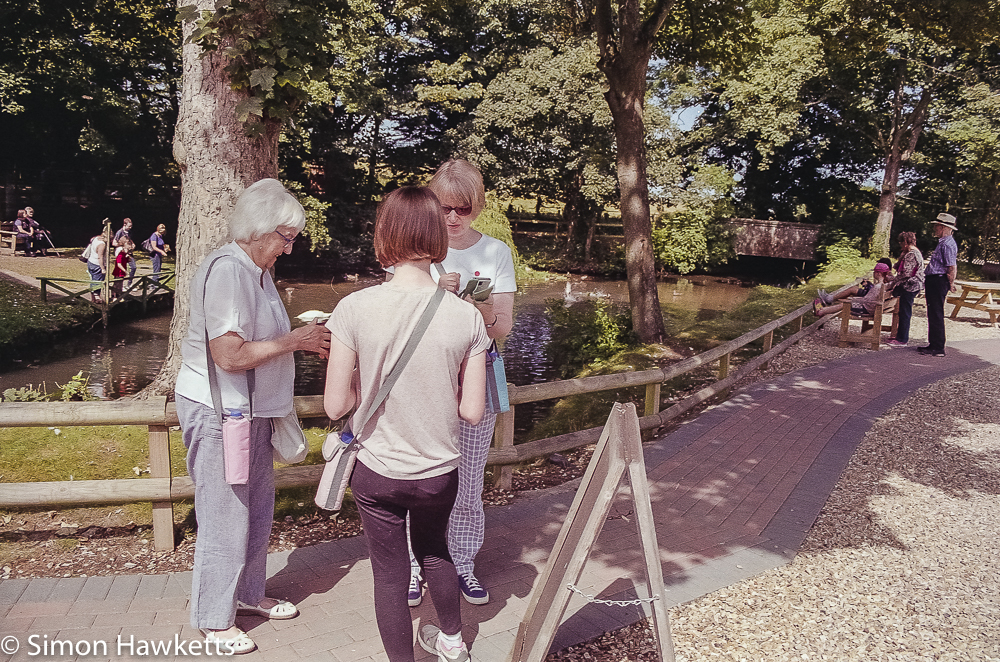
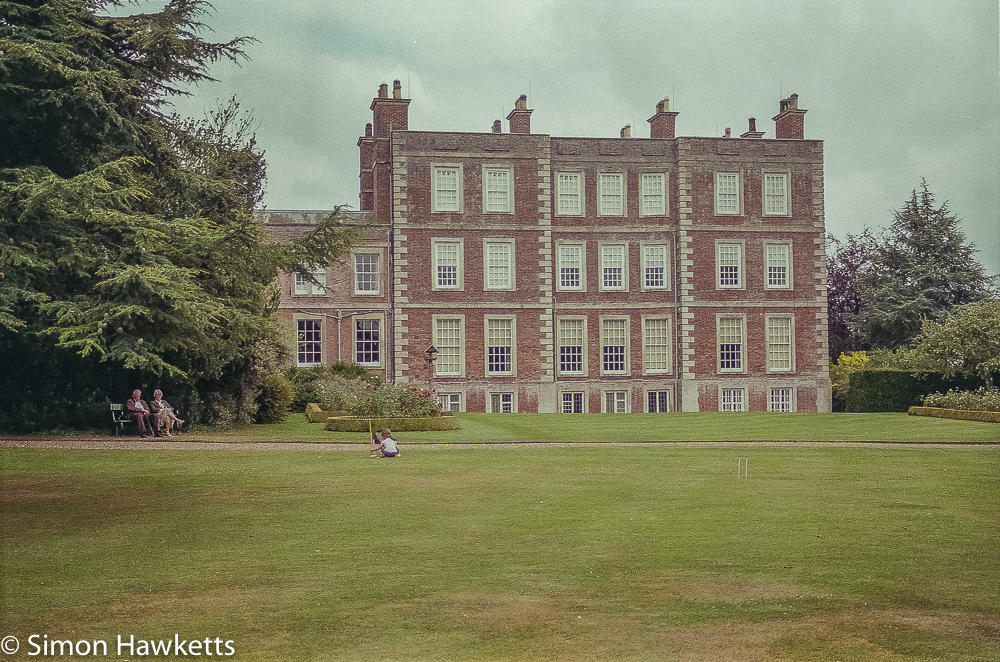
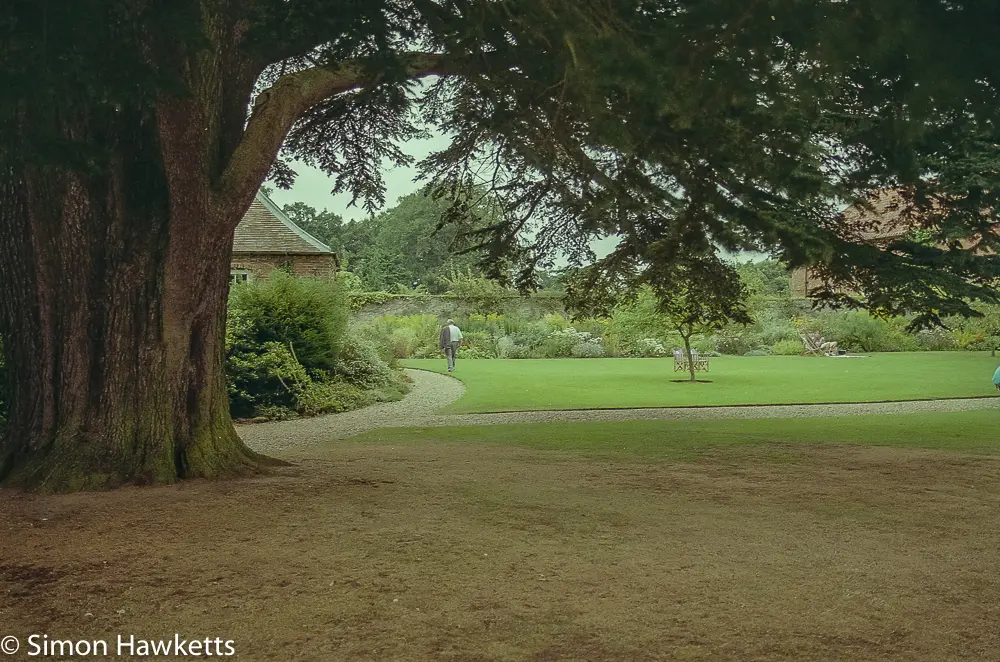
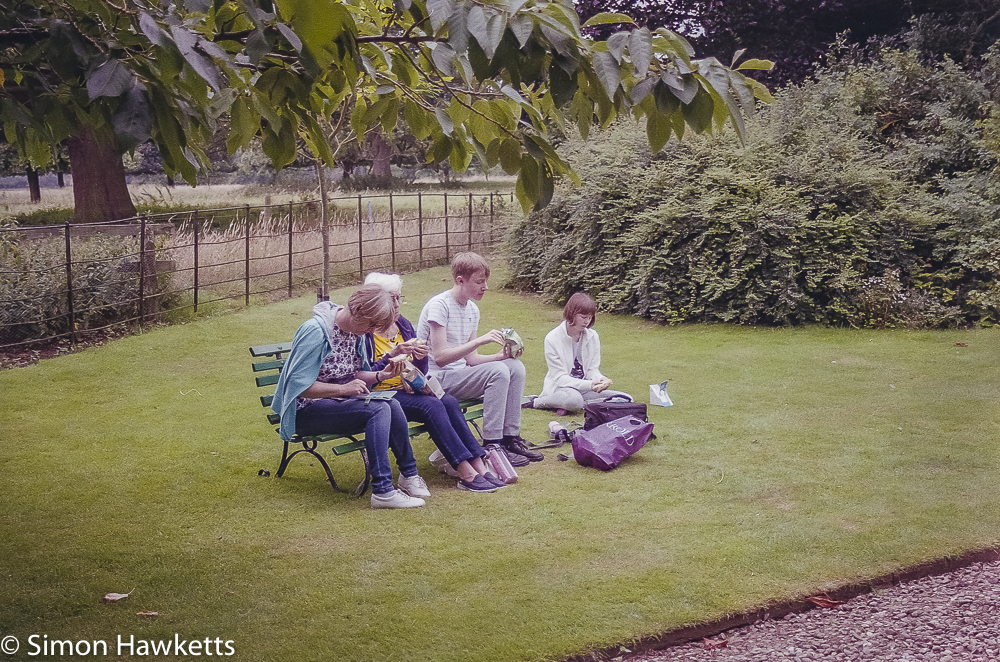
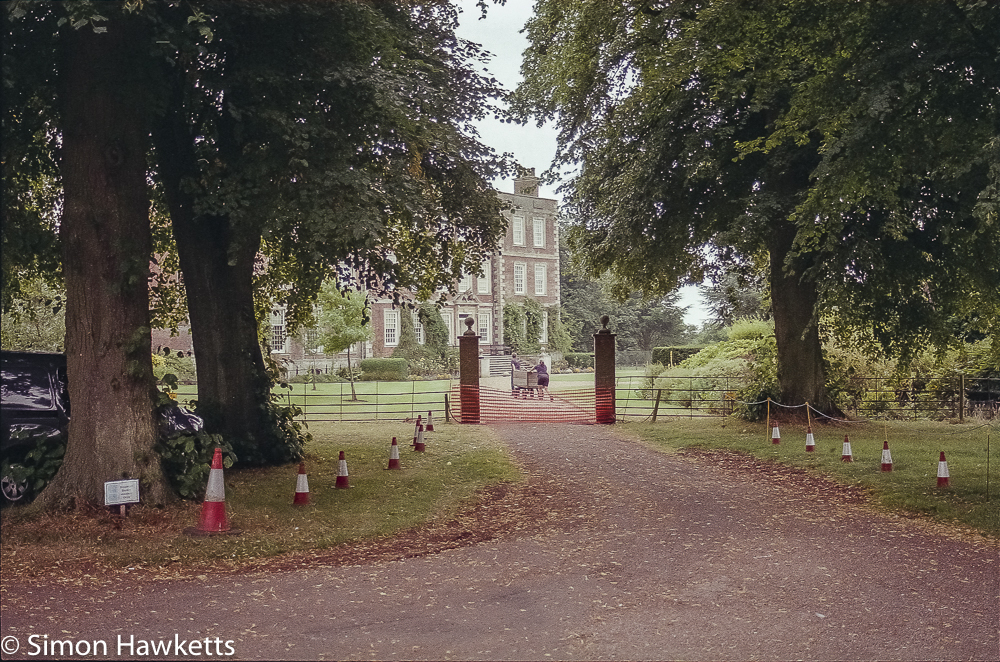
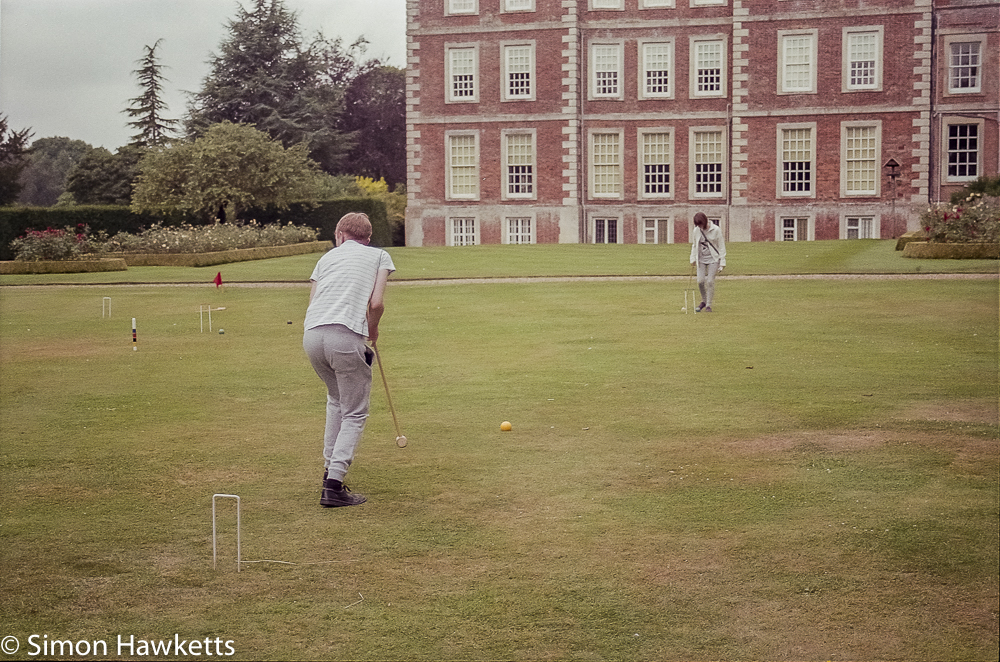
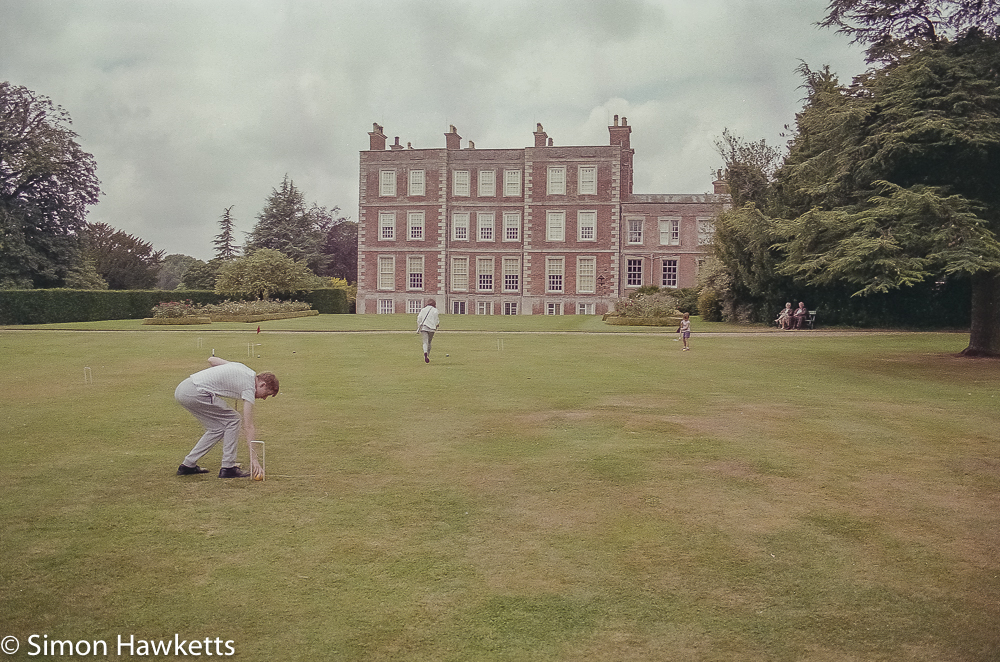
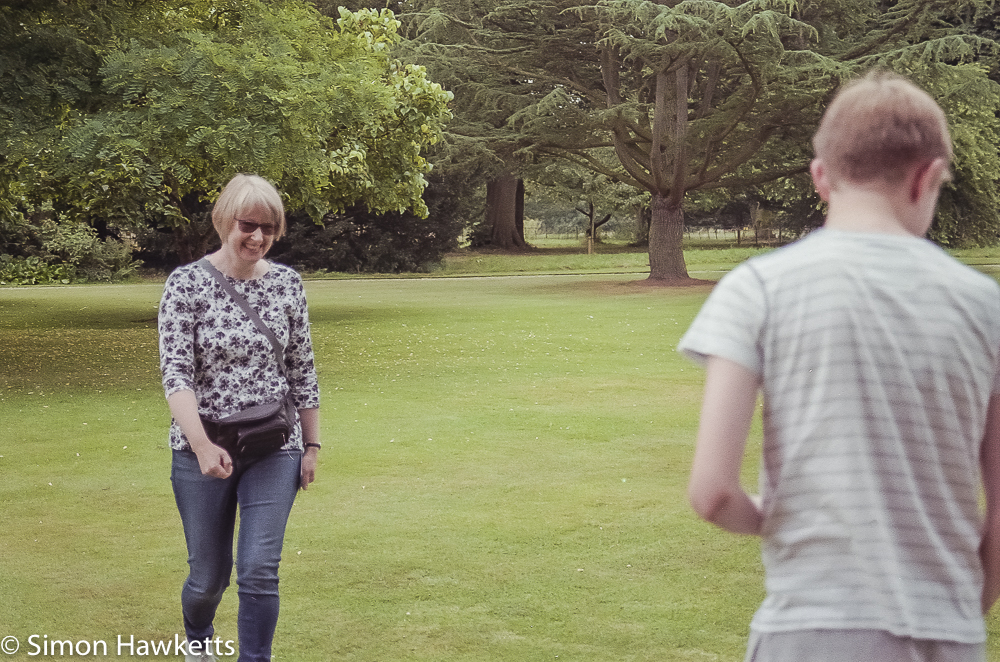
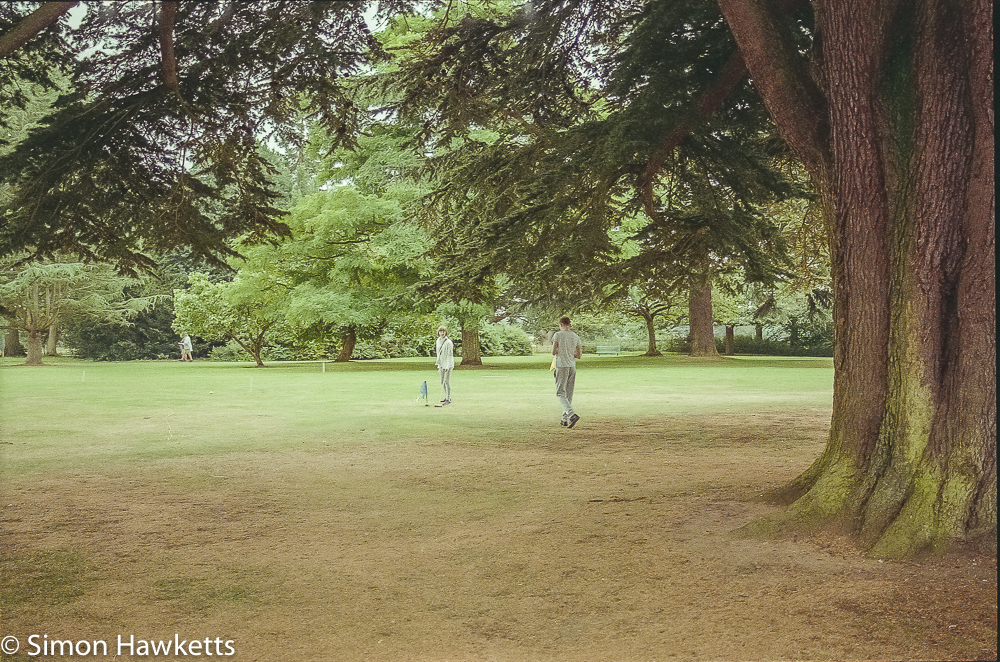
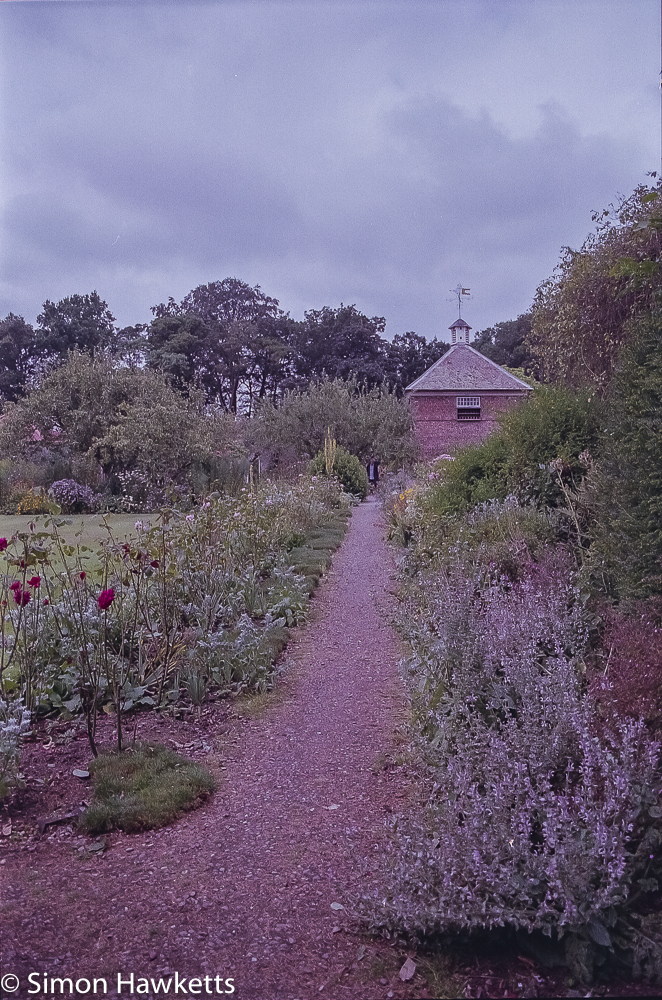
I took the pictures at a variety of locations, including a party at my Sister’s house and Gunby Hall in Lincolnshire. The results shown above are a bit of a mixed bag, although I think the camera performed well enough and isn’t to blame. The problems I see basically come down to two areas
- Some odd colour casts, particularly in the dark areas of the pictures.
- Quite a lot of grain.
The film used was Kodak ColourPlus 200, which is a fairly cheap film (about £2 a roll of 24 exposures) although I have used it in the past and had reasonable results. I developed the film with a Digibase C41 kit, and I think that may be responsible for at least some of the problems.
I have now developed 14 films with the kit, extending the development time as the instructions recommend, but I wonder if the developer is becoming exhausted. 14 is certainly on the upper limit of what is recommended, so this film is probably the final one I’ll develop with the kit.
I suspect that the film was also slightly under exposed. Although it’s possible to override the DX coding on the 700si, I didn’t and so the film was exposed at box speed of 200 ISO. In retrospect, I think it may have been better to set the camera to about 160 ISO or even 100 ISO to make sure it was over exposed a bit. I find that in contrast to digital, film is better over exposed, and it has a rather strange characteristic of needing more over exposure the lower the light level.
If you look at some of the pictures taken on sunny days above, they are quite nicely exposed, but the pictures taken on the duller days seem a bit flat and dull. If I look at the amount of change to the exposure I applied in Lightroom, I added about a stop extra to the pictures taken on the duller days.
One positive is that the film has almost no drying marks. On this film, as I took it off the reel to hang up and dry, I carefully wiped the film with a soft chamois cloth which took all the water droplets off. Although I was worried that this may have scratched the film, it doesn’t seem to have been hurt at all, so I will be doing that in future.
Just for the record, the film was scanned with an Epson V550 perfection scanner as TIFF files, imported into Lightoom CC and just had some exposure correction applied, some attempts to correct the colour casts and then noise reduction and sharpening.
Discover more from Everything Vintage
Subscribe to get the latest posts sent to your email.

