Converting 8mm films to digital
A blog post explaining how to go about converting the 8mm films to digital so they can be used on the vintage home movies site.
Introduction
This post is going to describe the process of converting 8mm films to digital in order to make the video clips available on Vintage Home Movies.
Converting films to digital
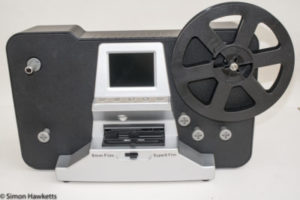
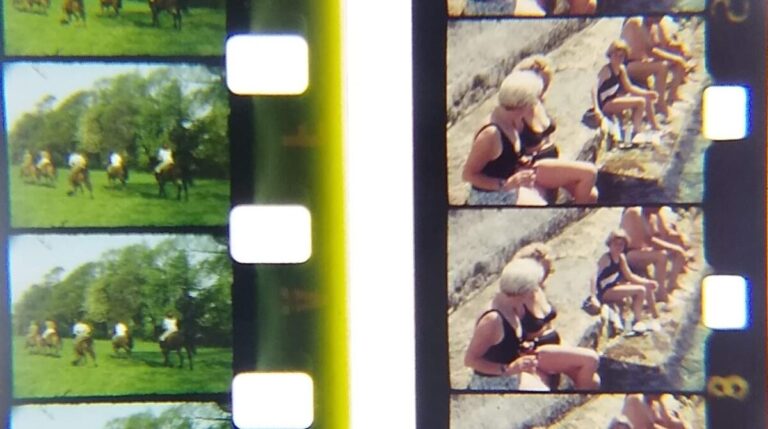
Film scanning is the process of converting 8mm films to a digital version of the film and at the moment I use a small 8mm film scanner made by Winait to do this.
There is a story behind the Winait.
Winait Scanner
I purchased it a couple of years ago and had a long battle with the manufacturer because it was initially faulty and they wanted me to return it to China at my own expense to have it repaired.
At the time I highlighted the problems in this post on my photography blog. In brief I found I needed to replace the main PCB in the machine and the replacement board I was sent was made for a different model of scanner. The customer support person in China insisted however that the new PCB board was working, they only make one model of scanner and that the firmware1 was permanent and unable to be updated by the customer.
Move forward a couple of years and I found by chance a post on an 8mm film forum which included a link to the firmware for the Wolverine version of the scanner, and an explanation as to how it could be updated. Since the scanner was still with me2, I thought there would be no harm in giving it a go and re-flashed the PCB. As I suspected this fixed the scanner and I can now use it to digitise the films bit that isn’t the end of the problems with the unit.
A couple of weeks after I started putting a lot of films through the scanner, the motor which drives the take up reel broke. While I work out how to fix it((Or perhaps build my own scanner )) I now drop the film into a box instead of it being wound on the take up reel and then manually wind it back to it’s own reel after the scan.
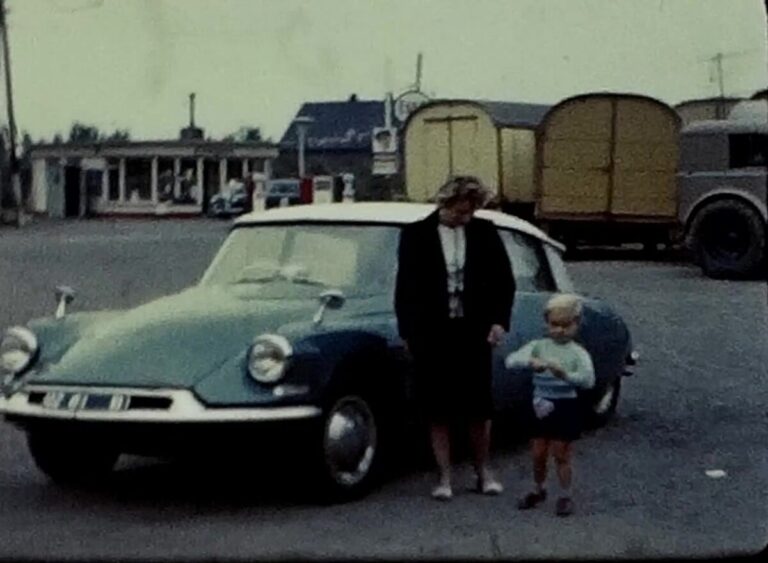
As well as the faults, as a scanner the Winait is not really very good because the results it produces are pretty bad with most of the definition in the original films lost. Ideally in converting 8mm films to digital you want to get an image which is as good as the original projected image would be and it seems a real shame that the company which produces it puts in all the engineering effort to make the machine work, and then add so much compression to the results that they are almost worthless. It would take almost no effort to add some options into the firmware to let the user set the quality level, but apparently this is just too much of a problem.
The other drawback to the winait scanner is the fact that the maximum reel size it will take is 5 inches. I have several 8 inch reel and some larger which are more difficult to scan((You can do larger reels but they won’t fit on the machine and need to be attached to a separate arm and fed through the scanner – it all gets a bit messy )).
In the longer term I am going to build my own telecine machine to do the conversion from film to digital. This is a project which I’ve been planning for a long time and I have most of the detail sorted out (in my head at least) and when I can get the time to get the initial hardware constructed I will get it moving. Once this is working and producing better results I will probably work through re-scanning most of the content on vintage-home-movies.
The actual process of converting 8mm films to digital is relatively easy.
The films are run through the winait and the resultant files copied to an iMac where I carry out some post processing. After producing a half dozen films I found it is best to clean the film prior to scanning to avoid dust and stray fluff getting into the scanner and appearing on the output. I do this with a mixture of Isopropanol and White Mineral Oil at about 80/20 mixture on a soft, lint free cloth, running the whole film through this held lightly in my fingers just prior to carrying out the scan.
Processing the digital files
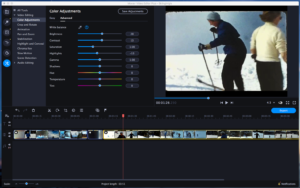
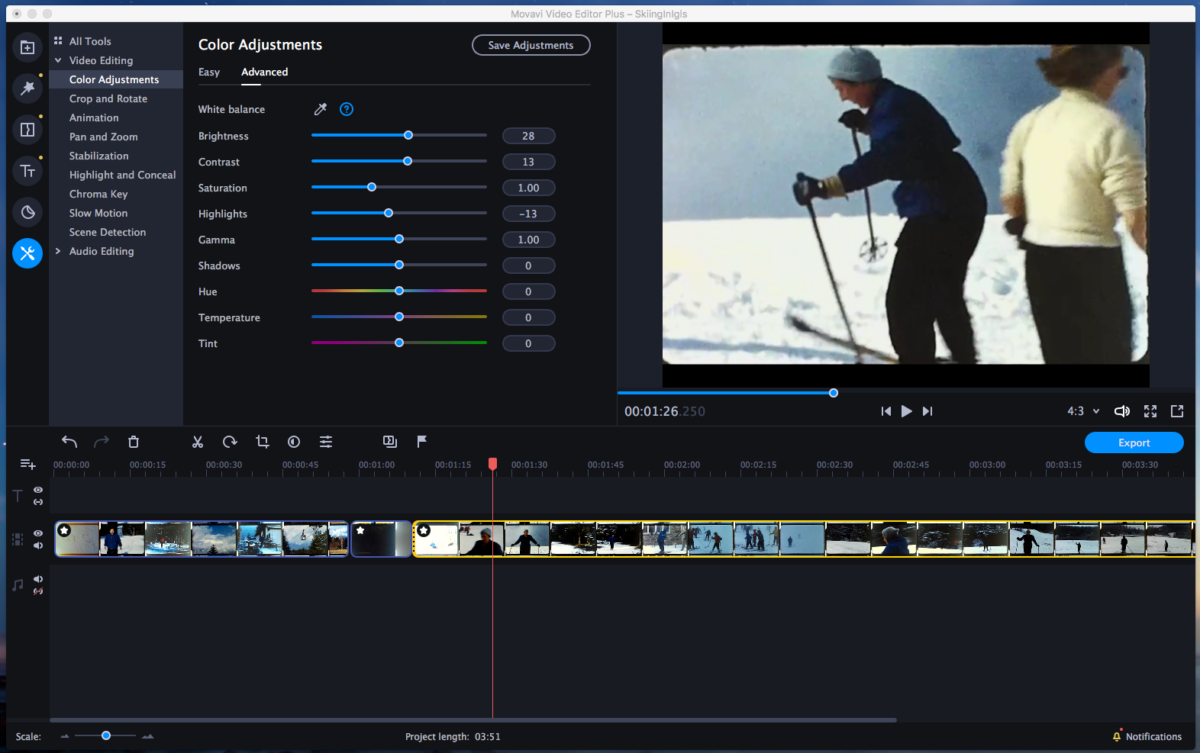
Once the scanning is complete and the ‘8mm films to digital’ process is done, the next stage is to carry out post processing which I do with Movavi video editor.
However, before the film gets to that point I need to decide if it is going to be published or not.
Although I could project the films to see if they are interesting or not I don’t have a projector set up all the time to do this, and it is often easier to leave the scanner working on the films and look at the digital clip rather than the projected image. This means that in many cases I only look at the films when I’ve got a scanned copy. I need to decide if the clip looks of interest to people and to check if there is any reason not to put it on the site.
One reason not to publish is if there are any images which could be considered tasteless or even bordering on rude to publish. For example I scanned a film a few days ago which had a family at the beach. Although the majority of it was fine there was a sequence of a small girl who was not fully covered which I considered to be best left off the site – if I publish that film I will remove that small portion.
Once the film has passed the ‘do I publish it’ test I carry out post processing.
Initially I tried using iMovie to do this which is supplied with the iMac as standard, but I couldn’t set the aspect ratio to 4:3 with iMovie so I tried a copy of Movavi and found it to be much better for my purposes. I can set the speed (the scanner produces a file at, from memory 24 frames per second and it needs to be 16 or 18 for standard 8 / super 8), crop out any frame edges, adjust the exposure and shadows etc and remove any blank sections.
The technique I use for getting the film ready to be used in a post on Vintage Home Movies is as follows:
- Set up a project and select the film as a whole. I can then set the speed to be correct for the whole film
- Set the aspect ratio to 4:3 and crop the film image to remove the edges of the frame.
- Make any exposure corrections to the film as a whole
- Run through the film and see if there are any sections which need to be removed and if so cut them out
- Check if any scenes need individual processing. If that is so I cut them into a separate clip which can have individual adjustments added.
- For some films, which have particularly jittery content, I might use the stabilization filter to remove the jitter.
Once the film is looking right I can automatically upload it to youtube as an unlisted video from within Movavi and then embed the video link in a new blog post page here on vintage-home-movies.
When the film has been embedded in a post on this site, I add an identification number to the physical reel of film, and note this number on an internal field for the film so I can easily find it again to re-scan once I get my ideal telecine machine running.
So that is how the films are added to the site.
If you want to be informed of content as it’s added to the site please consider subscribing using the form in the side bar or here.
- Since the new board looked physically the same as the faulty board I assumed that it was the firmware which needed updating [↩]
- The company in China wanted it returned but again wanted me to pay to return it [↩]
Discover more from Everything Vintage
Subscribe to get the latest posts sent to your email.

18 Comments