How are films scanned for Found-Film?
I thought I would write a brief post explaining how I get the slides and negatives onto the Found-Film site.
I thought I would write a brief post explaining how I get the slides and negatives onto the Found-Film site. This involves the process of getting the films scanned, post processed and then imported.
Getting the films scanned
The actual resolution necessary to show the pictures on web pages is not very high so it isn’t necessary to have a really high grade scanner to convert the film to a digital image. I actually scan the film with an Epson V550 perfection scanner, which is the cheapest and simplest scanner Epson make, and use a copy of SilverFast to control it. I originally used the Epson software which came with the scanner but there is an annoying bug on the Mac version and after many hours cursing it I eventually switched to SilverFast (that is probably the subject of another post). While on the subject of SilverFast I have to say that it lives up to its name, it is significantly faster than the original Epson software – easily twice as fast, sometimes more.
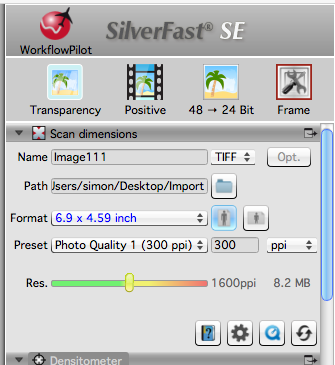
I decided when I set up the site that a total file size of 1M per image would mean I could easily host several thousand pictures within the limit of my servers available disk space without upgrading to the next plan. In order to get some leeway to deal with in Post Processing I scan the negatives at 300 dpi and for a print size of about 4inch x 8inch. This is not exact but as long as the file size is about 6M to 8M or so that seems about right.
I scan them using all the auto settings on SilverFast for speed, only adjusting the exposure if a negative is particularly dense or pale. The negatives are scanned emulsion side up so that the picture is the correct orientation, but although some emulsions make that easy (Kodachrome for example), others are very difficult so I sometimes need to correct it later in Lightroom.
The resultant file is a TIFF format file, which is saved to an auto import folder which Lightroom monitors so the pictures automatically appear in Lightroom as the scan completes.
Lightroom Post Processing
Once the pictures are in Lightroom I apply a small amount of post processing to them. I guess the purist would say that the pictures should be scanned and published exactly as they are, but I like to get the picture as close as possible to the scene originally photographed where that is possible – after all, that is what the original photographer wanted.
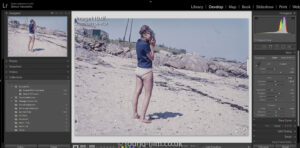
Normally the white balance is off so I will fix that with the white balance dropper tool and then use the cropping tool to limit the image to the actual picture area. Although SilverFast has a good guess at the frame edges there is normally a bit of waste to remove. Occasionally a picture has such a bad colour cast that I need to rescan and actually remove it in SilverFast rather than in Lightroom, but this only happens once every 50 or so images.
With the picture cropped I rotate it so that the picture is vertical (sometimes the negatives or slides go in the scanner the wrong way up) and then I have to decide if the picture is inverted. As I said above, if the image is scanned emulsion side up the orientation will be correct, but some emulsions make it very difficult to see a difference between the two sides, so occasionally it will be wrong. To check this I usually look for things in the picture that can help; writing is obviously good, sometimes the way jackets are buttoned will help or wedding rings etc. If I can’t find anything I leave the picture as it is – it will be right 50% of the time!
The exposure is, for the most part, normally ok but I may need to apply a few tweaks to just drop the highlights and increase the mid-tones a bit if necessary. If there are any marks on the picture which would be easily removed with Lightroom’s limited cleanup tools then I might do that at this stage as well and on a few occasions I’ve also applied a bit of noise reduction. This all sounds like a lot of processing, but it really isn’t much – most images don’t take more than about 30 seconds to process.
With the image processed I run an export profile which creates a jpeg image sized at 1000 pixels on the longest edge and add a watermark to the bottom of the picture just so it isn’t used on another site without attribution. Since the scanner can scan 4 images at a time I tend to create 4 jpegs at a time and upload them to the site in one batch.
Adding to the images to Found-Film
With the pictures prepared as jpegs I import them into the site and add the relevant metadata. This is just really a question of selecting the film type, manufacturer etc and then adding a title and text description to each picture. Although it is sometimes obvious what each picture is, the text description is useful to aid organic search results.
Notes about emulsions
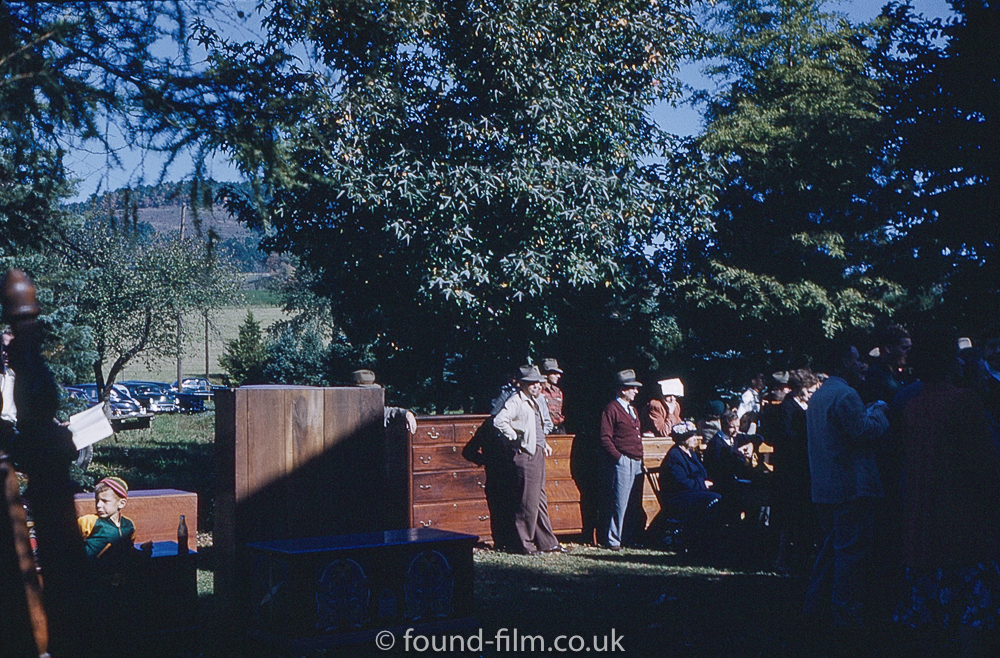
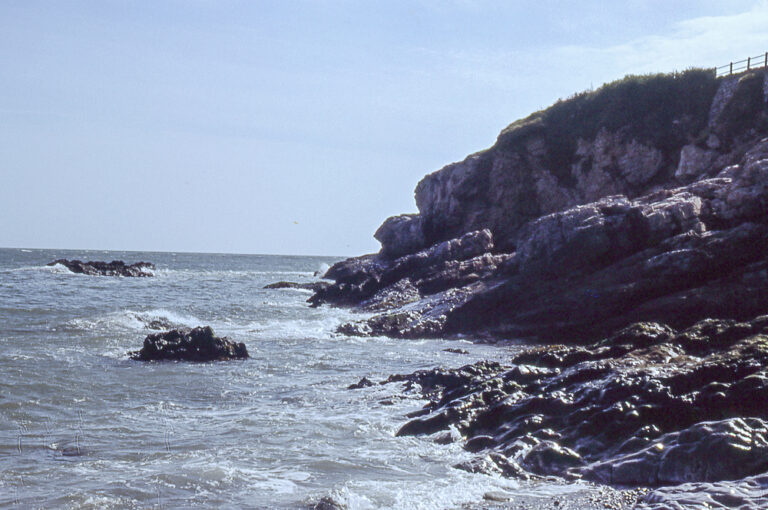
Just a short note about emulsions. Although Kodachrome is now dead (or is it coming back?) and was a complex and difficult process that could only be carried out in the lab, it seems by far the best emulsion to keeps its quality and ‘look’ over the years. I’ve scanned Kodachrome slides which are 60 years old that look fantastic and are as colourful and bright as the day they were processed. Some other emulsions look really faded and dead by comparison. Look at these two scans for example.
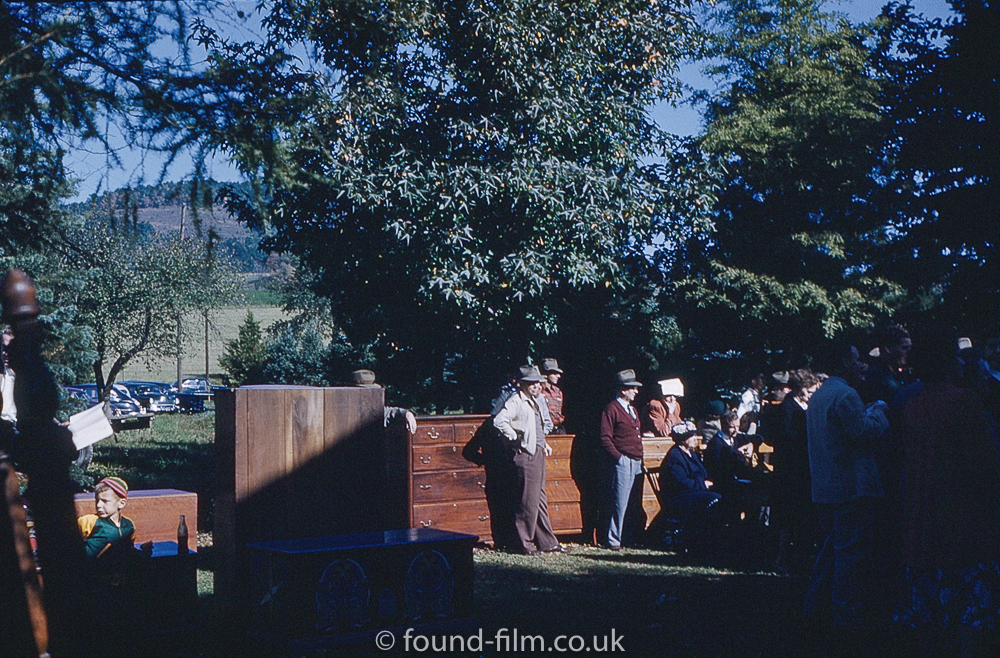
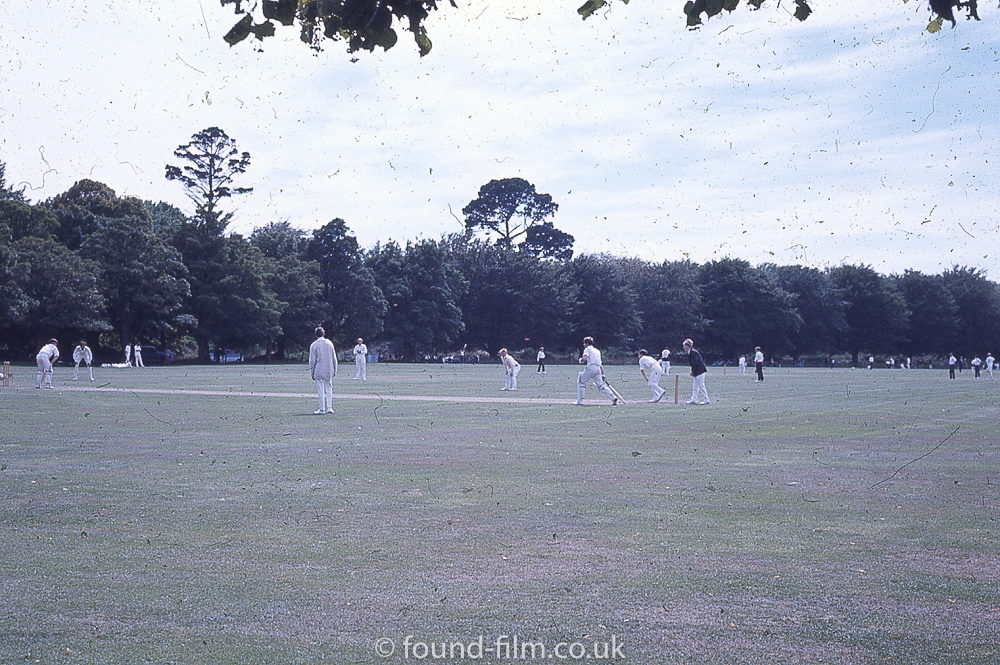
The first is a Kodachrome from 1951, the second is an unknown emulsion (but not Kodachrome) from 1968 – the difference in colour and brightness is obvious.
Discover more from Everything Vintage
Subscribe to get the latest posts sent to your email.

Many thanks for that information. I live in a small studio apartment (a.k.a. bed-sit) and don’t have enough room for much darkroom stuff. However, I am thinking of getting back into film development and then scanning the developed films. One complication for me is that I use Ubuntu (Linux) as my operating system so I cannot use many commercial scanning packages that only work on Mac or Windows. Do you have any suggestions for scanners and software to use with Linux?
Hi Roy
Actually I use Ubuntu for nearly everything except photography! The only reason I got a mac was to use Lightroom, and I’ve also tended to use the mac for scanning as well. I believe there is scanning software called Vuescan (https://www.hamrick.com) which comes in a version for linux so that may be ok. When I get time I’ll try my scanner with Ubuntu and see what native scanning applications are available and let you know.
Hello Simon,
Thanks for your reply.
For your information, I know already that there are Ubuntu applications for facilitating scanning in Linux. SANE stands for “Scanner Access Now Easy” and is an application programming interface (API) that provides standardized access to any raster image scanner hardware (flat-bed scanner, hand-held scanner, video- and still-cameras, frame-grabbers, etc.). Here is the website: http://www.sane-project.org/intro.html
XSane is a graphical scanning frontend. It uses the SANE-library to talk to scanners.Here is a link to the relevant website: http://xsane.org/xsane-introduction.html.
From the research I did already I know that XSANE does not provide the software drivers but it does show which scanners are likely to be compatible. Here is the relevant link: http://www.sane-project.org/sane-backends.html.
I think your software knowledge is probably greater than mine.
[…] How are films scanned for Found-Film? […]
How did you use Silverfast with the Epson? I have Silverfast SE that came with my Optikfilm 8200i. The Epson software is good for a quick preview scan but the quality with 8200i seems a lot better.
My brief experiment with Silverfast and the Epson was SF didn’t “find” the Epson scanner – any pointers?
Hi
When you buy Silverfast you need to identify the scanner model and make you are going to use it on and then download that version. It sounds like that could be your problem?
[…] pictures as shown here have had minimal post processing. In fact, since I wrote my post about how images are scanned for found-film.co.uk back in January 2017, I’ve simplified the process quite a lot and now do most of the post […]
[…] to white balance, clarity or colour either at the scanning or the Post processing stage other than getting the exposure right when carrying out the scan. I’ve attempted to just capture the slide as it would have looked when first returned from […]
[…] like they did when first processed, it’s possible to make quite an improvement during the scanning process, and this post covers the technique I use to recover those […]