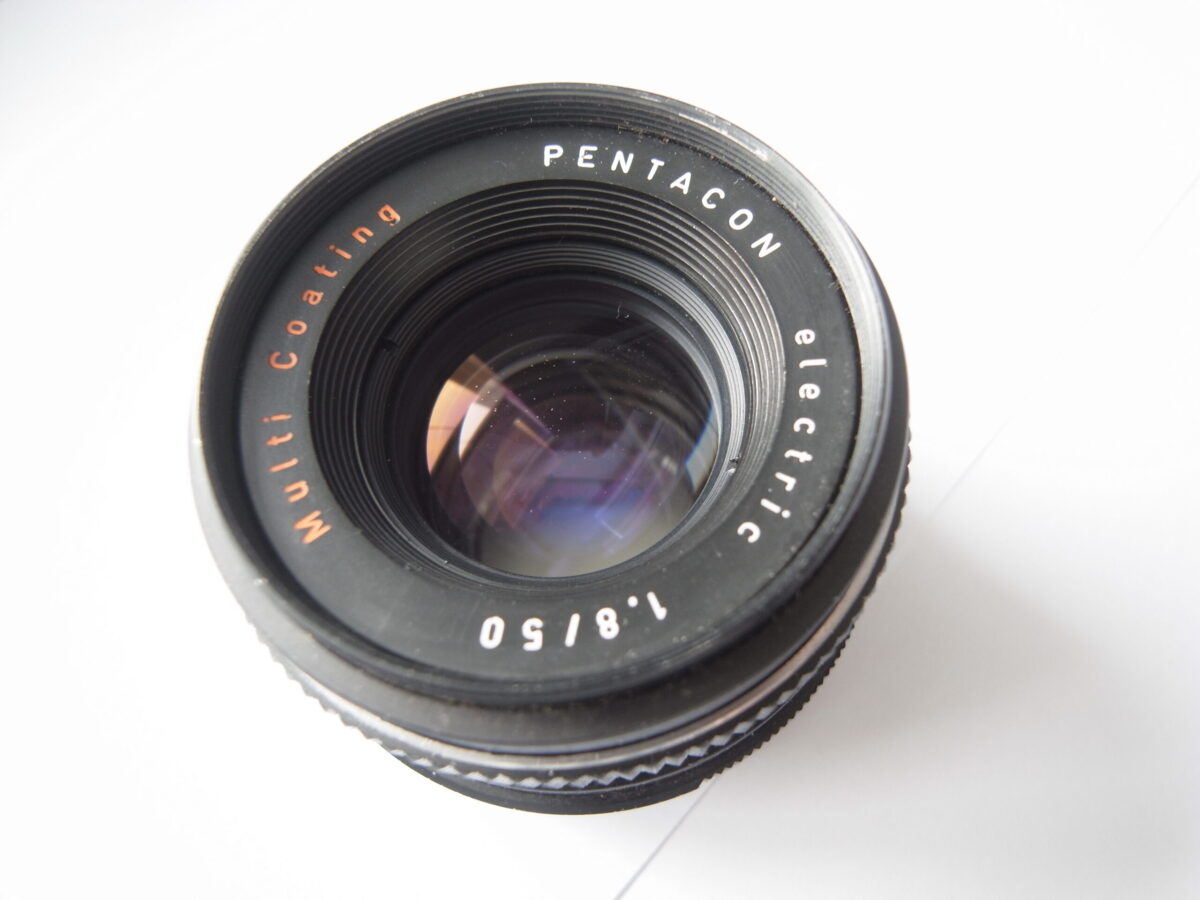
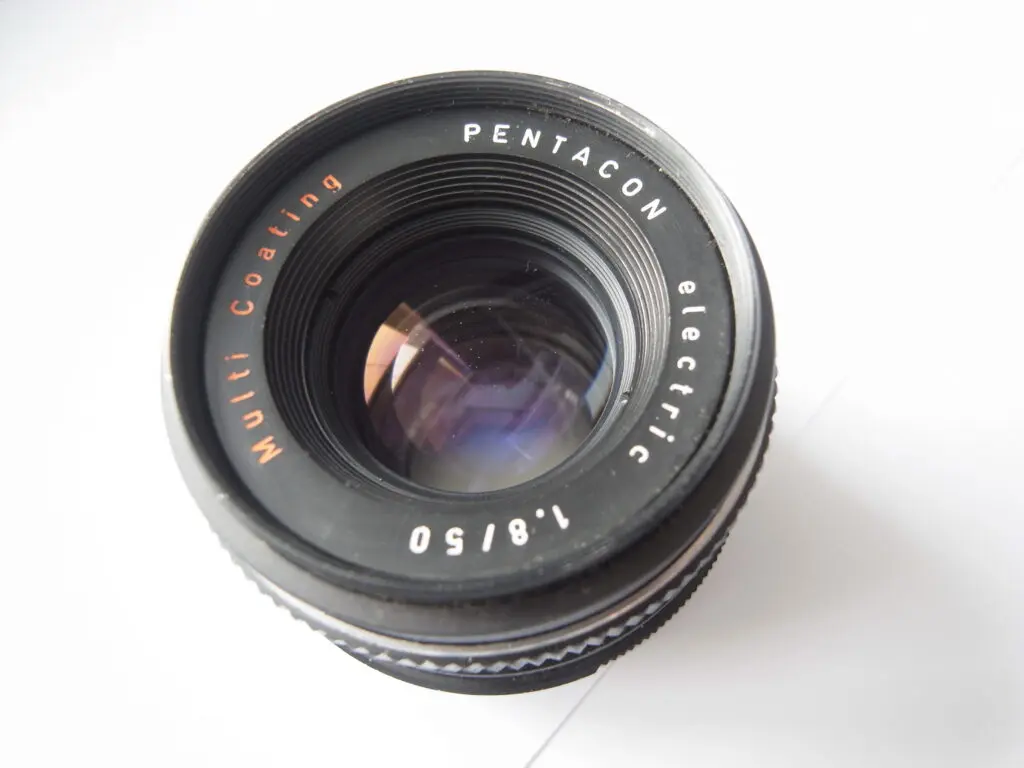
Stripping and cleaning a Pentacon electric 50mm f/1.8
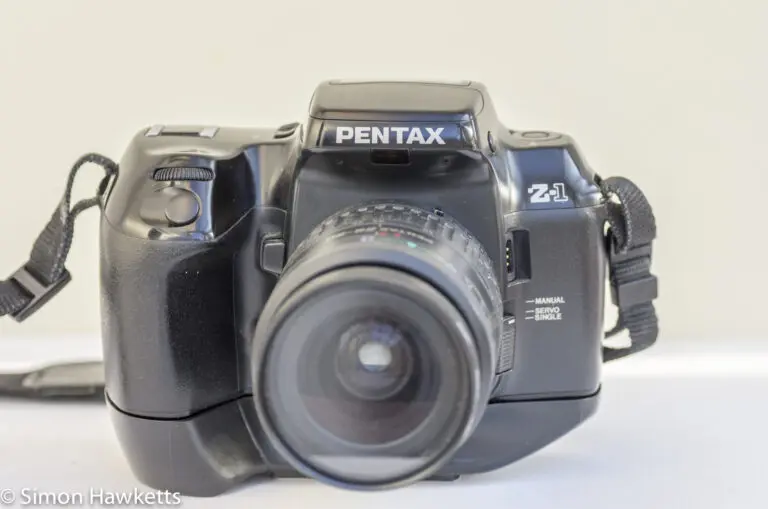
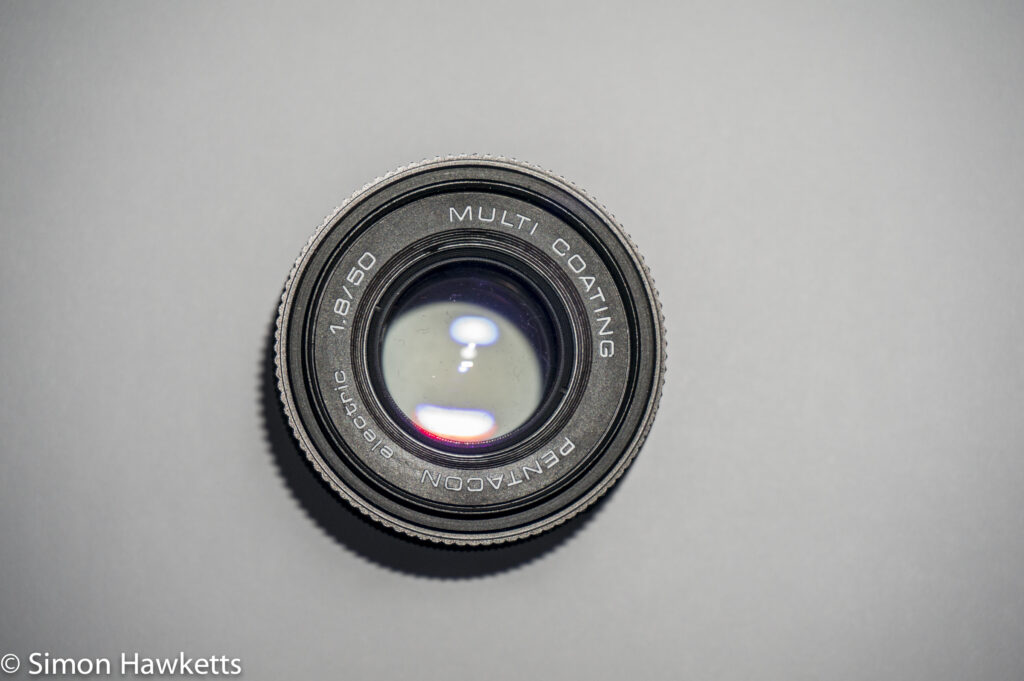
This week I made another purchase for my NEX 6 in the form of a Pentacon Electric 50mm f/1.8 prime lens. It actually came attached to a Praktica PLC3 SLR which I purchased as ‘For spares or repair’ from e-bay for £13.
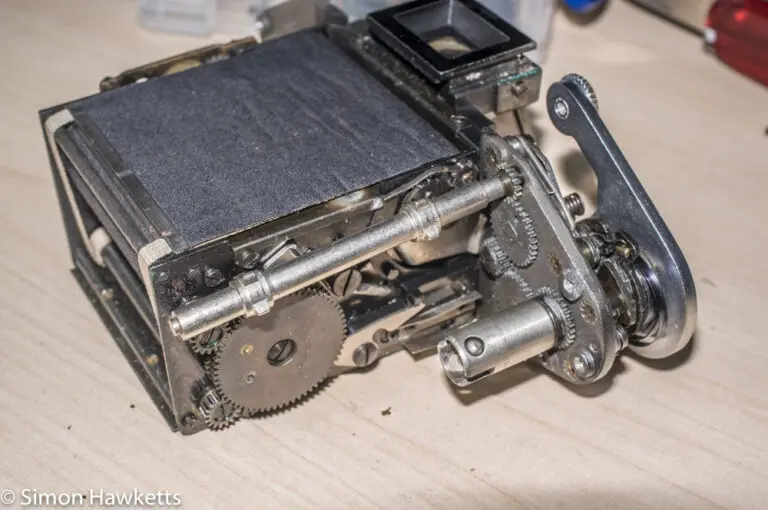
When I received the camera I found that the description was quite accurate! The body is in reasonable condition but the shutter speed selection and the ISO setting are not working properly, and when I tried to adjust the ISO setting, the top of the speed selection dial came off in my hand!
Still, I really bought the camera for the lens so that was the thing I paid most attention to. Well it wasn’t completely good news. The aperture didn’t seem to adjust at all and the focusing was so stiff that I unscrewed the lens from the body trying to adjust it! After a bit of working the aperture ring a few times the aperture suddenly started to open and close and has been OK ever since, but the focus ring didn’t properly free up, so I worked out that I was going to have to free it up by dismantling the lens and cleaning and re-lubricating it. Now, I have only limited experience of this – the only lens I’ve taken apart and worked on was a Russian Industar 61 which as a relatively simple lens and I found complete instructions on the web.
Still, the lens only cost £13, and it was no good without the focus working, so I thought ‘Why not’?
So this is my account of stripping this lens down and cleaning/lubricating it – hopefully it will help someone else one day, and it will certainly be an aide memoir for me. I’d like to apologise for the image quality in this post – In order to get the steps right and also take photos I repeated the process with the lens next to my Mac and took pictures in less than ideal lighting.
Pentacon electric 50mm Disassembly
The lens as I received it was fitted with a Hoya 49 mm skylight filter so the first thing I did was remove that.
I then set the focus to minimum focus distance so that the front part of the lens was fully extended and removed it by turning it anti-clockwise as I held the focus ring tightly. This took a lot of force initially, and I wasn’t sure if this was the way it came apart or not, but I couldn’t find any screws visible and a site I found for the Pentacon 29mm lens suggested it would come apart, so I just applied force until it unscrewed.
Once the front element was off I looked into the front of the lens and I could see three small screws holding the focus adjustment ring in place. With these removed the focus adjustment ring also came away. I cleaned it and then placed it and the small screws into a box to keep them safe.
With the focus ring off I could see the front lens element and how it sits in a helicoid arrangement with a smaller ring which the focus adjustment ring turns. This was quite gunged up with grease, and it was very difficult to turn with the adjustment ring off. However, with a lot of effort I got the front element out by turning the lower ring until the top element popped out of the front. At this point I unscrewed the bottom focusing ring, so the whole lens elements were apart, and I could give them a good clean.
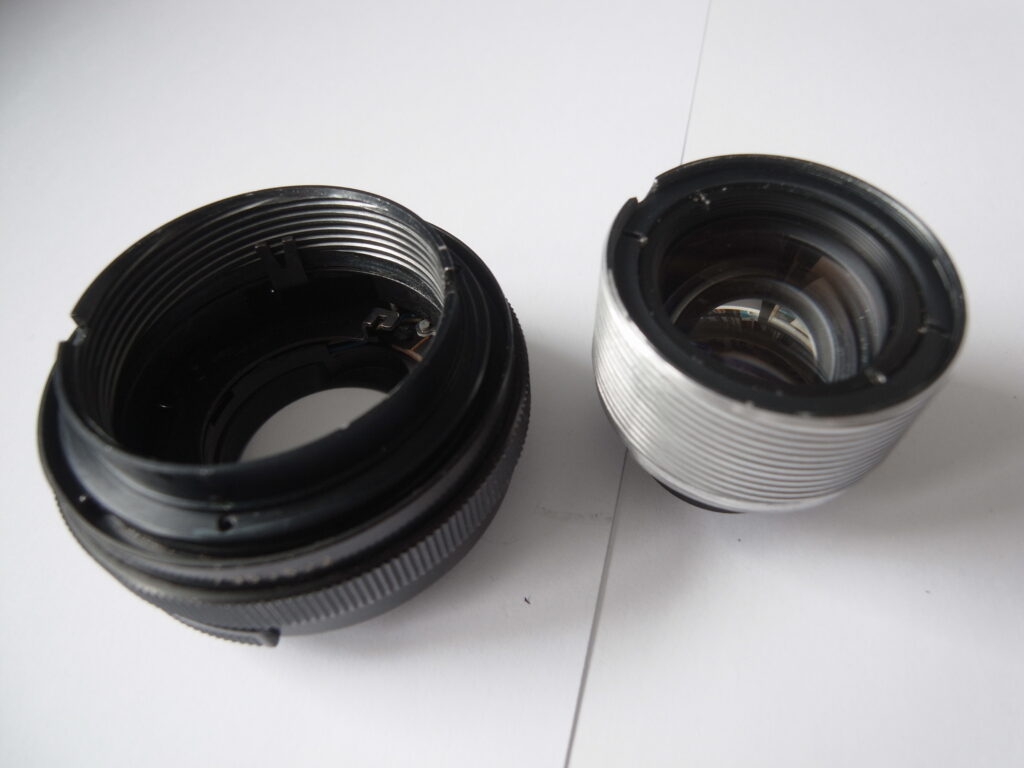
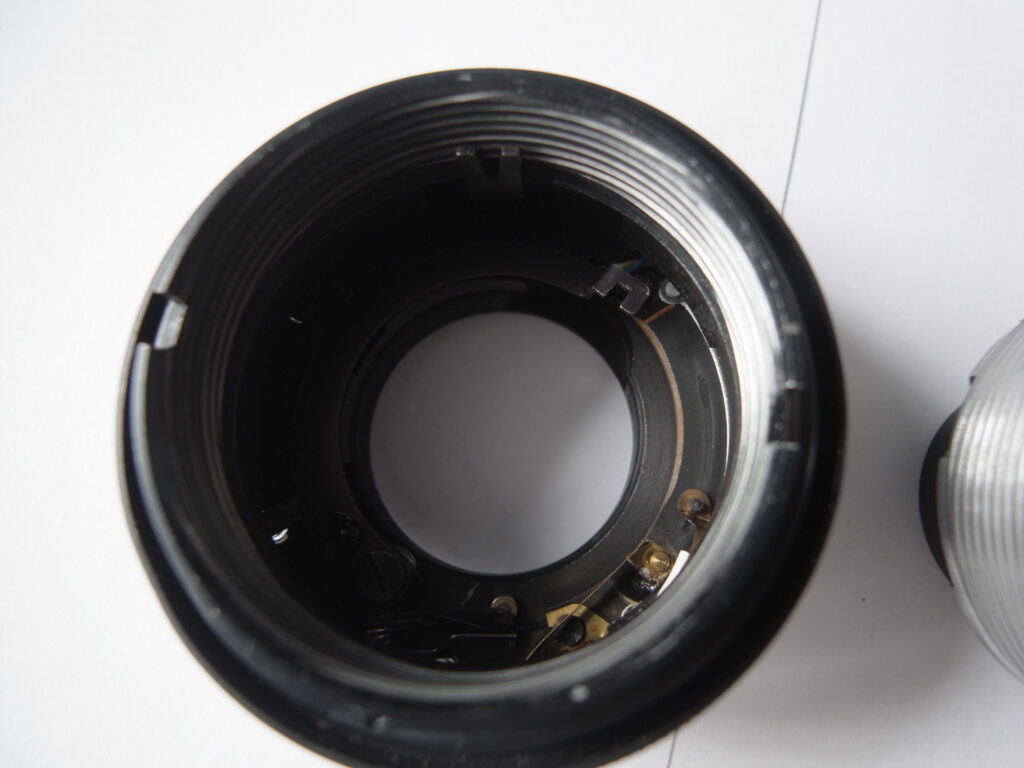
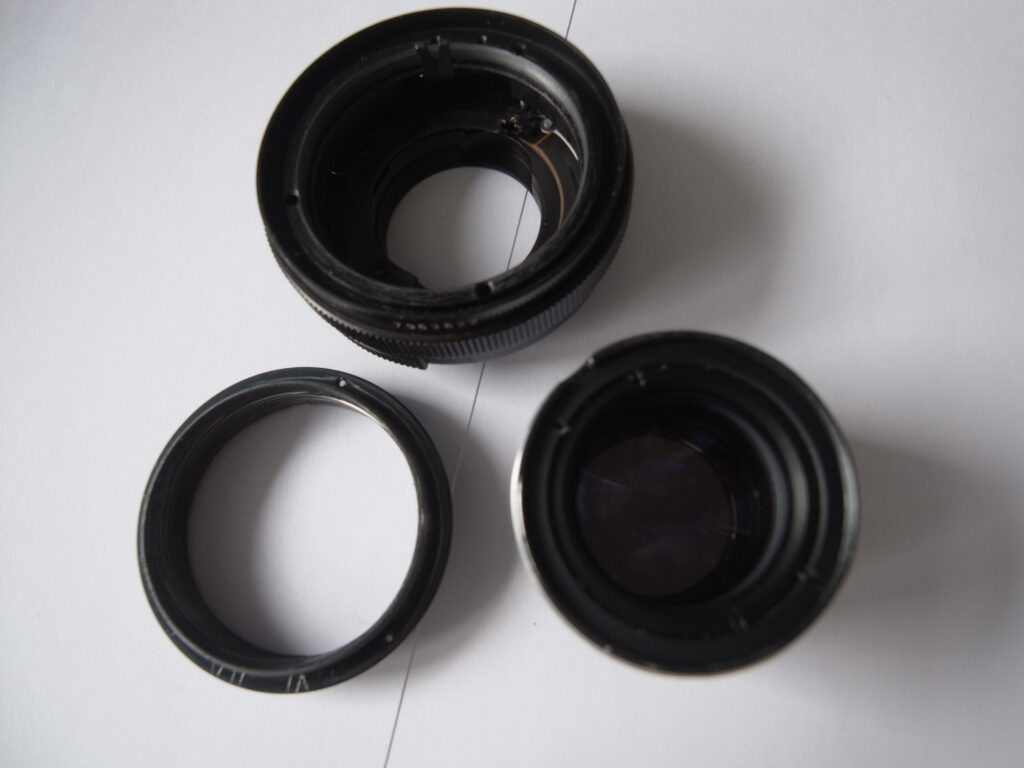
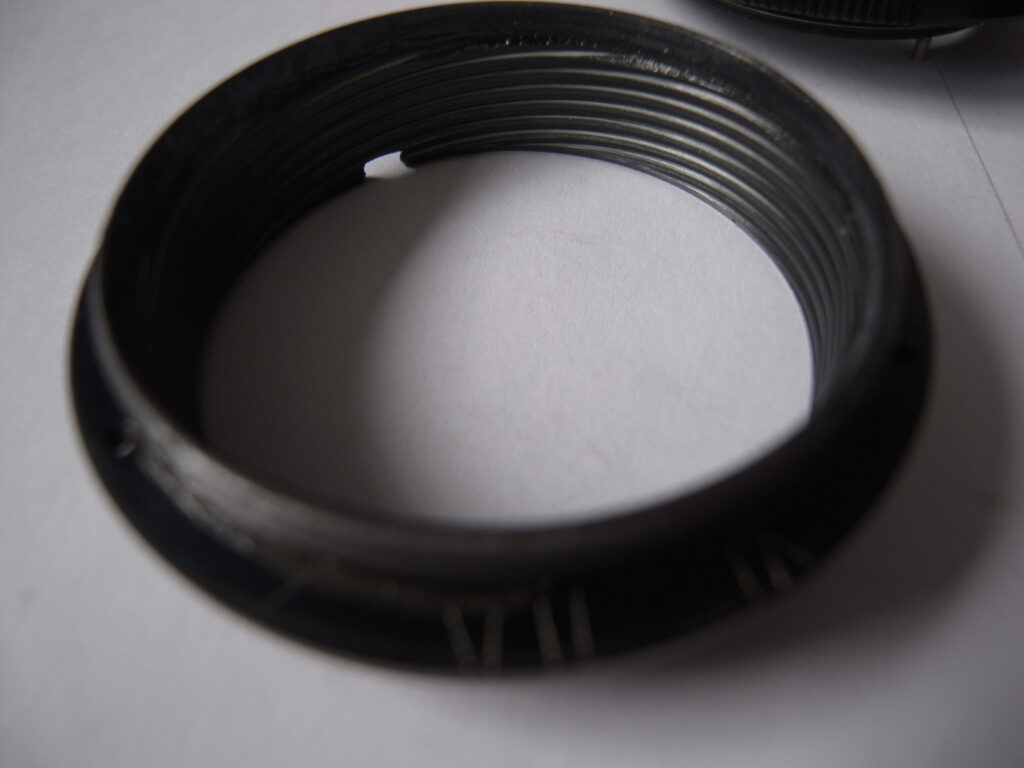
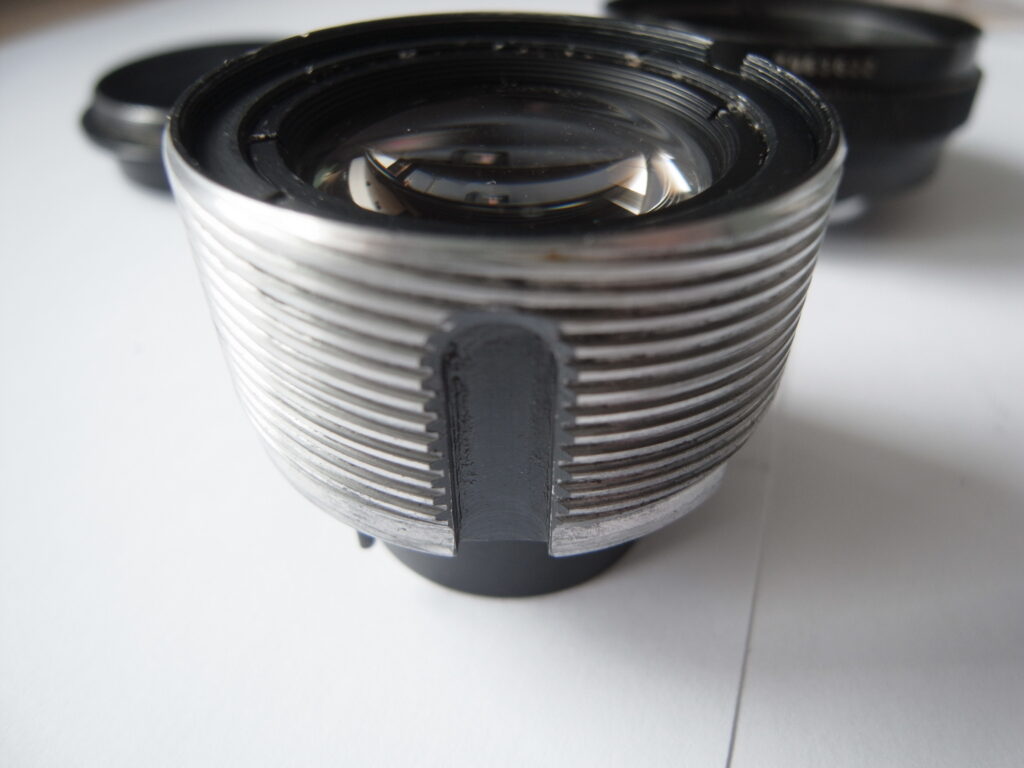
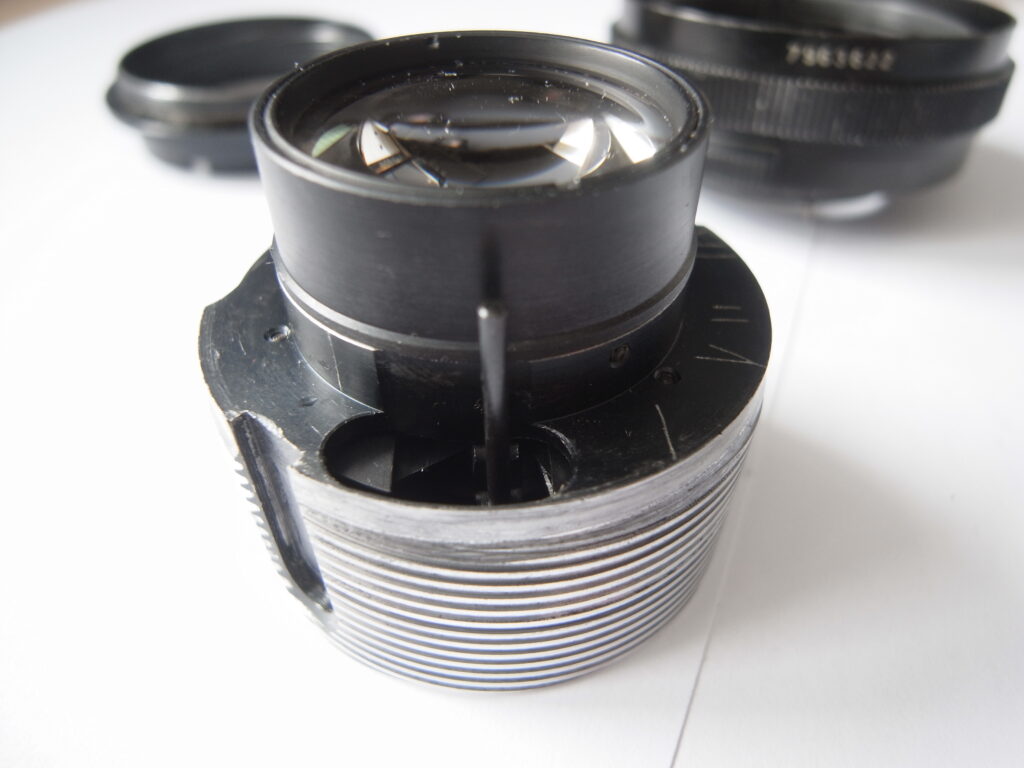
It wasn’t just the helicoid which needed cleaning. The focus ring is screwed into the lens body and that thread was also caked with old grease which had gone quite plastic like over the years. I used some kitchen roll and really cleaned the whole assembly up before I applied a small amount of new lithium based grease to the threads.
At this point it is possible to remove the actual lens elements and clean them if necessary. I did take out the front lens group and clean it and the lens from the back of the focusing group, however when I repeated the whole exercise to take pictures I didn’t repeat this step. The lens elements should be removed with a special lens spanner, but you can use a screwdriver in just one of the slots and push the screw thread round. The thing to be most careful about that is not to scratch the glass by slipping with the screwdriver. The other thing to be careful of if you remove individual glass lenses is to make sure you put them back the same way they came out!
So at this point I had cleaned and re-greased the threads, so it’s simply a matter of re-assembling the lens.
Except I couldn’t. I tried for a couple of hours and I could not get the helicoid back into the focusing ring and re-assembled back into the lens body. I tried every way I could think, but it just wasn’t possible to get the lens re-assembled. Every time I tried to screw the two bits together something was stopping them from doing up. There were a few markings on the focus ring and the front lens assembly which I assumed needed to be lined up, but none of that made any difference. So I packed the parts into the box with the screws and focus adjustment ring, and I was going to call it a right-off until I thought, ‘I wonder if I can see better with the bottom of the lens off’.
So I turned the lens over and discovered three small screws in the bottom of the lens.
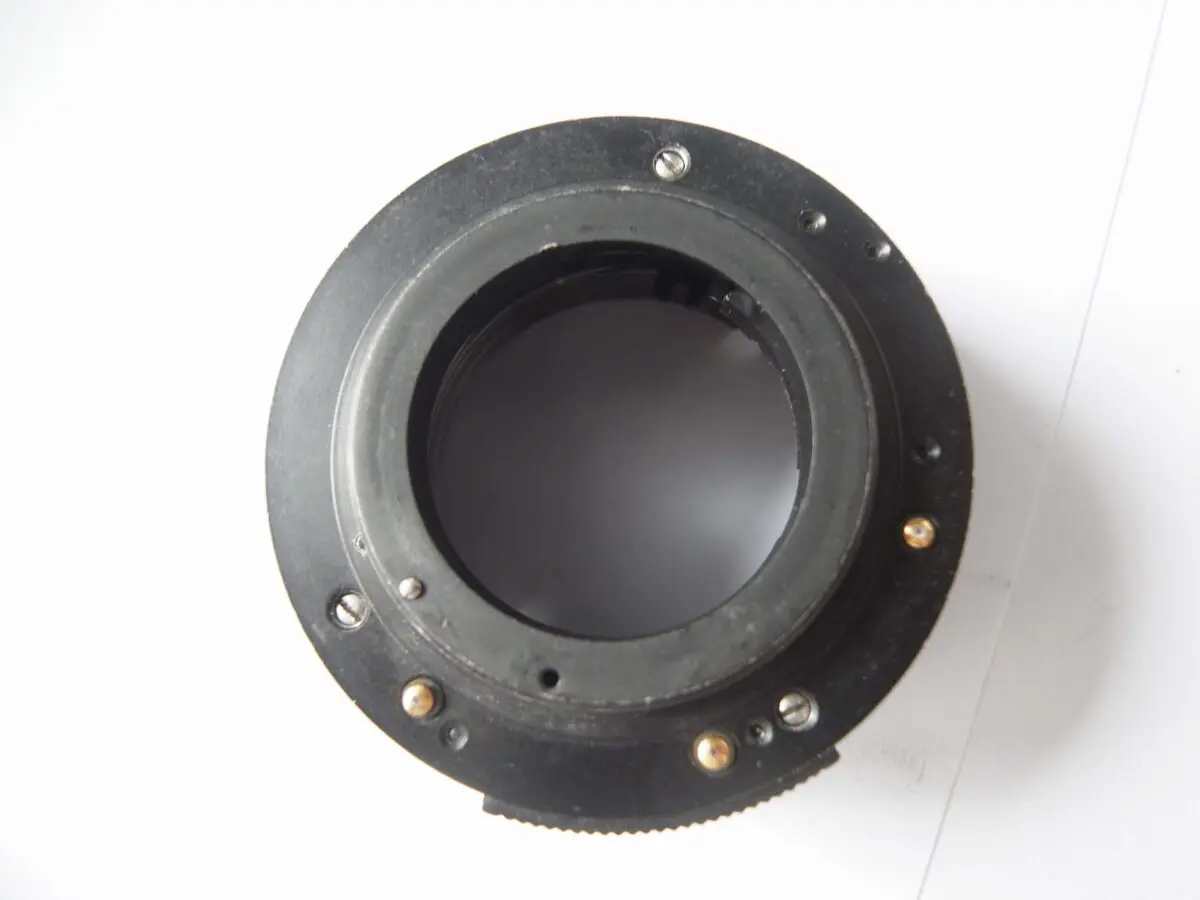
With those three screws removed I could lift away the bottom lens mount – be careful here as the auto/manual switch drops away and a ball bearing and possibly a tiny spring drops loose. Also note that when the bottom of the lens is removed there is nothing to stop the aperture adjustment ring from falling off so be careful of that. If it does come off there is a small ball bearing inside the ring (as well as the one which drops out when the bottom comes off) which makes the click stop work so look out for that.
Once the bottom was off I could see what was required to refit the front lens element. Inside the lens body is a small lever which sits inside a slot in the front lens assembly helicoid. This has to meet up with the slot and so it’s virtually impossible to do this from the front since you won’t be able to see their relative positions.
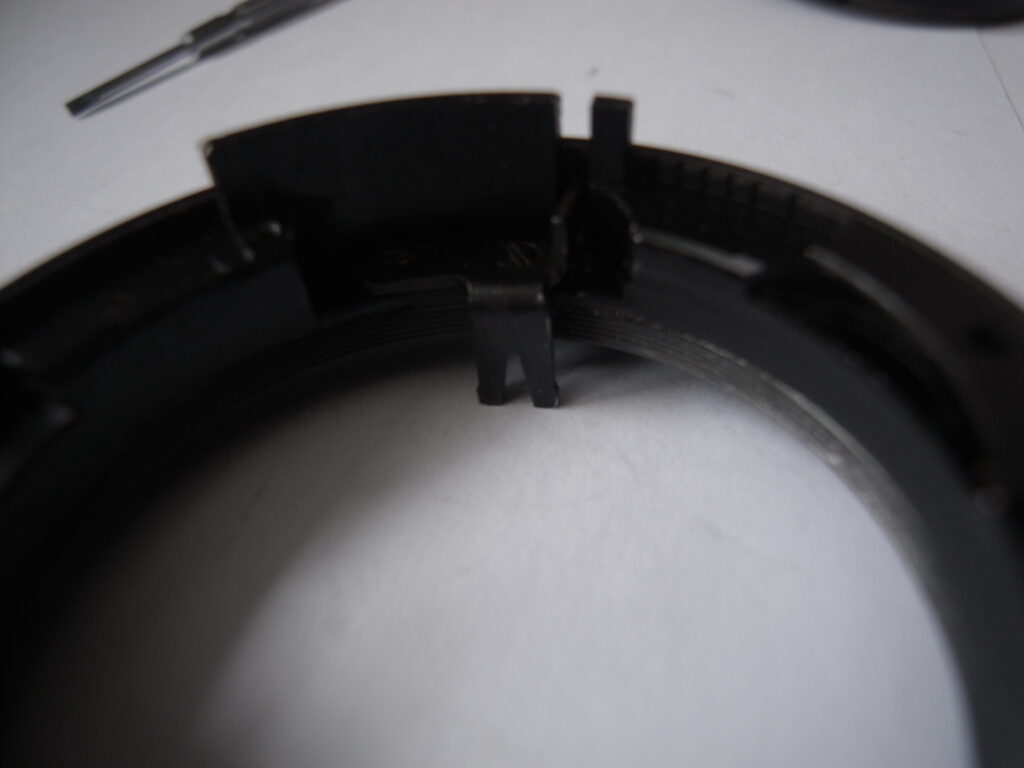
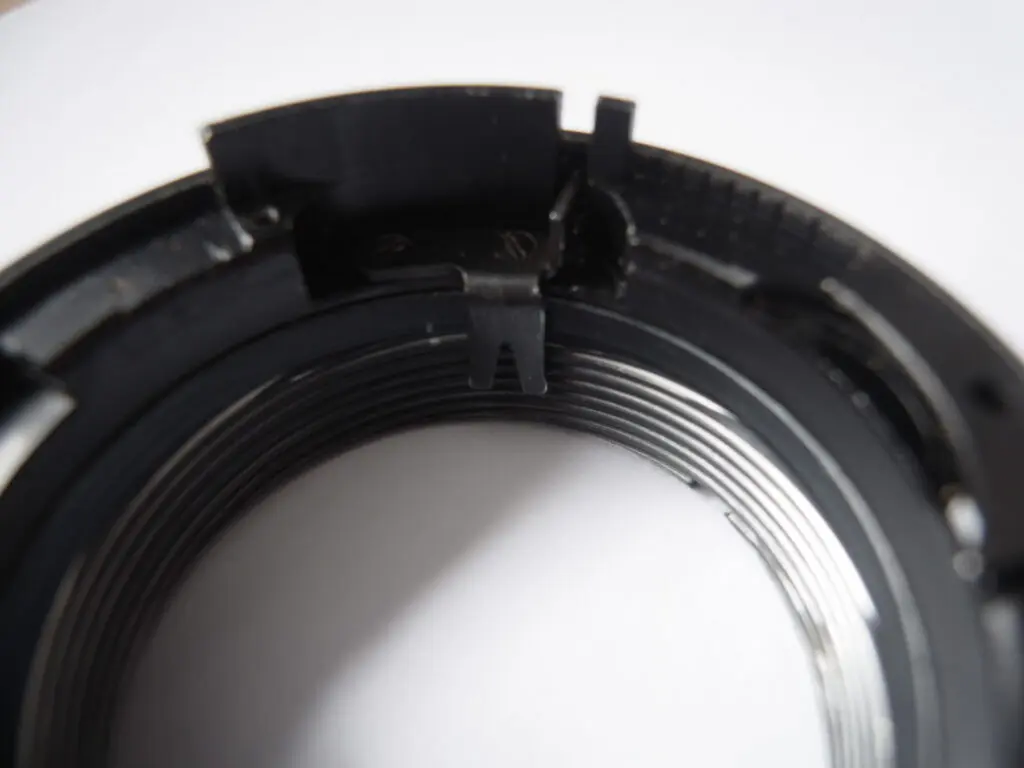
This is how I eventually got it all together.
Refit the focusing ring to the lens body and screw it down almost fully, say about a turn back from fully down. Then screw the helicoid unit into the focus ring and look at it from the bottom. You will see that the lever I mentioned above will hit the body of the front lens element and stop you from screwing it in. You will also see that the body has a slot in it, but it almost certainly doesn’t match the position of the lever. What you need to do is turn the two rings together until the slot is aligned with the lever, and then you will be able to fully turn the focus ring and wind the front element into the lens.
This all sounds much more complex than it actually is when you have the items in front of you.
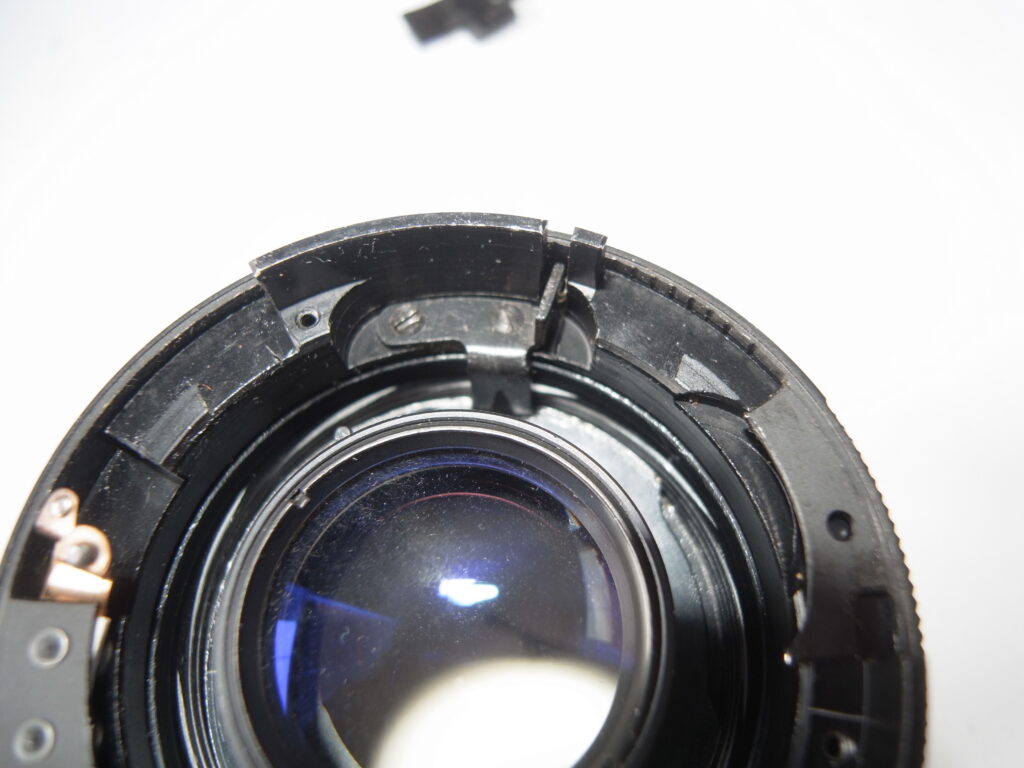
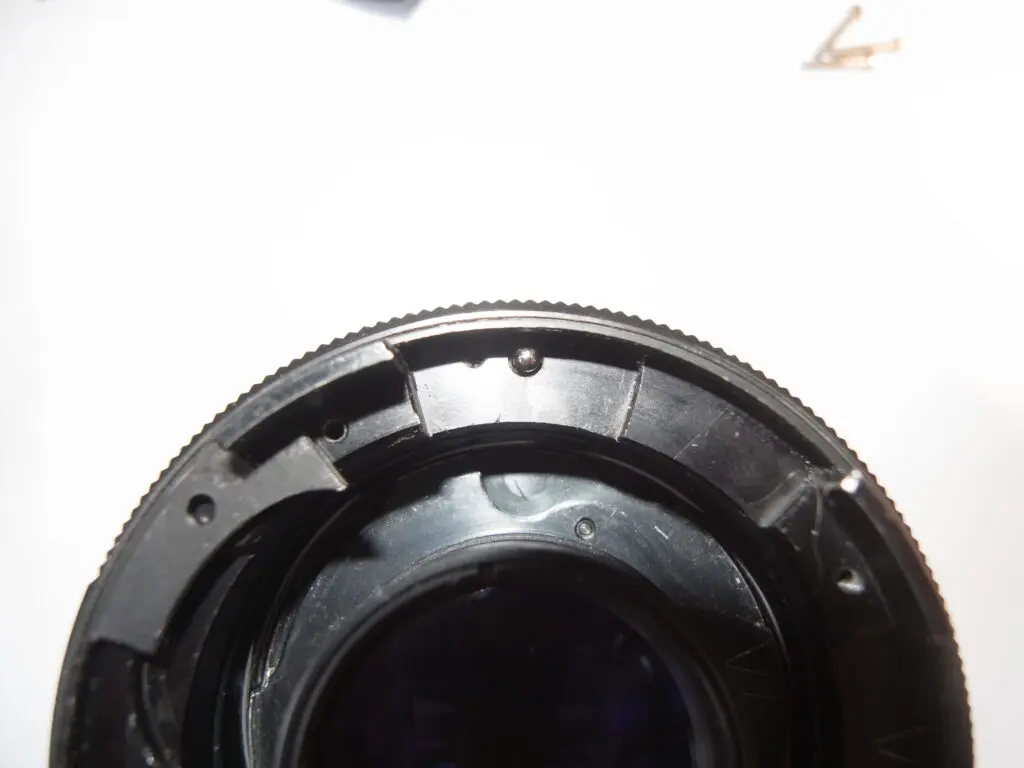
Once the front element is correctly in place then it really is a question of re-assembling the lens. The last remaining tricky bit is getting the aperture control rod to coincide with the actuator arm on the bottom of the lens and keeping the ball bearing under the aperture auto/manual switch, but compared to the hours I spent on the helicoid re-assembly, that is relatively easy.
With the lens upside down, replace the ball bearing in the little hole in the bottom of the lens under the switch (shown in the picture above) so it’s sitting on top of the spring. Then marry up the aperture control rod and the actuator arm on the lens bottom as you replace the bottom of the lens. I found it best to have the switch set to auto, so I wasn’t trying to reassemble the lens and also hold the aperture closed at the same time. Once the bottom is in place, switch to manual and check the aperture adjusts before screwing the three screws back in place.
At this point the lens is nearly assembled, but be aware that the thing which stops you unwinding the front element back out of the lens is the focus adjustment ring so until this is in place it’s still possible to make it all come undone!
Wind the focus fully in and refit the focus adjustment ring, setting the infinity marker just before you do up the three screws. Once the focus adjustment ring is in-place the focus should just adjust with no danger of the front element winding out of the lens.
Re-screw the front on the lens and there you have it. Of course, you need to check infinity focus on the camera, but mine was fine. I’m not sure what you would adjust if it wasn’t right mind you!
So now the focus adjusts nice and smoothly, and I have another few hours of fun ahead as I try another old lens on my NEX 6
Edit
So was it all worth it? Well I attached the lens to my NEX 6 today (with an M42 to NEX adaptor) and here are the results from a few shots around my garden. All of these were taken at f/1.8 except the last shot of leaves which was f/5.6. All in all not bad for £13 and a bit of elbow (and real) grease!



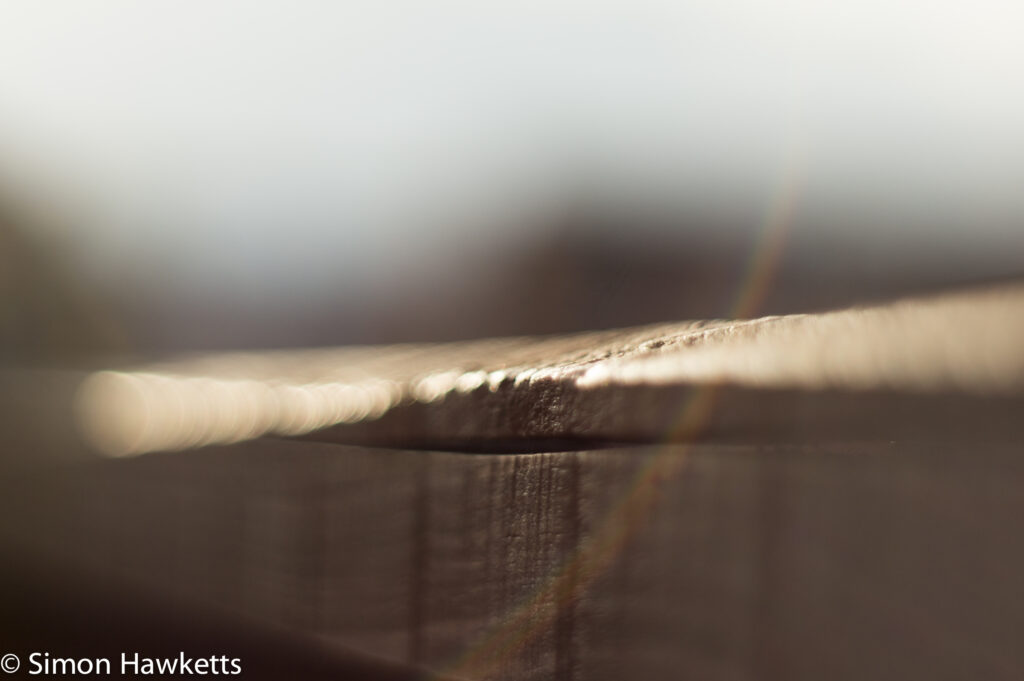
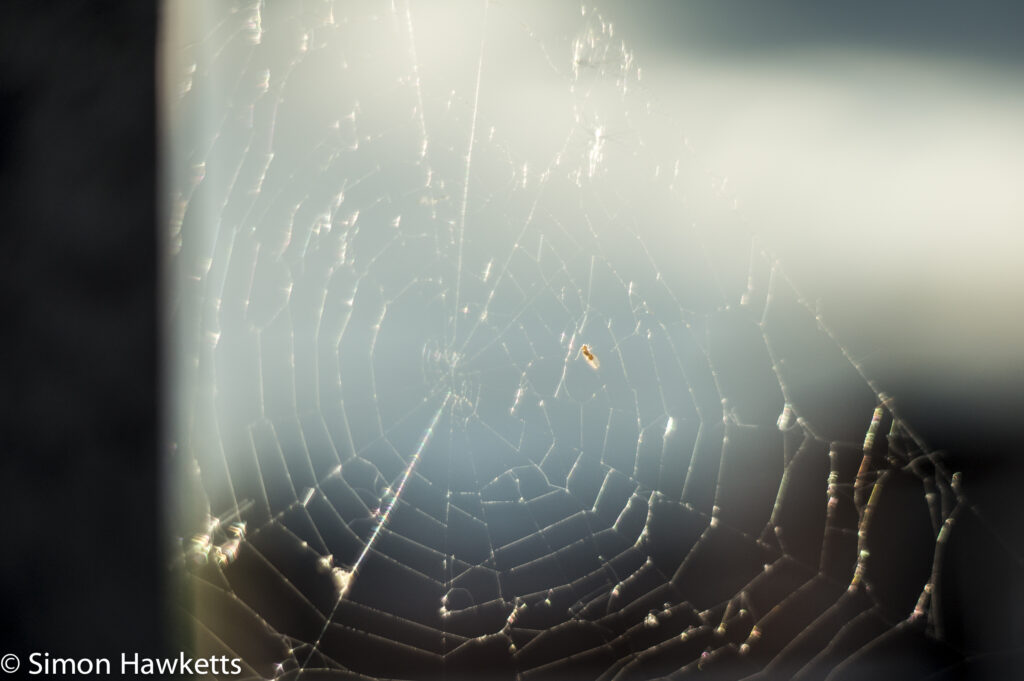


Note : I’ve added a better review of this lens here.
Discover more from Everything Vintage
Subscribe to get the latest posts sent to your email.

