Soligor 200mm f/3.5 Tele Auto on Sony Nex
The Soligor 200mm f/3.5 lens which is the subject for this post is quite an easy lens to pick up in a variety of different camera mounts at a low price – the example I have cost me £3.20 + £6.00 for post.
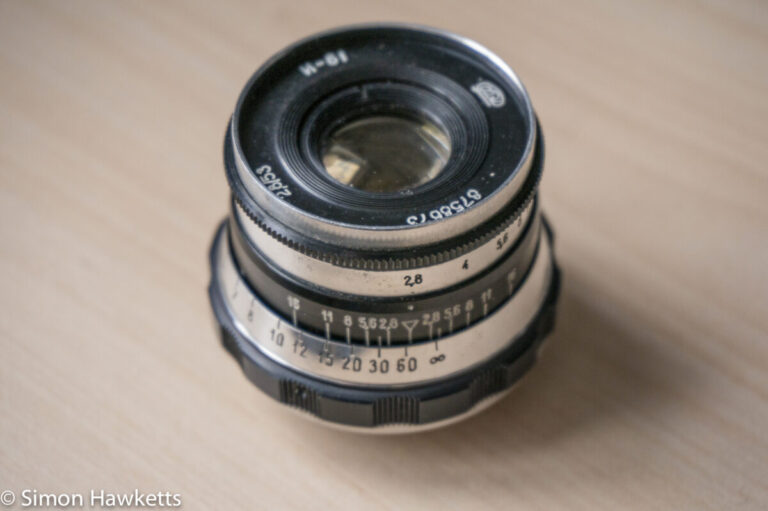
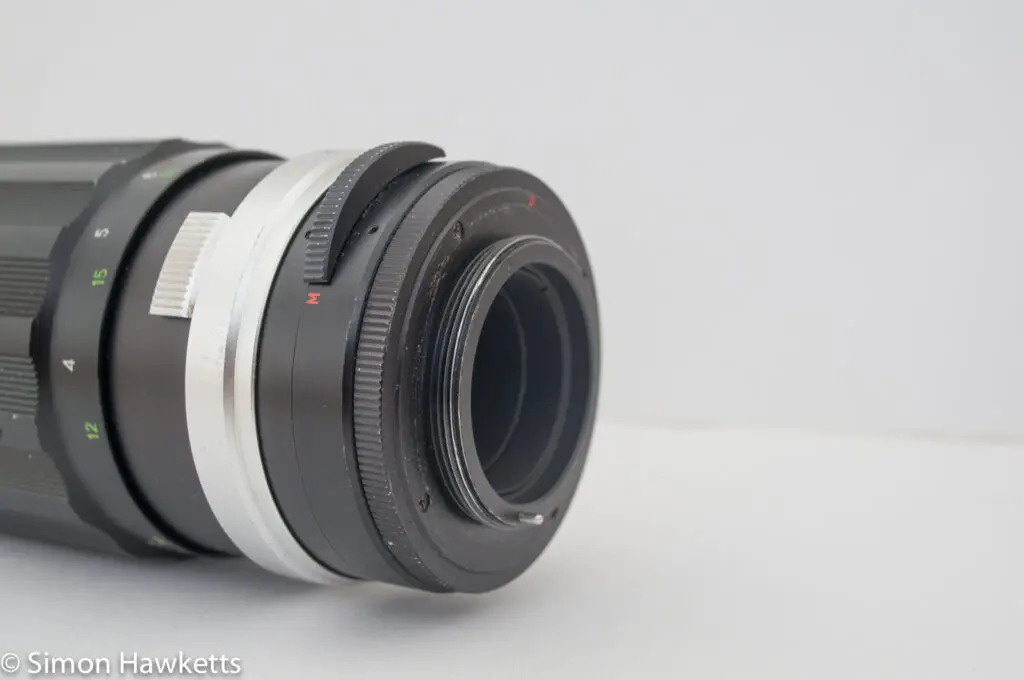
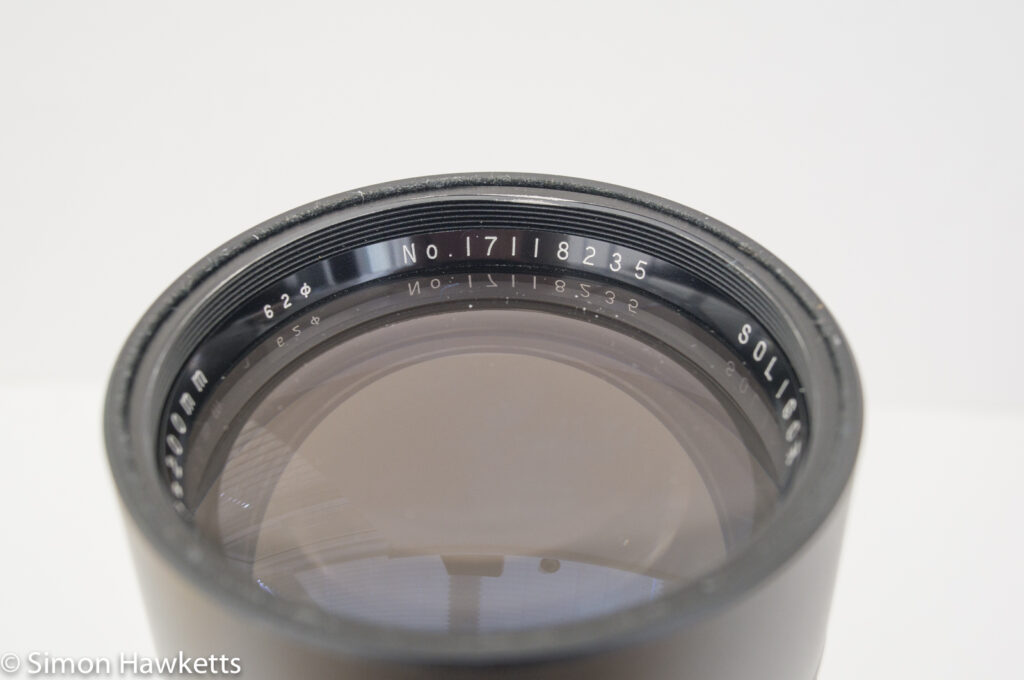
Images of the Soligor 200mm f/3.5 telephoto lens
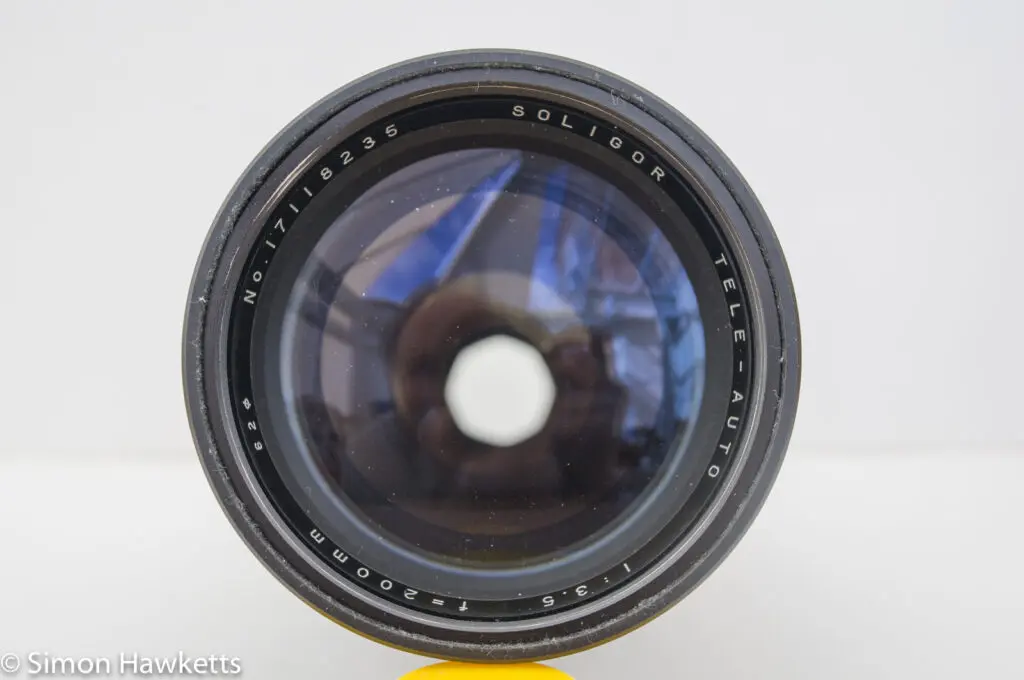
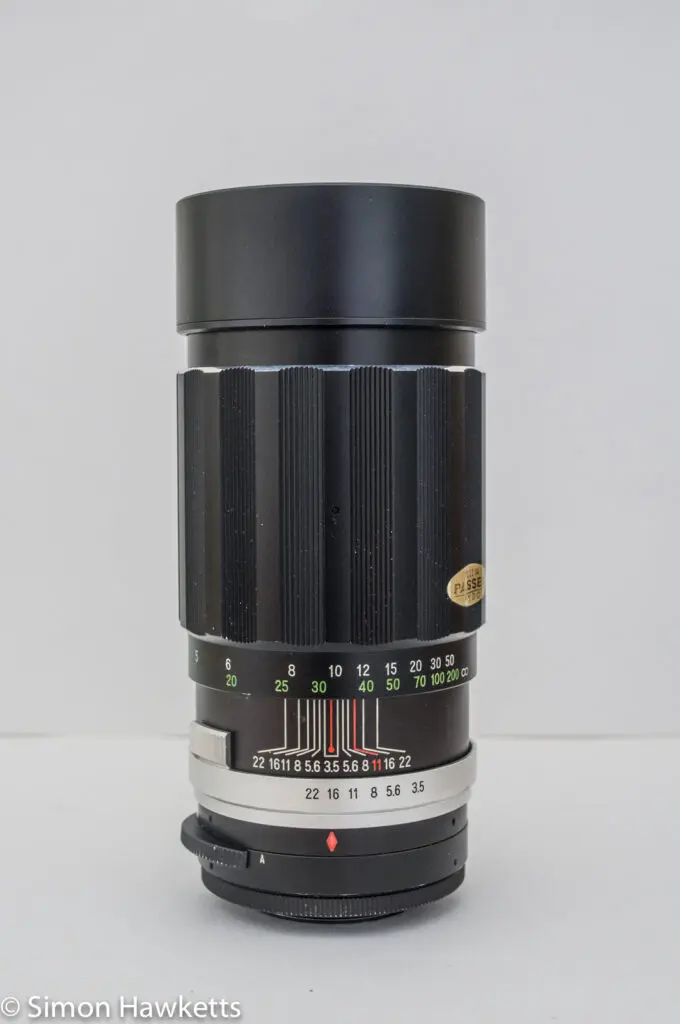
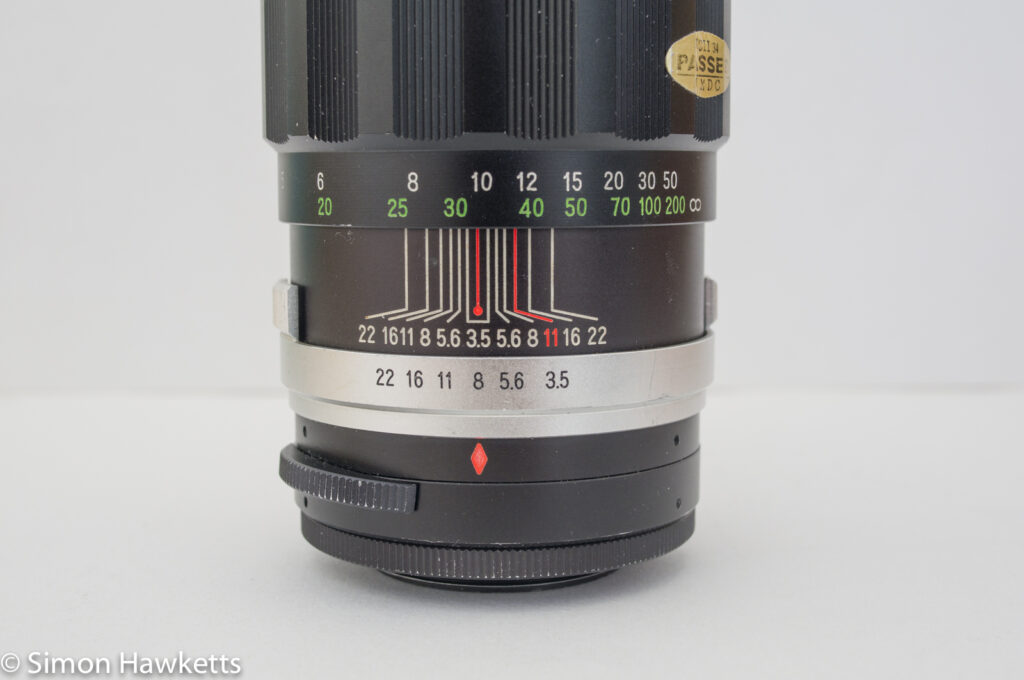
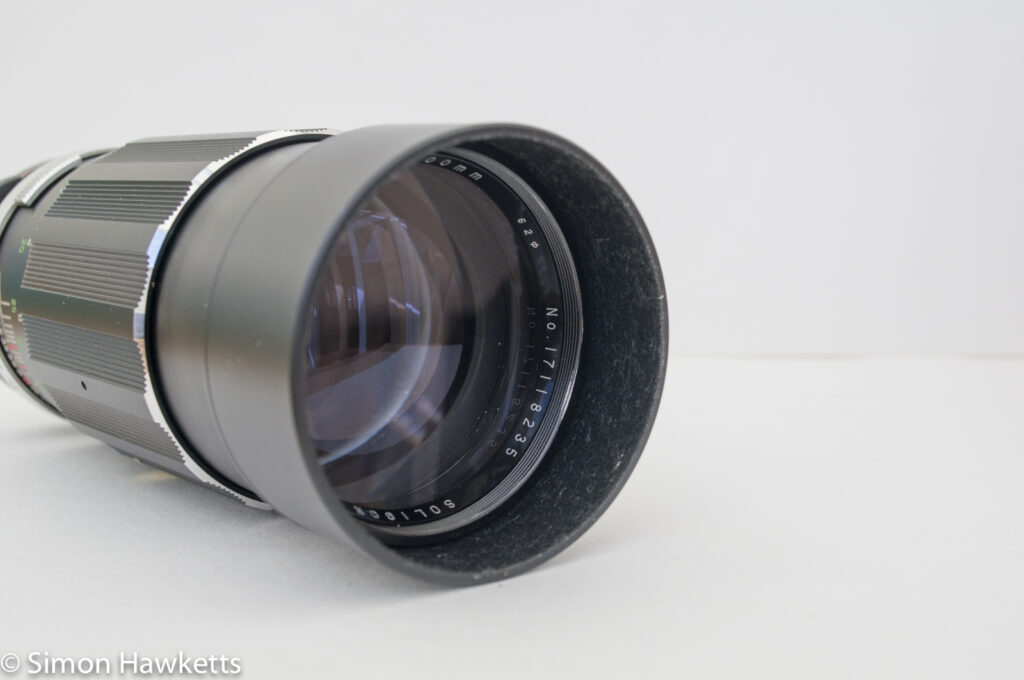
Soligor 200mm f/3.5 Lens Description
At f/3.5 maximum aperture this is quite a fast lens for a 200 mm focal length which increases its usefulness by allowing you to reduce the shutter speed if handheld or the ISO if tripod mounted. Unfortunately, mounting it on a tripod is a bit impracticable when using it on a modern mirrorless camera like the NEX 6 because there isn’t a tripod mount on the lens.
In use, I felt it was too heavy to allow the mount adapter to take the weight, so I mostly had to support the lens body with my left hand. Having to hold the lens in this way made it awkward to focus and, on my copy at least, this was exacerbated by the focus ring being slightly stiff and difficult to turn.
Of course the lens was designed to be fitted to a big M42 mount SLR whereas the NEX is designed for modern autofocus plastic lenses which only weigh about 1/3 of this so that is just one of the drawbacks of using this type of lens – the advantages are the low cost and the fun factor of discovering how good some of this old kit can be. Interestingly, when I looked up this lens on AllPhotoLenses I found it did have a tripod bush, so perhaps mine is an earlier version, and it was later modified.
The aperture is an 8 bladed design and covers a range of f/3.5 to f/22. The aperture adjustment is smooth and has click stops at every half stop up to f/16 and then a single step to f/22. There is an Auto/Manual switch on the base of the lens which was used to switch the aperture between being stopped down as the ring is changed to being stopped down when the pin on the bottom of the lens is actuated. This was one of the first implementations of full aperture metering, but on the NEX it doesn’t matter how the switch is set because the pin is held in by the M42 mount adapter and the lens stops down as the ring is adjusted anyway.
On my copy of the lens the Auto/Manual switch is slightly bent, so I think the lens has been dropped at some point in its long life. There is also a very slight depression in the filter ring, so I think that also points so some sort of knock. I wonder if that also explains the slight stiffness in the focusing?
The optics on my copy are remarkably clean and dust free for such an old lens, although I did use a Giotto blower to push air into the gap at the back of the lens to remove anything I could see within the inner optics.
Just a note on using this lens on the Sony NEX 6 – I find the best way to use it is to set the camera body to shutter priority with auto ISO. Using this setup the aperture is set on the lens, and the shutter speed on the body and then the camera adjusts the ISO between the limits to give the correct exposure. As long as you keep an eye on the ISO you are in control of the important parameters to try to avoid camera shake and high noise.
- Soligor 200mm f/3.5 Tele-Auto
- M42 mount
- Equivalent to 300mm on Nex 6
- Length 16cm
- Width 7cm
- Filter diameter 62mm
- Built in extractible lens hood
- 8 blade aperture covering f/3.5 to f/22
- Auto/Manual switch
- Lens elements multi-coated
- Ser No: 17118235
Soligor 200mm f/3.5 Performance
I’ve split the performance into sections below to indicate the usual areas that this type of lens would be used in.
Sharpness
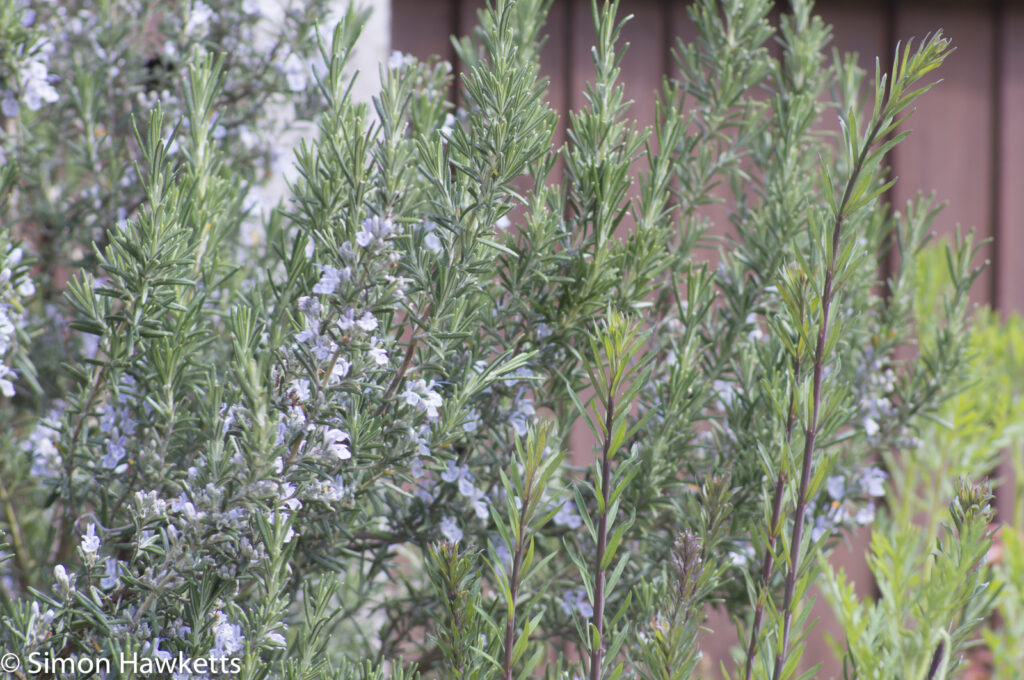
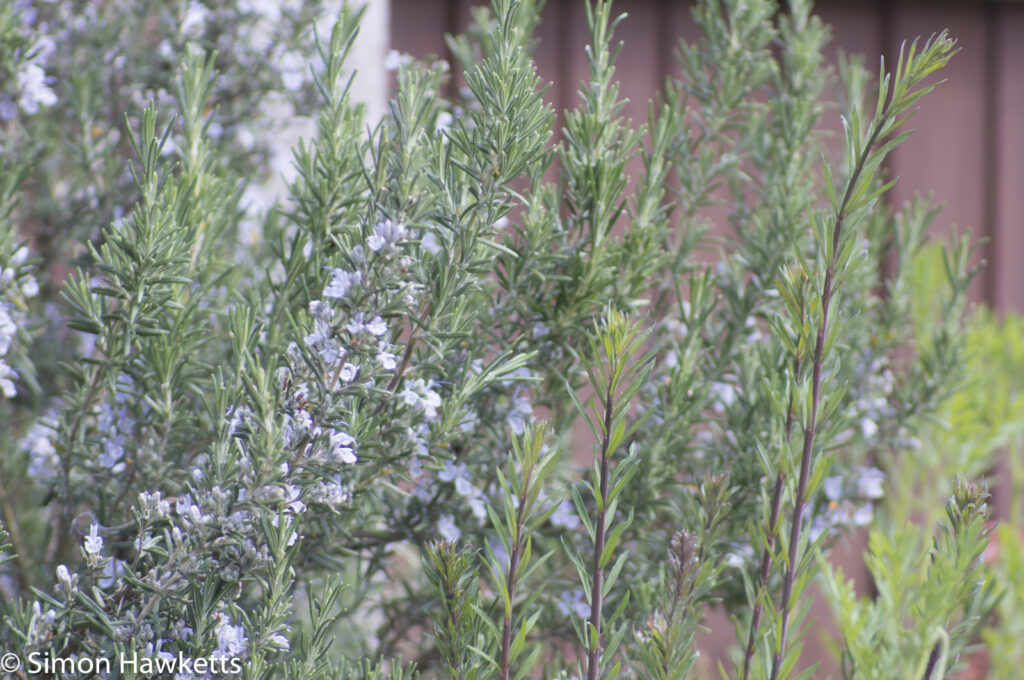
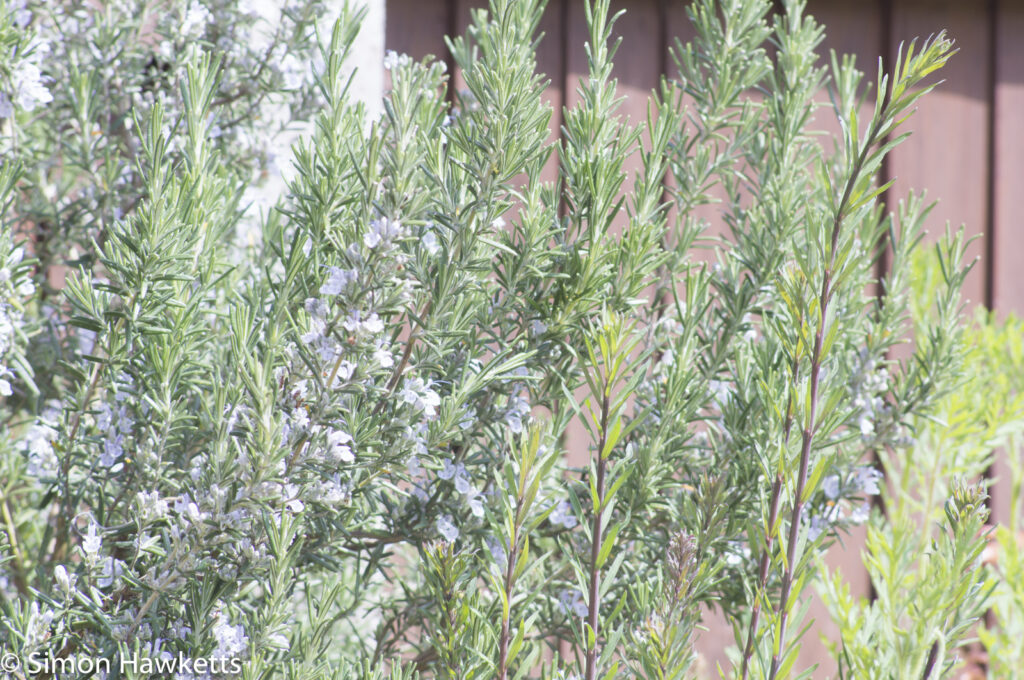
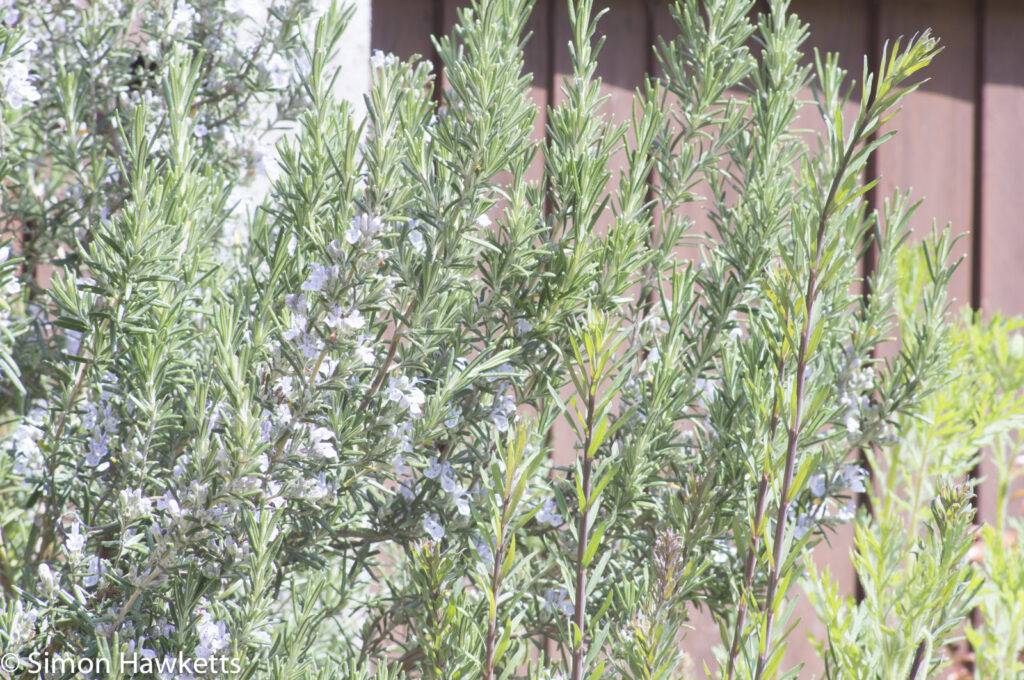
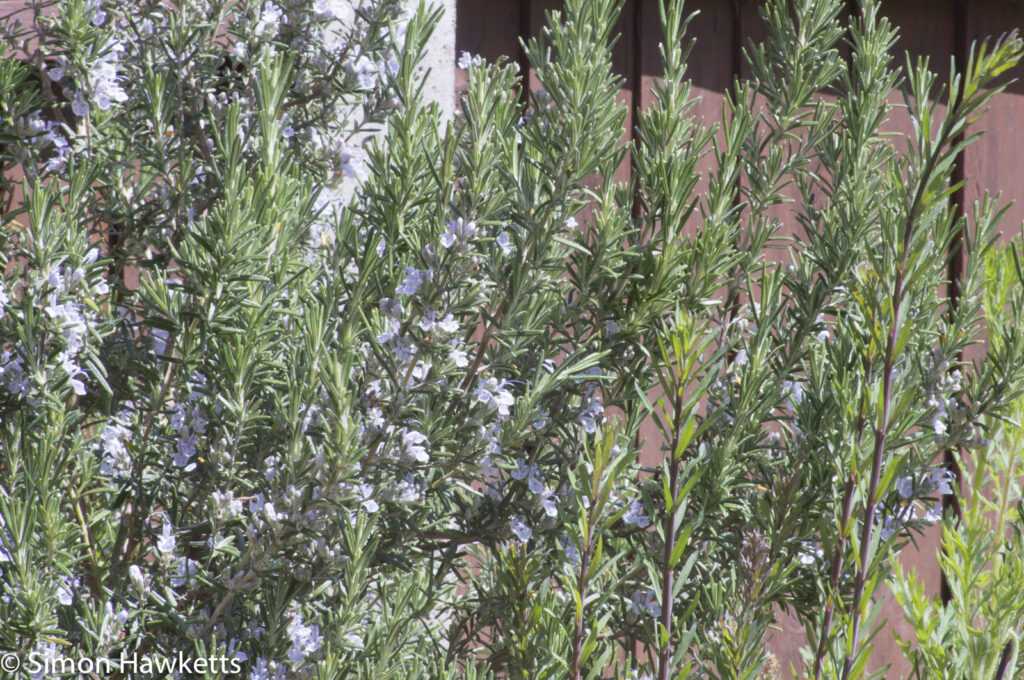
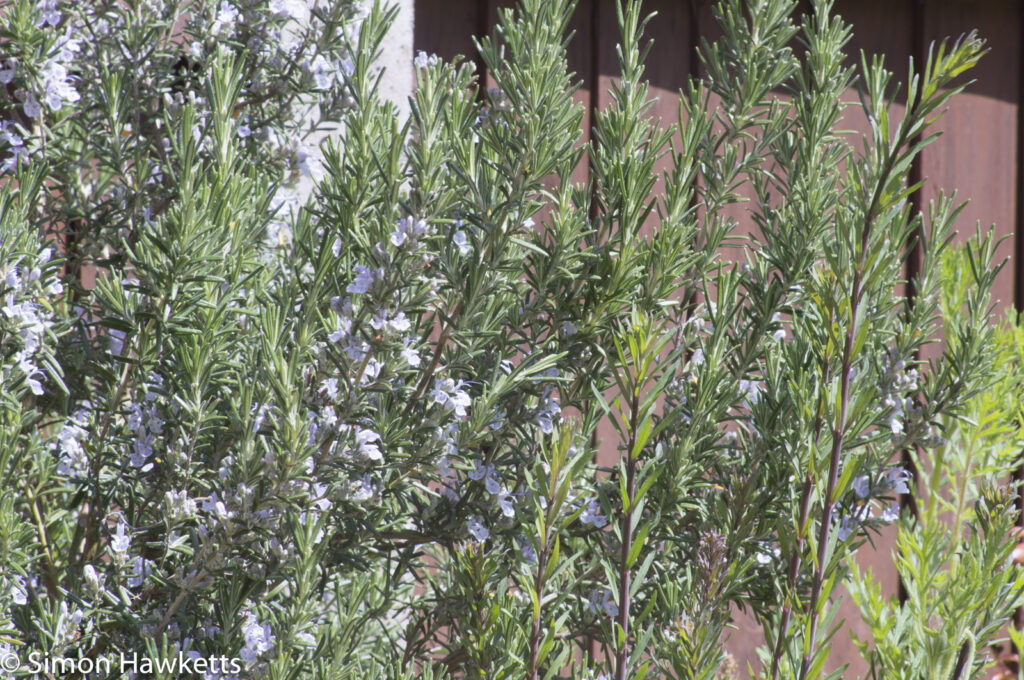
These are pictures taken at each full stop aperture the lens offers to show the general sharpness the lens achieves. To keep the ISO down these were all taken with the lens sitting on a table and with ISO 100 selected in aperture priority. Apologies for the boring picture which is just a rosemary bush in my garden, but it shows a bit of the limitations of using a heavy lens without a tripod – I couldn’t easily take a long exposure shot anywhere other than at home.
Fringing
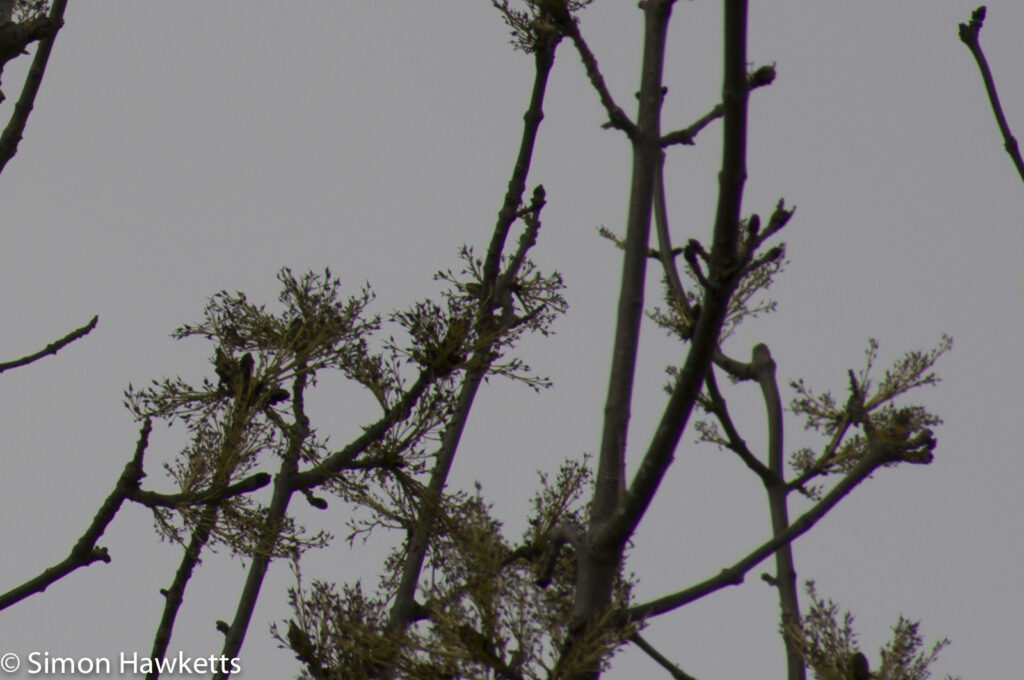
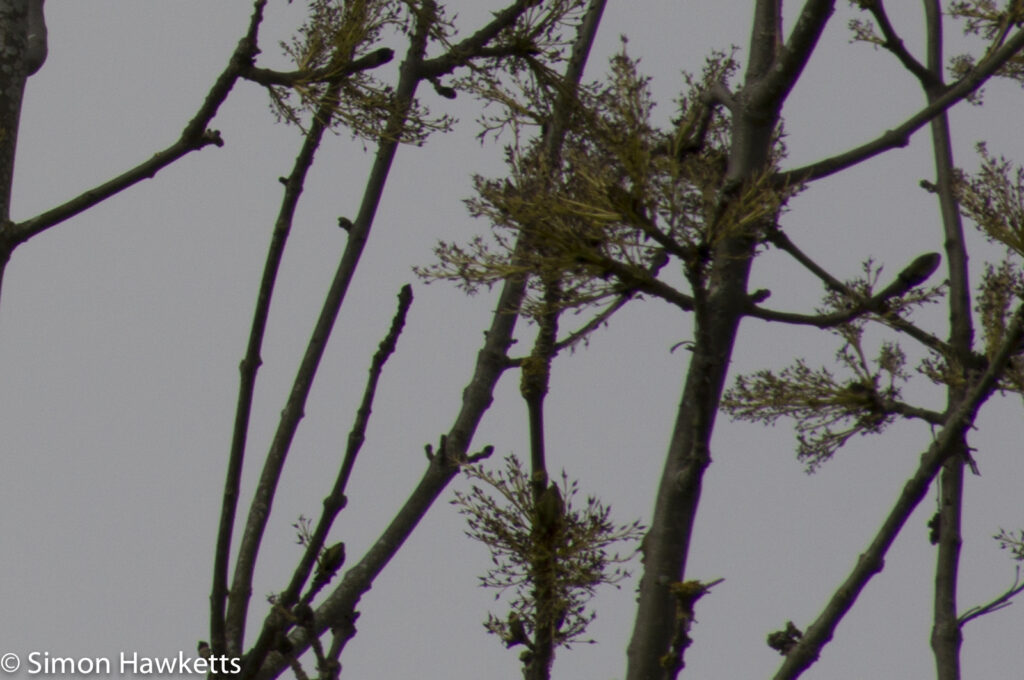
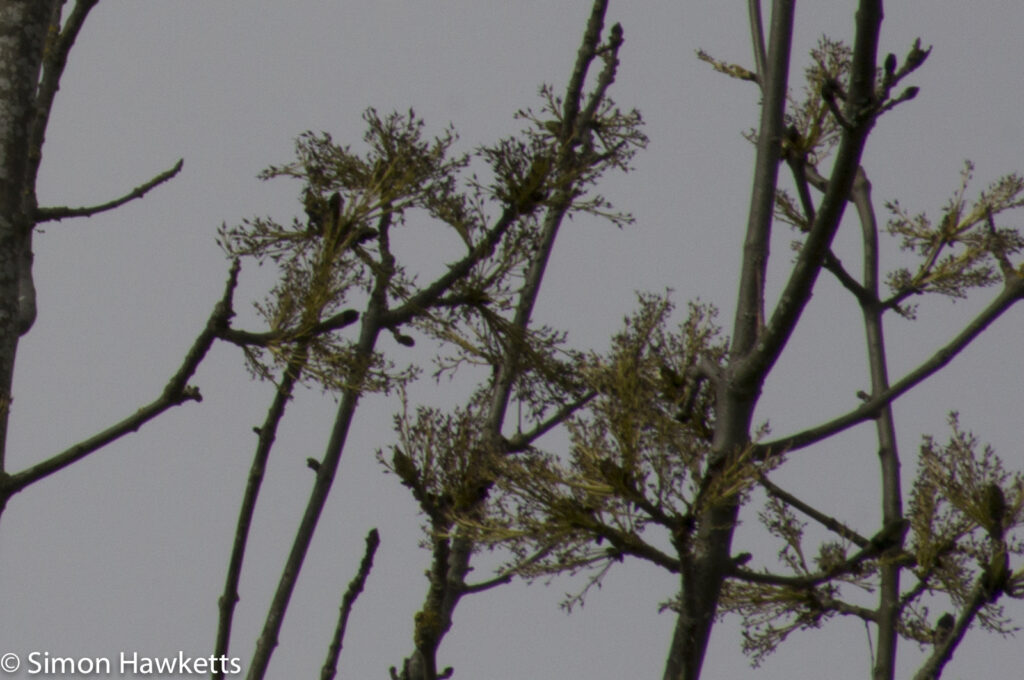
The easiest way to test for fringing is to take pictures against the sky, so that is exactly what I did for these images. These are pictures of a tree at the front of our house taken at various apertures and then cropped to just show the bottom corner of the image where the most significant fringing occurred. They have had no other post-processing other than to convert them to JPEG from the original raw files in Lightroom.
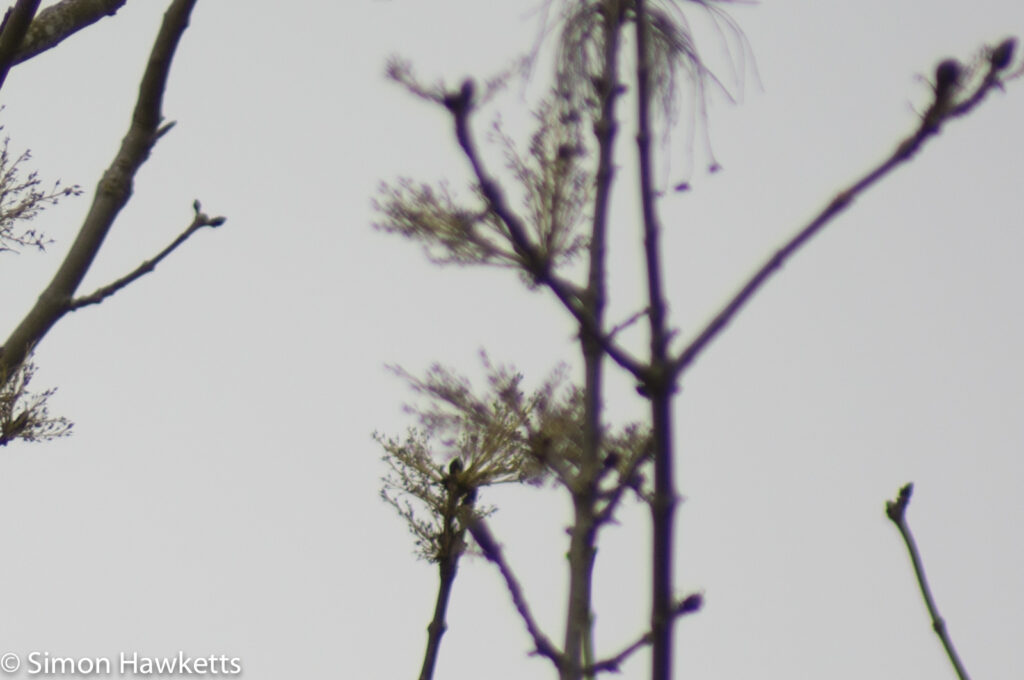
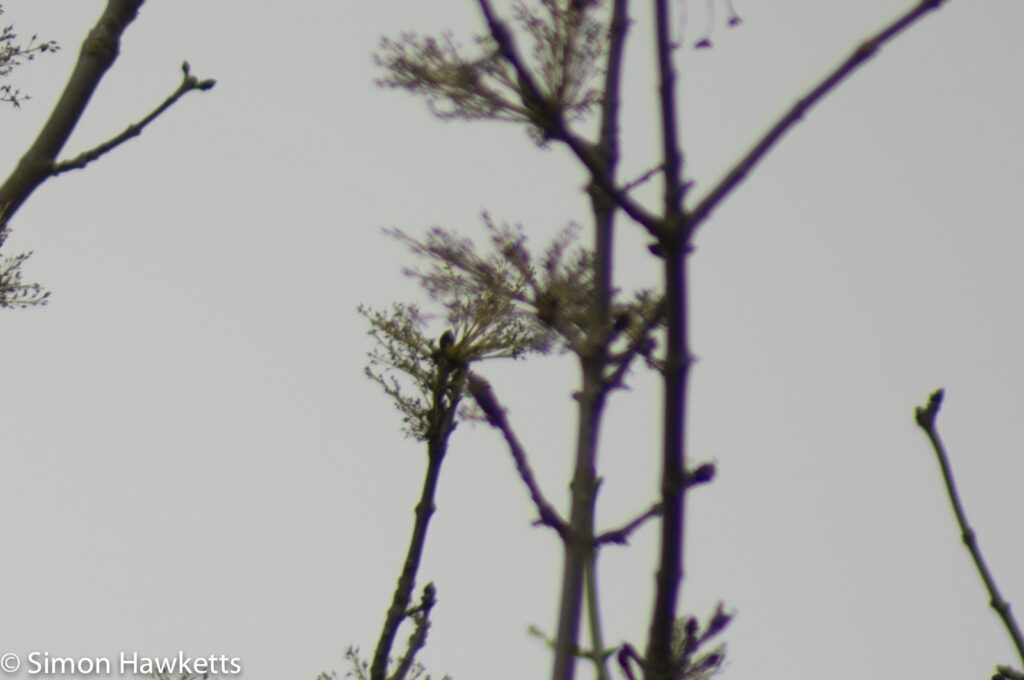
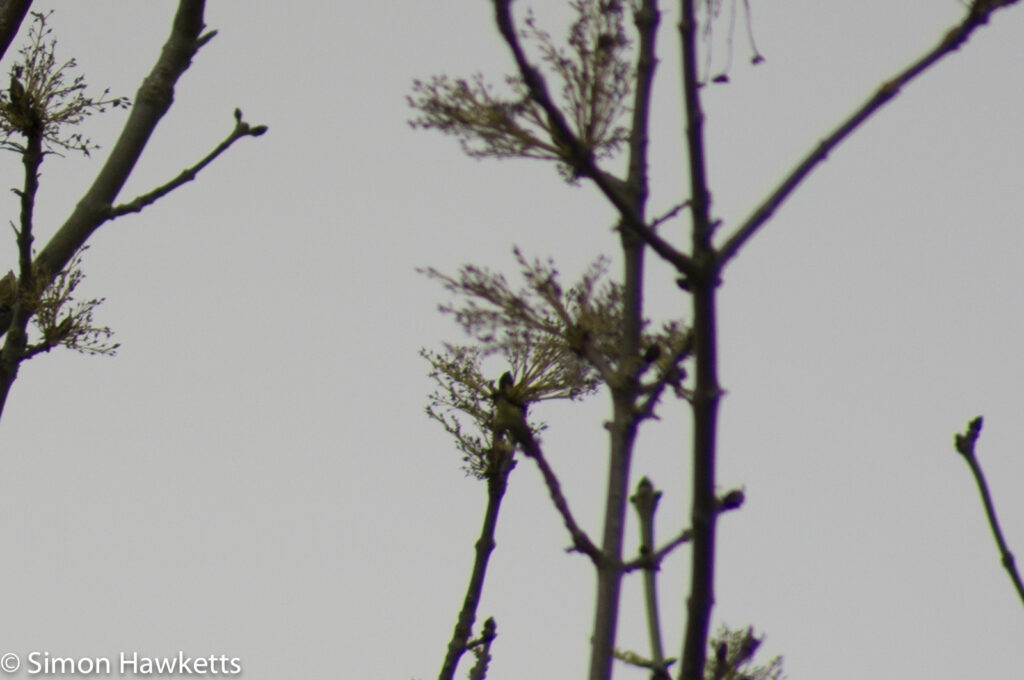
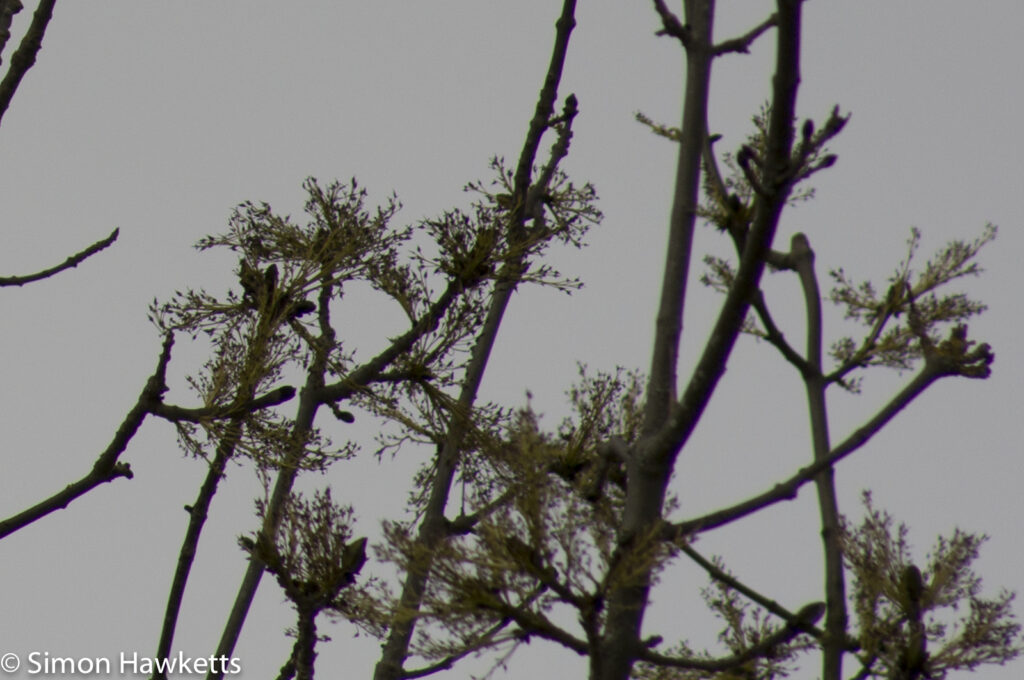
Macro
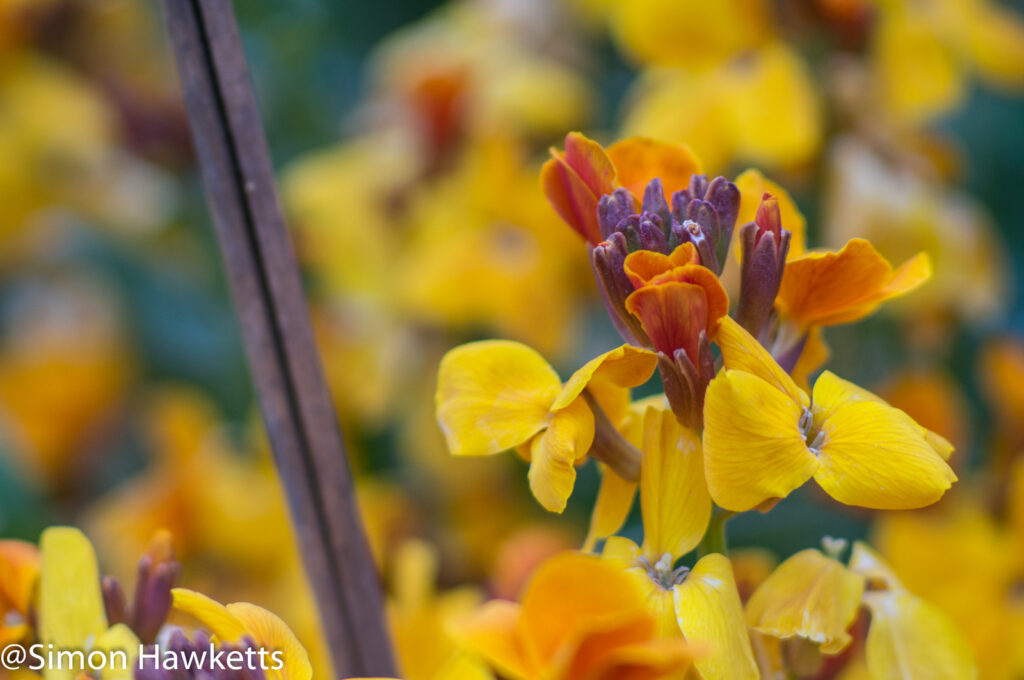
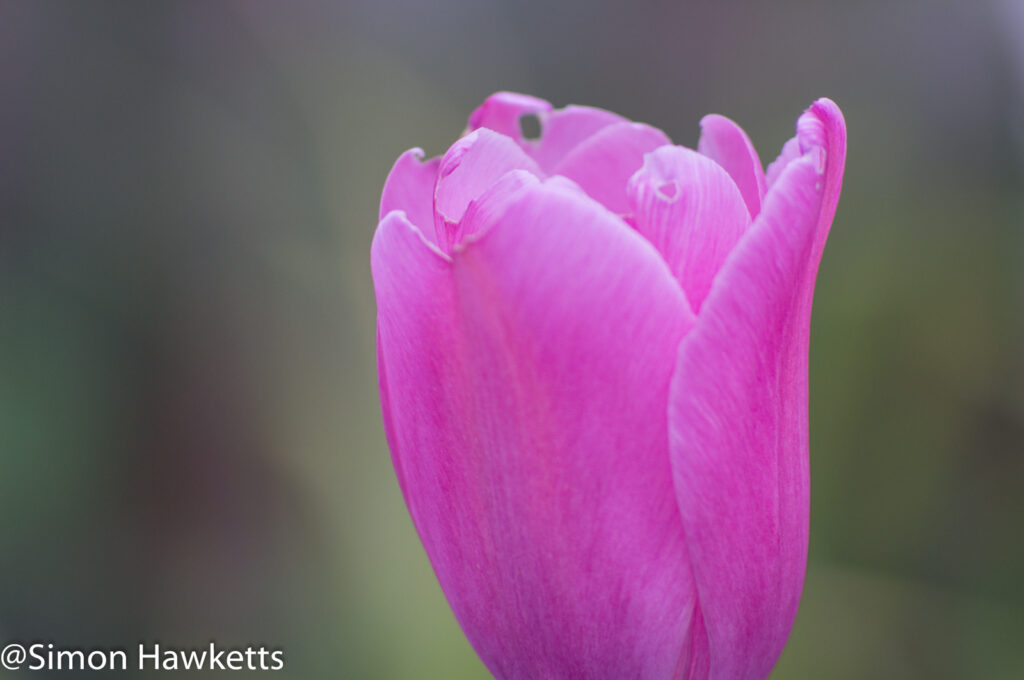
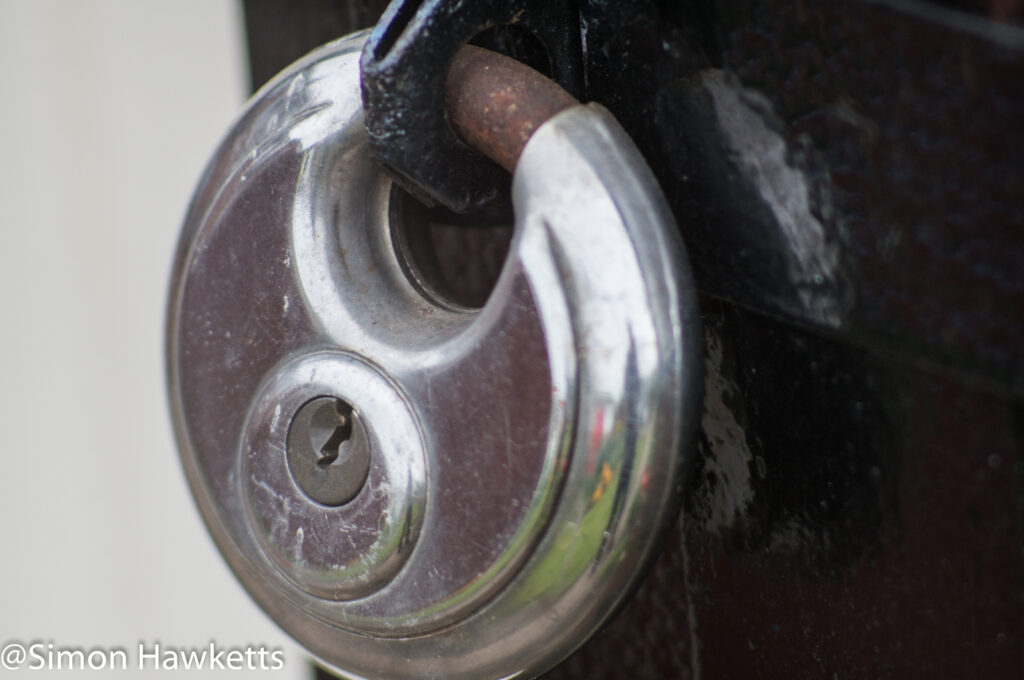
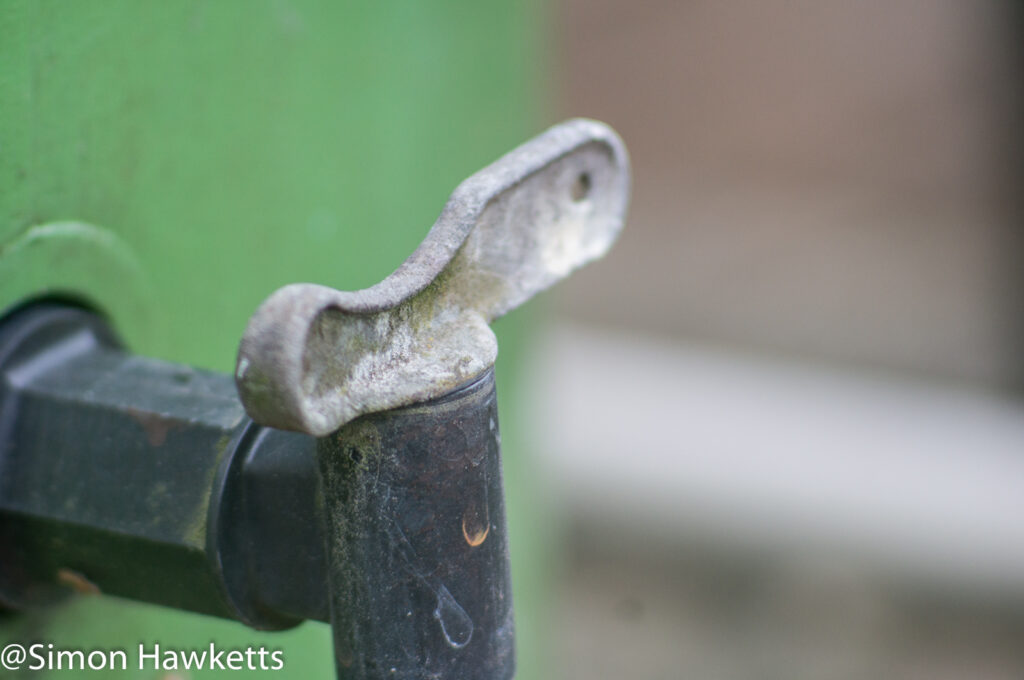
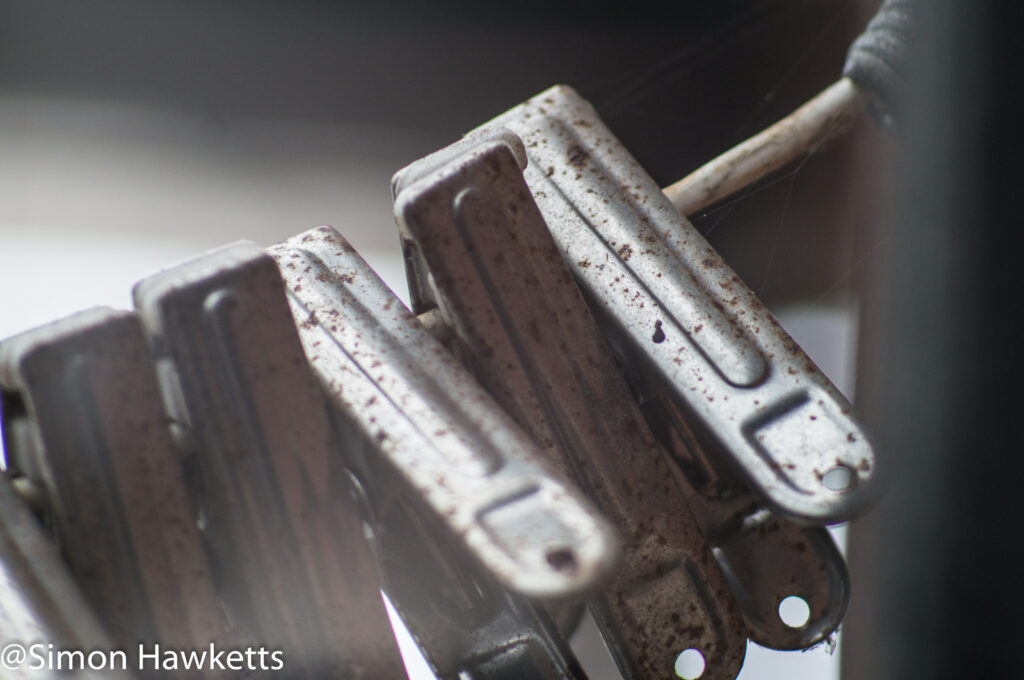
As it stands this lens is not really suitable for macro since the closest focusing distance is about 2.5 metres. With the addition of an extension tube it is possible to get closer to the subject however, and that is what I did for these photos. All these pictures were taken at f/3.5 with a 26 mm extension tube added to the NEX end of my M42 to NEX adapter. This enabled me to focus down to about 70 cm from the subject and take these sample pictures around the garden.

Video Clip
If anyone is wondering about the suitability of using a lens this heavy and long and without a tripod to take video clips I’m sure this short clip will help you to decide not to bother!
General shots.
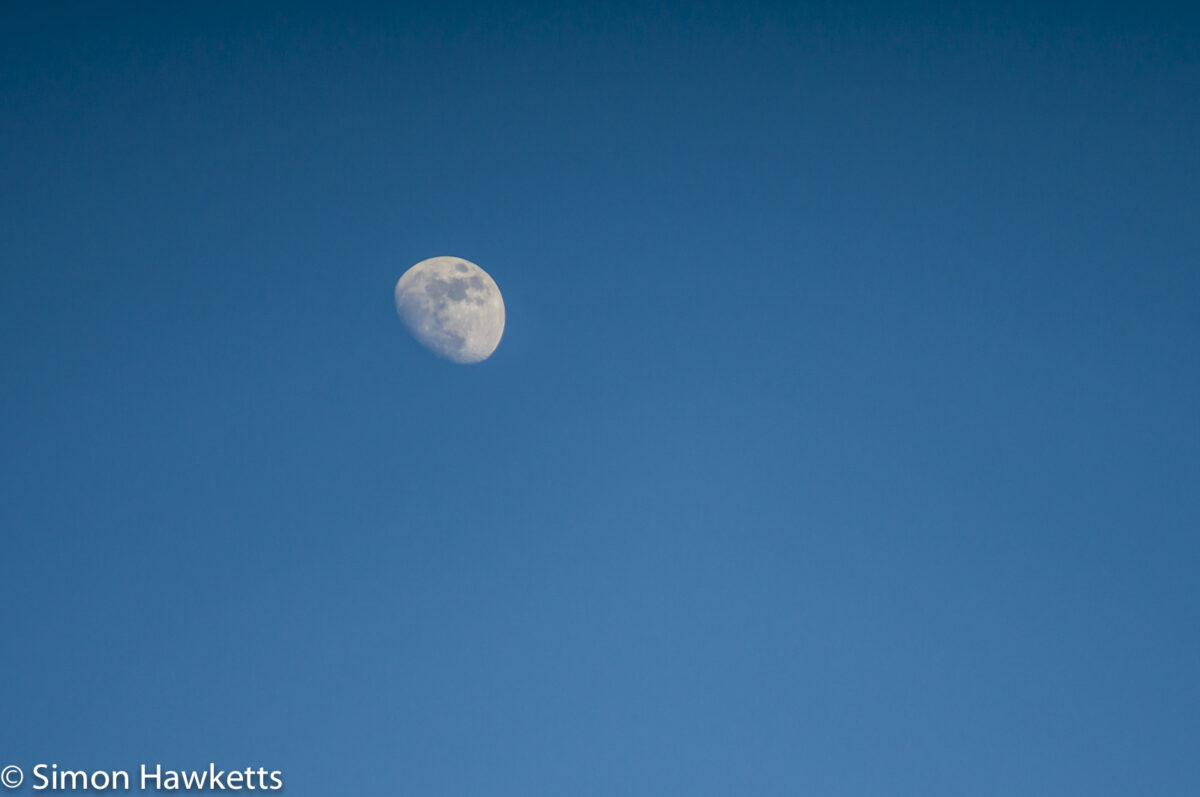
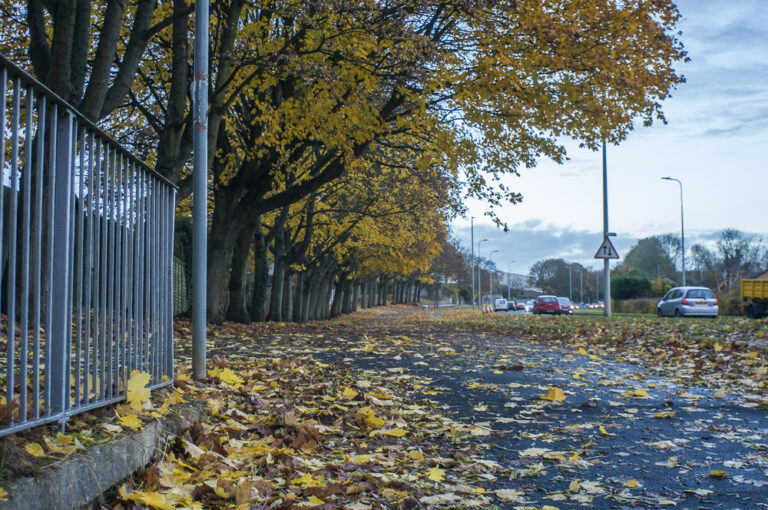
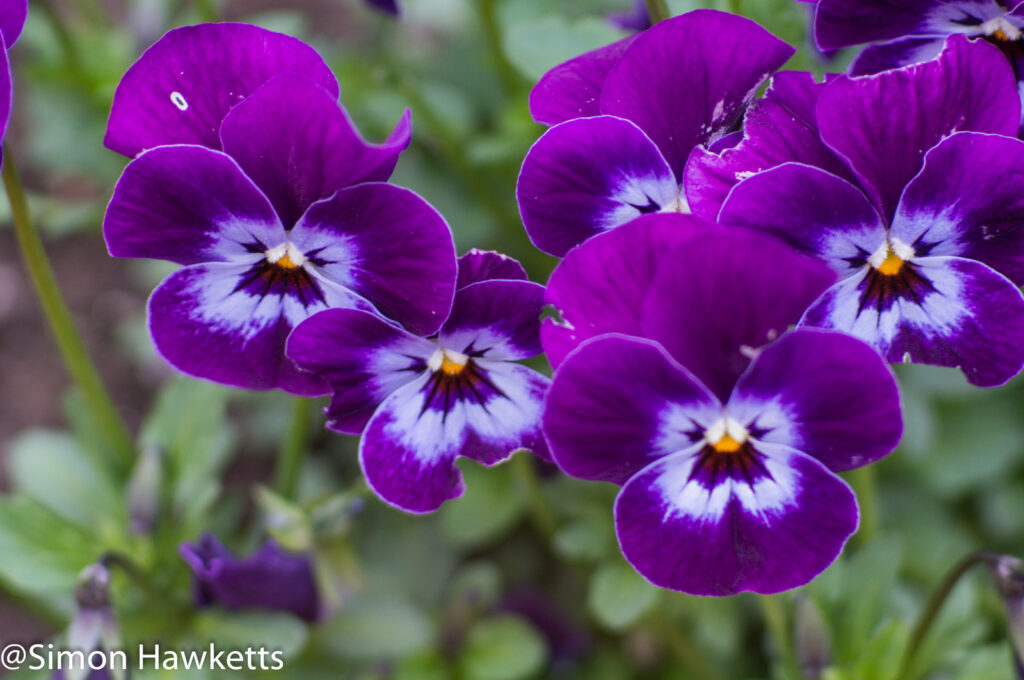
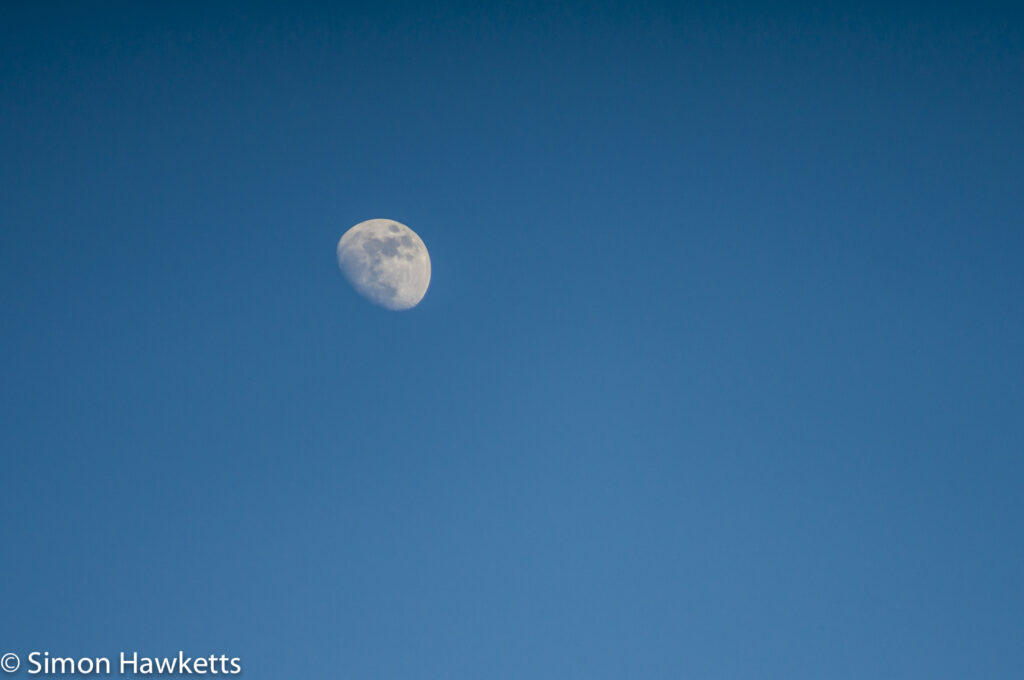
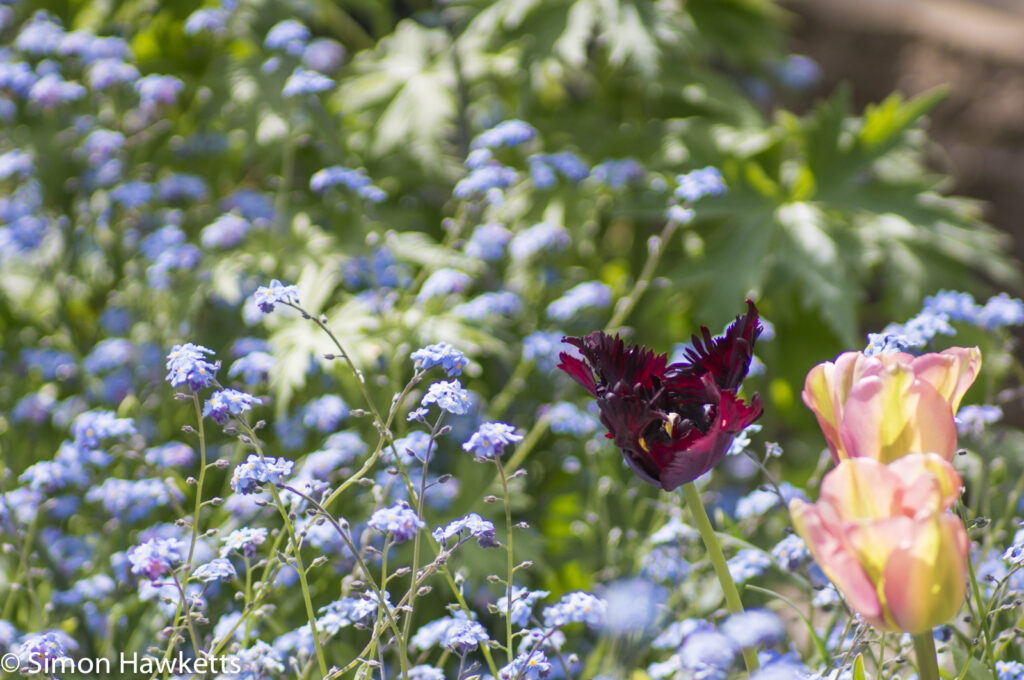
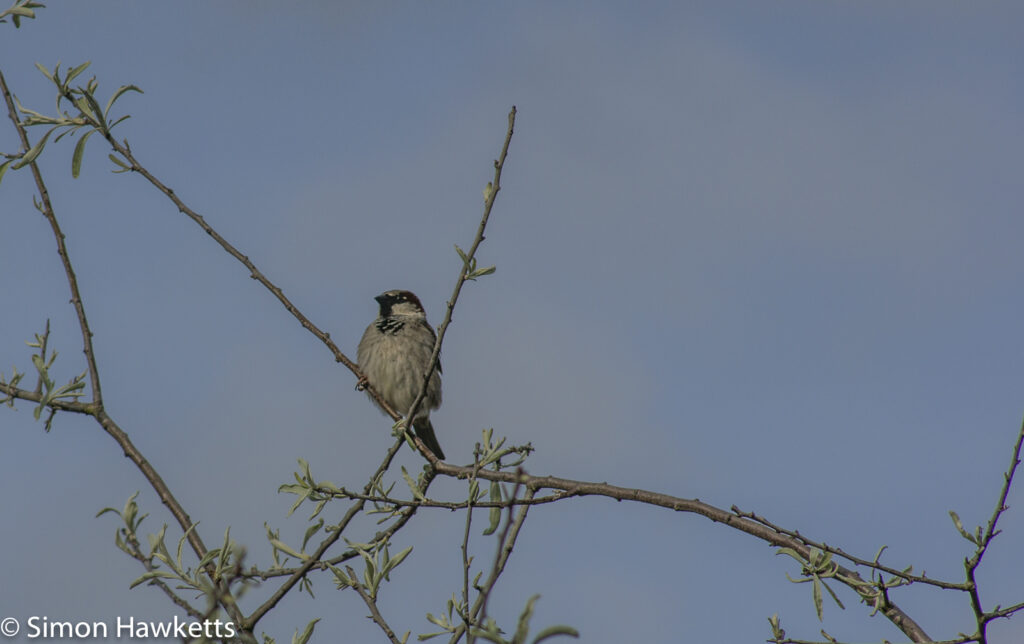
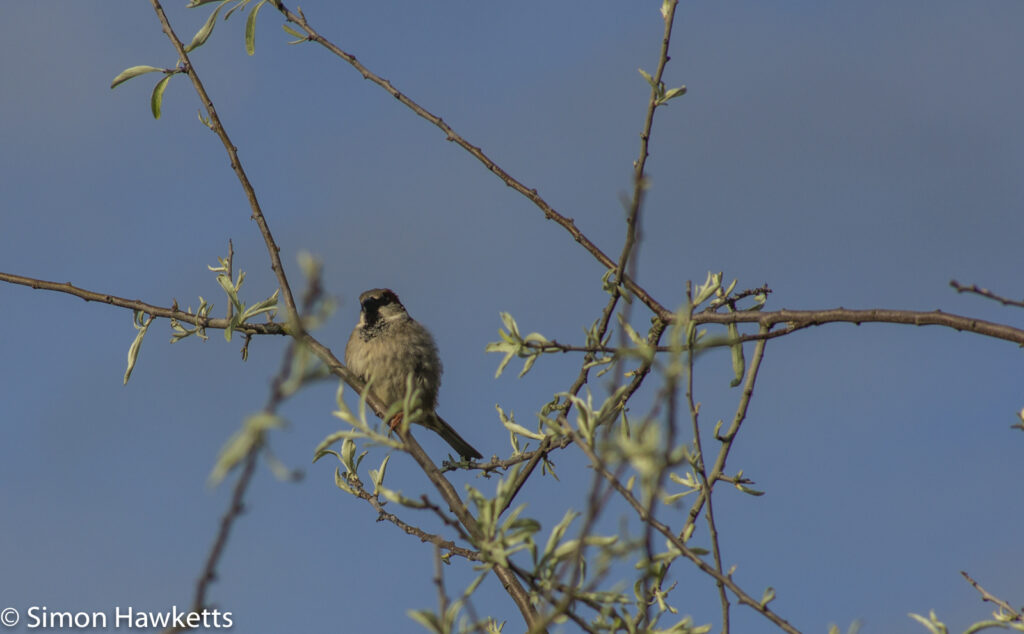
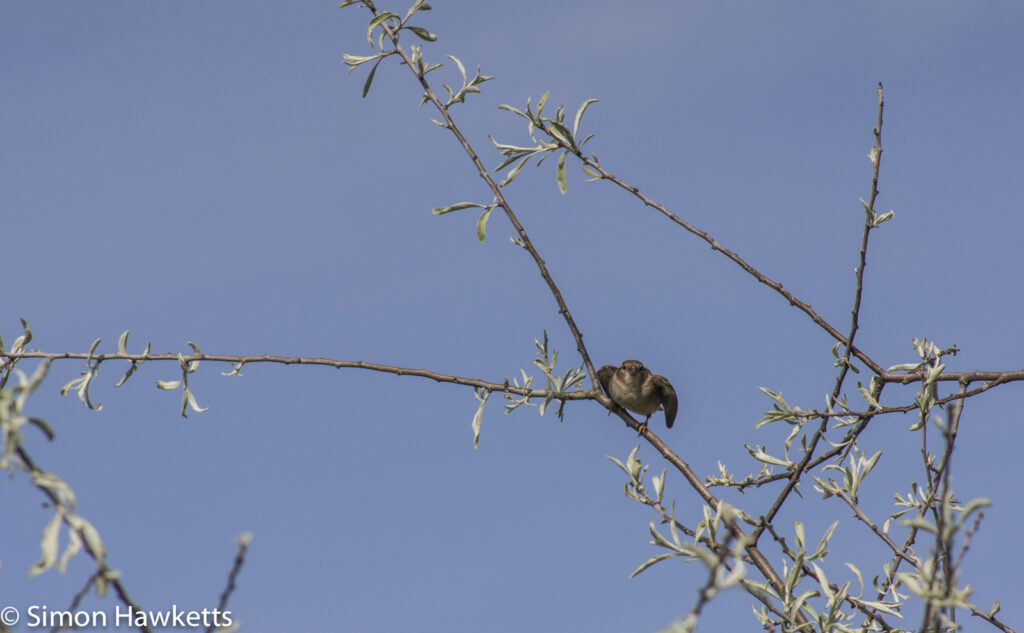
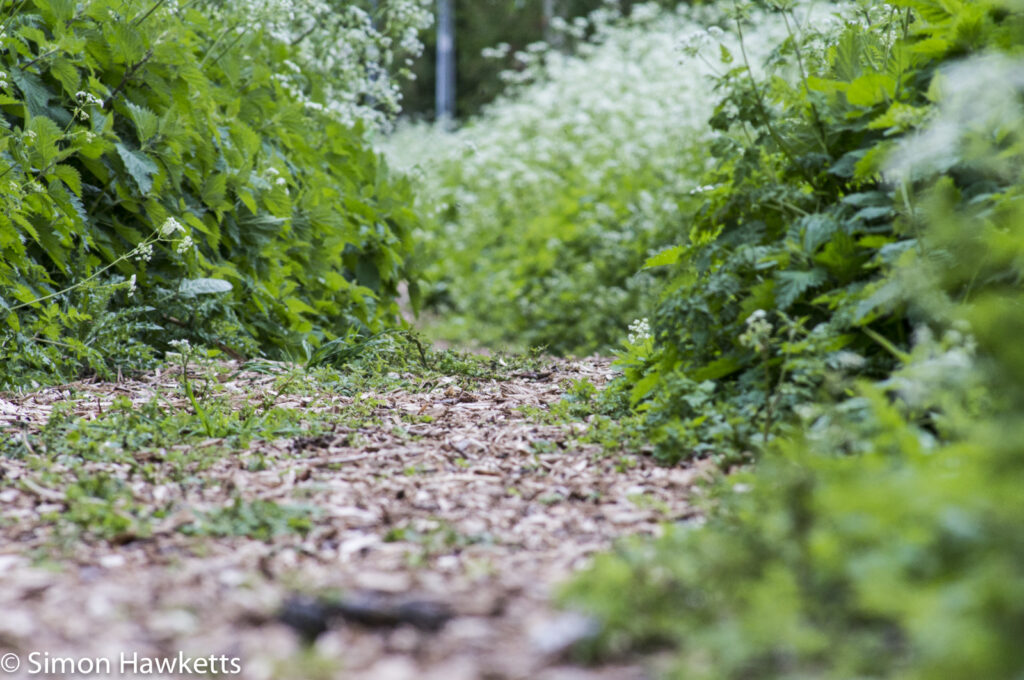
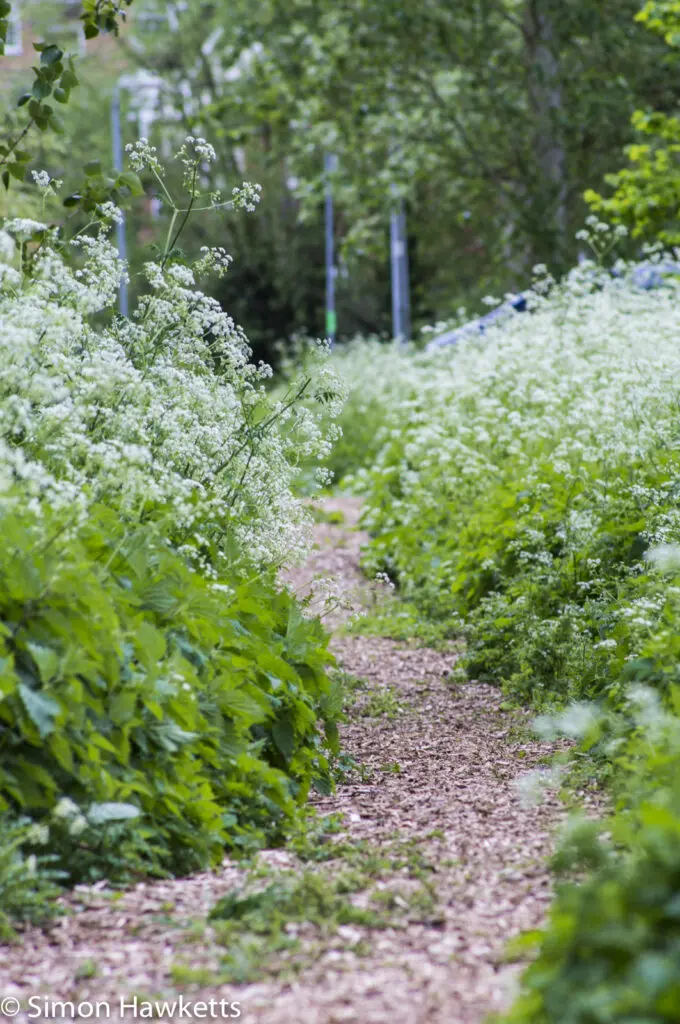
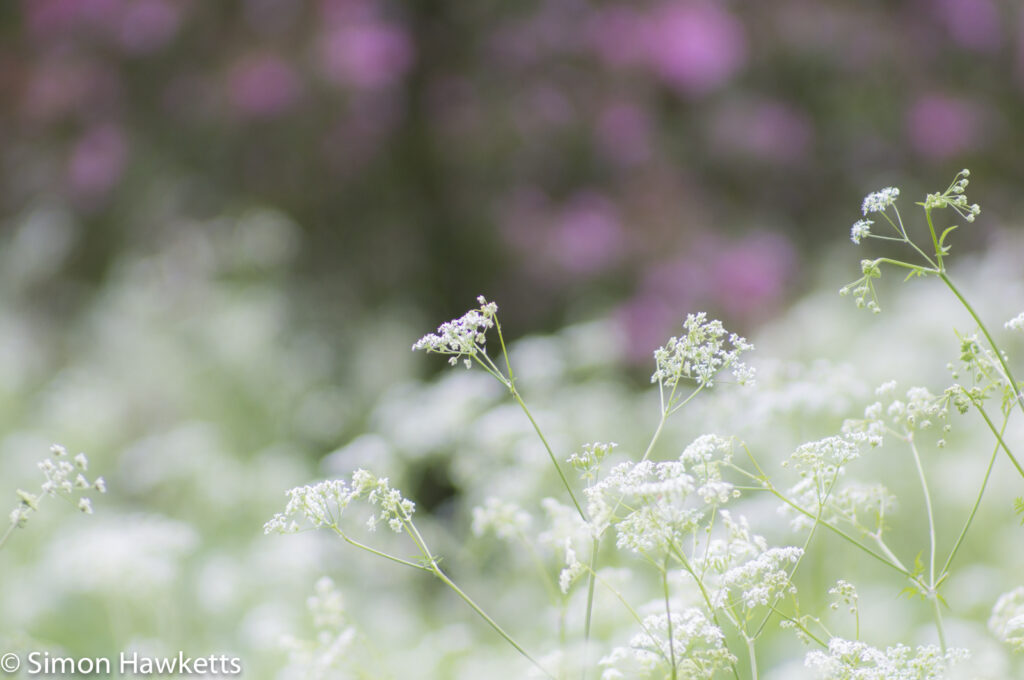
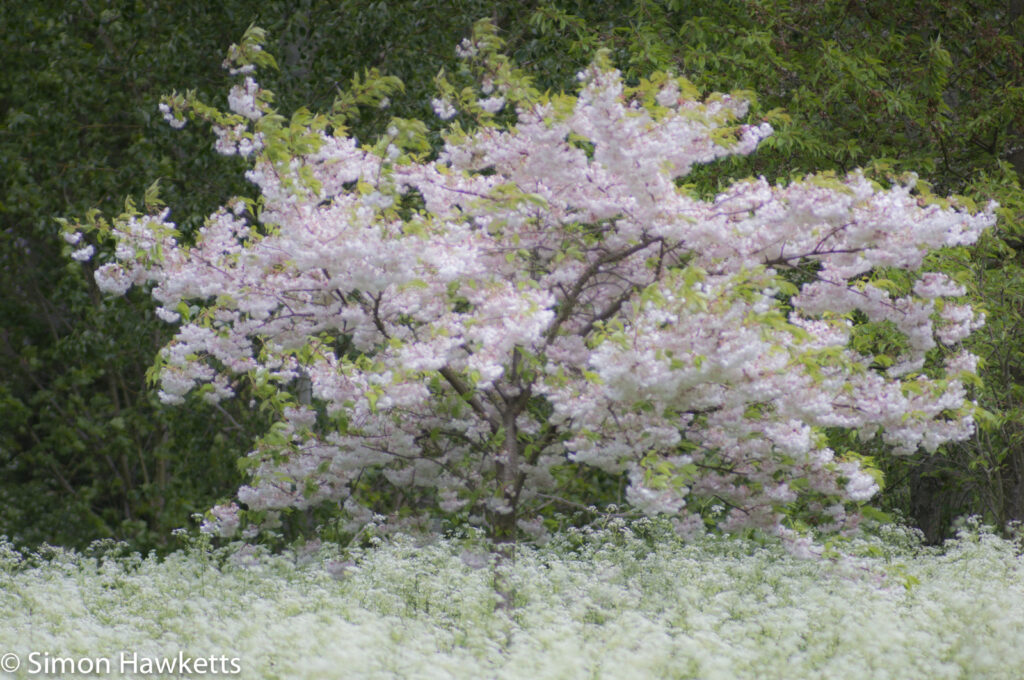
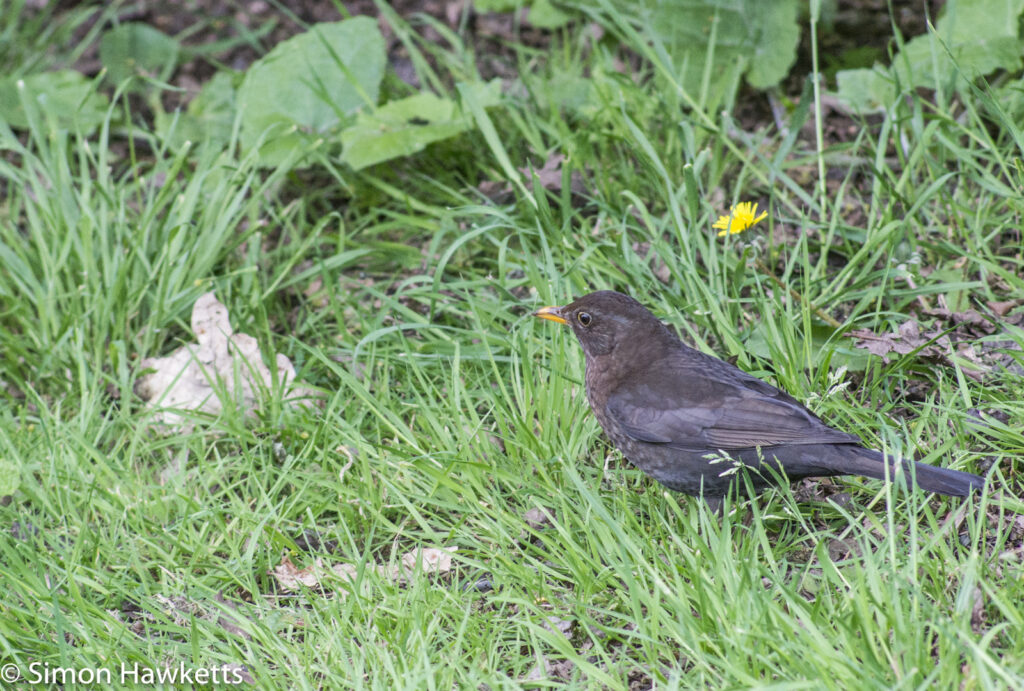
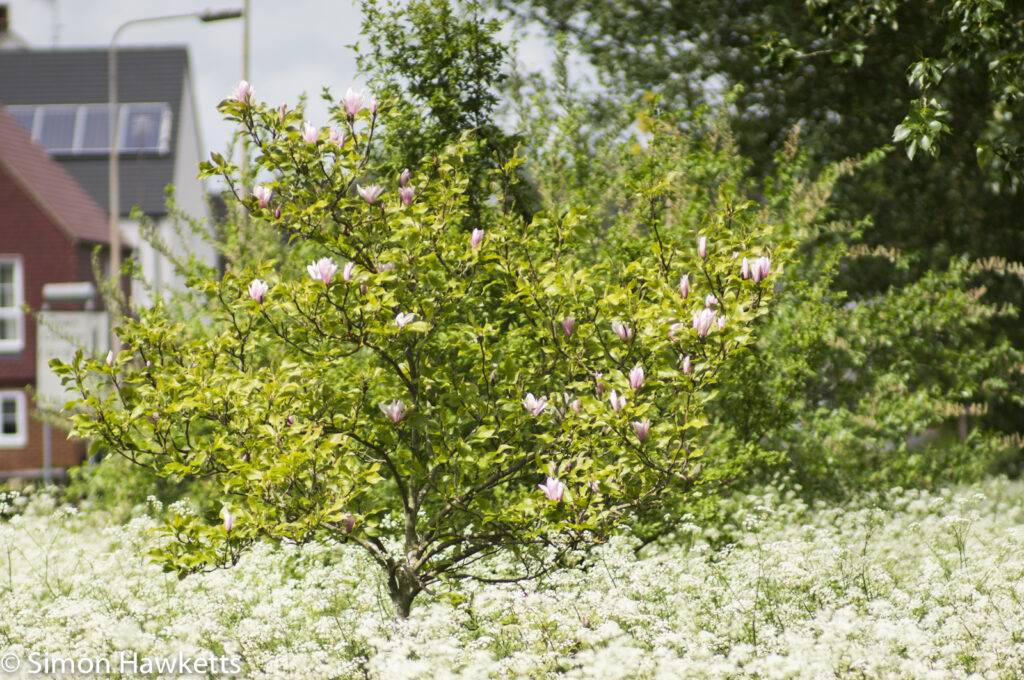
This is a gallery of shots I’ve taken with this lens fitted to my Nex 6. I think it shows that in the right conditions the lens is capable of some very fine results.



Conclusion
My overall conclusion is that this is a good lens from the point of view of performance. There are a few issues with fringing in the corners, particularly when the aperture is open wide, but these are easily dealt with in digital photography during Post Production. The definition and sharpness is very good, and the magnification is a really useful 6 times on a crop sensor camera.
However, in use I found this an awkward lens to use. The focusing was just stiff enough to be annoying, and had a weird feeling of tightening just when you needed to move it. This was odd – if I turned the focus ring a few times with the camera at waist level it felt easy enough and seemed OK but when I held the camera to my eye the focus seemed to just tighten a little bit.
The other slightly negative mark was with the weight, although that really is only slightly negative because the lens is quite fast for its focal length and I knew it would be heavy before I bought it. The thing which would have made a real difference would be to have a tripod mount on the lens – then I could have shot slower shutter speeds and generally felt happier with it.
All in all though, for the price I can’t complain, and I think it is probably capable of better pictures than any other 200 mm lens I have.
Discover more from Everything Vintage
Subscribe to get the latest posts sent to your email.

