Zorki 4K 35 mm rangefinder camera
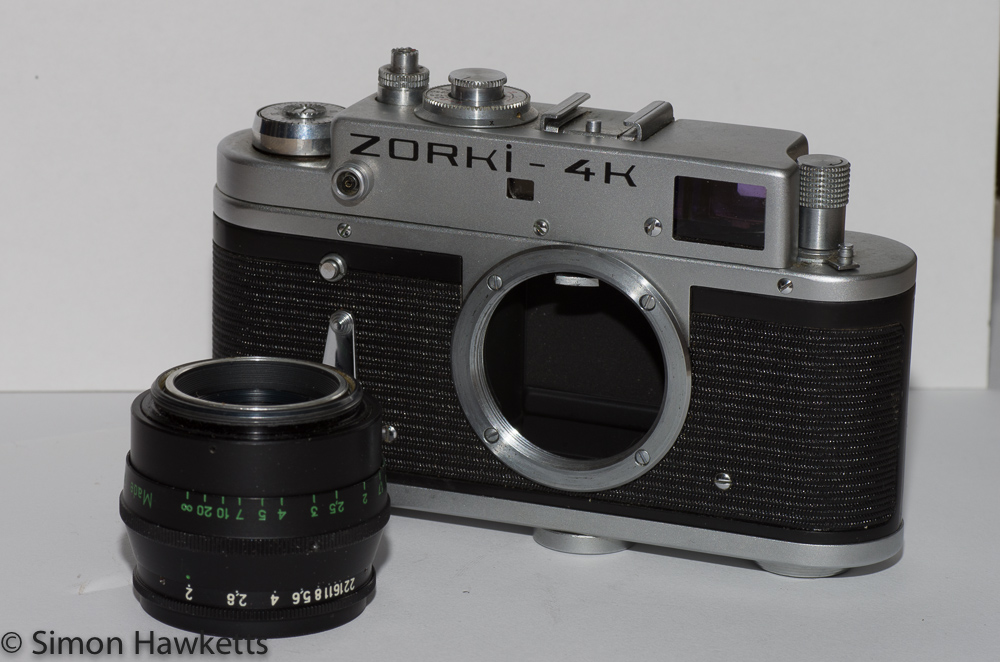
The Zorki 4 is a 35 mm rangefinder camera made in the old Soviet Union between the late 1940s and the late 1970s. It was basically intended to be a copy of the Leica rangefinder camera – an extremely popular and very expensive camera. This model is the Zorki 4k which was one of the later models made.
Photos of the Zorki 4k
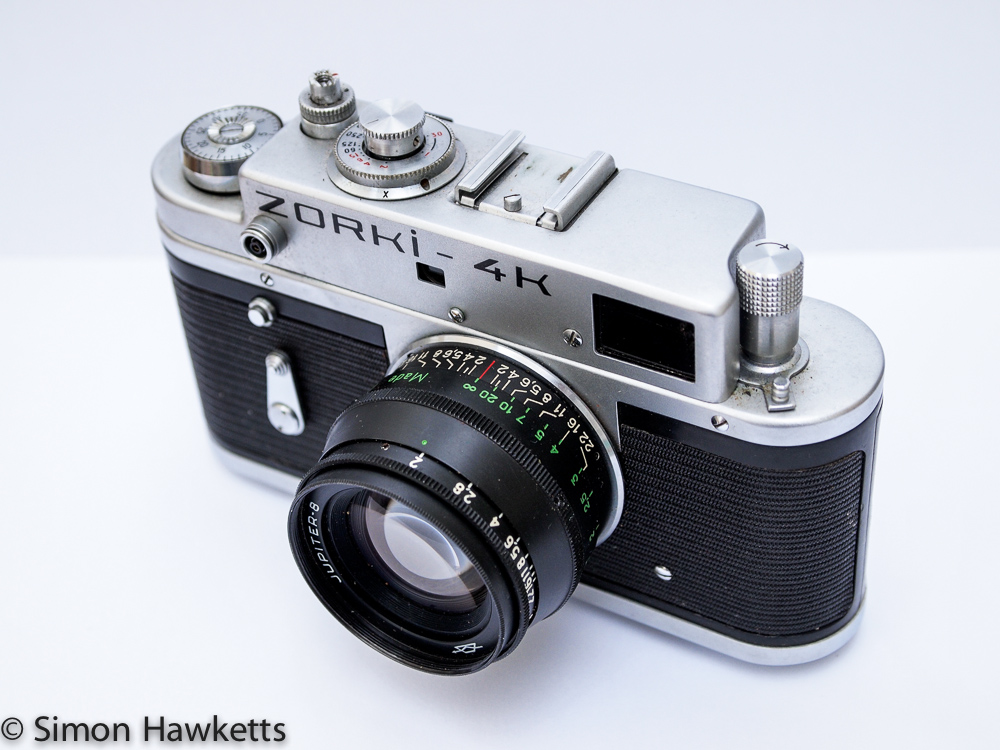
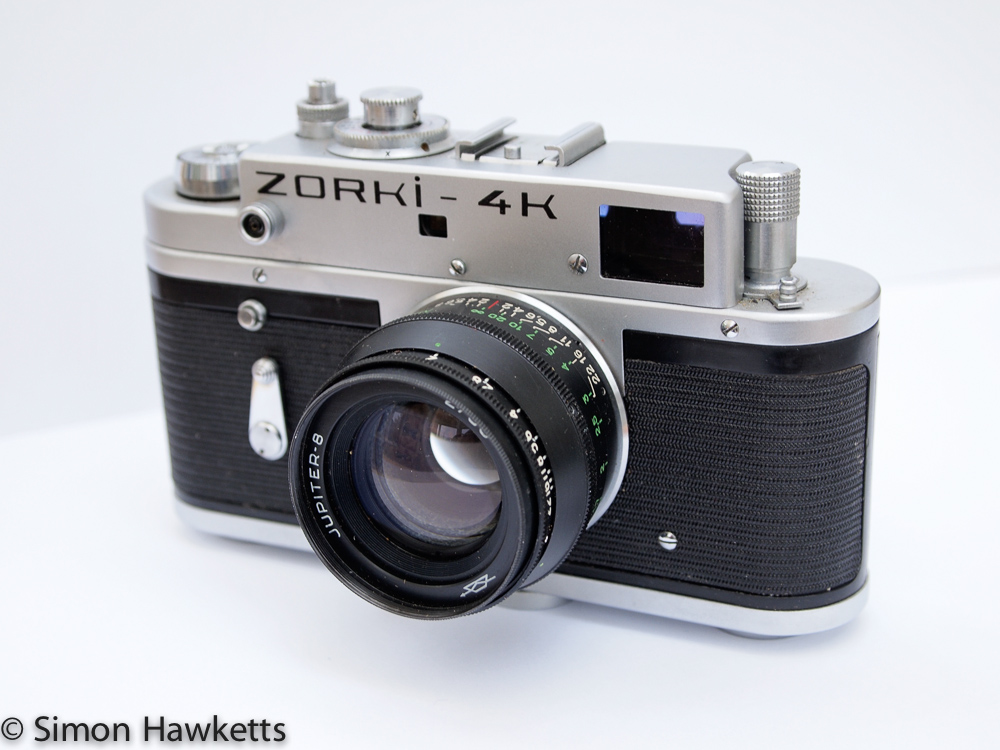
Zorki 4k Description
The Zorki 4k is a rangefinder camera, which means that to assist in focusing the camera there is a split image in the viewfinder which comes together at the point of focus. This was a common mechanism for focusing cameras before SLR’s came to dominate camera manufacture.
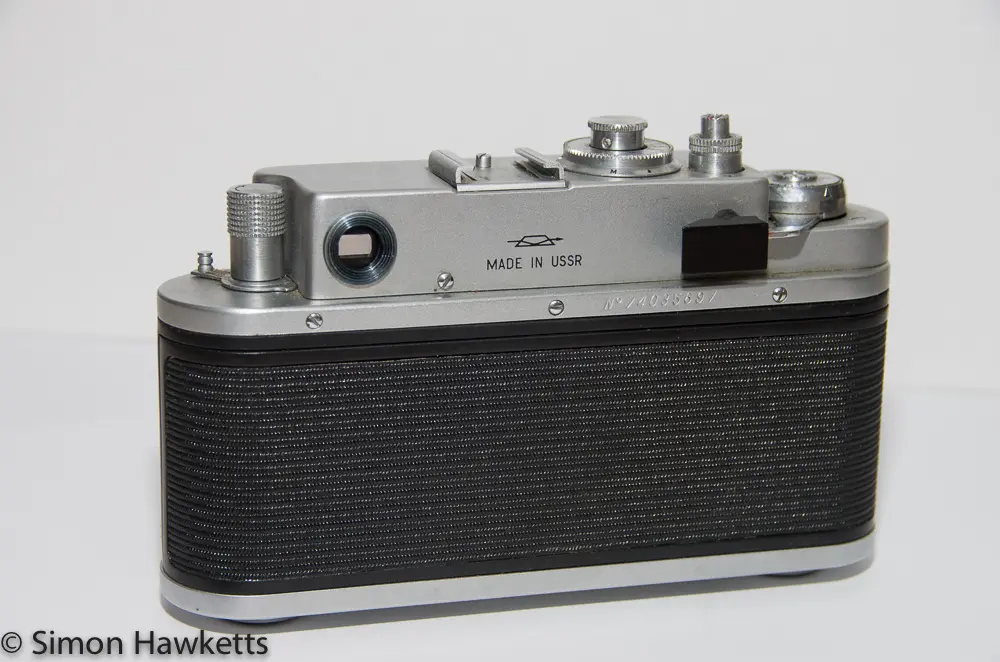
To accommodate the additional image view that the rangefinder action needs, there is a small window a little distance from the main viewfinder. Since the light from the scene enters the camera at two points, slightly apart, it’s possible to deflect one of the two images until they meet at the point the photographer wants to be focused, and the amount of deflection is a measure of the distance to the object.
The camera has a shutter range from 1/1000 to 1 sec and the lens covers f/2 to f/22. There is a self-timer fitted, and a socket to connect a flash gun. Although a flash mount is fitted on the camera top plate, there is no ‘hot shoe’ connection.
Lens
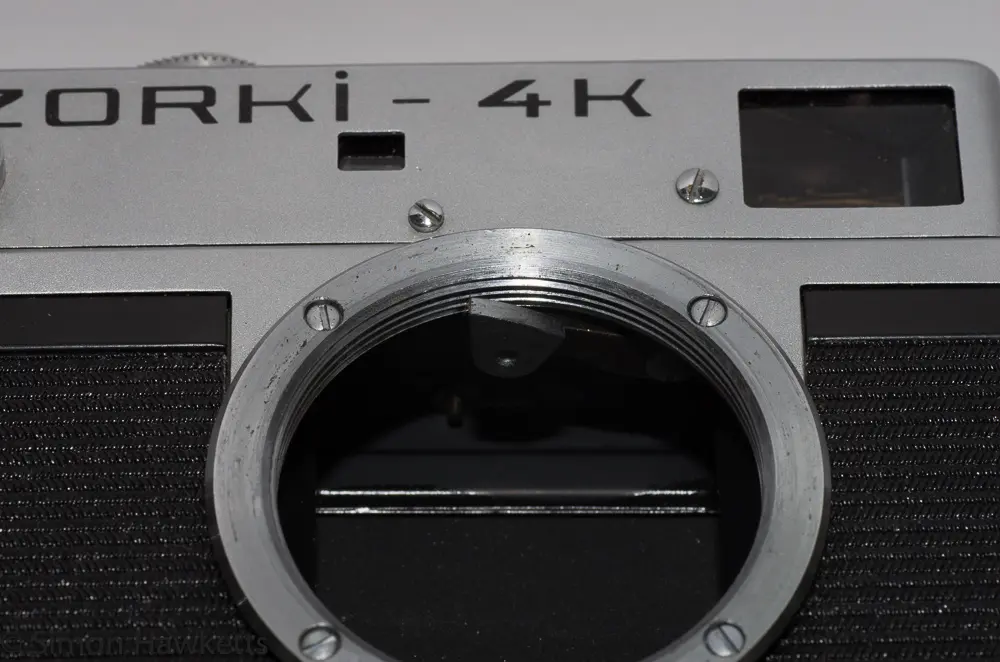
The lens is interchangeable and is fitted by way of a 39 mm Leica screw thread.

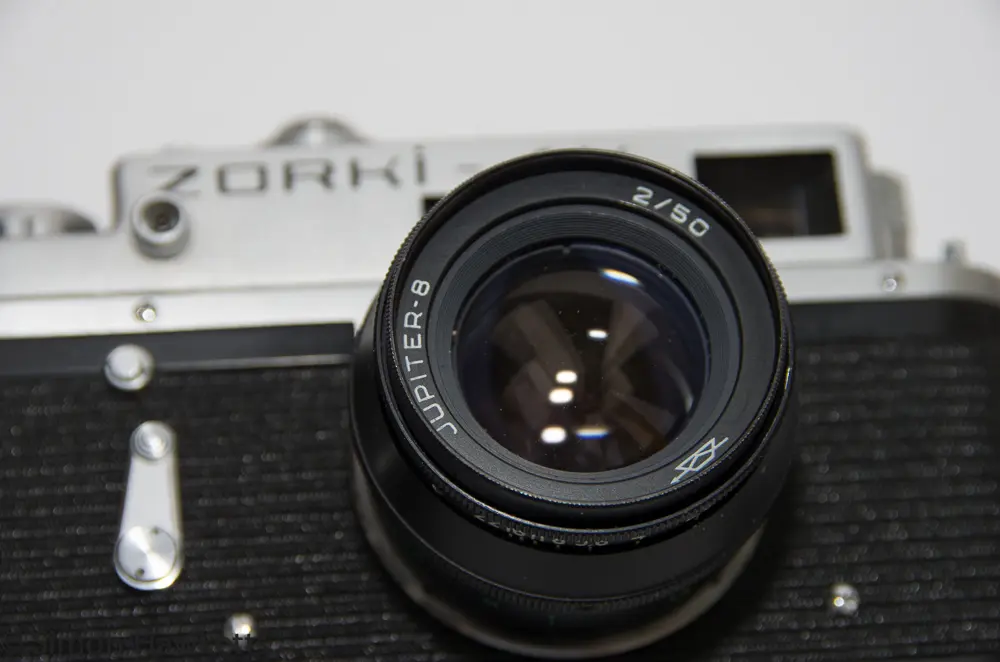
The example I have is fitted with a 50 mm f/2 “Jupiter 8” lens which I assume is the unit fitted when the camera was bought. I also have a couple of other 39 mm screw thread telephoto lenses acquired from my Father, but they look pretty poor quality.
The rangefinder mechanism is coupled to the lens by way of a small lever mounted internally which touches the inside of the lens. As the lens is focused the lever moves which makes the two images inside the viewfinder come together. It looks a fairly Heath Robinson arrangement and I would think that it would be difficult to get shots in focus with this particular example. There is a push fit lens cap to protect the lens when the camera is not being used.
Shutter
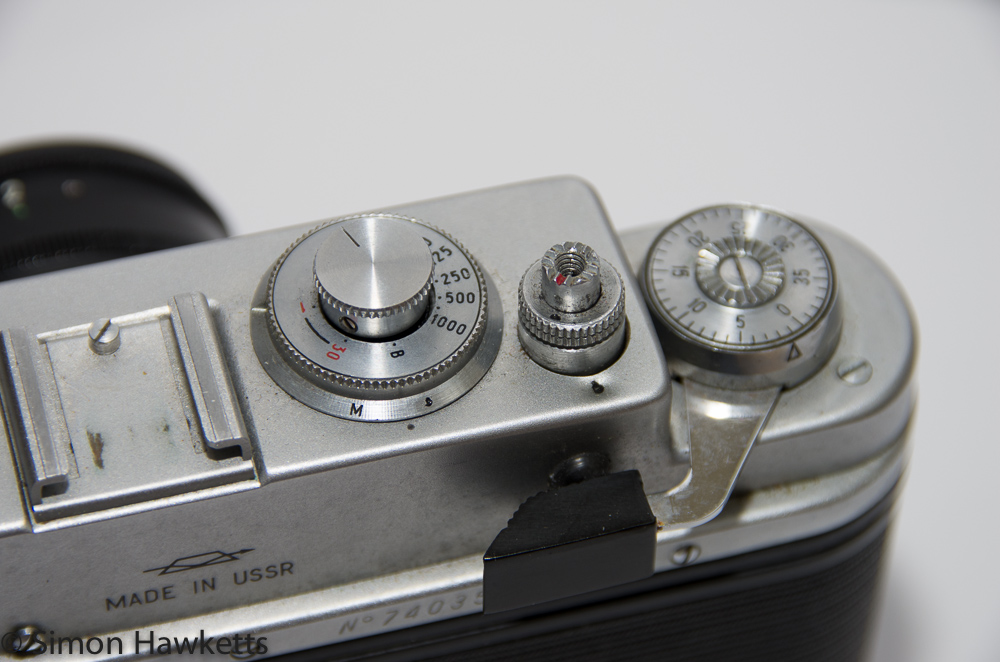
The shutter speed is adjusted with a dial on the top plate of the camera, next to the shutter release.
An oddity of the camera is that the shutter speed should only be set after the shutter has been cocked (or in other words, when the camera is wound on ready to fire). So to set the shutter speed you wind the camera on for the next exposure, lift the shutter speed knob and turn it to the speed you want, let go, and the knob clicks into place and then fire the shutter. Apparently, if this procedure wasn’t followed it could damage the shutter mechanism. I wonder how that would go down these days ? I can’t see it being overlooked somehow.
There is a self-timer mechanism fitted to the front of the camera. It’s a standard mechanical mechanism which you use by setting the shutter, winding the self-timer round and pressing the small button above the self-timer. The mechanism then winds down and about 12 seconds later the shutter fires.
Aperture
The aperture is set by way of the dial on the lens.
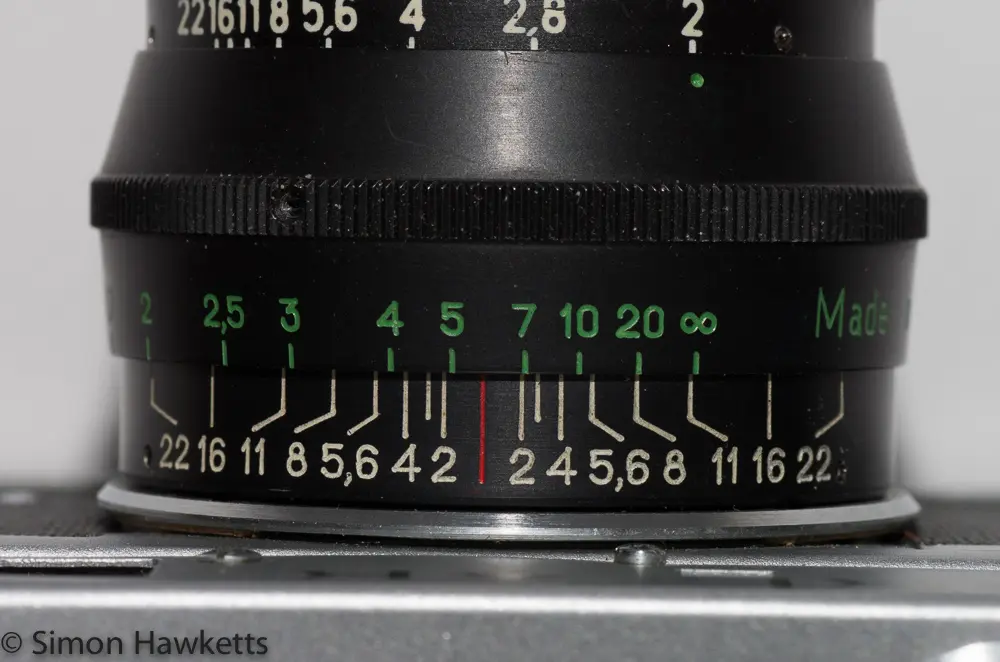
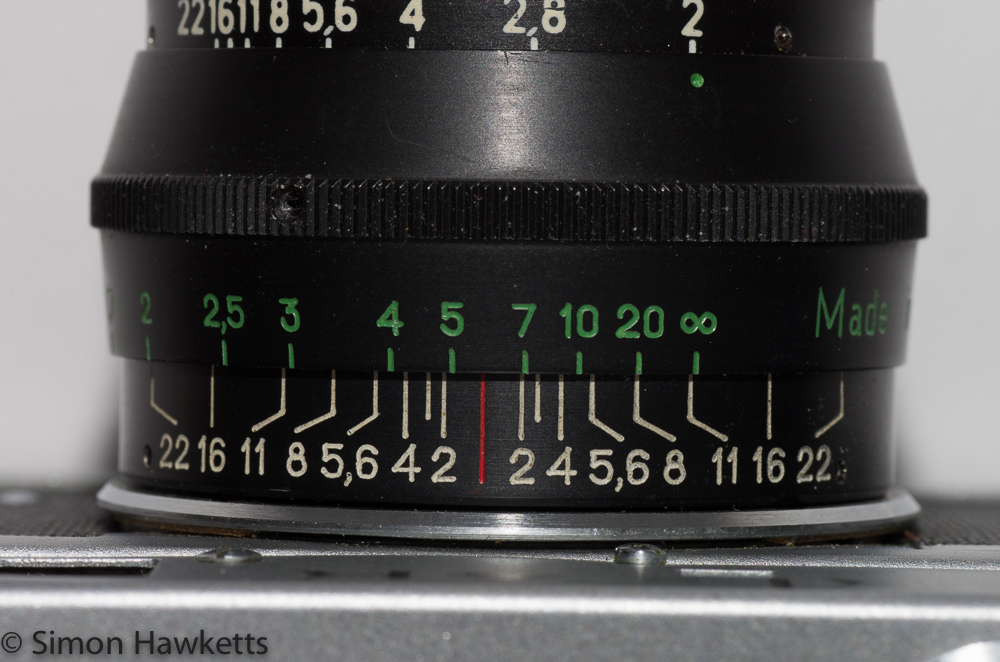
There are no click stops – the aperture simply adjusts between f/2 and f/22. One nice feature, which is often missing on modern lenses is the depth of field scale on the top of the lens, which allows you to see how much of the picture will be in focus at any particular aperture.
For example if I set the camera to f/11 I can set the infinity marker to the right most f/11 marker and I know that everything from 3 meters (where the left most f/11 marker matches) to infinity will be in focus.
Loading a film
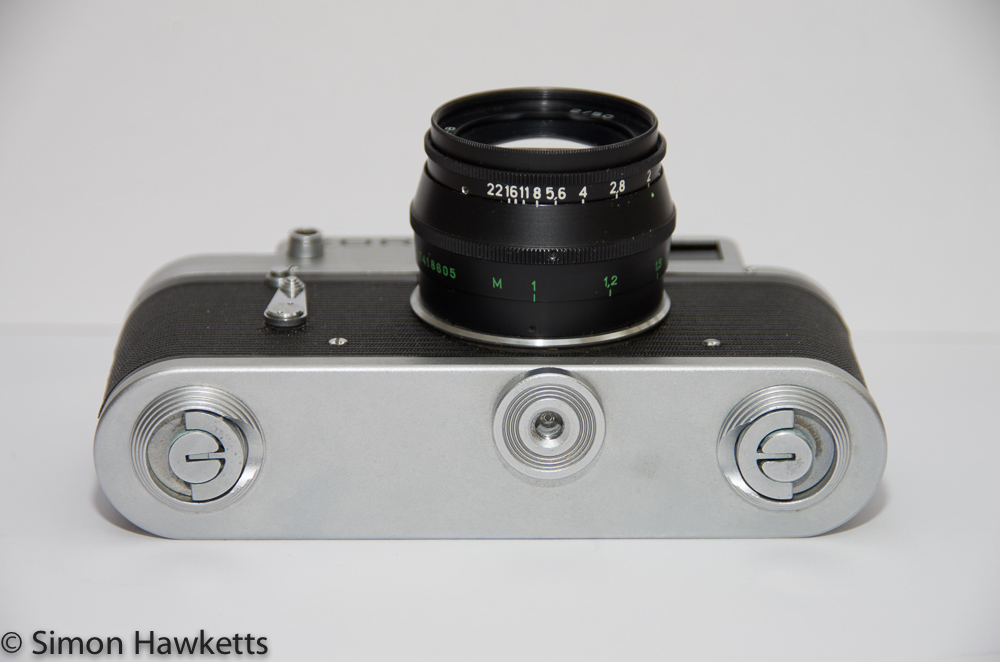
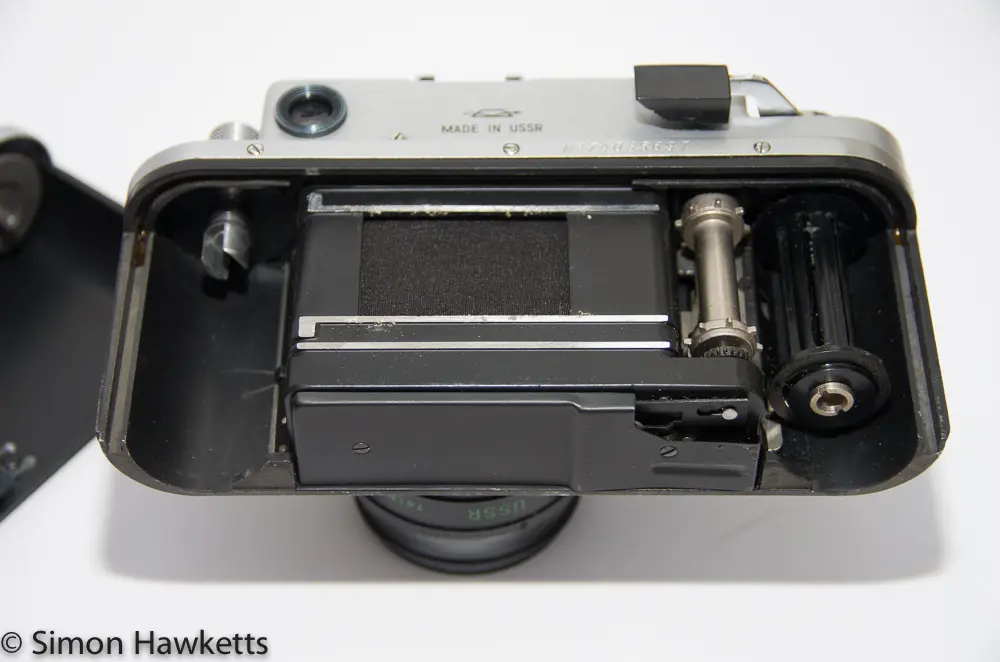
Putting a film in the camera involves taking the bottom half of the camera off !
There are two locks on the bottom plate of the camera which are lifted and turned to release the backplate. Once this is removed the film is fitted in a fairly conventional manner. Once the film is complete it’s wound back into the cassette with the rewind knob at the opposite side of the camera to the film wind on lever.
I have never put a film through this camera, and the viewfinder seems to be quite mucky and dim, so I suspect it’s seen better days. It might be interesting to try a reel of b/w however – if I do that I’ll post the pictures.
The Manual for the Zorki 4 is shown here.
Discover more from Everything Vintage
Subscribe to get the latest posts sent to your email.

