Yashica 635 shutter removal
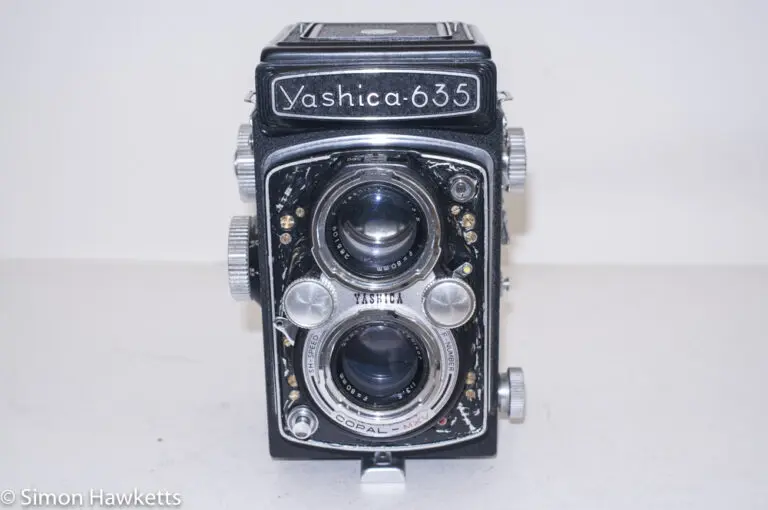
This post shows the procedure for removing the Copal MXV shutter from the Yashica 635 medium format film camera which you may need to do if either the shutter speeds or self-timer unit are not working correctly.
I bought my Yashica 635 a few days ago from a seller on eBay, but the reason I got it was a bit different from the norm. I was contacted by someone who had a Yashica 635 which belonged to her father who had sadly died. She was quite eager for the camera to go to a collector rather than just being sold on eBay, and so she contacted me to see if I would be interested in it. Although the camera looked good, and I’m sure she was a genuine seller, in the end she wanted more than I could justify for a camera which I’d not seen and couldn’t be sure was working, so I didn’t purchase her camera. However, having had my interest piqued, I had a search on eBay and found this model which was sold as ‘good condition, but shutter doesn’t fire’.
Once I saw that ad, I thought it highly likely that the camera would be repairable, and I managed to win the camera with a bid of just over £30. Although that is more than I like to pay for a vintage camera, it is just a fact that Yashica TLR’s hold their value and £30 is probably the cheapest I would be likely to find on for (it is considerable less than the price the original seller was asking for hers).
When the model turned up it was in pretty good condition with only a couple of faults – the shutter which I knew about, and the viewing screen which is quite dull. I’m sure the viewing screen just needs a clean, so I firstly started by looking at the shutter.
The problem was one which is quite typical of cameras of this age. I could cock the shutter but when the release was pressed the shutter fired in slow motion. The shutter blades opened very slowly and closed very slowly, irrespective of the speed selected. It seemed that the only thing it needed was a good clean, so I started to see how to remove the shutter from the body. It turns out the Yashica 635 is quite an easy camera to work on.
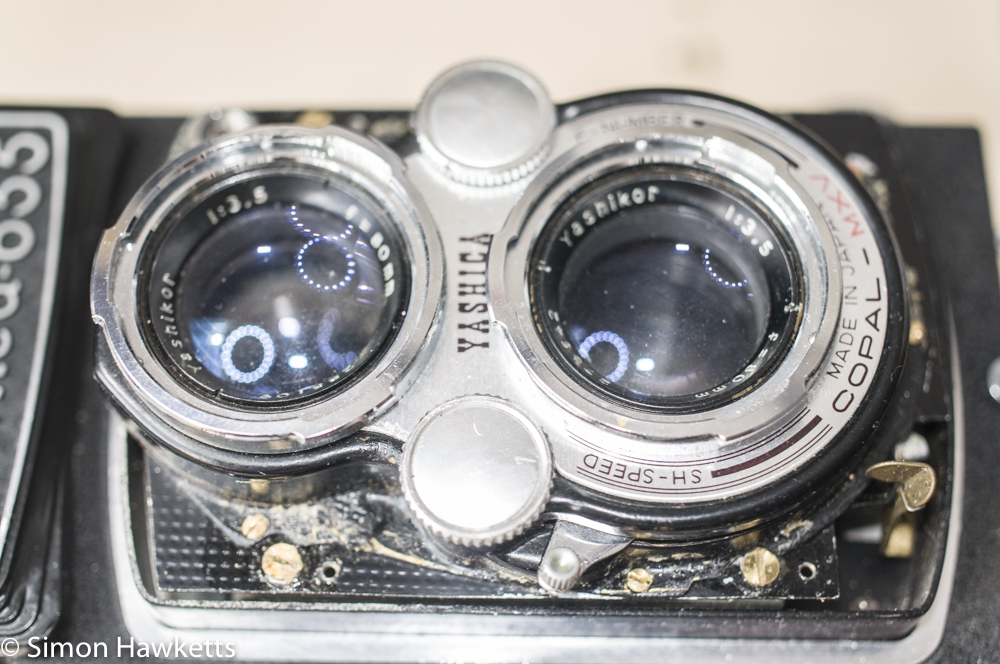
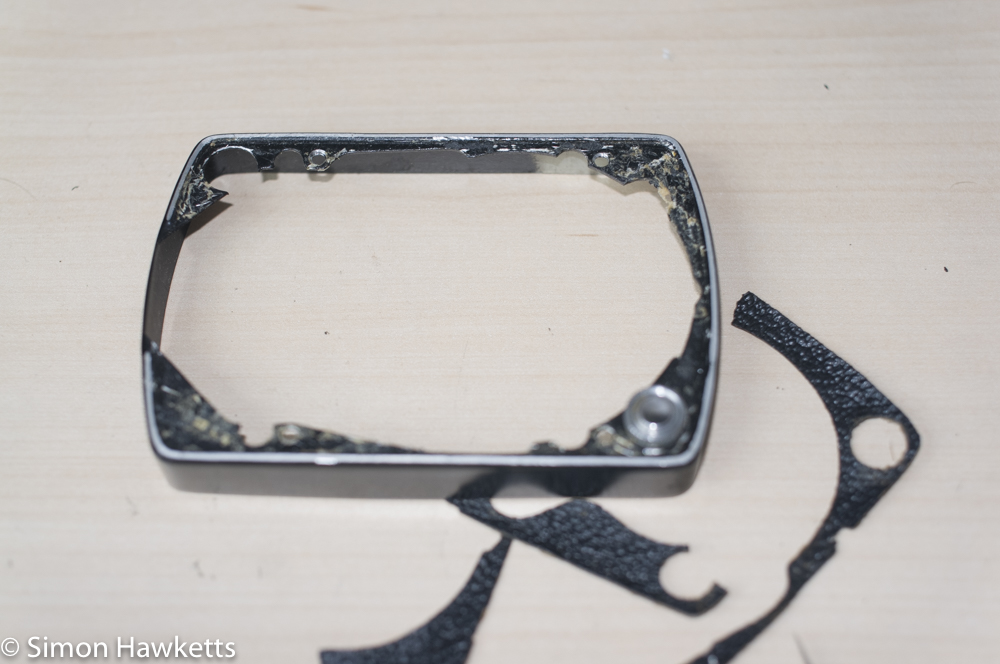
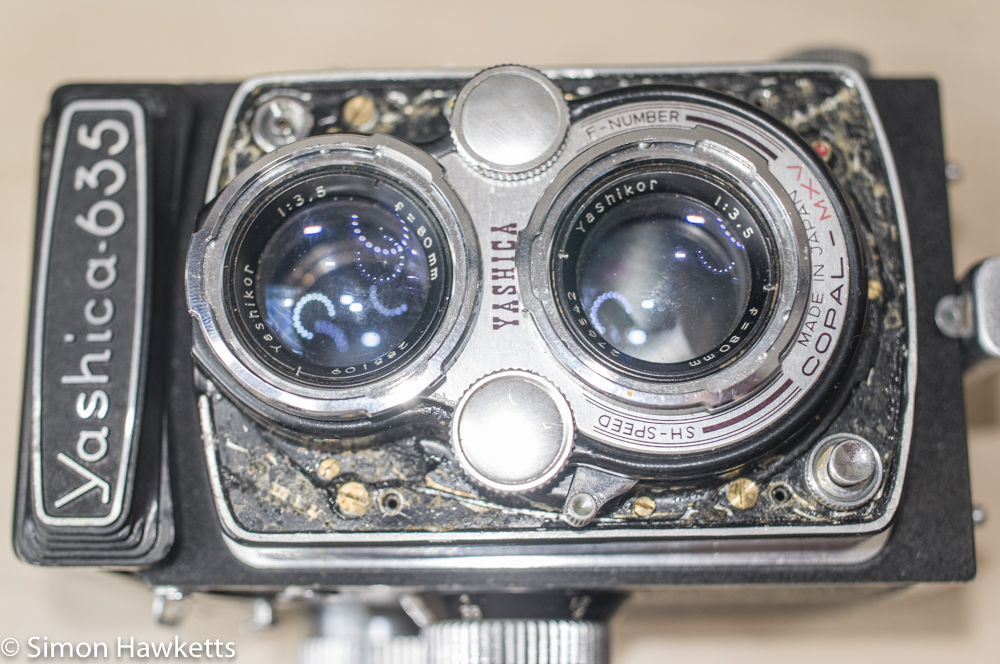
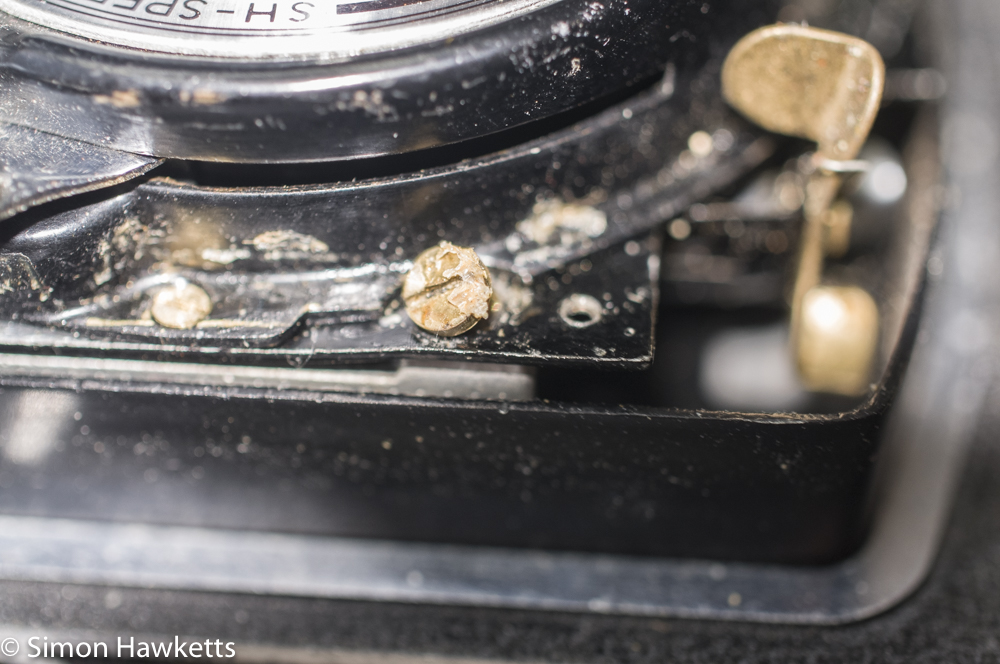
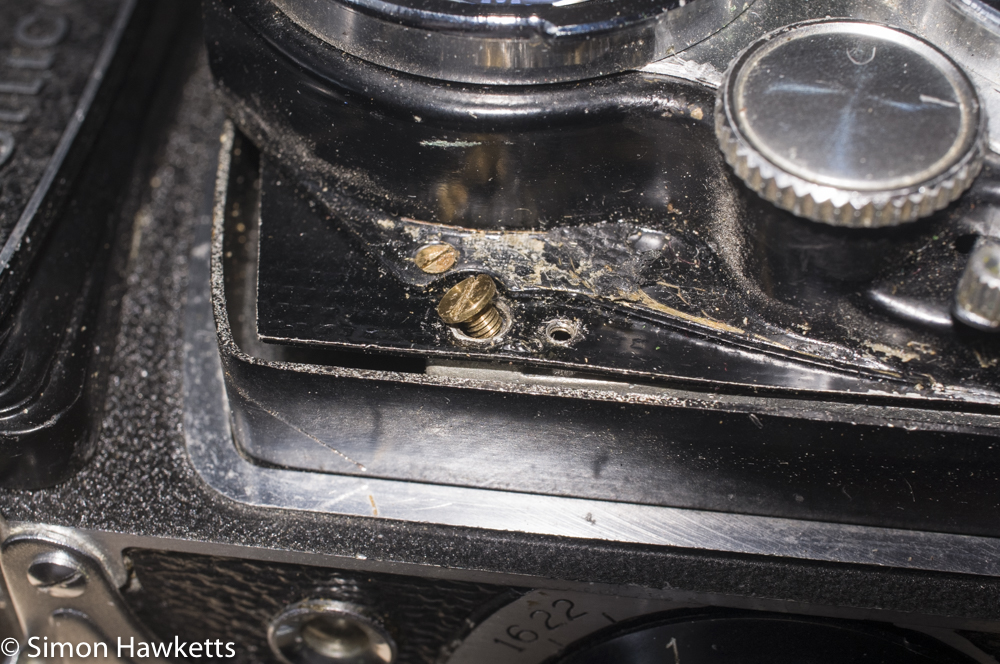
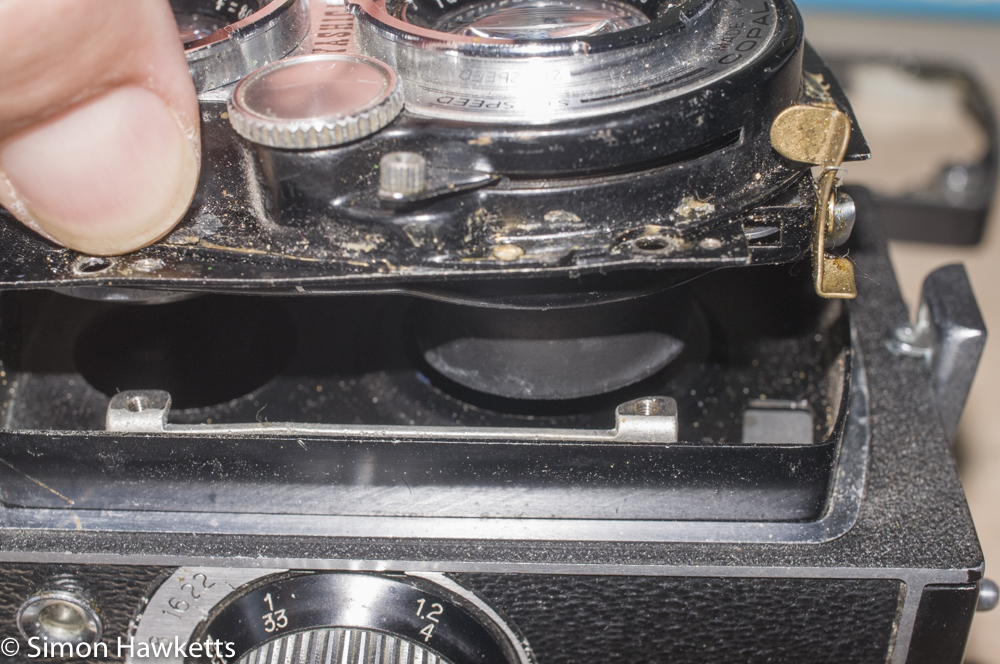
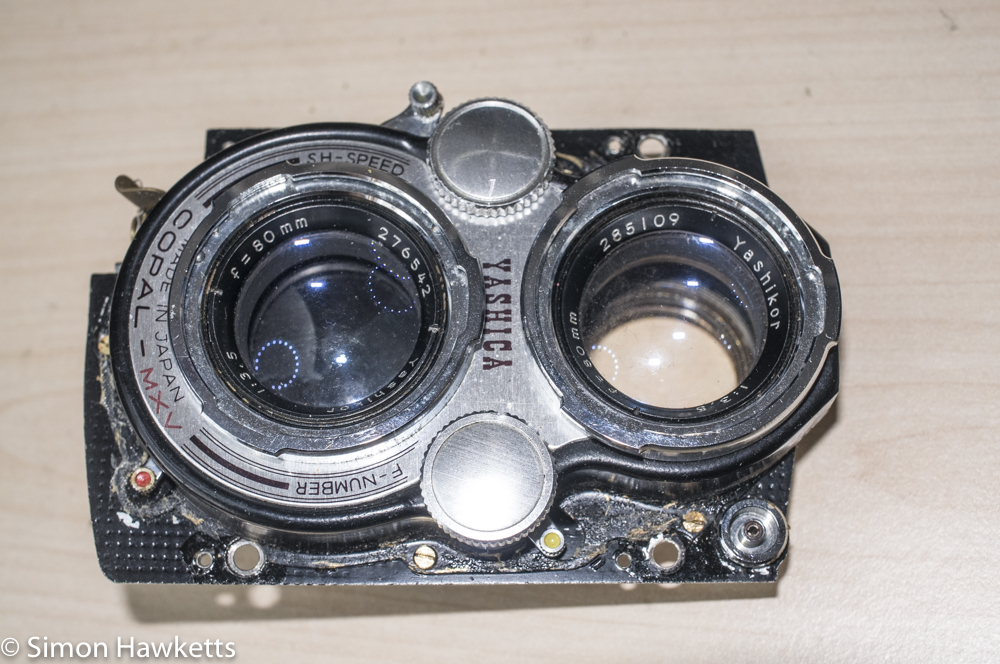
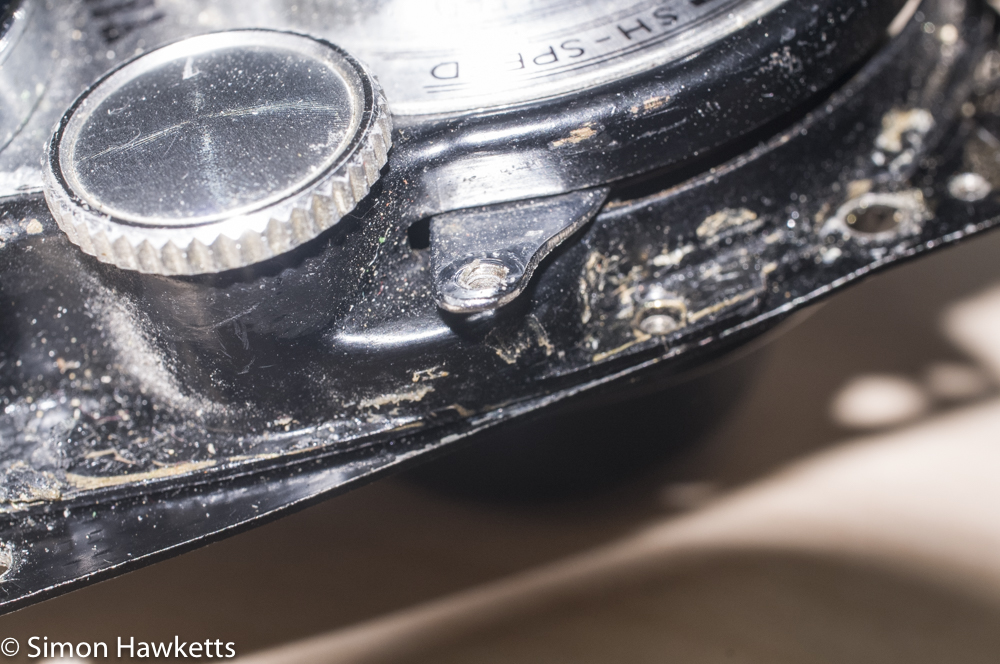
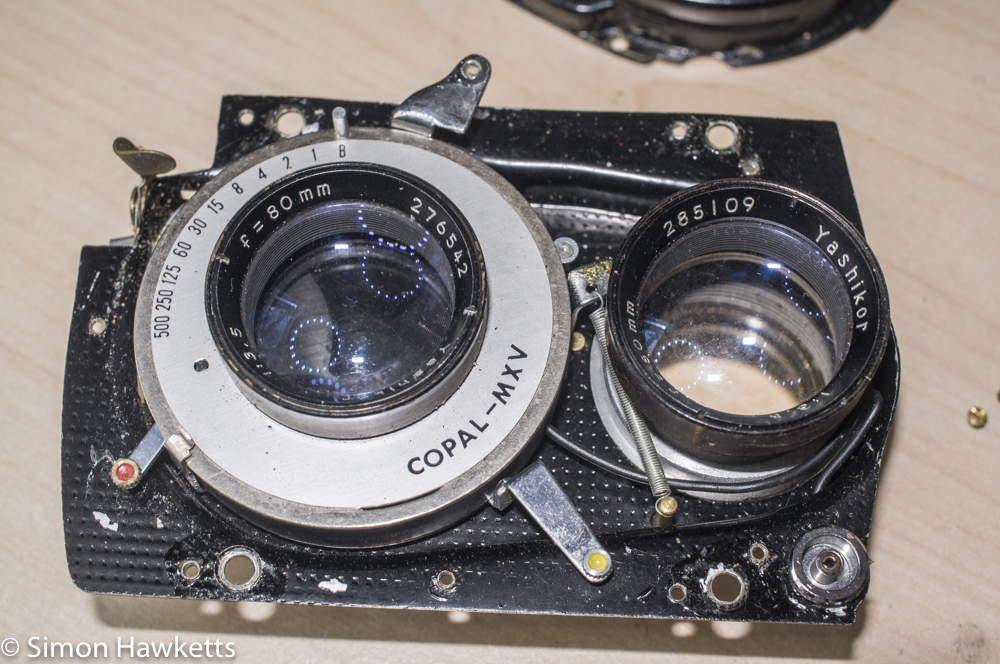
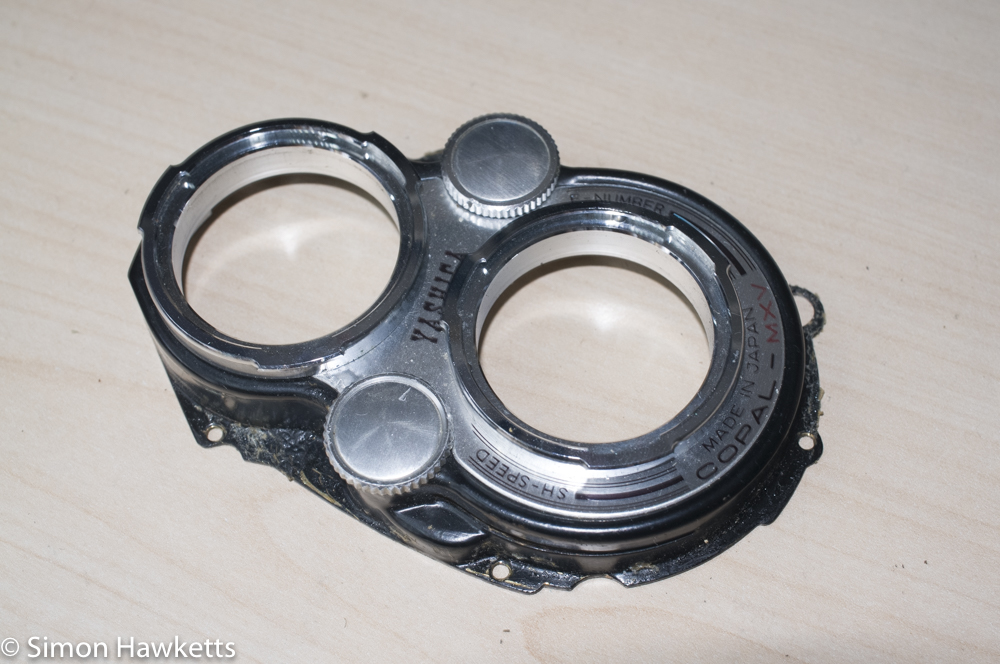
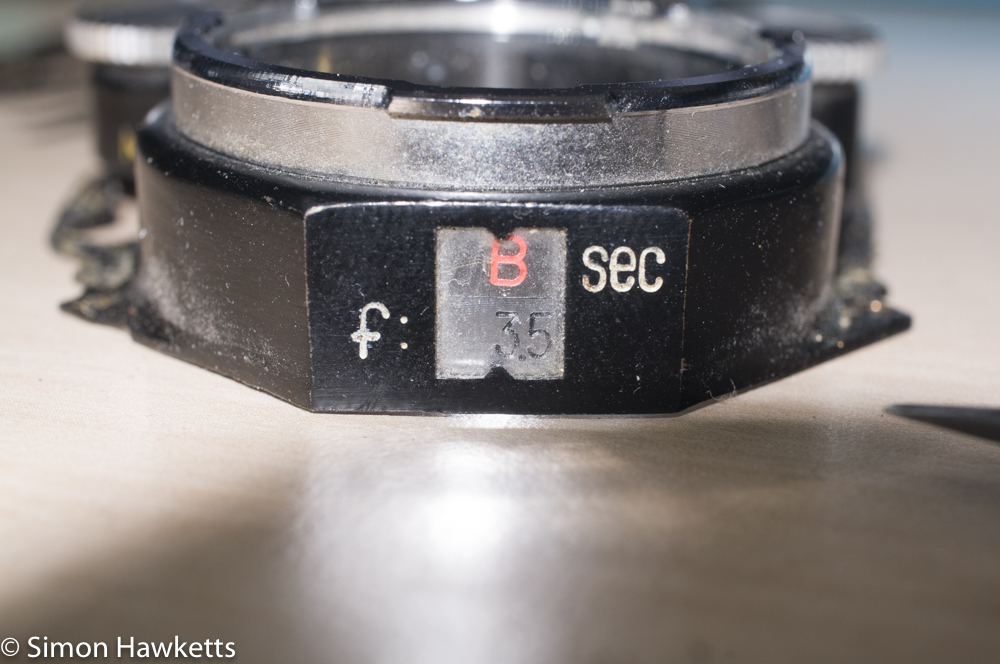
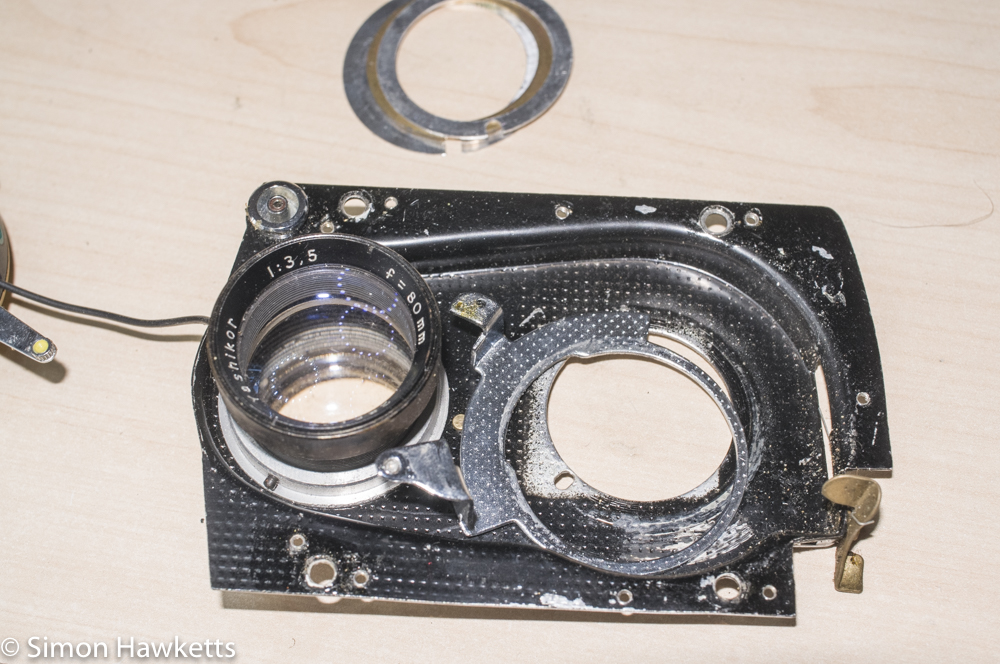
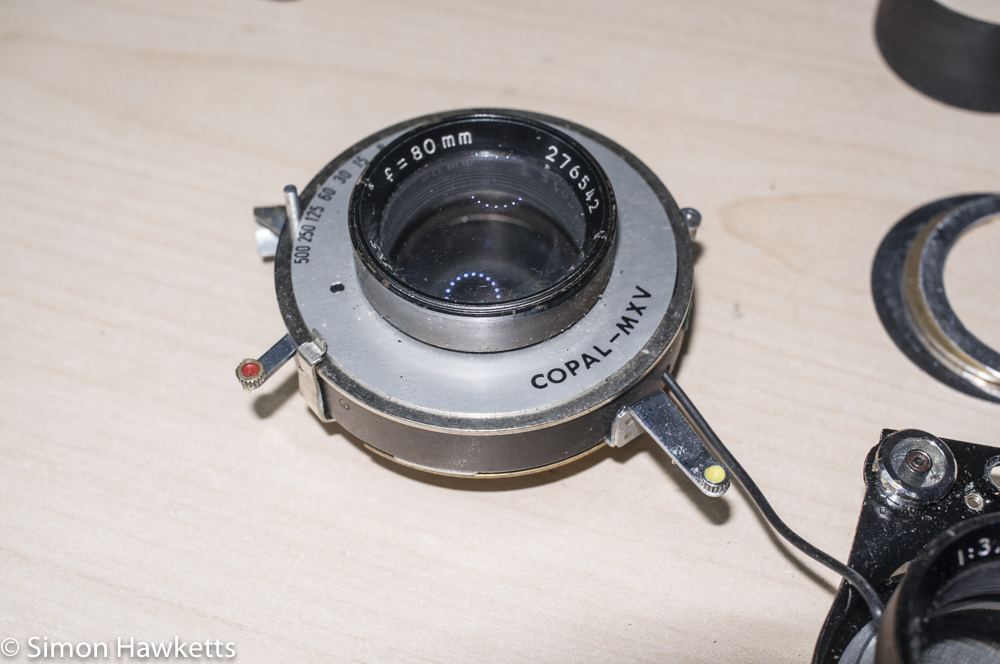
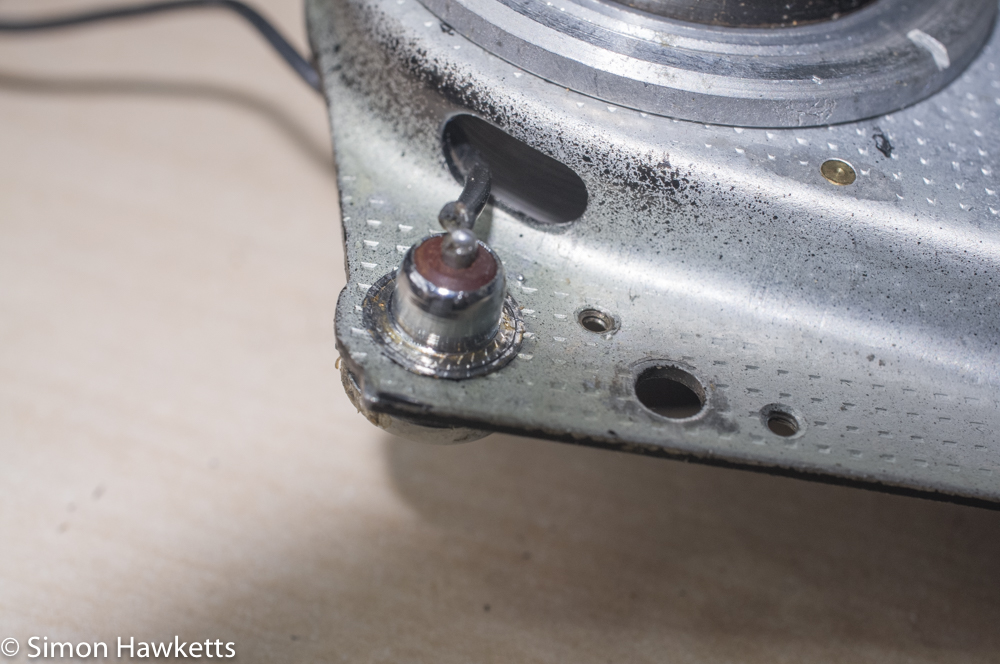
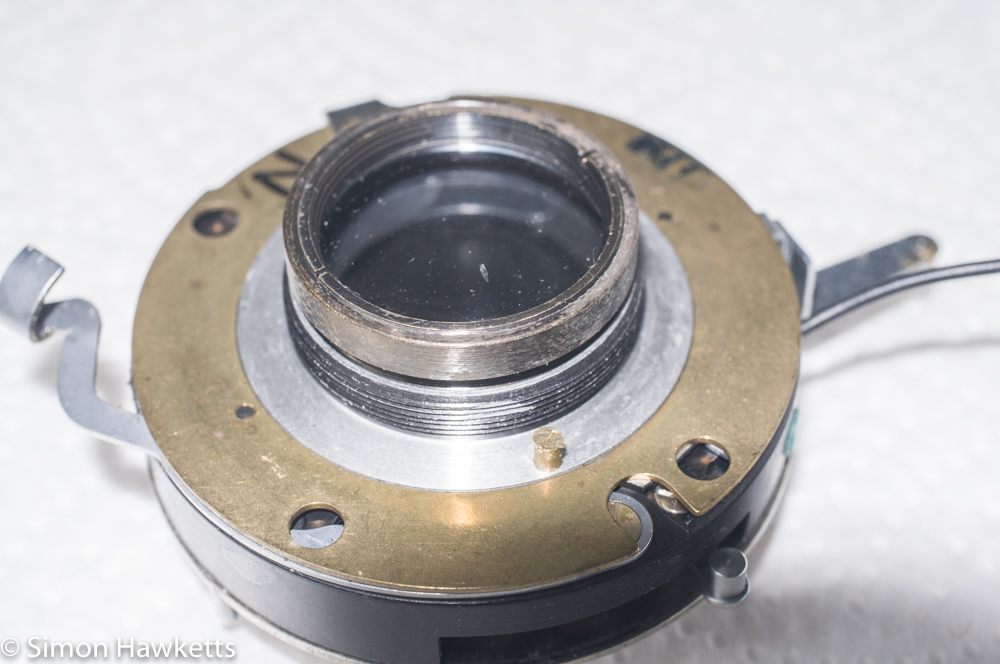
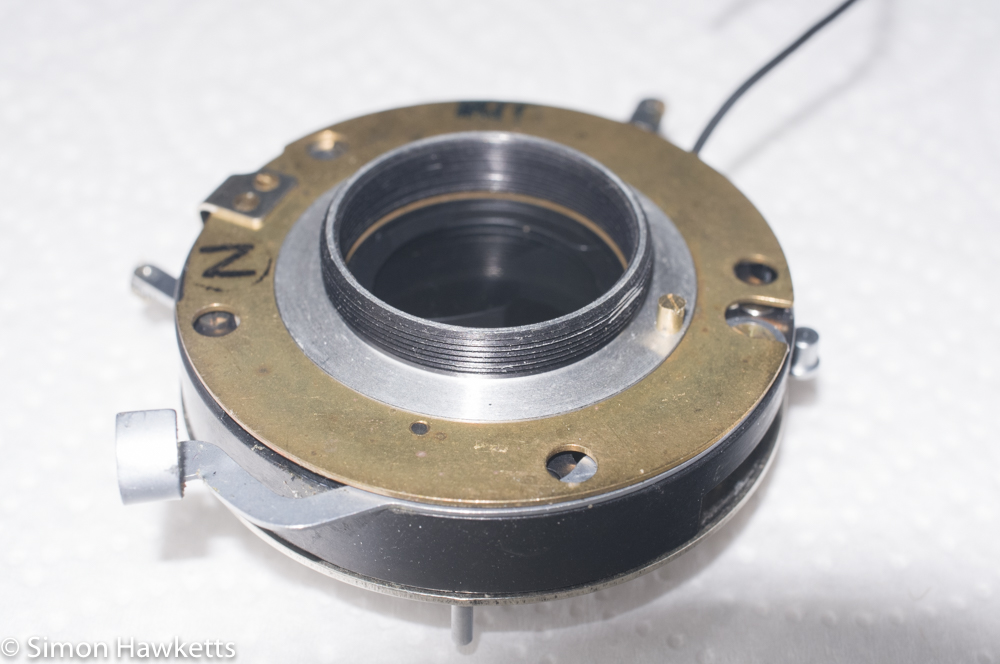
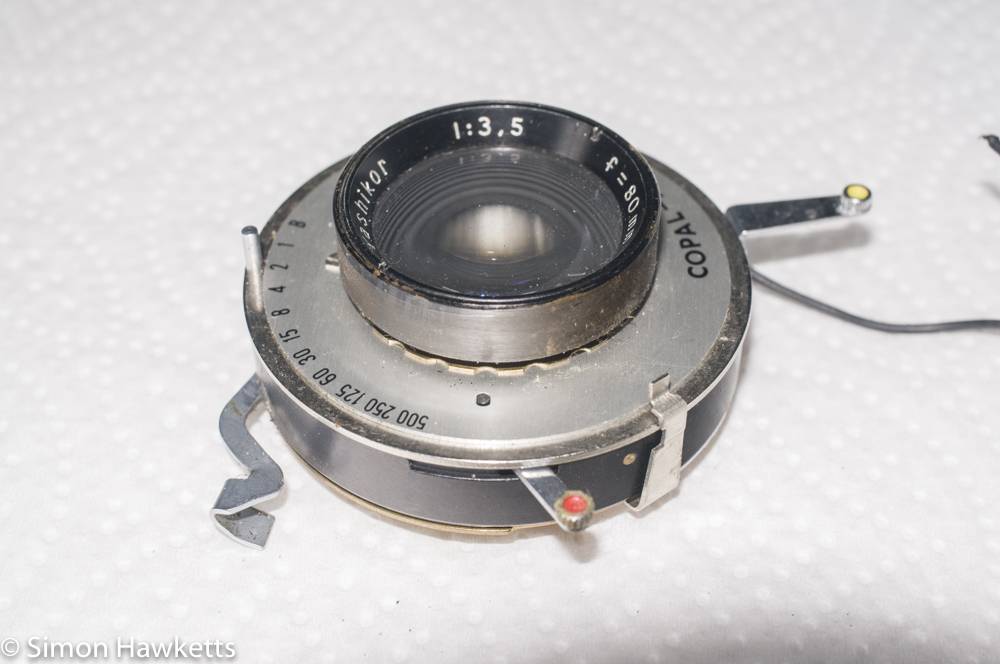
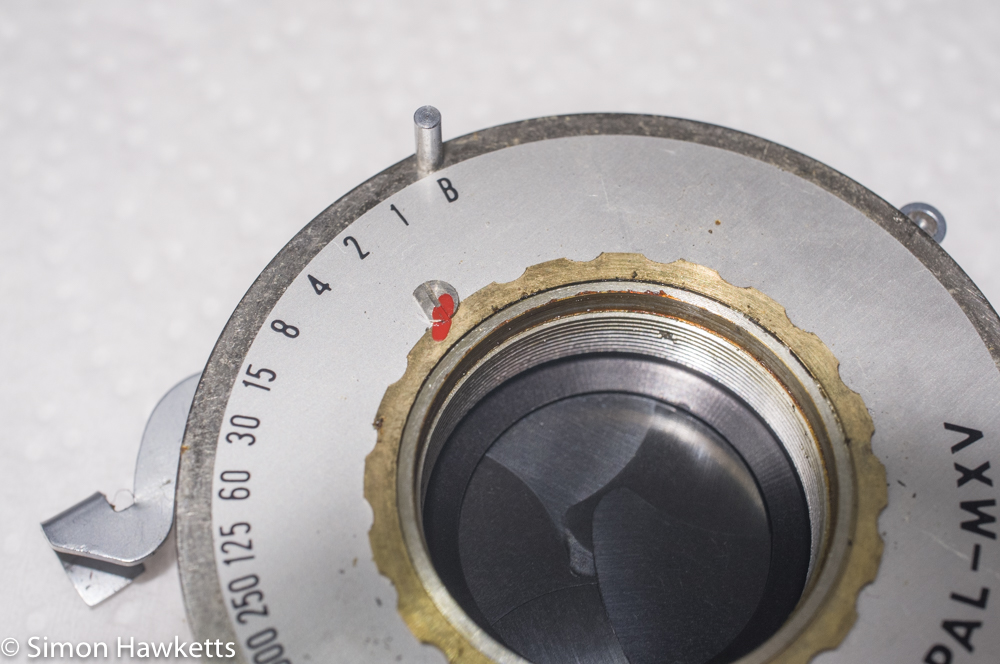
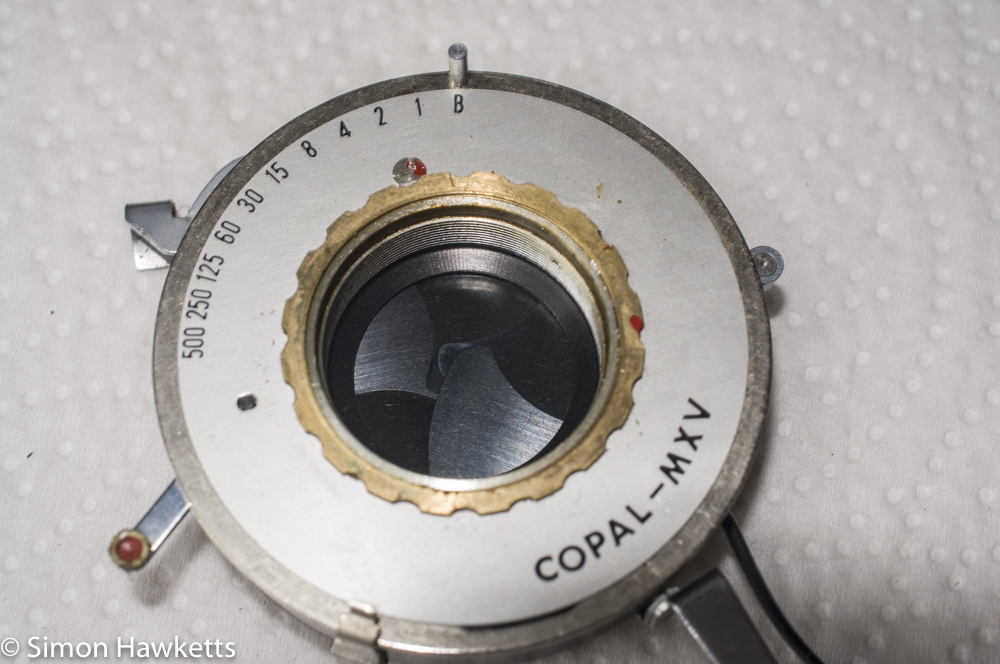
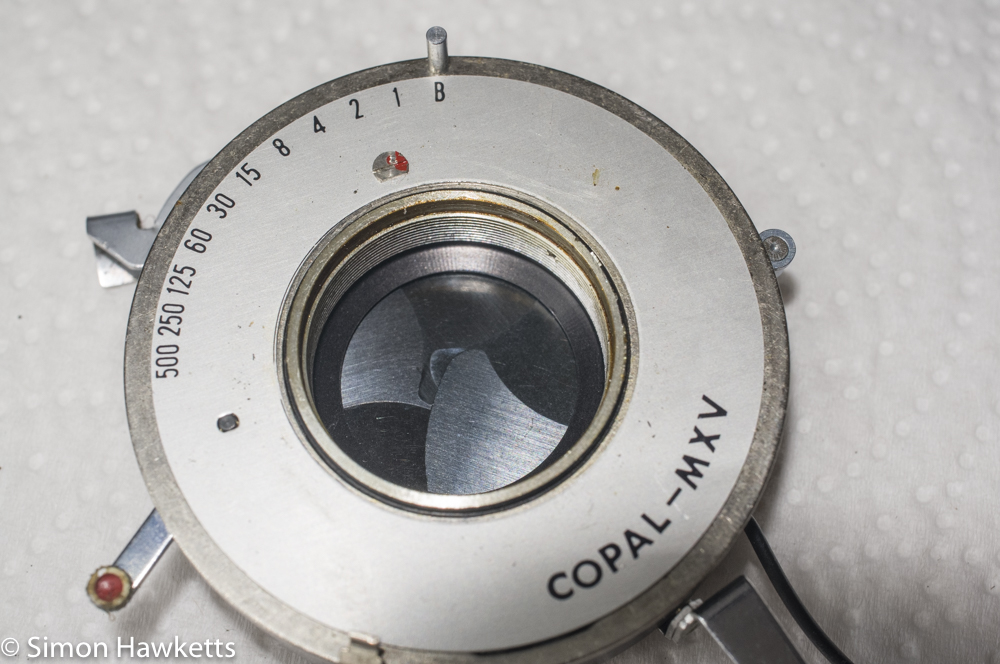
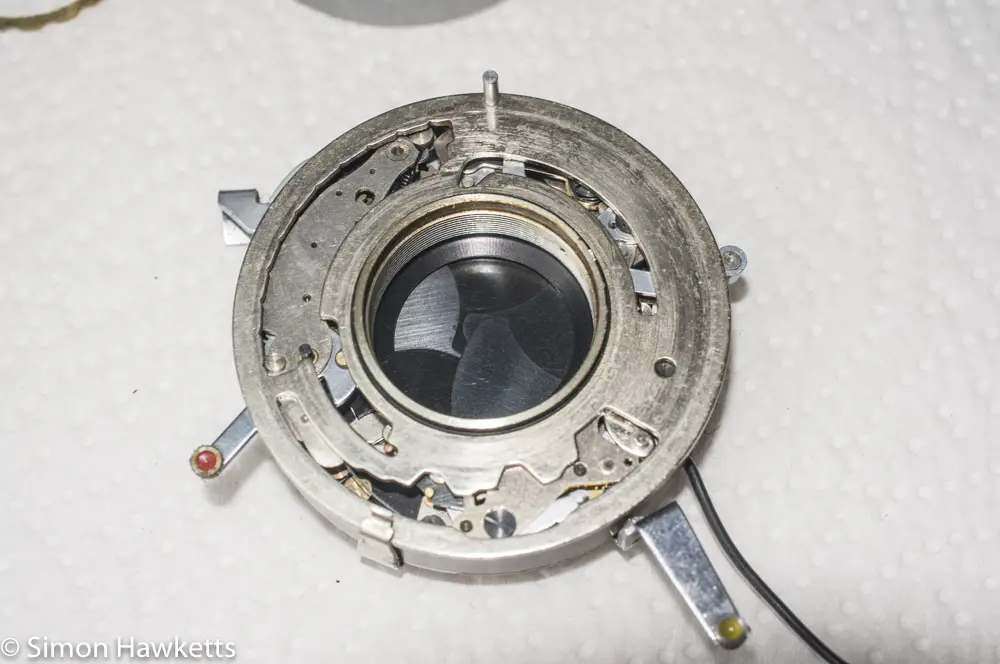
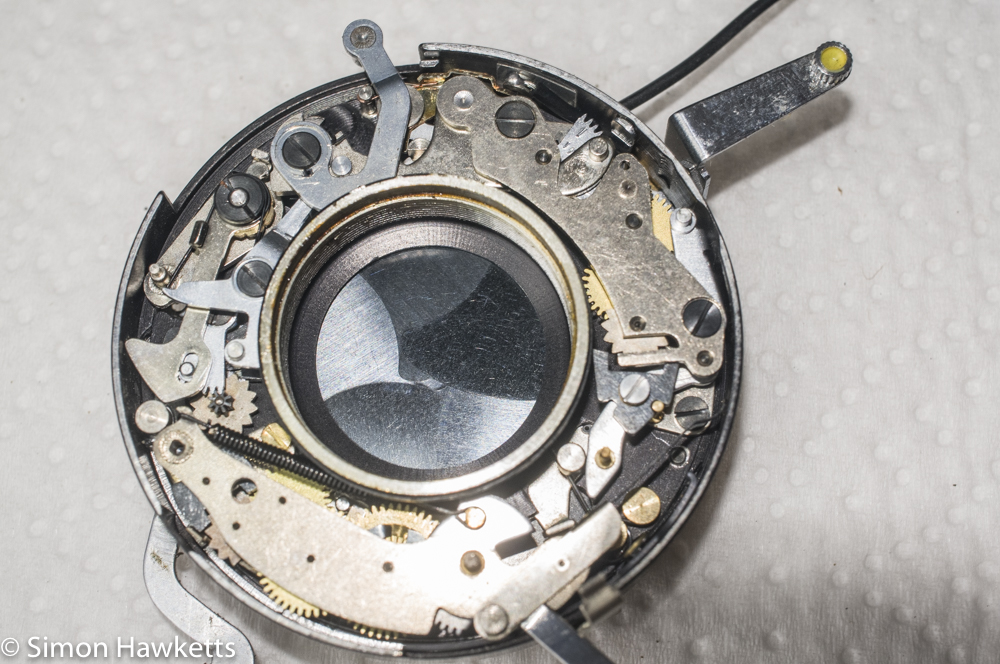
Yashica 635 Shutter removal Procedure
The procedure is shown above in pictures, but this is basically what I did.By the way apologies for the quality of some of the pictures above – they were taken hand held, and the autofocus didn’t get it quite right on some of the earlier pictures.
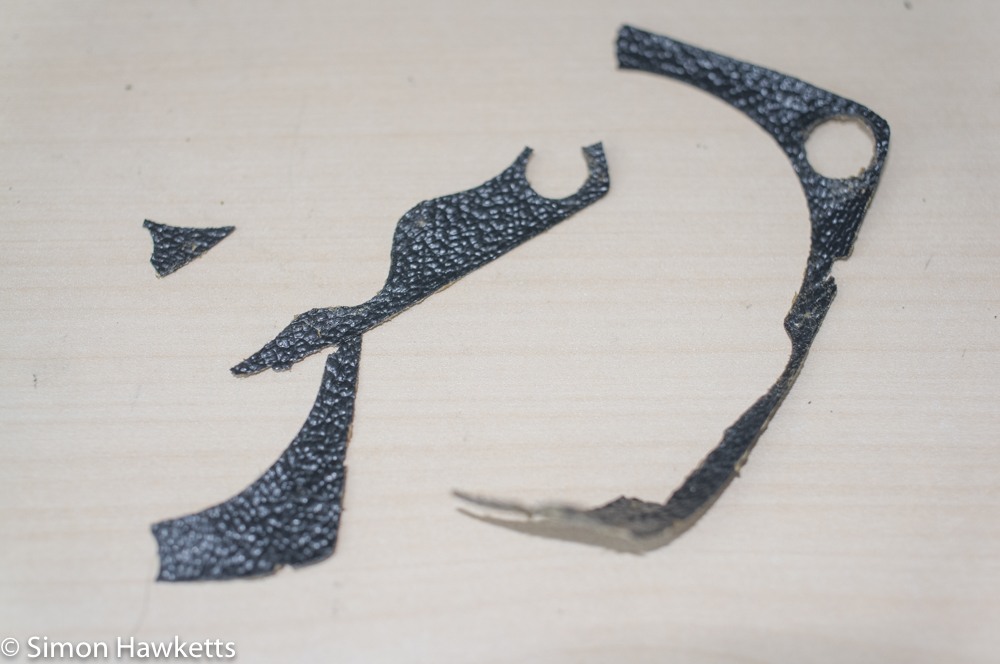
The first thing to do is to try to remove the covering material from the front of the camera. I found I could get tweezers under the material and pull it off the front, but I couldn’t keep it in one piece, so I’m going to have to probably find some replacement material or buy a recovering kit. With the covering off I found there are a number of screws revealed, and I removed the 4 which holds the decorative panel on and pulled it over the top of the lens units.
With the decorative panel off, I then removed the 4 screws which attach the lens unit to the focus system, and with those screws removed I could lift the lens & shutter unit away from the camera body.
Once the lens unit is off, the next part to remove is the cover which has the aperture and shutter speed adjustment controls and lens covers. This is held with 5 small brass screws, but in order to remove it, the shutter cocking knob needs to be unscrewed from the cocking lever, so it can feed through the slots in the cover. This knob unscrews anti-clockwise. In order to remove the cover the M-X switch needs to be set to M and the self-timer needs to be run down, so those two levers pass through the holes in the cover.
Once that cover is off the shutter can be removed from the panel by unscrewing the retaining ring on the back of the shutter, and it can then be removed. Be careful because there are rings behind the shutter which control the shutter cocking and some spacing rings. The shutter release lever needs to be pulled through the cover slot and the flash sync lead needs to be un-soldered to free the shutter completely.
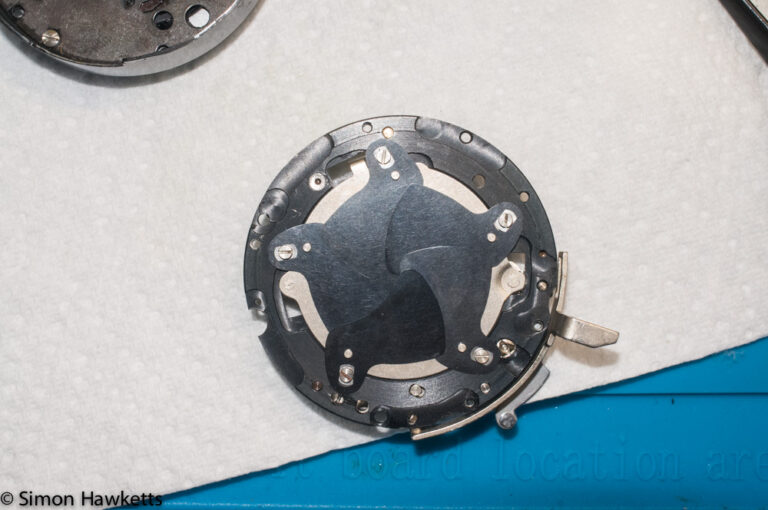
With the shutter out the front lens can be unscrewed and the actual shutter mechanism revealed by removing the locking ring and taking off the faceplate and speed selector ring.
Repair of my shutter
Here is the odd bit. Once I removed the shutter from the camera I found that all the speeds and the self-timer worked with no problem at all! I tried all the speeds several times but whatever I did the shutter just worked.
So, I cleaned all the removed parts and refitted the shutter into the camera body and the camera seems to be working without a problem.
Just a few things to be aware of when refitting the shutter.
Fitting the shutter cocking ring which sits under the shutter unit is a bit fiddly because the other rings need to also be fitted, and the shutter release lever pushed through the slot in the cover. I found it best to get the rings in place, fit the shutter in and then loosely fit the retaining ring on the back whilst the spring on the cocking lever is re-fitted.
The aperture and shutter controls are best set to B and f/3.5 and the shutter set to the same settings so that the cover can be repositioned, and the controls lined up with the actuator levers. A bit of fiddling about with the cover and testing the controls is wise before the cover is screwed down.
The rest of the re-assemble is just a question of following the procedure used to take the unit apart in reverse.
Discover more from Everything Vintage
Subscribe to get the latest posts sent to your email.

