Stripping down and cleaning a Petri Flex V
I have a couple of Petri Flex V cameras which are both in need of a clean and a service. One unit which I bought about 6 months ago has a problem with the lens mount and also sometimes applies Bulb mode on the slow speeds. The other unit is much better cosmetically, but the second curtain only slowly travels across the film gate most times, and the focusing screen is filthy.
I decided it would be a fun way to spend a Sunday afternoon, seeing if I could strip one of the cameras down and get it cleaned and repaired. I thought if I tried to fix the worst one, even if I had problems, I would still learn enough from it to enable me to fix the second one. Also, having a working unit available as a reference would help, even if the working unit has a slow second curtain problem.
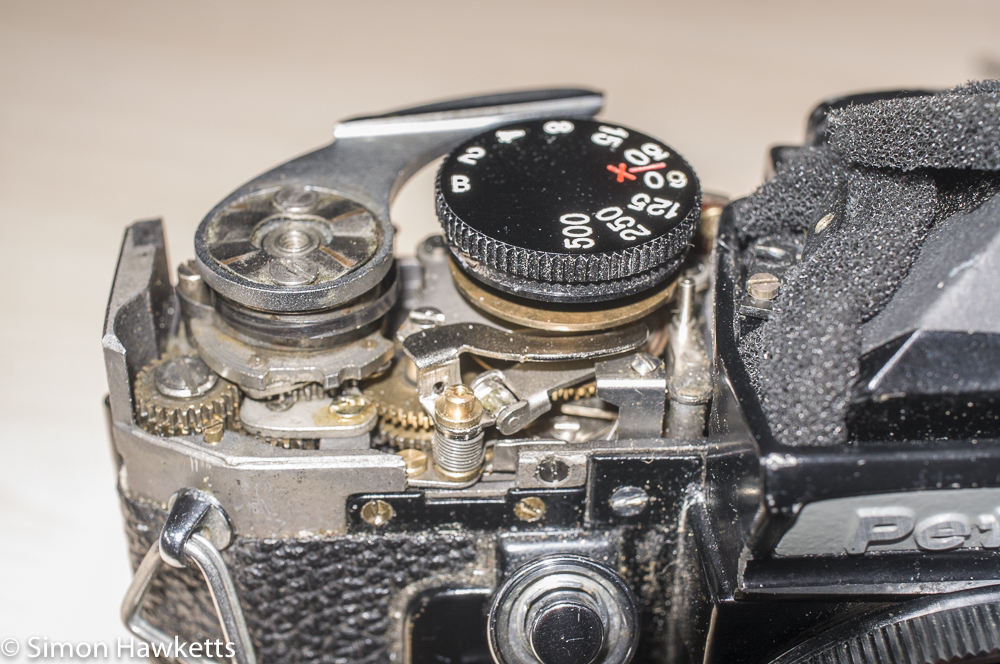
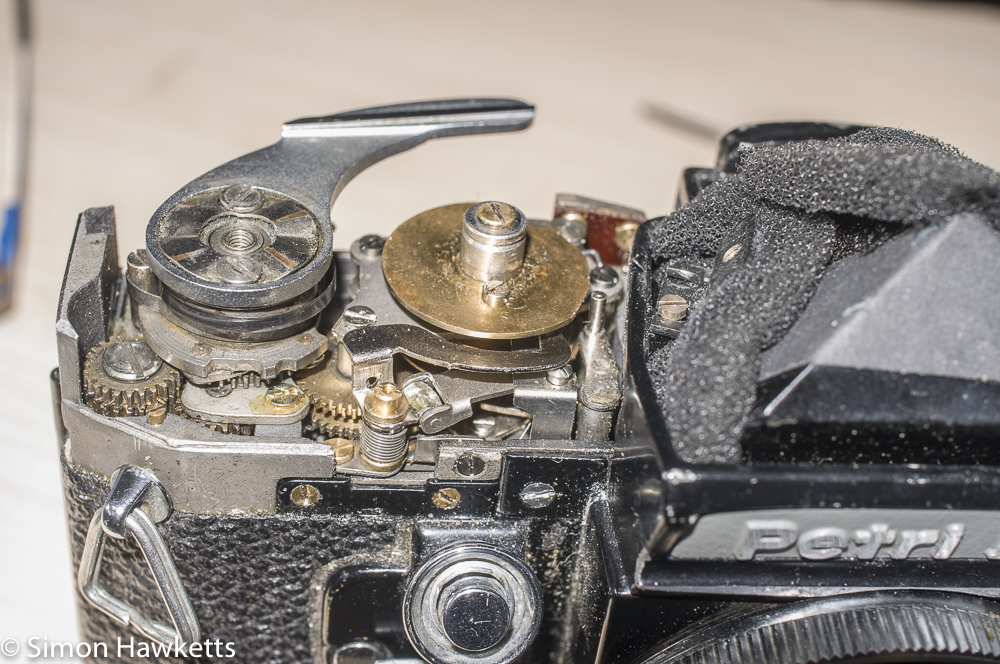
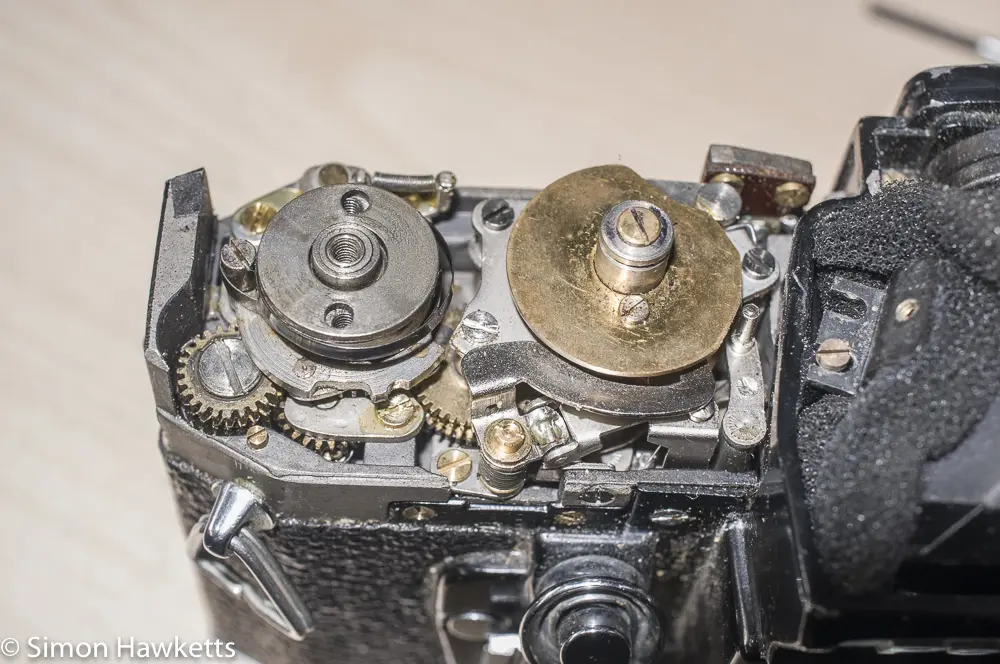
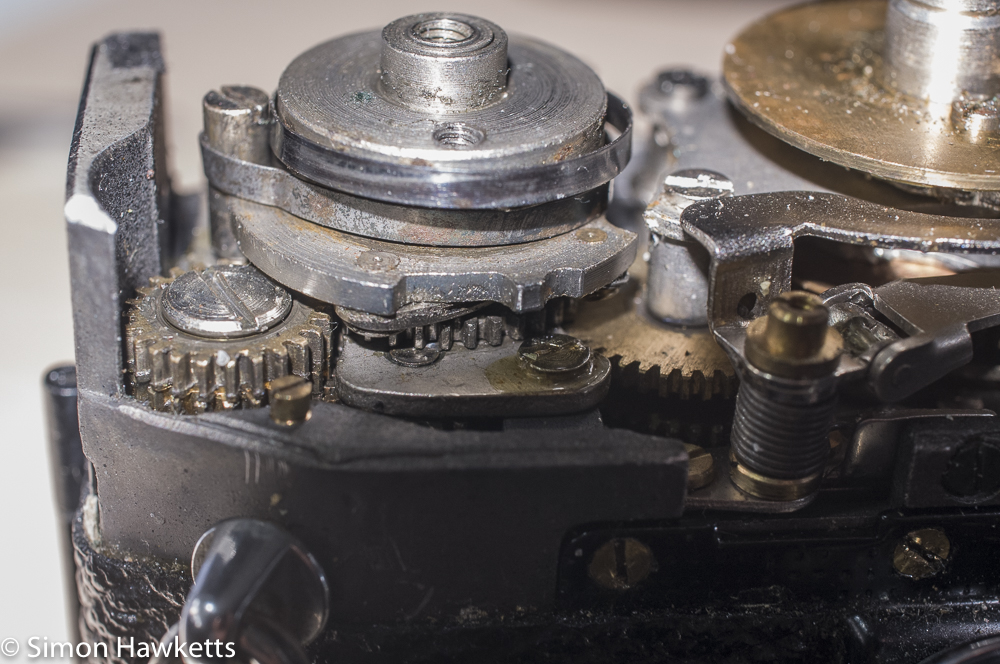
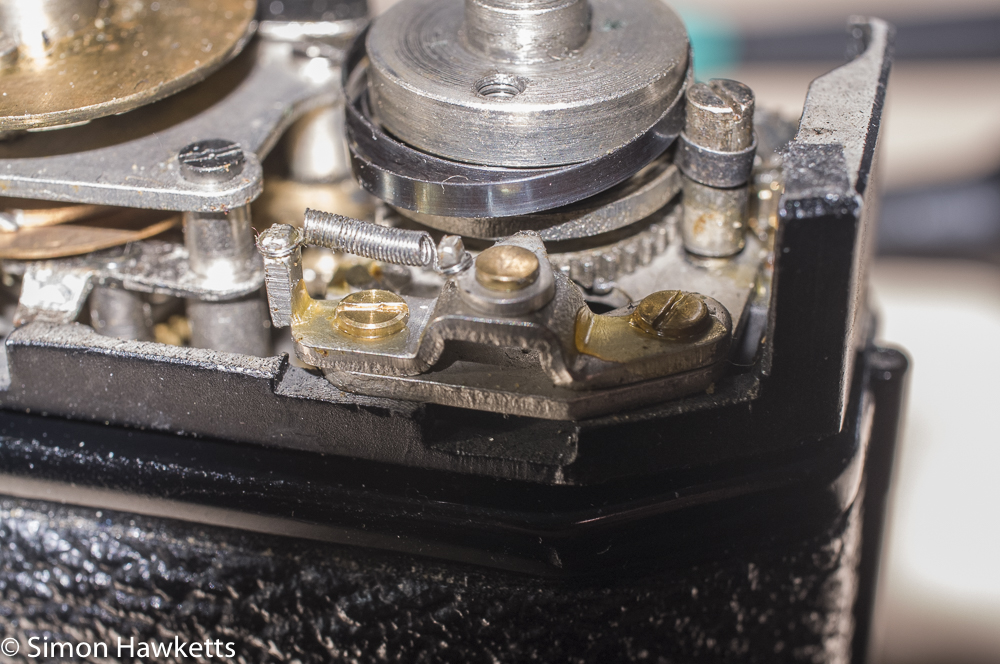
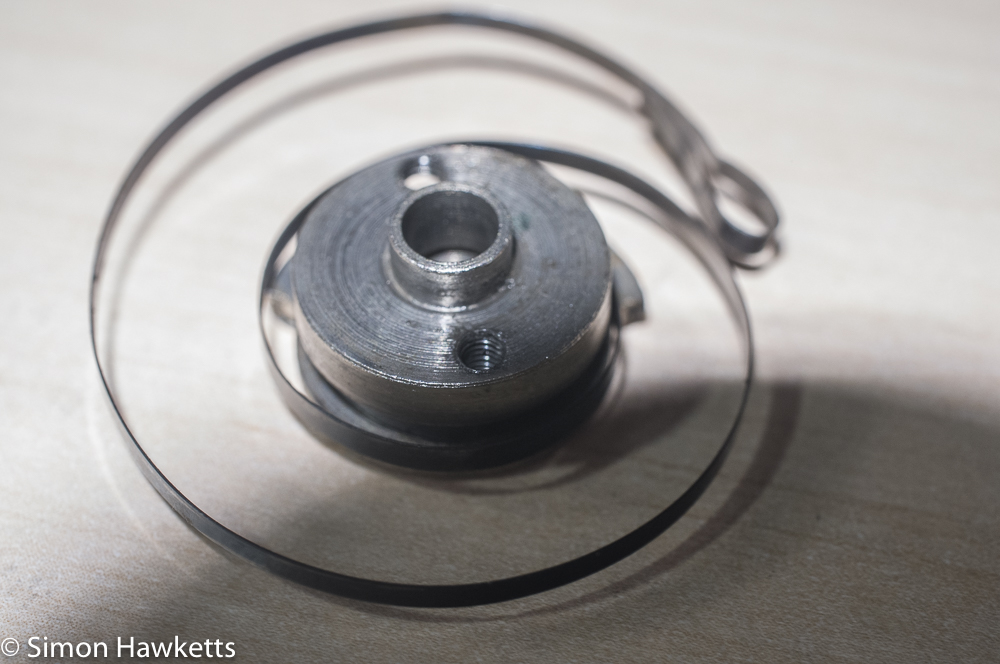
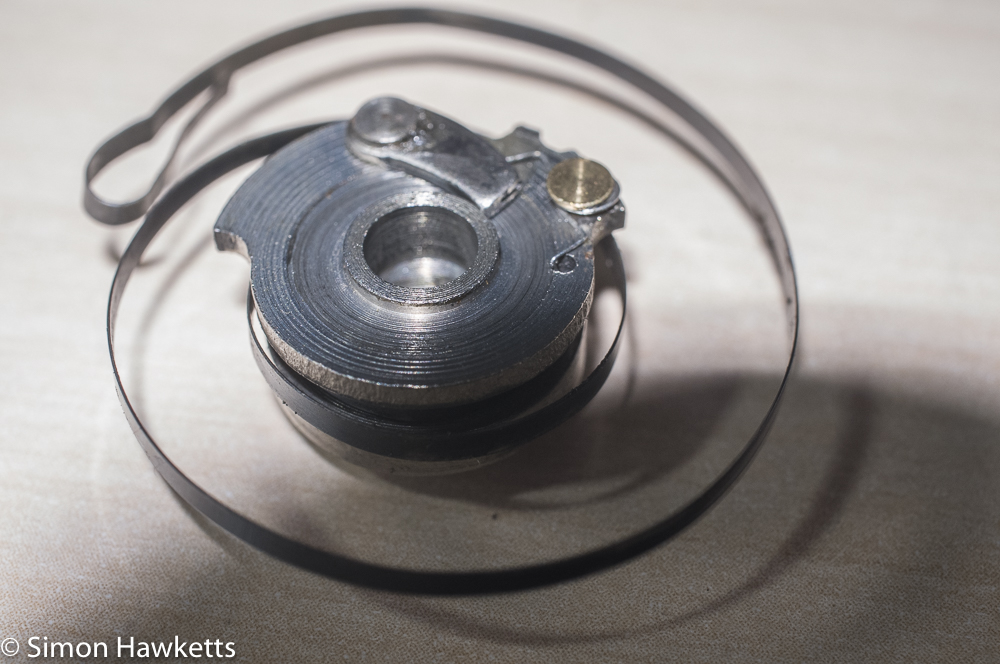
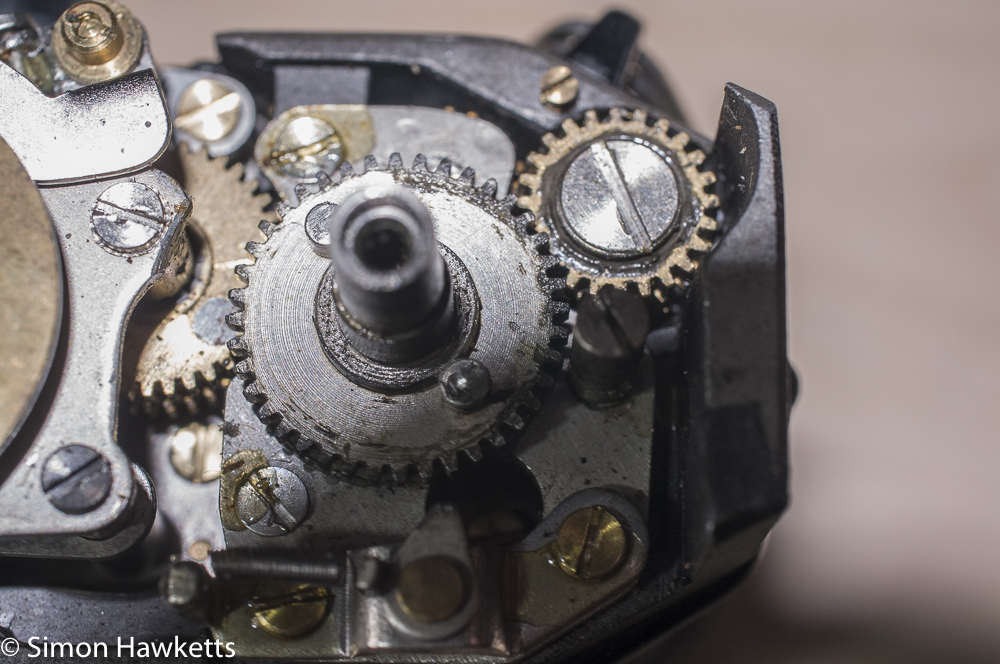
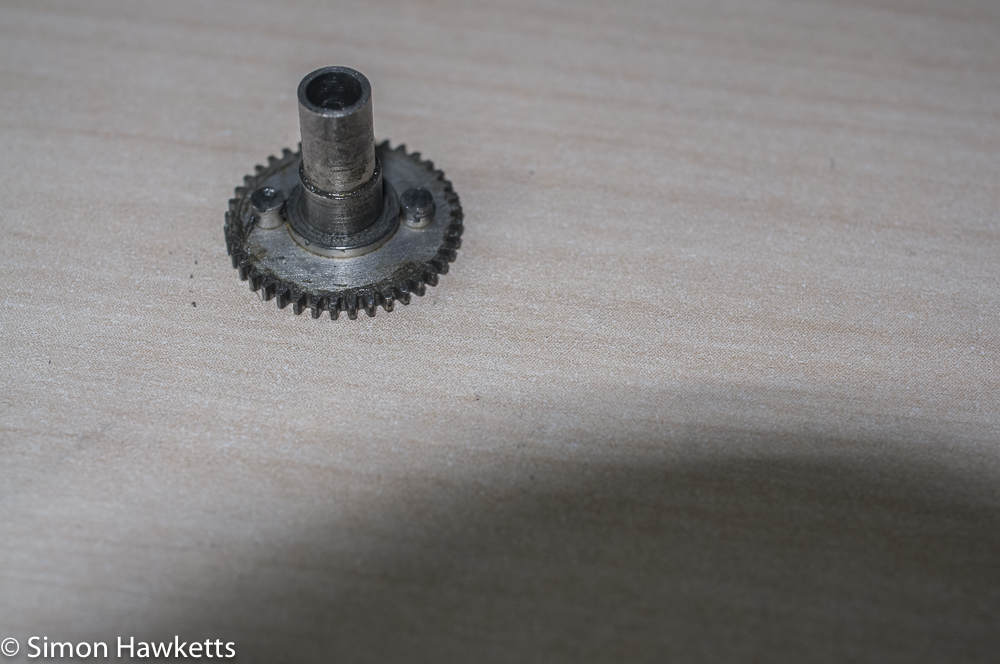
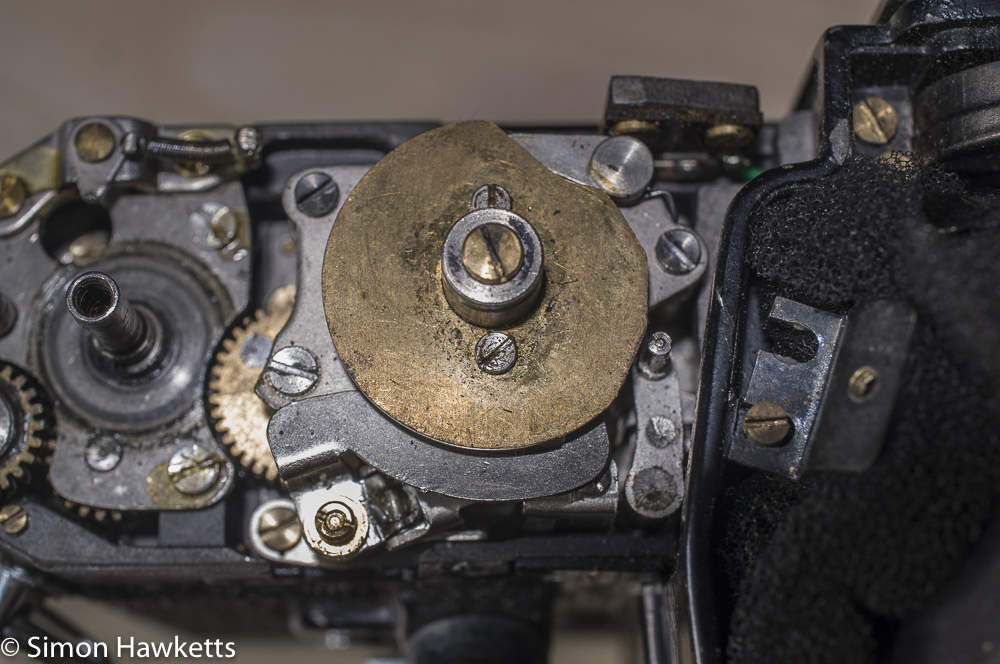
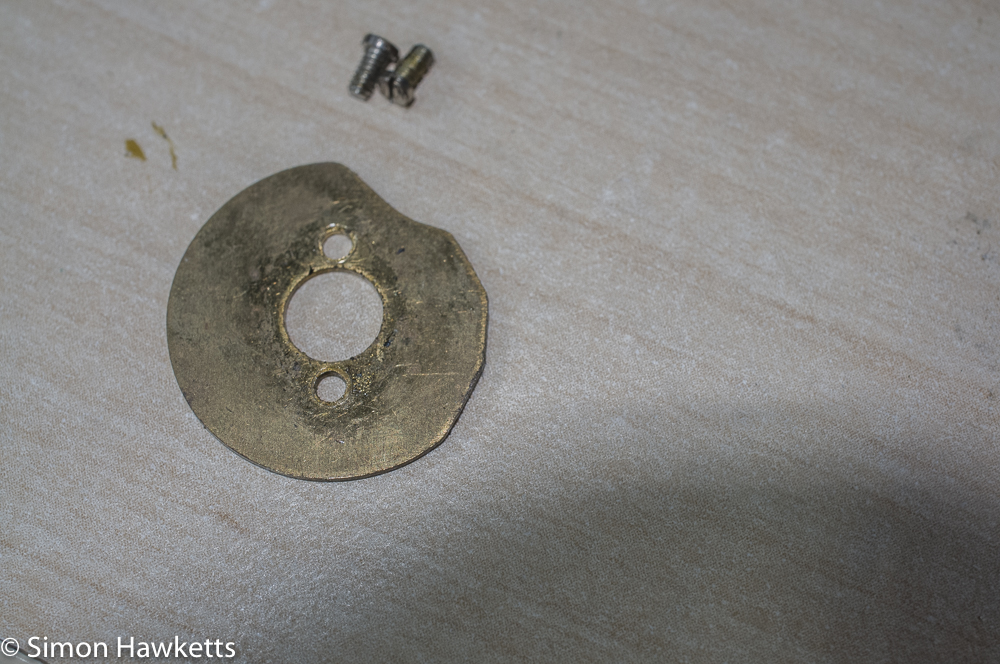
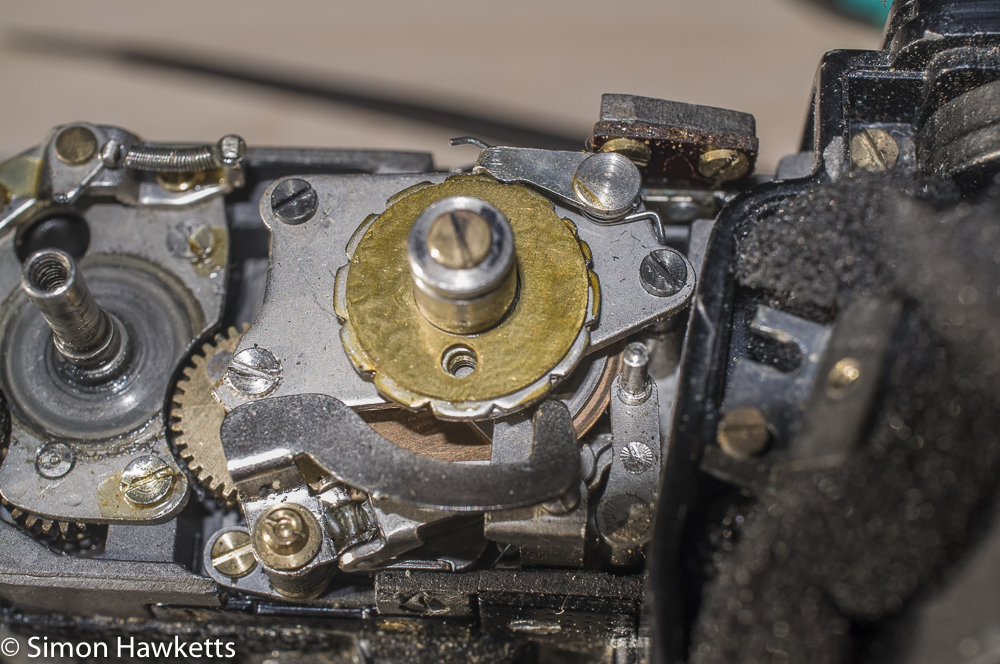
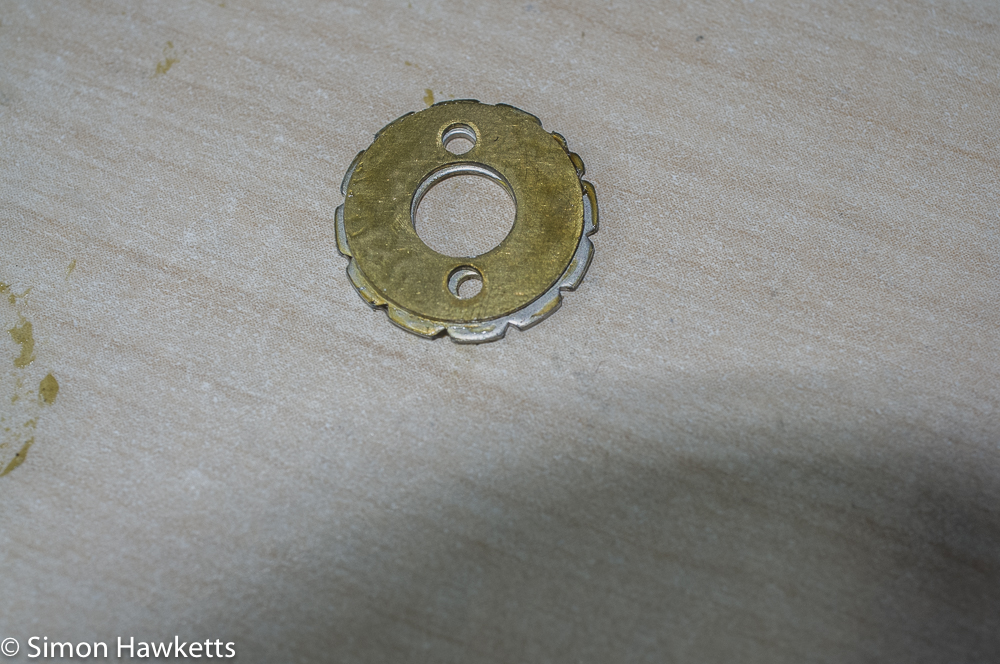
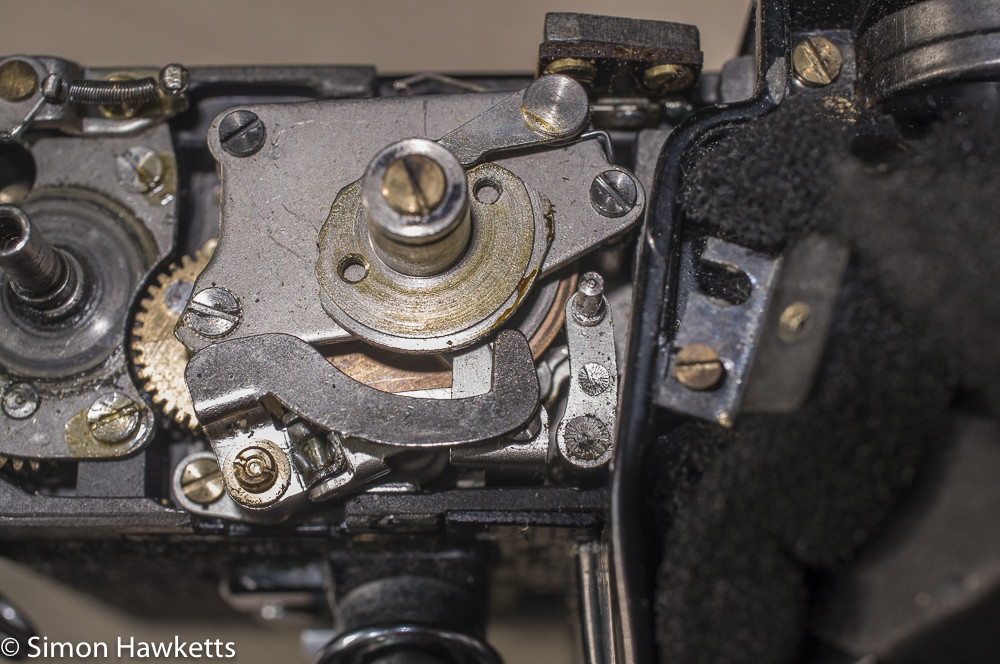
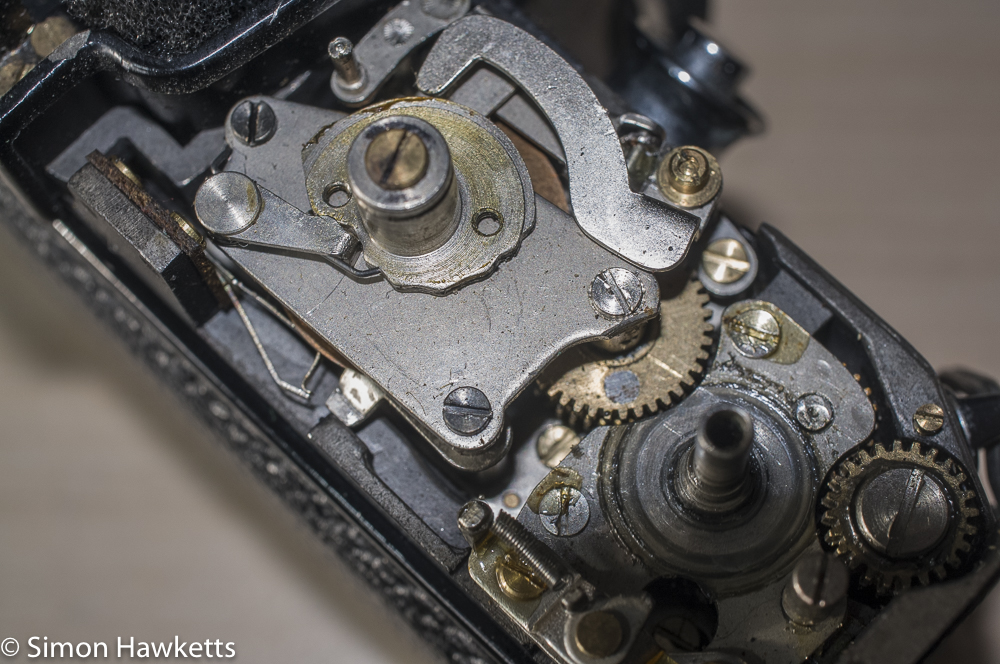
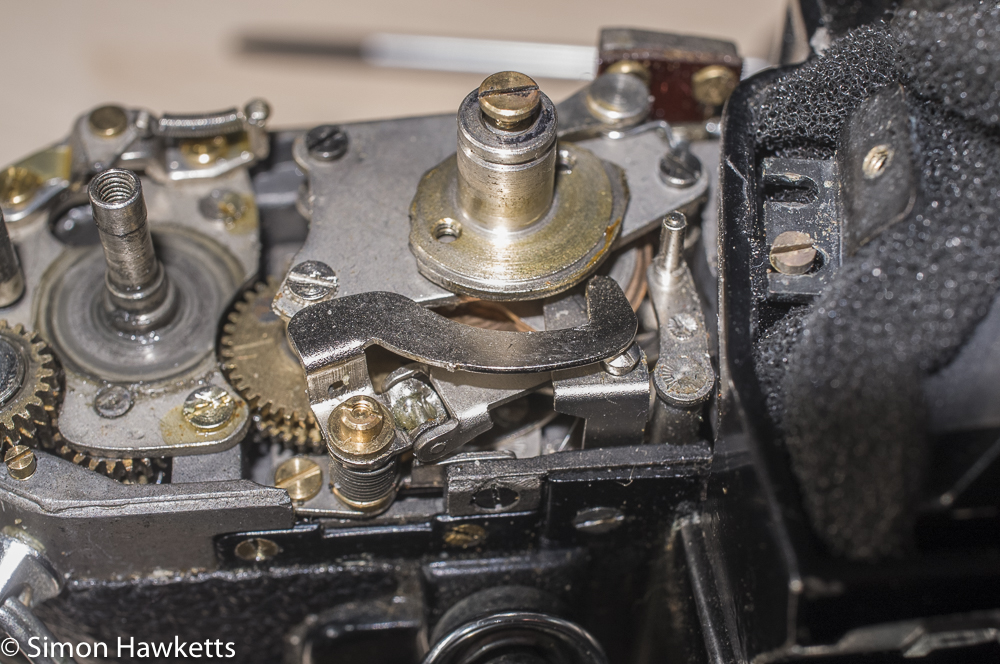
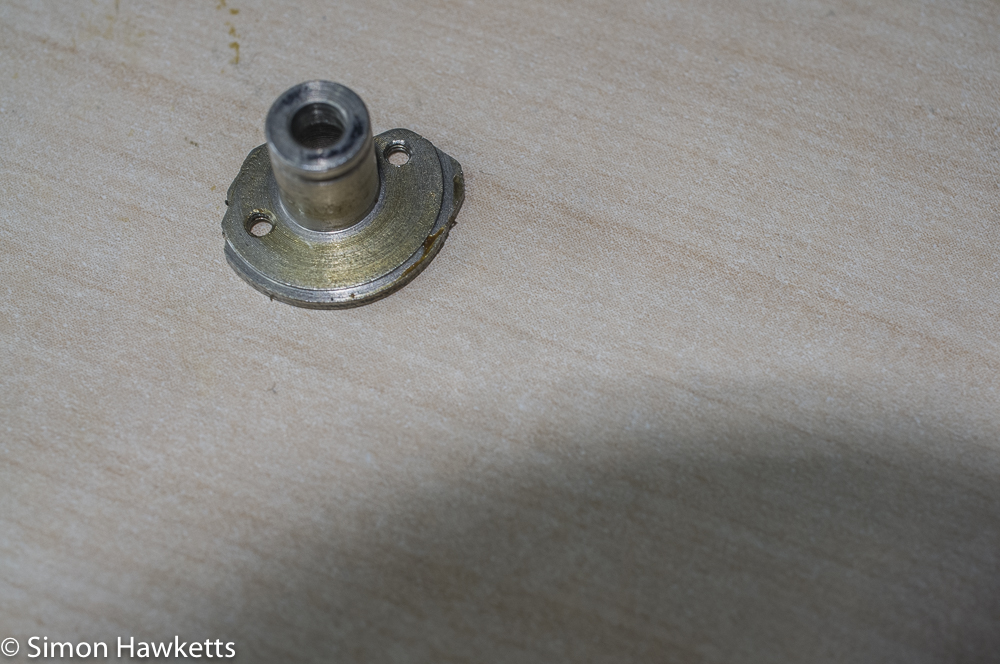
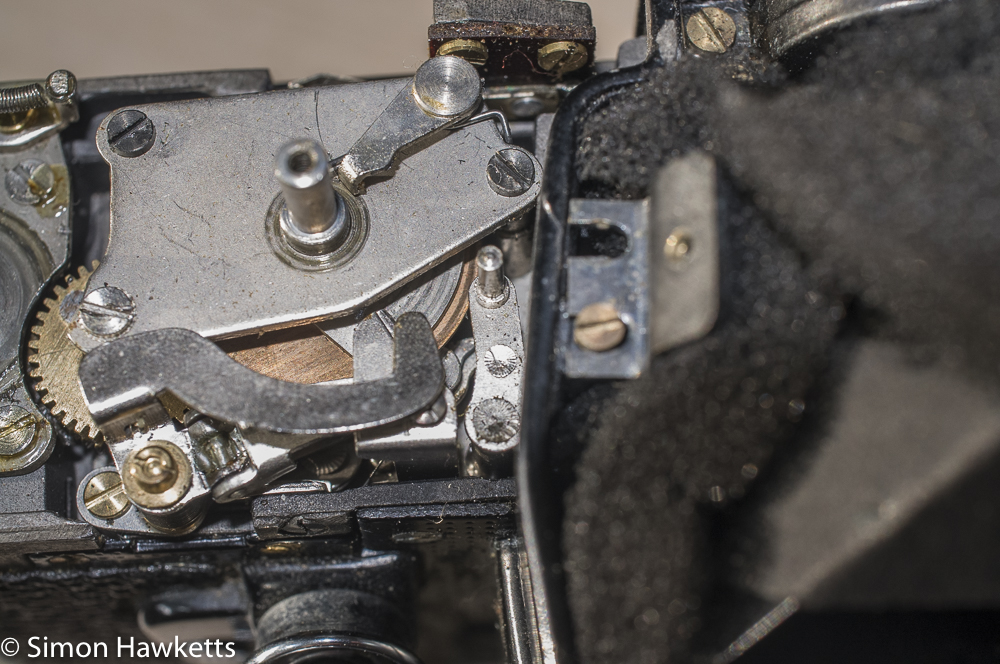
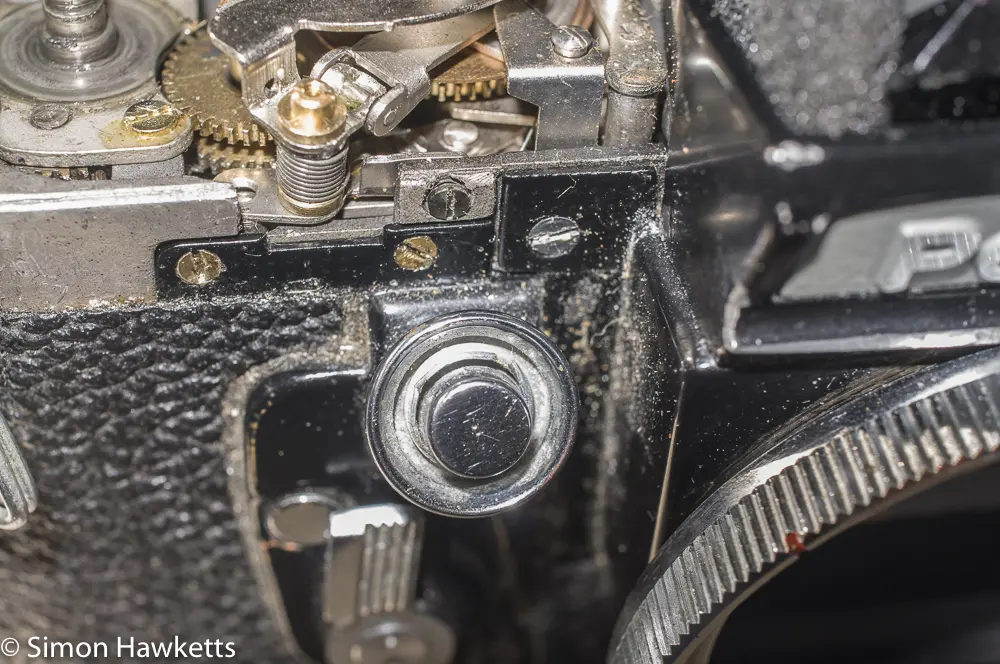
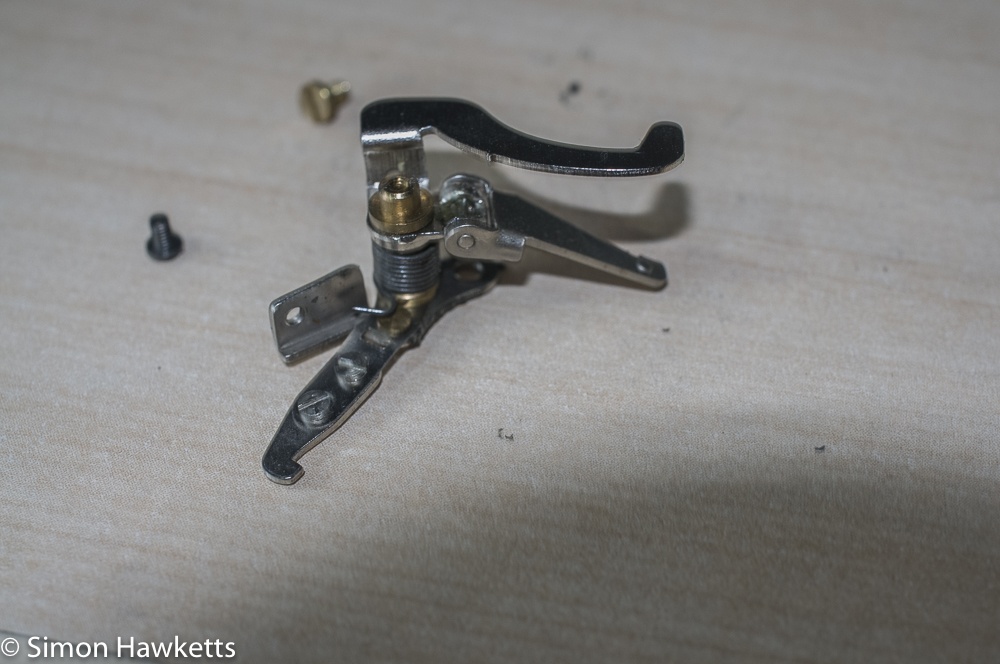
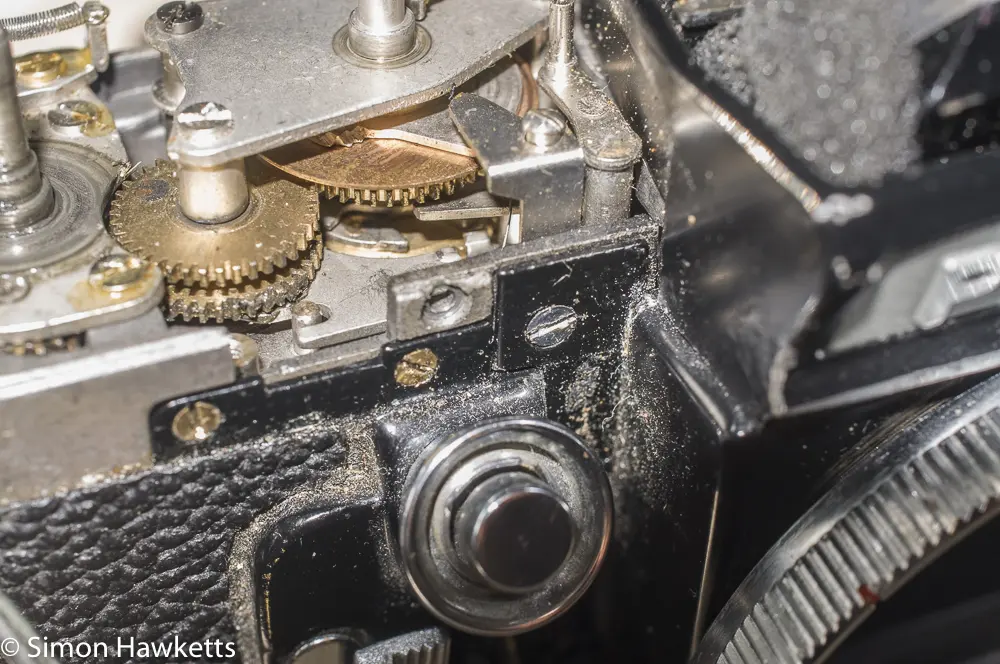
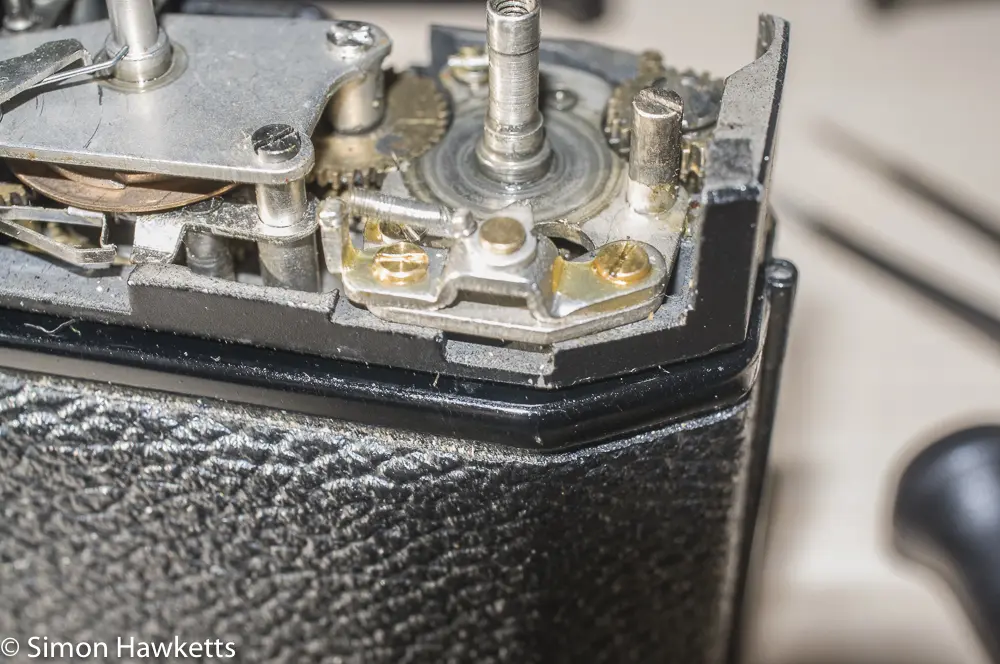
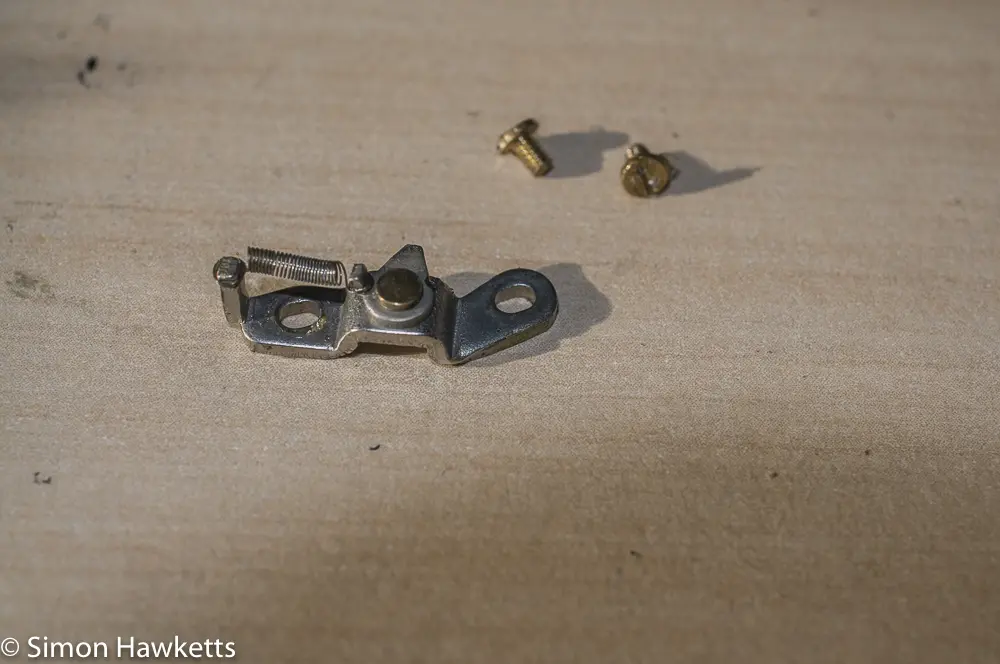
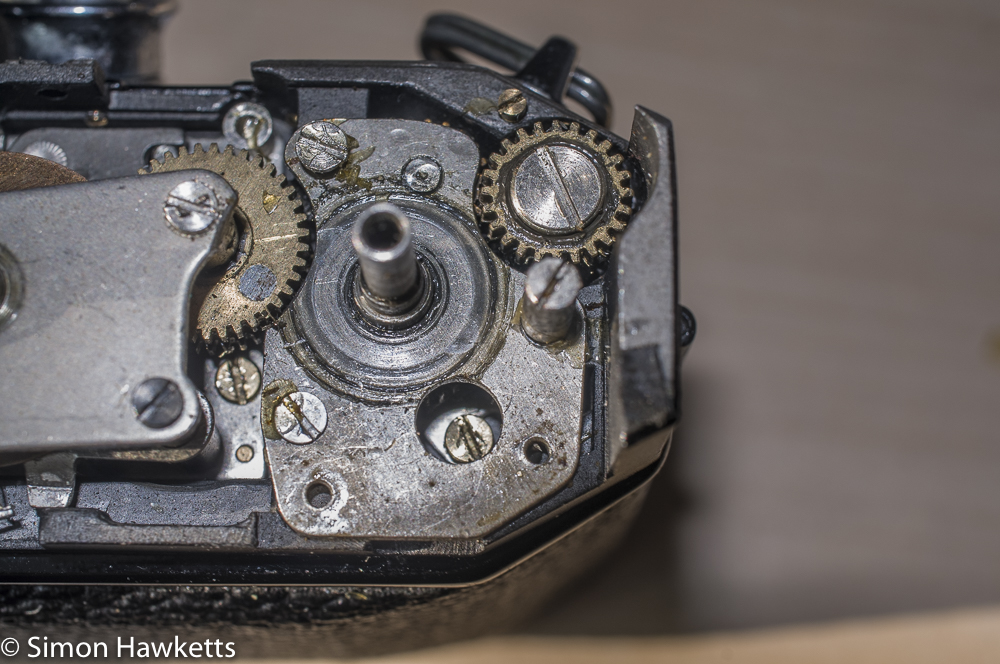
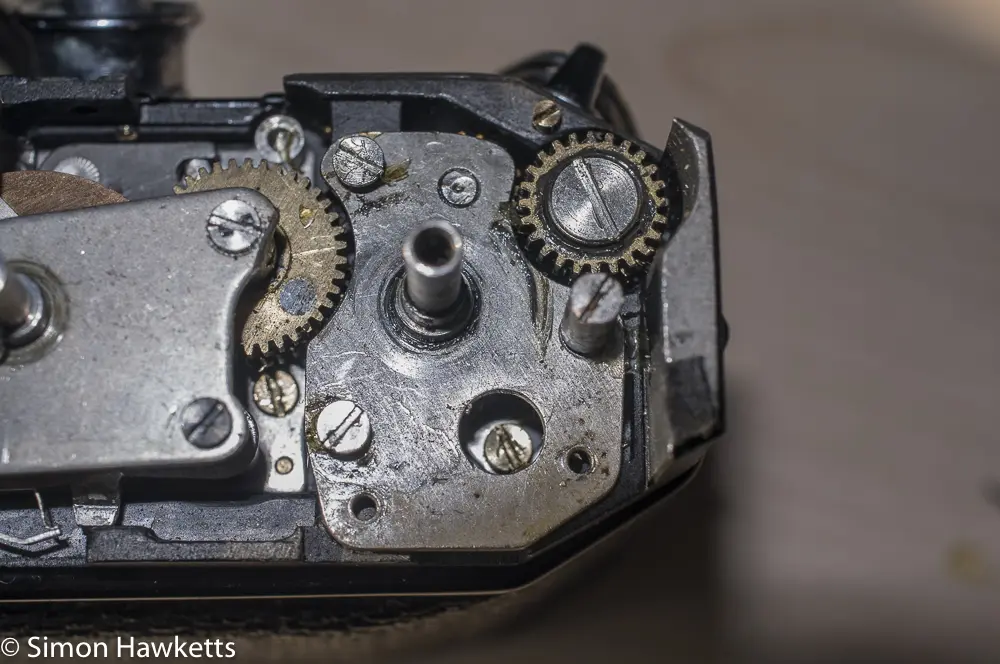
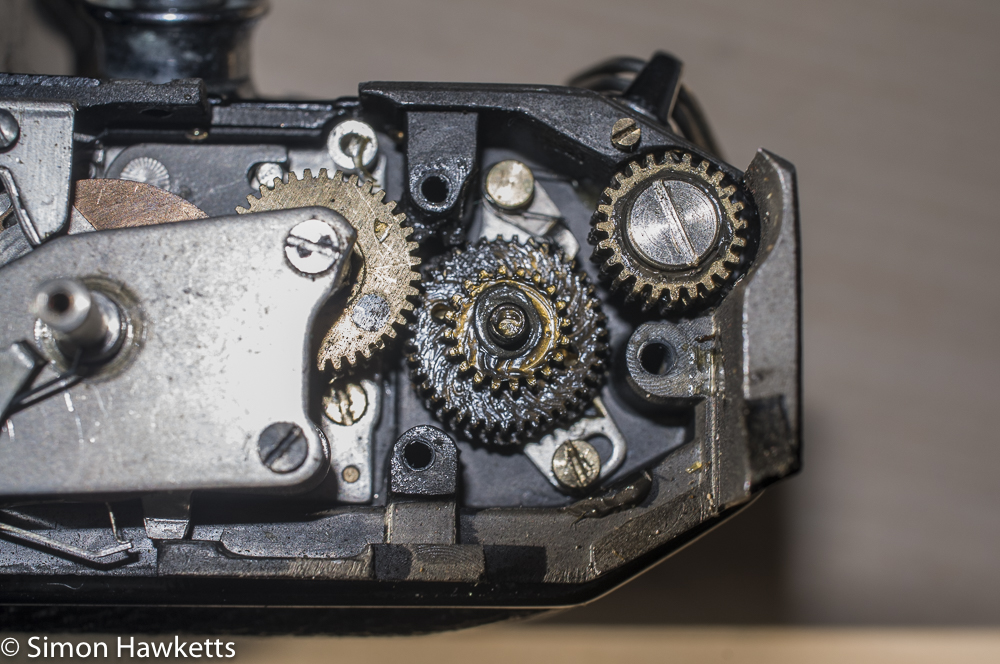
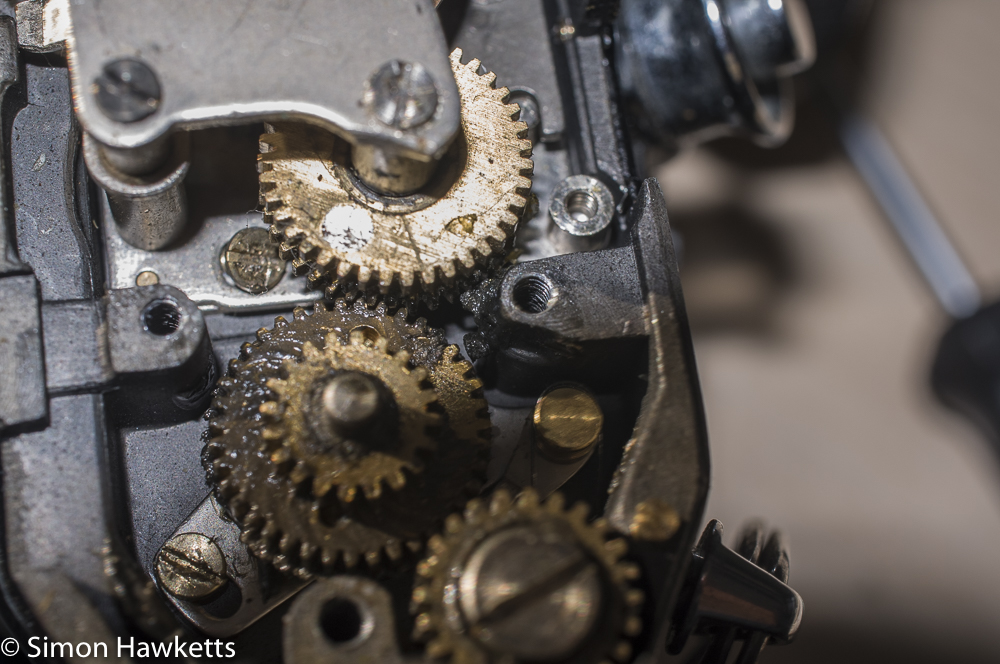
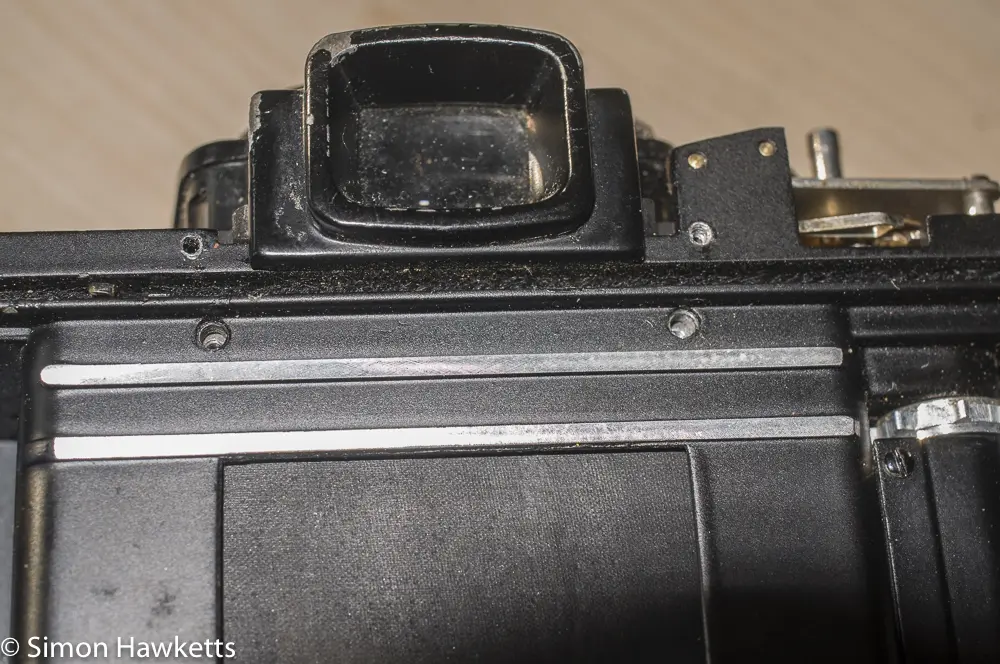
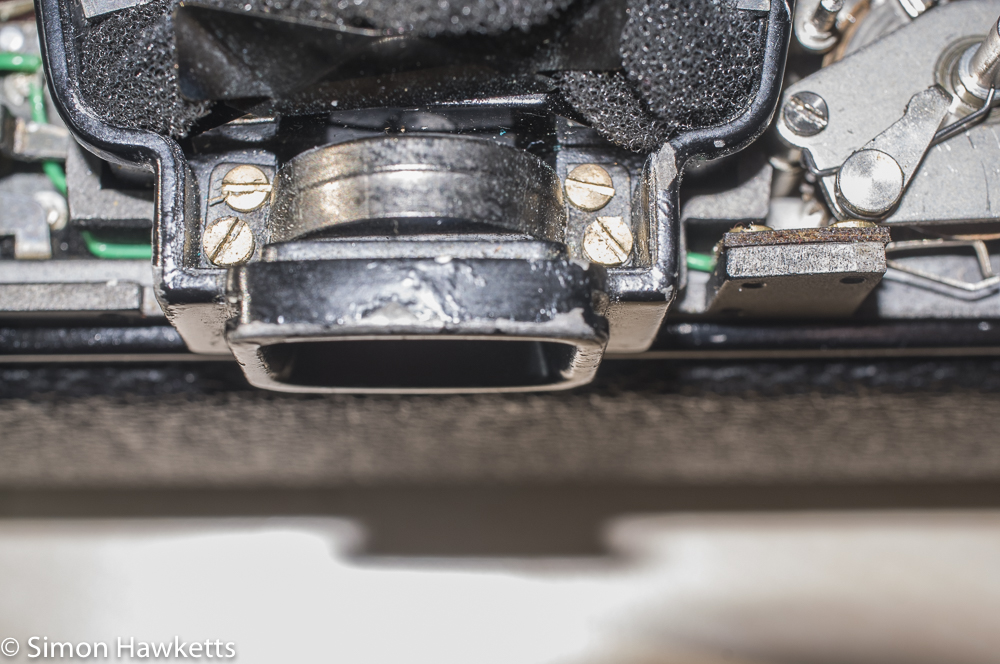
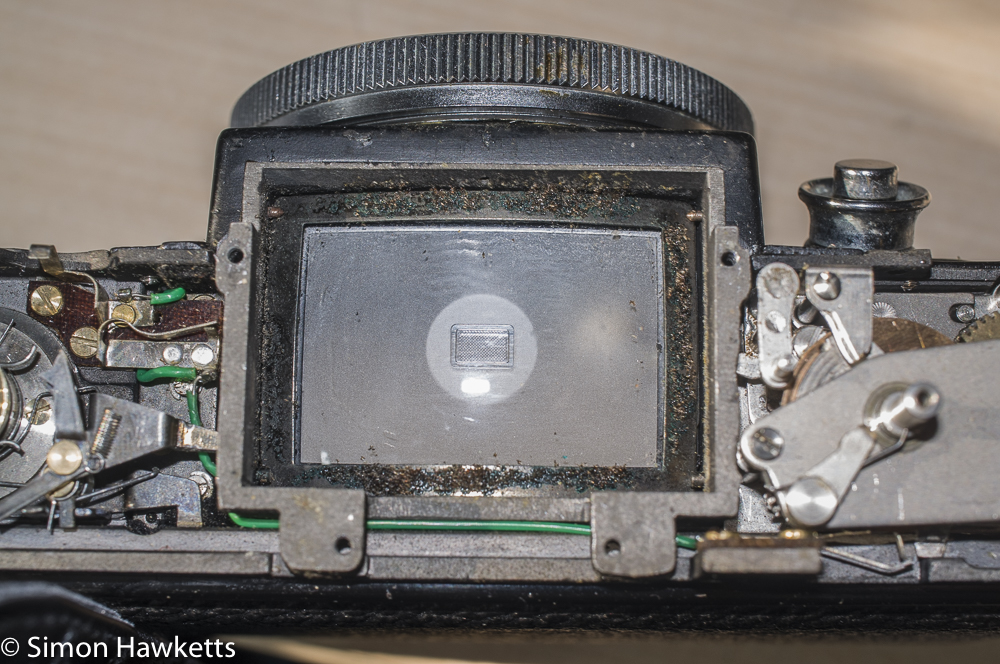
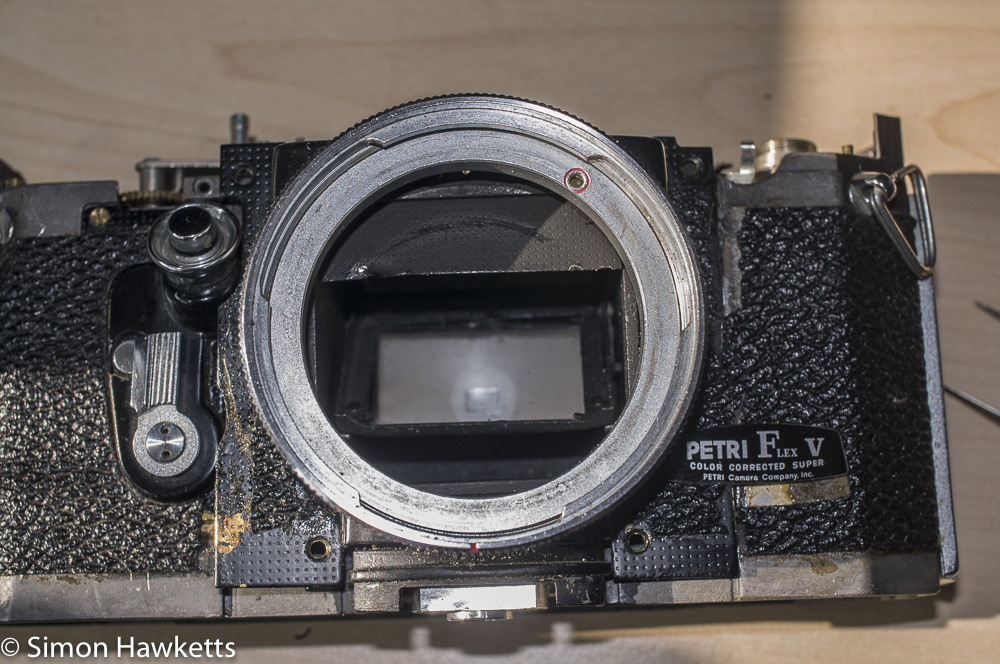
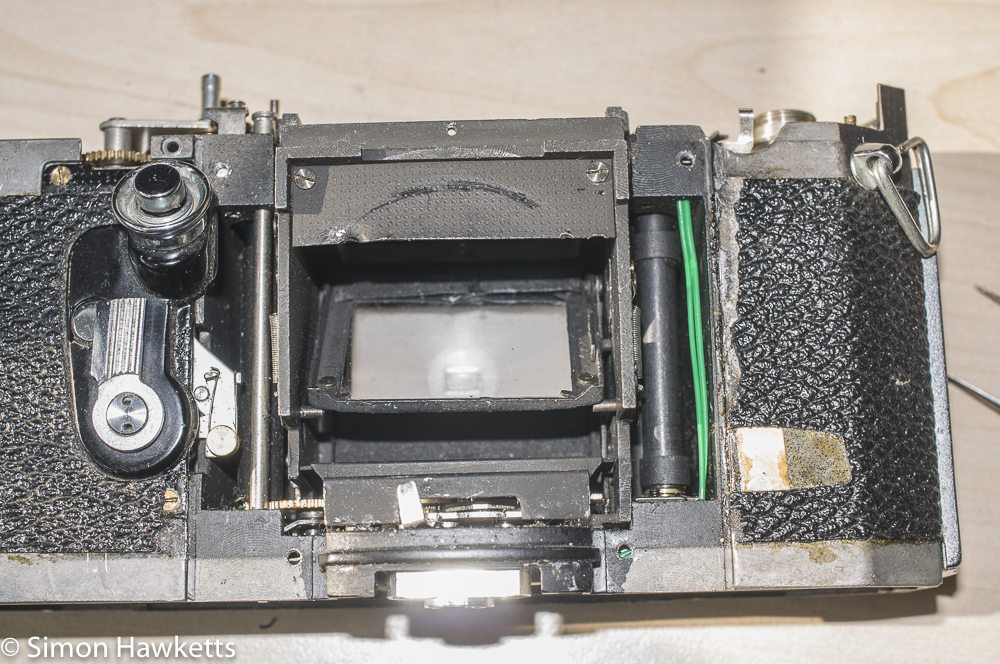
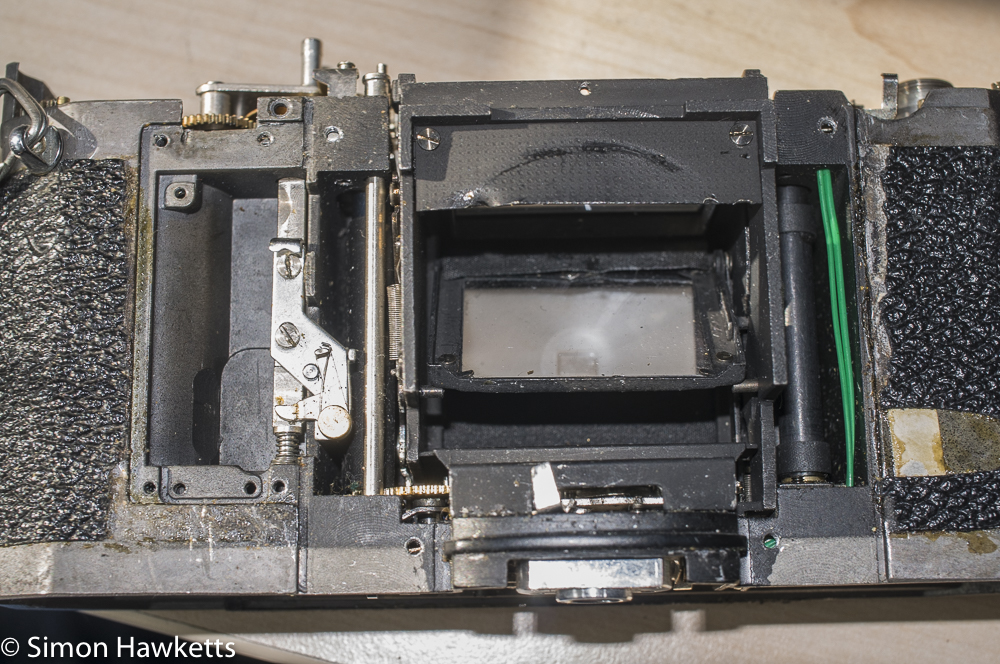
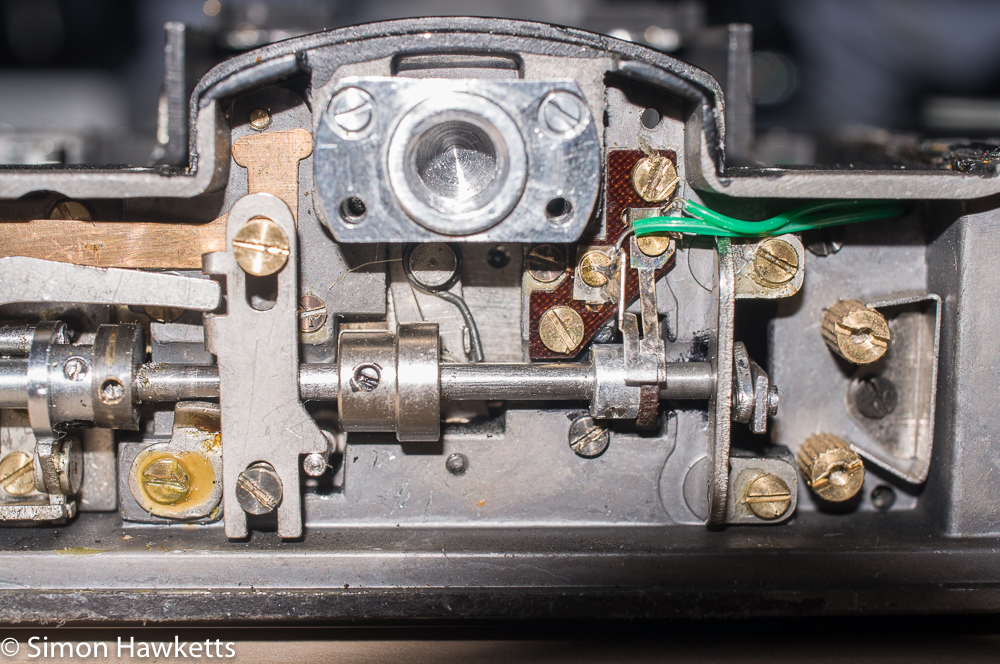
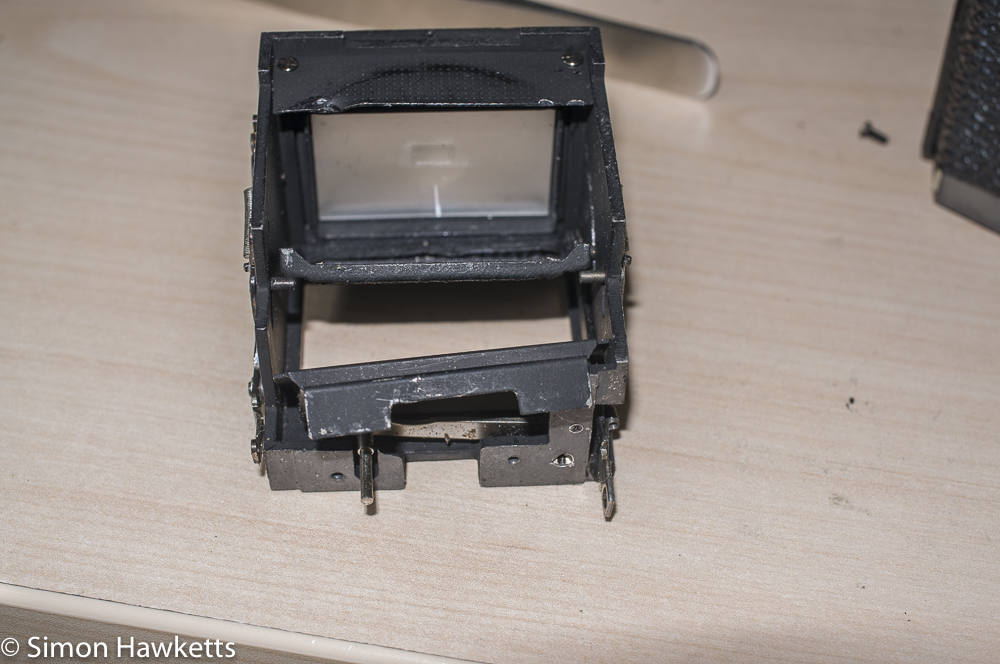
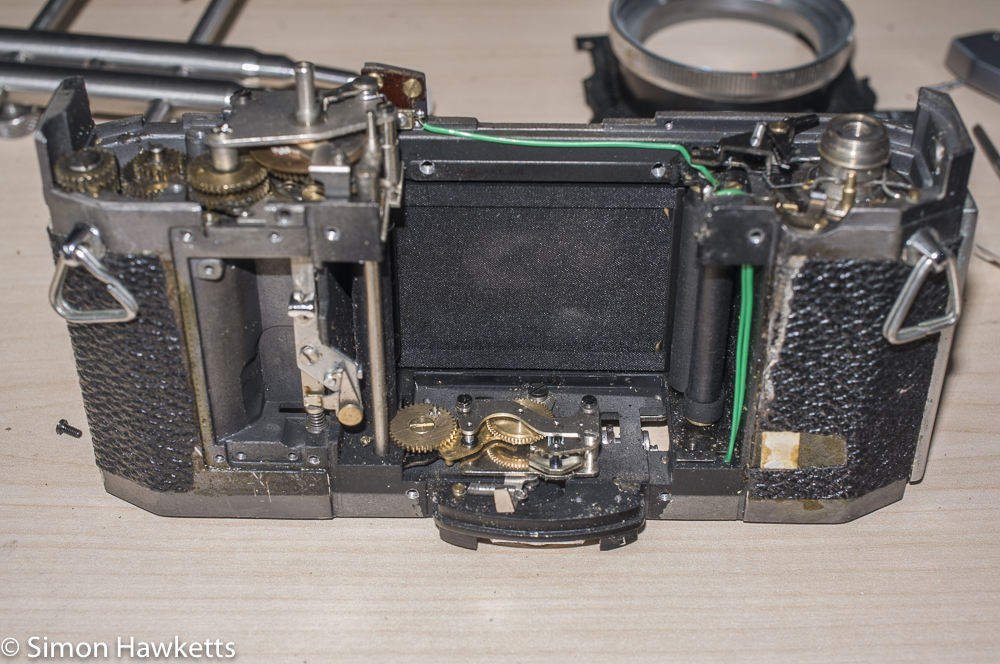
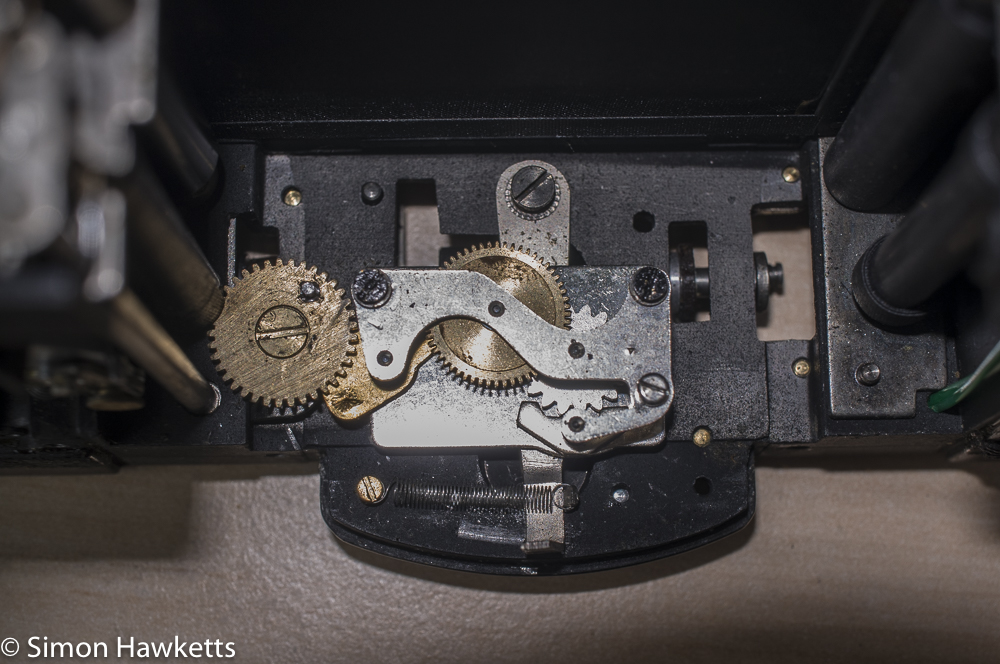
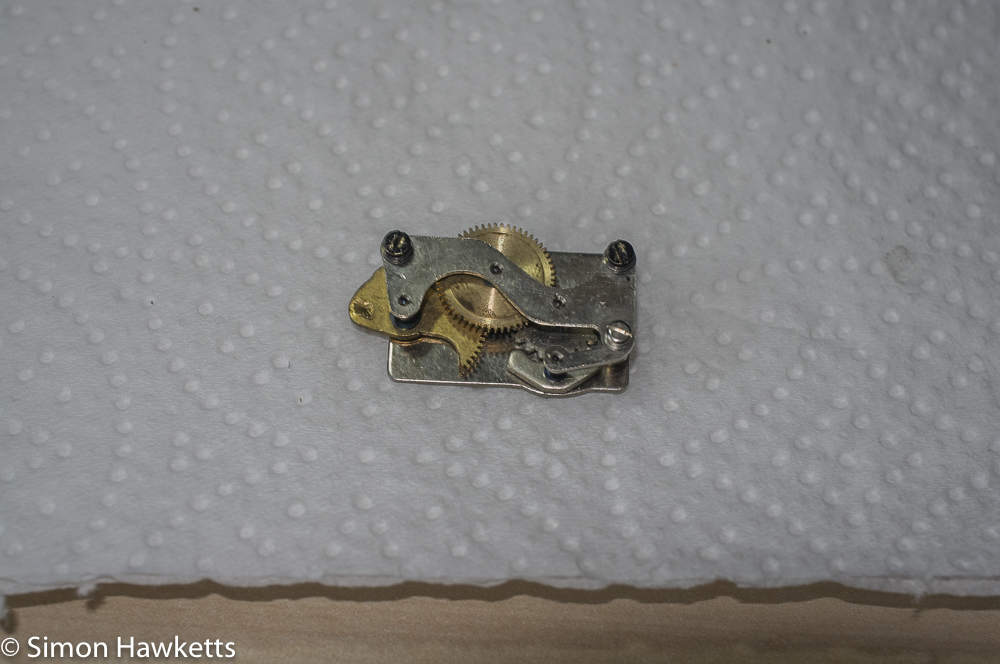
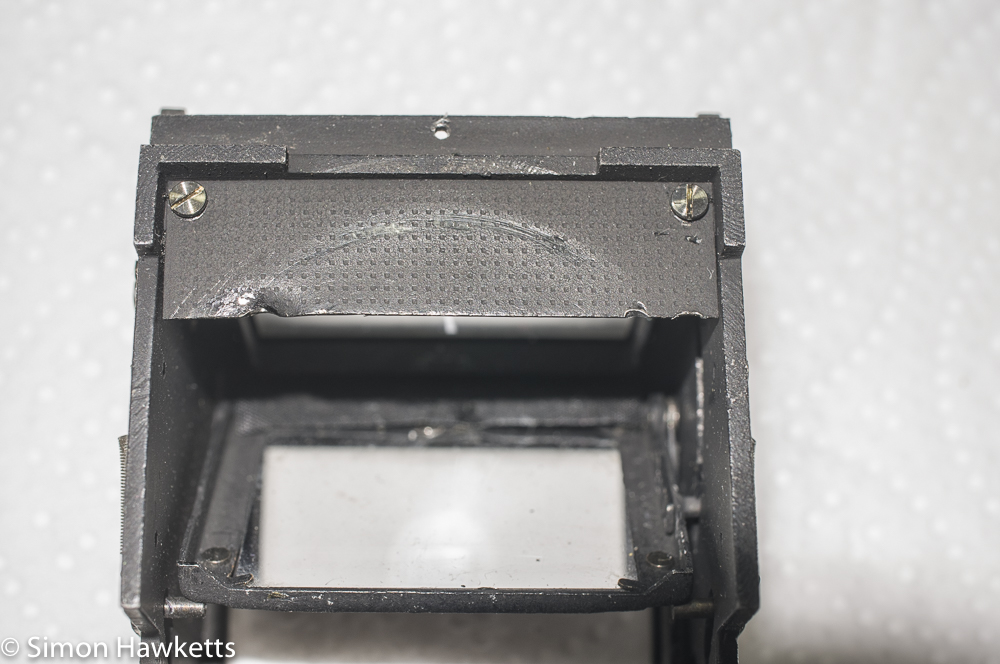
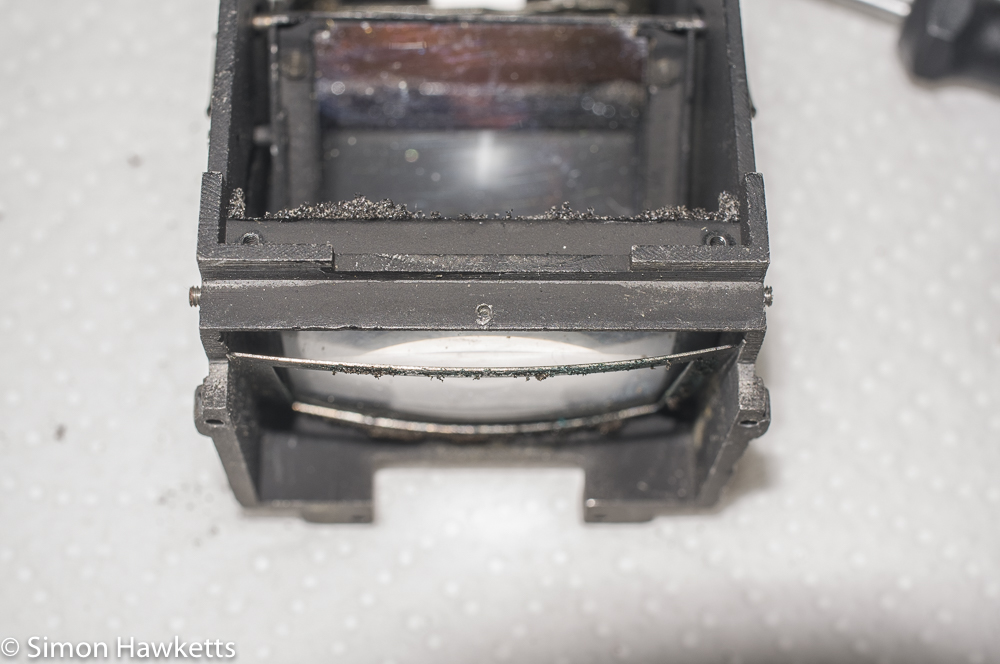
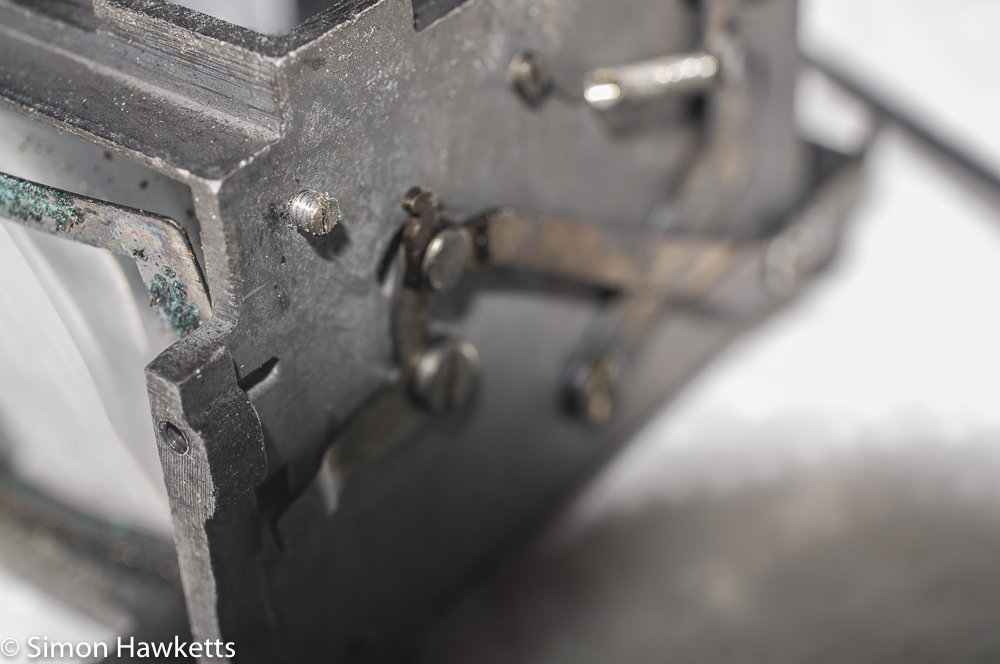
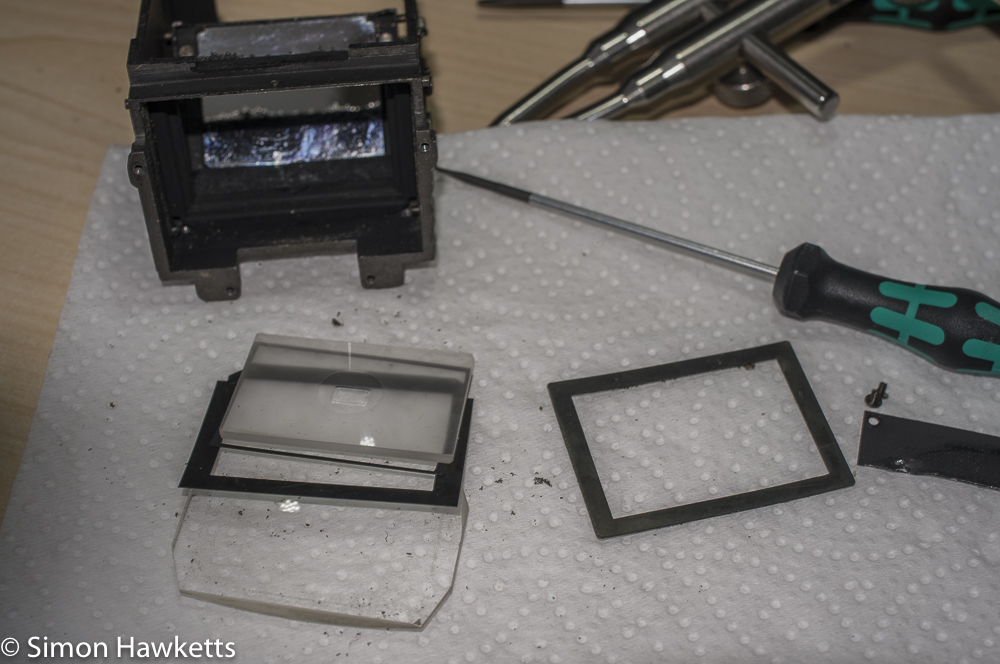
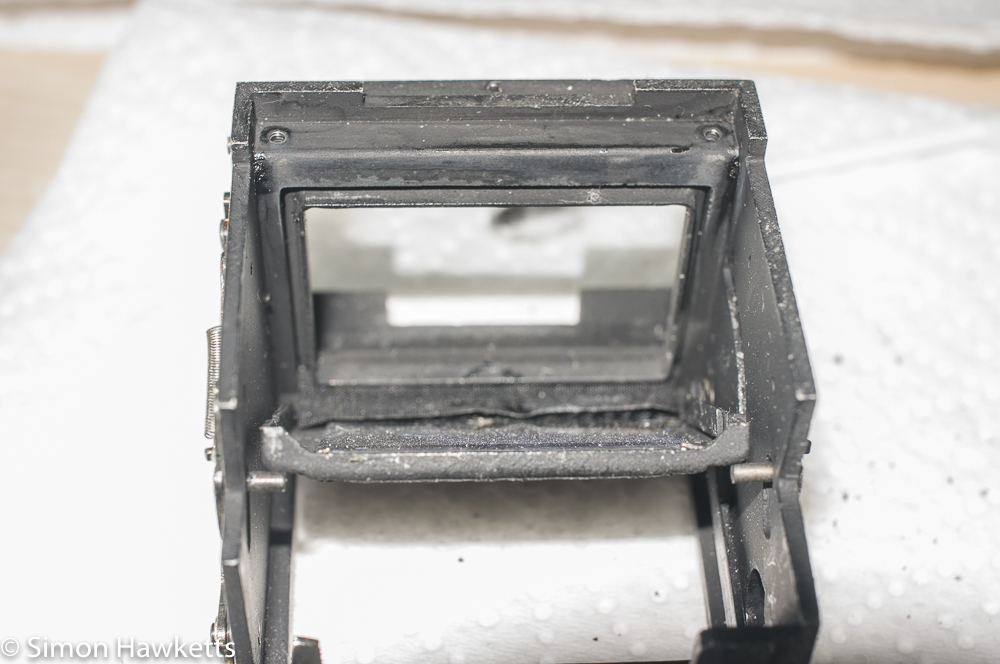
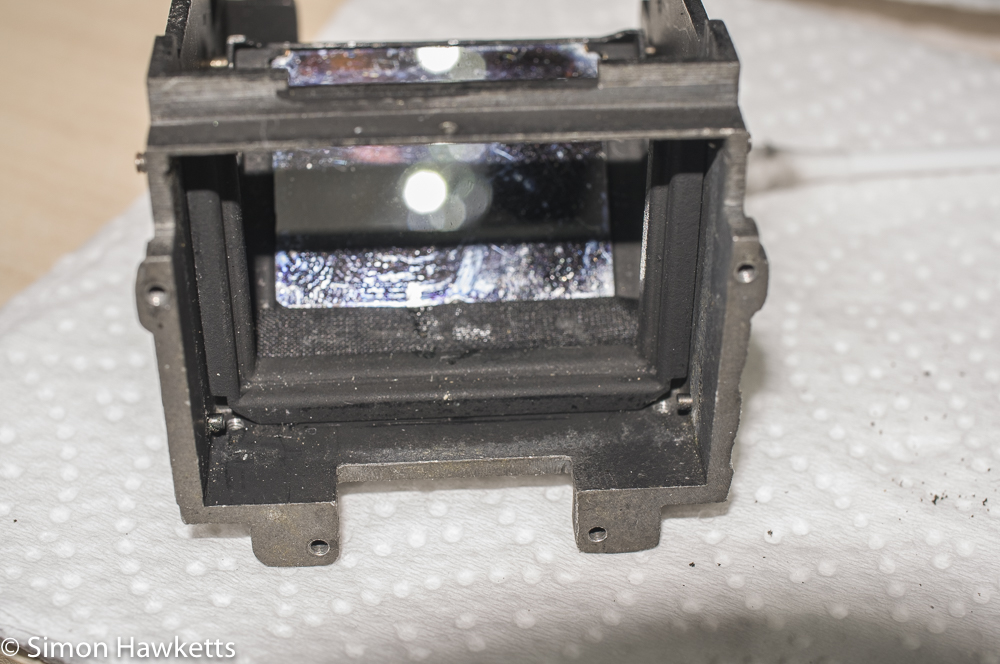
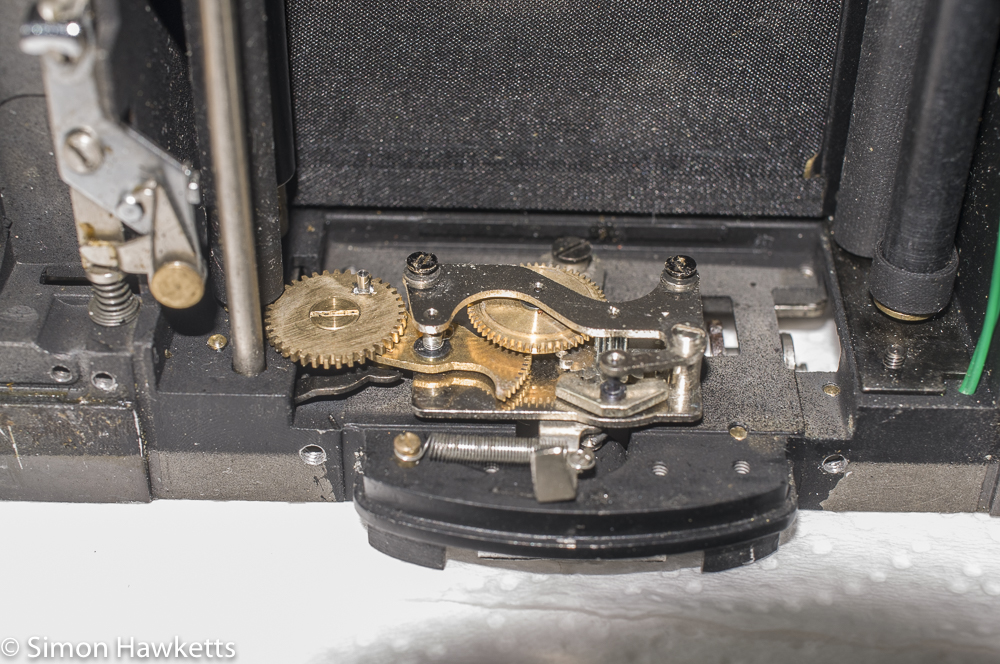
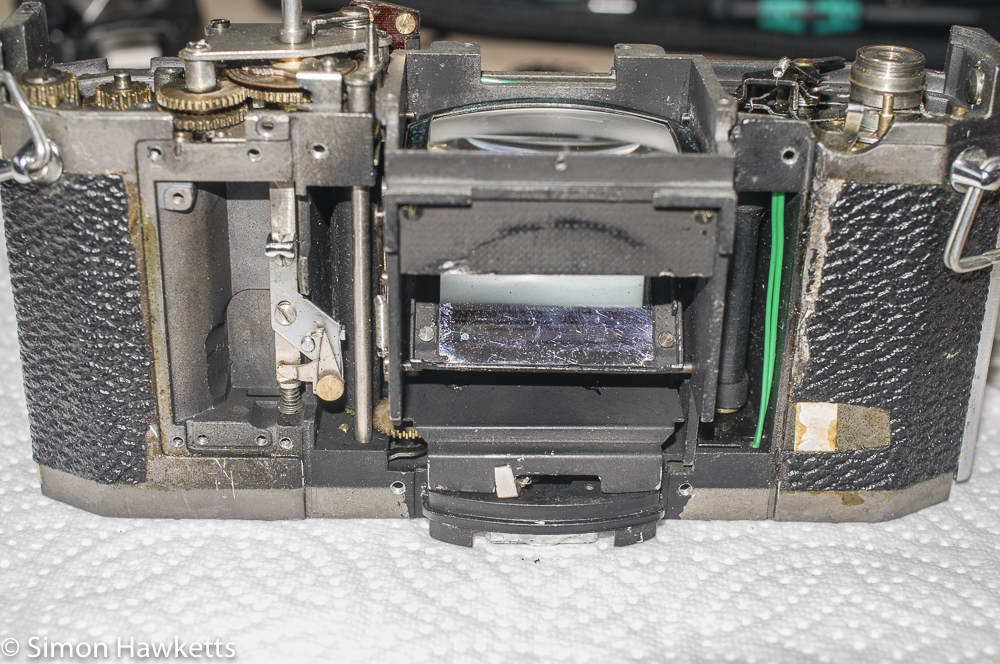
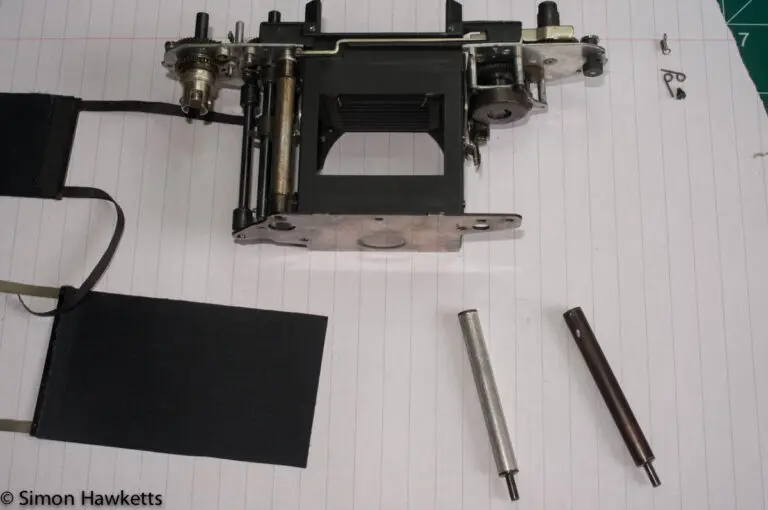
So the pictures above show the procedure I used to strip the Petri Flex V down. There are lots of pictures, but I’ve found when I’ve followed this sort of procedure myself, that it’s better to have too many pictures rather than too few. Since the pictures explain most of the procedure, I’ll just add some notes here, which are useful things to know.
Later I’ll do a follow-up post to cover any problems I have fitting the camera back together.
Petri Flex V Strip down notes.
I didn’t include the process to take the camera top off, but it’s reasonably straight forward. Each side is a separate piece, and I found I needed to take the top off the prism as well and loosen the prism tray in order to get the other pieces off. The prism top has screws under the covering, which needs peeling back.
I think the covering material on Petri seems to age pretty badly and become brittle. This has happened to both my models, and I can’t just peel it off and stick it back later because it breaks up as it is peeled off. On the second camera, I may try to soften the glue with some sort of solvent.
I found several screws were sealed with varnish or something similar, which I had to dissolve with acetone to free them.
When removing the mirror box, there is a spring and arm to unhook from under the bottom of the camera. Also, one of the bolts which holds the mirror box is actually a spacer shaft which holds part of the shutter cocking mechanism.
When the focus screen is removed, there are individual shims under the tray, so be careful to note where they are fitted, so they can go back.
I found acetone was very good at getting rid of all the old light seal goo.
I cleaned the slow speed and self-timer mechanisms by immersing in IPA, which worked well.
Discover more from Everything Vintage
Subscribe to get the latest posts sent to your email.

Fantástico .has llegado al final vez a las cortinillas?