Ricoh Singlex TLS repair – part 2
This is the second part of my series about the Ricoh Singlex TLS repair I’ve attempted on my Singlex TLS 35 mm camera, which was kindly donated to my collection by David, a reader of my blog.
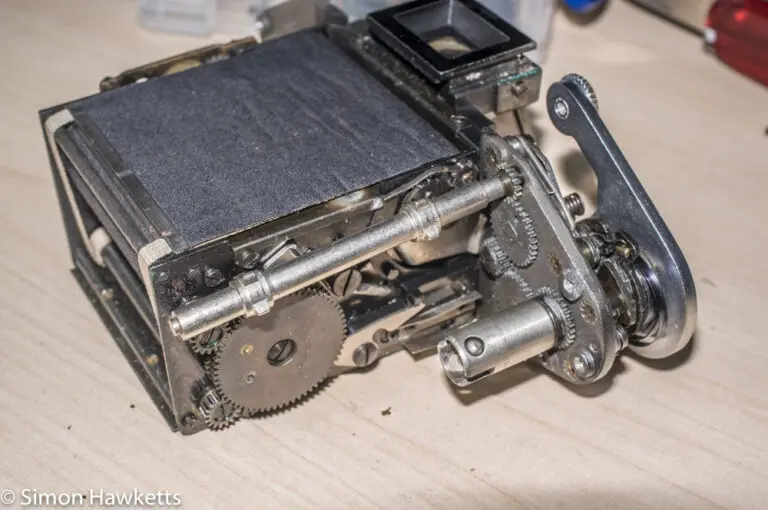
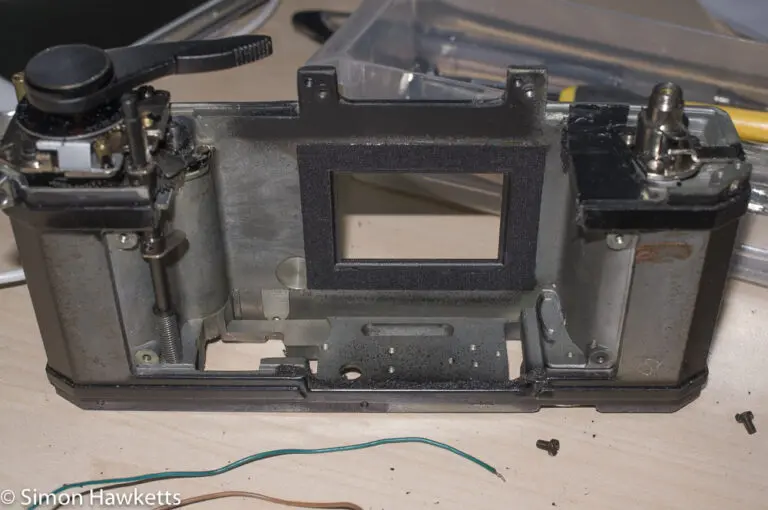
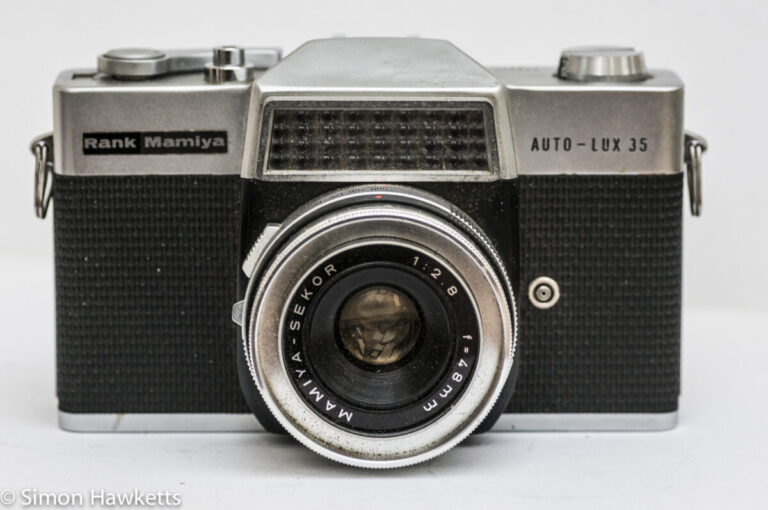
Ricoh singlex TLS repair images
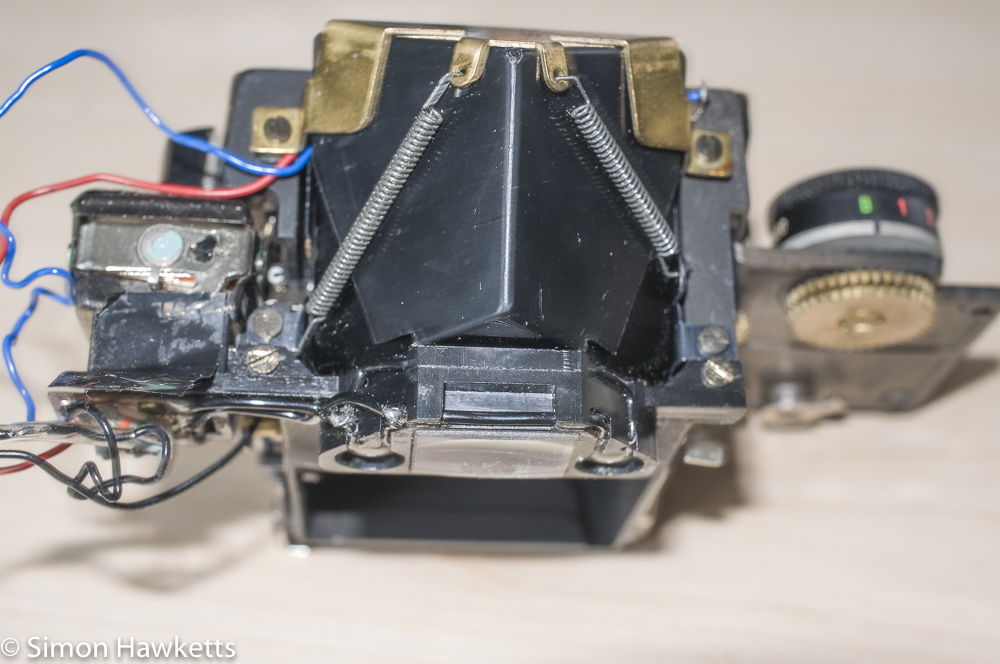
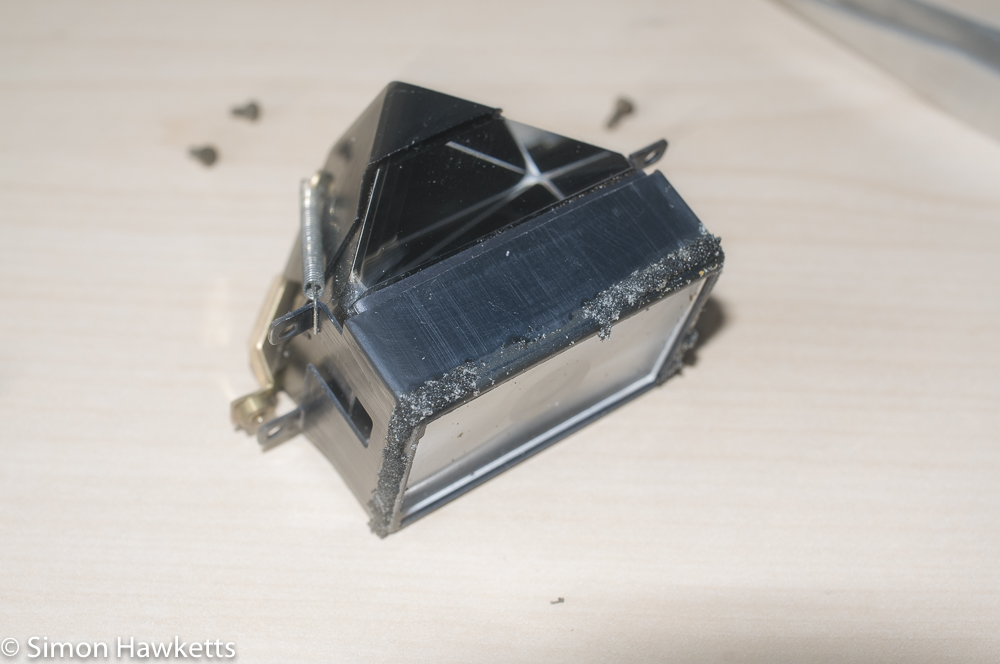
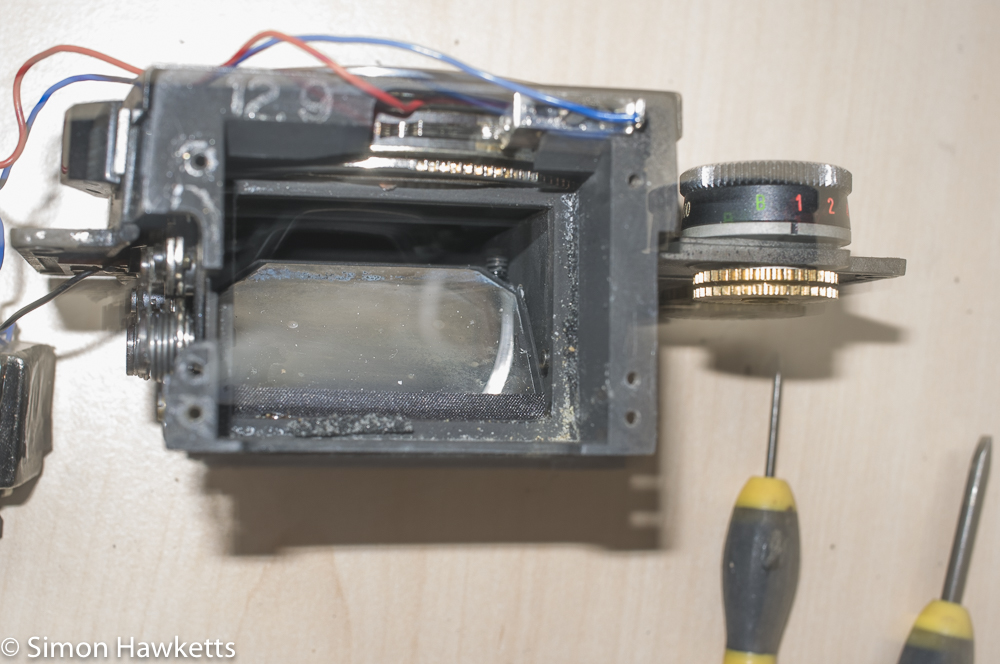
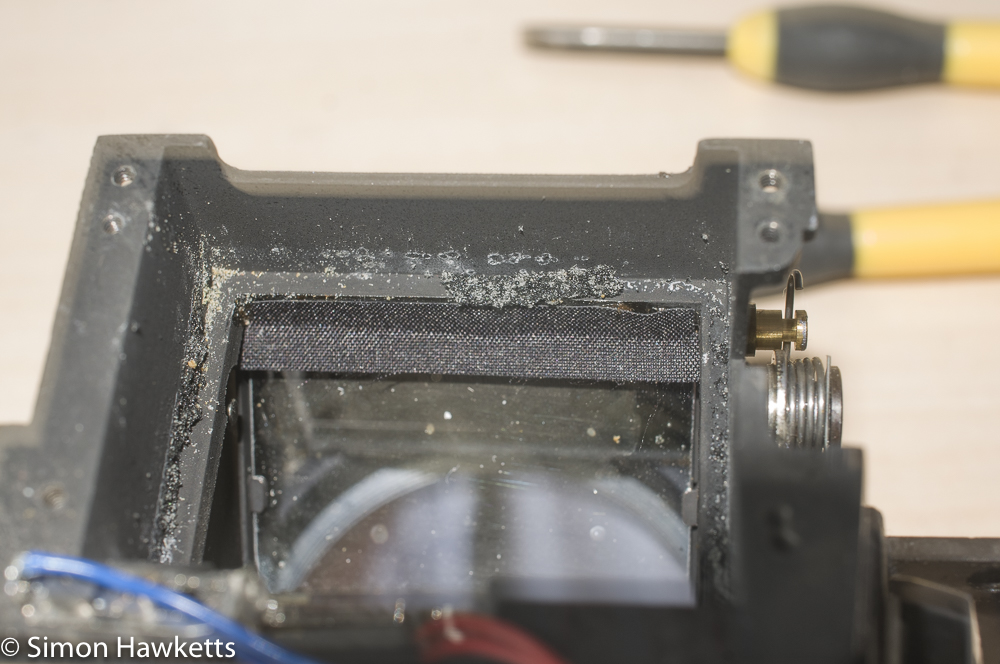
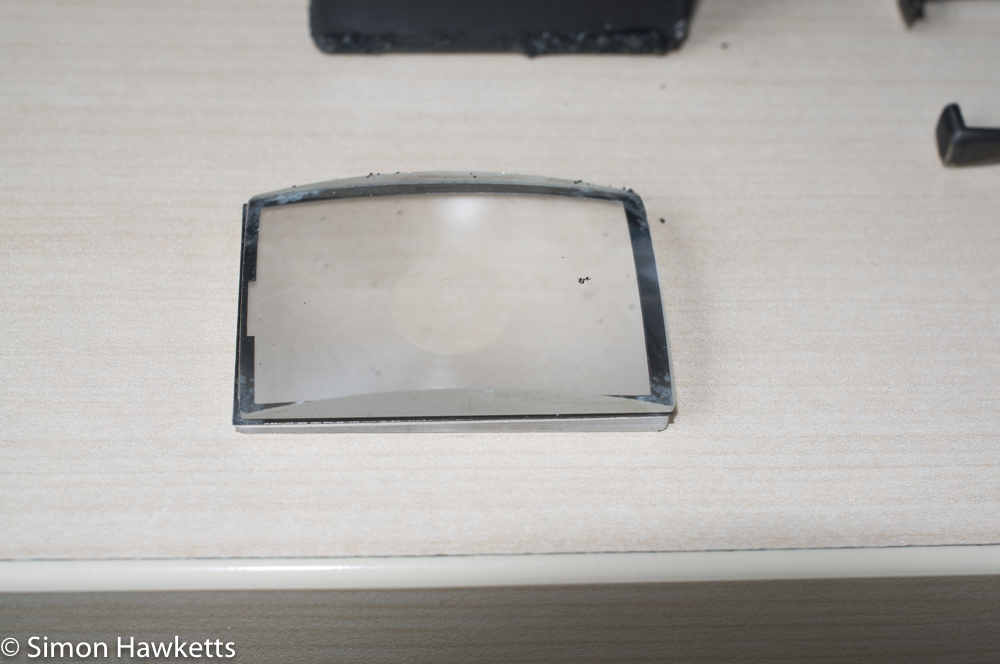
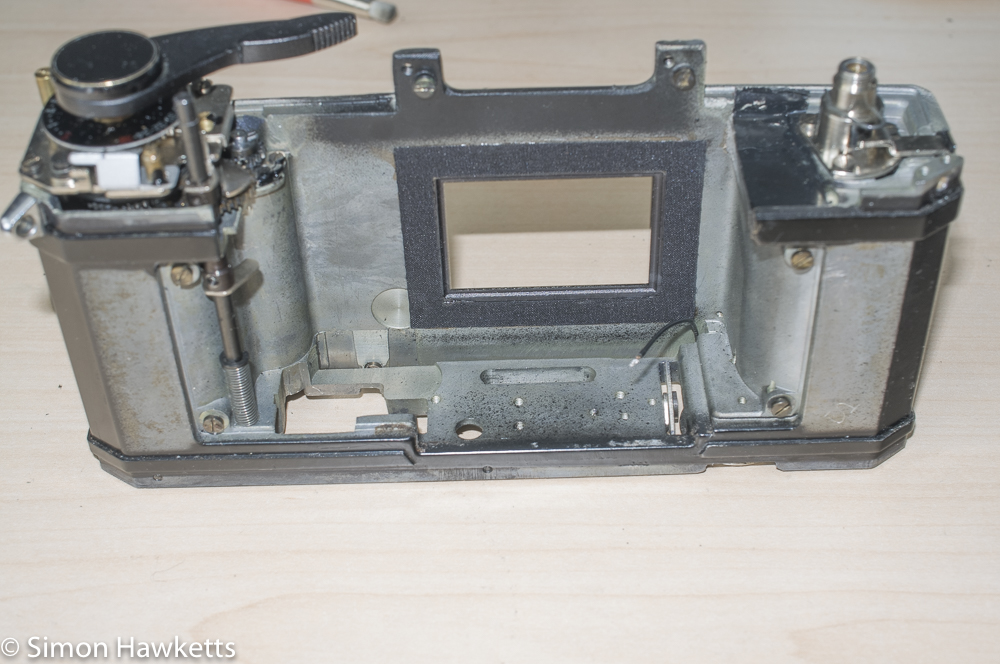
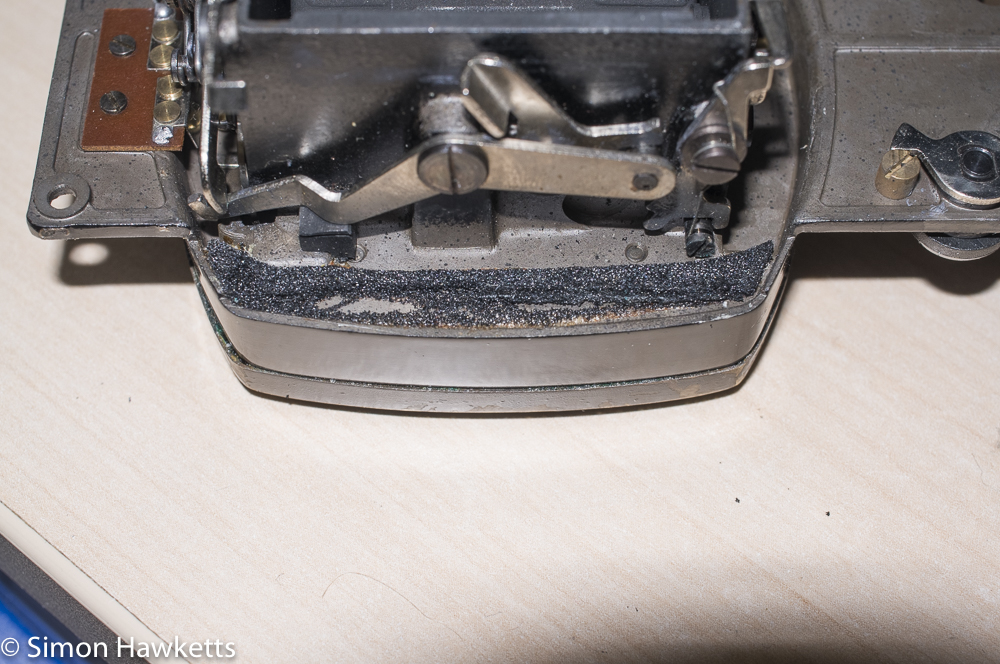
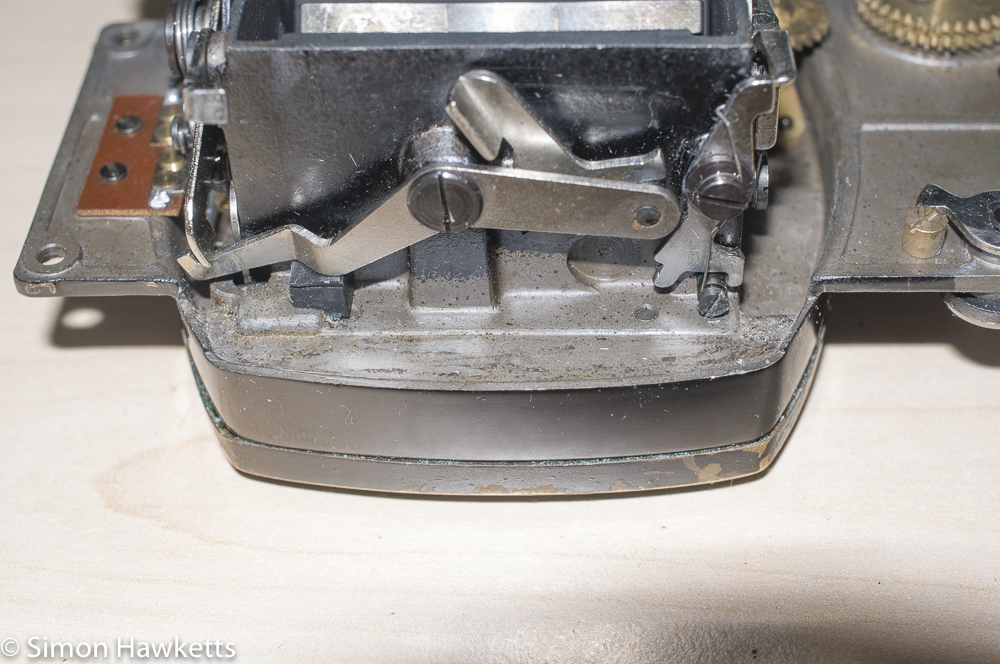
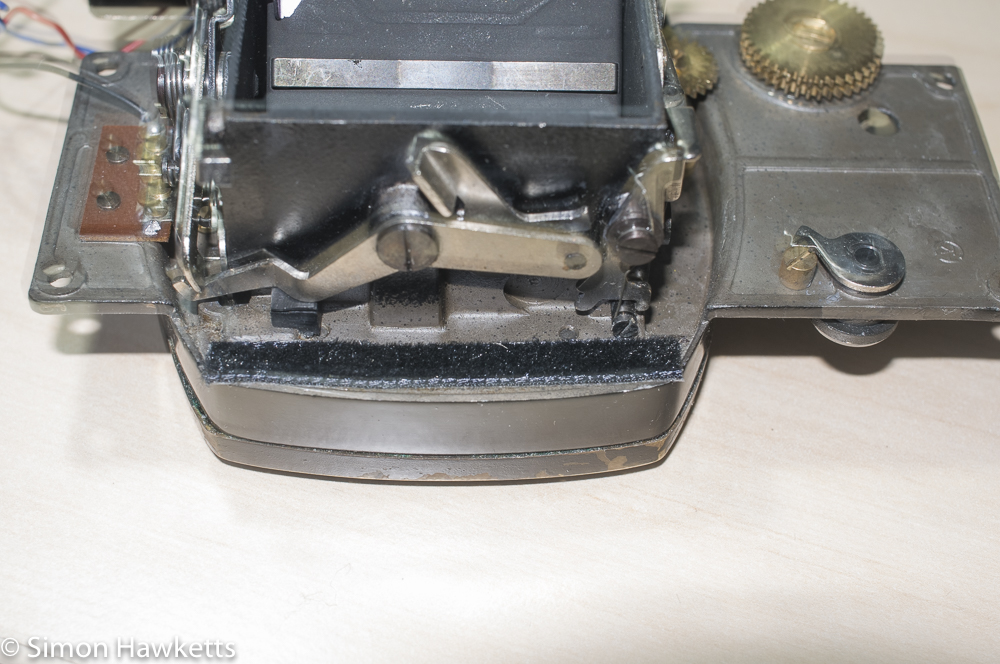
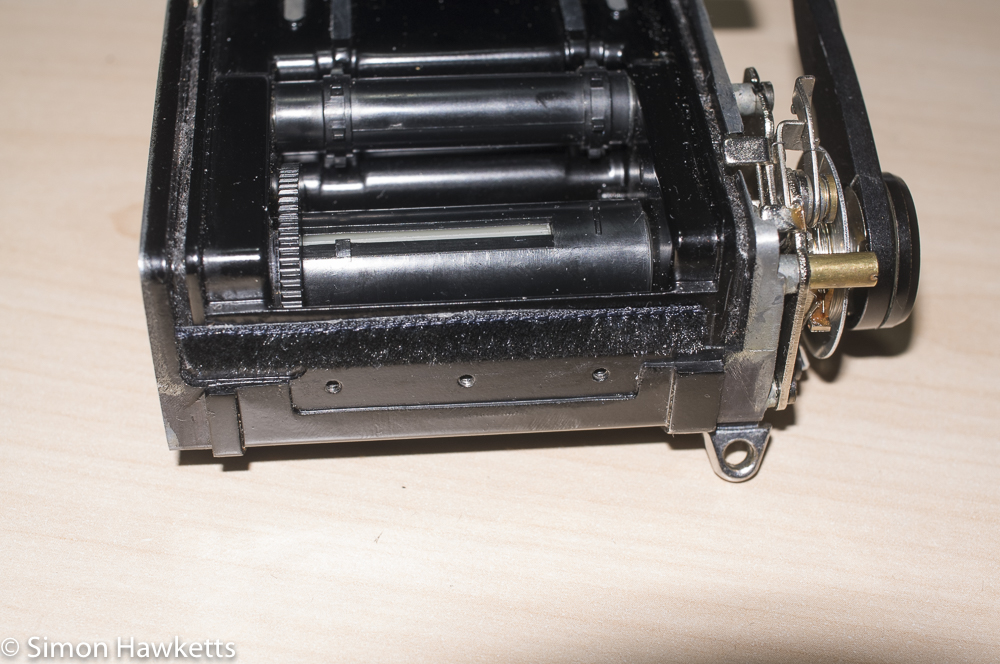
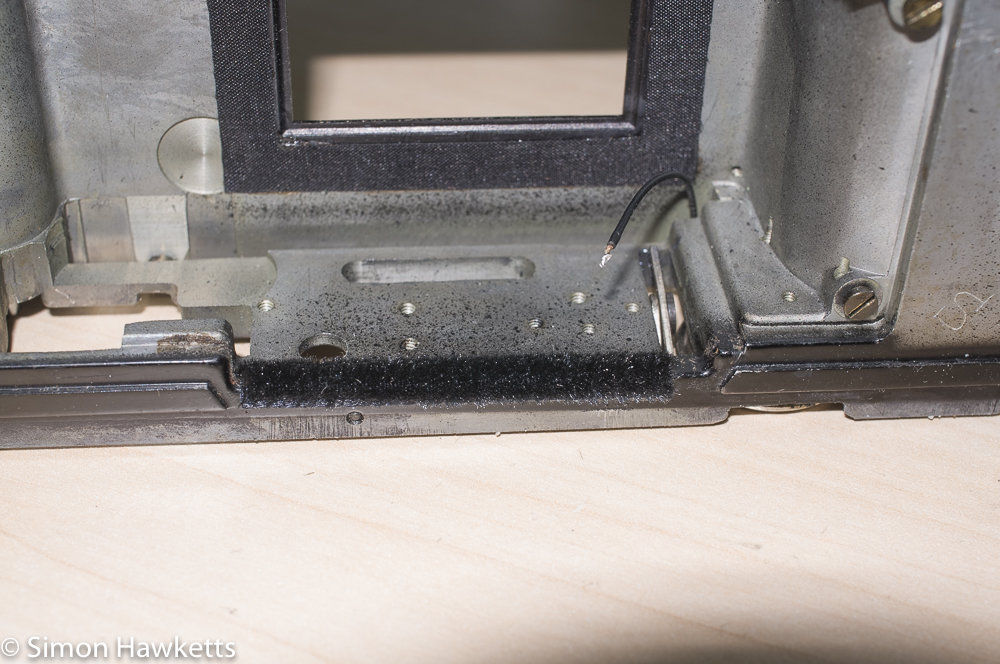
Whilst I’m still trying to work out what the problem with the shutter unit is, I’ve cleaned up the old crumbly light seal from the various points it was fitted on the body and lens mount unit and lubricated the pivot points and moving parts of the mirror box assembly.
Cleaning off the old light seal is a dirty and messy business, which I do with cotton buds soaked in IPA which softens the glue a bit and allows me to scrape it away. I generally place a clean piece of kitchen paper towel on the desk and use it to catch as much of the crumbly mess as I can and then use a pair of tweezers and a set of watchmakers specs (with 10x magnification and lights fitted) to pick off the old softened glue. With all the old light seal removed, I use some ribbon I bought a while ago as a replacement light seal. It’s about 5 mm wide and has a soft felt finish and looks and acts just light the light seal fitted to 35 mm film canisters. I attach this with either Evo-Stick contact adhesive or double-sided tape.
To lubricate the mirror box I used an oil pen which delivers a tiny amount of oil directly to the point which needs lubrication and then mop up the excess with a pad of kitchen paper wrapped round the end of a pair of tweezers. The idea is to get a very tiny amount of oil just on the points which touch.
Once the sticky mirror damper was removed and the mechanism lubricated, it seems to be working as good as new.
Since the prism and light meter were removed from the camera body, it seemed like a good opportunity to clean up the focus screen, so I also carried out that procedure.
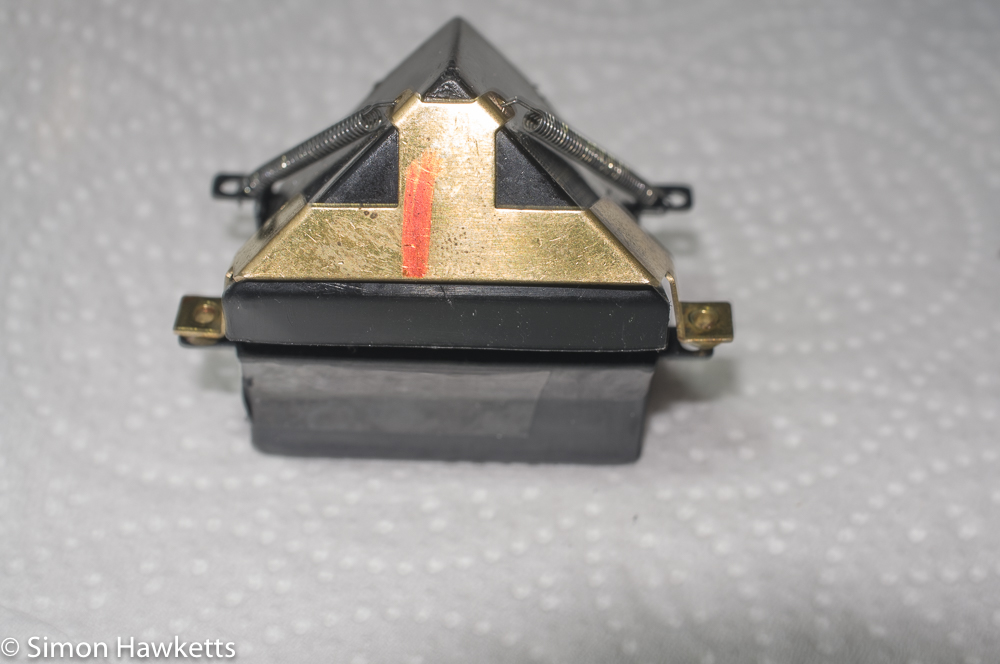
First, I undid the two screws which holds the meter assembly in the viewfinder and carefully extracted it, so the needle wasn’t damaged. Then I removed the four screws which hold the prism down and lifted it free. This removes the prism and focusing screen as one unit, with more light seal attached, which needs to be cleaned off.
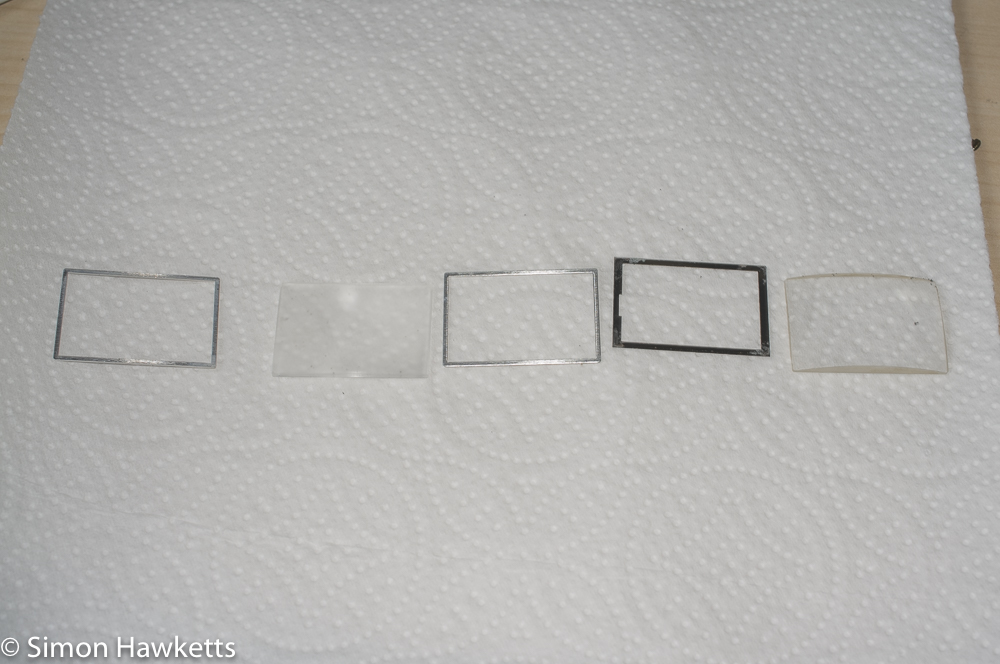
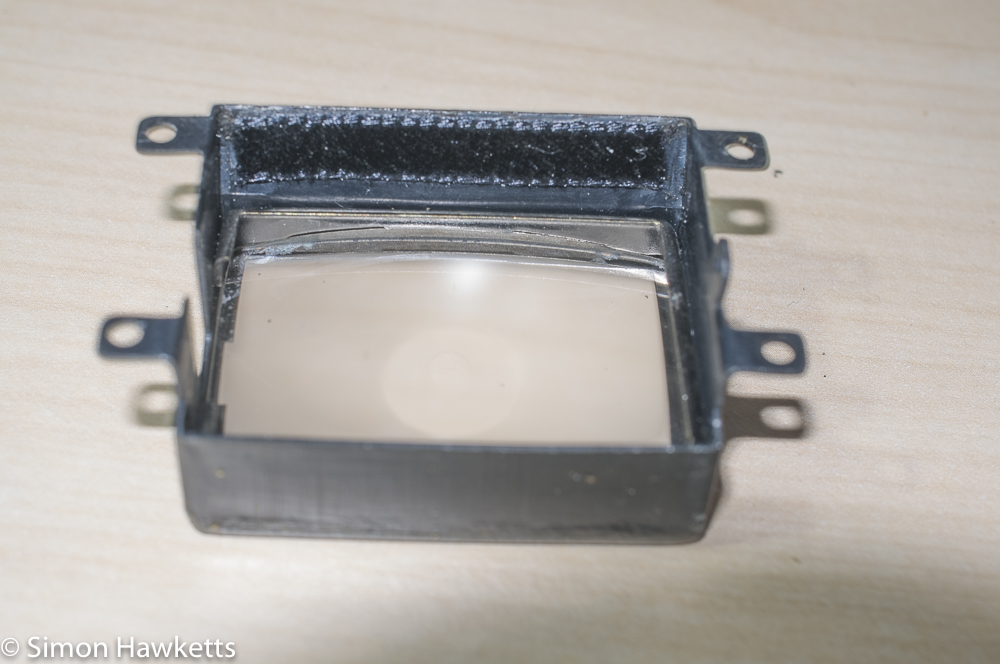
With the prism and focusing screen out of the camera, I unhooked the spring on one side of the prism which holds it into the tray and I could detach the sprung cradle and lift the prism off. Inside the tray there is a retaining ring which can be removed and finally there is the focus screen assembly itself. This consists of 5 pieces which, from the bottom of the tray, are:
- A spacer
- The focusing screen
- Another spacer
- A frame (which has a cut-out where the meter needle appears in the viewfinder)
- The curved condenser lens
I took these out in order and kept them in the same orientation whilst I cleaned the tray of all the old light seal. I also cleaned the old gunky light seal off the back of the prism, although I may have caused some damage there because some of the paint also started to come off. I stopped when I saw this was happening, and I don’t think it’s noticeable in the viewfinder, but I won’t know for sure until the camera is all back together.
Once I’d cleaned the old light seal off the focusing screen tray, I cleaned both the focus screen and the condenser with warm water and placed them on a kitchen paper towel to dry. I then replaced the light seal at the top of the tray where the prism sits and reassembled the whole unit.
Before I fitted the tray back in the mirror box I again cleaned up and replaced the light seals which are in the tray housing, and then carefully reassembled the whole unit.
Once I’d finished the whole operation and started to look at the photos I’d taken as I went along, I found that the camera I was using to take the pictures had been set to manual flash and hadn’t properly recorded the images. Apologies therefore for some of the pictures which were taken at up to a 1 sec exposure!
Discover more from Everything Vintage
Subscribe to get the latest posts sent to your email.

