Singlex TLS strip down and repair – Part 1
A few weeks ago I was lucky enough to have a Ricoh Singlex TLS camera donated to my camera collection by a reader called David who thought I might have some fun trying to get it to work again. Although there are some issues with the shutter, the camera is a black model with a nice amount of wear on the edges and looks really nice.
This is the first part of my attempt to get the shutter working and restore the camera to its former glory.
Pictures of the Ricoh Singlex TLS strip down
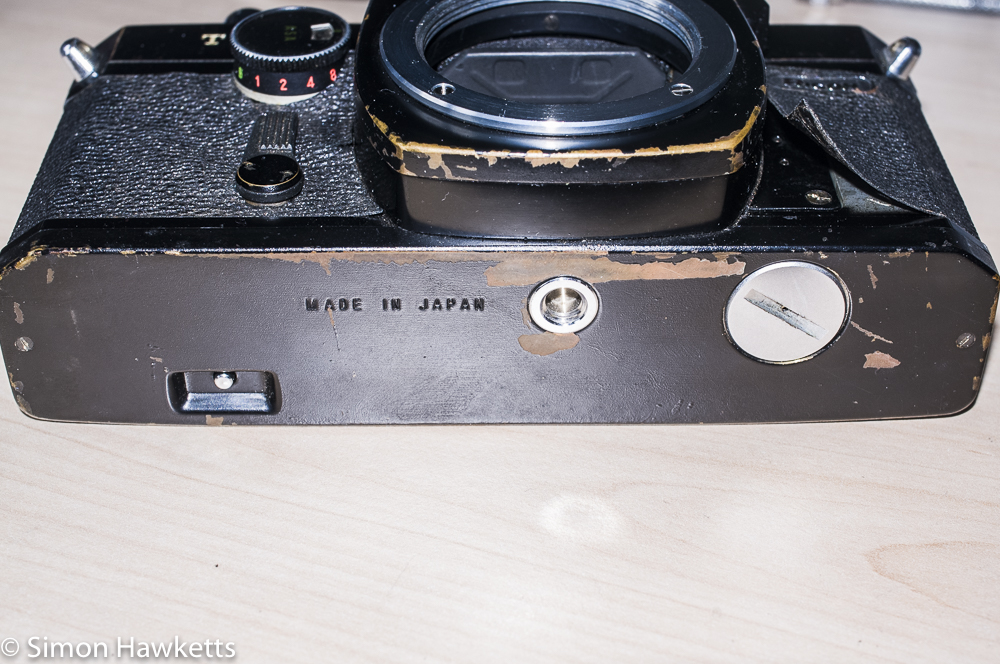
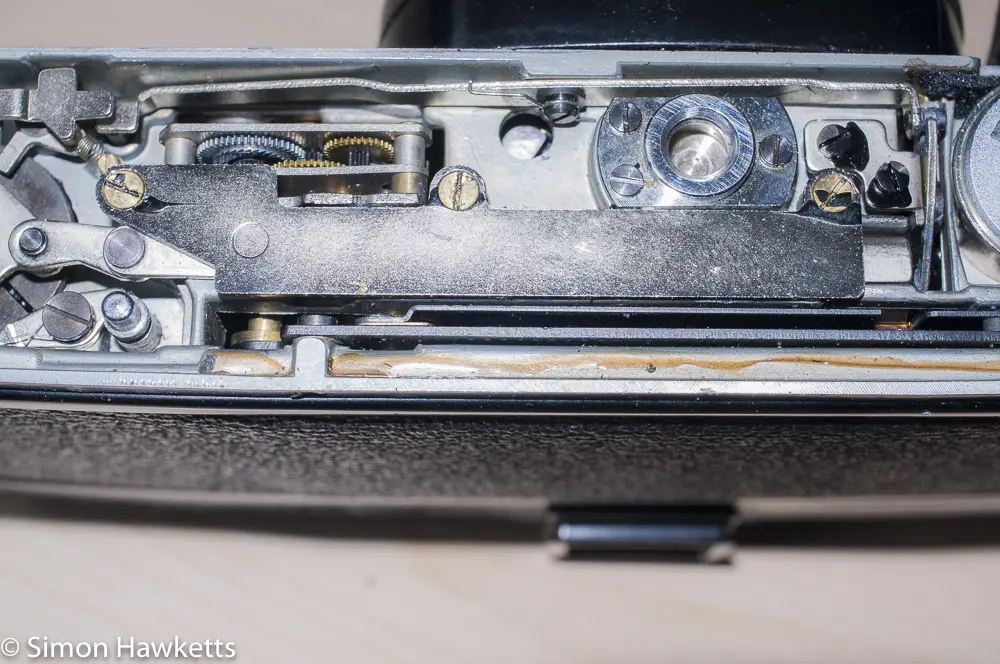
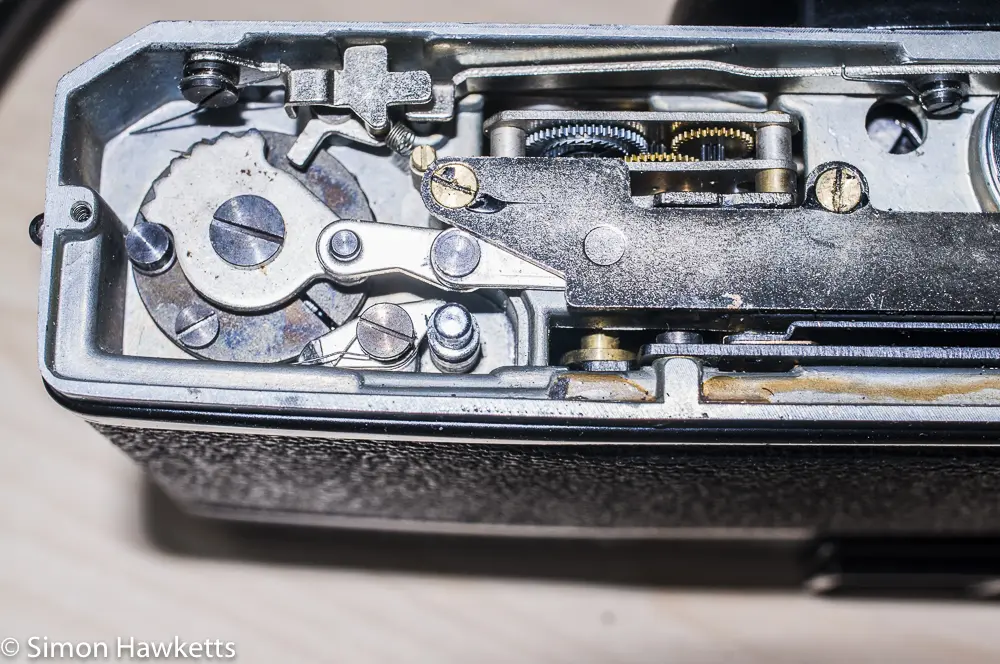
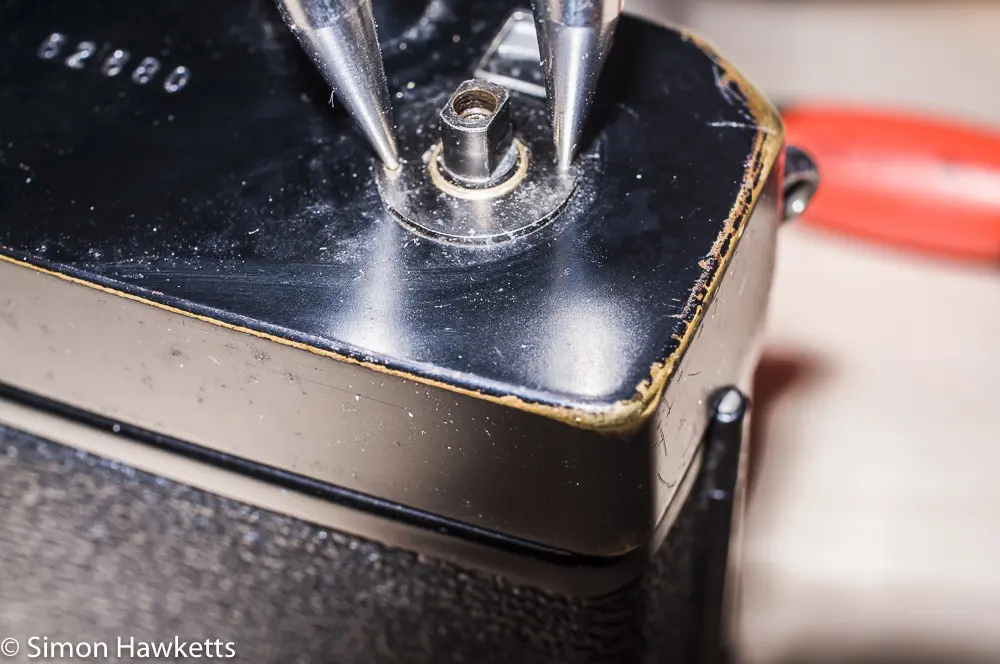
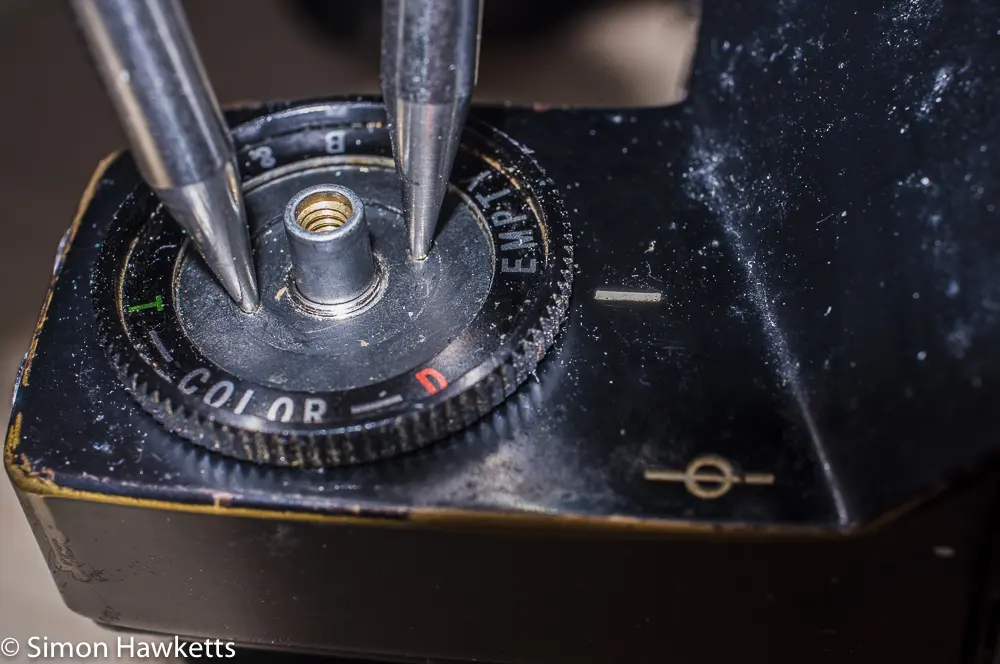
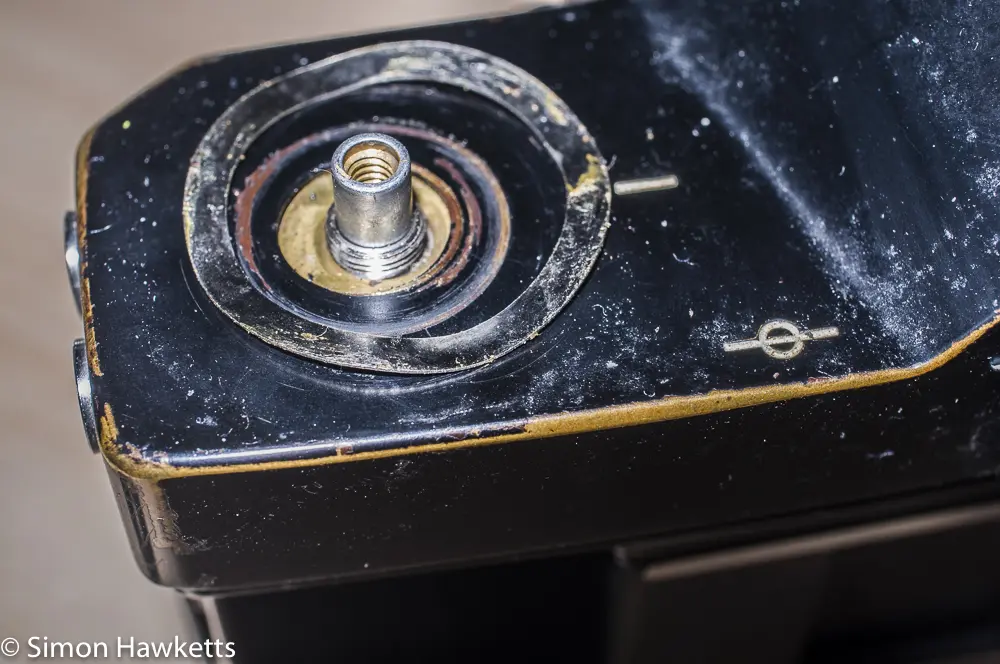
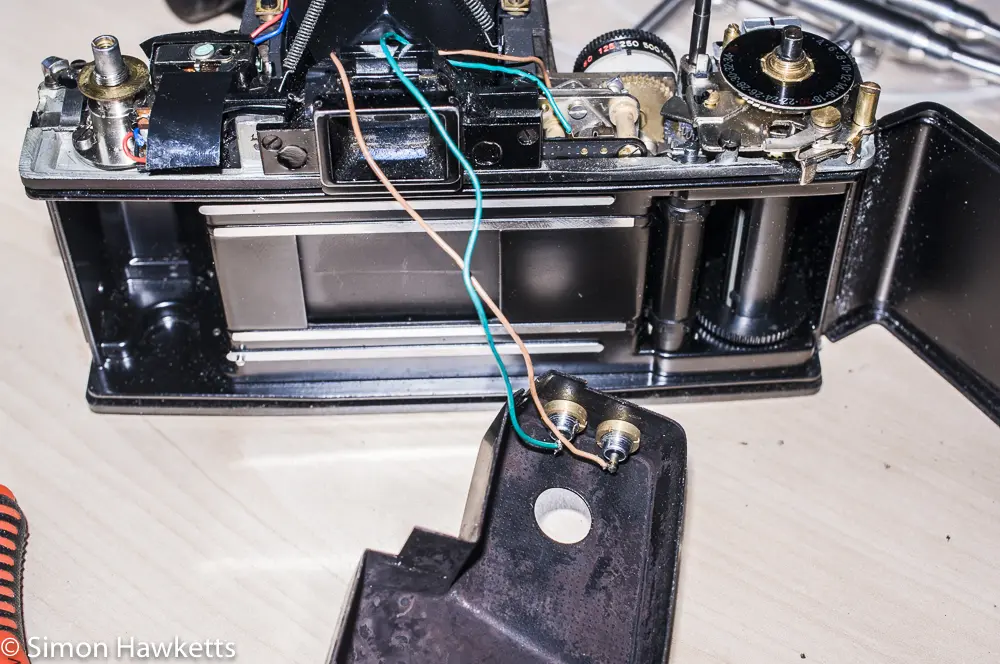
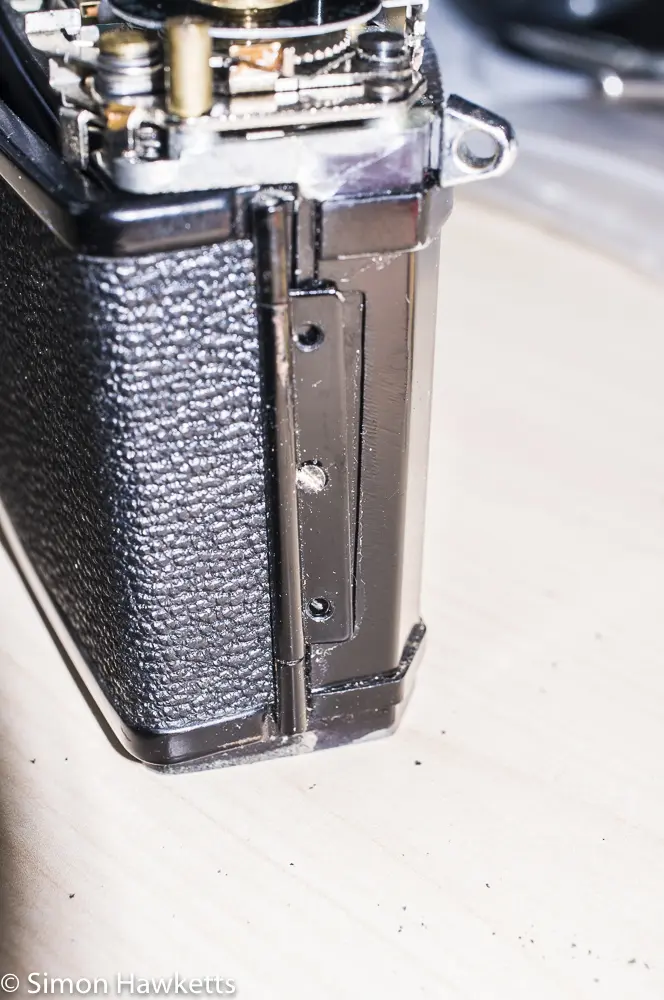
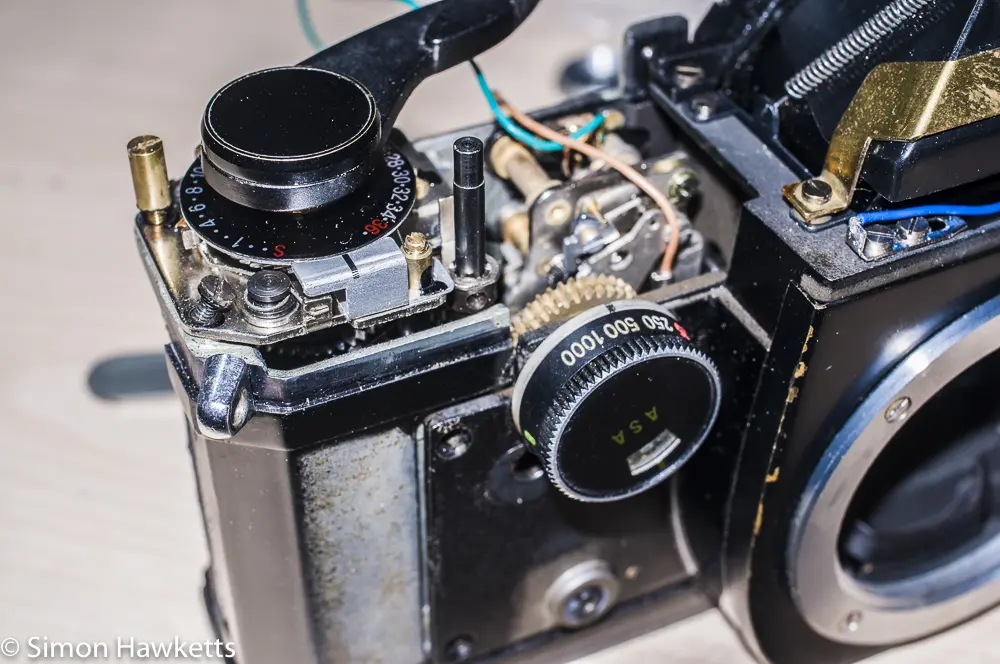
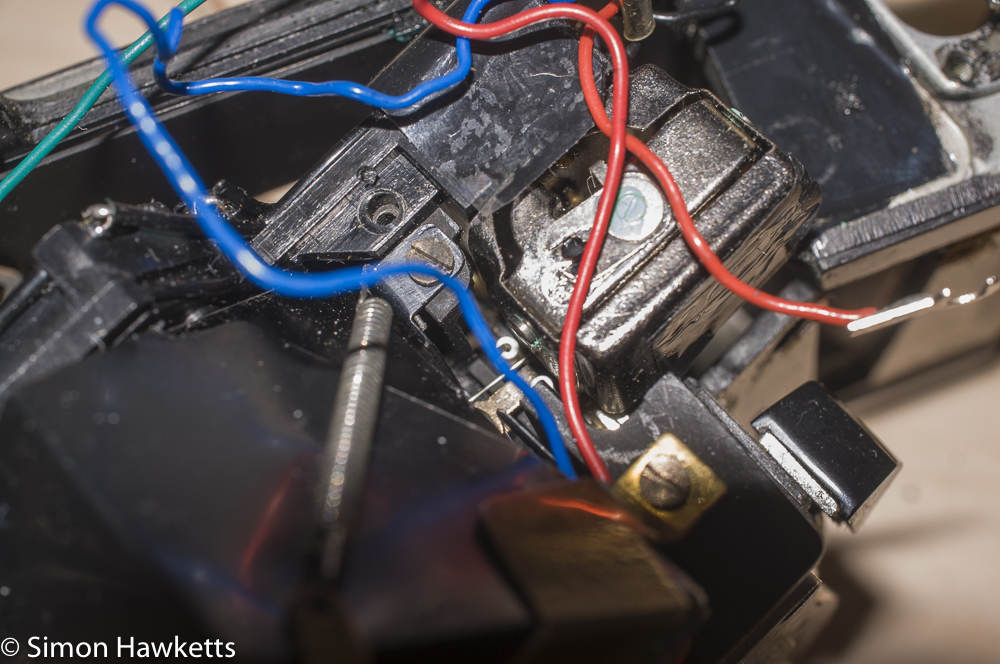
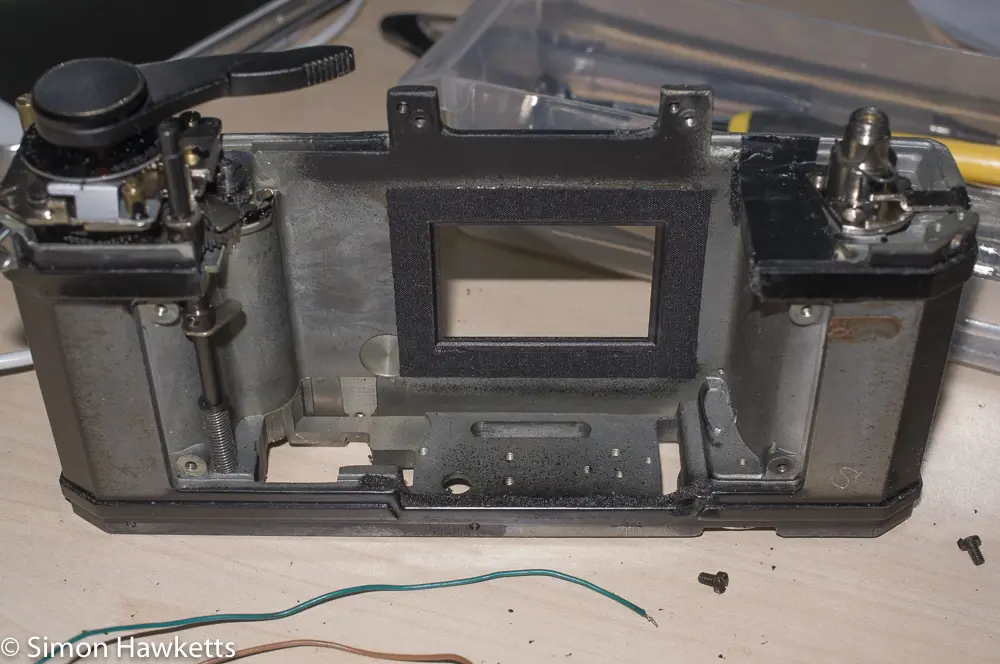
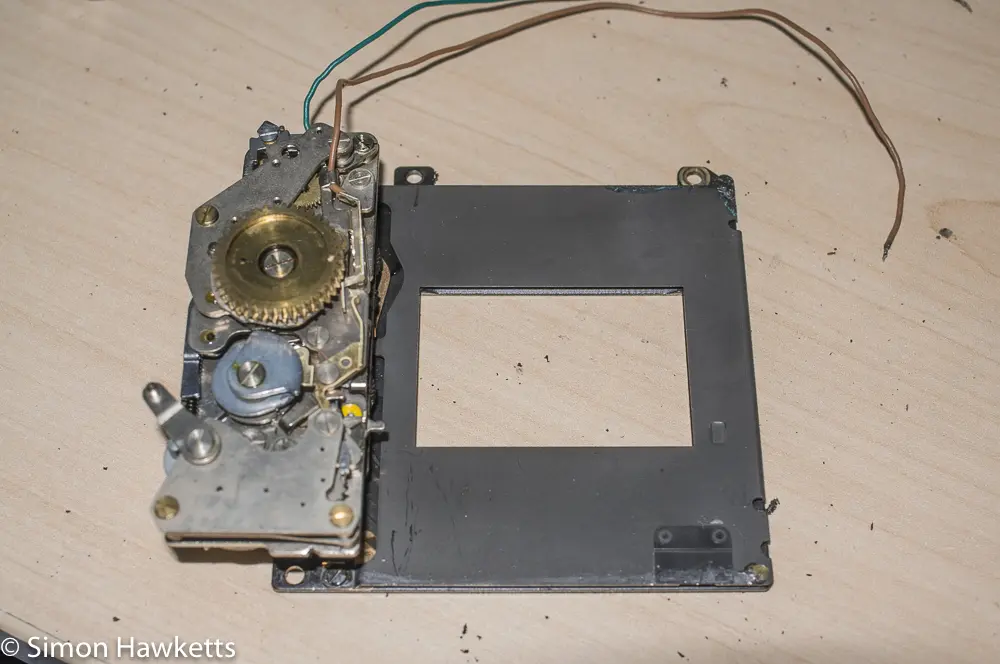
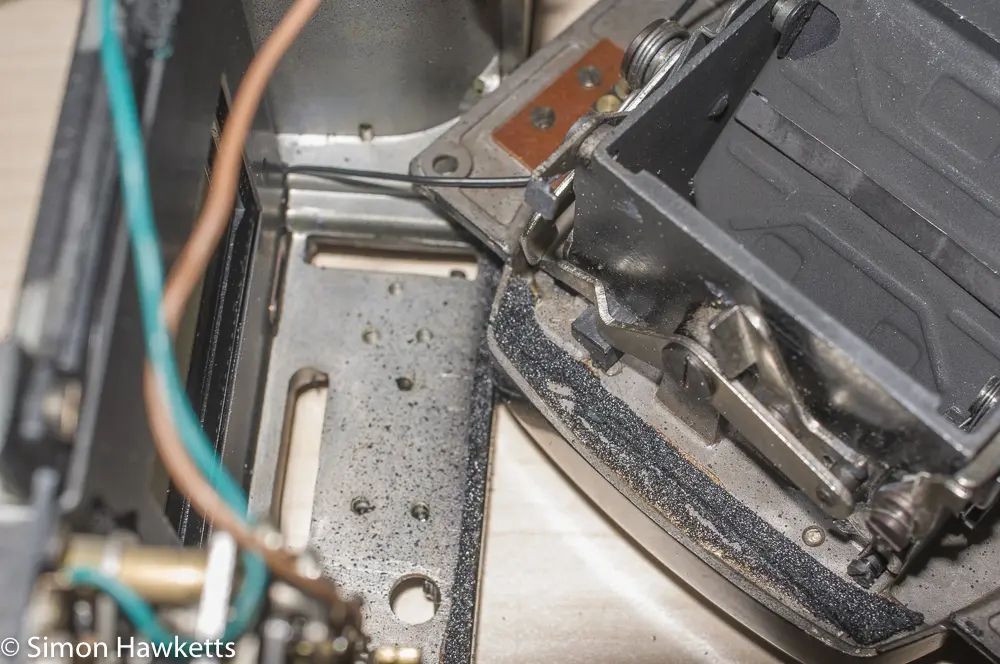
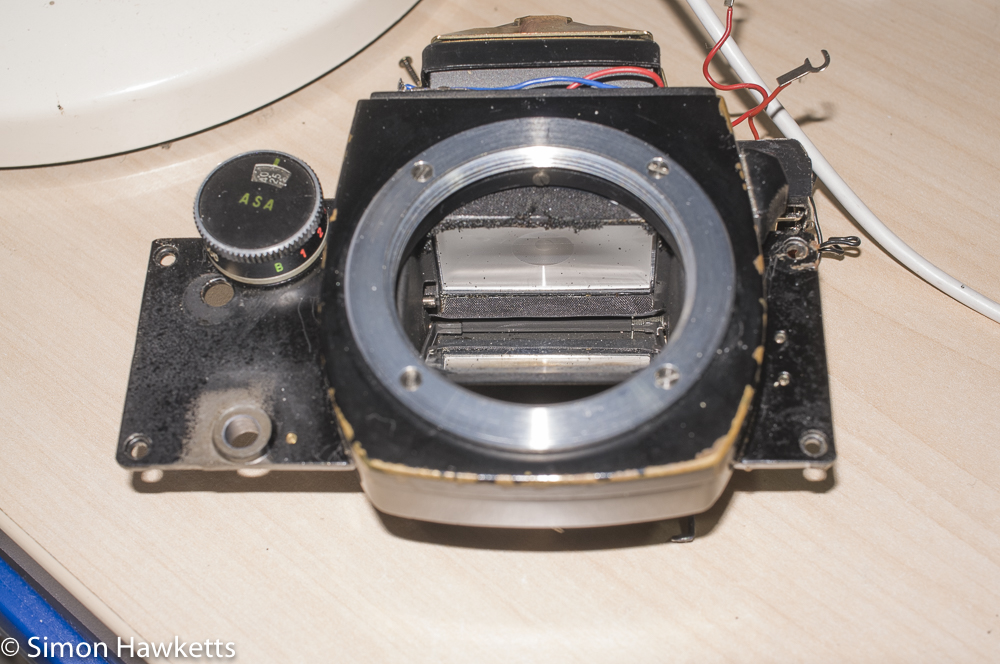
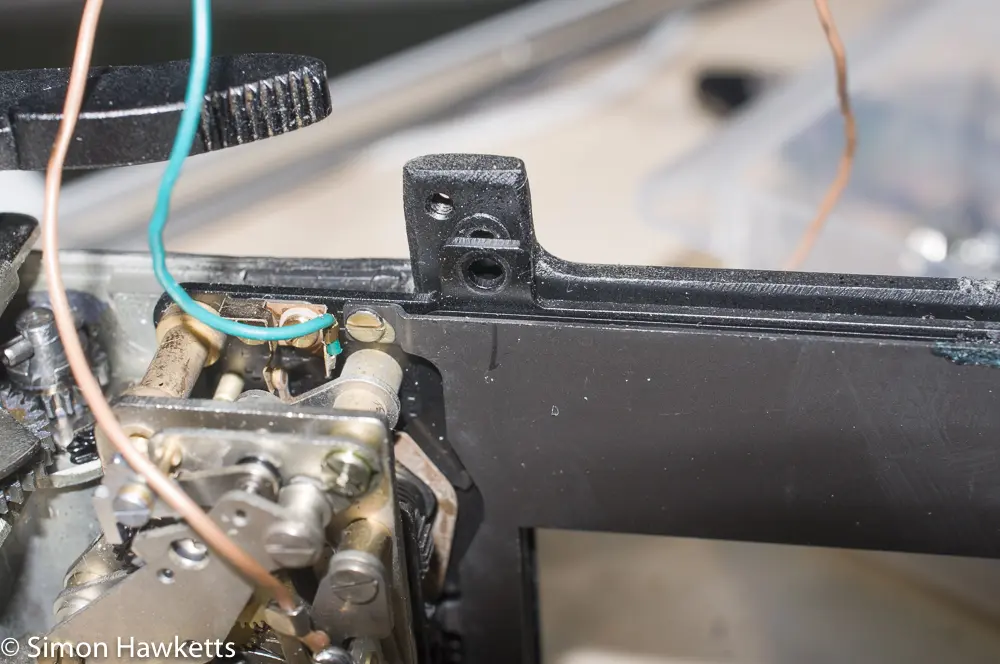
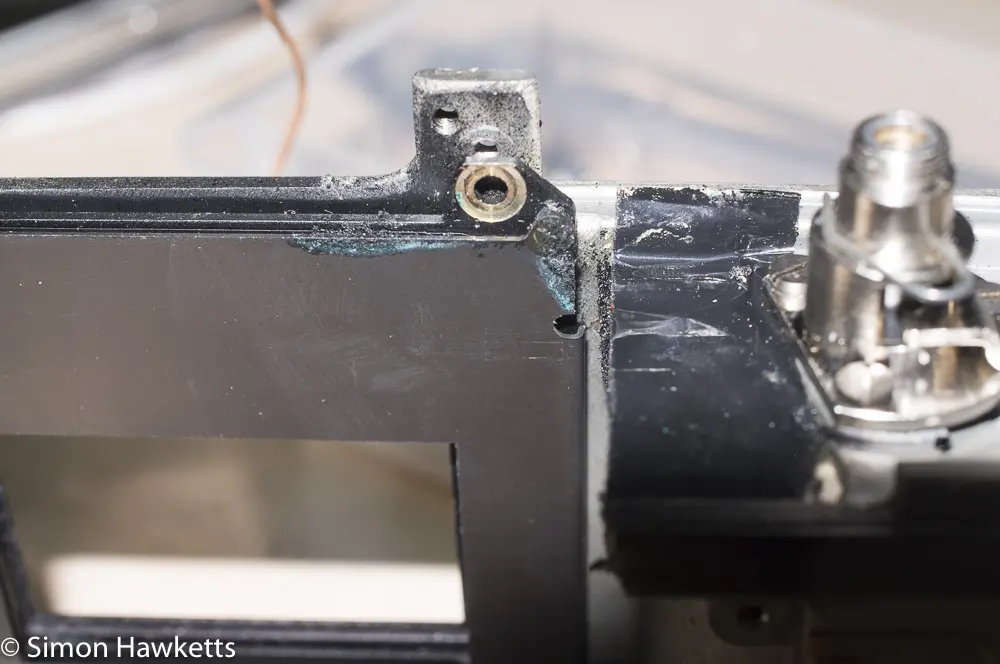
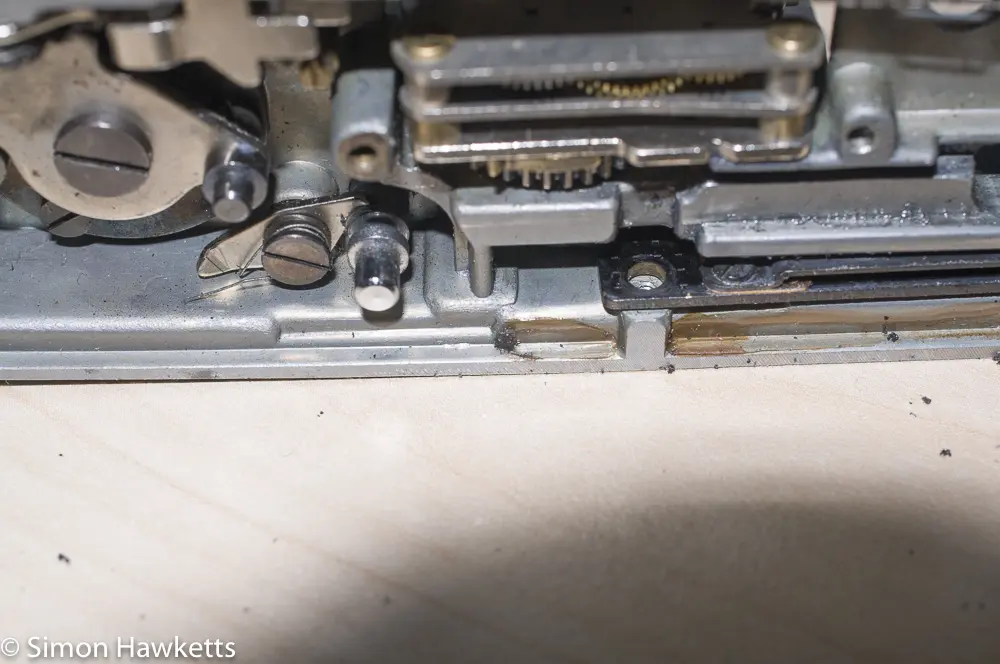
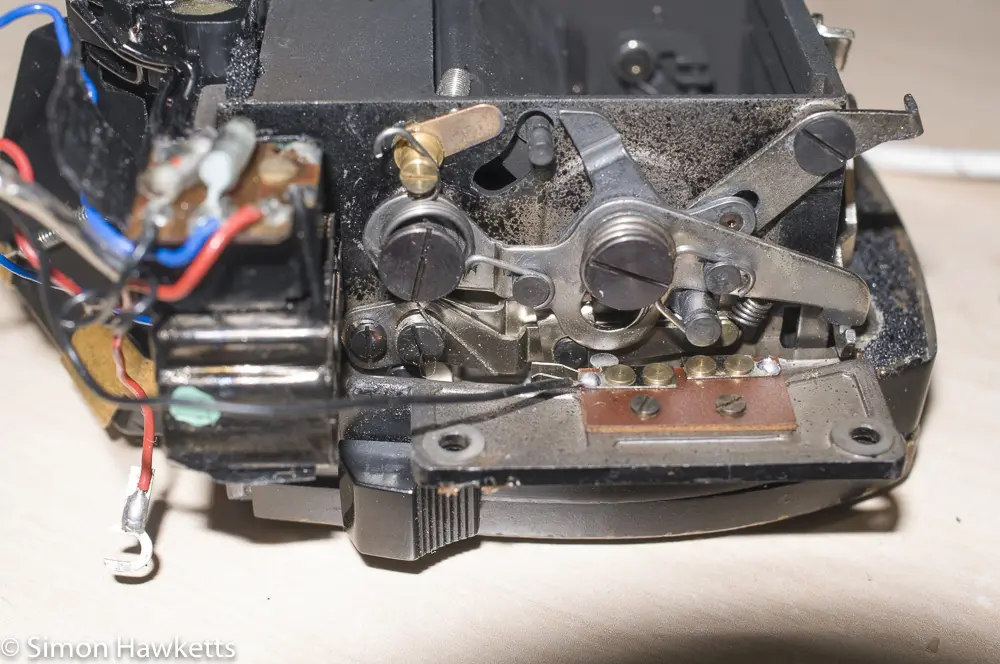
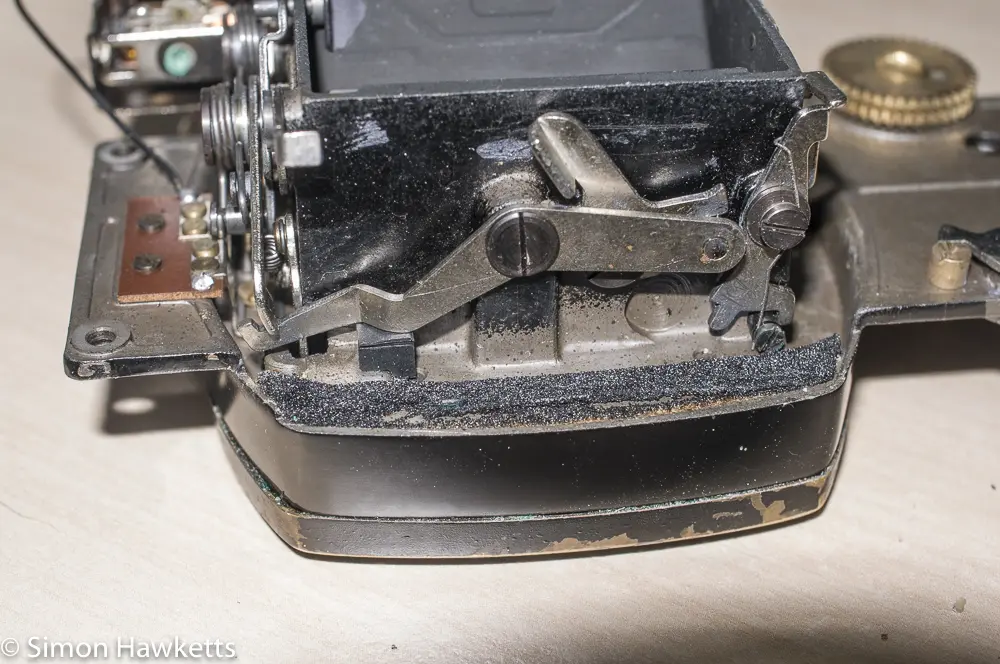
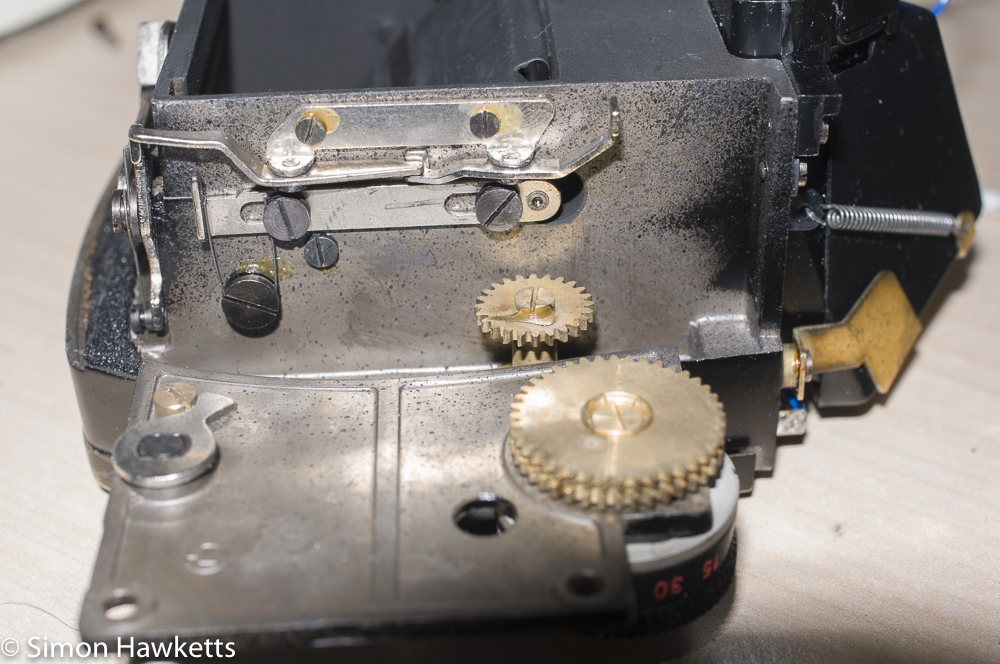
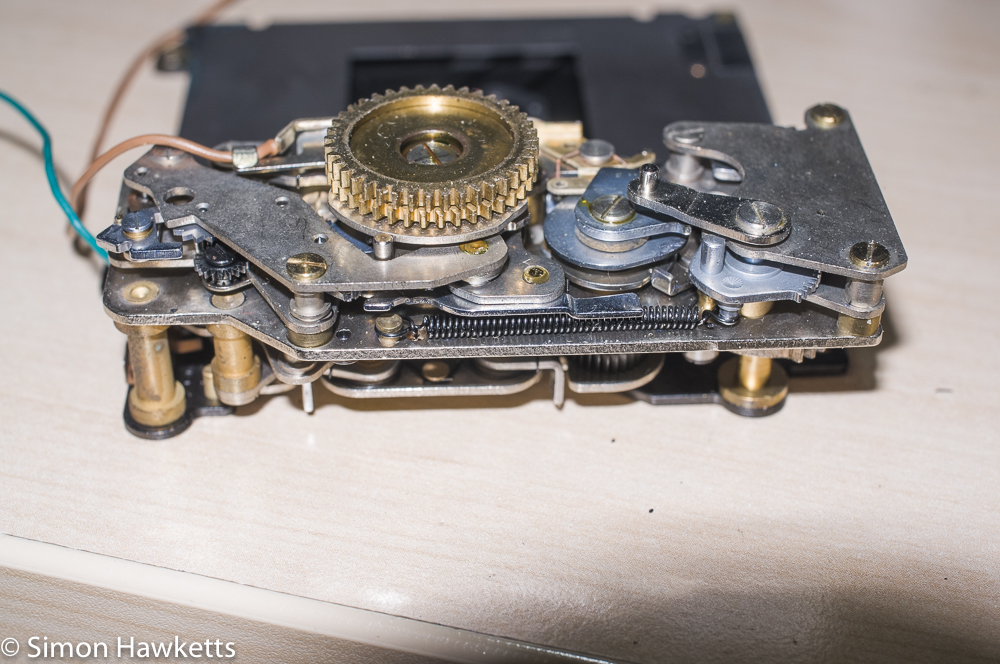
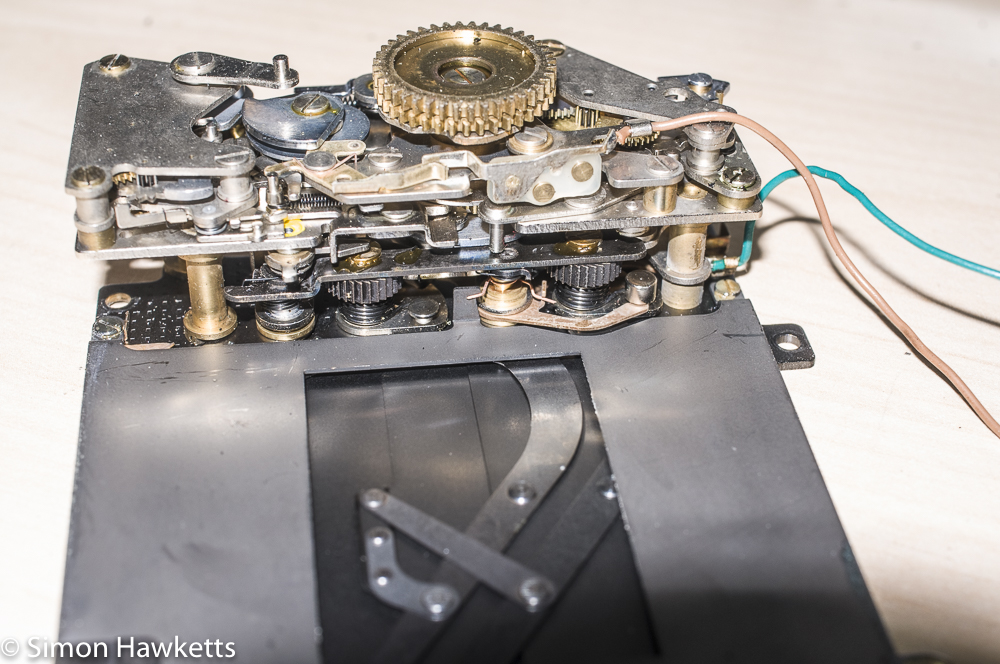
When I received the camera it had a fault quite common with many old mechanical cameras, the film advance would wind and the shutter release button would trip, but the shutter didn’t cock, and the mirror was stuck up. The first thing I needed to do was try to find where the problem was, which involved stripping the camera down.
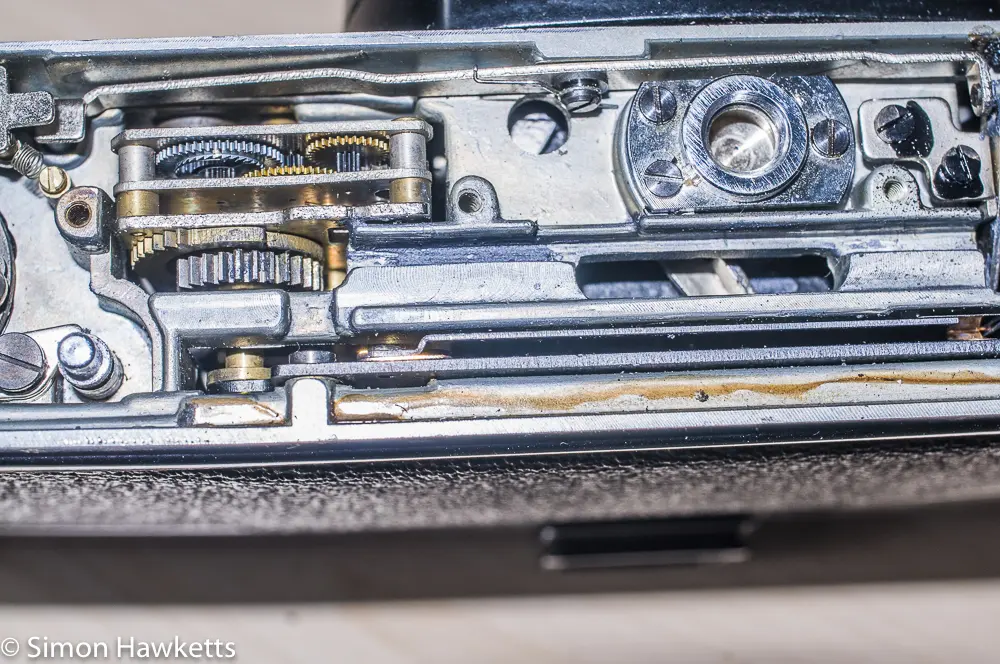
The first and most obvious move was to take off the bottom of the camera to see if anything was amiss there. The bottom is easily removed by just taking the two screws out and the first thing I could see was a load of old dirty grease which was packed round a long arm is driven by a cam on the film advance.
The arm has teeth and drives a cog in the shutter and cocks the shutter. Unfortunately that didn’t seem to be the cause because cleaning all this off and replacing the arm didn’t make any difference, so my next move was to remove the top cover to examine the mechanism there.
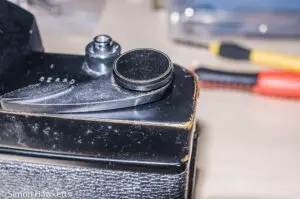
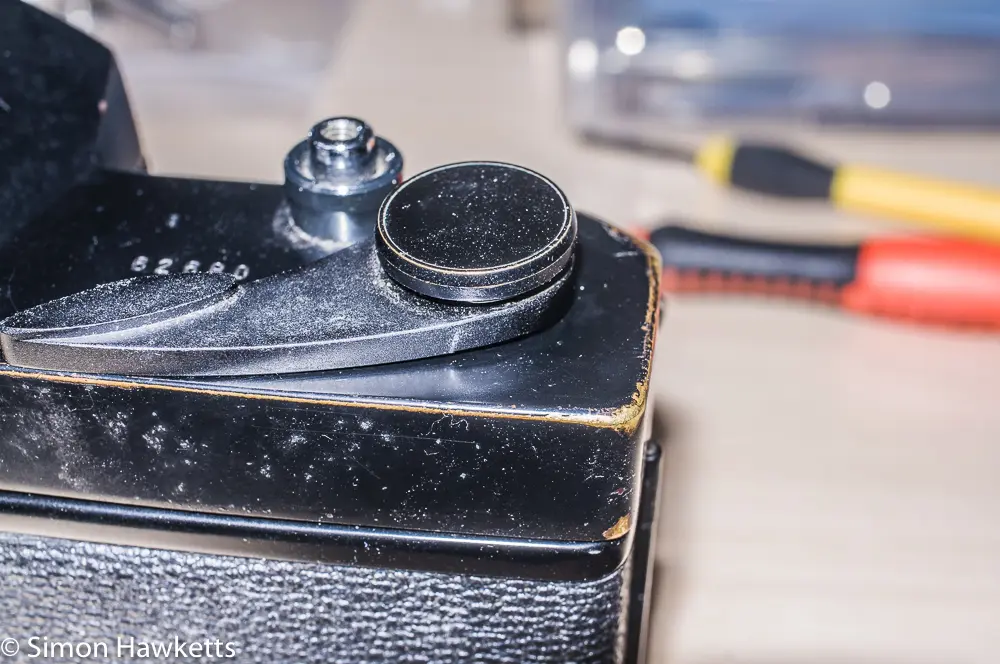
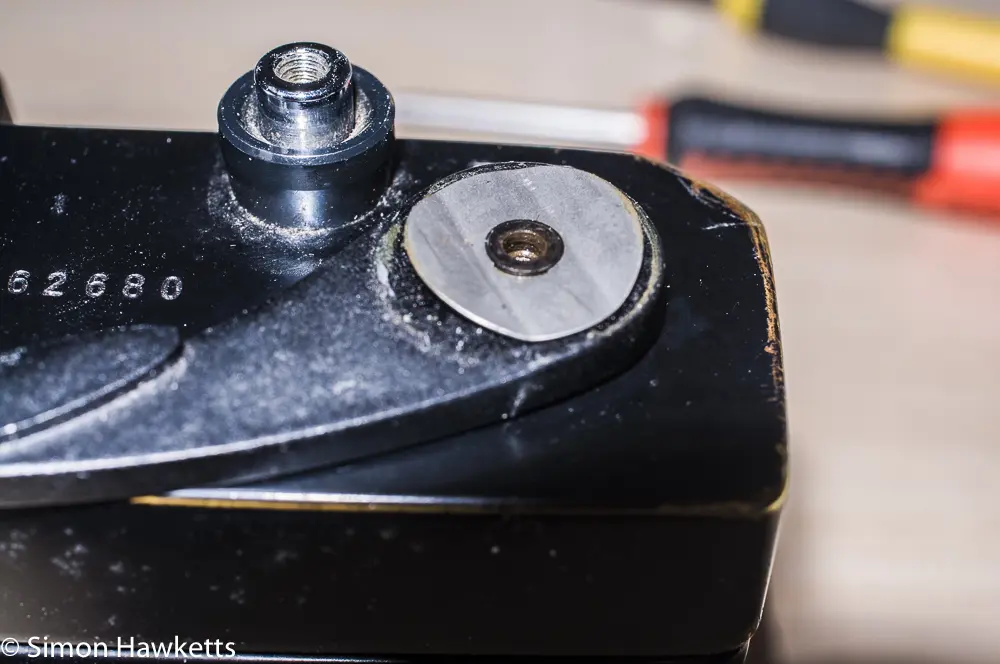
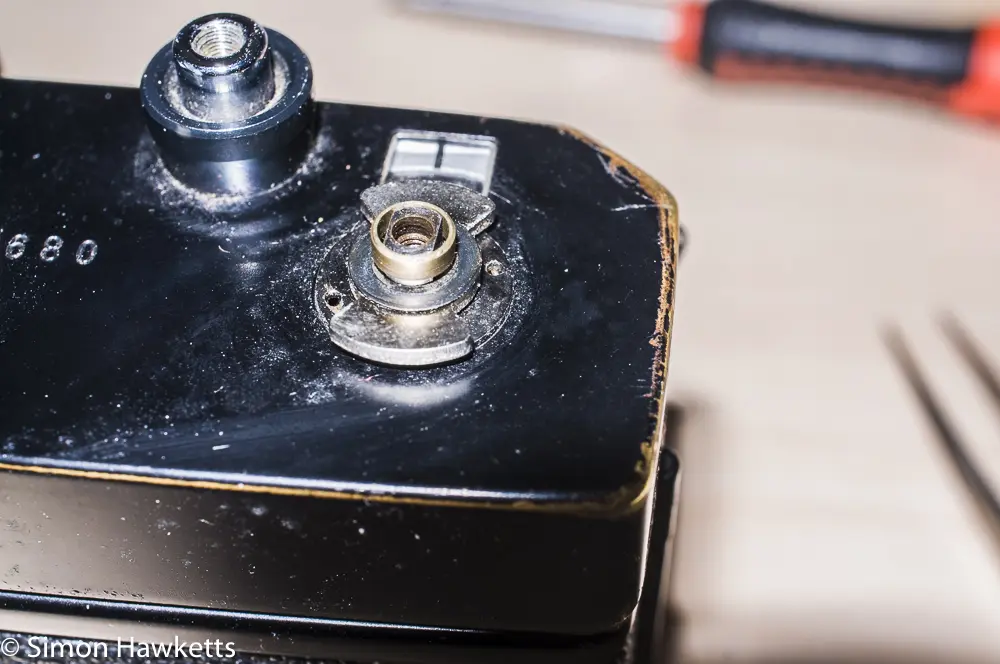
Removing the top cover on the TLS was relatively straight forward, the only tricky piece being the cap on the top of the film advance lever. This is screwed on but needs something with a lot of friction to get a grip on it and remove it.
I first tried a flat pencil rubber from my Daughter’s crayon box, but that didn’t shift it – but wrapping the rubber in a small square of double-sided tape (the very strong sort that is used to hold carpet down) did the trick and I could unscrew it. Once that was removed, the rest of the removal was obvious, with just a couple of wires to the flash sync sockets which needed to be un-soldered.
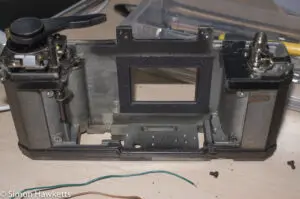
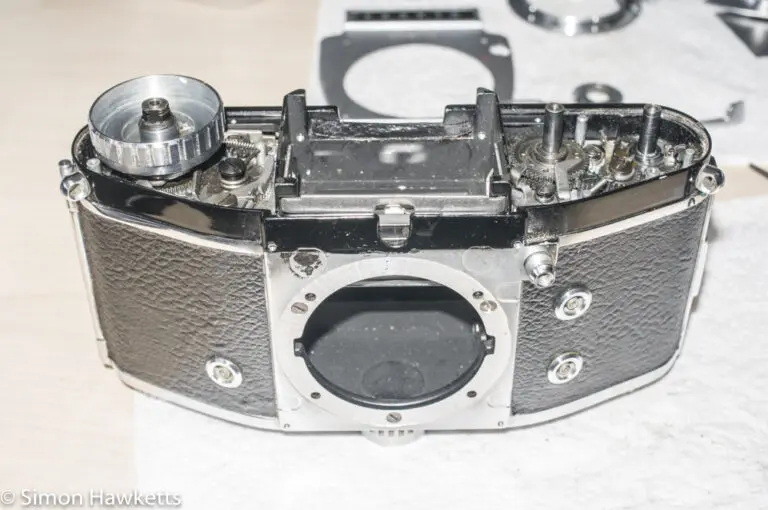
With the top off however, I still couldn’t find any obvious cause for the shutter not being cocked, so I started to strip the camera down some more. I removed the back cover because it was getting in the way, flapping about, and I stripped back the covering on the front of the camera to reveal 4 screws which hold the front on. With those 4 screws out, I thought the whole of the front should pull out, but I couldn’t get it to fit through the camera body on the film rewind side.
At this point, I tried taking lots of bits off the camera which weren’t necessary in order to try to get the front off, but I made it a rule to put them back on once I’d proven they weren’t holding the front in.
In the end, after several hours spread over a couple of days, I found there is a single screw in the top of the camera where the prism holder joins the light meter which needs to come off, so the top of the camera will flex enough to get it through the case. Once that screw is out, the shutter speed side of the front plate can be eased out and then the light meter side will just slip past the case opening.
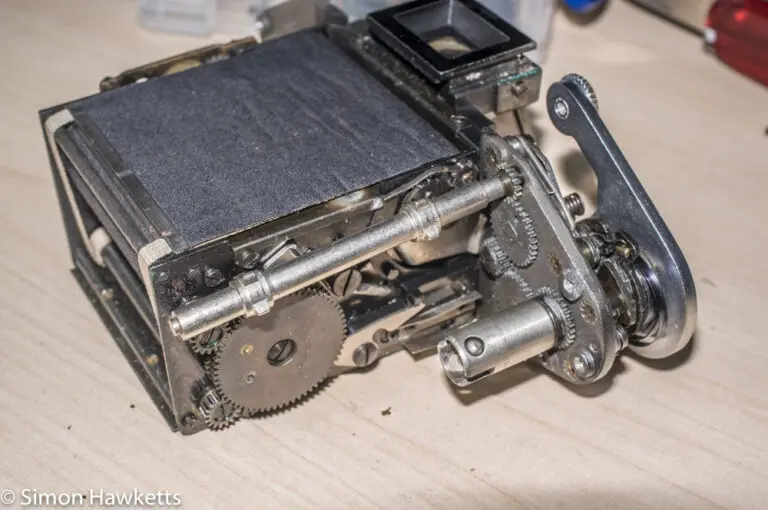
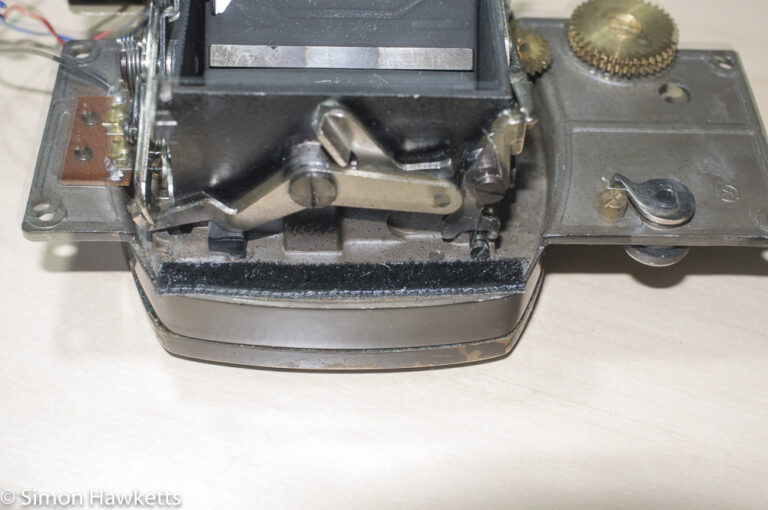
Once the camera front was out, there was a black wire from the battery compartment to un-solder and the mirror box and prism can be released from the body. The next part which can come out is the shutter itself, which is held by two screws at the top and one at the bottom.
At the moment, I haven’t yet been able to piece together why the shutter isn’t cocking. I’ve found the self-timer was dirty and locked which I’ve cleaned, and I’m sure that with the shutter removed, I can try to piece together the chain of events which leads to the shutter being cocked and fired.
I think the shutter may be the cause of the problem because I can wind the cog which sets the shutter blinds ready to fire, but the lever which should fire the shutter isn’t doing that. Also, when I turn the shutter speed cog on the shutter the slow speed escapement is not moving, and I would expect to see it change is some way.
I’m also going to clean up all the light seals and replace them with some nice clean material and lubricate all the mechanism around the mirror box ready for when I get the shutter fixed. Hopefully in a few days I’ll write the second part of this, which will cover the repair and re-assembly / refurbishment.
Discover more from Everything Vintage
Subscribe to get the latest posts sent to your email.

