Servicing the Argus A2F viewfinder camera
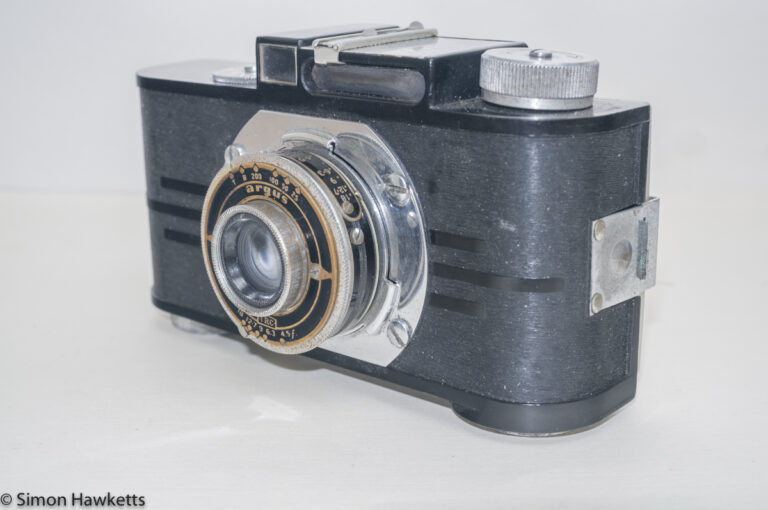
Last week I picked up an Argus A2F viewfinder camera, which I did a short review of here. I mentioned in that review that the shutter needed a clean and service, and this post covers the process I carried out whilst servicing the Argus A2F.
Servicing the Argus A2F Images
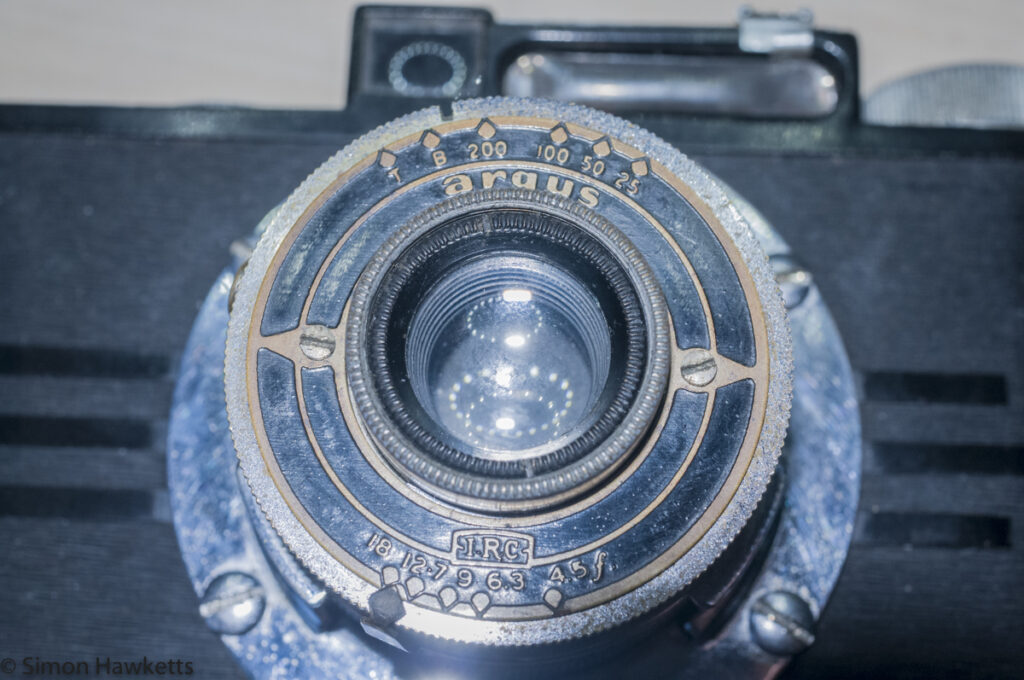
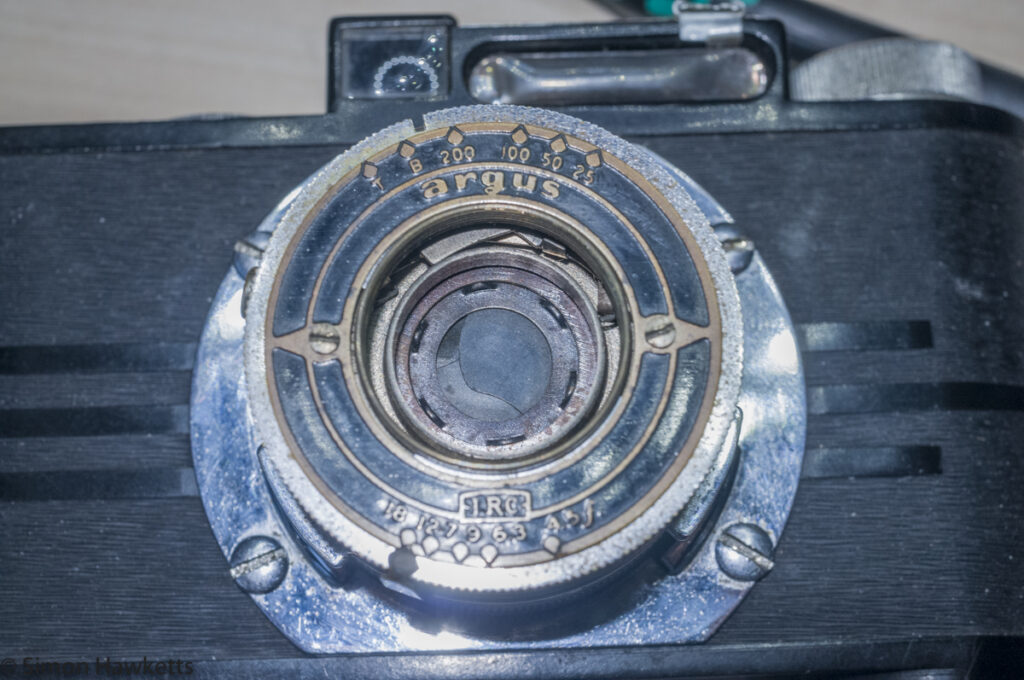
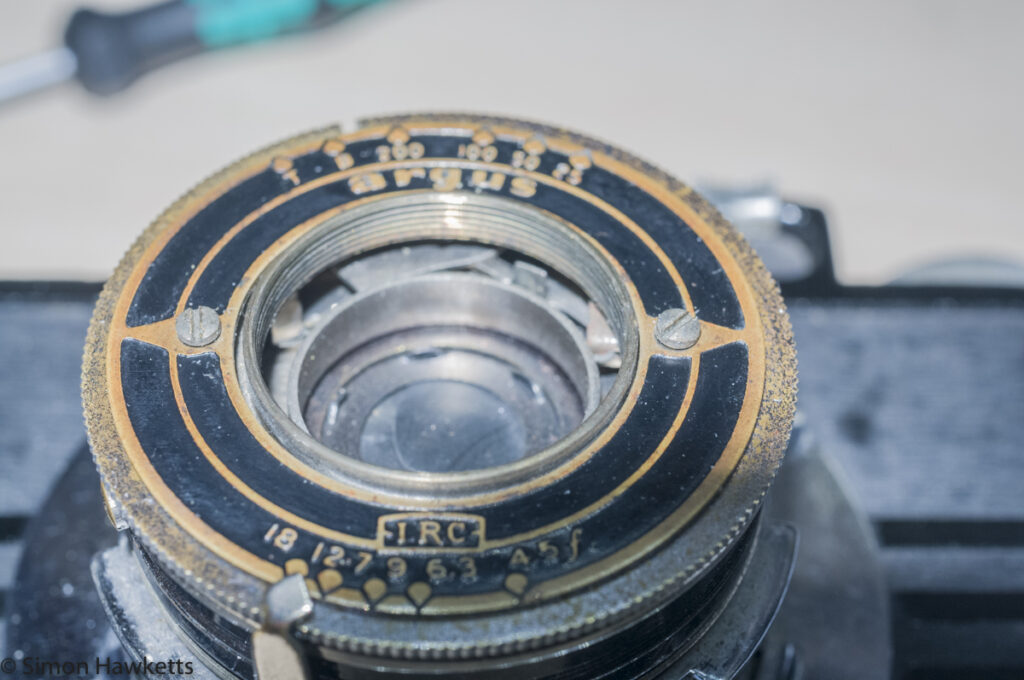
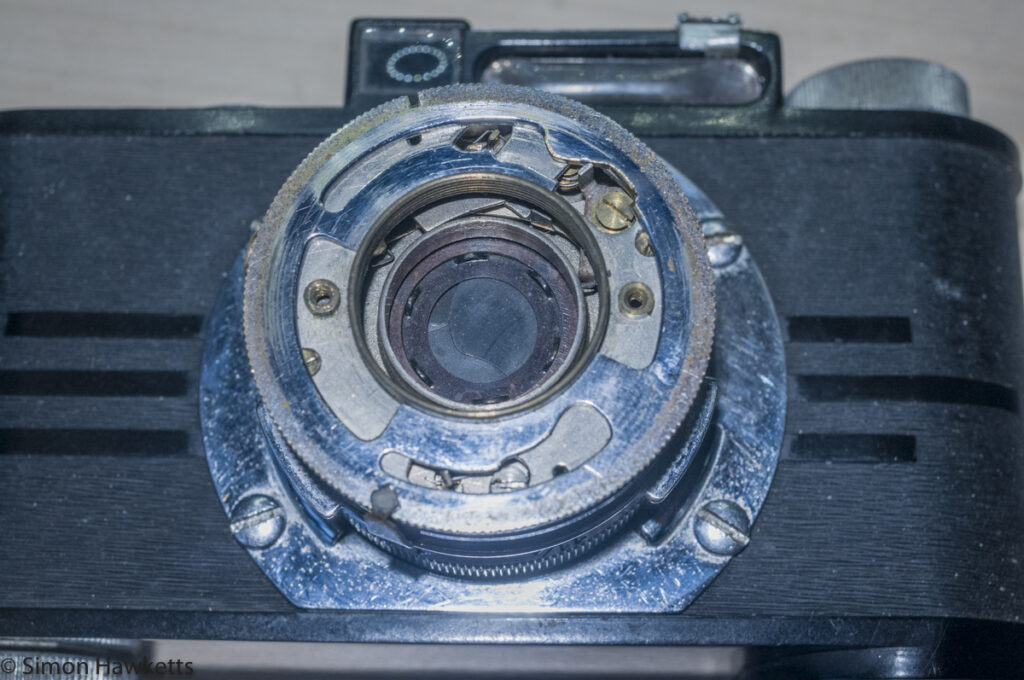
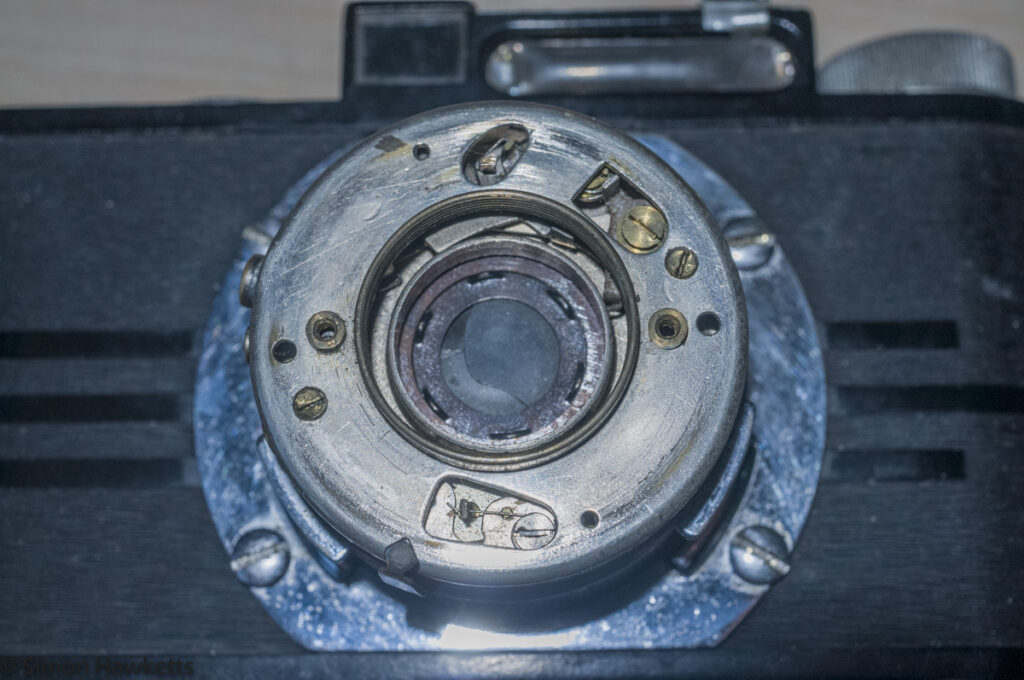
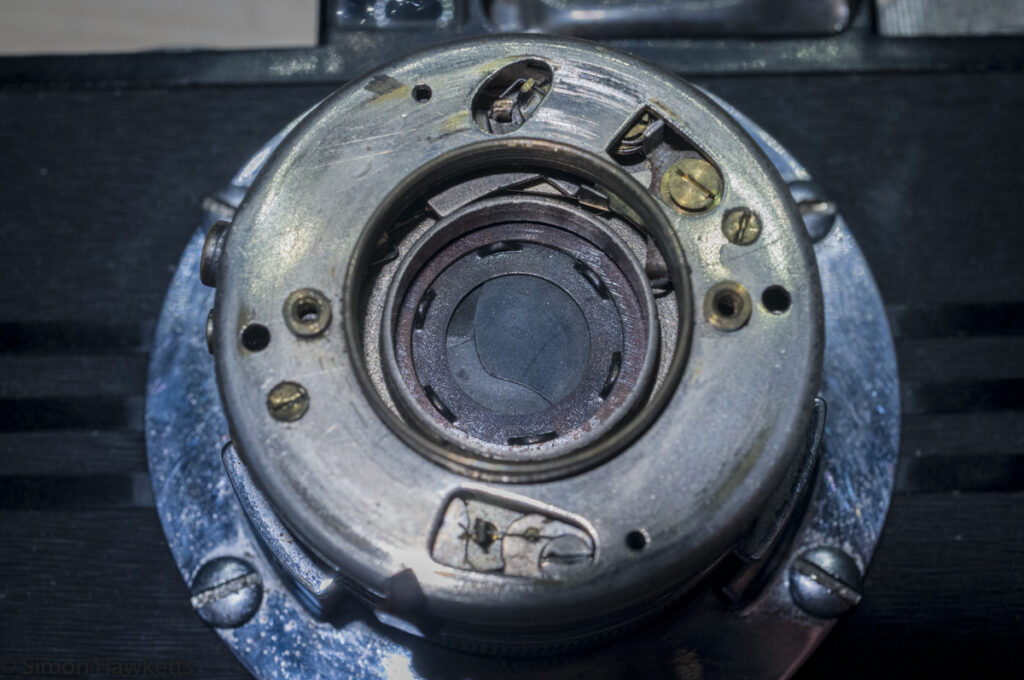
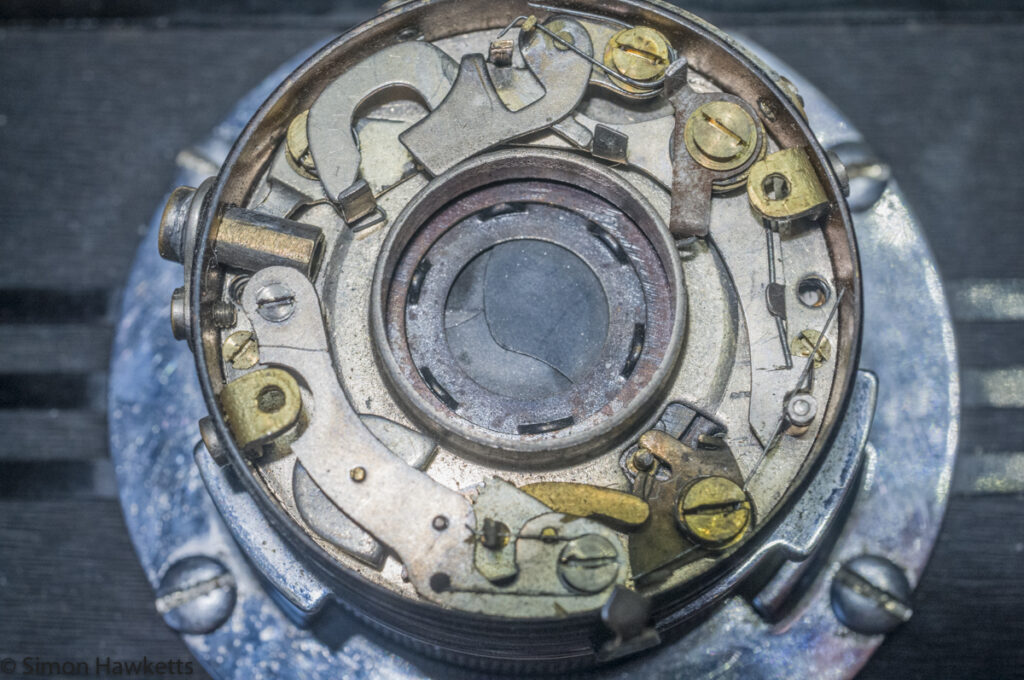
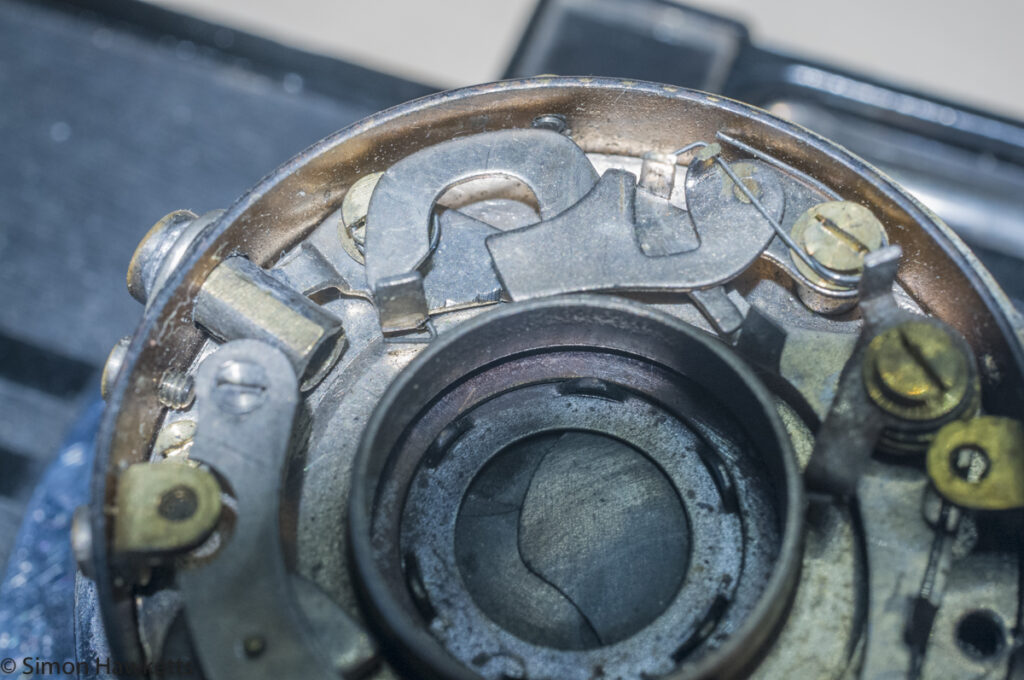
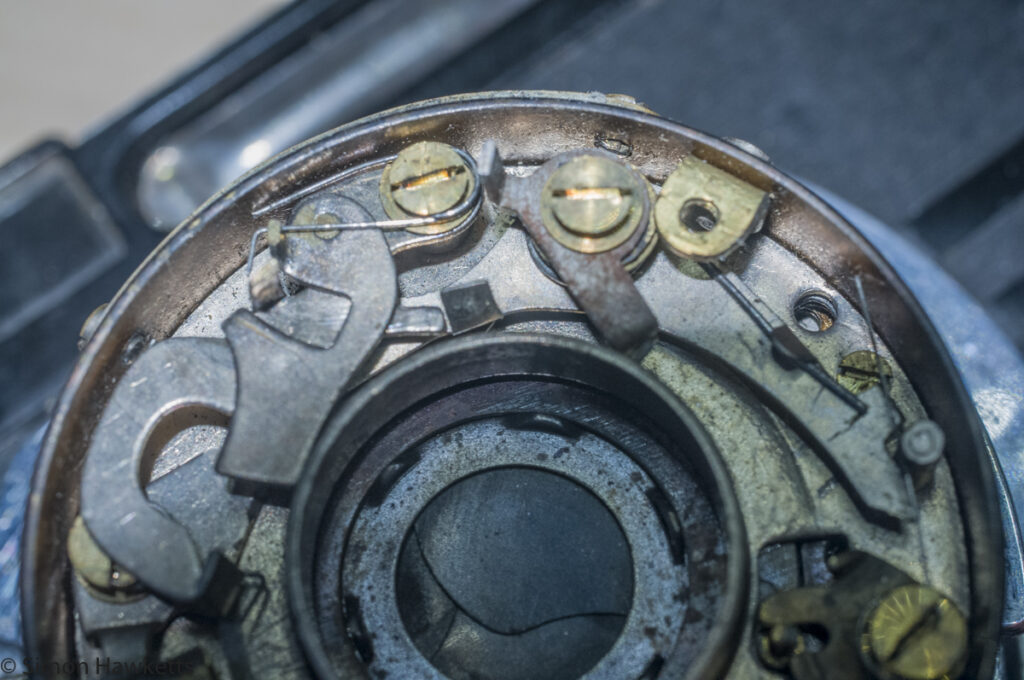
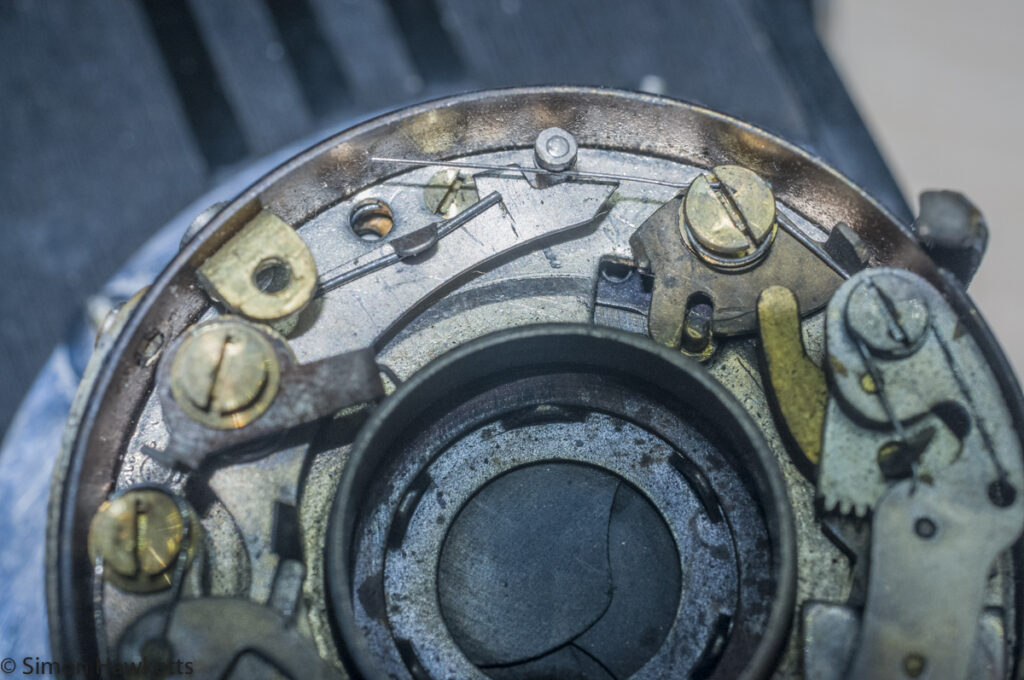
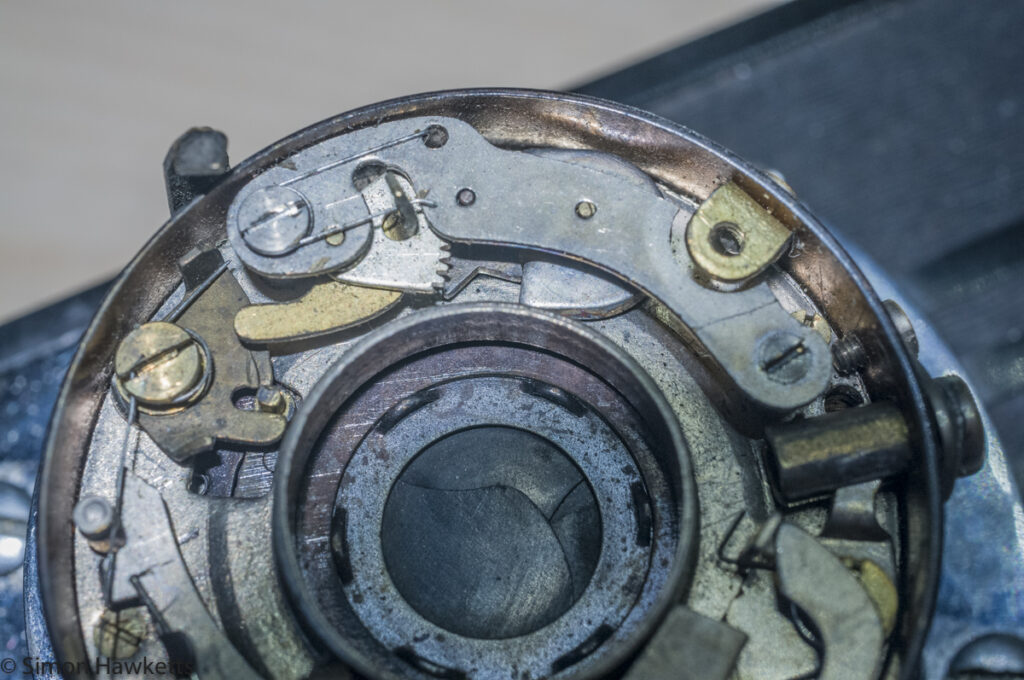
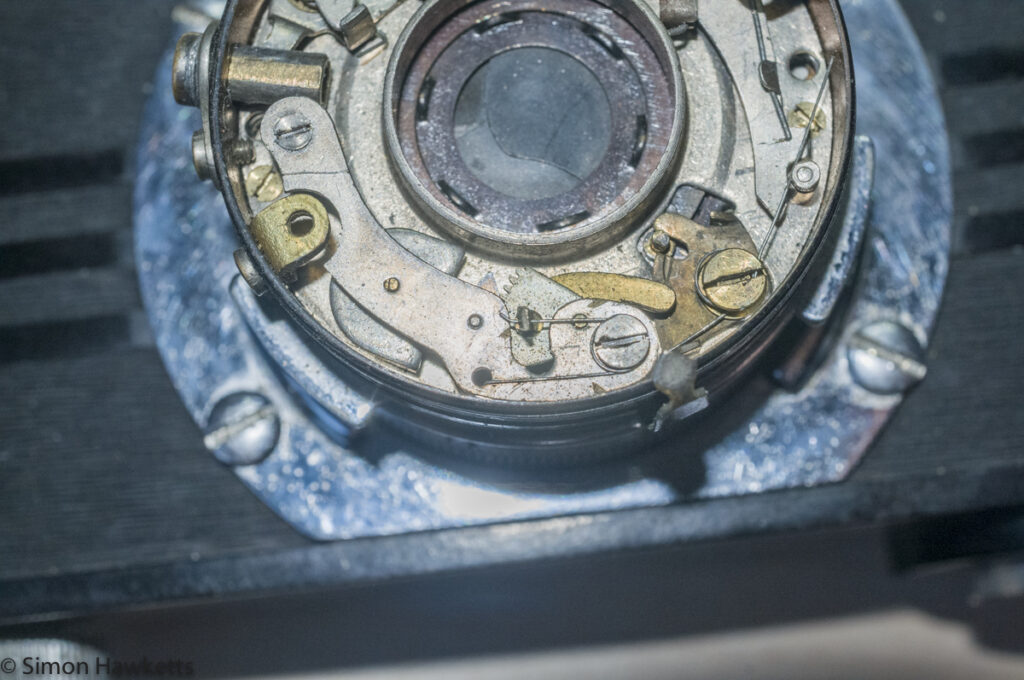
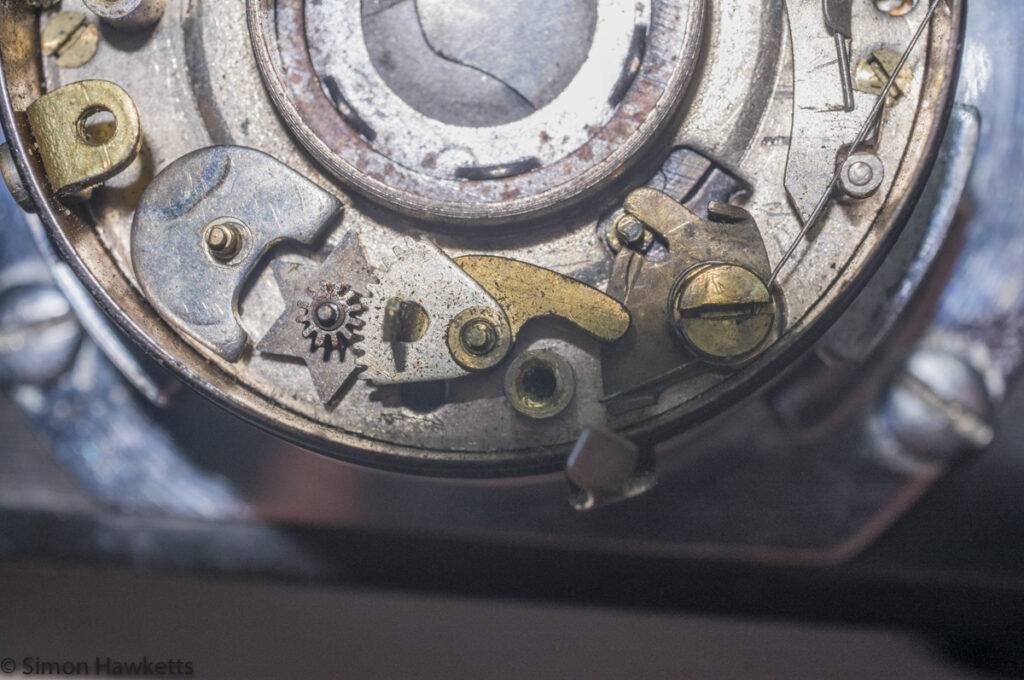
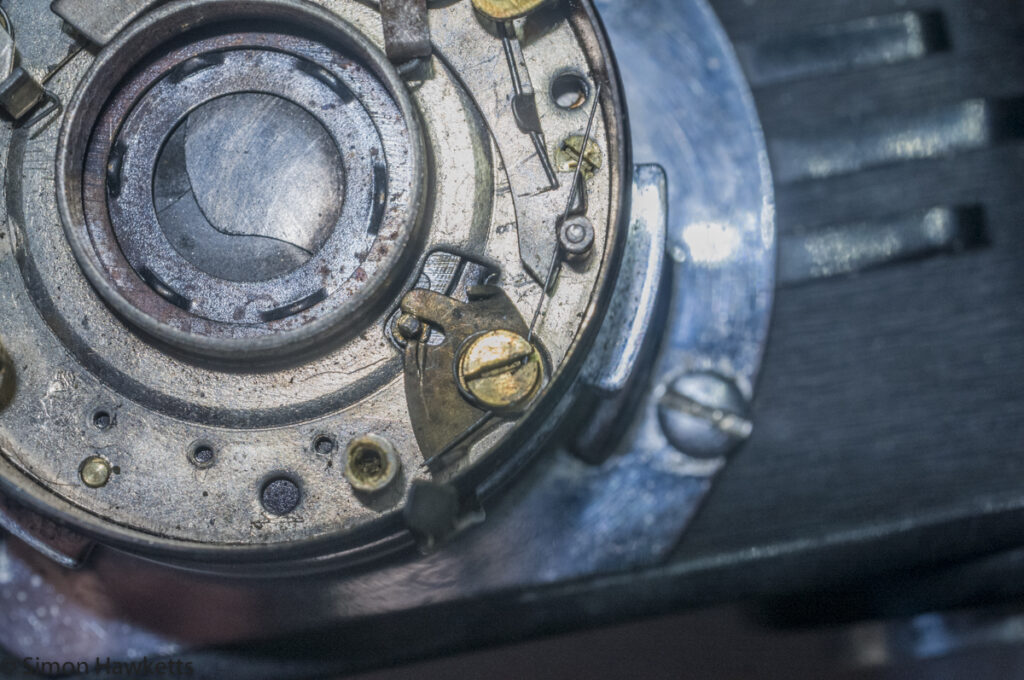
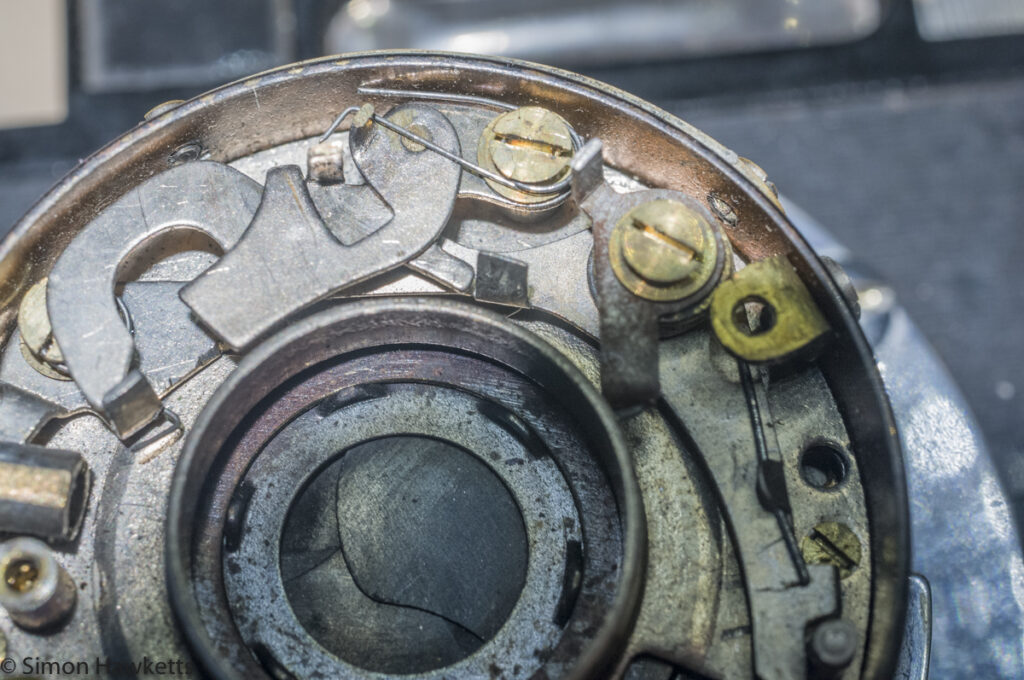
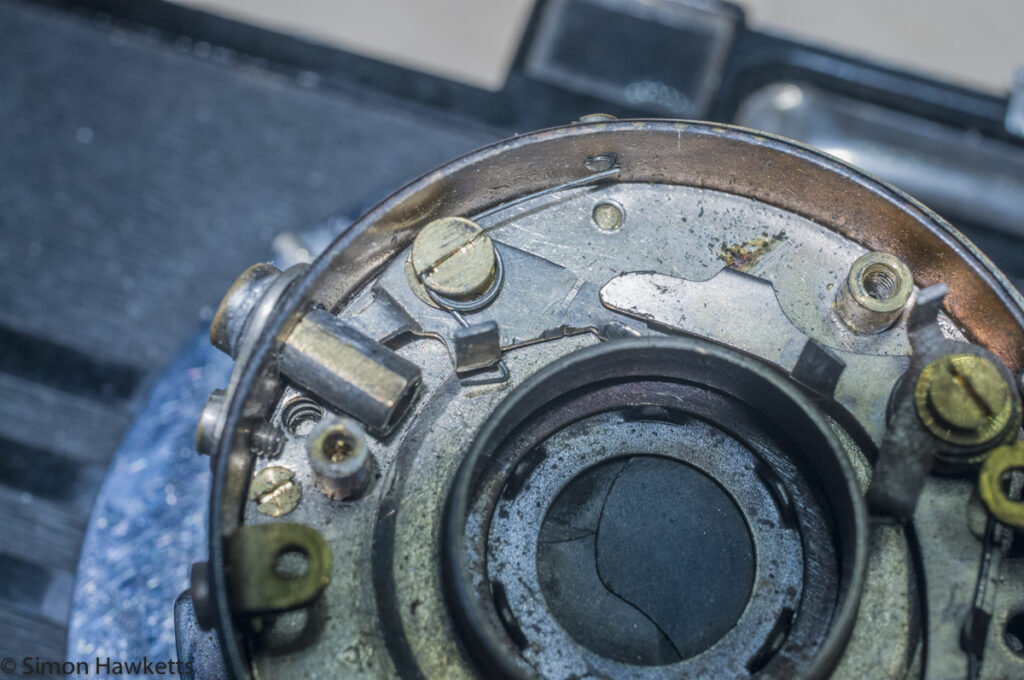
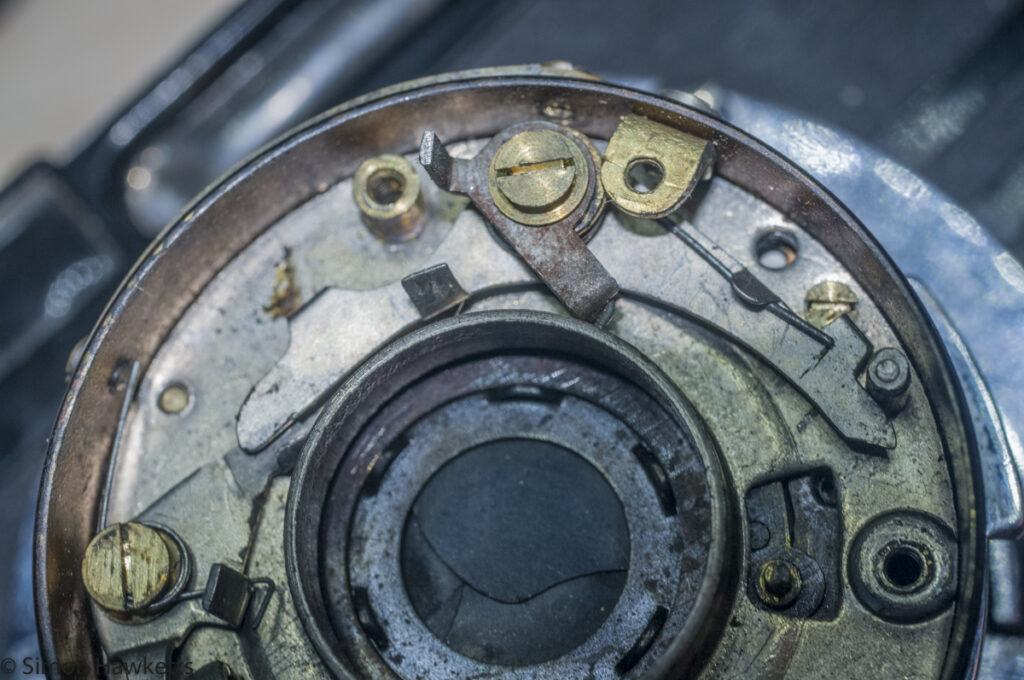
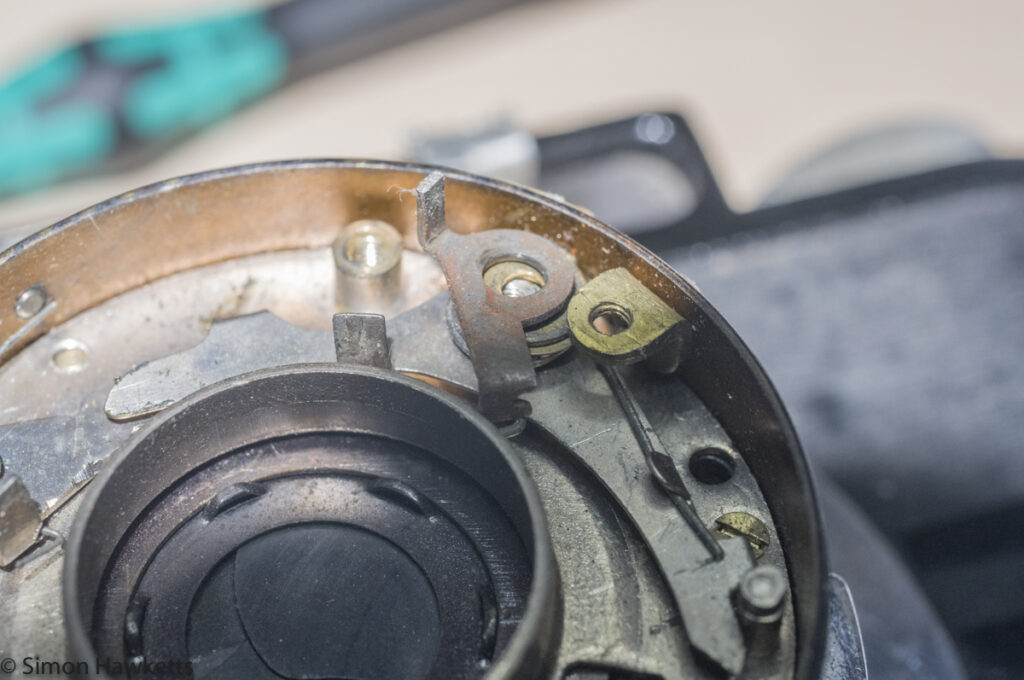
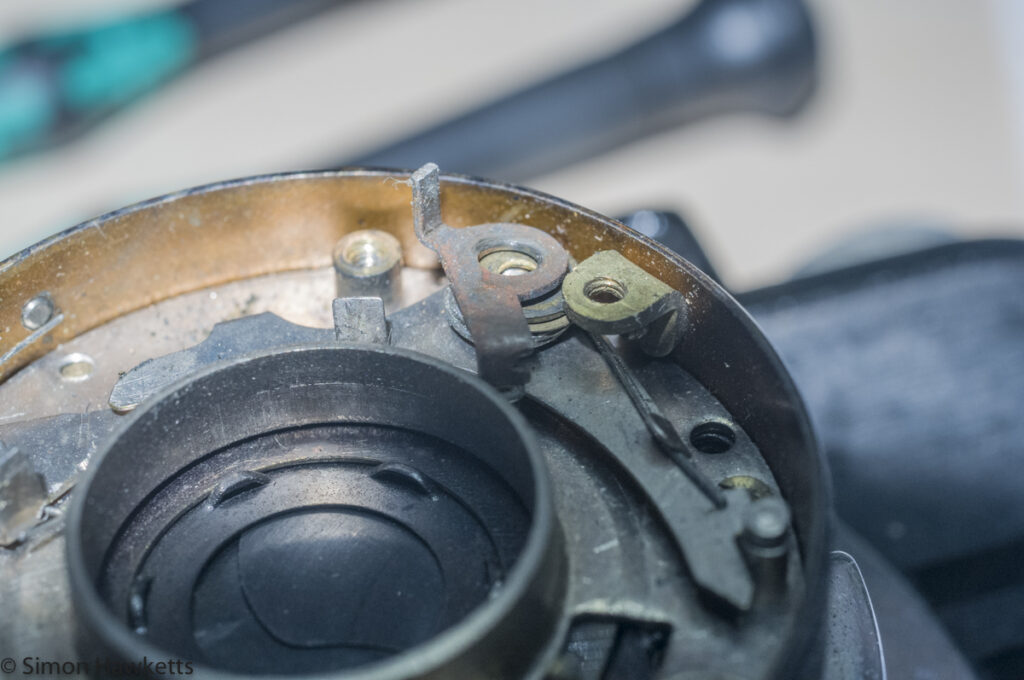
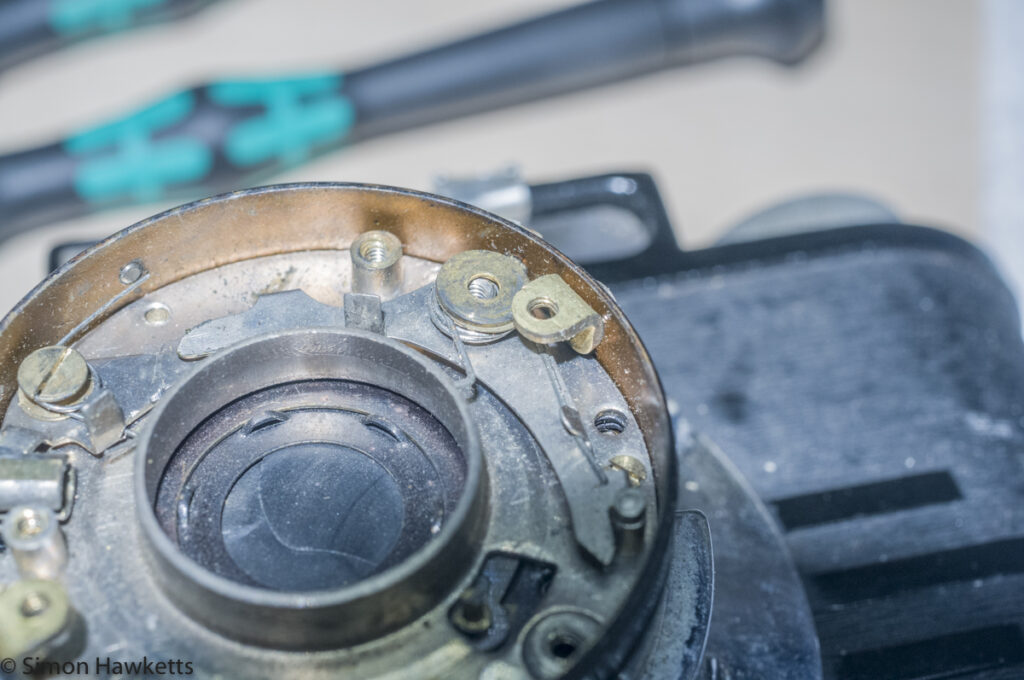
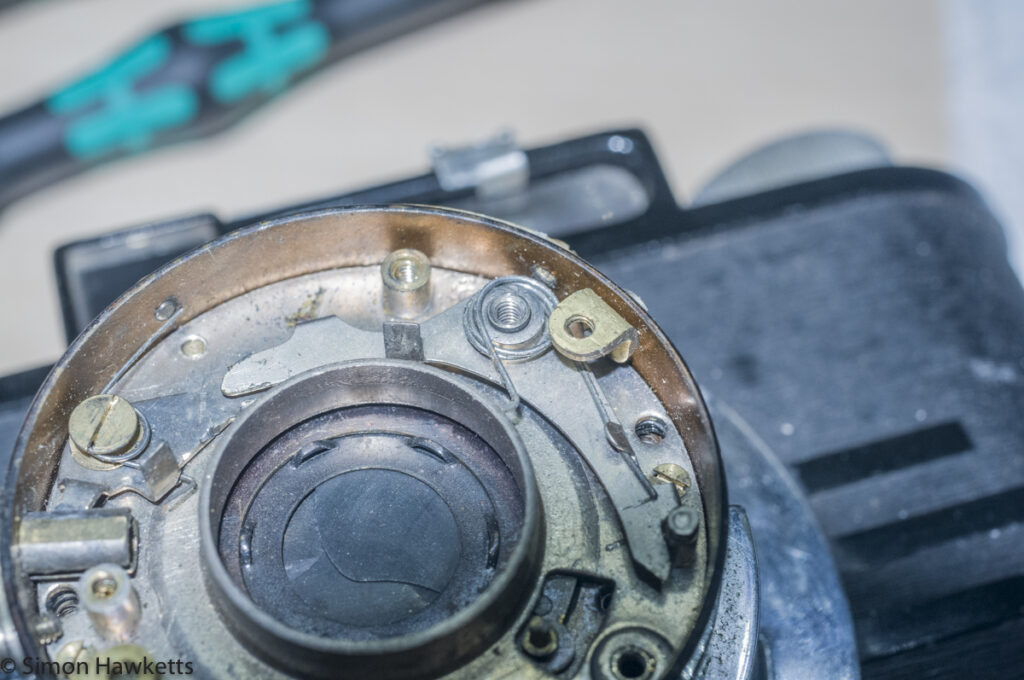
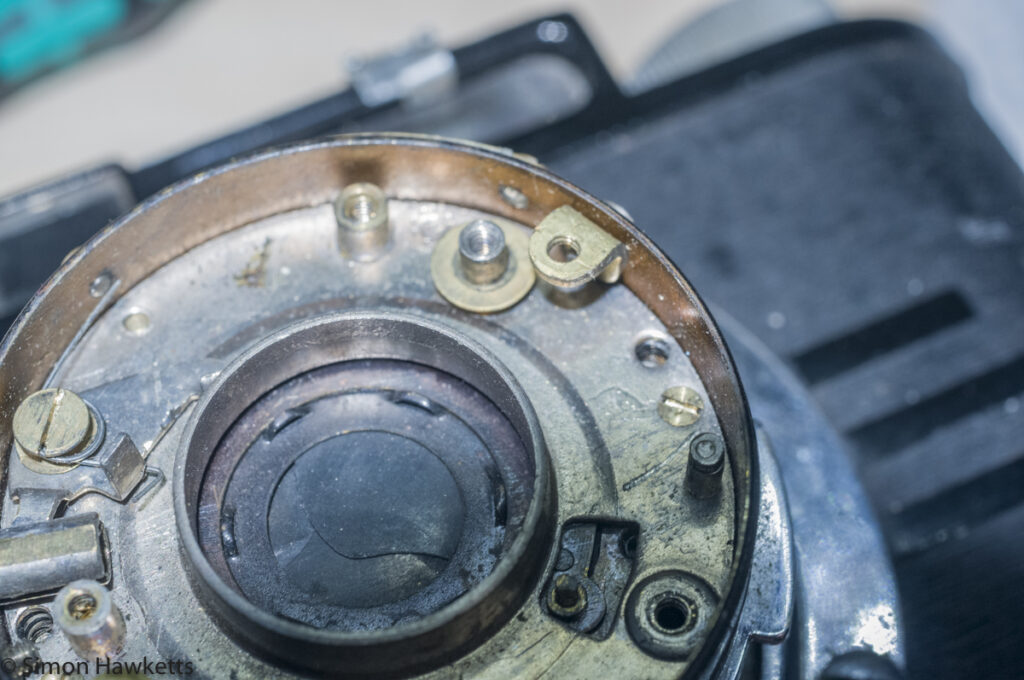
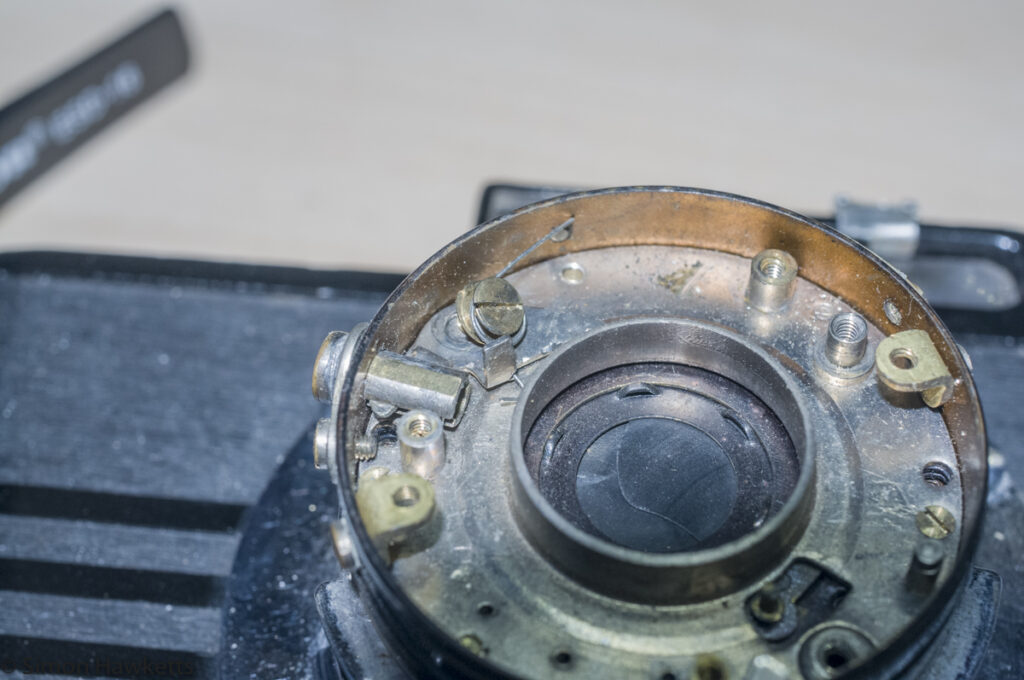
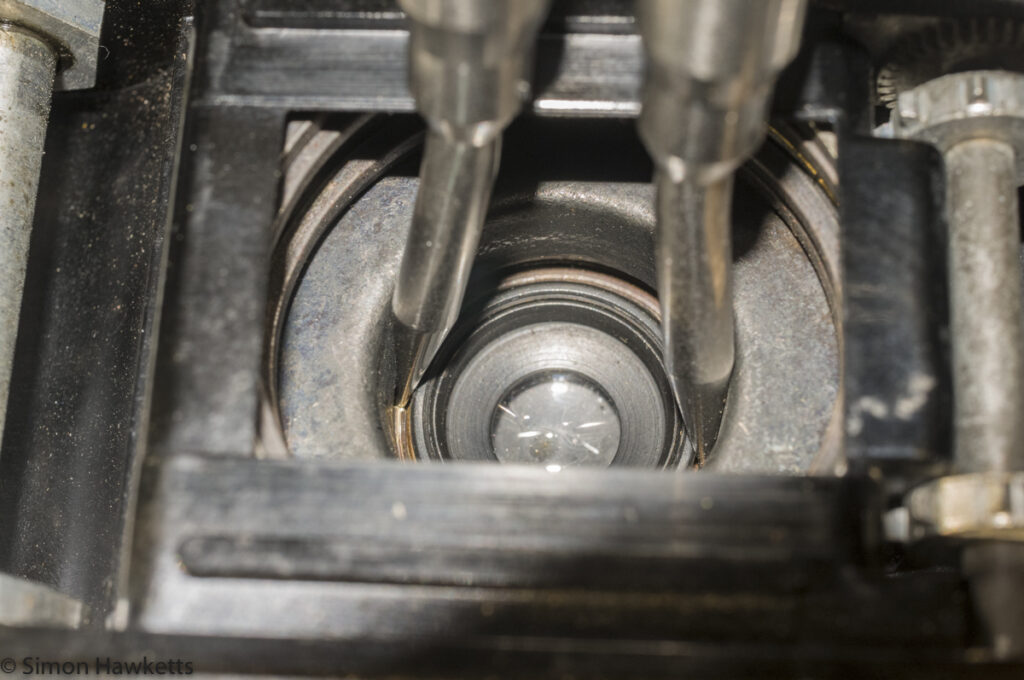
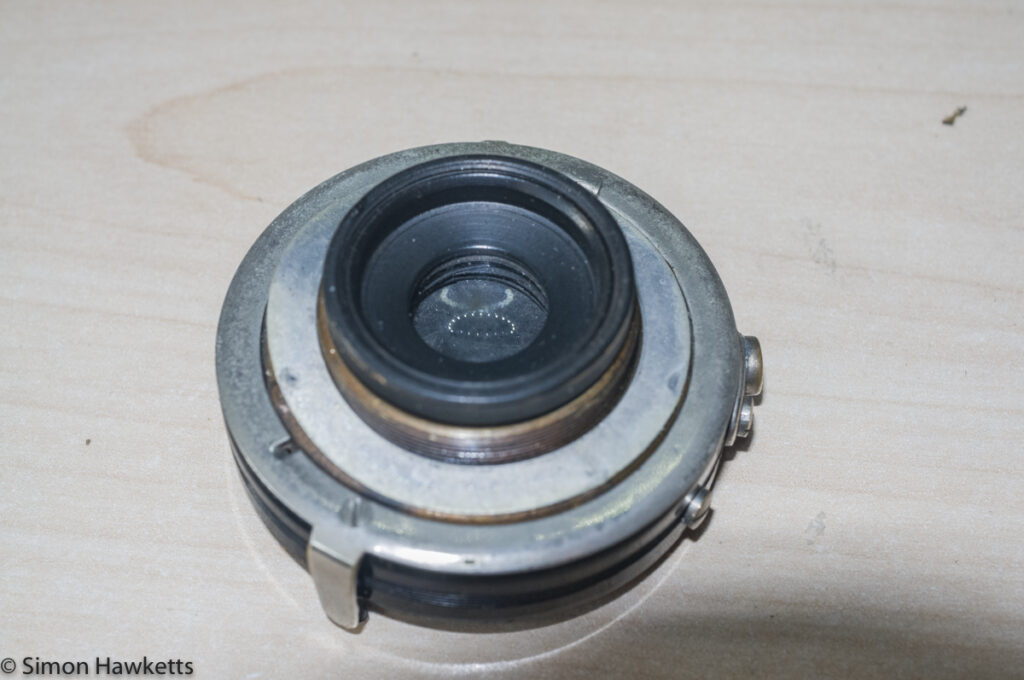
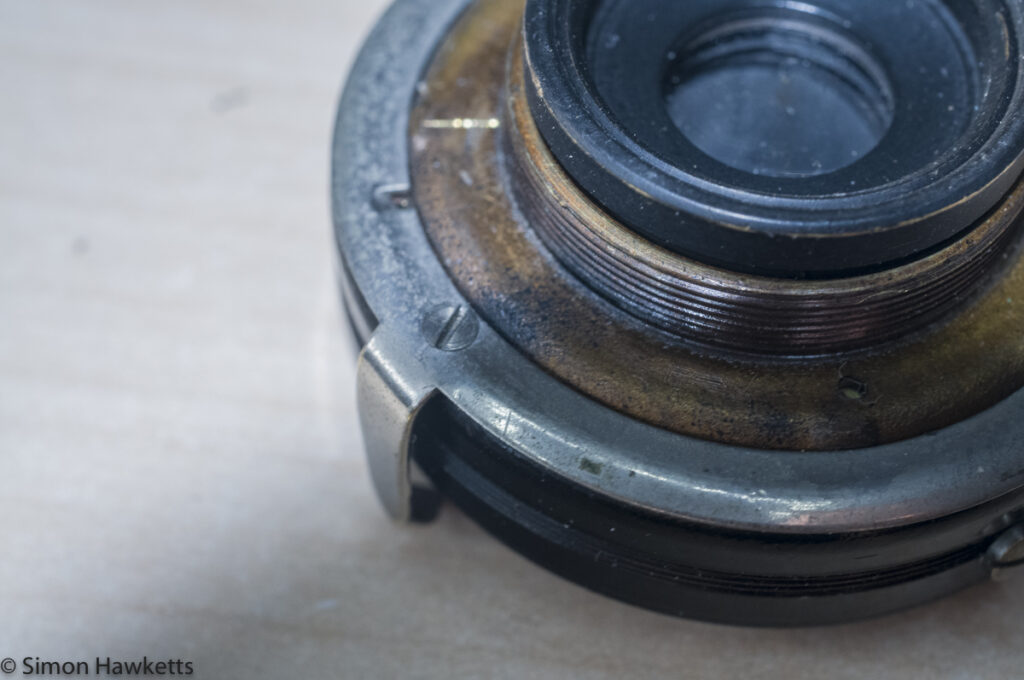
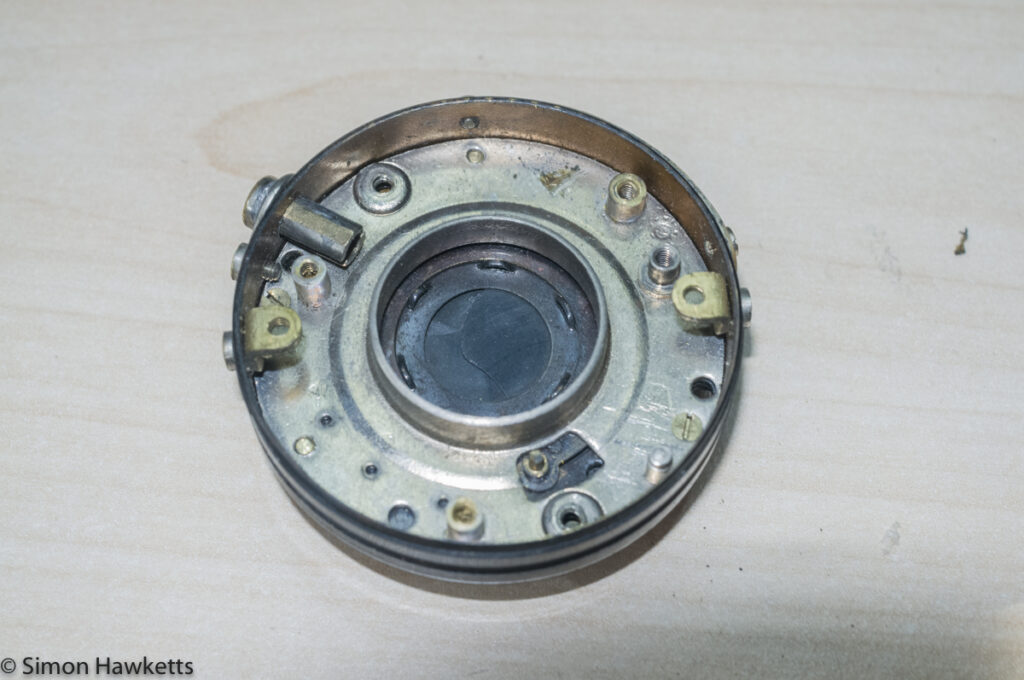
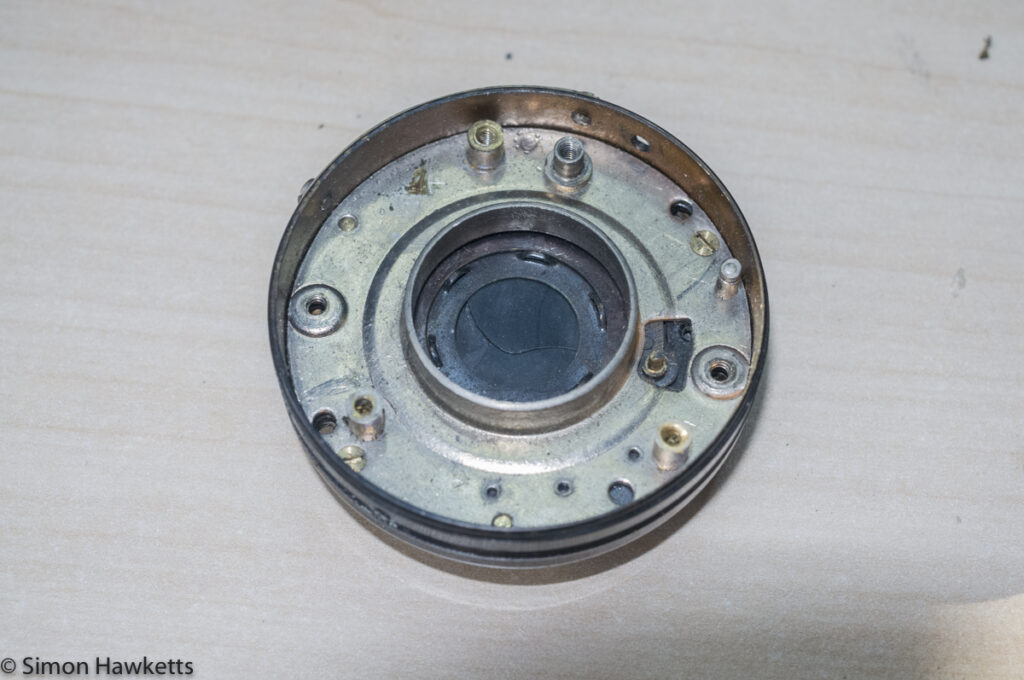
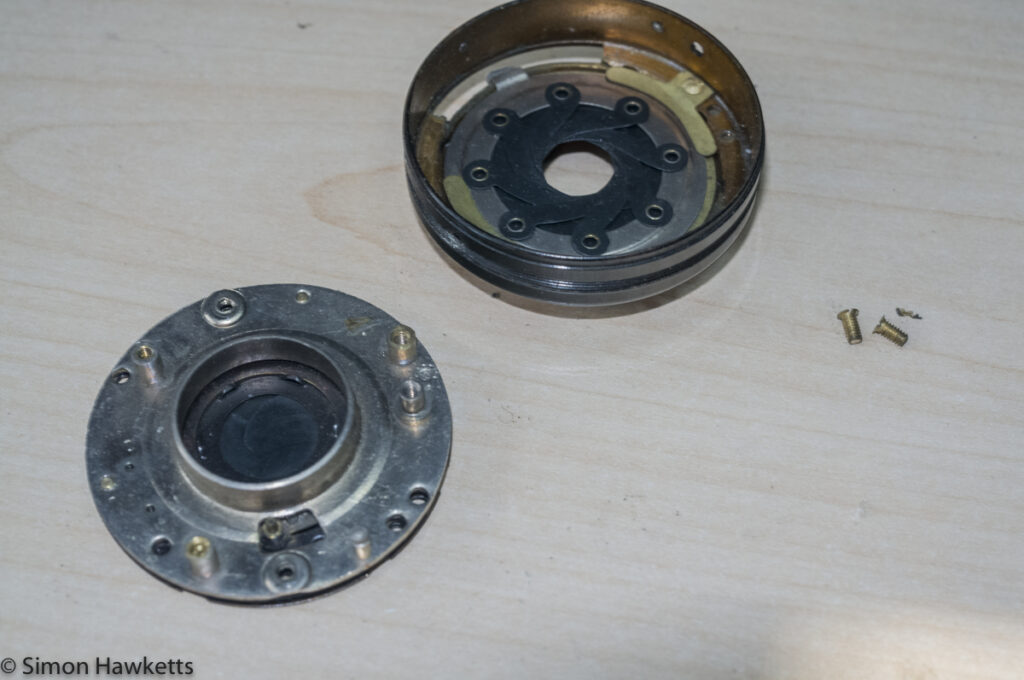
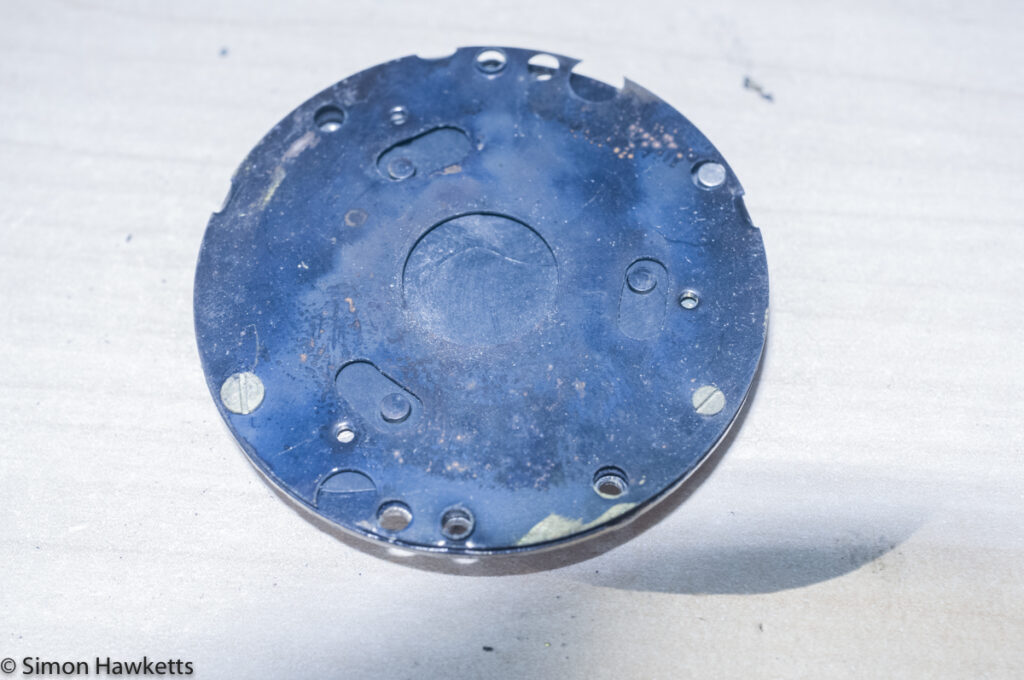
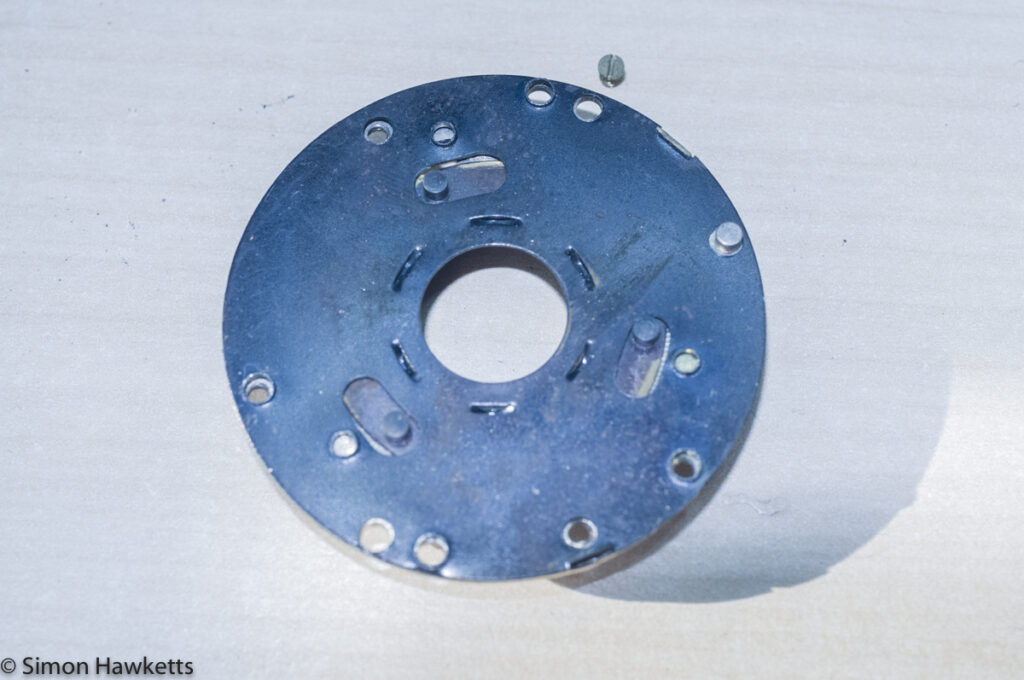
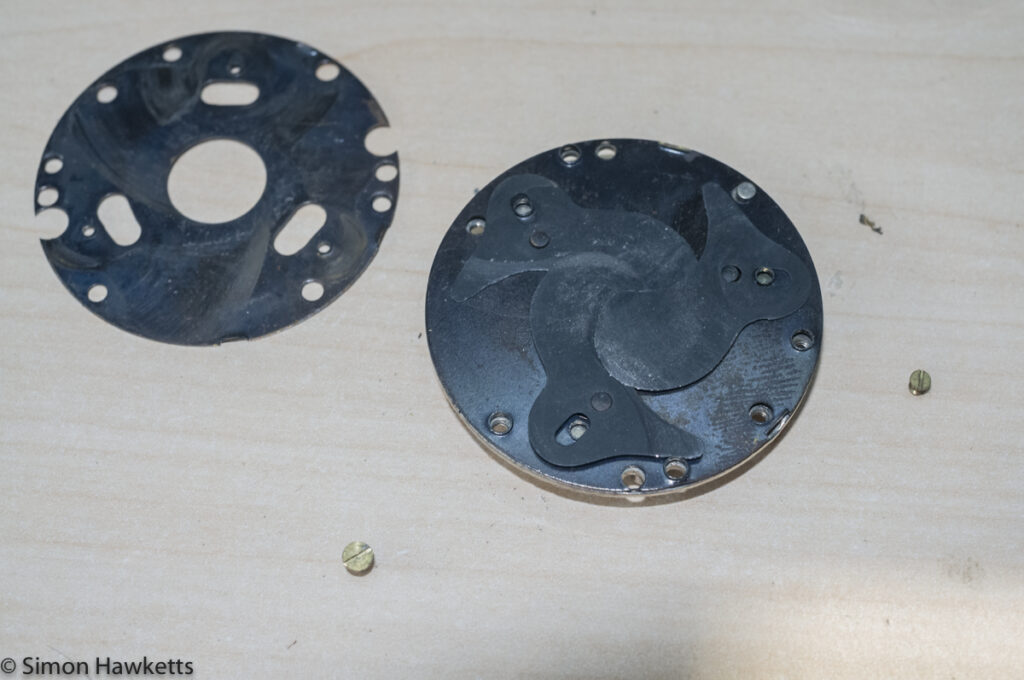
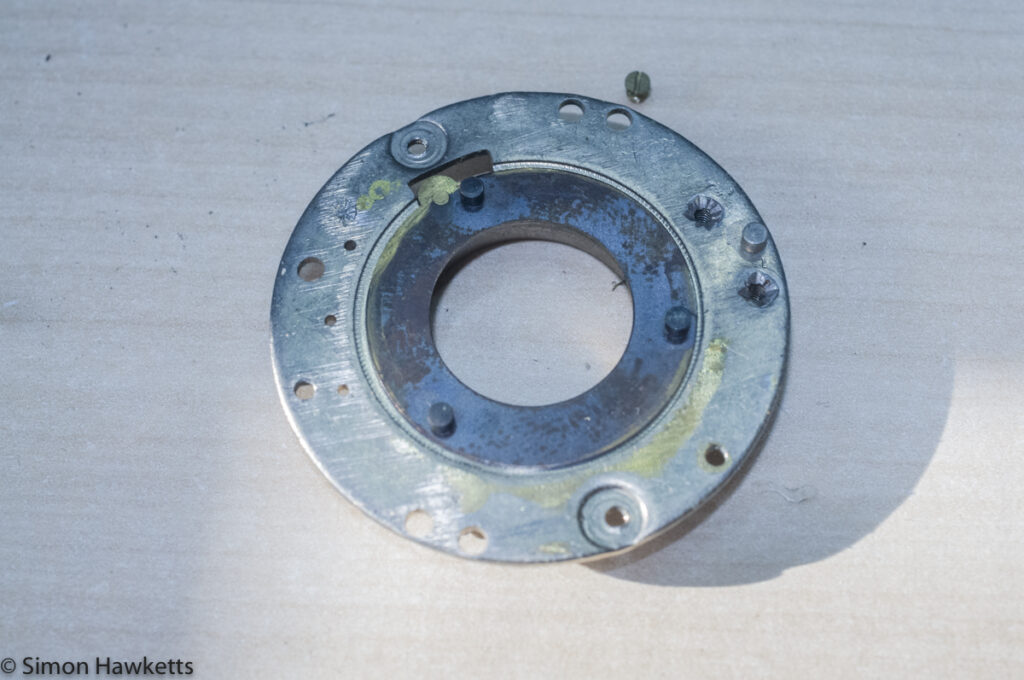
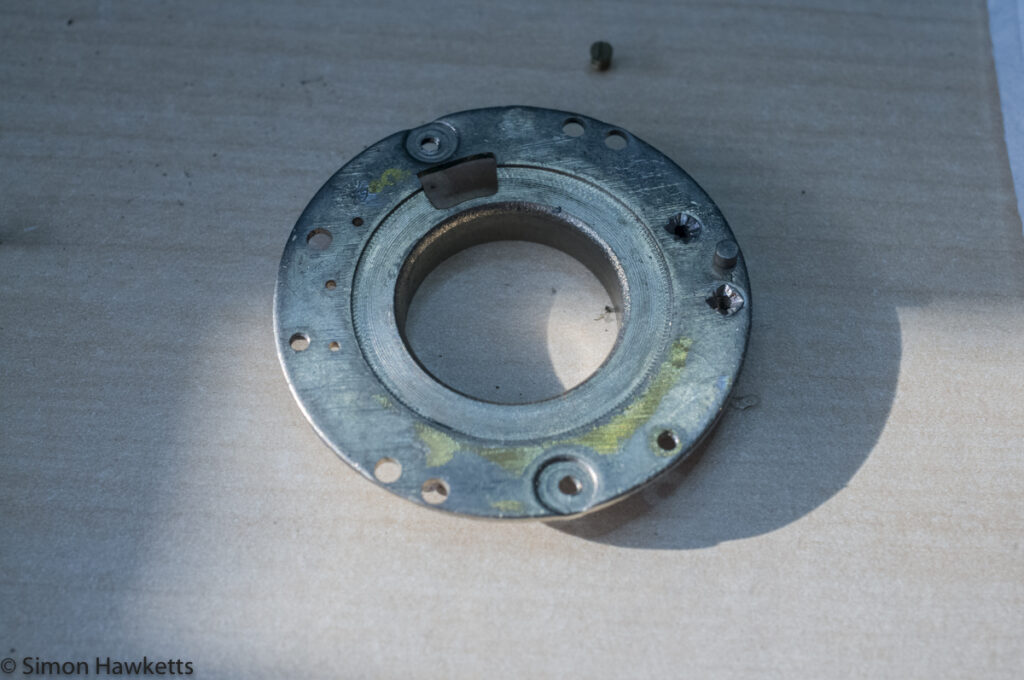
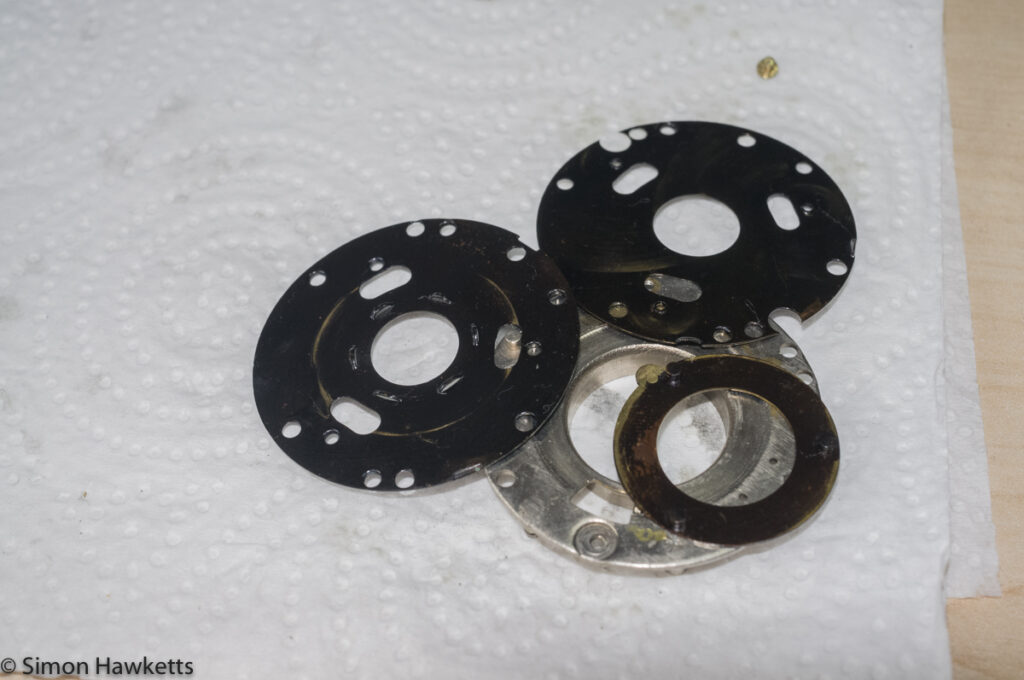
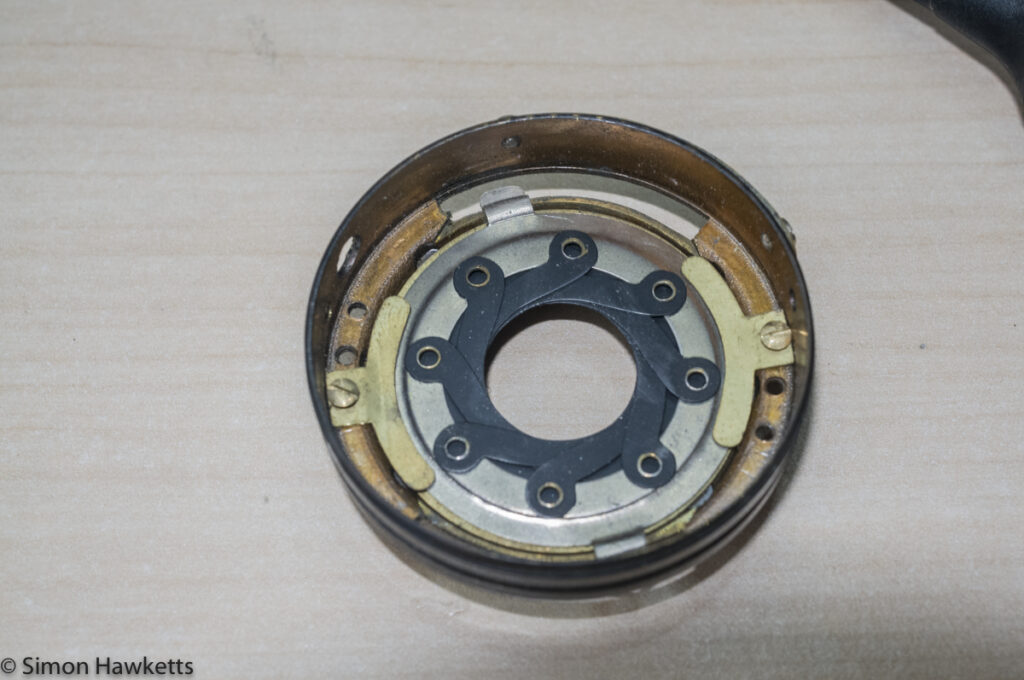
Servicing the Argus A2F Notes
The actual procedure I used while servicing the Argus A2F is shown in the picture sequence above, but I’ll note down here anything which I feel is important to know.
First thing I’d note is that the Argus A2F is a nice, easy camera to work on and would be a great first project for anyone who want to learn a bit about servicing vintage cameras. There are only a few springs and levers, and the removal and replacement of them is not a really complex sequence. I found the whole job only took about an hour, although I added some Teflon dry lubricant to the shutter plate and actuator which I had to leave for a few hours to dry, which made the actual process longer.
The shutter blades themselves are apparently made of a hard rubber, and therefore I didn’t clean them with IPA, which is what I would normally do with steel blades. I didn’t know this before I took the shutter apart, but when I got to them, they didn’t have the ‘blue’ look of normal blades, so I did some research. I therefore cleaned them with a dry cotton bud to remove any old dust.
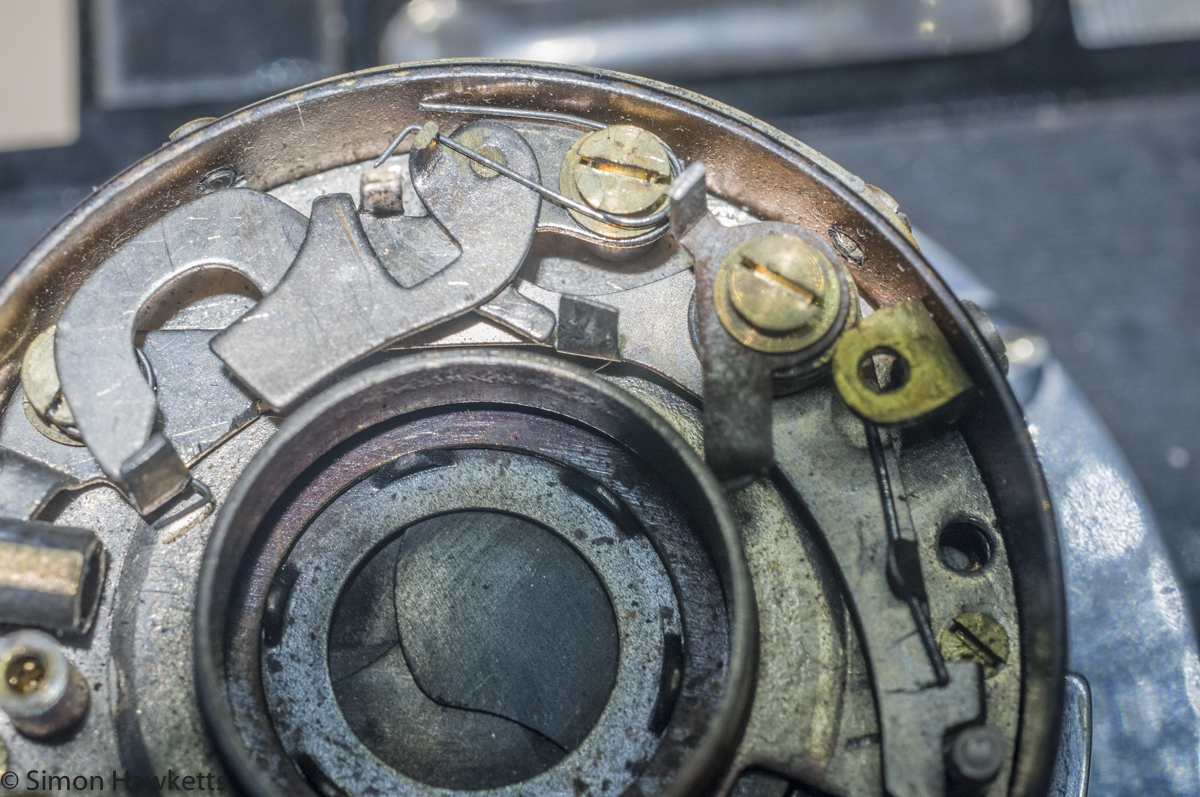
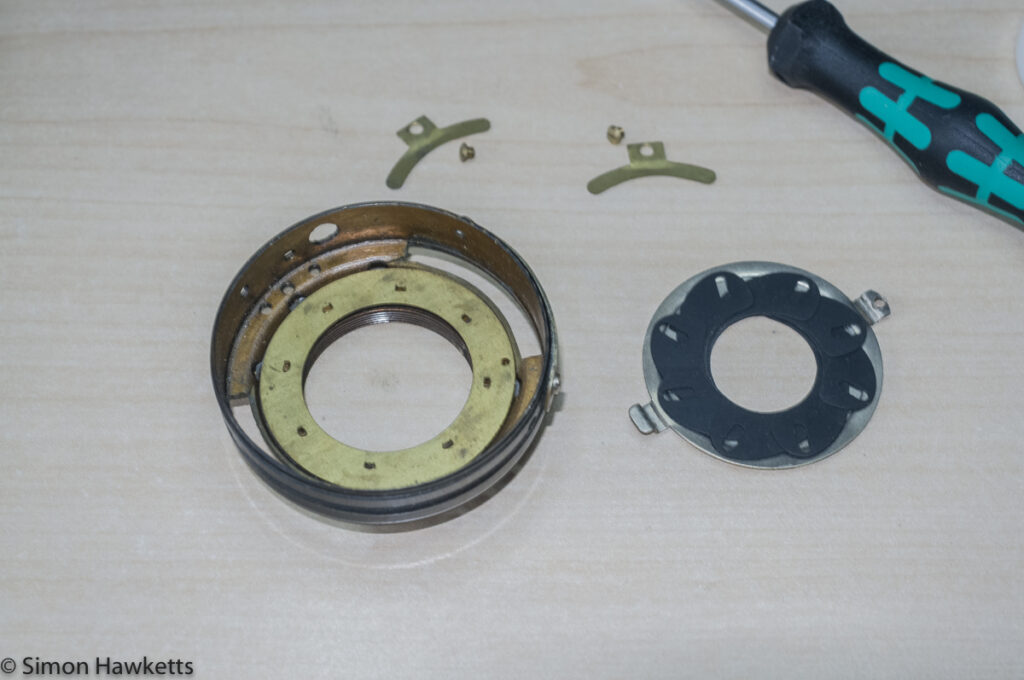
The shutter blades are fitted to an assembly with permanent rivets and therefore don’t come apart any further than shown in the pictures above. I assumed when I took it out that it would be easy to drop back in after I’d cleaned everything up, but in fact this was the only tricky part of the whole process.
There is a bottom plate with pressed out ‘studs’ which align with the holes in the blades, and it takes quite a while to get the alignment right. It’s also important to make sure the bottom plate is properly aligned in the shutter body. There is a small spigot which protrudes from the bottom of the plate, and it fits in a hole in the shutter casing. As long as this spigot sits in the right hole it will be OK, but there are a couple of choices. The picture here shows the correct alignment in relation to the outer aperture scale (although it is a little blurred – sorry).
All the parts of the shutter were cleaned in IPA using clean cotton buds, and then reassembled in the reverse order I took them off. The parts of the shutter which directly move the shutter blades were coated with a very thin coat of a Teflon Dry lubricant which I’ve used on shutter assemblies before and which seems to work really well. It’s available from Amazon here ((note I have no affiliation with Amazon, I’ve just used this stuff and found it quite good)). I coat it on with a cotton bud and then leave the parts to dry. Once they are completely dry the parts have a more slippery coating hard baked on which seems to work well with shutter and aperture blades.
During reassembly, I applied lubrication to the pillars which the main lever and shutter actuator sit on, which had a very light smear of grease; to the holes of the three components of the speed regulator, which had a very light oil applied using the tips of a pair of tweezers, and the speed setting plate which had a small amount of grease applied to the slots which move the protruding shutter levers.
I found that the chrome shutter speed plate cleaned up best with a car chrome cleaner, and this also did wonders for the plate with the shutter speeds and aperture settings on, removing years of old dirt and muck.
The only repair I still need to do is to the shutter release socket, where the original soldering has fractured. Once I have that repaired the A2F will go in the queue of cameras waiting for some test images which is a job I’ve told myself I am going to concentrate on during the Summer months this year.
Discover more from Everything Vintage
Subscribe to get the latest posts sent to your email.

