Ricoh XR-X 35 mm manual focus SLR review
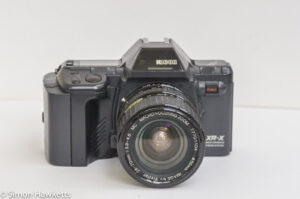
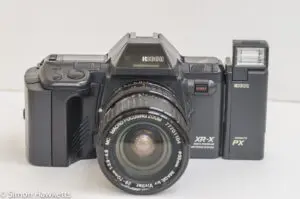
This is a review of the Ricoh XR-X (known in the USA as the XR-M) 35 mm, manual focus, SLR camera.
Ricoh XR-X Images
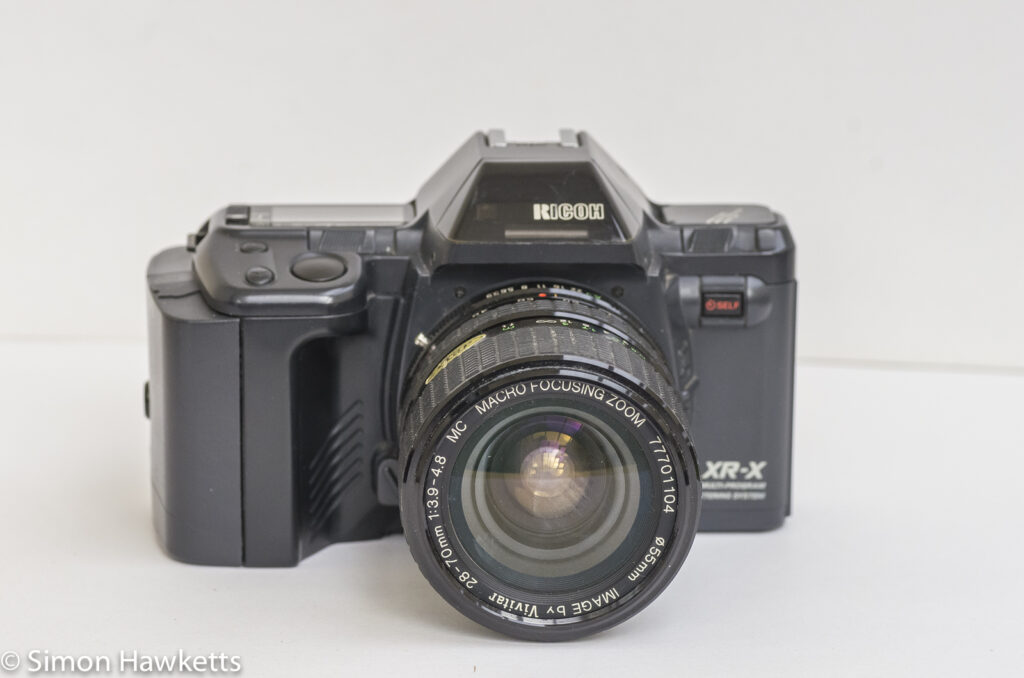
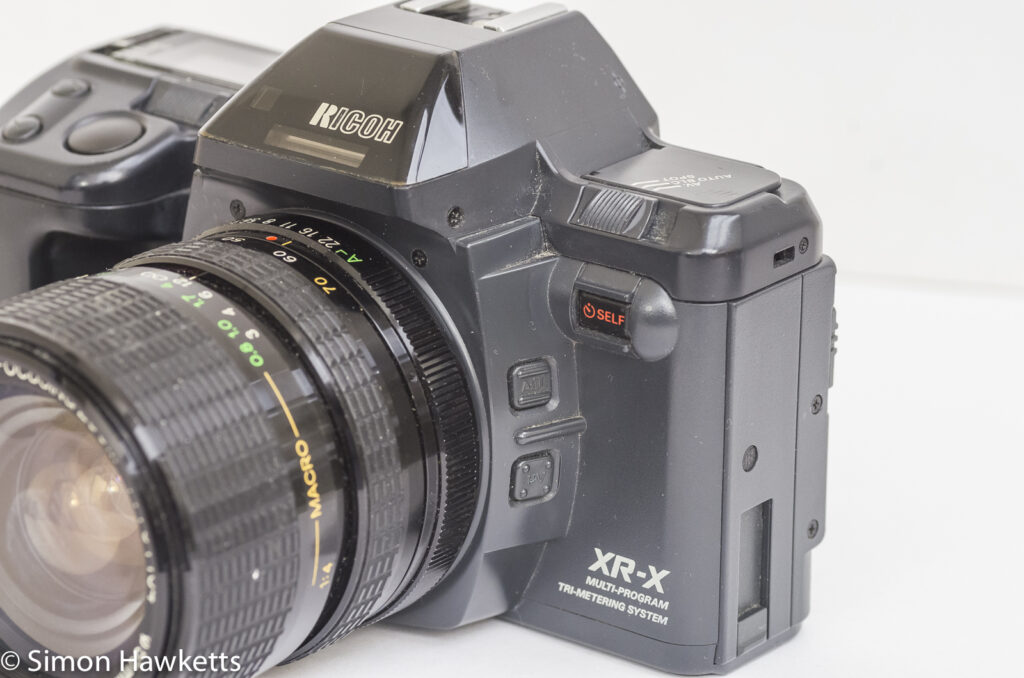
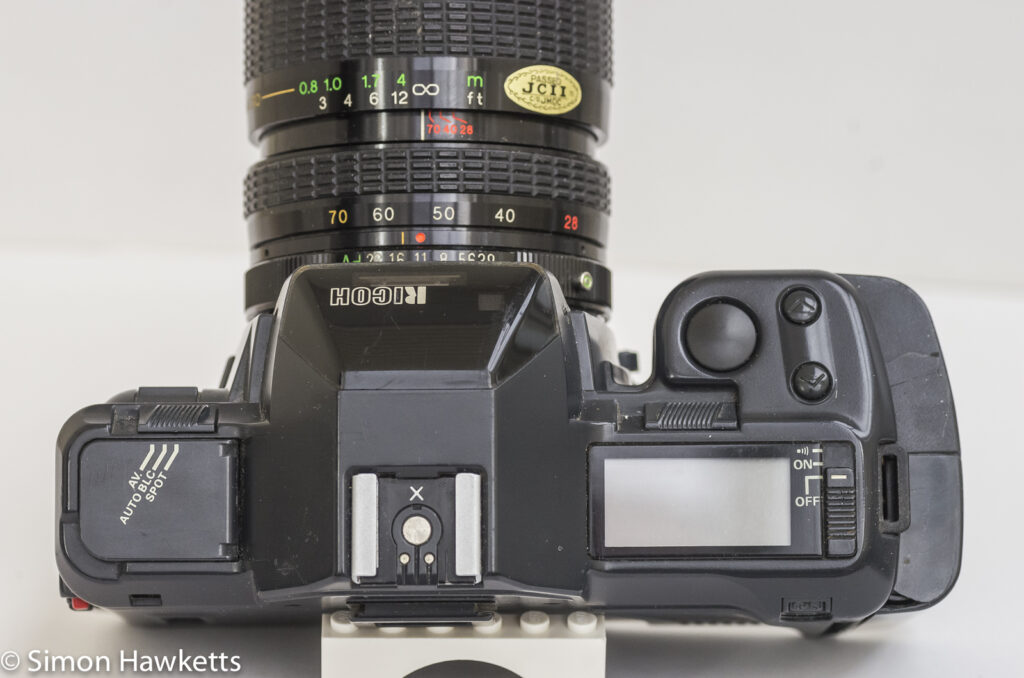
My Ricoh XR-X Camera
I bought this camera because I have a Ricoh KR-10m and wanted to see how the Ricoh XR-X, which is reputed to be a fine camera, compared to it.
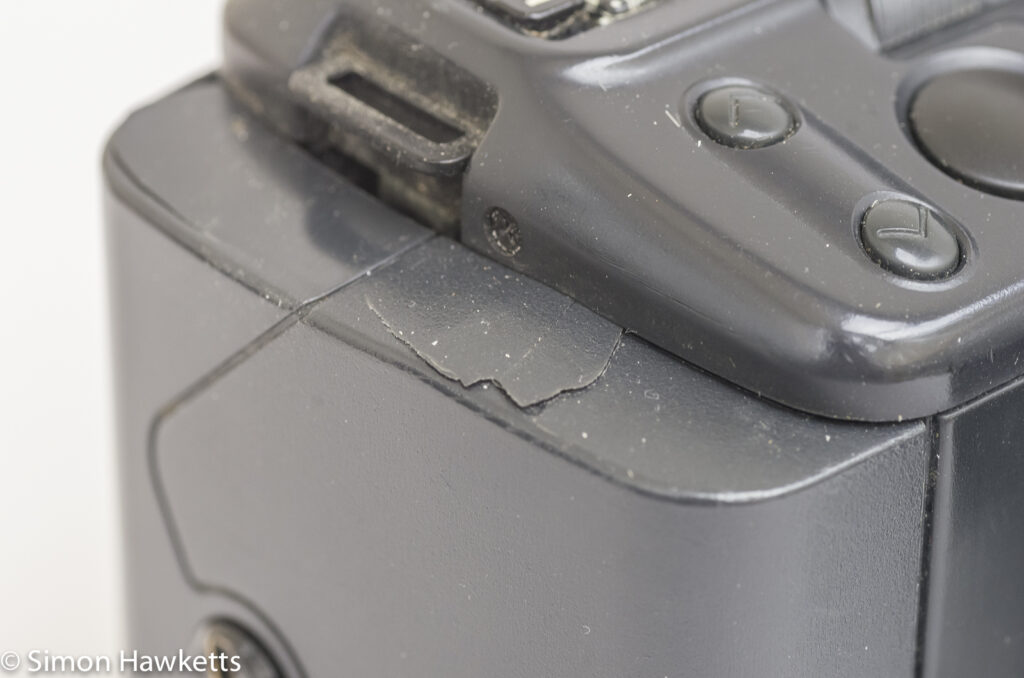
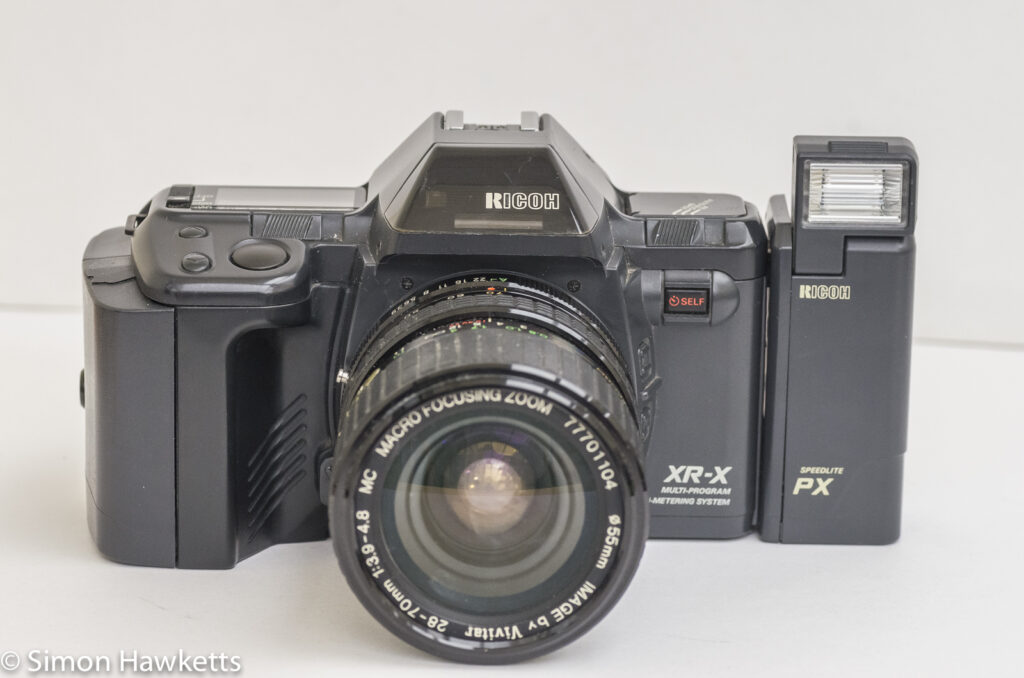
I found it on eBay and thought it looked pretty good value because it was bundled with the optional flash unit and was only £10. Although it was sold as working, when I received it I found there is a small amount of damage to the battery compartment, which forms part of the grip.
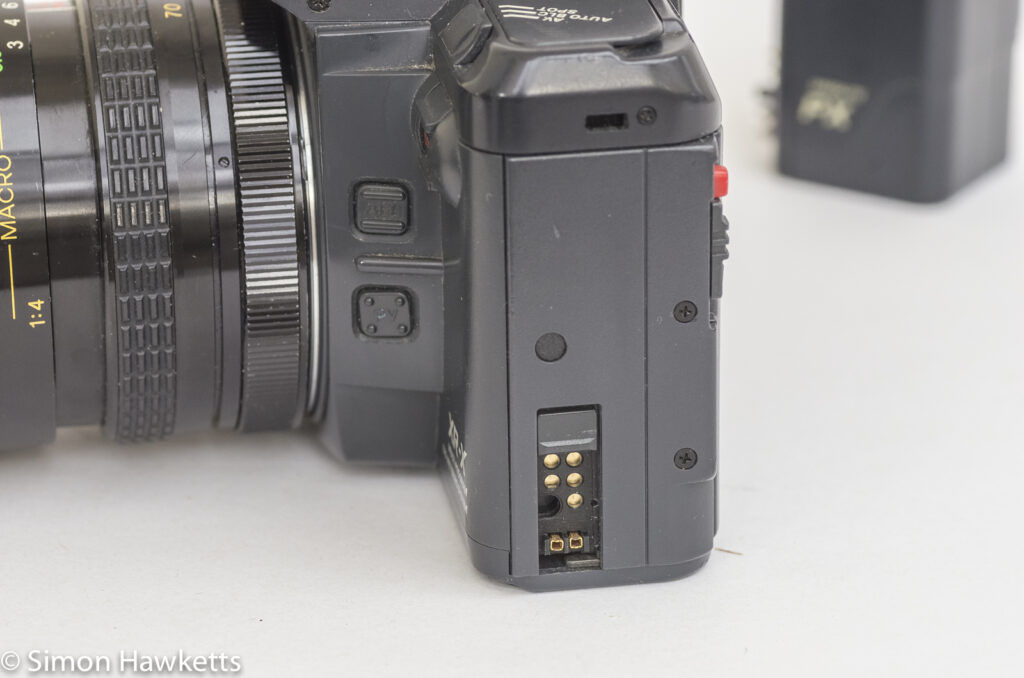
I took the grip apart to look at the damage, and saw that the reason it’s broken is that someone has replaced one of the wires from the battery terminal to the camera connector with a new cable which is far too thick, and it’s cracked the case as it’s been attached to the camera. I’ll have to replace the wire, and glue the crack in the grip, although the camera is useable as it is.
There was a good collection of muck and dirt on the body of the XR-X, but once that was cleaned off there are few actual scratches and all the switches and buttons seem to work well.
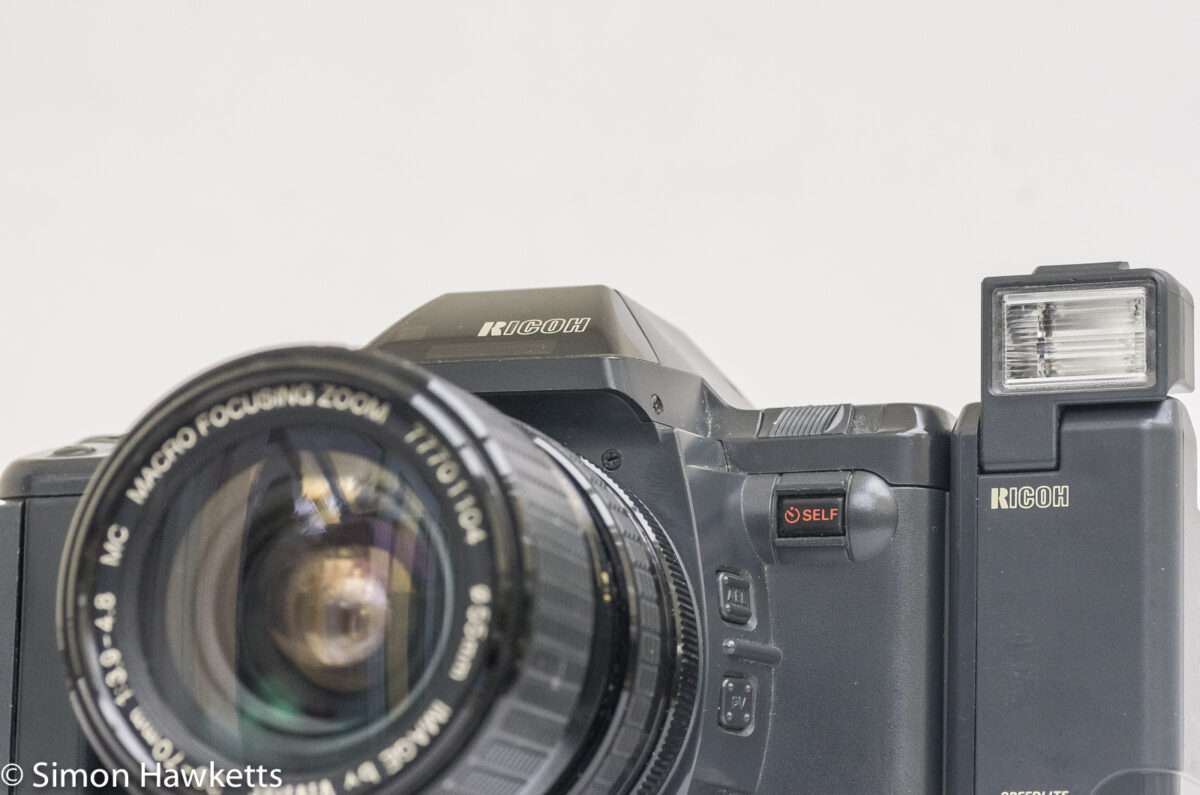
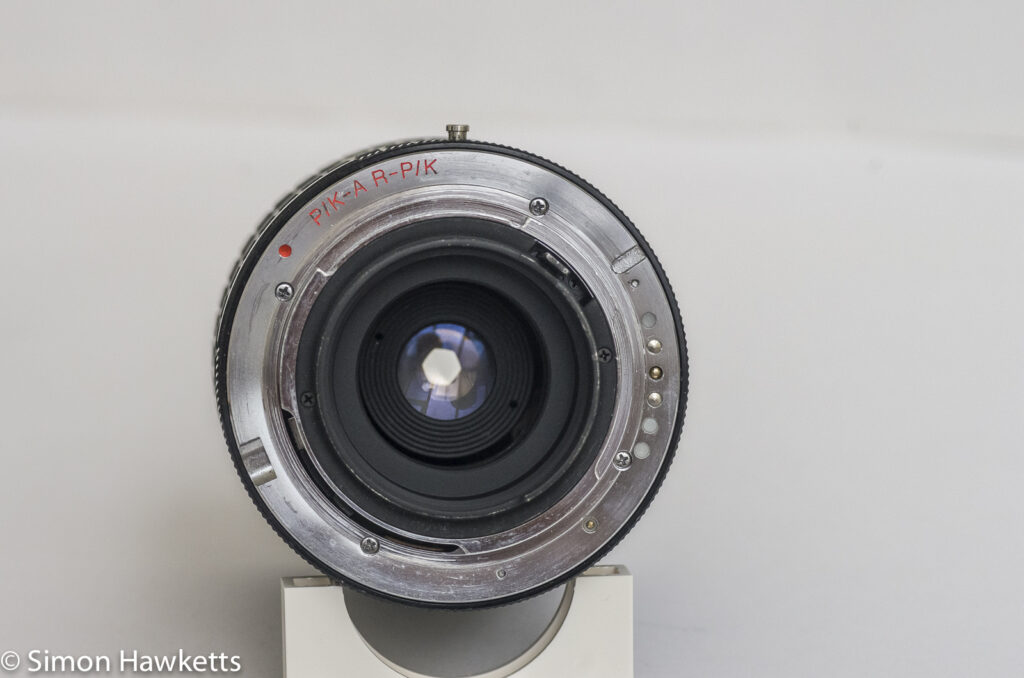
The lens supplied is not the original Rikenon lens which would probably have been supplied with the camera from new, but an ‘Image by Vivitar’ 28 to 70 mm zoom lens. It’s always difficult to know what the quality of Vivitar lenses will be until you try it because they were made by so many different manufacturers; my Series 1 70-210 lens is excellent, having been made by Komine, but this one is made by Kobori (from the 77 at the start of the serial no) of which I know very little.
The mount of the lens has ‘P/K-A-R-P/K’ engraved in the metal which I think means, Pentax K mount Automatic lens with Ricoh variations (Ricoh made subtle variations to the Pentax K mount). Although the lens works without a problem on any 35 mm Ricoh SLR camera and seems to fit fine on my Pentax P30t, it won’t fit Pentax autofocus SLRs because an extra part of the bottom of the lens fouls the internals of the camera.
Ricoh XR-X description
The Ricoh XR-X (or XR-M in the US) was the top model in Ricoh’s XR range, and I believe the last manual focus SLR they made. It may actually be one of the last SLRs they made at all because I don’t remember any autofocus Ricoh SLRs.
It’s a typical late 1980s design – very blocky and to my mind ugly, but if you ignore that it turns out it’s a very impressive camera from a spec point of view.
Controls
I said this is a typical late 1980s design, and the control layout says that more than anything else. For some reason at that time it became fashionable to make camera adjustments operated by push button and that is how this camera operates. Now a button push to check depth of field is fine, but push button selection of shutter speeds is just not an ideal situation in my view.
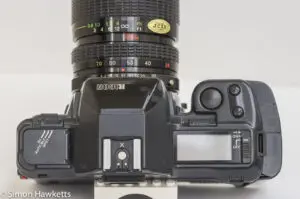
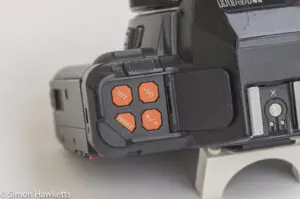
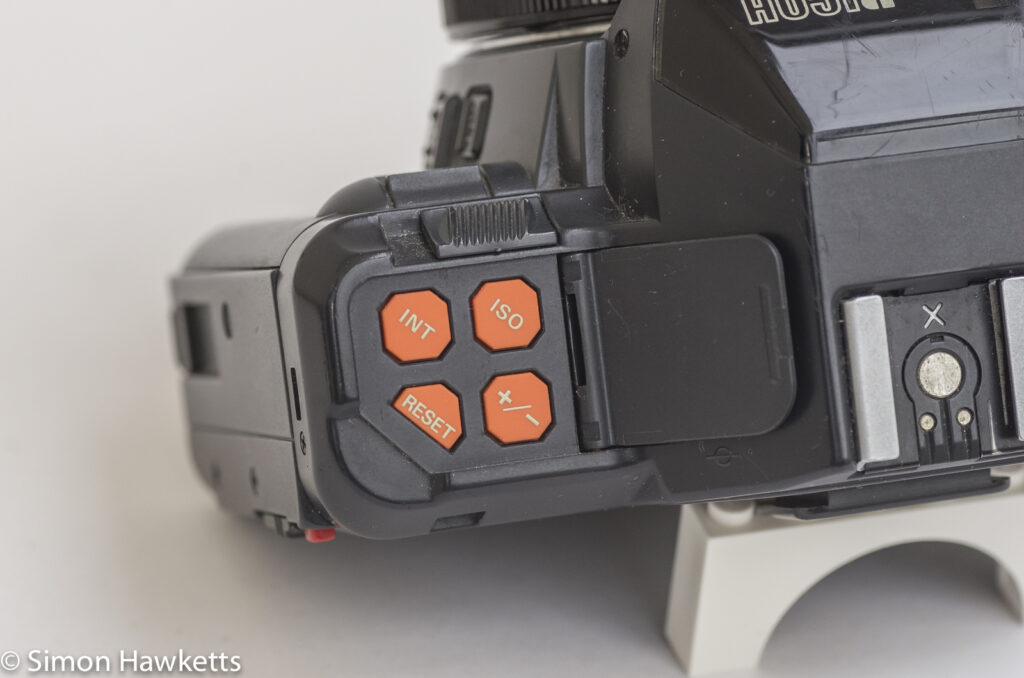
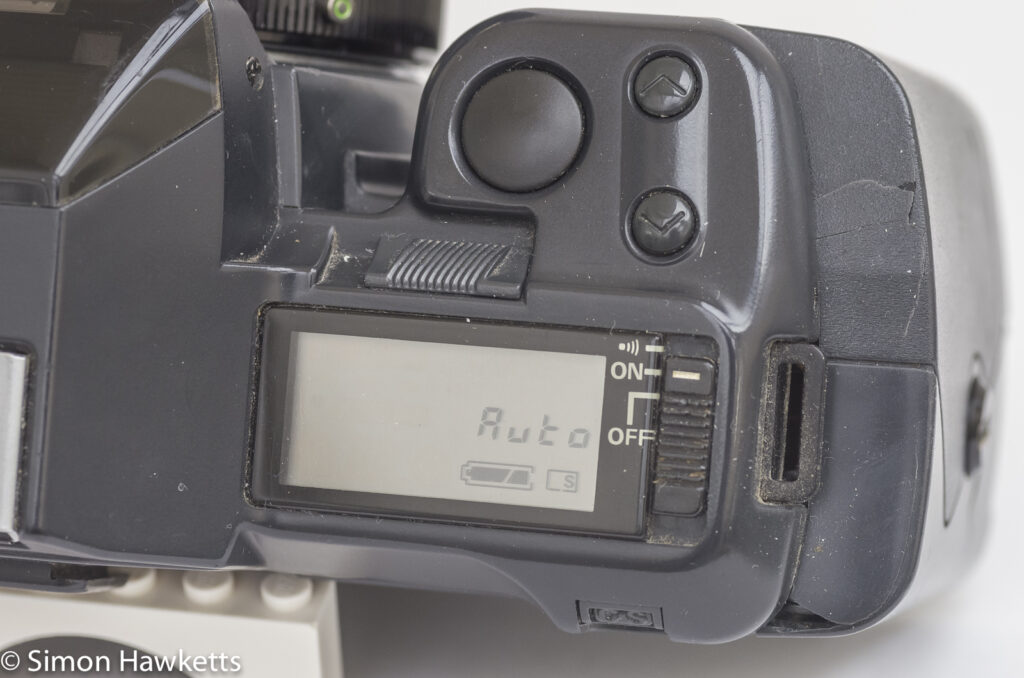
The main controls are on the top plate of the camera, with the two main toggle controls next to the shutter release, and slider controls to set the program mode and metering mode on the right and left-hand side respectively. There are a set of less often used controls under a flap on the left-hand side for setting ISO for none DX film, exposure compensation +/- and the delay for interval shooting. There is also a reset button in this group for when you want to get everything back to default.
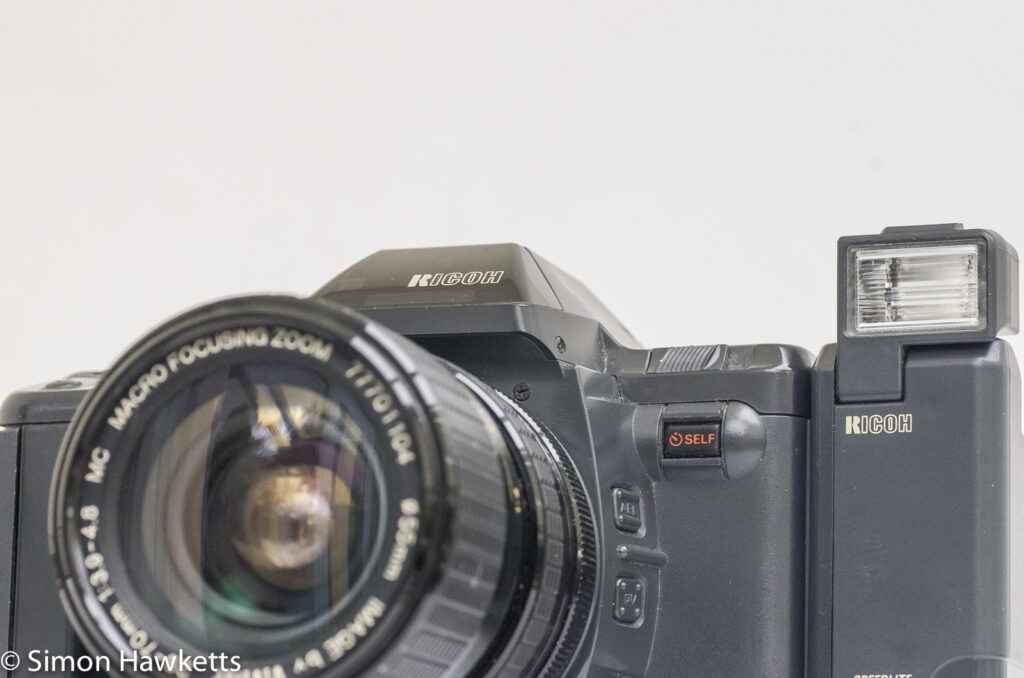
There are buttons for AE lock and depth of field preview in the right-hand side of the lens barrel, and single / continuous drive mode is selected by another button behind the main LCD.
The aperture ring on the lens is the one control which seems somewhat conventional, and that’s because lenses at the time were not yet controlled by controls on the camera.
Metering modes
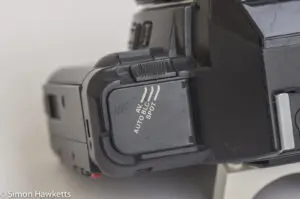
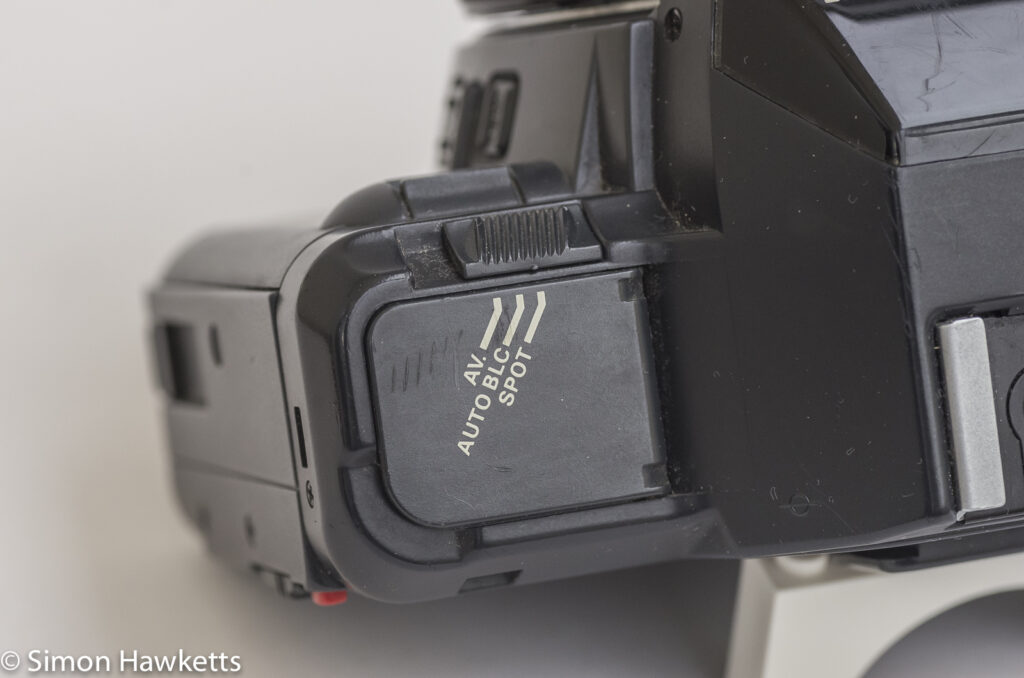
The metering modes on the XR-X are controlled by a slide switch on the top left of the camera.
There are options for spot metering and averaged metering, and a mode which seems to be unique to Ricoh, which is backlit metering. This seems to take a reading using both spot and averaged and try to work out if there is a big difference between them and try to compensate. There seems to be some quite complex calculations used to compensate for differing levels of disagreement between the centre and the averaged readings, so this is one of the things I’m going to try testing when I run a film through my copy.
There is conventional exposure compensation available as well, set with one of the buttons under the left hand side flap and the toggle buttons, and settable to up to +/- 4 stops. On top of all those different ways of measuring exposure, there is also an AE Lock button to enable a scene to be metered for a particular spot and locked.
Exposure modes
There are a wealth of exposure modes available on this camera.
The default mode is program mode and is the exposure mode which will be selected when the camera is reset, assuming the lens is set to ‘P’ (or ‘A’ in the case of the Vivitar lens I have). Program mode is basically fully automatic, with the camera making both shutter speed and aperture selections to get a correctly exposed picture. In this mode, the LCD panel records the shutter speed as ‘AUTO’.
In order to give some creative control, there are some variations on the program, which are selected by a slide switch behind the shutter release. These are PA and PD which are used to bias the program mode towards ‘Action’ or faster shutter speed, and ‘Depth of field’ which tries to keep the aperture number lower.
If the lens is not on ‘P’ but has an aperture value selected when the LCD is reporting ‘AUTO’, the camera is in Aperture Priority mode. In this mode, the camera selects an appropriate shutter speed for the aperture which the photographer selects. This is the standard mode for a lot of photographers, myself included, because it allows control of the depth of field, which is often the creative element in a picture.
If the lens is kept on the ‘P’ setting and a shutter speed is selected, the camera moves into what it terms ‘shutter bias program mode’. From the manual, this says that the shutter speed selected is used as the bottom limit to the speed selected, so the camera will use this speed or faster to get the correct exposure. Confusingly, the manual also says that if the light is not enough to use that speed, a slower speed will be selected. This leaves me a bit unsure as to what ‘shutter bias program mode’ actually does.
The camera can be run in fully manual mode by keeping the aperture ring set to an aperture value rather than the ‘P’ setting, and then selecting a shutter speed with the toggle switch. In this mode the camera will carry on metering, and indicate in the viewfinder the shutter speed the camera suggests is correct, and the photographer can use that information to make their assessment of the speed/aperture combination to use.
There is one other exposure mode, and it’s one I’ve never seen on another camera. It is TV mode, and it’s used to take pictures from a TV or monitor screen. There are options for NTSC or PAL (presumably because they run at different refresh rates) and one called CRT for computer monitors. The camera has to be on a tripod for this mode because the shutter speed is quite slow, and this will be one of the modes I will try when I put a film through the camera to test it.
Drive modes
Being a motor drive camera gives the XR-X the ability to run in continuous mode as well as single shot. That’s to be expected, but what isn’t normal in a film camera is the ability to take many pictures with a set interval between them, and this camera has that ability as well.
The interval setting is very flexible and quite easy to use. Holding the INT button and using the toggle buttons the time can be set between 1 sec and 1 hour and then after continuous mode has been set the self-timer button is used to start the sequence. The camera will then take a picture at that interval until either the sequence is cancelled, the batteries fail or the film runs out.
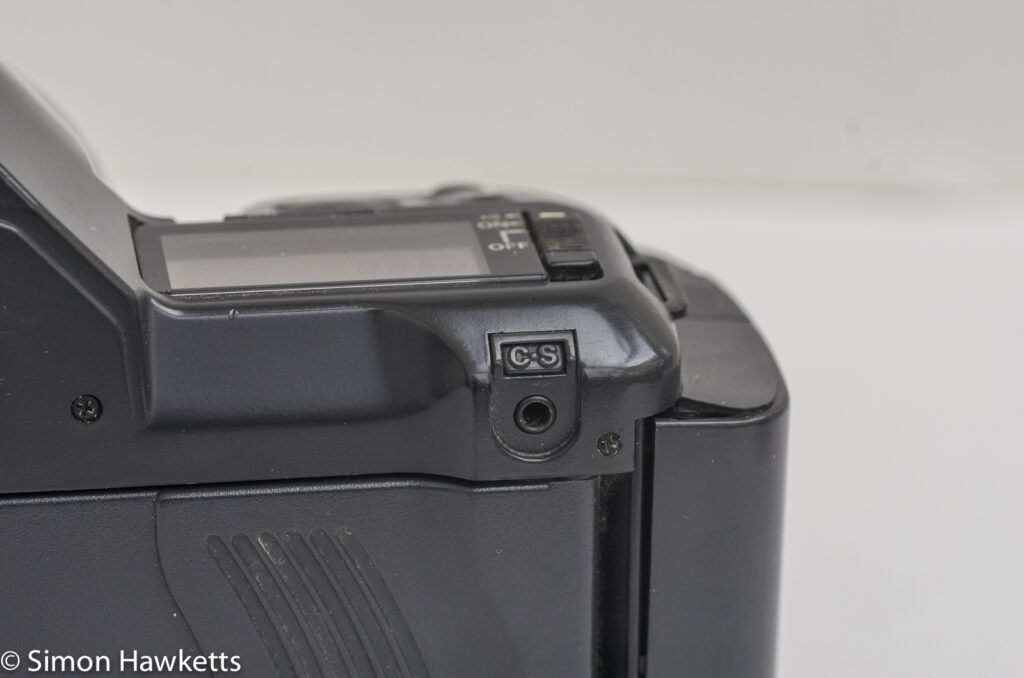
The interval shooting mode is also the self-timer, but with the camera set to single shot rather than continuous mode. The handbook even points out that if the interval is set to 0 seconds, the self-timer button acts as a shutter release button on the left-hand side of the camera.
Another use of the interval feature is that if the camera shutter speed is set to B the interval timer can be used to set a programmable shutter time. Anytime between 1 sec and 1 hour can be set for the shutter to remain open – that’s pretty cool!
Optional Flash unit
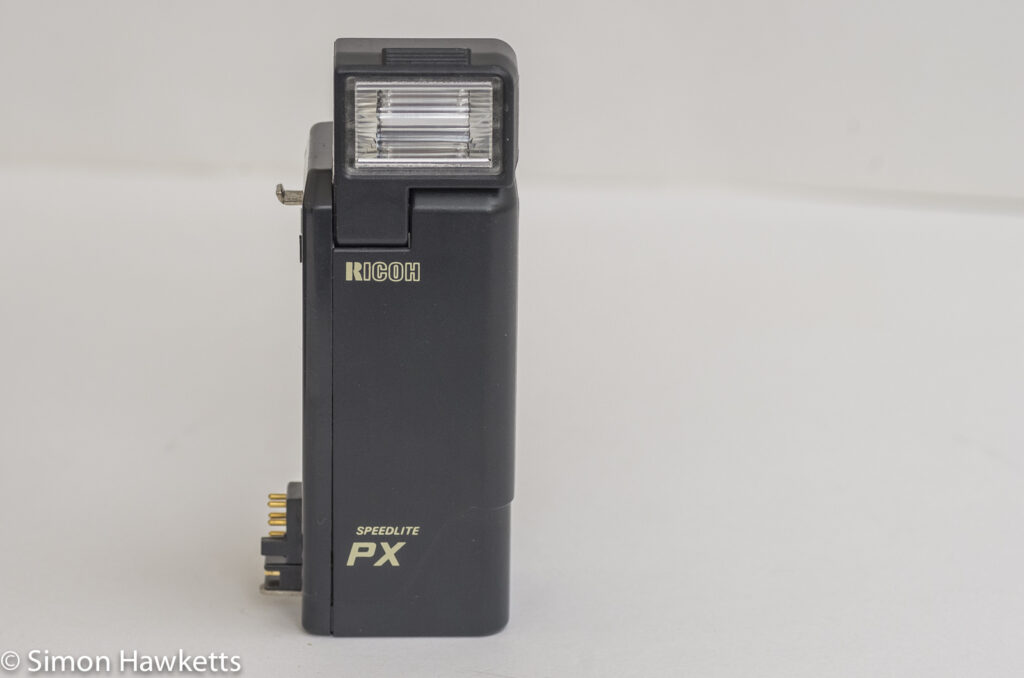
The Speedlite PX flash clips to the side of the camera with a ‘hook and press’ action. There is a small metal hook which fits into a slot at the top of the camera next to the control buttons, and a small flap on the same side at the bottom opens to allow the electrical connections. The flash has no power supply of its own; it takes power from the camera via the connections.
With the flash fitted, the camera has fully TTL light measuring capabilities, with the light measured off the film surface in a variety of auto modes.
Using the Program modes with the flash, it’s possible to use the P, PD and PA settings to pre-set the aperture to values which will give greater depth of field, or allow the flash to cover a greater range. There is also an automatic fill-in flash mode for daylight shooting, and the shutter bias program mode allows longer exposures with fill-in to be made. I’m going to check out these modes during my test film shooting.
Viewfinder
The viewfinder has a lot of information available under the main view screen, but I find it really difficult to see in bright sunlight. There is an automatic backlight which comes on when the viewfinder is dark, and it’s possible to also turn it on with the depth of field preview button, but I find the most difficult time to see is when the viewfinder screen is bright. It’s possible, of course, that my example may be old and dim.
When you can see it, the information panel at the bottom of the viewfinder covers just about everything you need to know when taking a picture.
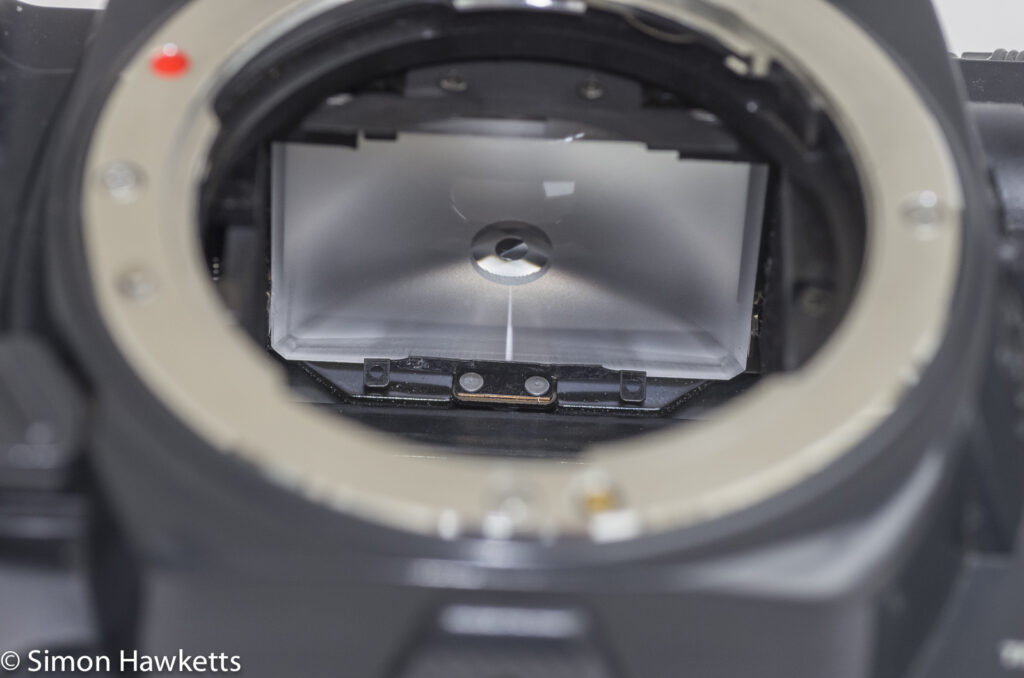
The focusing is helped by a diagonal split rangefinder in the centre of the screen, along with a micro-prism circle surrounding it and a ground glass screen making up the rest of the area. The focusing screen is replaceable, with several different designs being available at the time the camera was current.
General Features
Overall, this is a comprehensively spec’d camera which would provide just about every feature a photographer could want. I find it a bit awkward to use because of the very 1990s control layout, but that was the fashion of the day, and this camera is no worse than others made at the same time. I have a film now loaded into it, so I’m going to test out some of the advanced features to see how they actually deliver.
Ricoh XR-X specifications
- Ricoh XR-X 35mm manual focus slr camera
- Shutter 1/2000sec to 16sec + B in manual, down to 30sec in auto
- Program mode, Aperture Priority, Shutter bias Program mode and Manual exposure
- Program Action, Program Depth of field & TV mode
- Averaging, Spot and Backlit metering
- Optional Speedlite PX flash which adds additional flash modes
- Exposure compensation +/- 4 stops
- Single and Continuous (3fps) motor drive mode
- Interval shooting + self timer
- B shutter speed programmable from 1sec to 1hour using interval function.
- Exchangeable focus screen
- Comprehensive viewfinder display (although a little dark on my example)
- Top plate LCD display
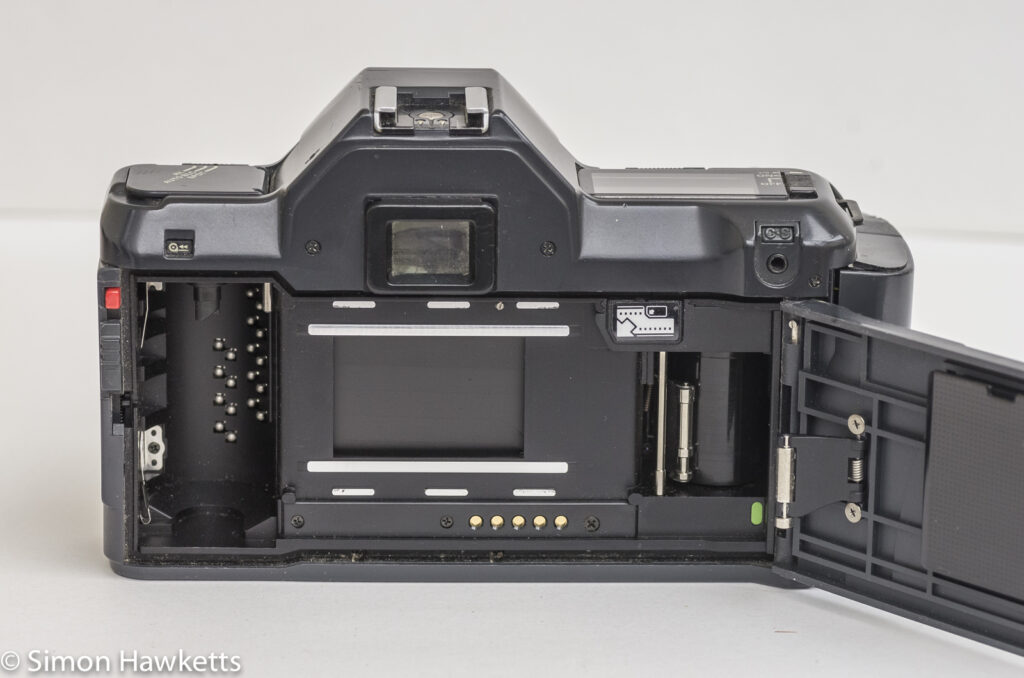
- Full DX coding of film speed and length + override
- Depth of field preview + AE Lock
- Handbook available here
Discover more from Everything Vintage
Subscribe to get the latest posts sent to your email.

