Replacing the shutter curtains on an Exakta Varex camera
Having just worked out how the focal plane shutter in the Exakta Varex works, I’m now getting round to a job that I’ve been meaning to do for a couple of years, which is to replace the shutter curtains on my Exakta Varex cameras.
Background and precautions
In a similar vein to my last post, I want to just issue a caution at this point and state that I’m not a camera technician and I can’t be certain that the technique I’m going to outline here is the correct way to carry out this operation. I would hate anyone to assume that because I’ve posted this procedure, it is the guaranteed way of replacing the shutter curtains. That being said, however, I’m not sure how else the shutter curtains could be replaced.
With that out of the way, here’s the background.
I have several Exakta cameras with curtains that are frayed or have light leaks and need new shutter curtains. Some of them are also faulty in other ways and are basically parts cameras which I’m using to try to get a working camera from.
In order to try this technique out, I therefore did the operation on one of the faulty units which has parts missing, so that if it all went wrong there is no big loss.
One final thing to point out is that the operation in the end was not completely successful, because there are issues with the replaced curtains that I need to sort out, but in a way, that’s the point of this – to find out how to do it so that I can repeat the operation with better knowledge next time. Also, it will help other people doing this operation if they can see the pitfalls I fell into prior to them starting the job.
Replacing the Shutter Curtains
I obtained a sheet of shutter curtain material from eBay several years ago and hadn’t yet got round to doing the job, so I can’t be sure exactly where I purchased it from. I believe it was one of the Chinese suppliers, but I basically bought a square about 12 inches by 12 inches, which is enough to do several cameras.
The first job was to remove the old shutter curtains so that I could cut new material the same size as the original curtains.
I found I could do this by using acetone to dissolve the original glue on both the tape end and the curtain end and remove the original curtains in one piece. Obviously, when the curtains were removed, all the tension in the curtain tensioners was lost.
Once I’d removed the old curtains, I then used the acetone and cotton buds to make sure the shafts and rollers that were going to be re-glued with the new shutter curtains were completely cleaned of old glue and dirt.
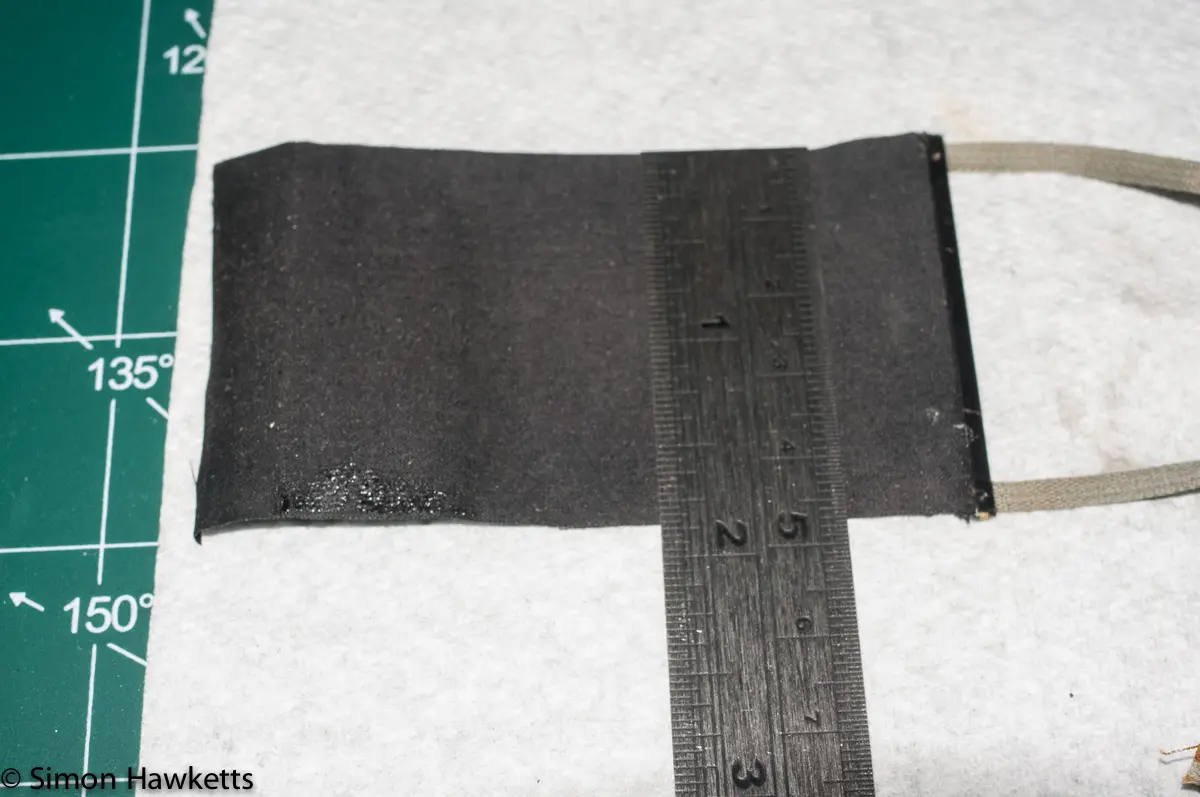
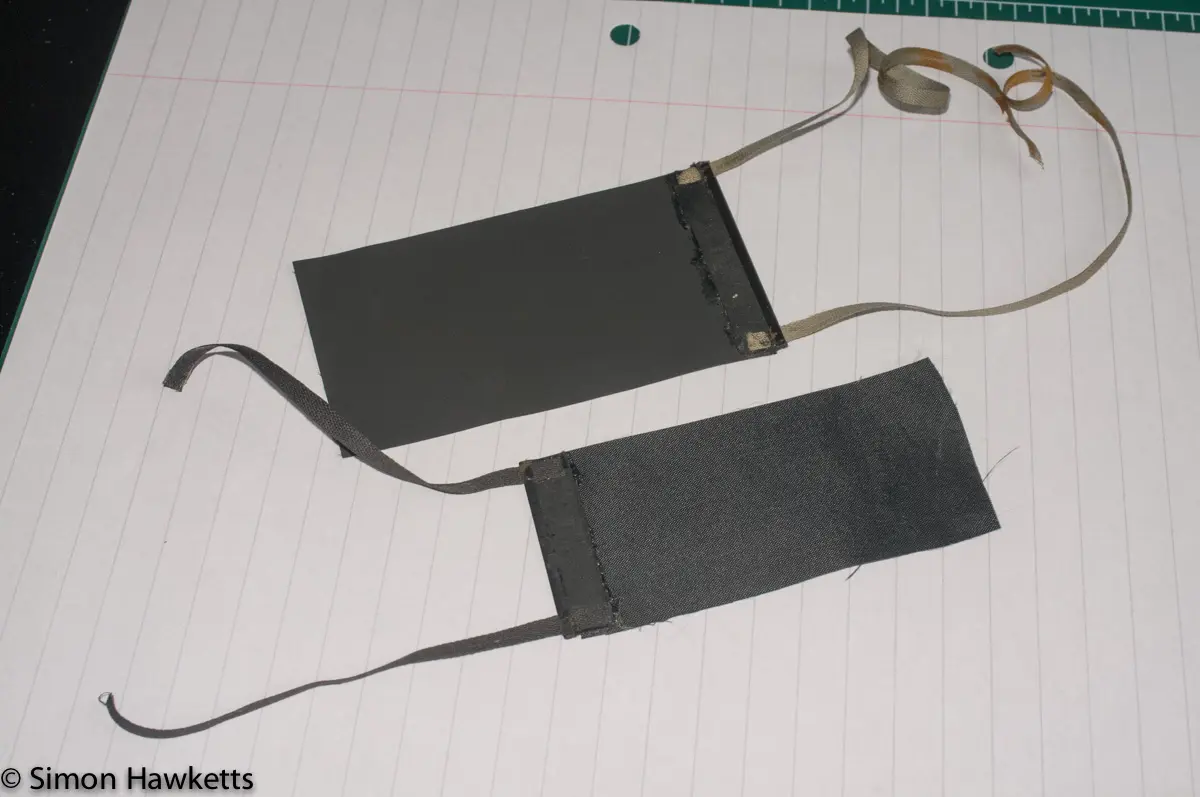
With the shutter curtains out of the camera, it then a question of laying the original curtains on the new curtain material and cutting a new piece to the same size. I did try measuring the curtains and marking out the shape, but in the end I found it easier to just cut round the original curtain using a rotary cutter of the sort used by dressmakers to cut round patterns. I found this was the simplest way to get a straight cut without wobbles or variations.
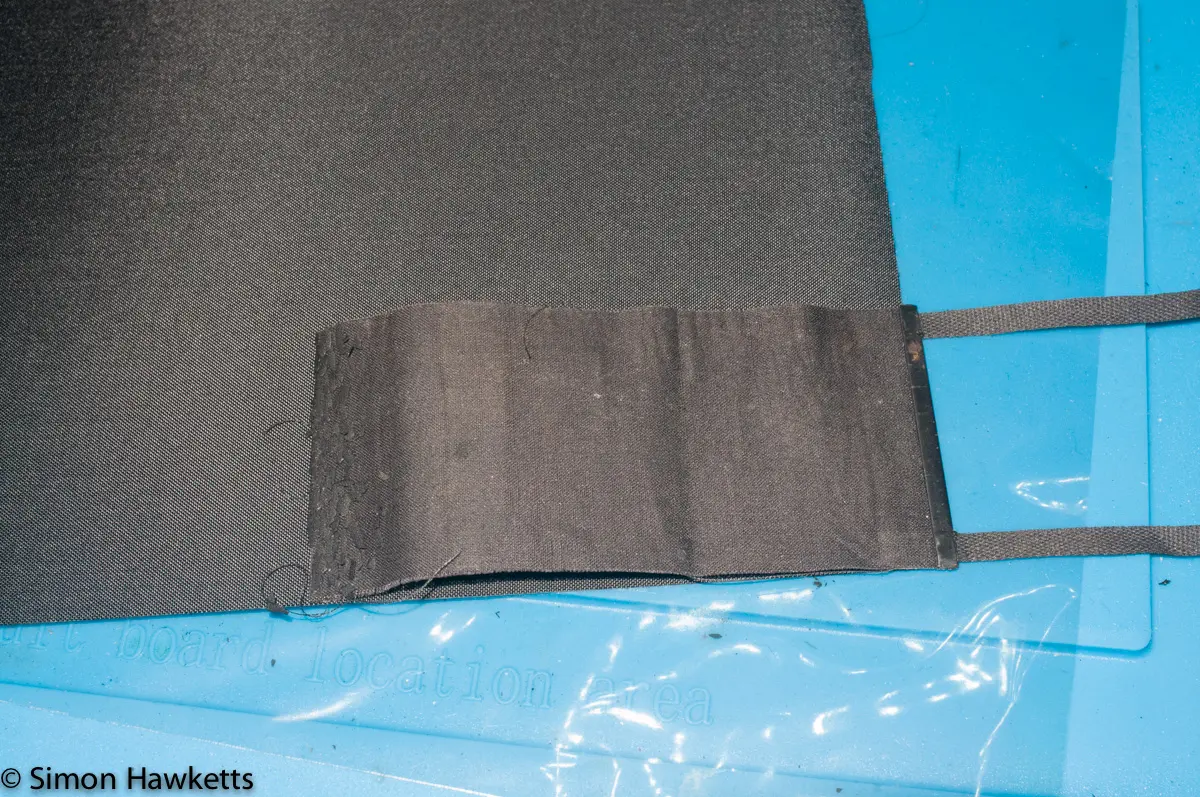
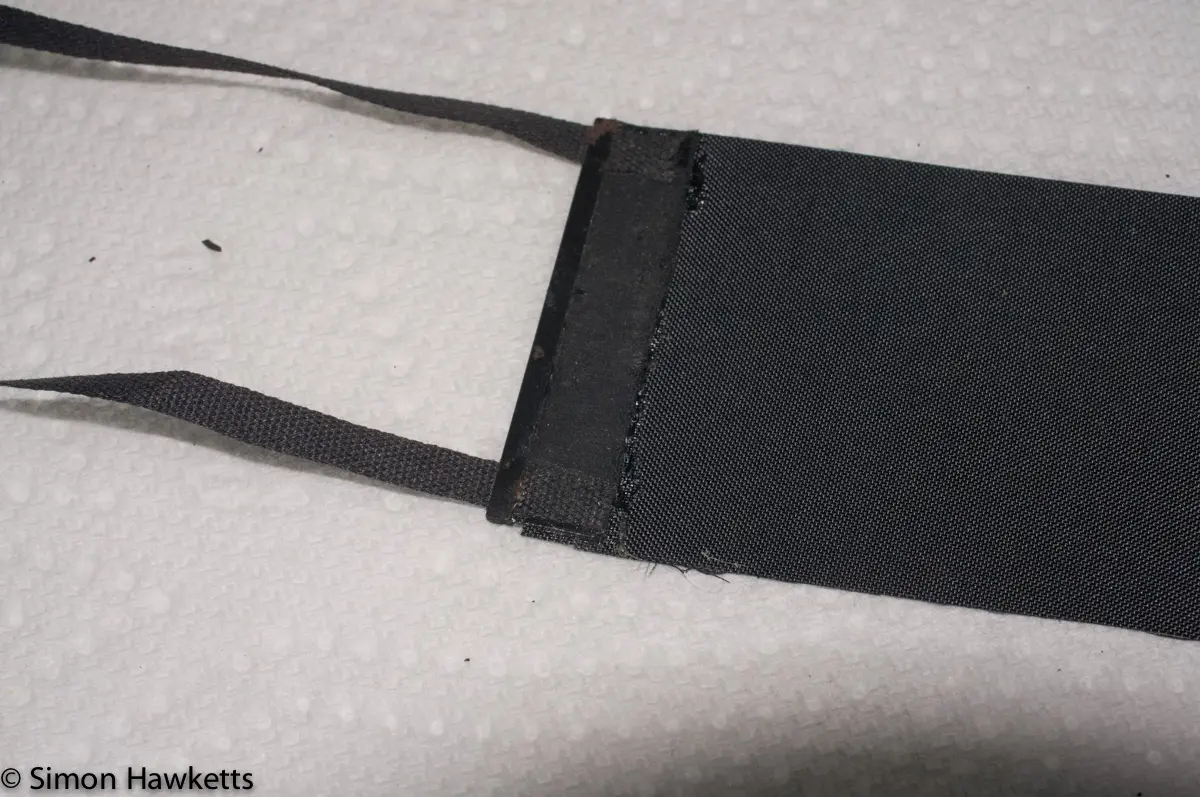
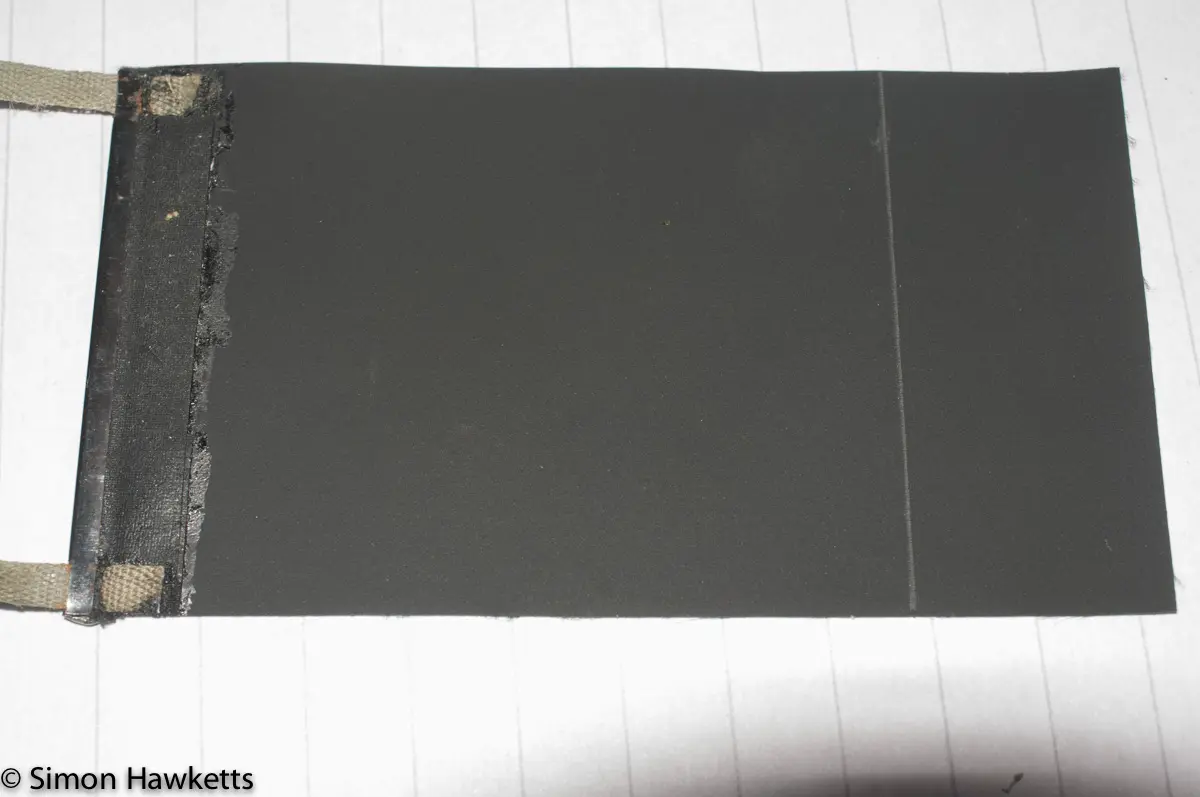
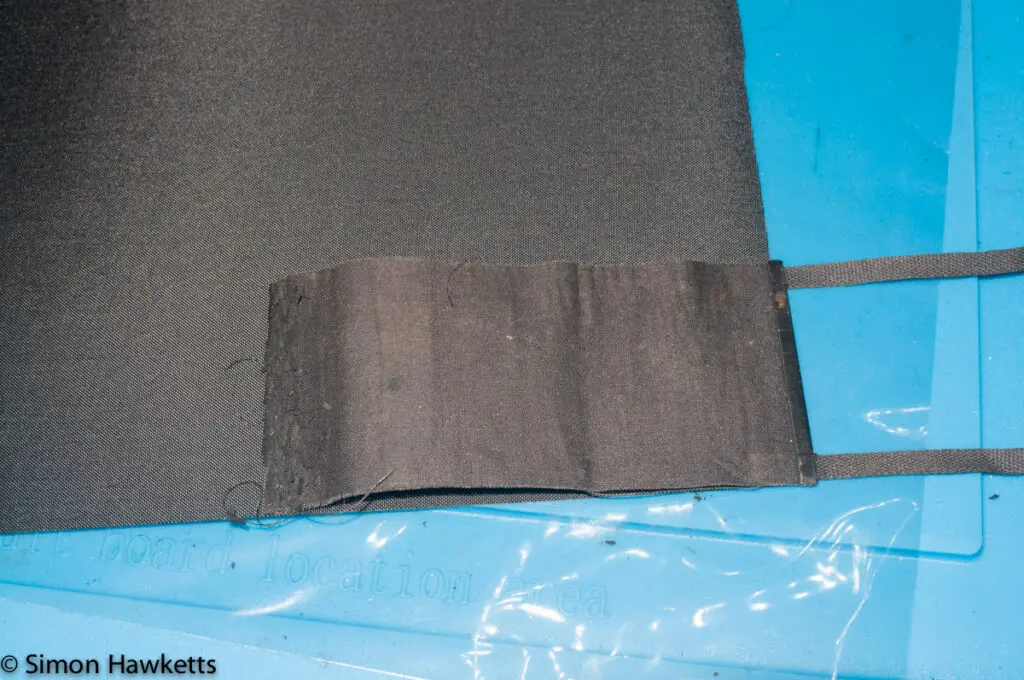
Once I had the material cut to shape, I made up the new curtain by gluing the new material over the old. I cut the metal band and the tapes off the original, leaving about 10 mm to apply glue to, and then stuck the new curtain using this 10 mm overlapped part. The glue I used was Evo-stik, a contact adhesive which is strong but still flexible when dried.
I decided on this technique of reusing the tapes and header after reading a page on Rik Olson’s site which explains that it isn’t possible to remove the metal header and replace the curtain material, and so this is the technique to use. I found the drawing on his site helpful, but couldn’t work out if the curtains should be glued with the tape and header on the top or bottom of the new material. In the end, I had the new curtains glued over the top of the stub on the first curtain and on the bottom on the second curtain.
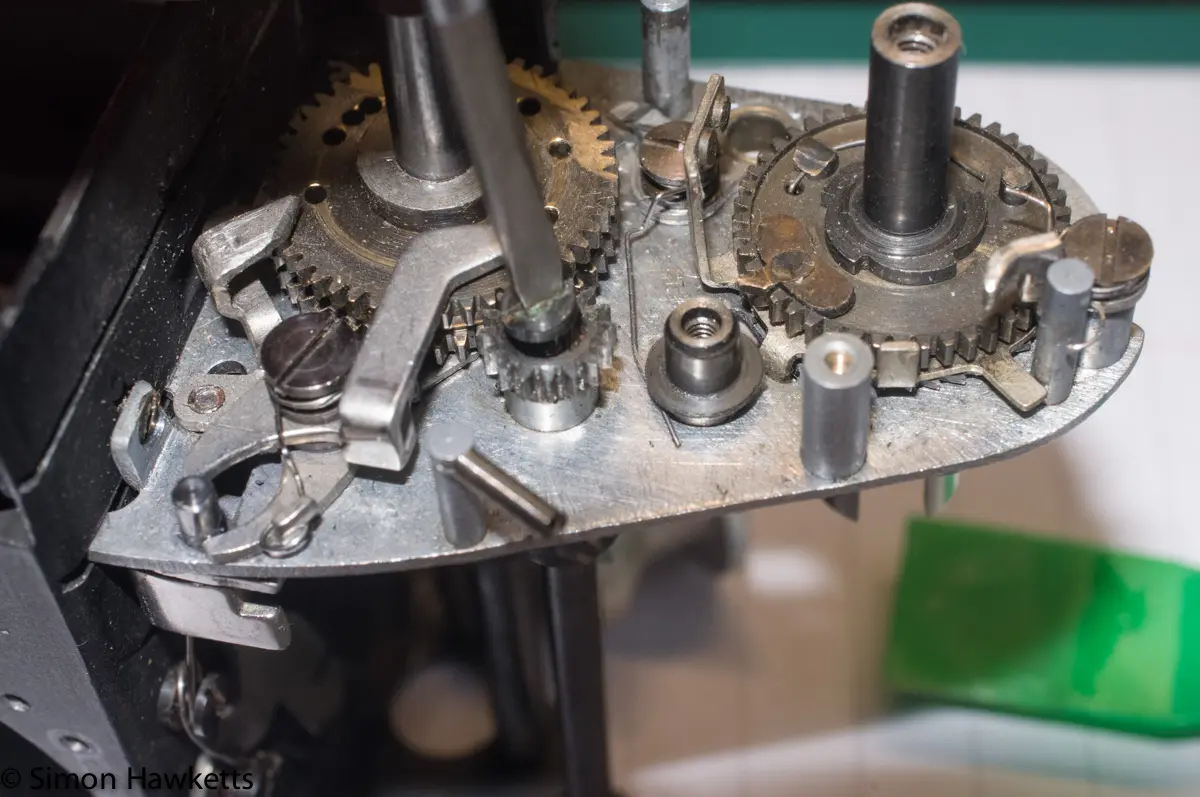
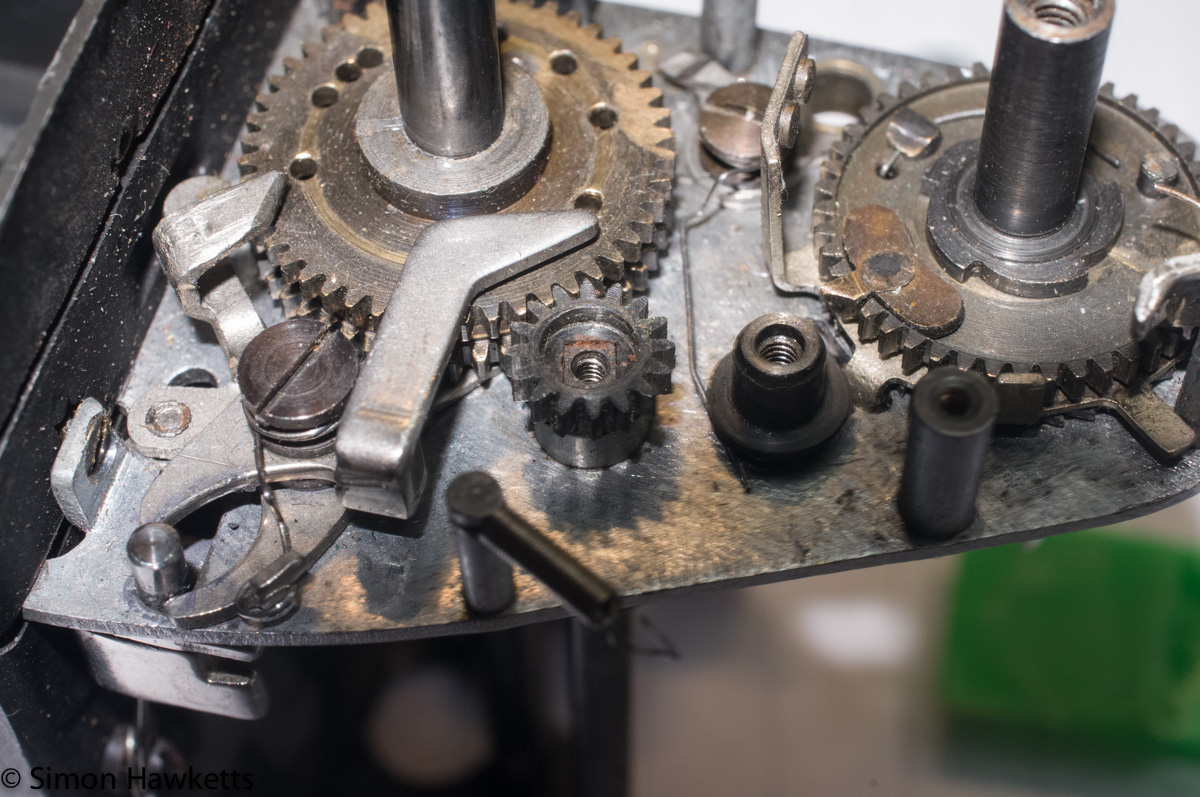
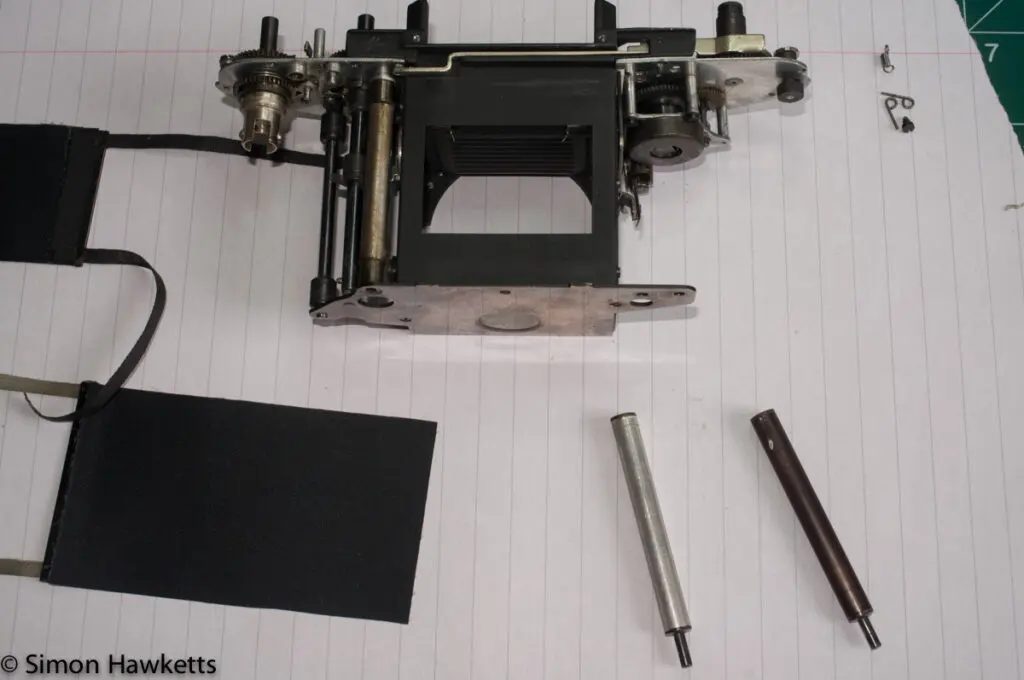
In order to fit the new shutter curtains, I tried taking the sprung rollers off the shutter by releasing the two pins that hold the rollers in tension when the shutter is fully assembled and then extracting them from the shutter. I hoped this would make it easier to apply the glue rather than with them in-place, but to be honest the refitting the roller with a film of glue on wasn’t easy and in the end I cleaned them off again and abandoned that idea.
I fitted the first curtain first.
The first operation was to mark with a soft pencil on the new curtain where it needed to be glued to fully wrap round the tensioned roller it was going to be glued to. Although the tapes get glued first, I wanted to make sure I knew where I’d need to apply the glue on the curtain before the tapes were stuck in place.
Then I trimmed the two tapes, so they were the same length (they had become worn at the ends), and then applied contact adhesive to the two bushes on the shaft that the tapes are glued to and also to the ends of the tape. It was quite a tricky job making sure the two tapes were both glued to the shaft at the same point, so the curtain would roll up straight and uniform. Since the tapes for the first curtain have quite a long length of tape glued, I had to keep turning the shaft and reapplying glue until enough of the tape was stuck. Fortunately, it was a hot day and the glue went tacky almost immediately.
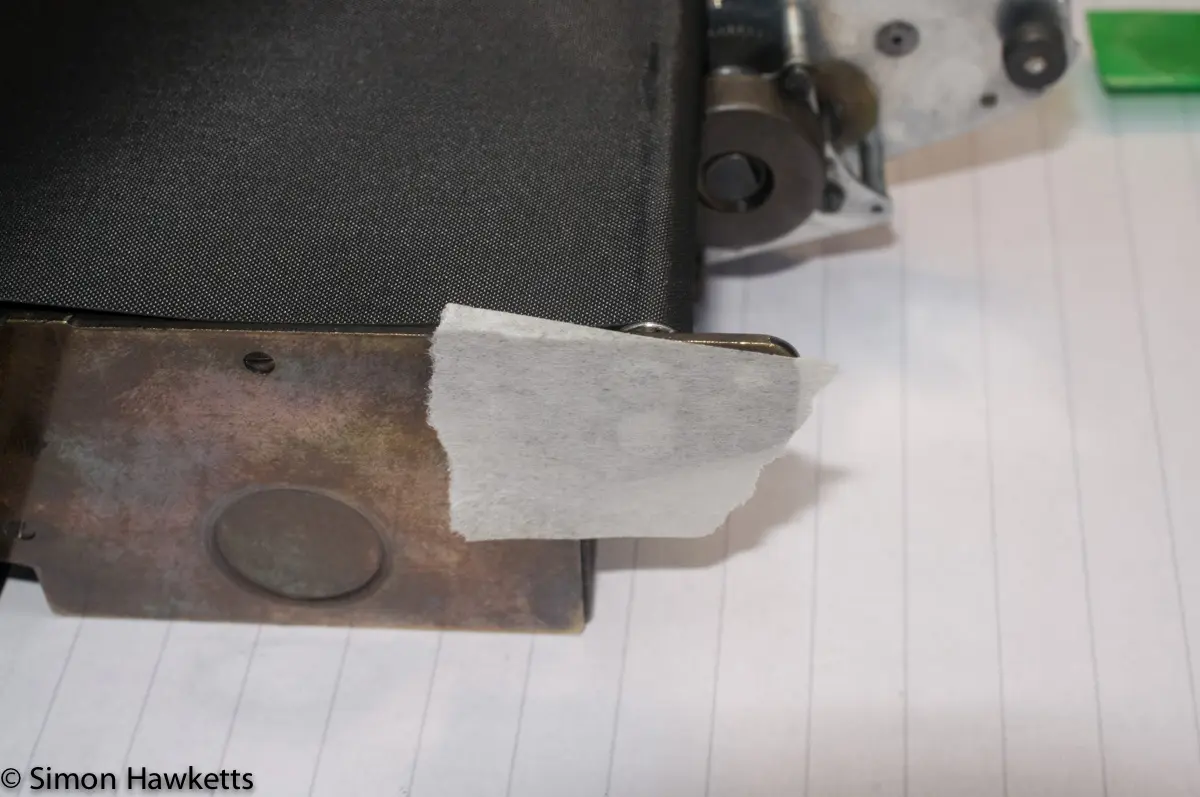
Once the tapes were correctly glued, I then applied glue to the first curtain roller, which was now back in the shutter, and also to the marked area on the curtain. Getting the curtain to stick uniformly to the roller was another tricky job, made harder by the fact that the roller kept falling out of the shutter because the pin which keeps it in tension wasn’t fitted. I didn’t fit it so that it was easier to turn the roller and glue the curtain on, so in the end I had to put sticky tape on the bottom of the shutter to keep the roller in place.
In the end, after a lot of fiddling about, I got the first curtain on the roller and had removed all the glue that had transferred to the rest of the shutter whilst I was doing it!
To get the position of the first curtain right, I added some tension into the roller it is glued to so that it was taut, and then removed the cog from the top of the shaft that the tapes are glued on and rotated it to get the first curtain in the right place. Basically, I positioned it by comparing it to one of the other shutters.
The second curtain was actually easier to do, possibly because I’d already done a second curtain on an Exakta a couple of years ago. Again it was a question of applying the glue to the shaft and the curtain and then winding the curtain onto the roller after the glue had dried to the point of being tacky. The tapes were then glued to the tensioned roller and once everything was dry I wound some tension into the second curtain as well.
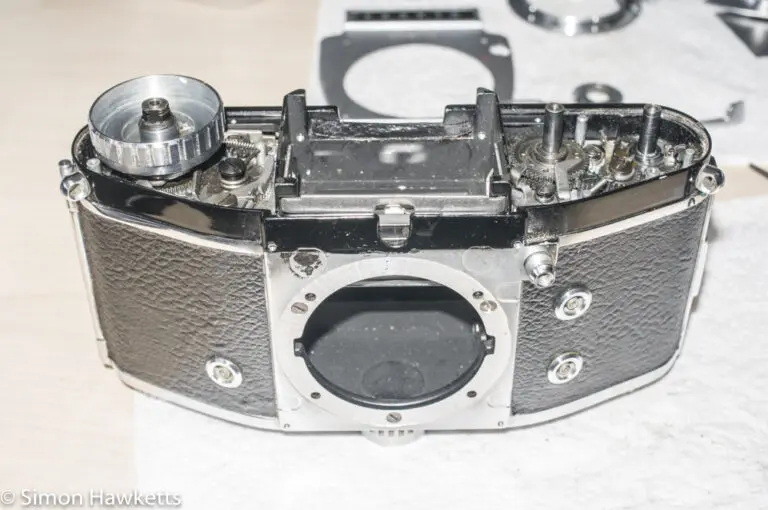
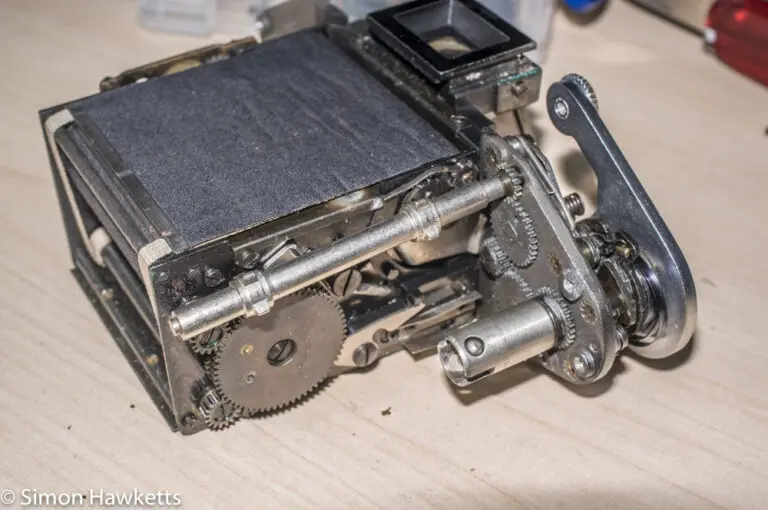
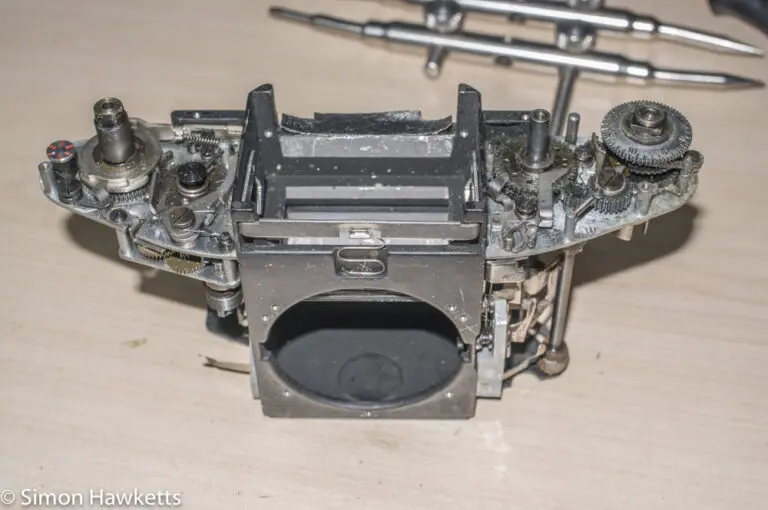
Pictures of the shutter curtains being replaced.
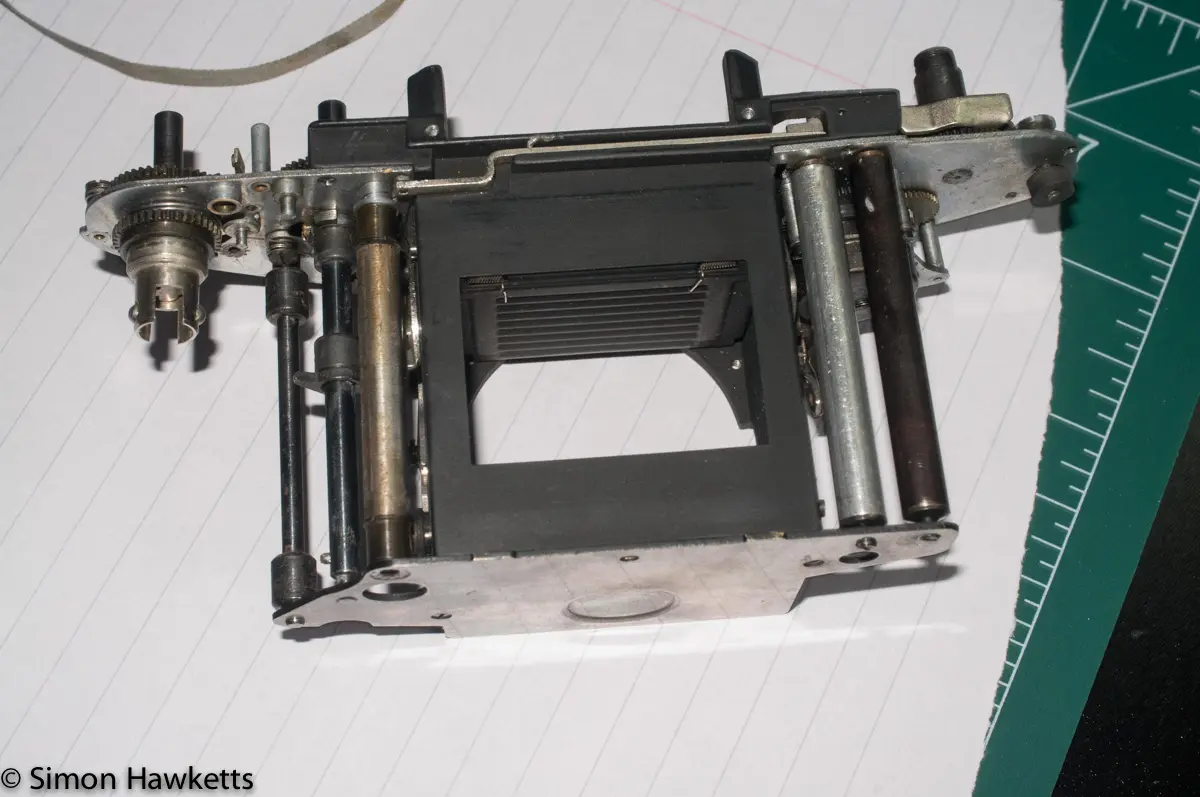
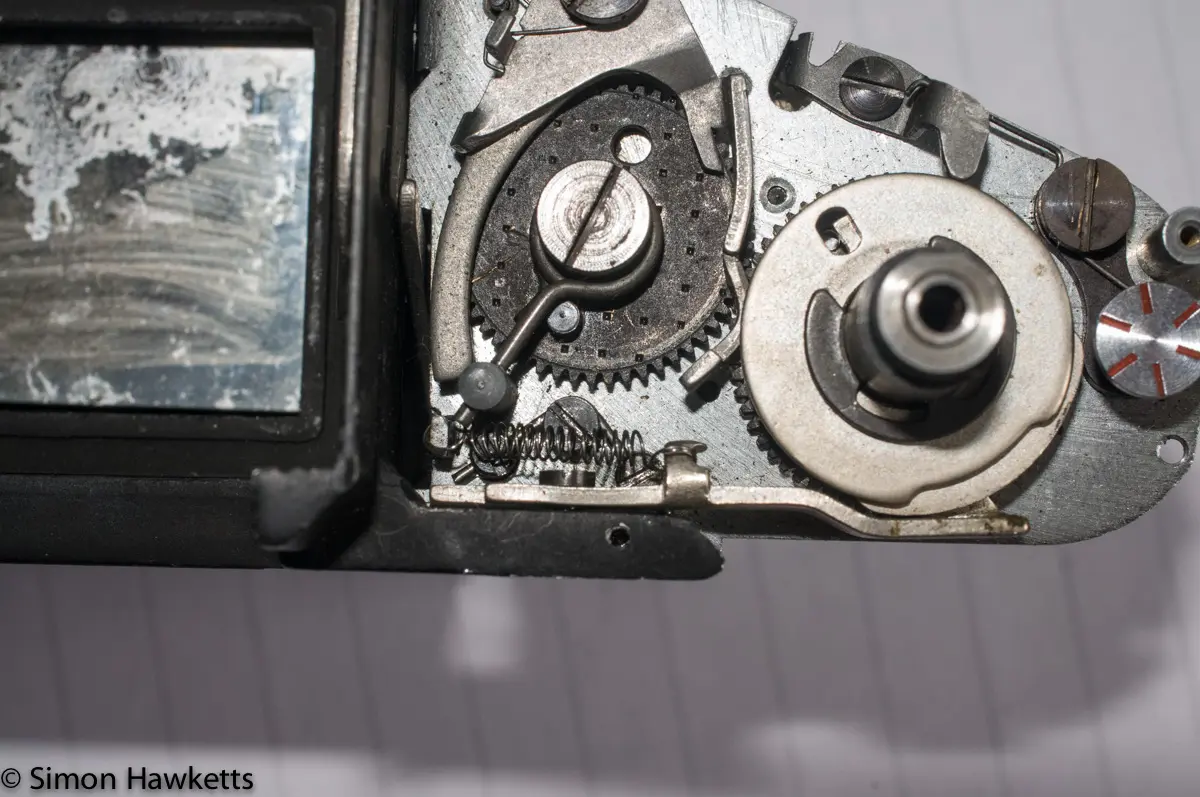
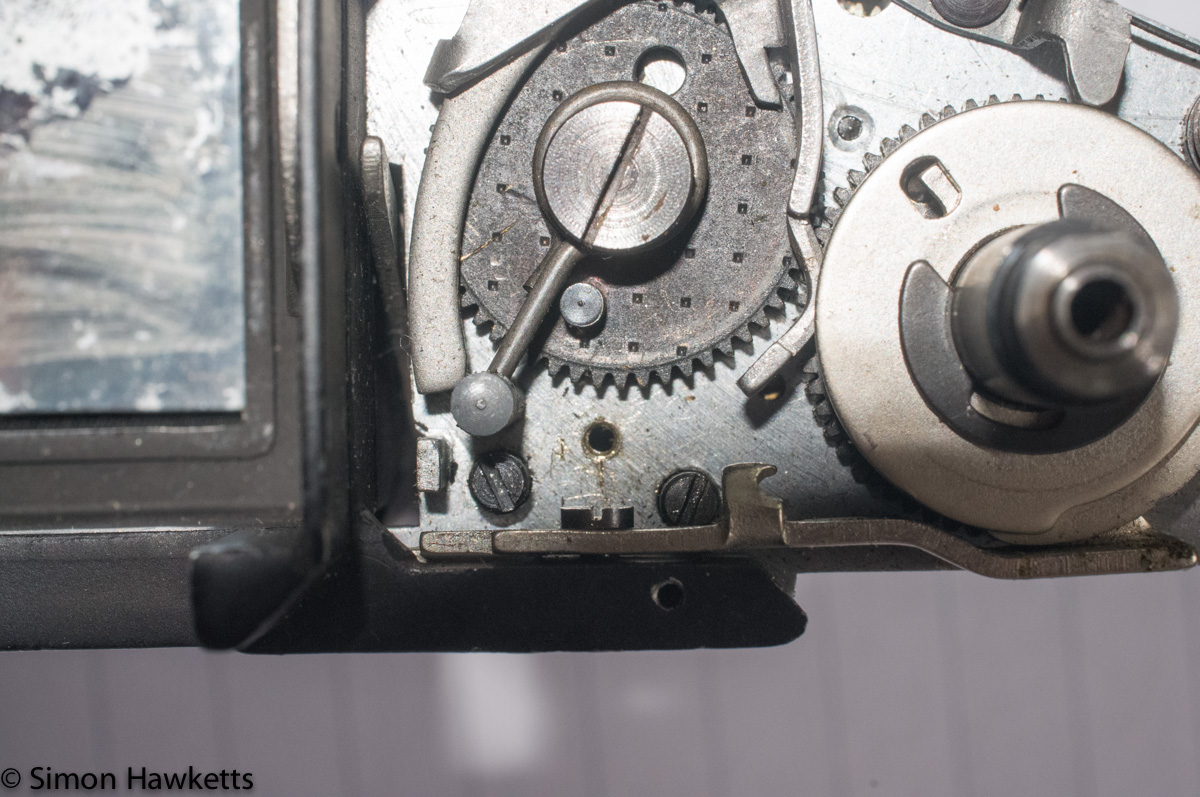
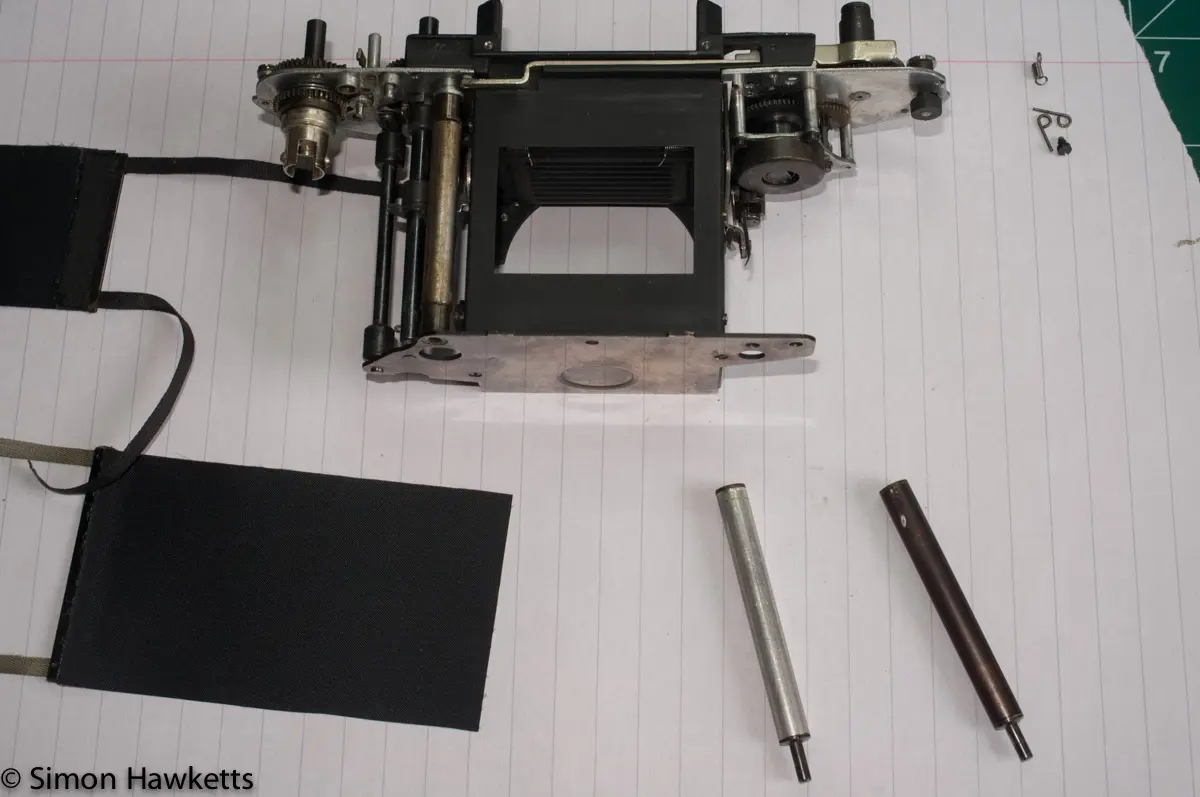
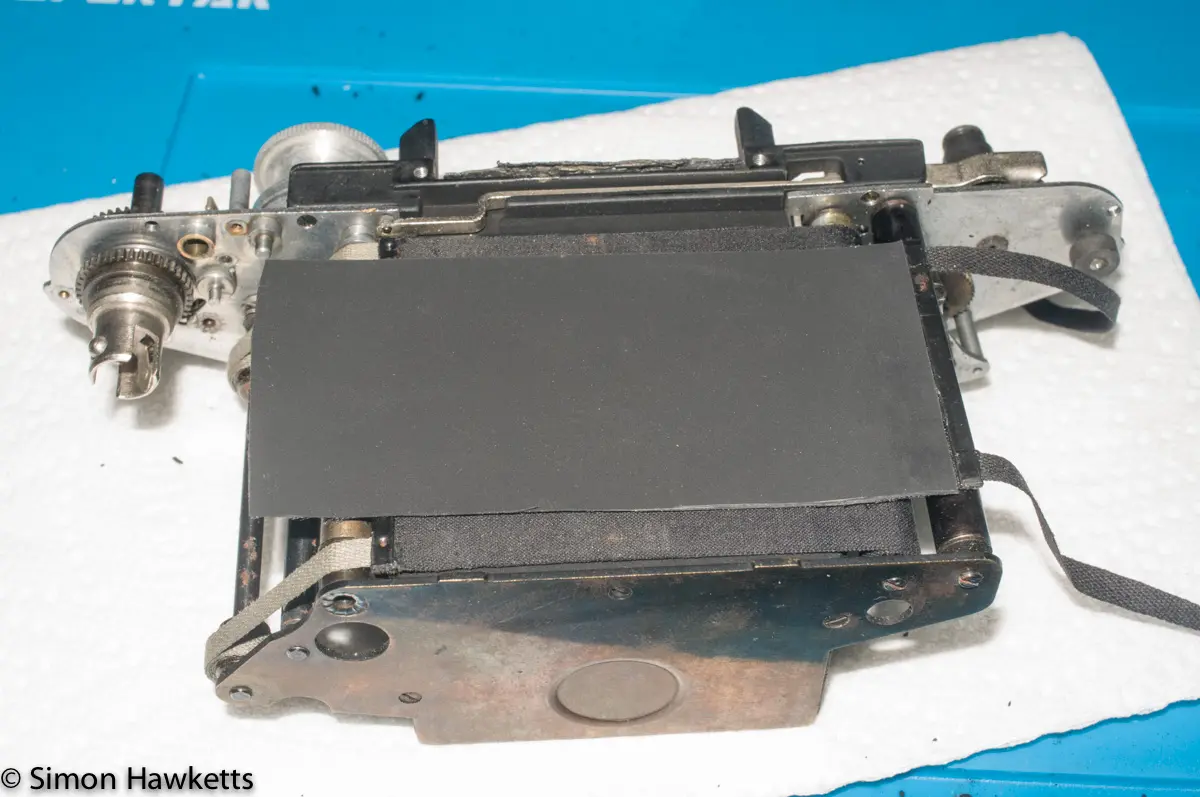
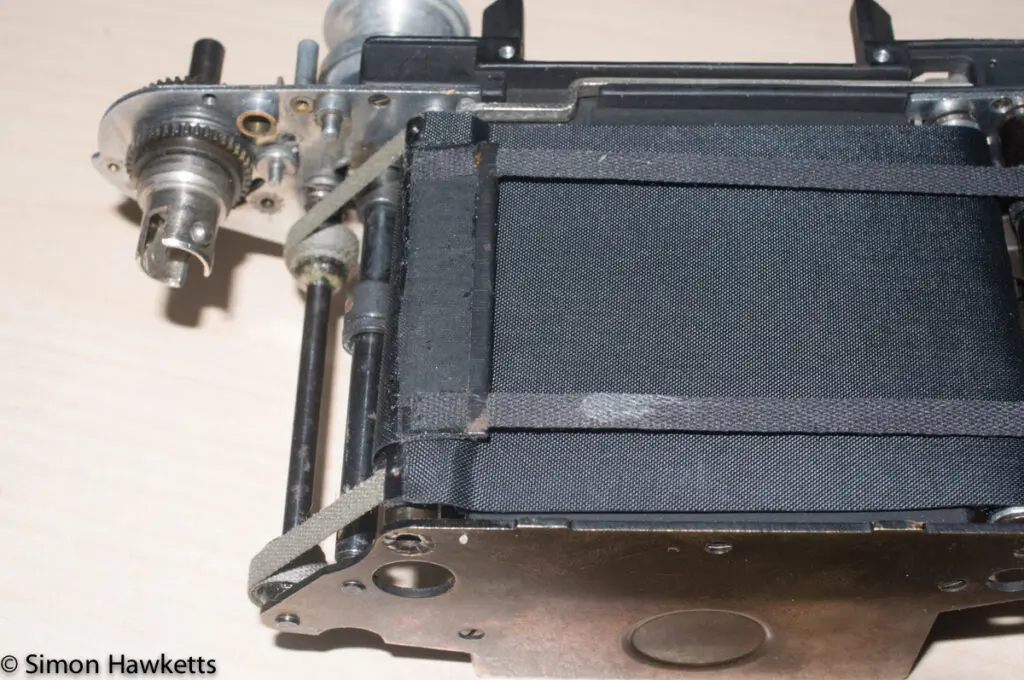
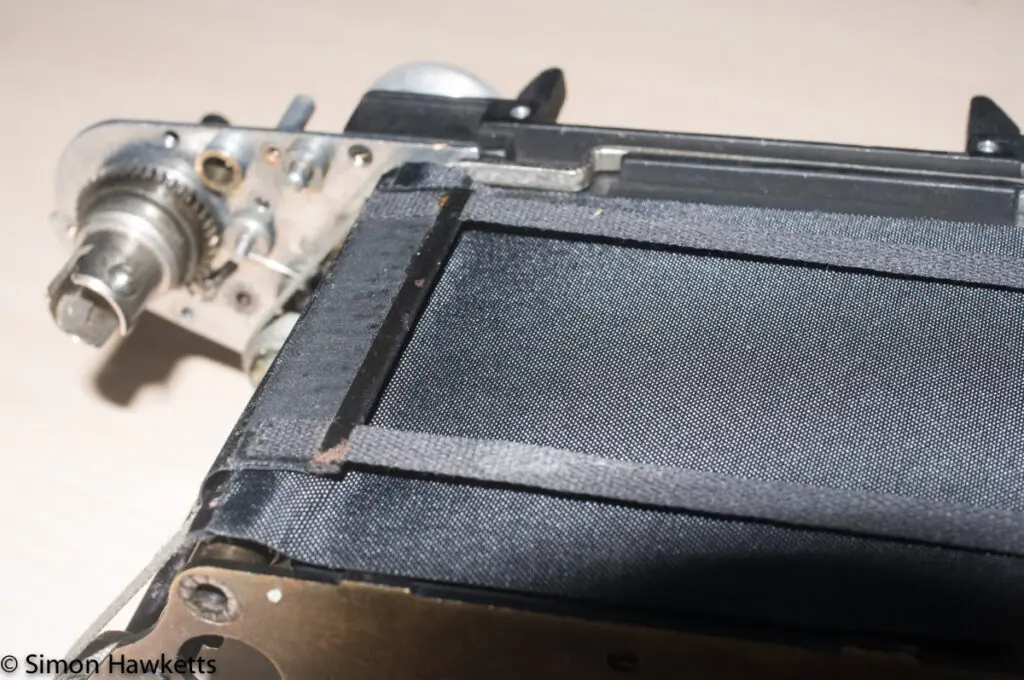
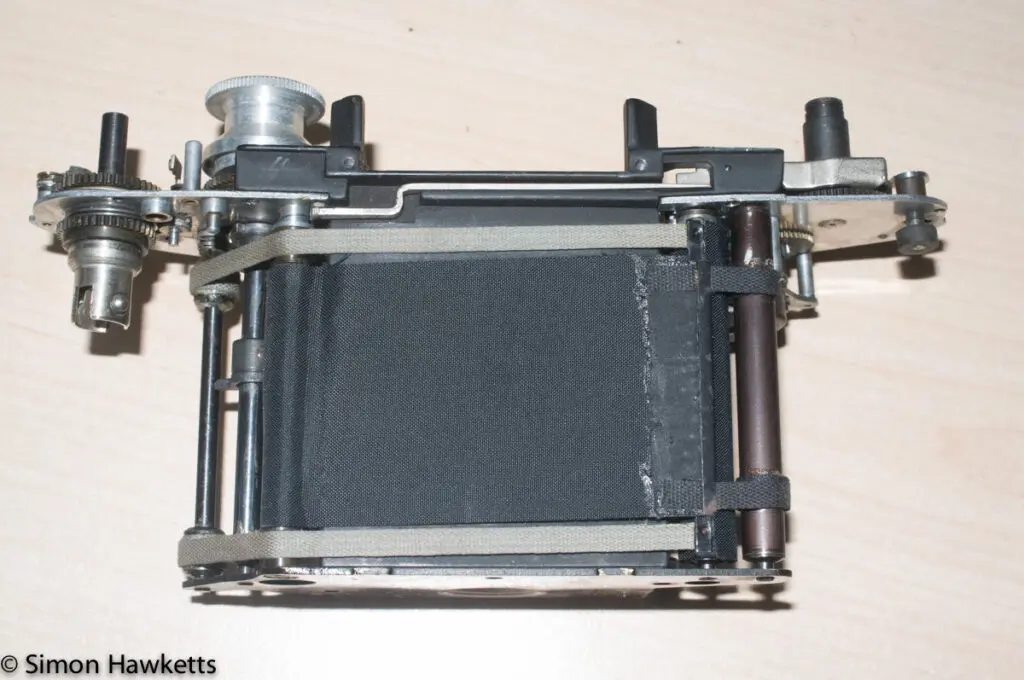
Assessment of replacing the shutter curtains.
So, with the curtains replaced and the shutter re-tensioned, what is the verdict.
Well there are some obvious errors with the shutter which makes a full assessment difficult – I’m probably going to need to try the operation on a working shutter, but the things I would change are:
- The new second curtain is glued under the stub and I think it would be better over the top. At the moment when the shutter is cocked the new second curtain sits proud of the first curtain and I think this is causing the first curtain to be held in place rather than releasing completely.
- I’m not sure my method of getting the first curtain in place is precise enough. It seems to be slightly too far advanced and wraps itself around under the second curtain when cocked. This is also leading to the curtain being held.
- It looks as if the first curtain is possibly slightly long, but this must be because of the method I used for timing the curtain.
On the positive side, the curtains move uniformly across the shutter and seem to be light tight, so it may just be a bit of timing and tensioning adjustment that’s needed.
Things that I would probably do differently next time?
Well, I think the trickiest part of the whole operation was gluing the first curtain to its roller. I think next time I will actually do that out of the camera on the bench. As long as the curtain is the correct length and the position of the curtain on the roller is correct, I think it will be neater and easier to do.
When I try the operation on a working shutter I’ll update this post with my findings.
Discover more from Everything Vintage
Subscribe to get the latest posts sent to your email.

Fantastic article however I’d like some additional details on the disassembly process. I have an Exakta VX that needs new curtains and a good CLA.