Removing the shutter from a Retina IIc 35mm rangefinder
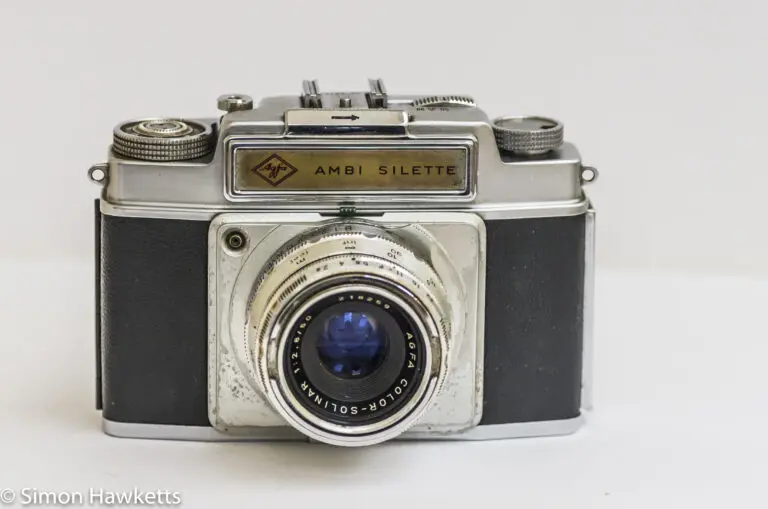
In my last post I described how I removed the top cover from my recently acquired Kodak Retina IIc 35 mm rangefinder in order to remove dust particles and check the condition of the cocking rack. In this post, I’m going to describe how I removed the lens rear element for cleaning, and also removed the shutter assembly, so I can clean the shutter and get the camera’s slow speeds working again.
Kodak Retina IIc shutter Images
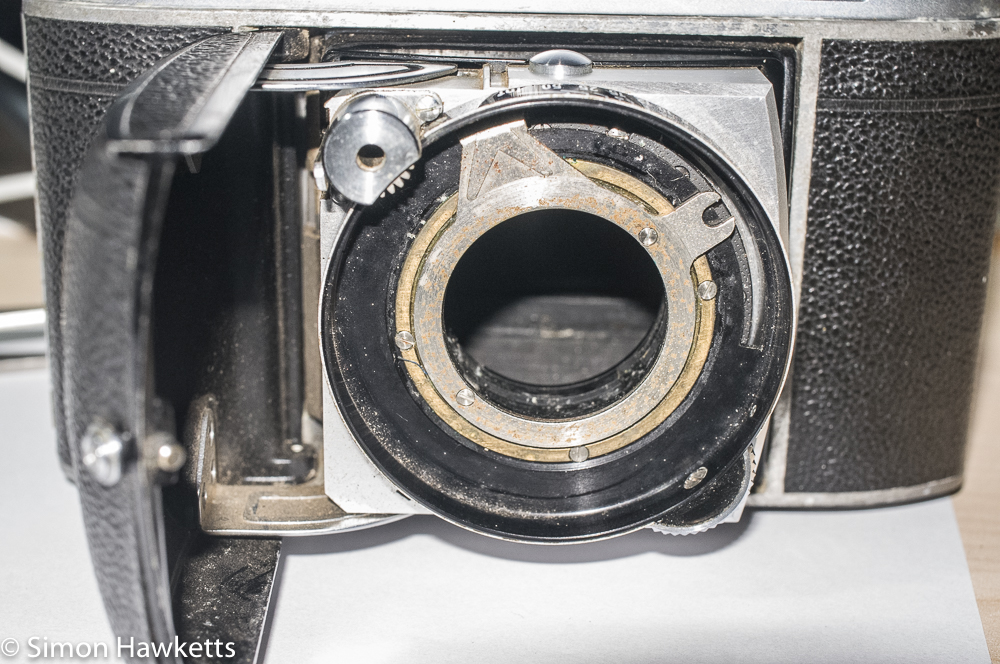
As with the top cover removal, the procedure wasn’t difficult, but I thought the pictures may be useful to someone else when they need to do this.
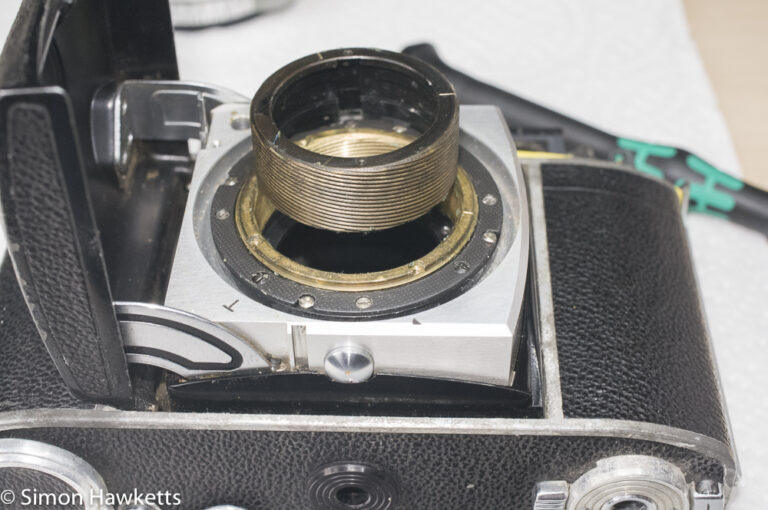
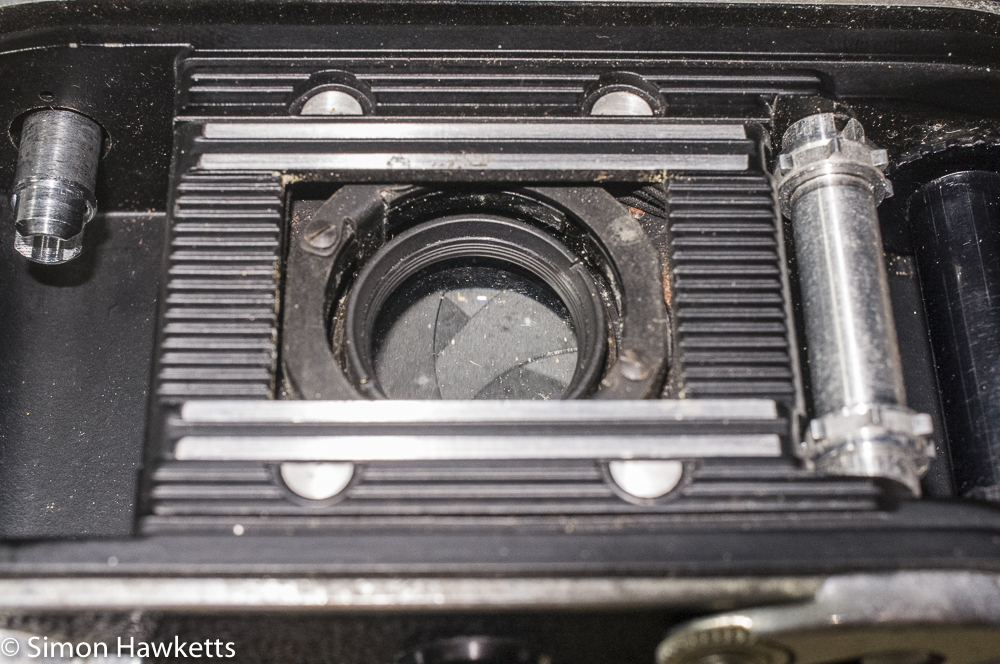
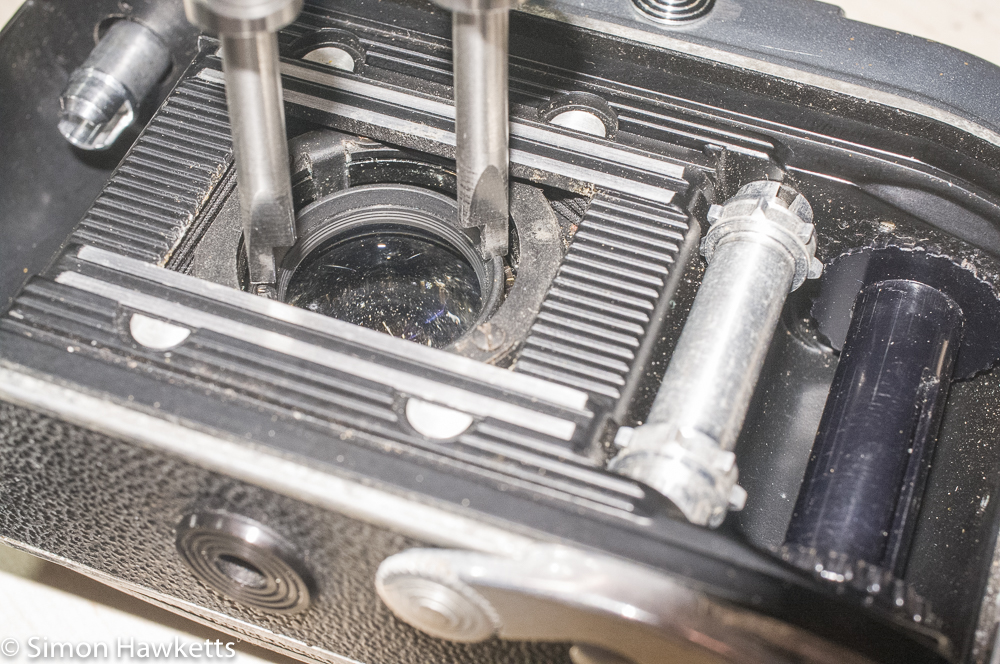
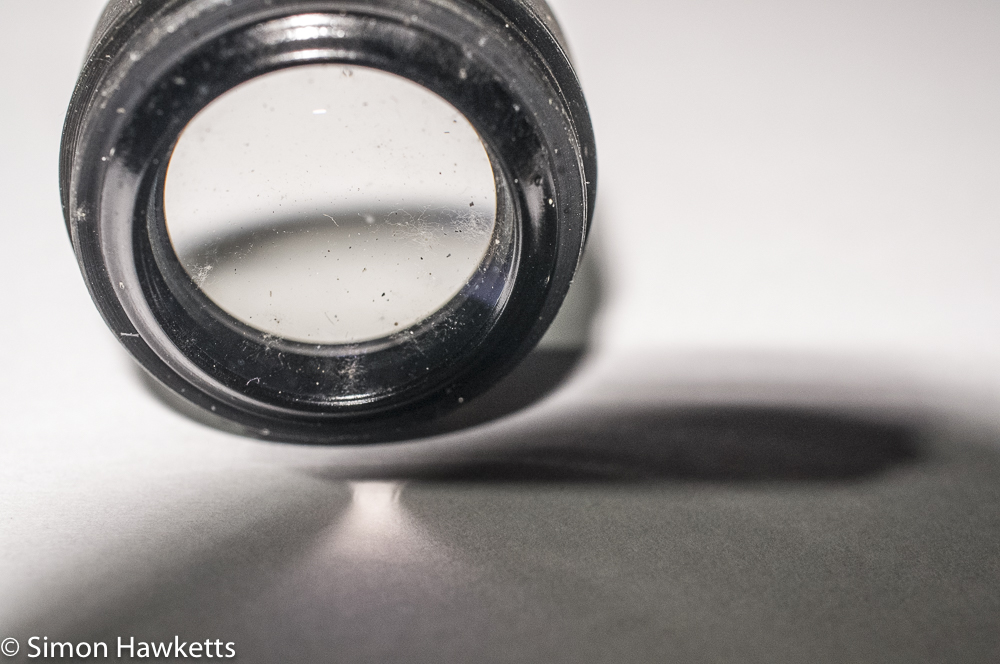
I started by opening the back of the camera and, with the front closed so the lens was collapsed, I used a lens spanner to unscrew the back lens element. This was not too tight and came out quite easily, although I’m going to have to dismantle the lens unit to clean the inner surfaces which have quite a bit of fungus on them.
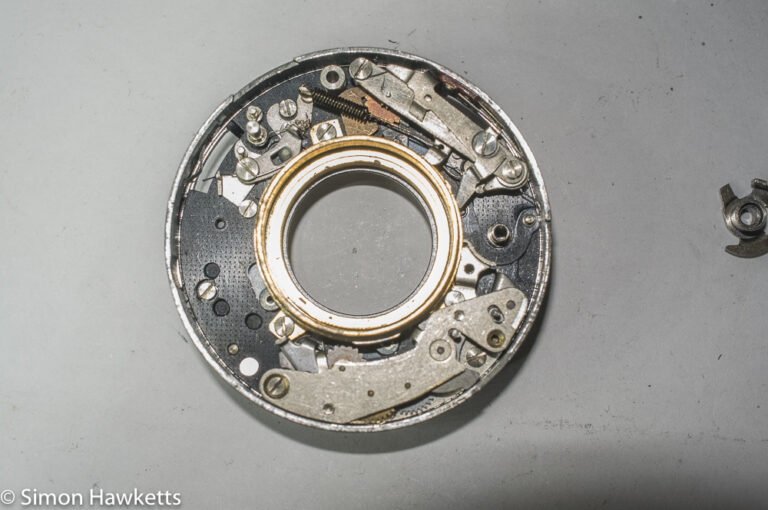
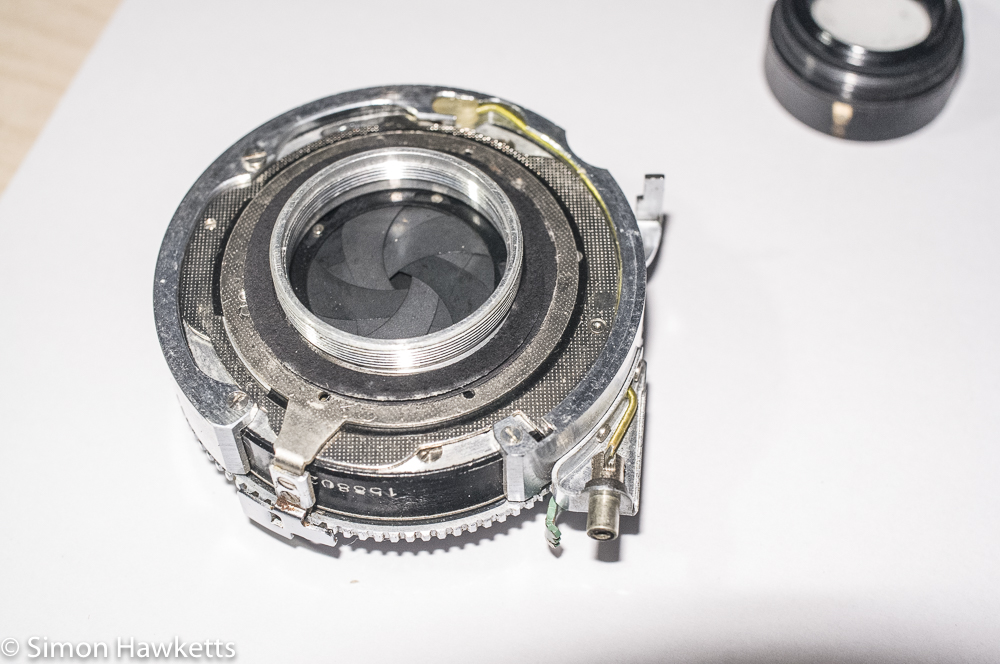
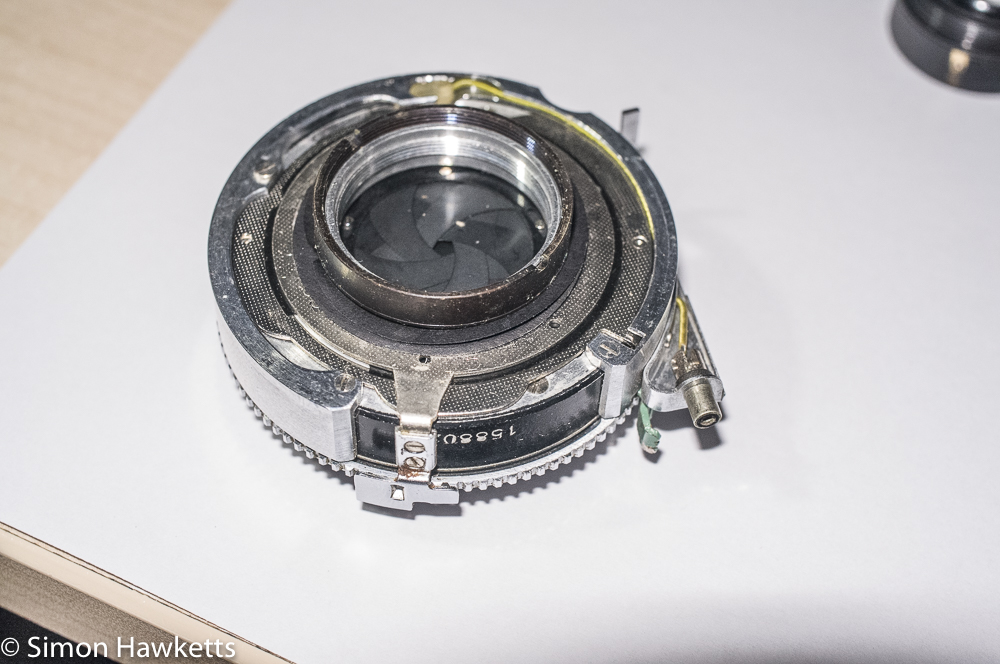
With the rear element out, I could see the ring which holds the shutter in place, which has two slots in. I could use the same lens spanner to remove the ring and as I removed it I opened the front of the camera and gently supported the shutter as it came away from the camera body. I found there are thin paper washers under the shutter, which I assume are to correctly distance the shutter assembly from the film plane and calibrate the focus. Therefore, I made sure I refitted these washers and also re-screwed the retaining ring back on the shutter, so they don’t get lost.
My next job is to strip down and clean the shutter assembly, for which there are very good instructions for a similar shutter to mine on Chris Sherlock’s Retina Rescue site. I’m hoping that those instructions and my limited experience of compur shutters will see me through!
Discover more from Everything Vintage
Subscribe to get the latest posts sent to your email.

