Rebuilding the Kodak Retina Reflex S film advance
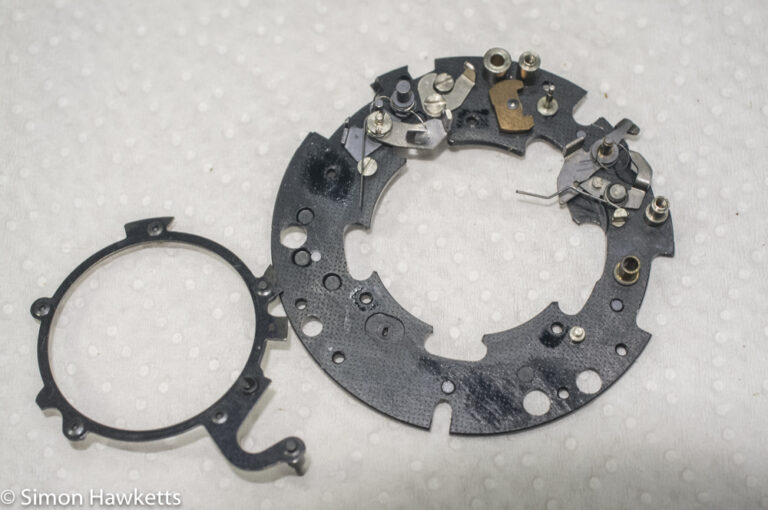
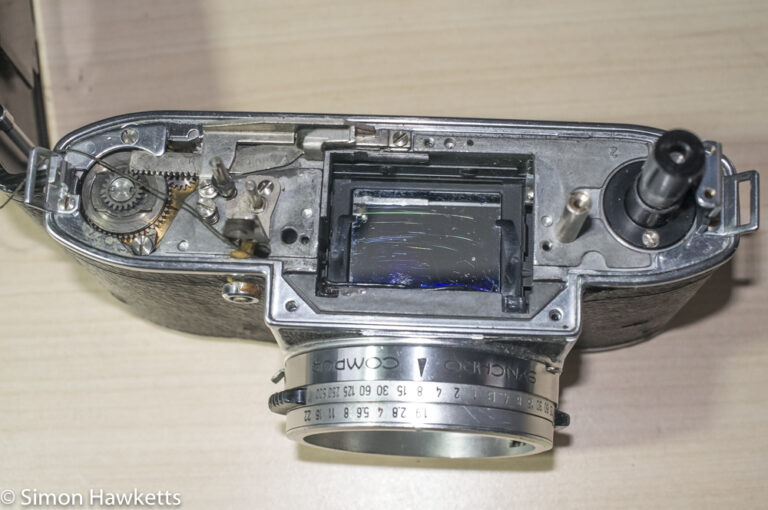
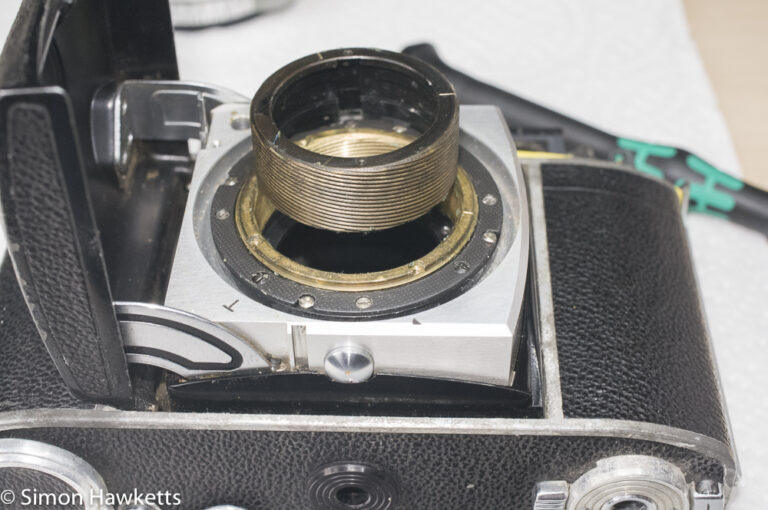
A couple of days ago, I stripped down one of my Retina Reflex S cameras with the aim of making one good camera from the parts of the two I have. Well, today I started the re-assembly operation with the Retina Reflex S film advance assembly.
Retina Reflex S Film Advance Images
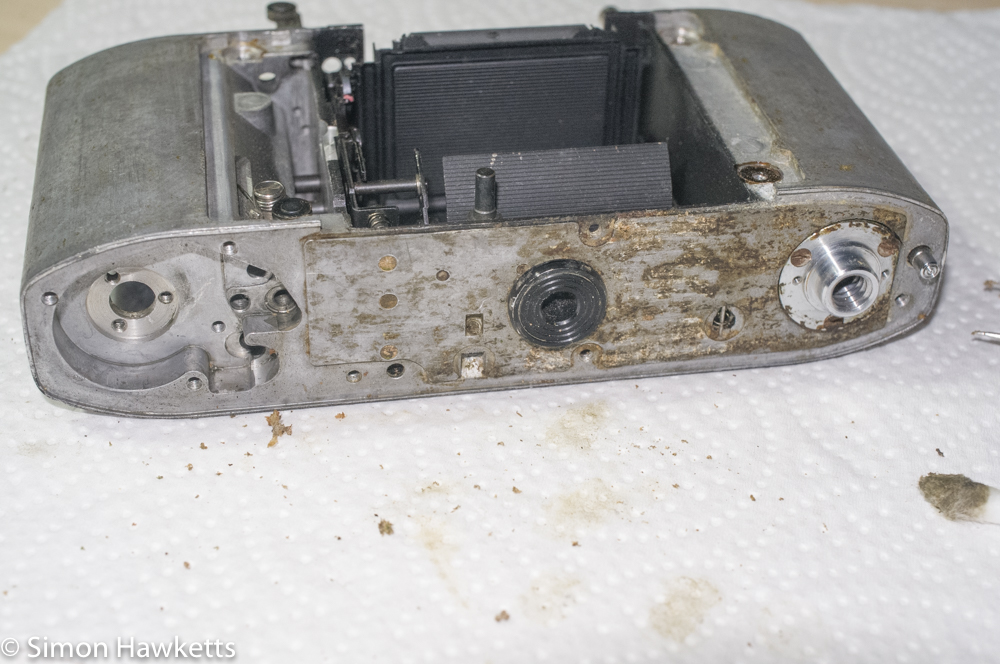
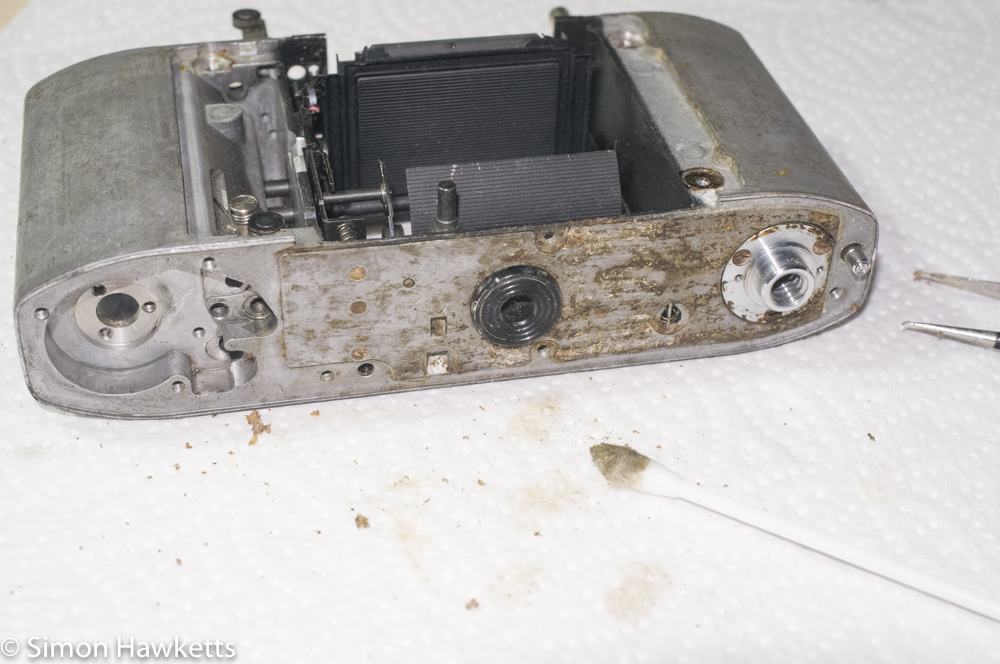
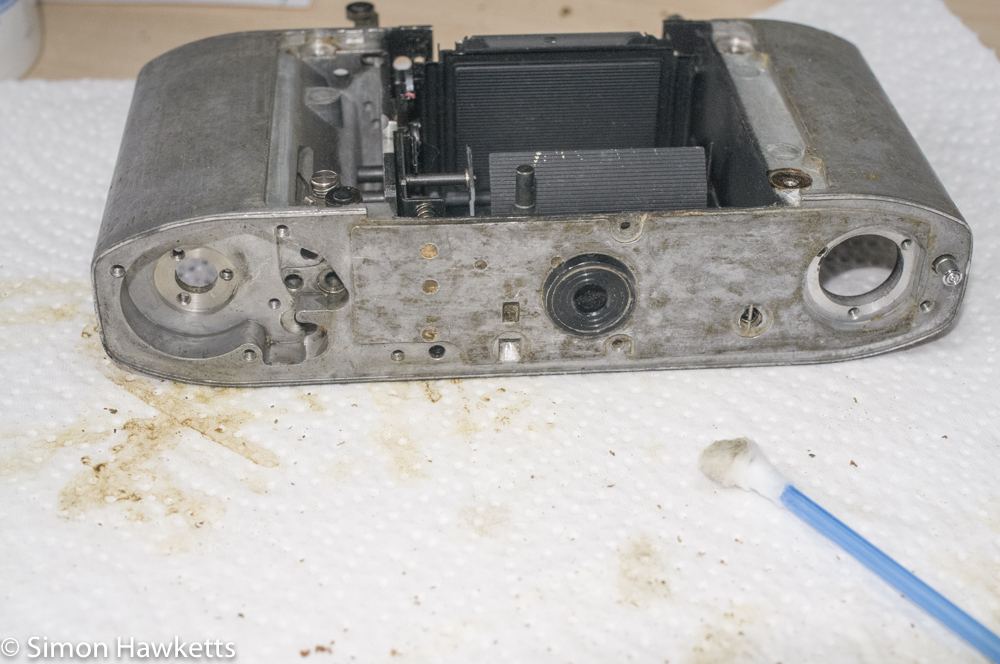
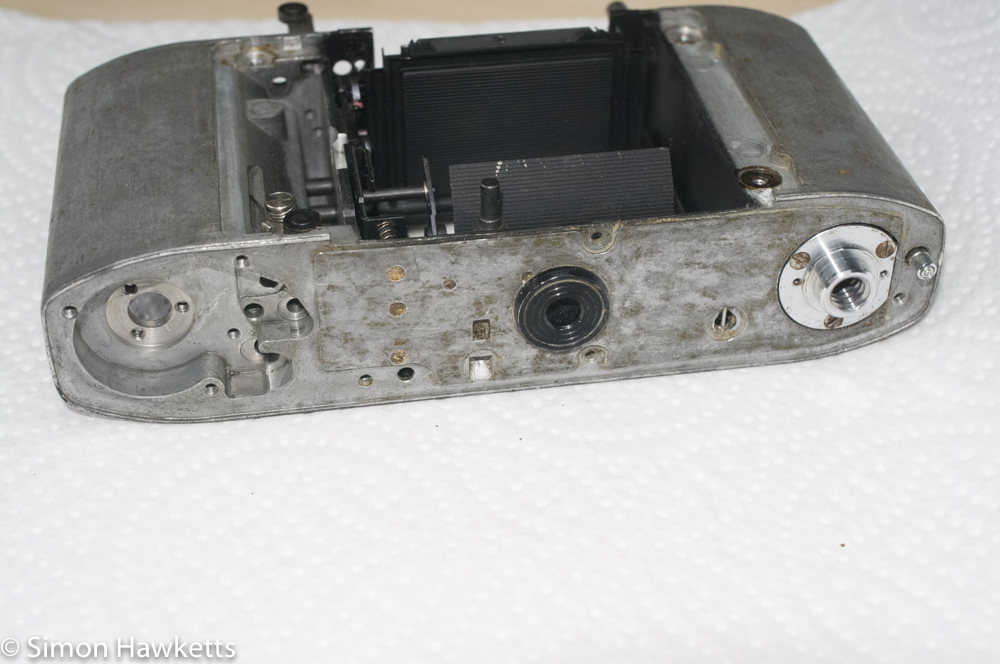
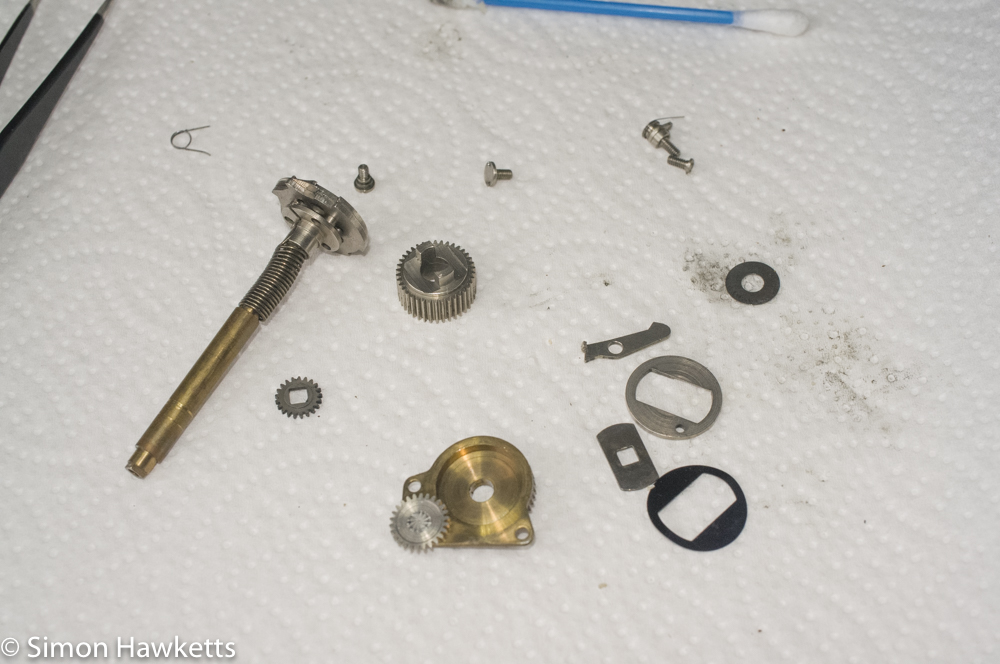
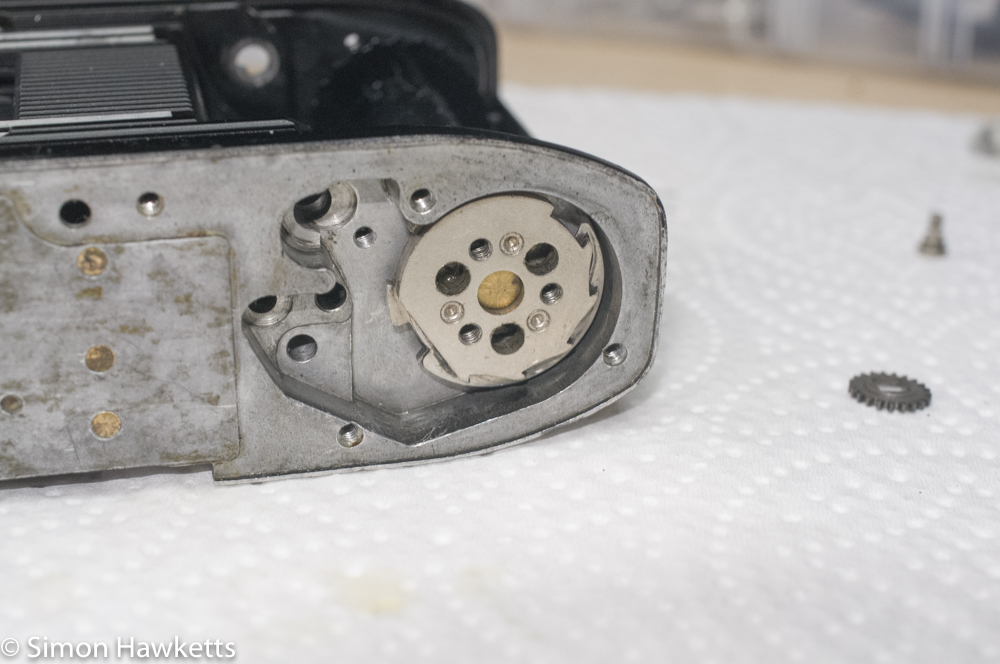
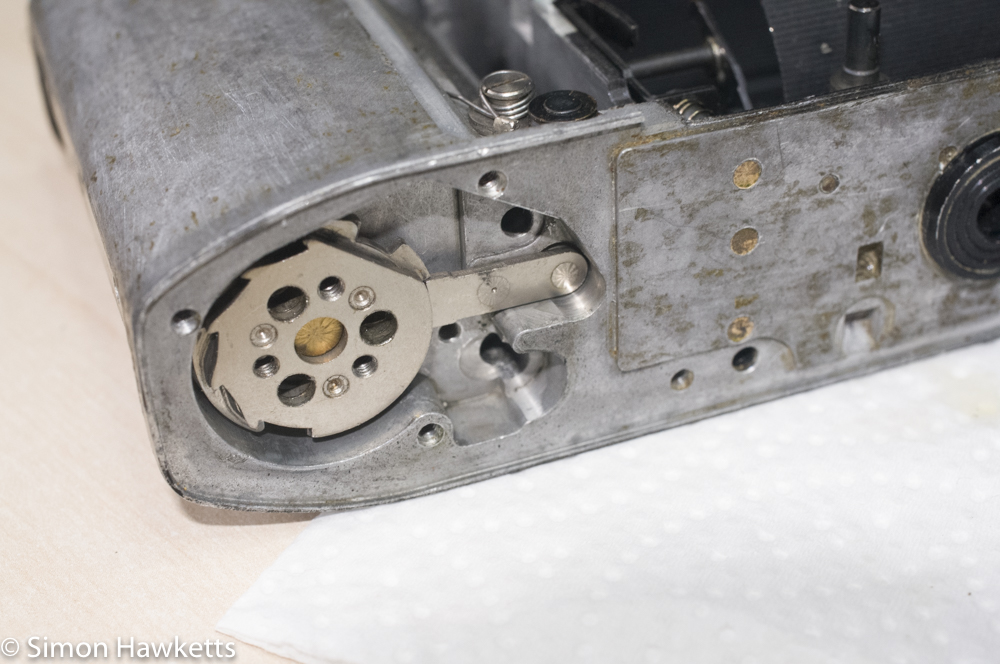
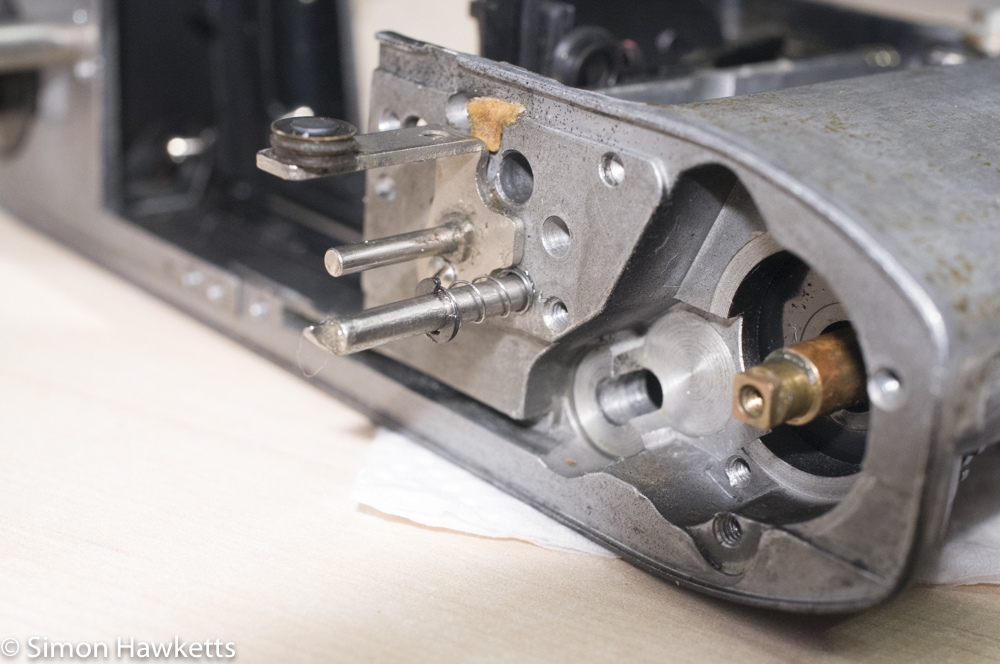
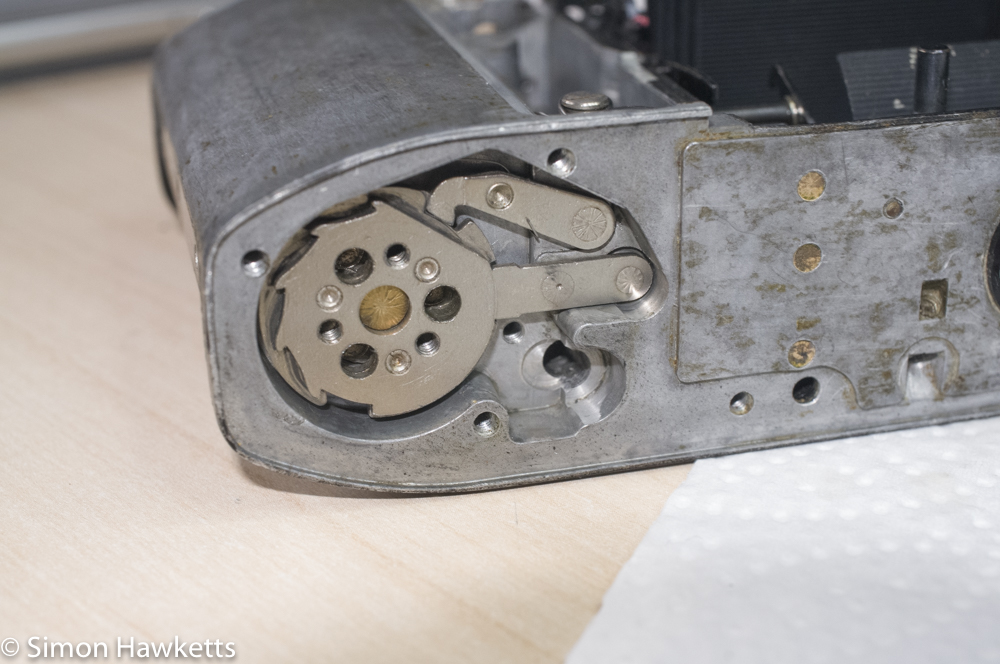
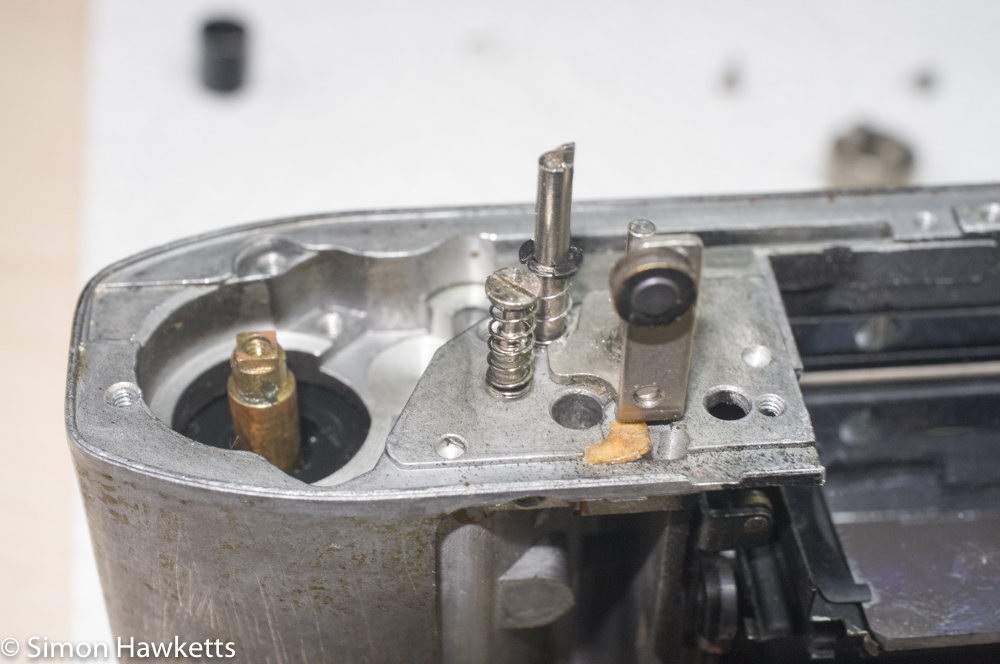
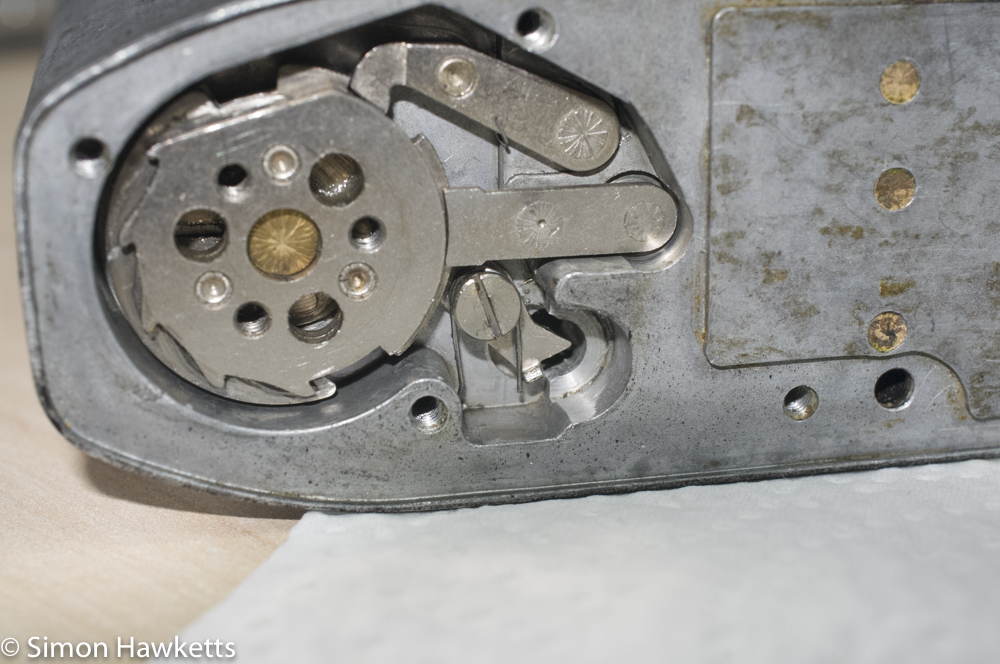
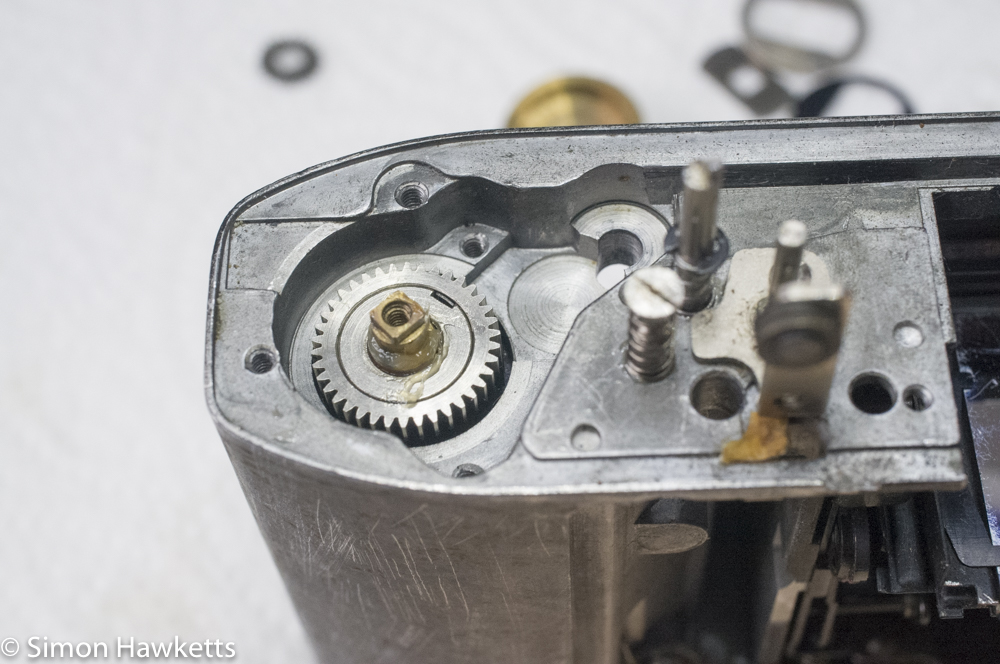
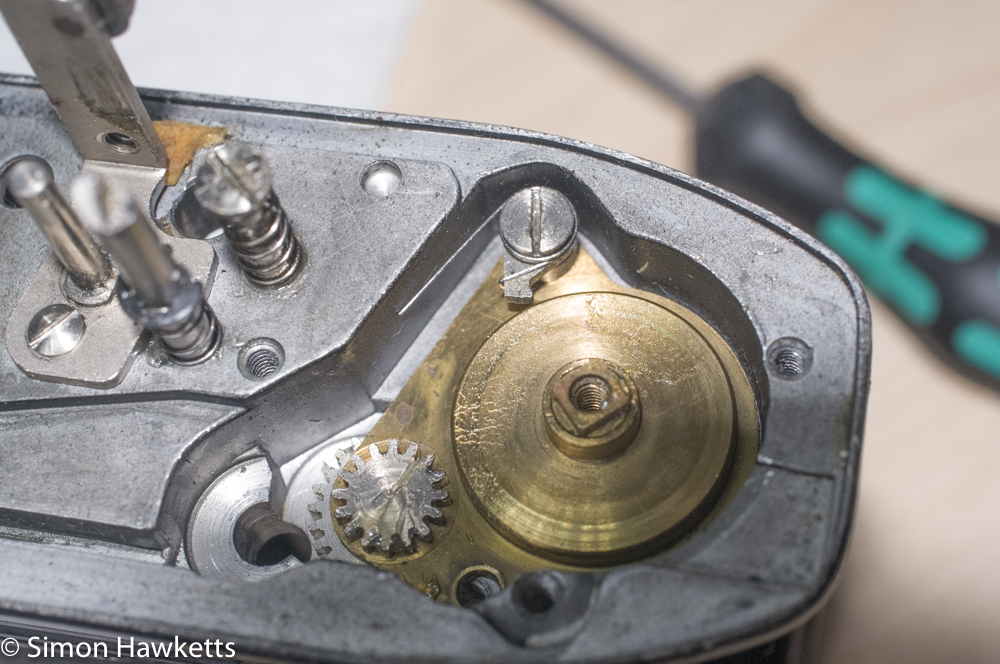
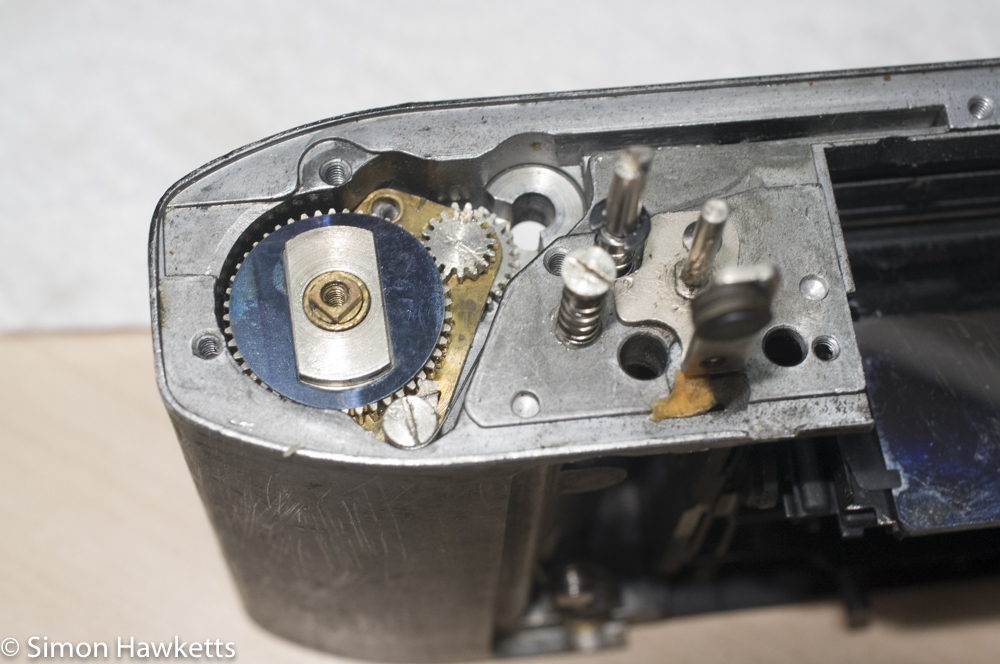
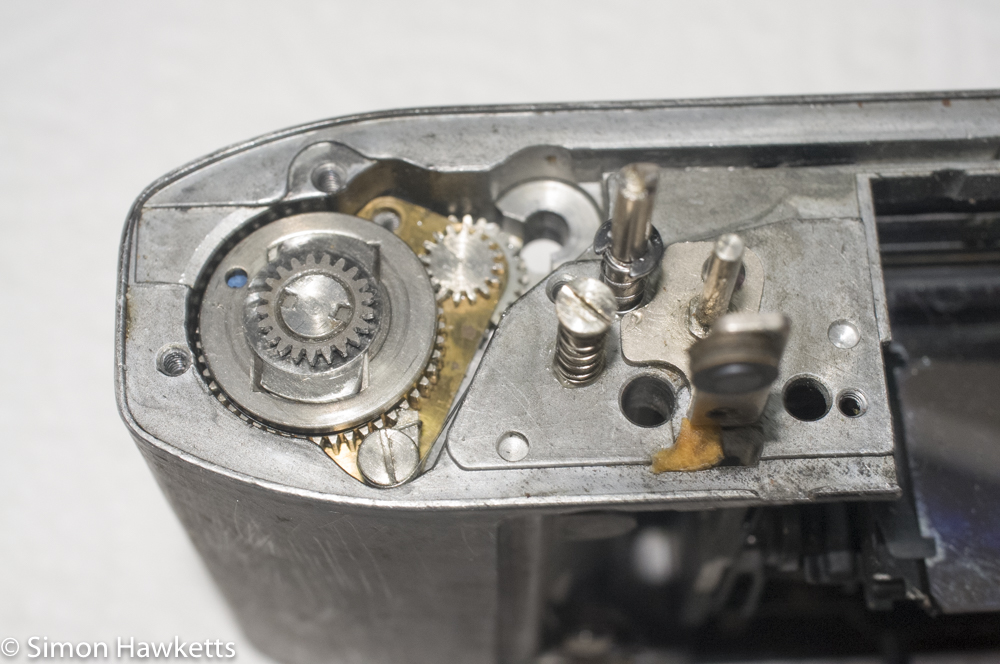
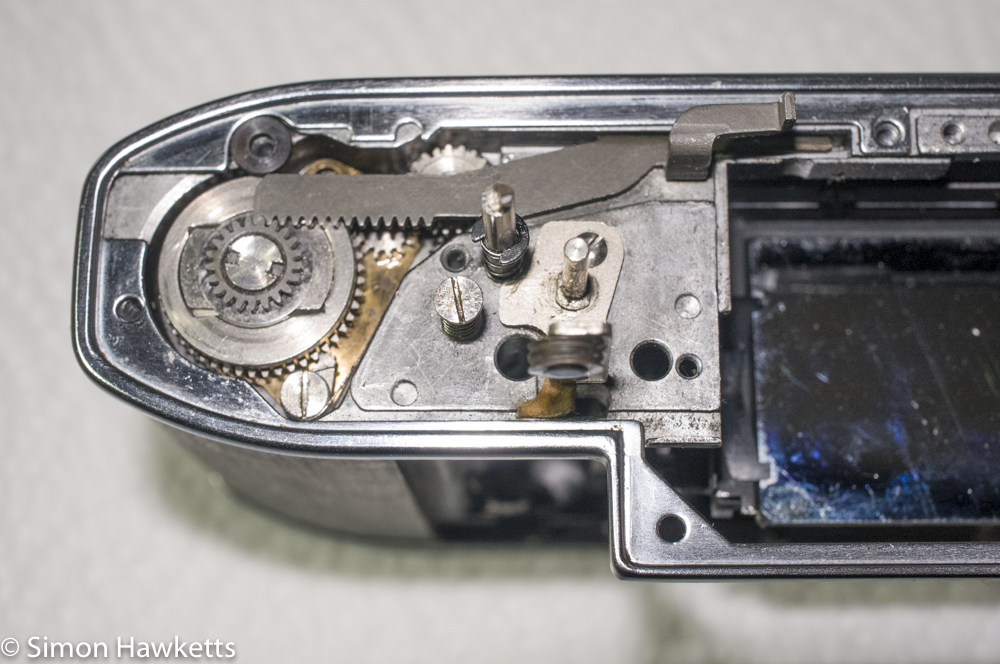
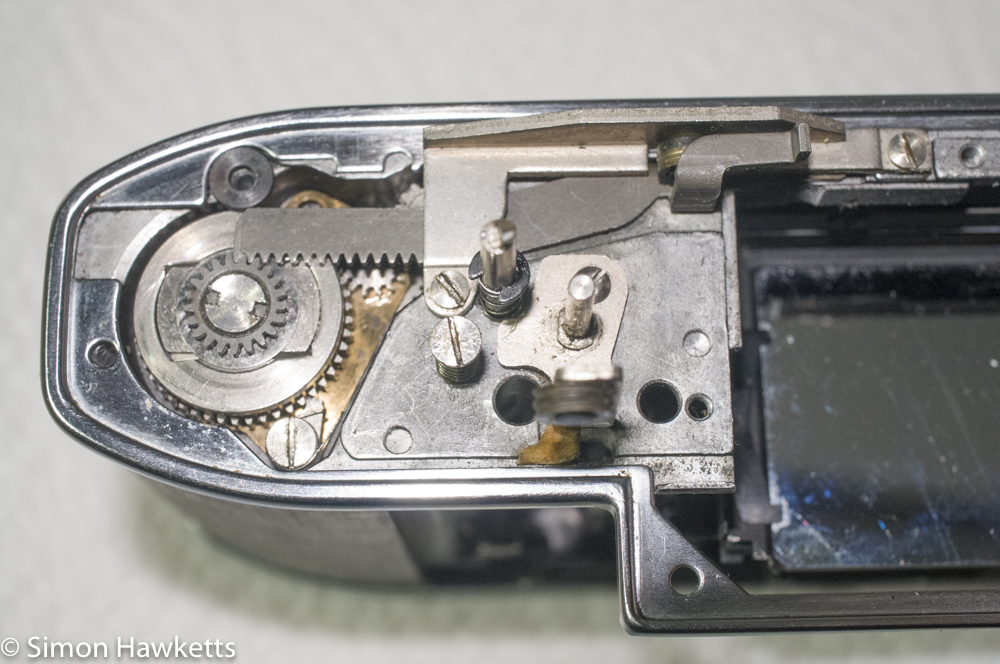
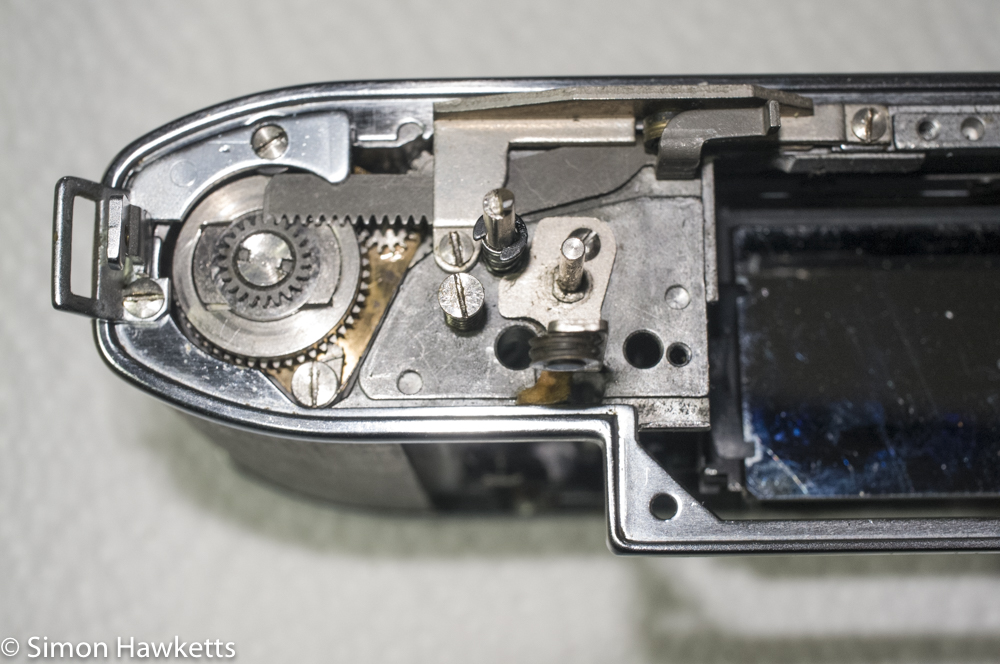
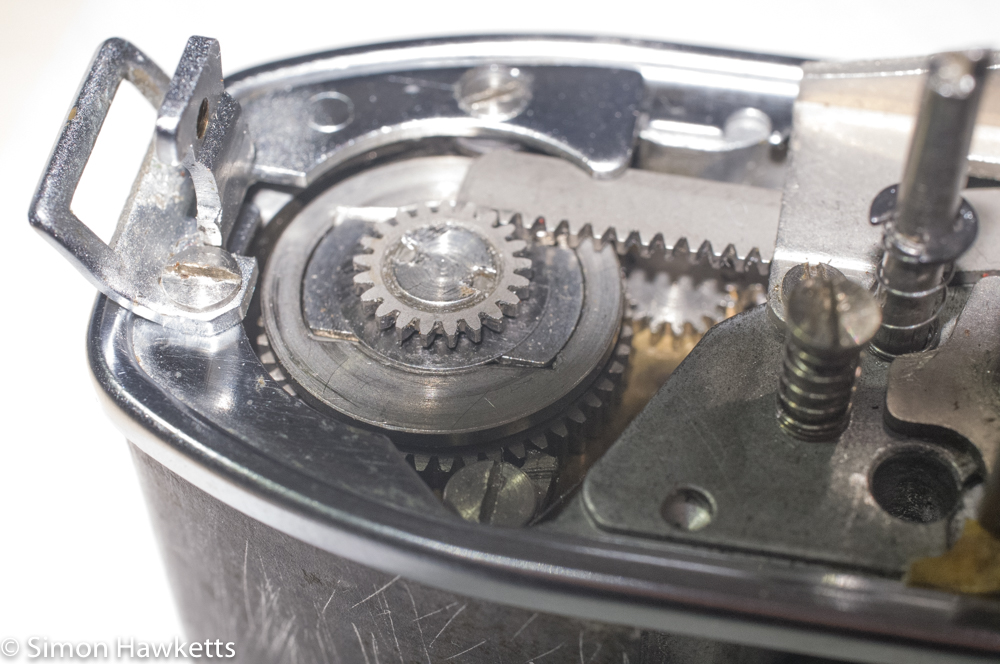
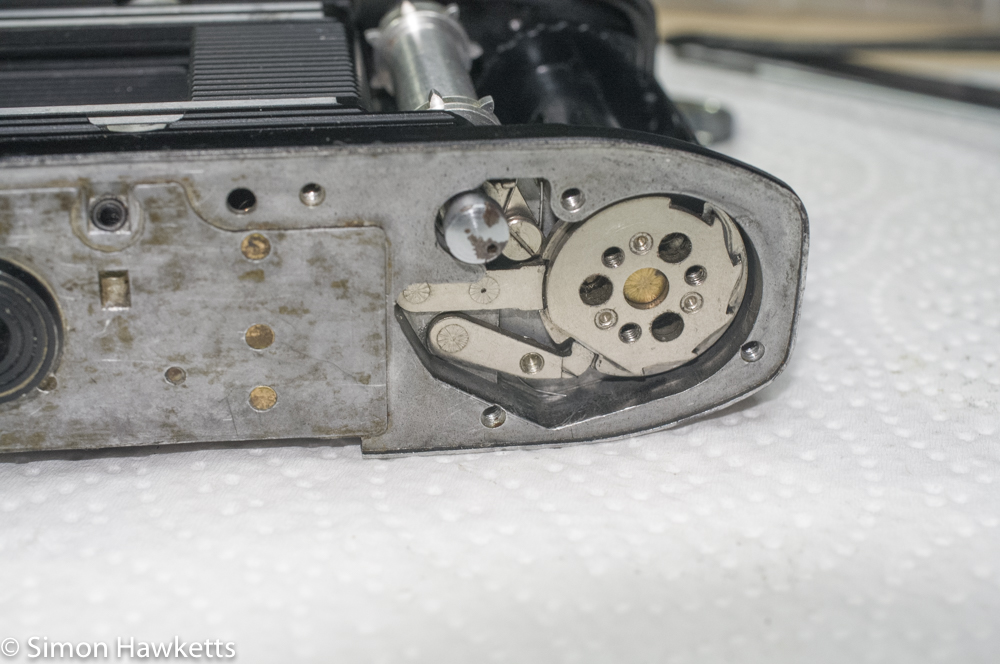
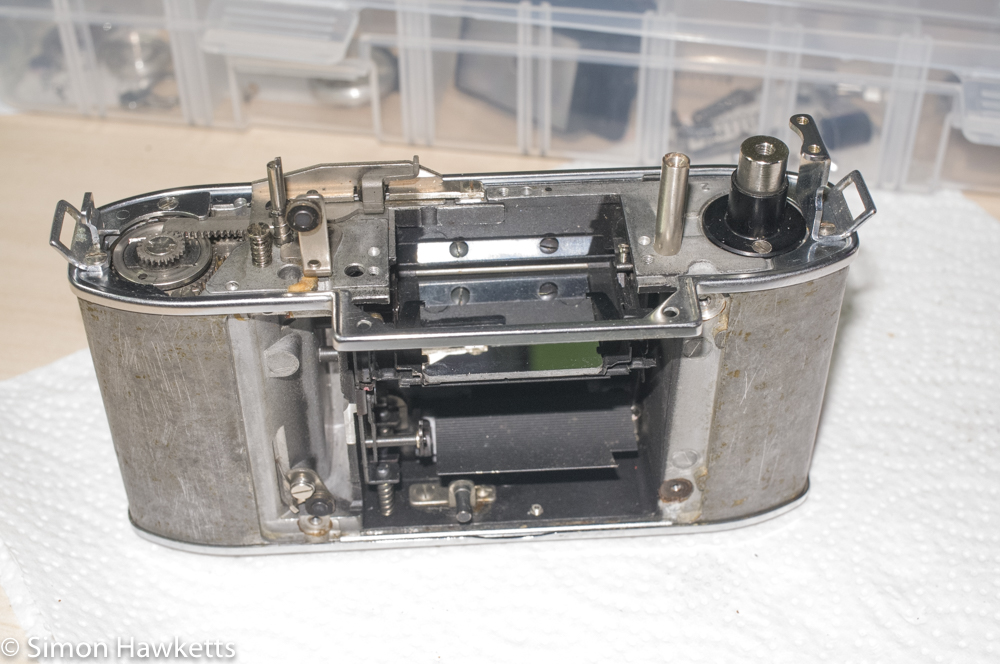
My original aim was to strip down the worst of the units and re-assemble it as a practice before I did the same to the better unit. I found, however, that the unit I considered ‘better’ also had issues (springs and components from the film transport missing) and by the time I’d stripped the ‘worst’ unit down it was basically the chassis anyway, so I decided to use it as the basis for the rebuilt camera.
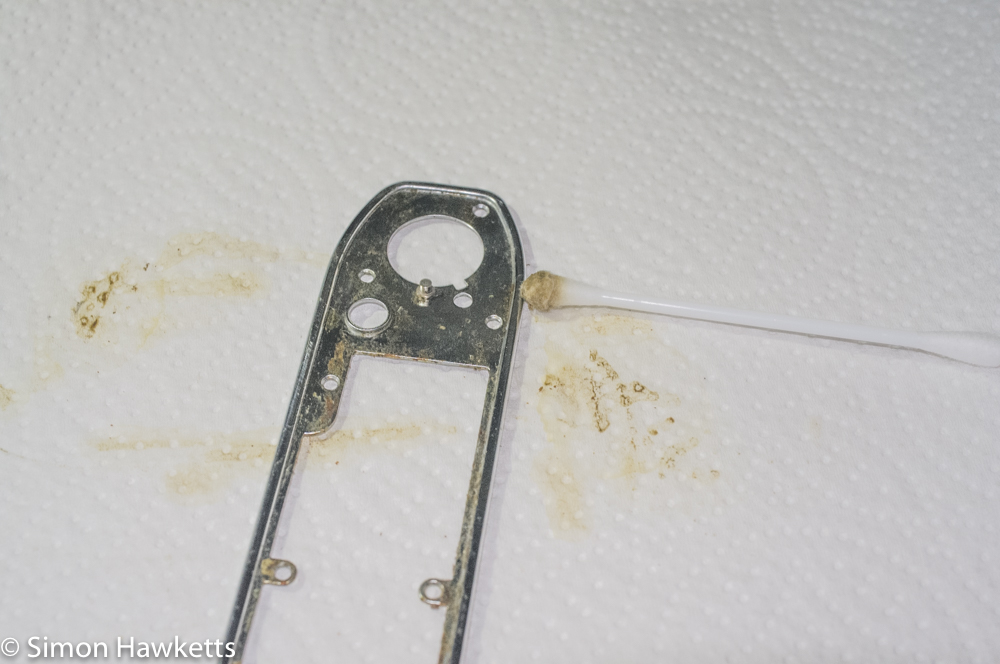
Before I tried any re-assembly work, the first operation was to clean all the old dirt and oil from the two milled chambers in the body casting, and removing all the old glue on the outside of the camera where the leathers had been glued on. To do this, I used Acetone applied with cotton buds and the side of a set of tweezers for some of the really stubborn bits of old glue.
With the casting clean, I then cleaned each of the film assembly components in acetone, removing all the old grease and grime.
Once everything was clean, I carried out the assembly of the film transport using the basic procedure outlined by Chris Sherlock here. I did find I had to slightly deviate from the steps he shows, but that was probably because I don’t have the experience, so I assembled some things incorrectly and had to re-do them.
One thing I found completely different was the spring on the end of the shutter release. On the Retina Rescue site there is a picture which shows the shape the spring should have and in my camera the spring was bent with completely the opposite shape, so I bent my example to look like the picture. Unfortunately, that completely failed to work because the shutter release wasn’t held into the film advance cam properly, so I had to dismantle it and move it back to the way it was originally. I can only assume there must have been variant versions produced over the years.
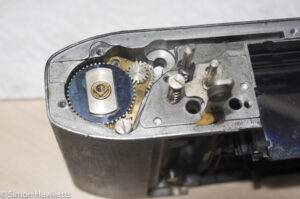
Another thing I had difficulty with was fitting the components on the top gear set. The square bush that they all sit on simply didn’t protrude enough to get everything fitted. I found I had to push on the shaft at the bottom of the camera, so I could get everything to fit.
Because this is the first time I’ve worked on this camera I ended up taking everything apart several times, and during the course of these re-assemblies I worked out that the original problem with re-assembling the top components is that the rewind release lever in the bottom assembly has a tendency to fit under the film advance mechanism and that is why I had issues.
The camera was originally missing the rack support washer, but fortunately the other camera had one, so I could pinch it from there. I found adding tension to the return spring was a particularly tricky operation – every time I tensioned it and got the bottom plate on, something would release the tension, and I’d have to do it again. However, after a few attempts I got everything assembled and working, so my next job is to clean up the shutter and get it working also. That may be a tougher job because at the moment both shutters are completely locked, but it may also be slightly easier because it’s something I’ve done a few times before.
Discover more from Everything Vintage
Subscribe to get the latest posts sent to your email.

