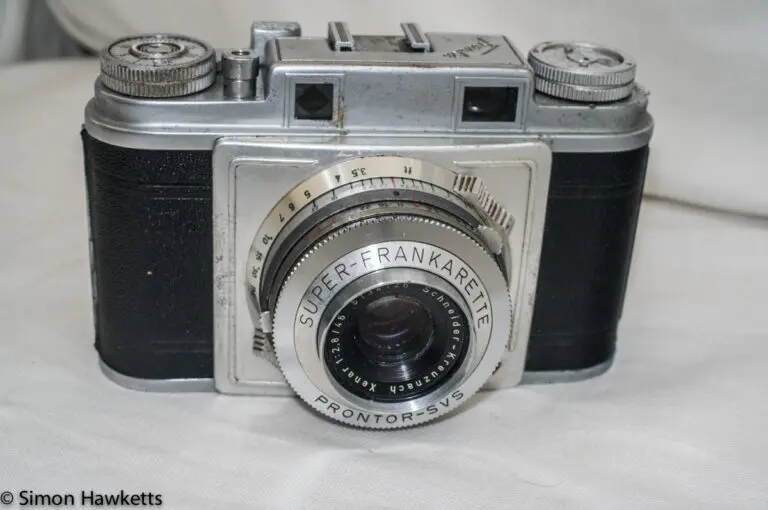
Franka Super Frankarette slow shutter speed regulator repair
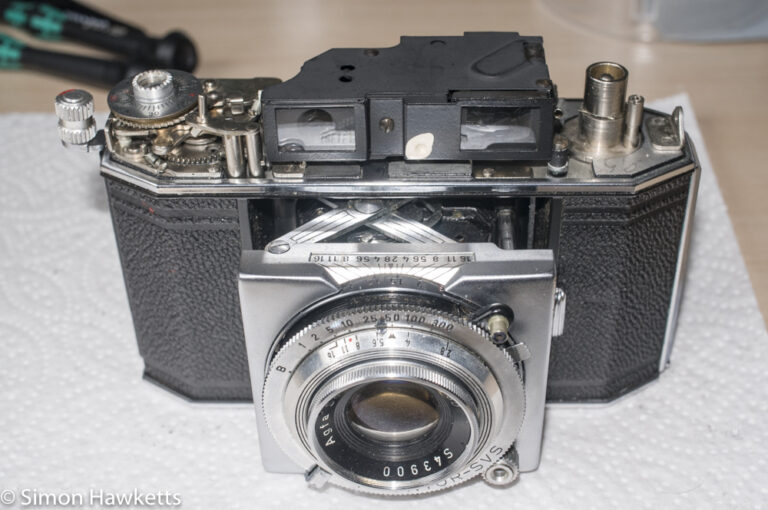
Today I received a Franka Super Frankarette Rangefinder camera which had a few problems with the slow shutter speeds not completing and therefore leaving the shutter open. This camera is fitted with a Prontor-SVS shutter, so the fix I carried out should also be appropriate for any other camera fitted with this shutter.
Franka Super Frankarette Shutter Images
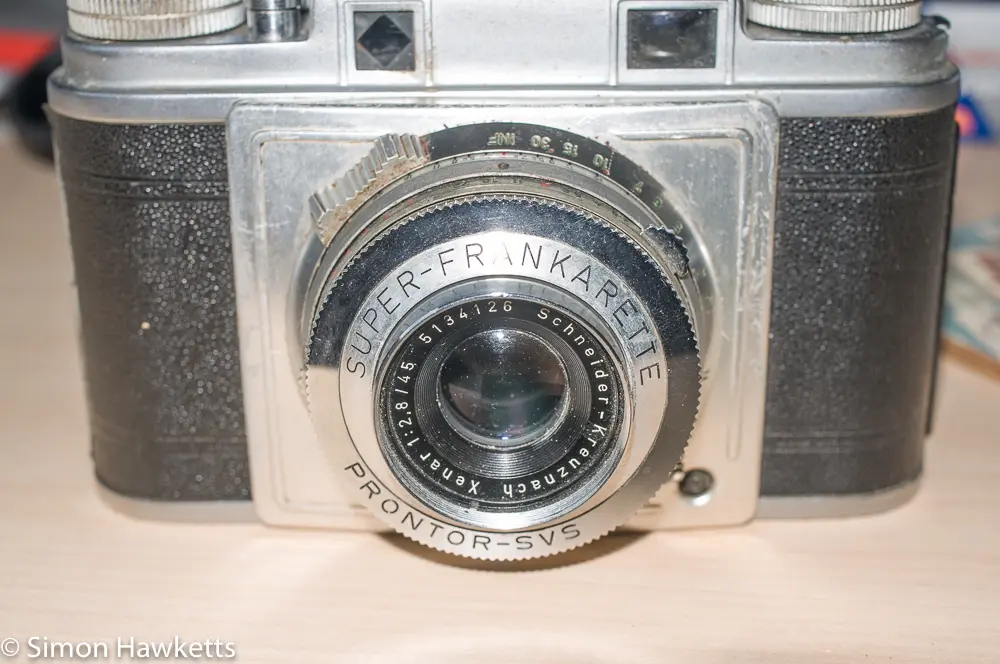
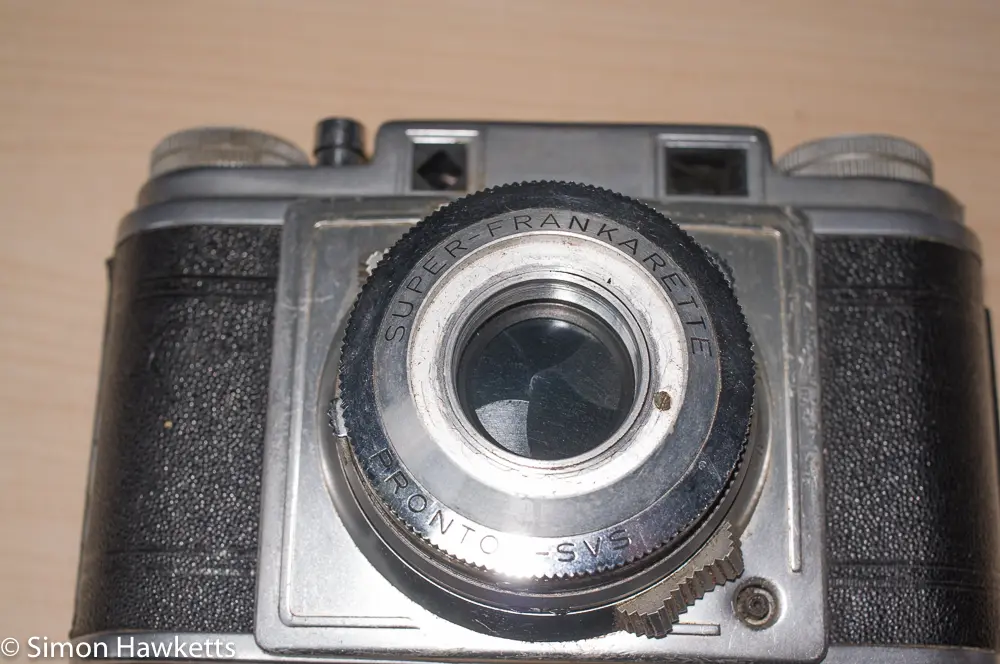
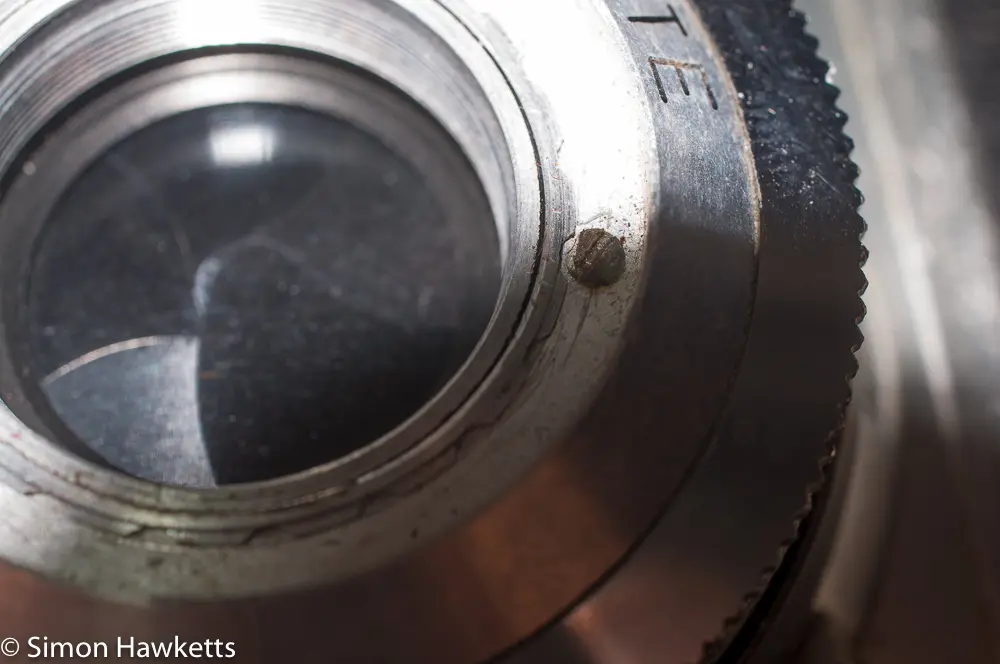
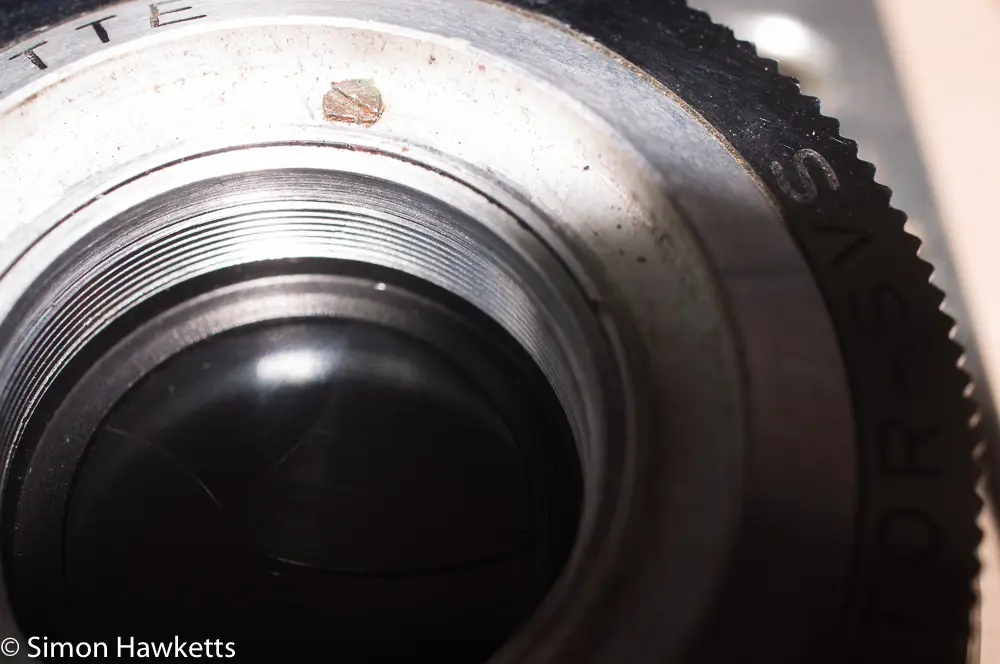
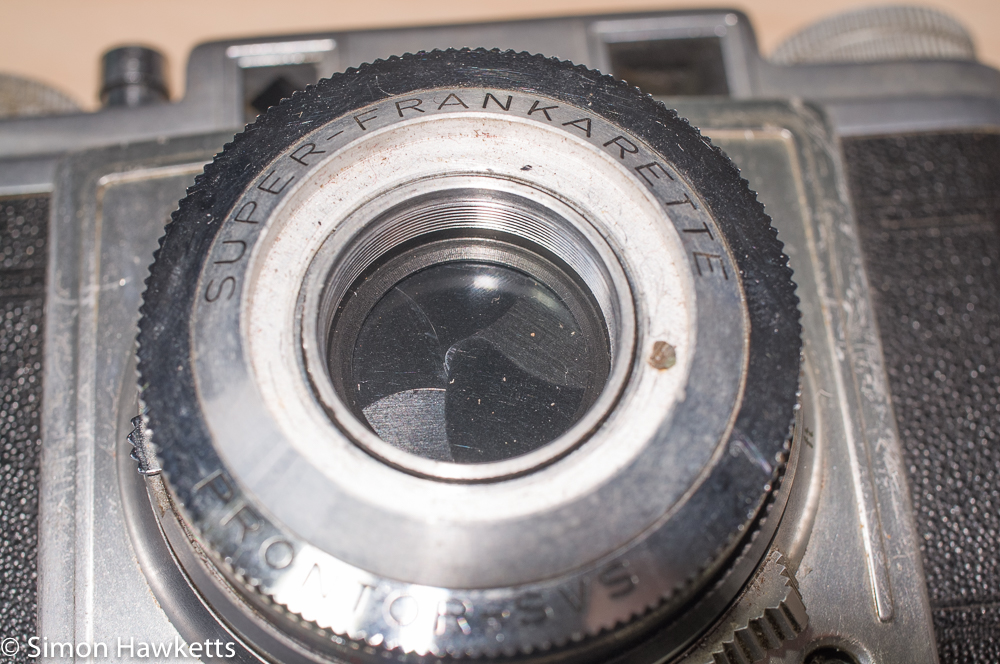
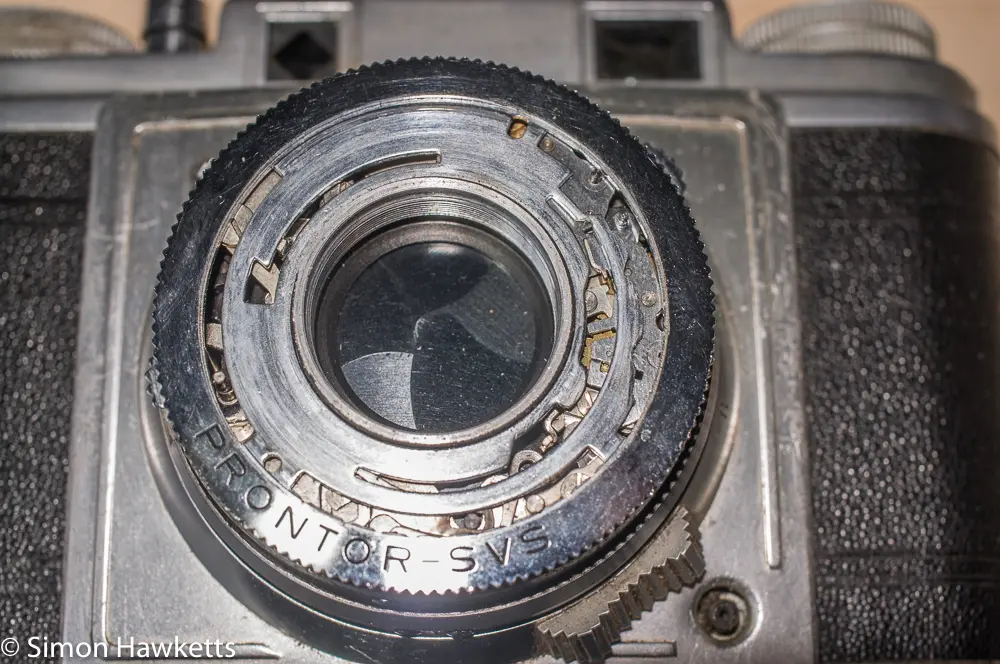
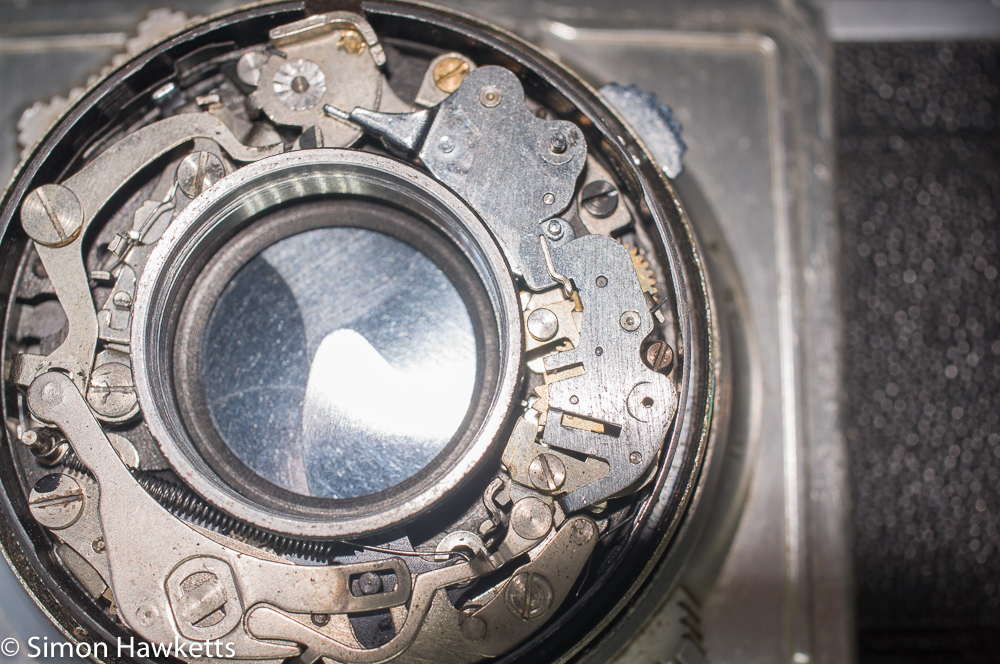
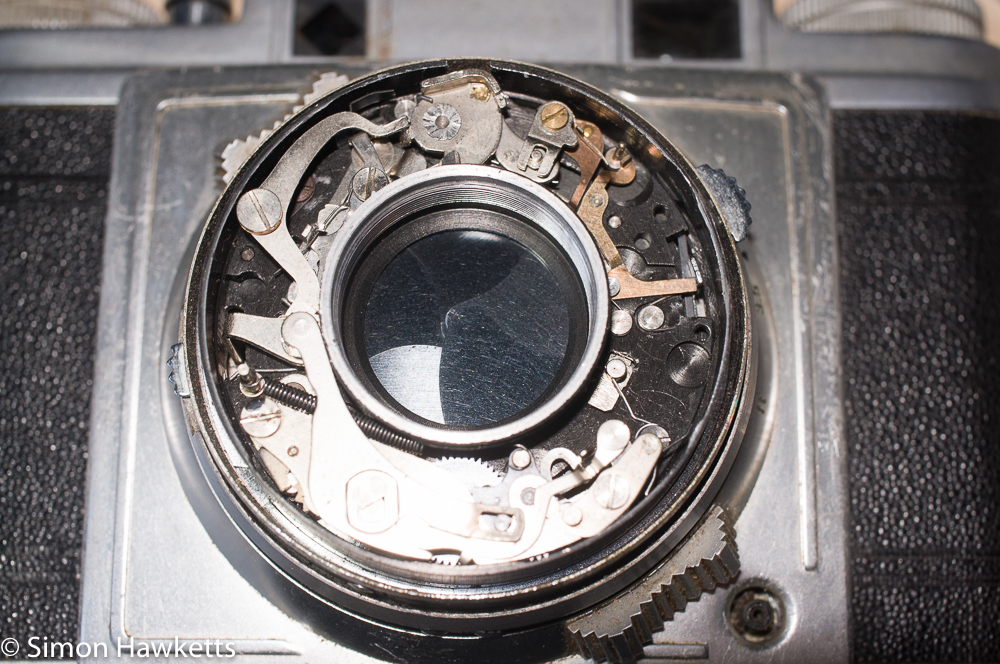
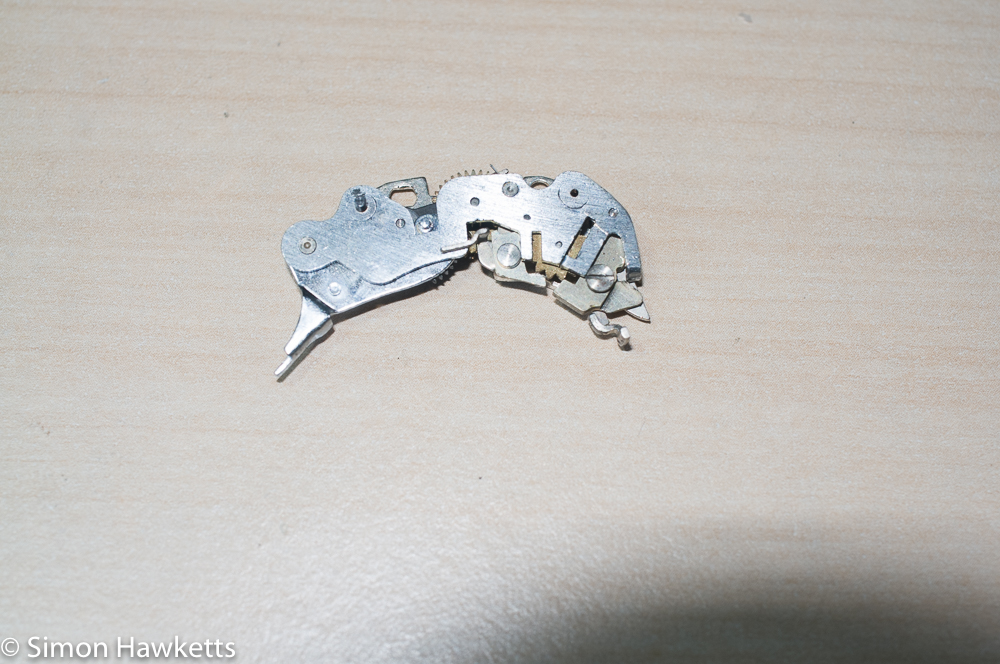
It turns out this is a really easy problem to fix because the slow speed component can be simply lifted out of the shutter and cleaned and then dropped back into the shutter.
The way to get into the shutter is to first unscrew the front lens element and then turn the lock screw, which is revealed a half turn to allow the lock ring to be undone. When the lock ring is removed, the trim can be lifted off and the shutter speed ring is shown. I took several pictures here to make sure I knew how it was fitted and then took it off as well.
With the speed ring removed, you can see the shutter components. In the photo above, the speed regulator is to the top right and is held in with two screws, both black. One is positioned at the bottom of the speed escapement and the other is a long pillar which is shown in the centre right of the picture. The shutter needs to be cocked to reveal and undo the top screw.
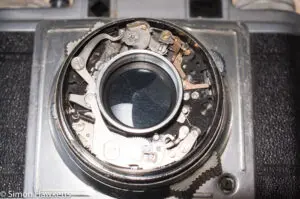
With these two screws removed, the component can be lifted out of the shutter and cleaned by flushing it with a dirt removing solvent. I used acetone for this.
When I say the component can be lifted out, it was actually a bit fiddly because the outer ring of the lens on my camera was not completely round, and I had to move the component round towards the cocking cam, but in the end it came out.
After it had been flushed with solvent and was working properly, it was just a question of fitting it back. Again it was a bit fiddly, but eventually I got it to fit. The important thing is to make sure the far end of the speed component engaged properly with the other component if fits in to (which I believe is the self-timer) as it is pushed into place. I actually ended up bending one of the control pins on mine, so when I got it all in place the shutter wouldn’t work at all, so I had to remove it again, find the problem and reshaped the pin.
Once it’s back and the shutter has been cocked and fired to make sure it’s working, just refit the speed setting ring and the rest of the components. I had to have several attempts to get the speed setting ring right, even though I’d taken several pictures, because the B setting didn’t work, but after a few attempts I got it fitted and the shutter now works at all speeds.
Discover more from Everything Vintage
Subscribe to get the latest posts sent to your email.

