Pentax K1000 top plate removal
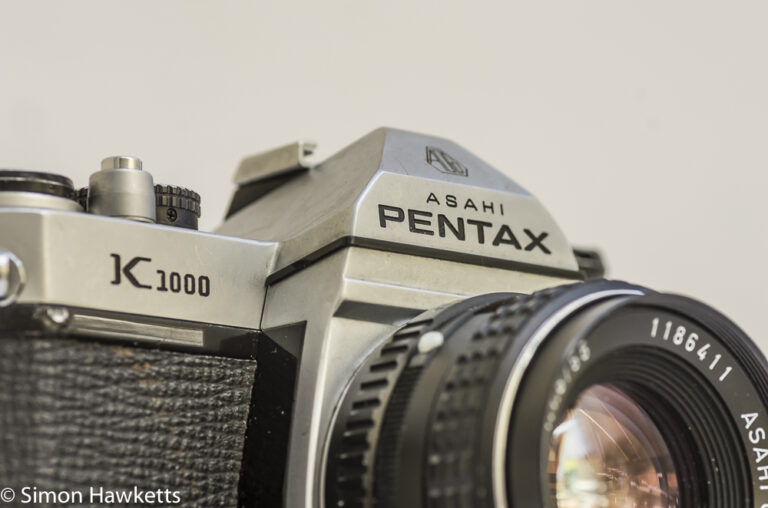
Today I started the clean-up and repair of my Pentax K1000 and the first job was the removal of the top plate. As usual, when I carry out any repairs, I try to take lots of pictures so that I can easily repeat the operation as required and also make sure I can put the camera together again!
This process is also pretty much the same on the Spotmatic series of cameras, especially the later versions.
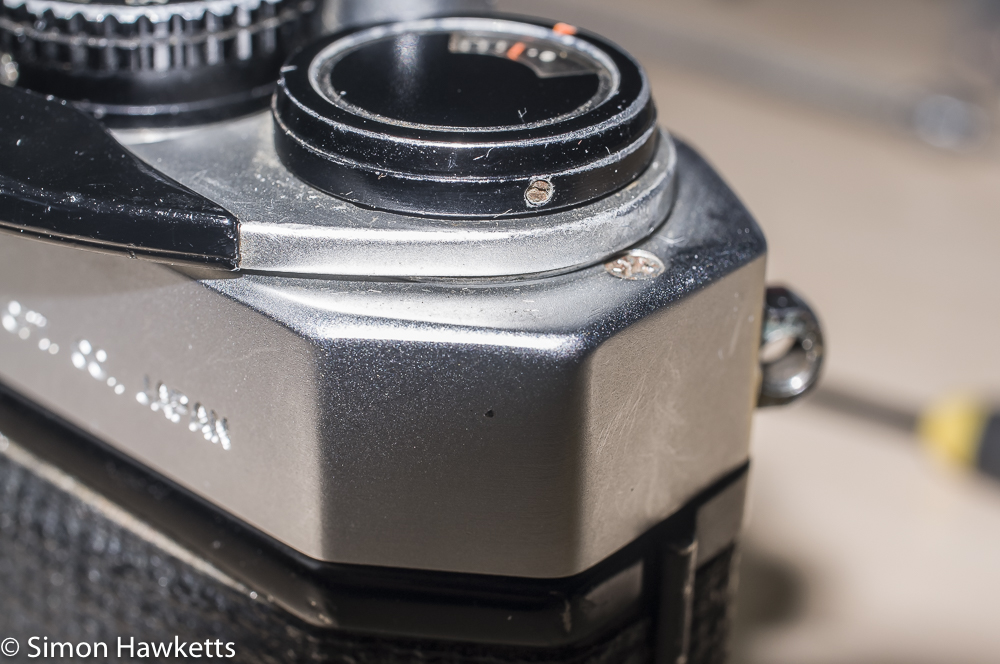
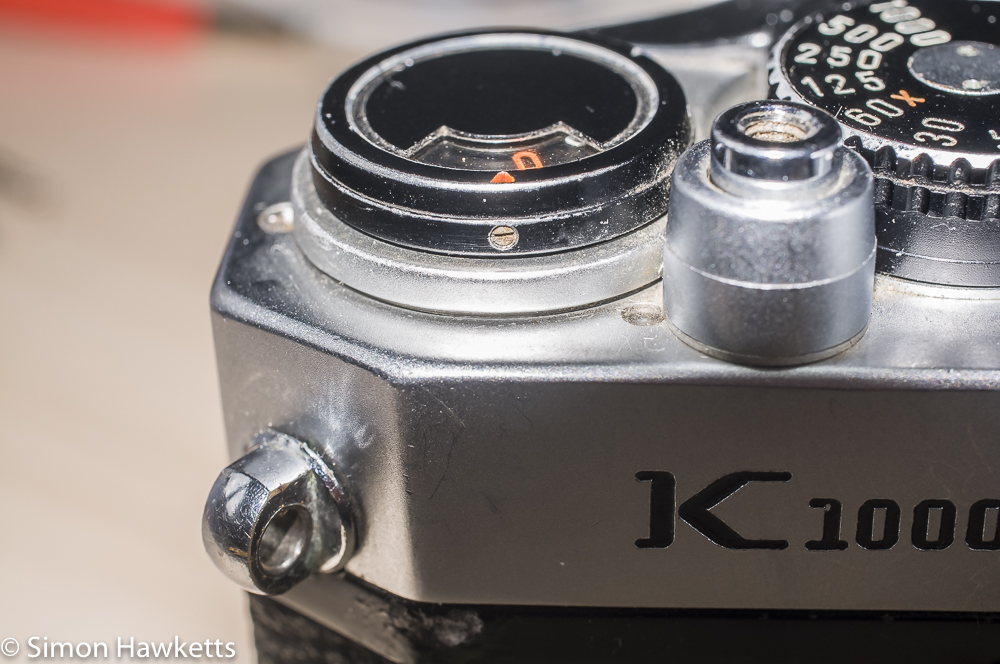
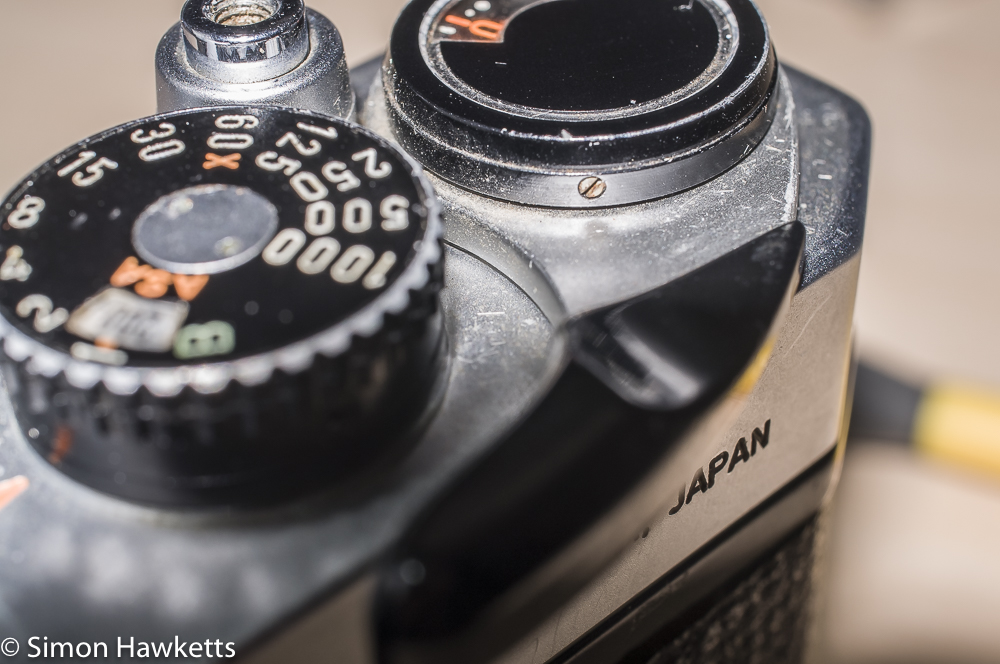
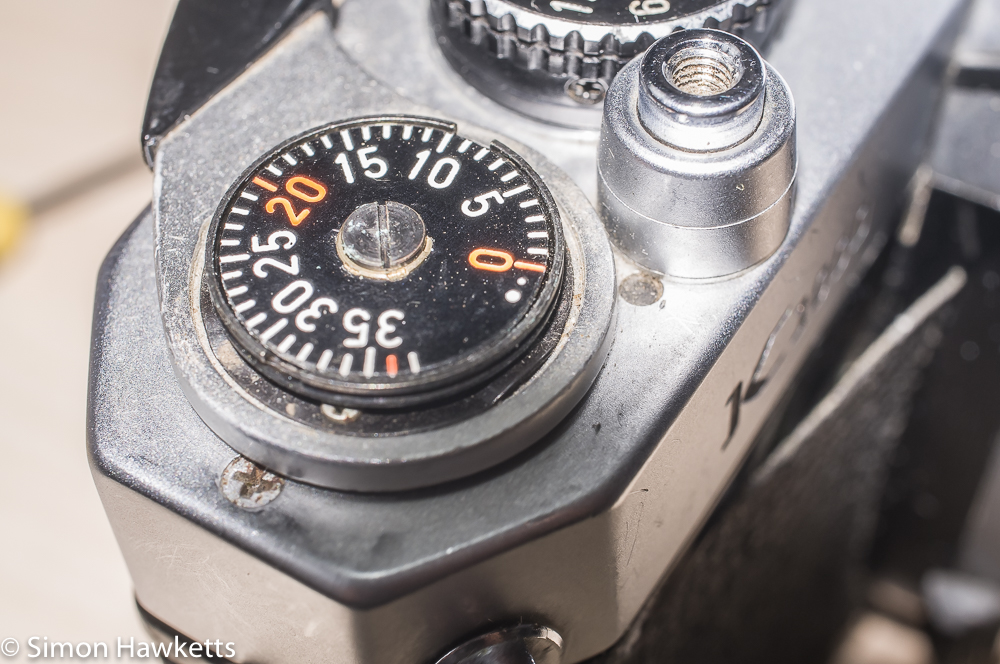
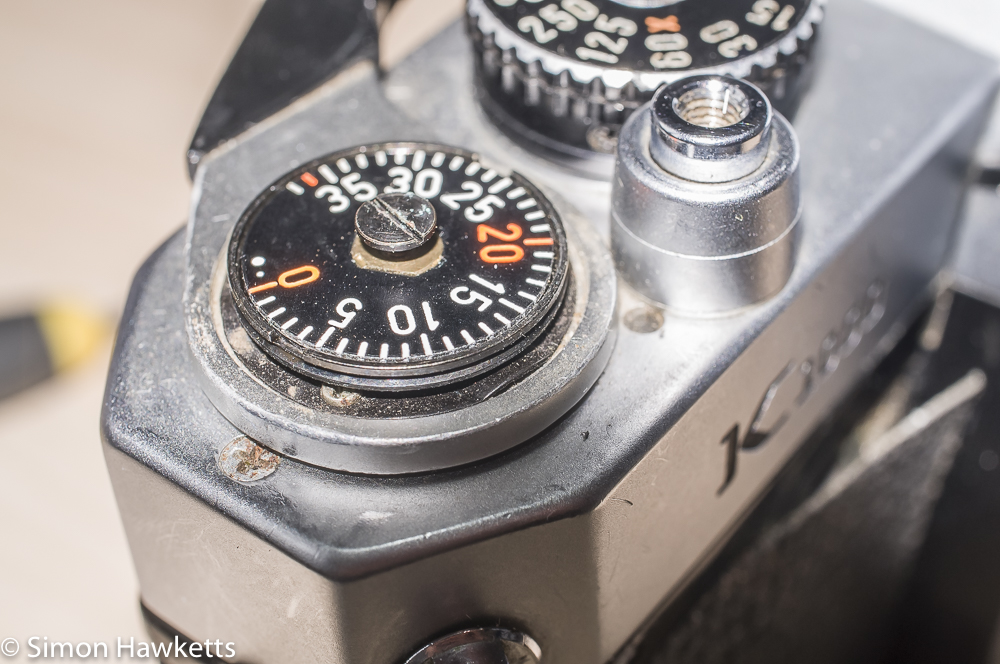
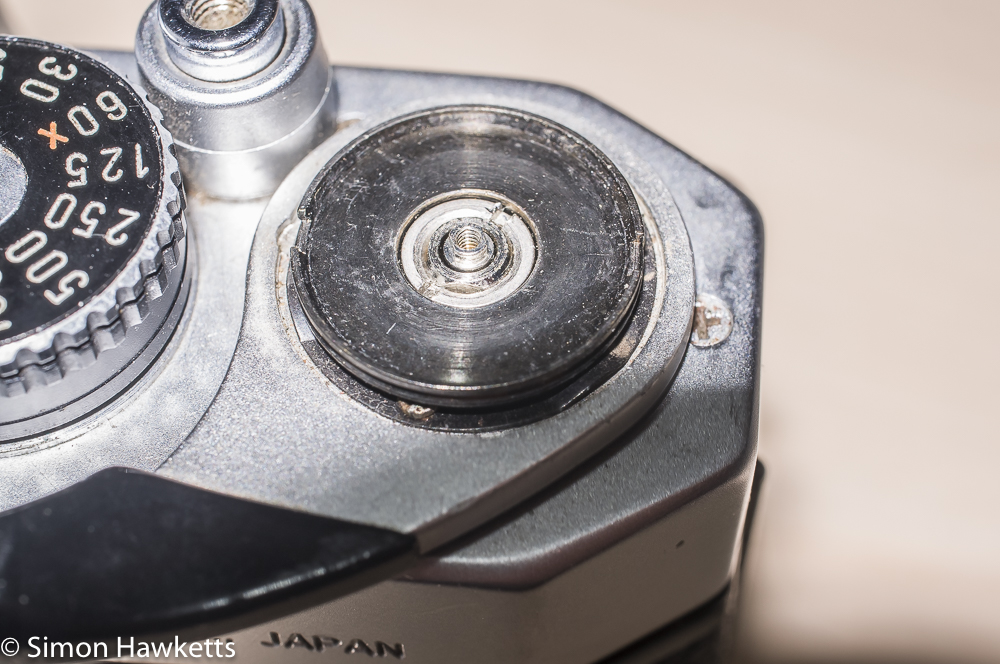
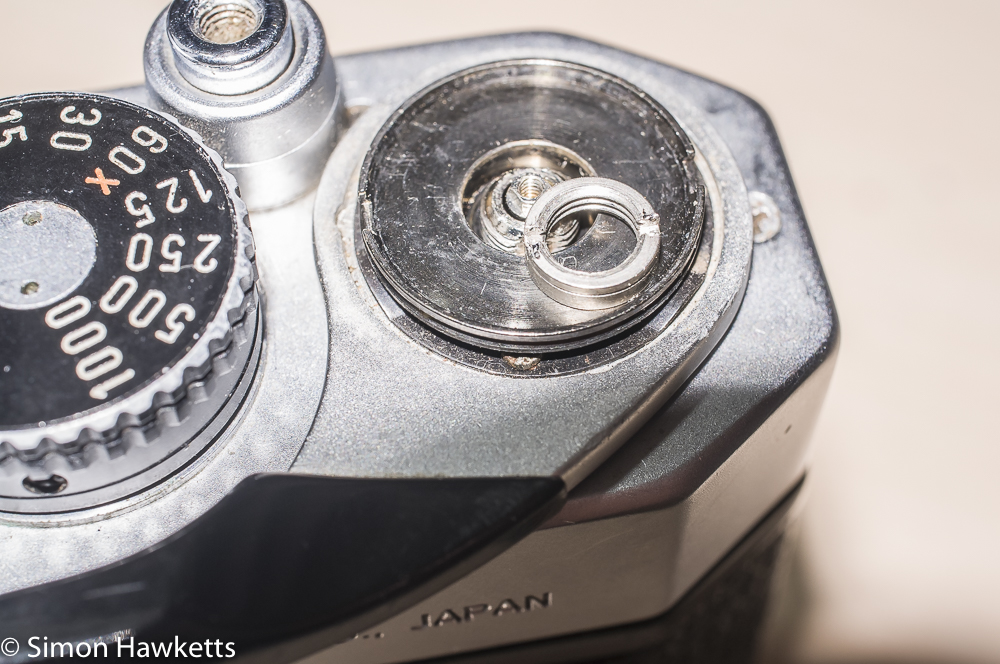
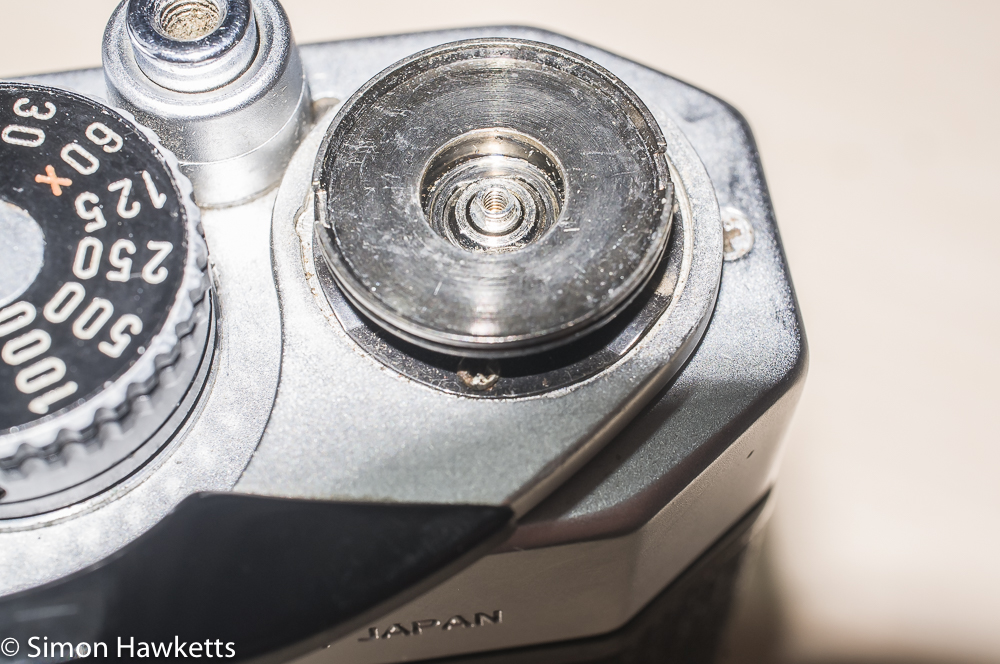
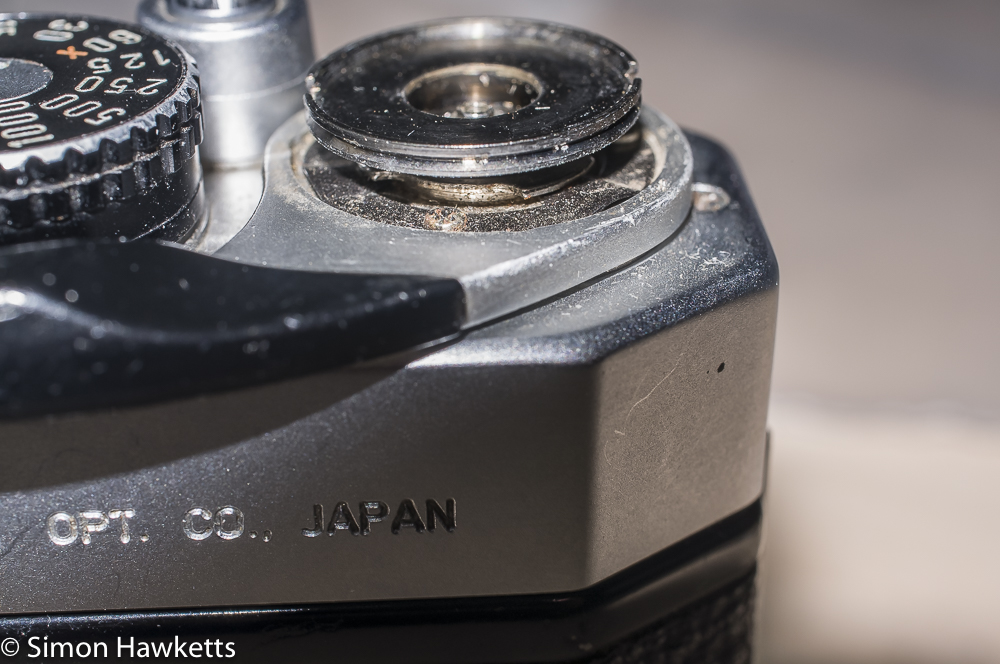
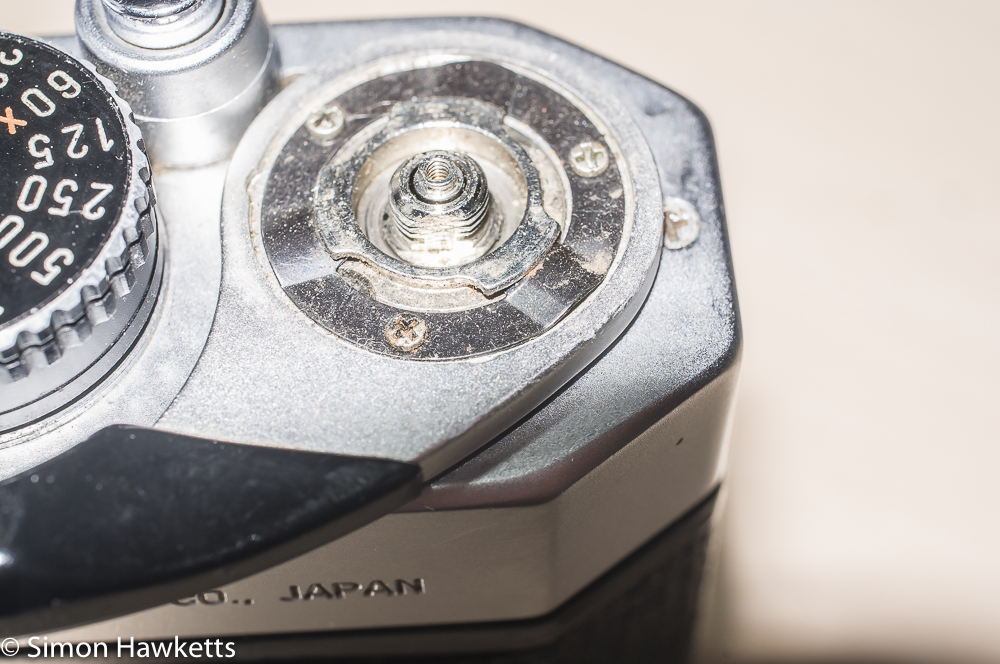
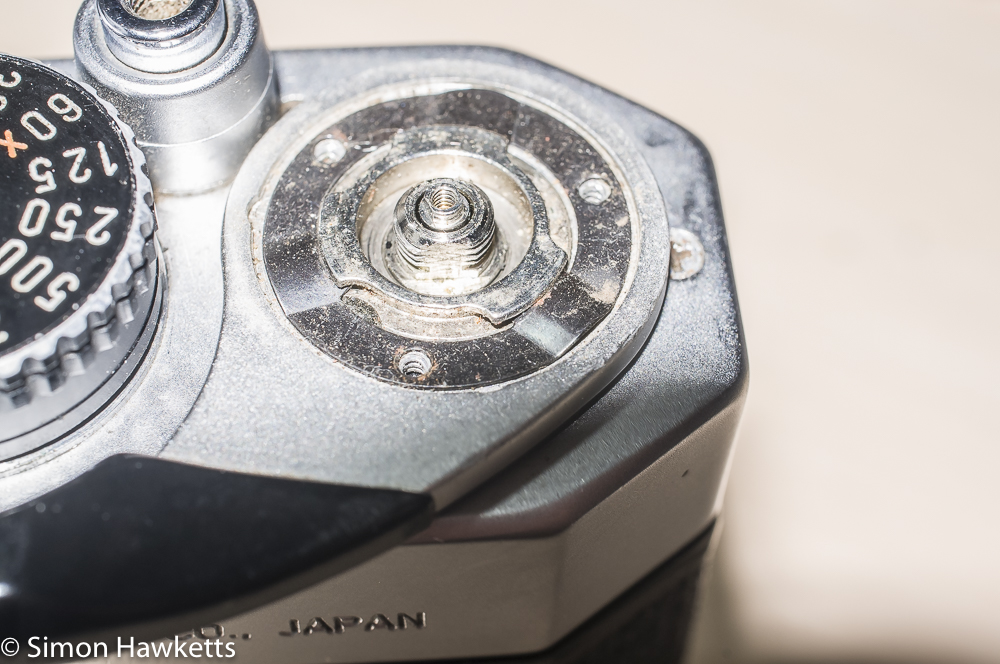
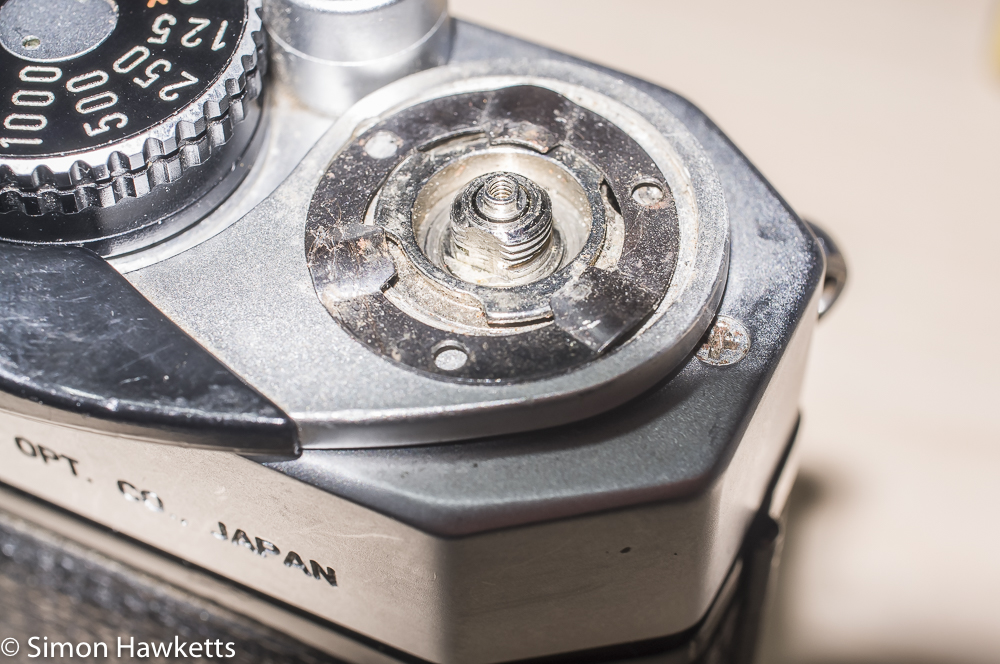
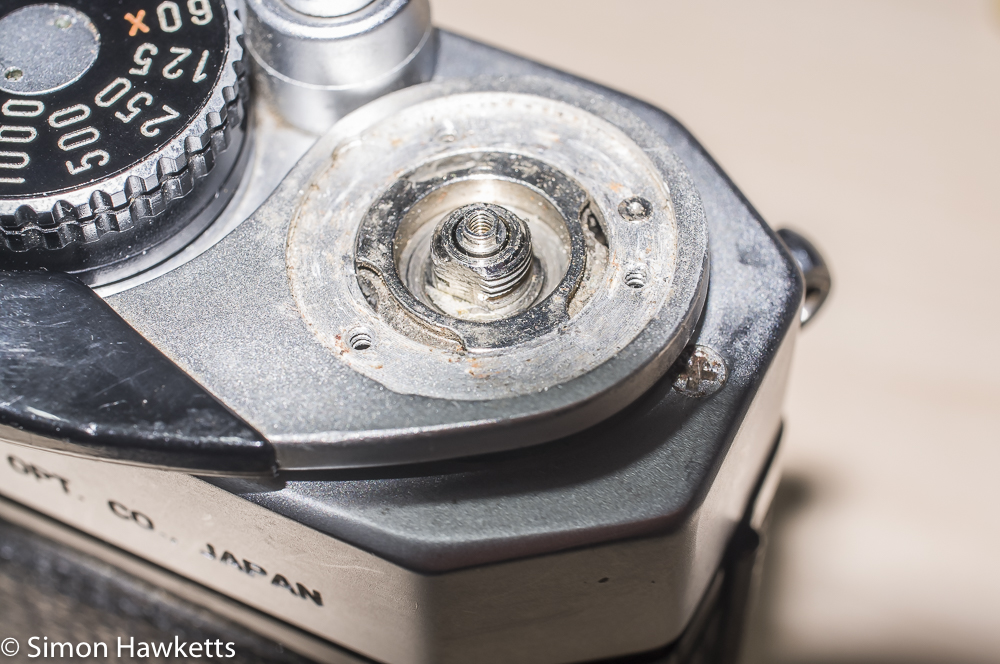
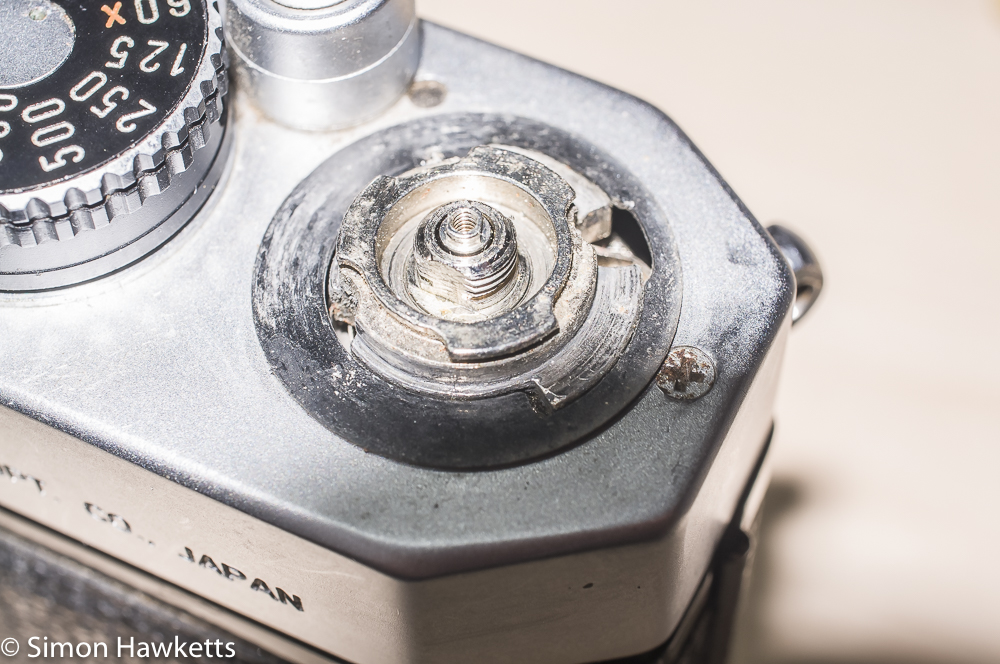
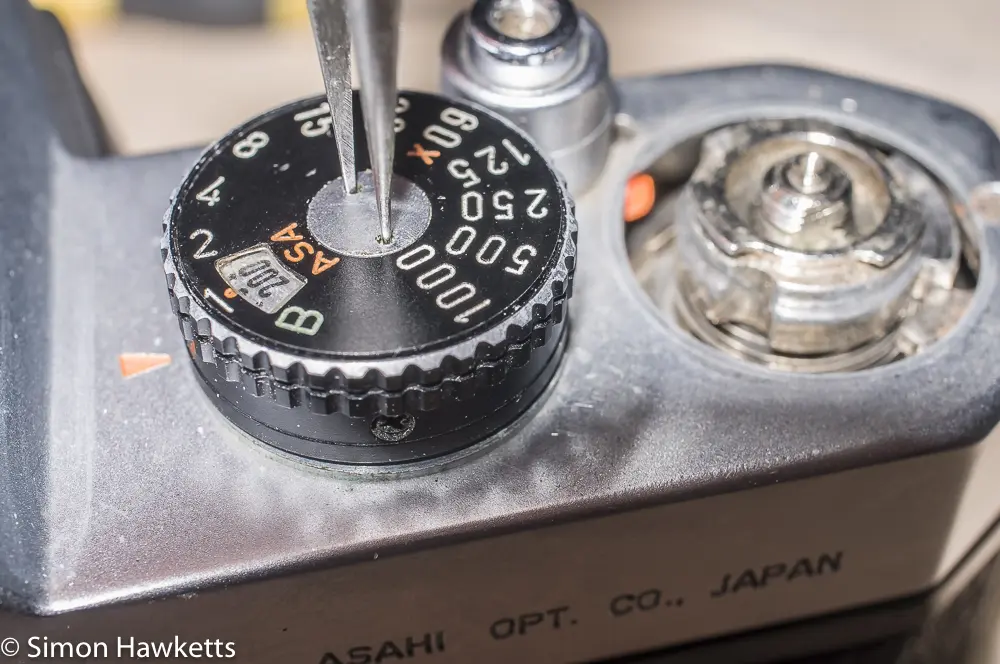
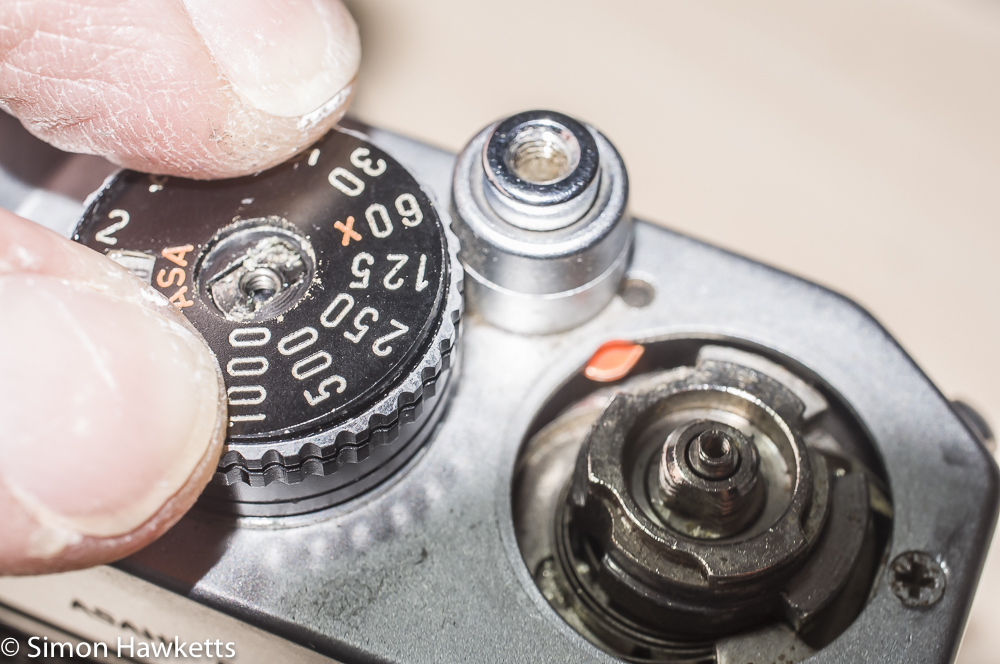
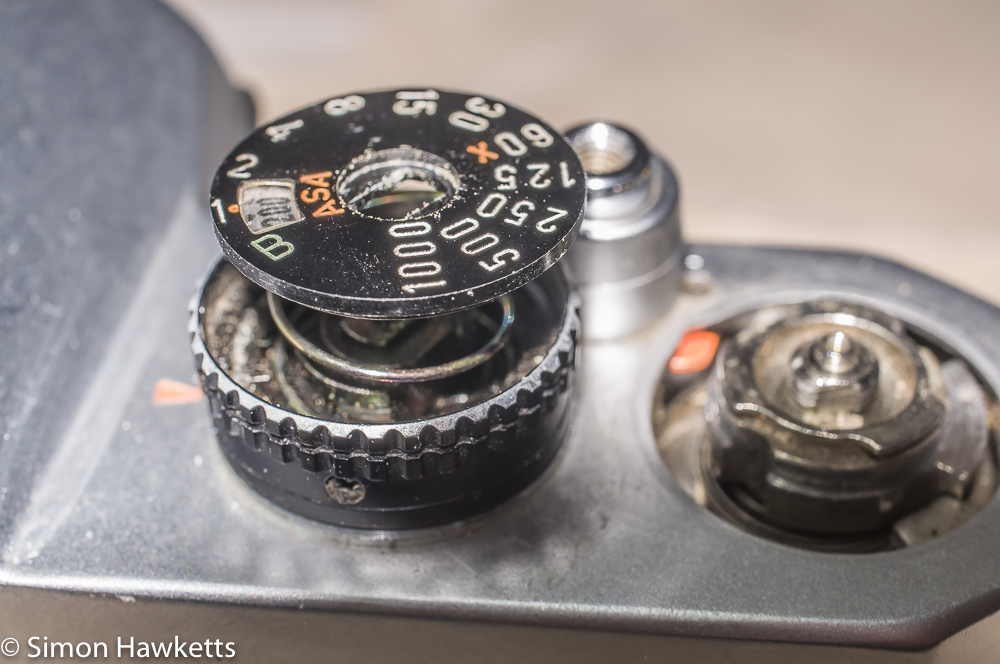
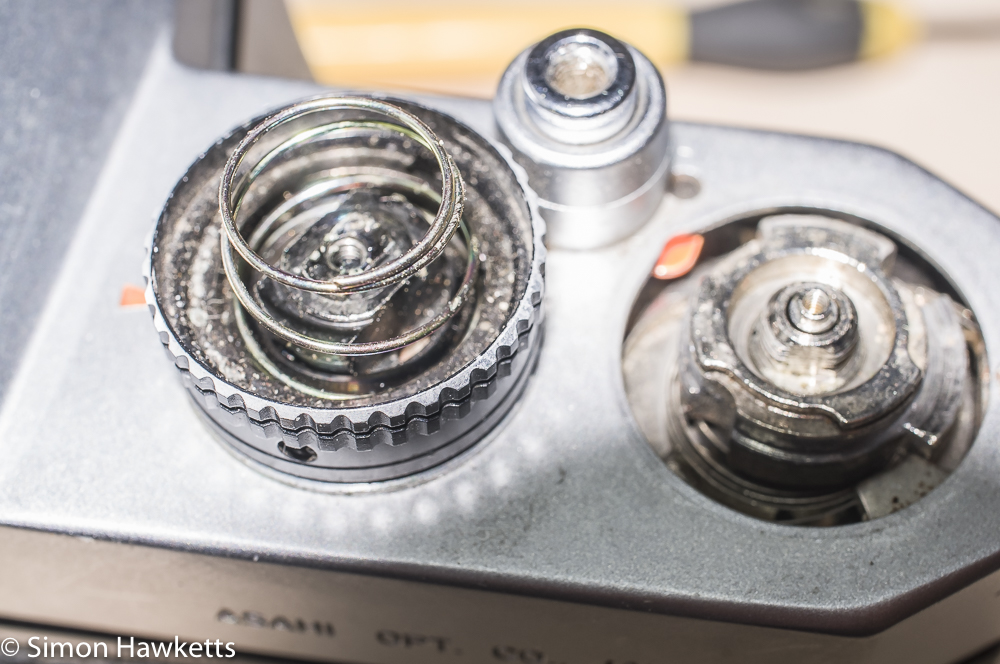
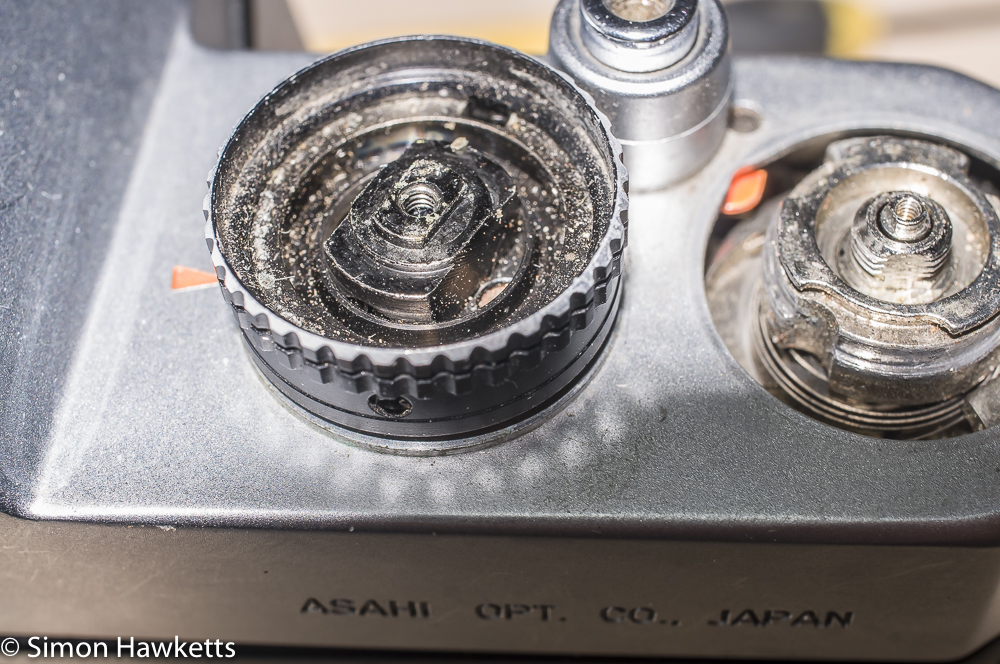
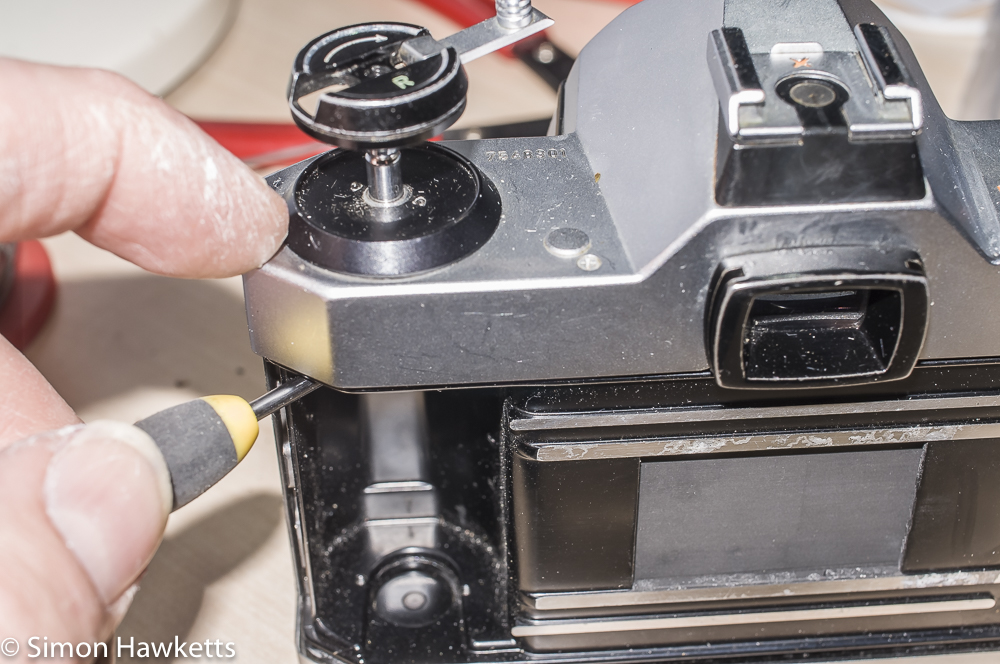
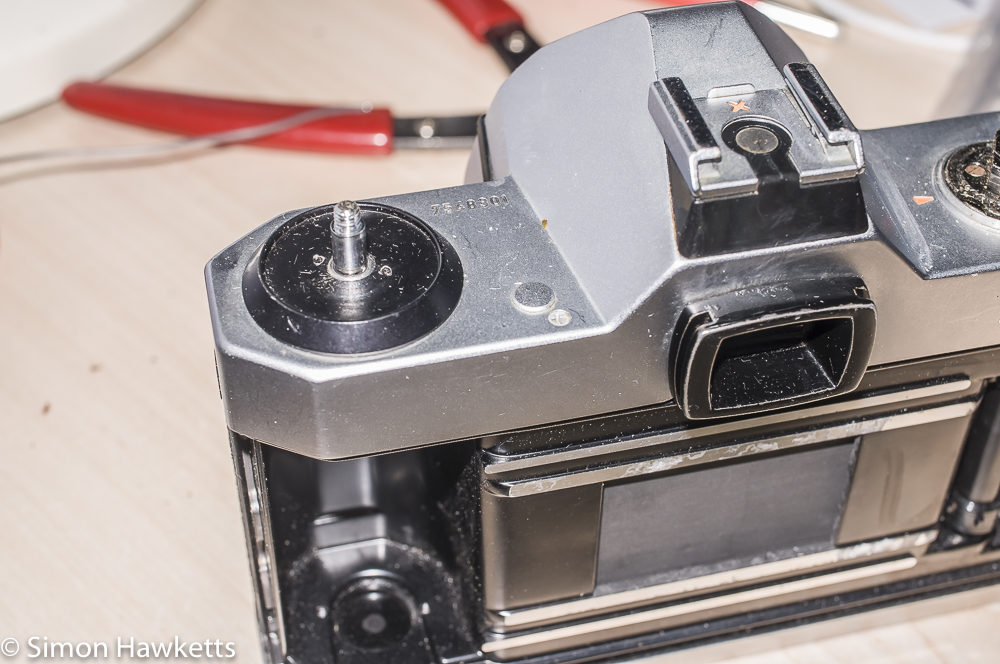
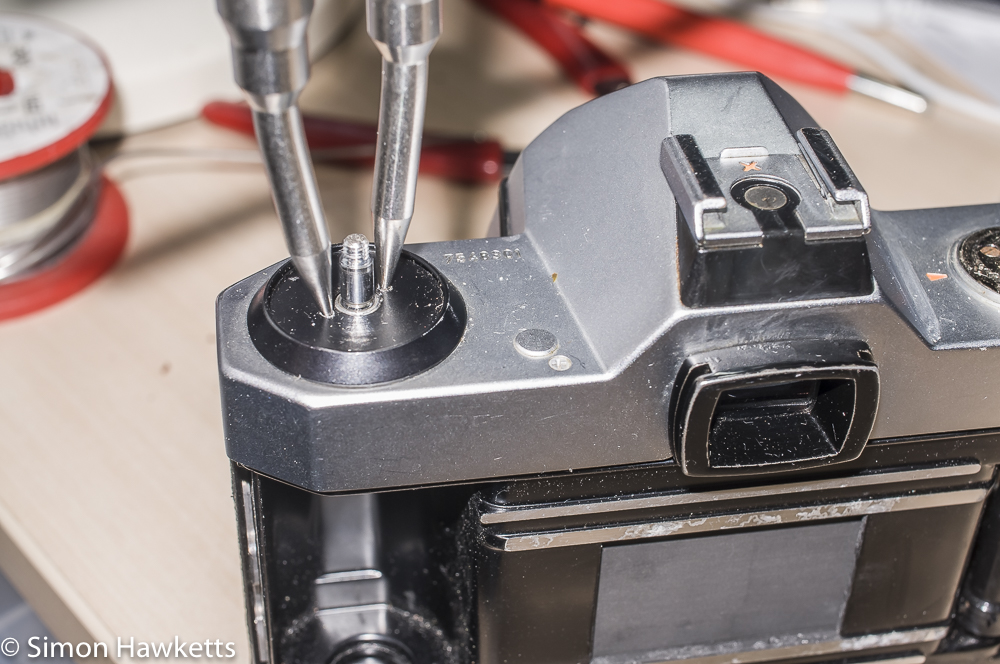
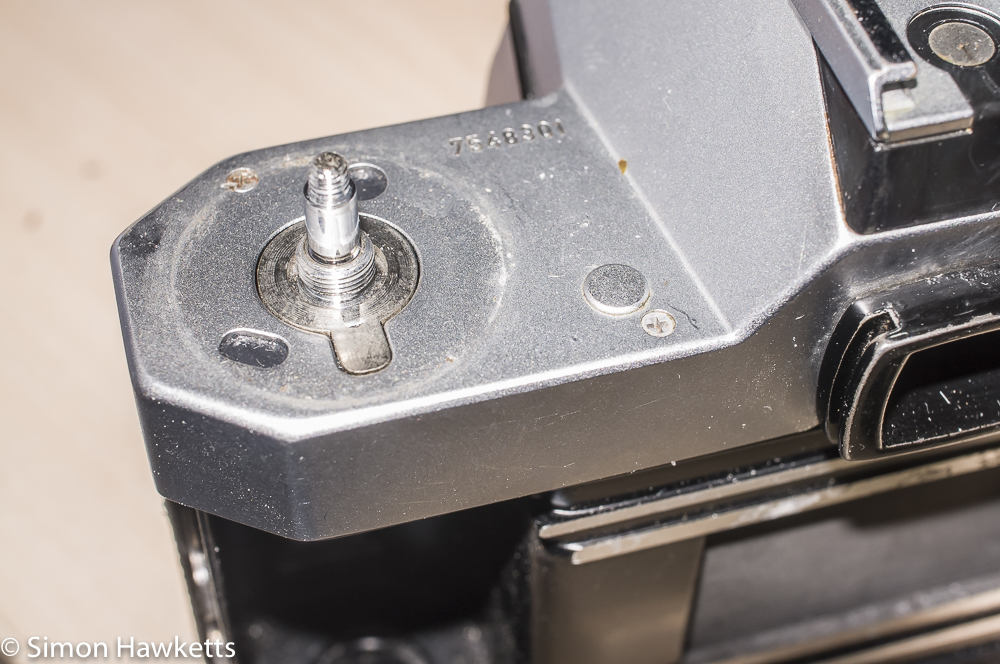
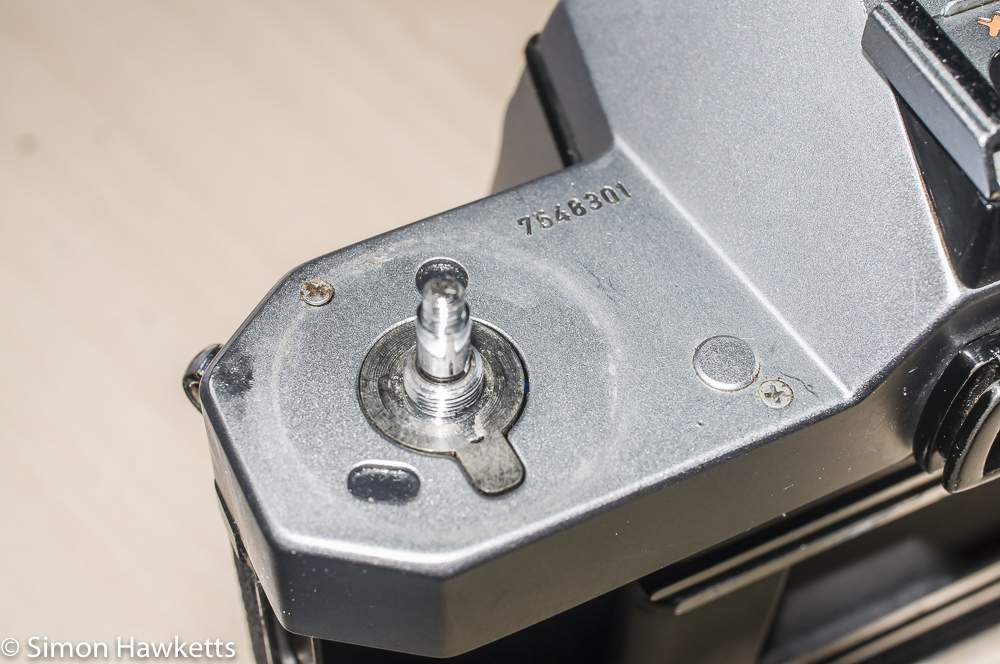
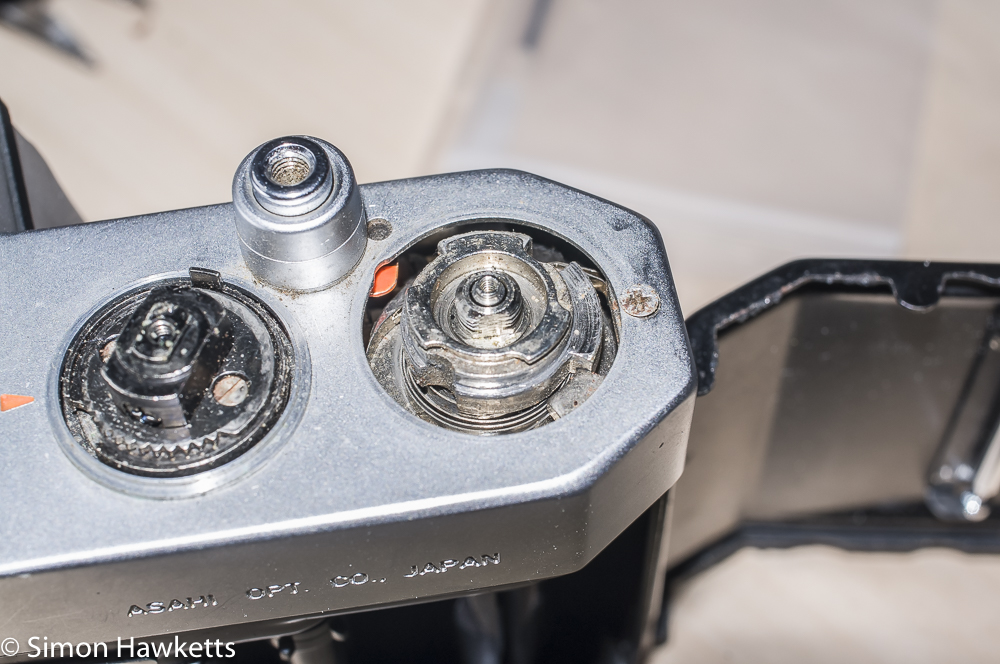
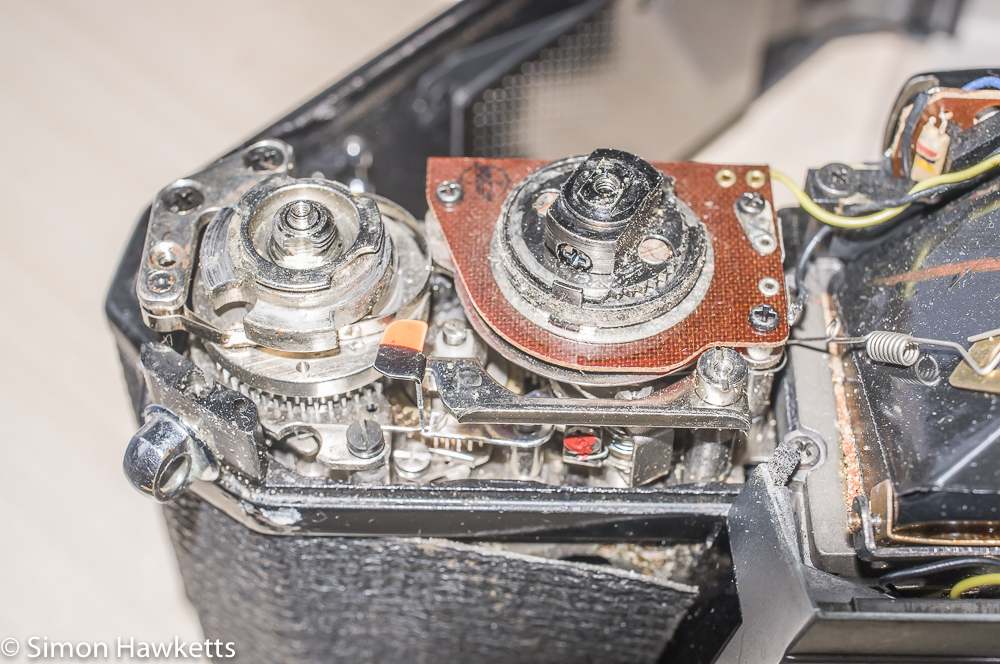
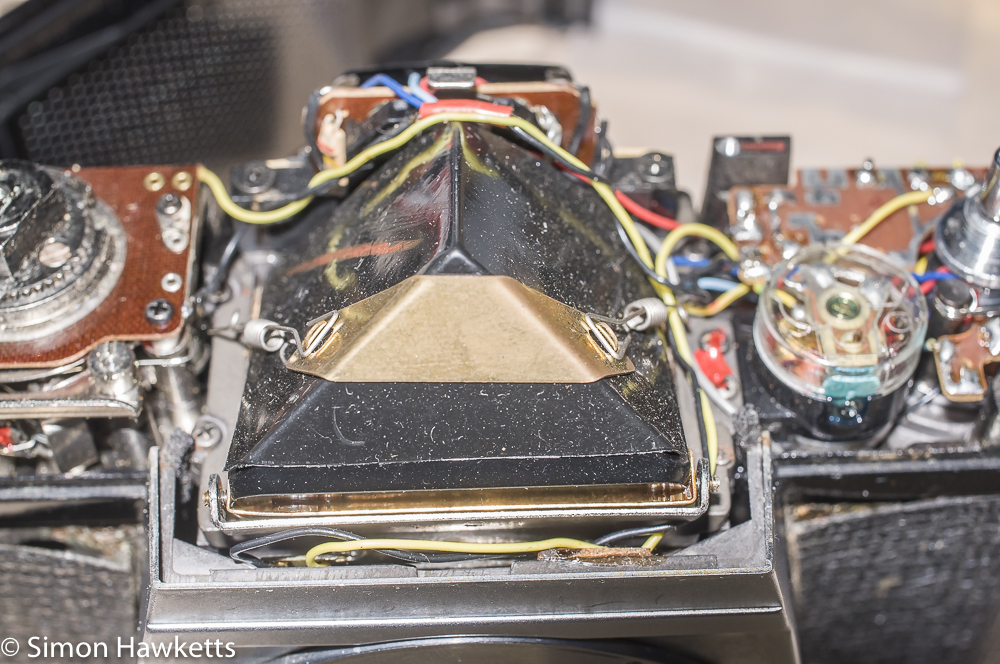
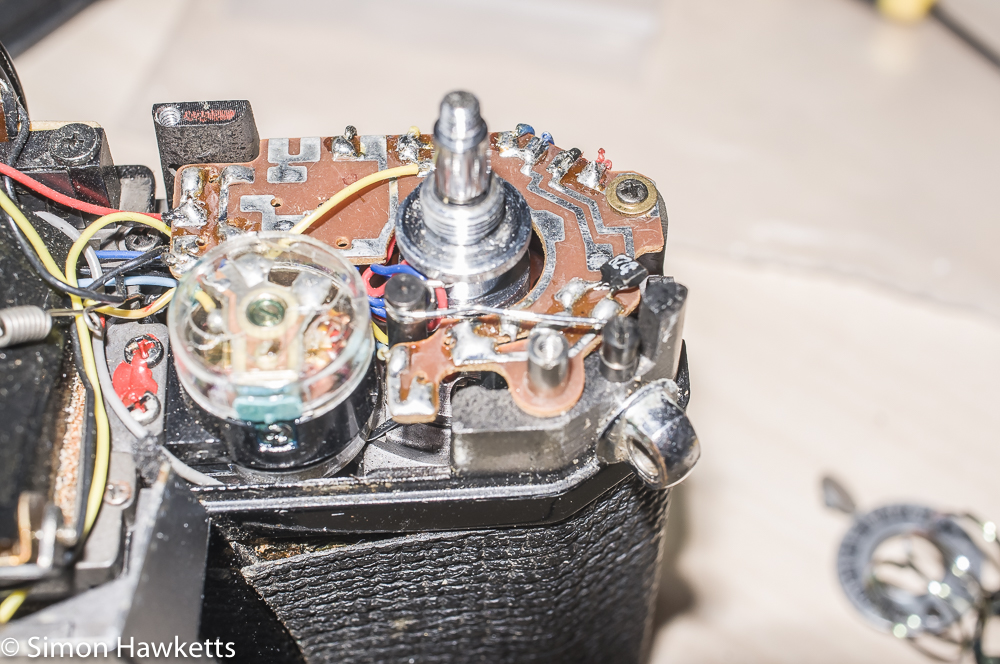
On this occasion I actually removed the top plate and then replaced it rather than go any further with repairs. Although I’m going to need to get the slow speed escapement, which means removing the mirror cage, I wanted firstly to make sure I could get the top back on and everything working before I ventured too far into the camera.
Pentax K1000 top plate removal.
I started by removing the frame advance top cap.
There are three screws which hold this in place, and they can be loosened rather than completely removed. Once they have all been slackened off by a turn or so, you can lift the cover off and place it on one side. With the cover off, the disk with the frame numbers on is revealed, and this can be removed by unscrewing the screw in the centre. It’s an anti-clockwise thread, so you need to turn it clockwise to undo it. Completely remove this screw and lift the dial off with a pair of tweezers.
Under the dial is another threaded ring which is again anti-clockwise thread. I used a lens spanner to undo this, but had to use one on which the points could get very close together because it’s very small. Once it’s undone and removed, the washer underneath can be lifted off, revealing a shaped spring washer which is screwed in position. I found this quite difficult to remove – the screws were easy enough but the washer itself has to be moved round, so it can be lifted off, and it doesn’t move easily. I had to use a small screwdriver and push it round, using each of the three raised areas in turn to inch it round.
With that washer off, the film advance lever just lifts away, and you can also remove the dust washer underneath it.
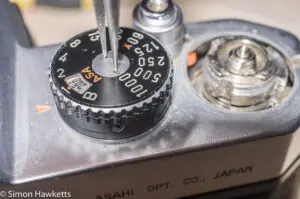
The speed setting ring is next to remove. There is a small-screwed centre piece which I unscrewed with a pair of tweezers. You have to be careful at this point because the speed dial and the ISO dial under it are sprung loaded and so you need to keep your finger on the speed dial as you undo the center piece otherwise it could spring out when released. With the centre piece removed, the rest of the speed dial just lifts off. There are some small screws on the outer surface of the speed dial – you don’t need to remove them.
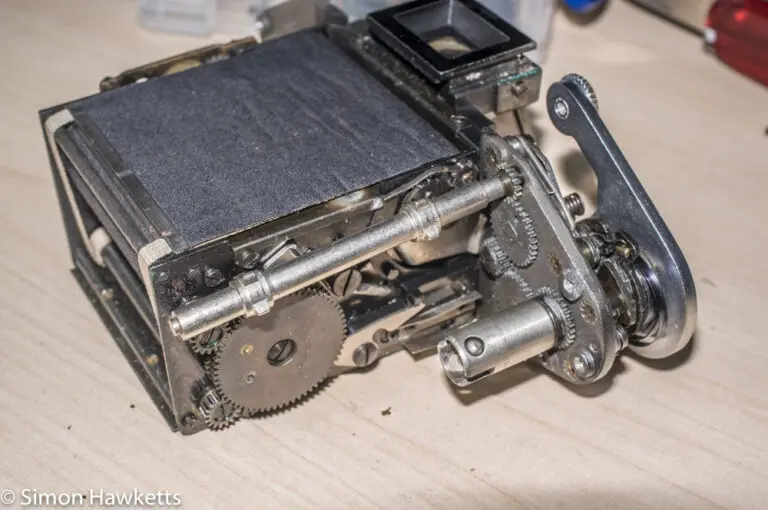
The rewind crank is removed in the usual way. Just hold a screwdriver in the prongs of the rewind shaft and unscrew the top. Once it’s off, the large ring underneath can be unscrewed with a lens spanner, and you then have access to the final screw which holds the top plate on. Remove two screws on the rewind side and one on the film advance side, and the top plate lifts off.
I found a fair amount of dirt and muck in the top of my camera, and I cleaned around the metal top plate and all the components with some cotton buds soaked in IPA. Once it was all clean, I put it all back together.
Pentax K1000 top plate reassembly.
The reassembly is the reverse of the disassembly, but I’d recommend the following order.
Put the rewind crank on first, so you can open the back if required. Then put on the film advance, so you can check the film counter is resetting by closing the back, advancing the film a few frames and checking the film counter zeros when the back is opened. Finally, reassemble the film speed/shutter assembly.
Points I noticed when reassembling were:
- The sprung washer on the film advance is just as tricky to get on as it was to get off. You place it down, so the raised areas align with the gaps in the film advance lever, and then move it round so the screw holes align.
- When you put the cover on the film advance, it will be impossible to line up the arrow on the cover with the correct number on the film counter initially. The best way to do it is to reassemble the counter without the cover, close the back and advance the film by three strokes, then align the cover with the 0 mark. This will then be correct for when you load a film.
- When you reassemble the shutter speed dial, there are obvious pegs and holes to line up. As long as you get these in alignment, it will all work OK.
- It is a pain holding the shutter speed dial down against the spring while you do up the centre treaded screw.
The next post I publish on the K1000 will deal with replacing the light seals and the mirror damper.
Discover more from Everything Vintage
Subscribe to get the latest posts sent to your email.

