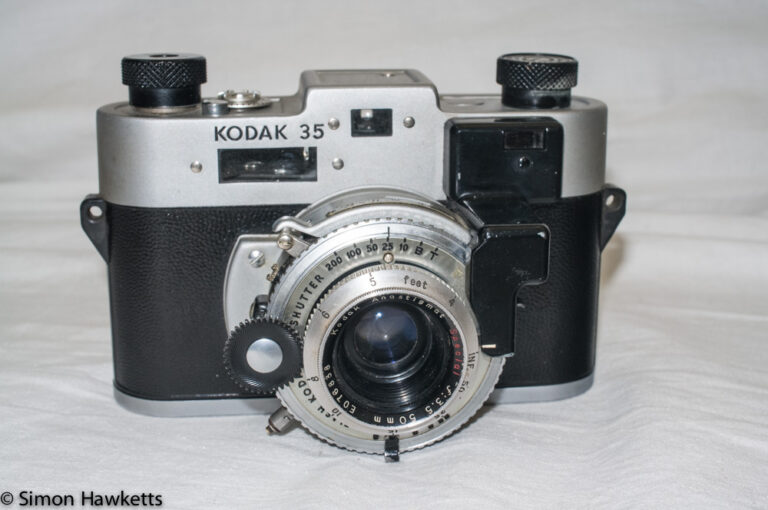
Minolta Hi-matic F rangefinder camera
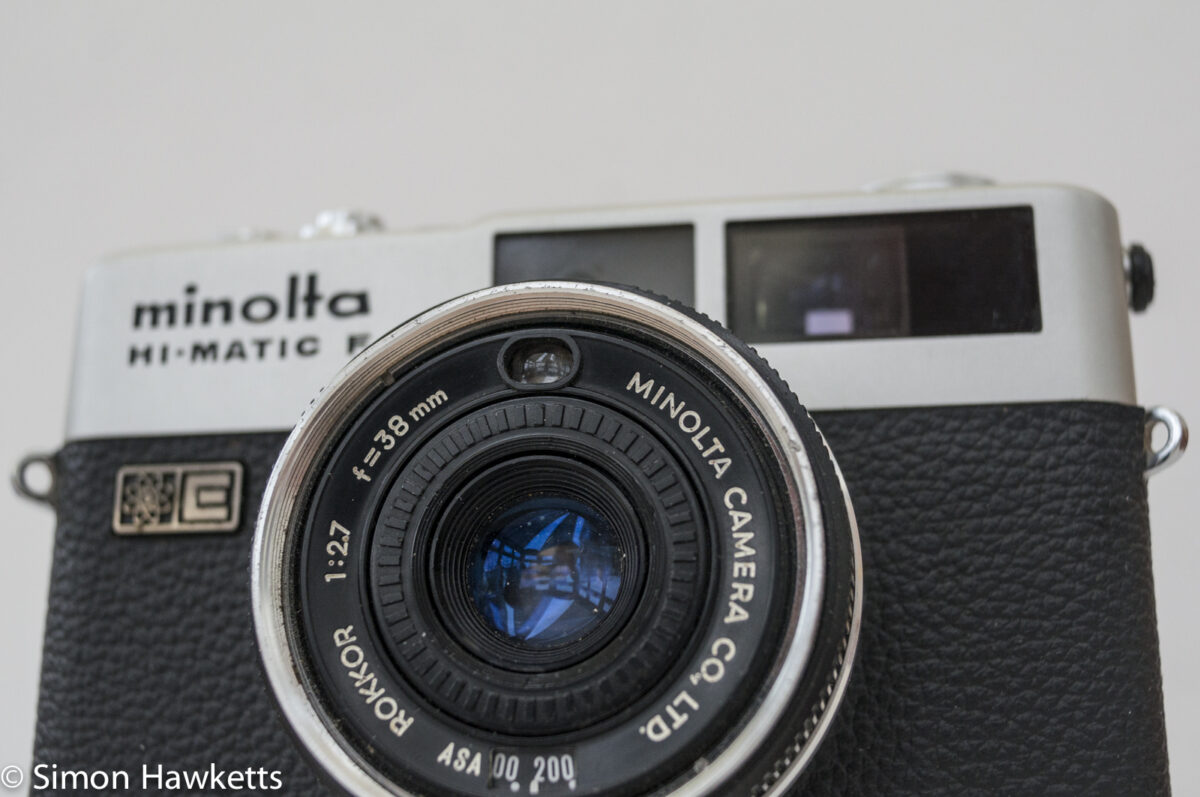
This Minolta Hi-Matic F, is a little rangefinder camera I picked up for only a few pounds because it had a broken glass in the viewfinder window. I thought that it would be relatively simple to perhaps find another unit which doesn’t work but has a good mechanical condition, so I could build one good unit from the two.
Minolta Hi-matic F Images
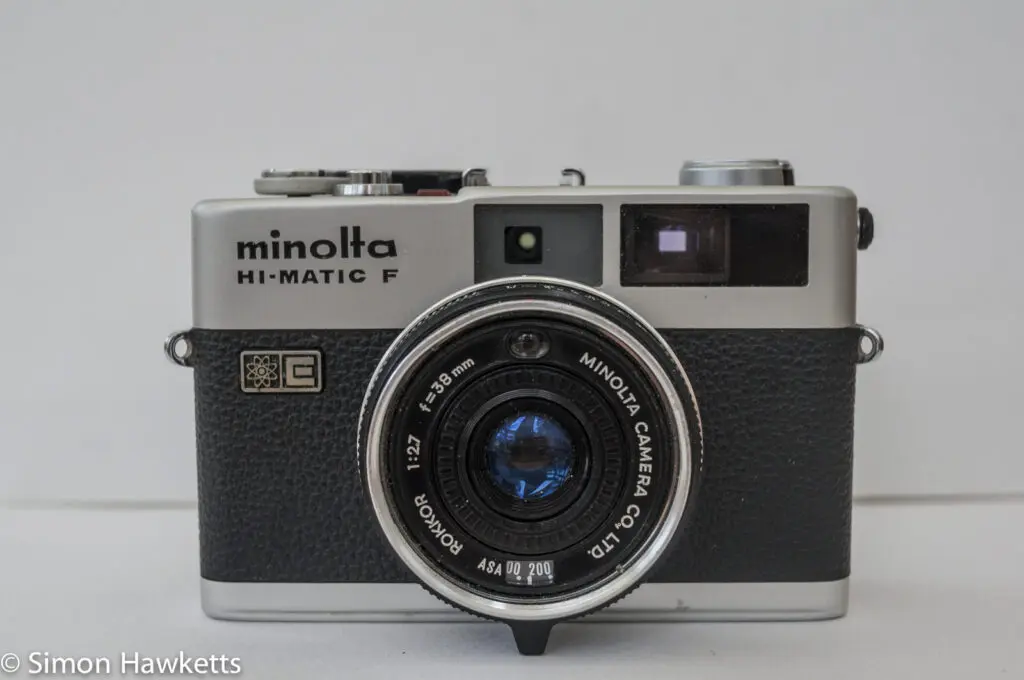
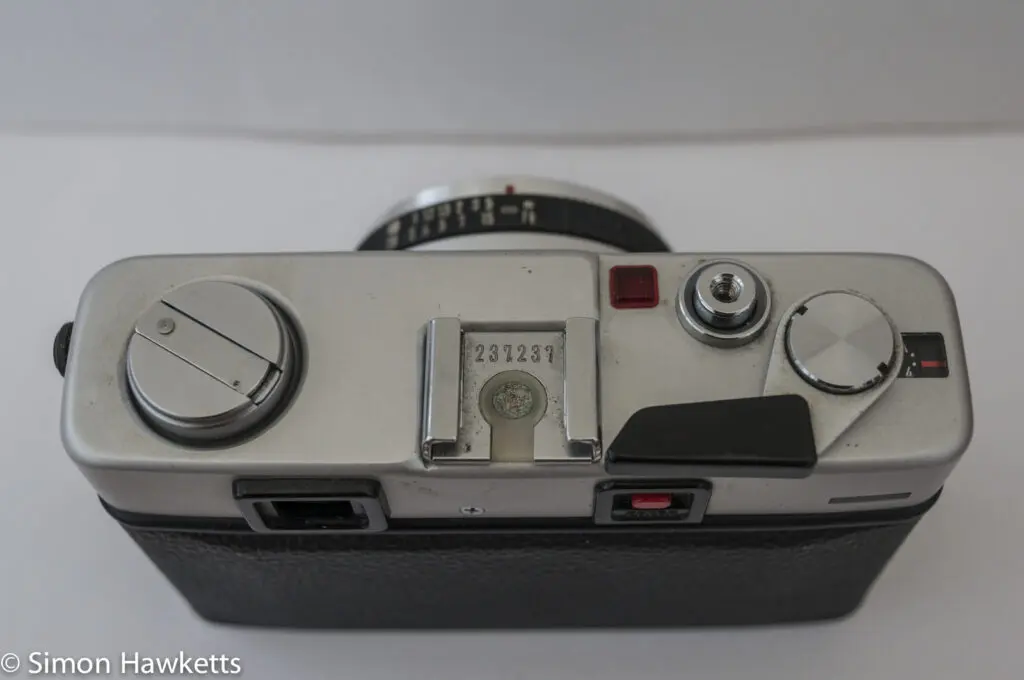
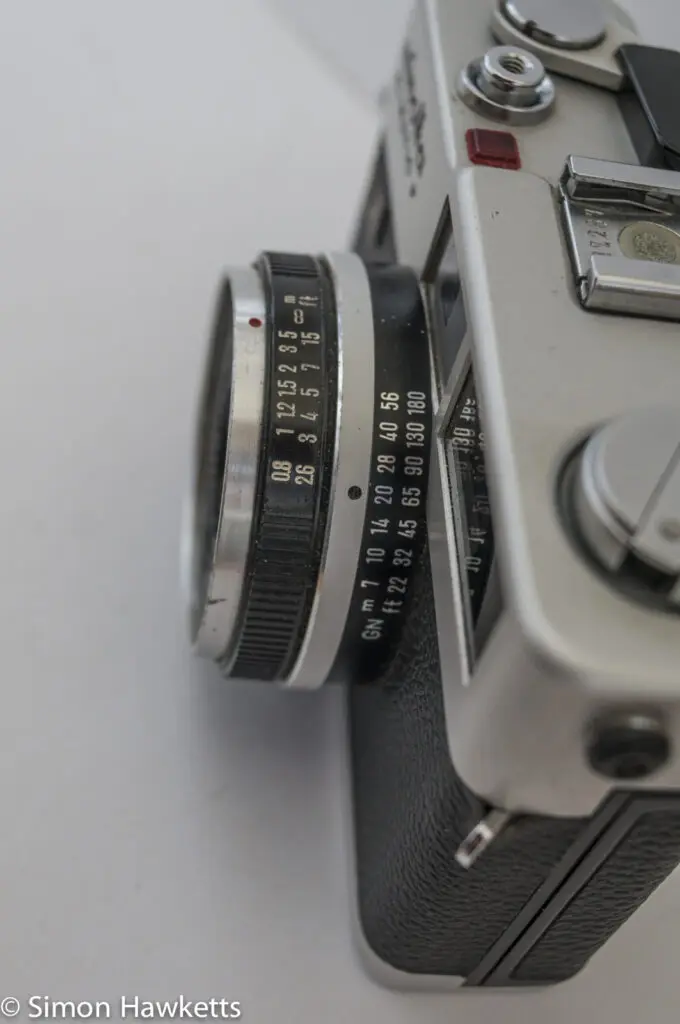
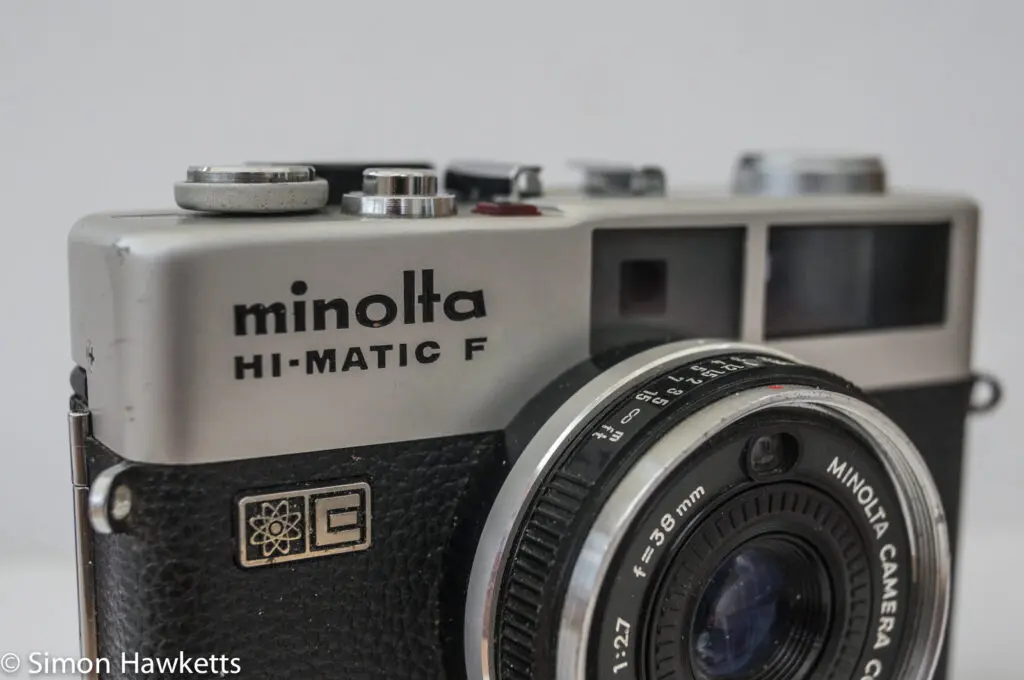
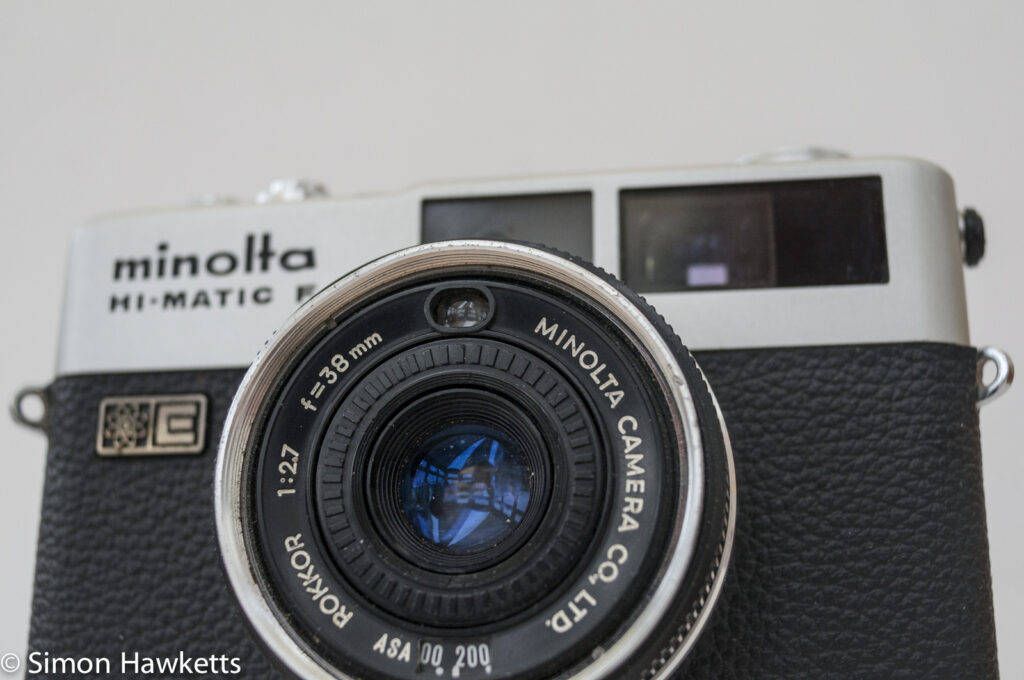
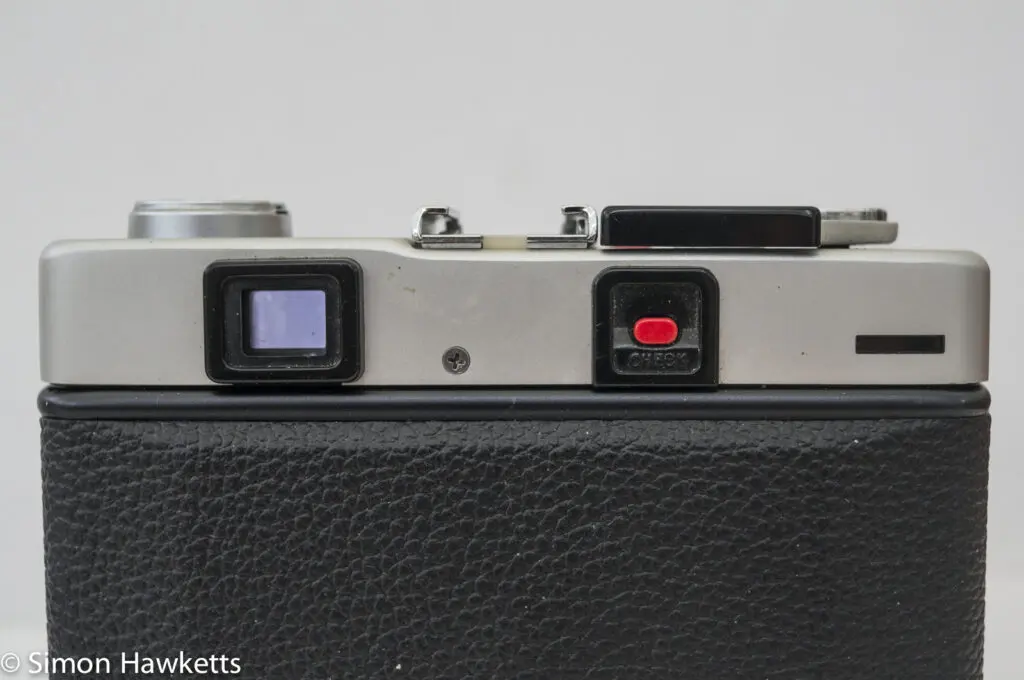
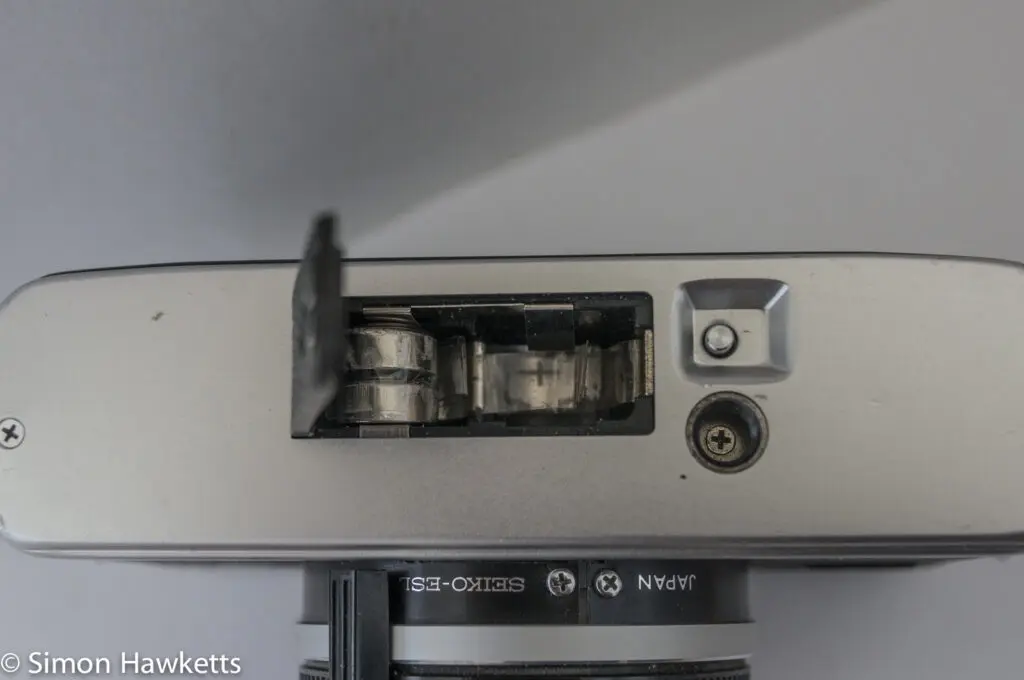
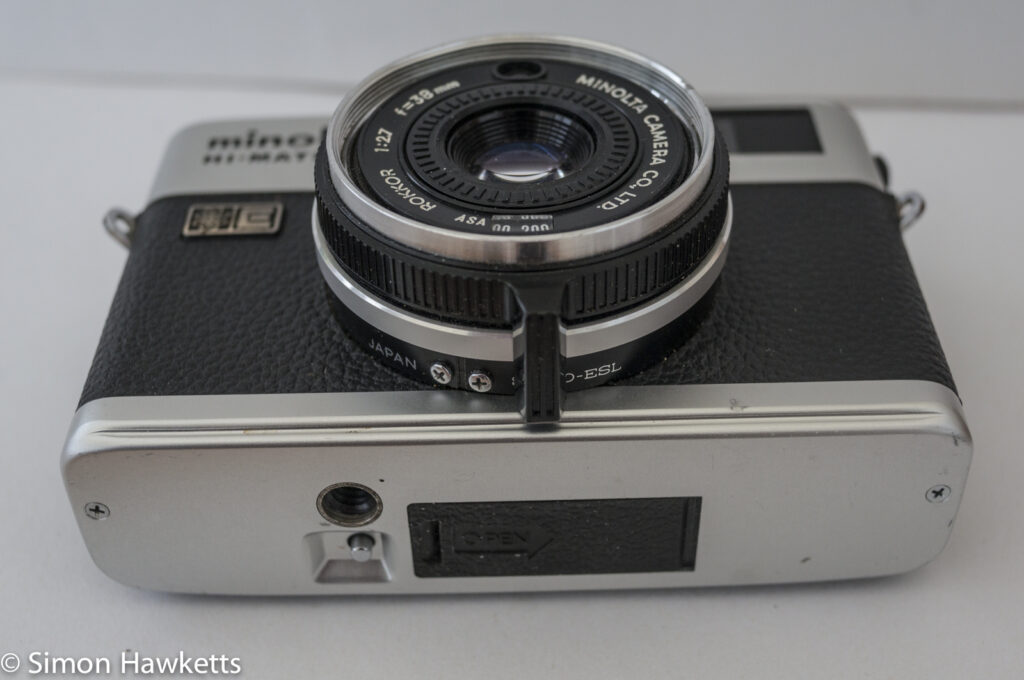
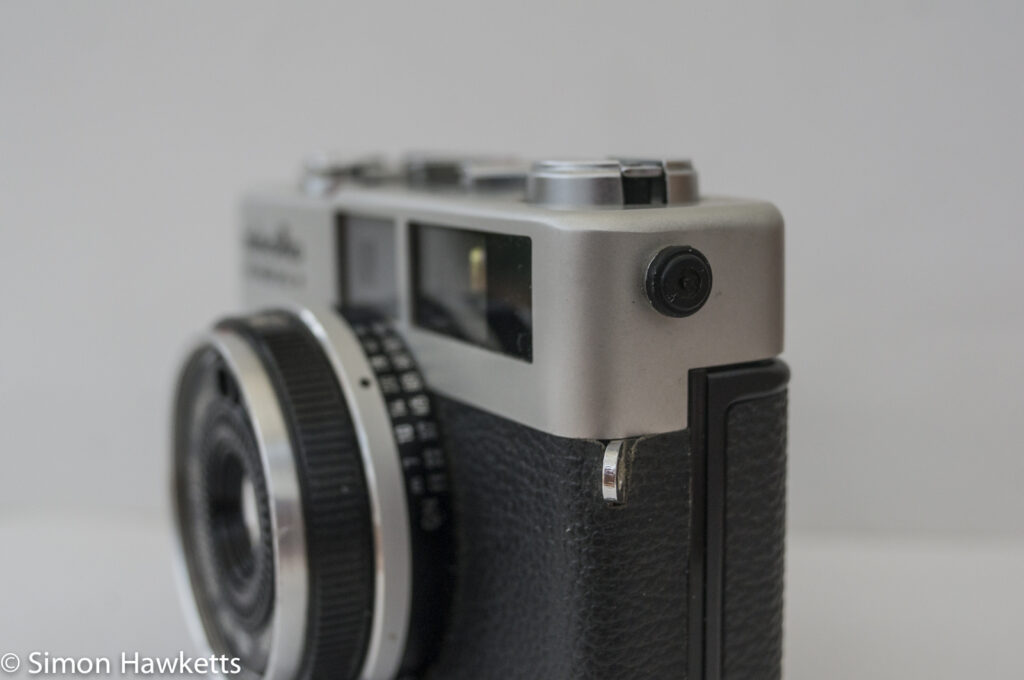
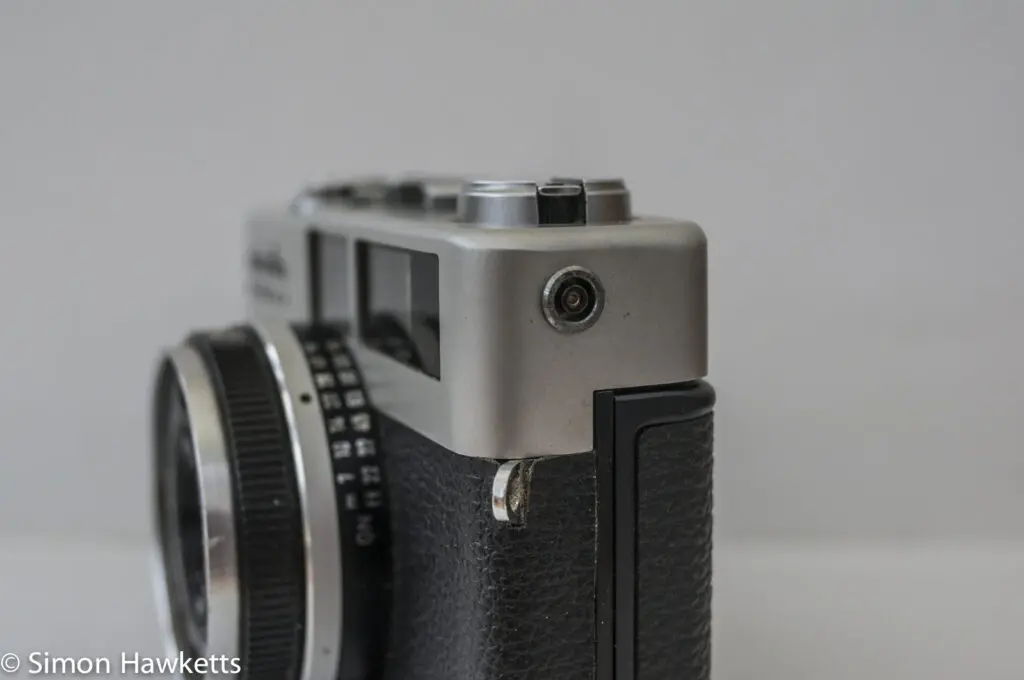
My Minolta Hi-matic F camera
As I said I knew when I bought this camera that the glass on the front of the viewfinder was cracked, but when I received it I discovered my next problem – the battery compartment is designed to take two quite large 1.35 mercury cells which are no longer made.
I solved this by using two SR44 1.5 v cells with a bit of sticky tape round them to join them together which acts as one 3v cell and fitted this into the place where one cell would go. I then shorted the other battery compartment out with a bit of silver foil, so the voltage was approximately correct.
With this in place, I tried the battery check switch but couldn’t get the check light to work, so I assumed there were other issues. I first took off the top plate and then the bottom plate, but couldn’t find anything, so I did an Internet search for possible Hi-Matic F shutter problems.
What I discovered was that the wiring on these cameras is problematic, and it is not unusual for the battery wires to come loose. Sure enough, when I looked closely at the black wire which connected to the battery compartment, it was indeed not connected.
The problem was, this lead was very short and there wasn’t any wire left to strip back and remake the connection. I could replace the wire, but I couldn’t see where the original wire went because it disappeared into the middle of the camera, and I wasn’t confident about stripping such a small camera down.
However, what I discovered/reasoned was that it was likely that one side of the battery would likely be connected to the metalwork of the camera and, sure enough, when I connected the disconnected terminal to a part of the camera’s metalwork I could get the battery check light to work and the shutter to fire.
Armed with this knowledge, I removed the silver foil short and added a new wire from the back of the replacement battery to the camera metalwork and had a working camera – at least for as long as I could hold the wire in place. So I am now in the process of working out the best way to make a permanent attachment to the metalwork of the camera from the battery terminal.
At this point I was lucky enough to find another Hi-Matic F which was sold for ‘spares and repair’ because the bottom battery cover was missing, but it had a perfect viewfinder window and was on for a starting bid of £4. I tried a bid of £6 and fortunately, nobody else wanted it, so I got it for £4 and had a good top cover to replace my broken one. It was relatively easy to remove the old camera top and replace it with the new one.
One word of warning however – if you need to remove the top of a Hi-Matic F there are 4 screws which hold the flash shoe in place, but they are hidden by a small push in plate which covers them. Make sure you remove that plate, or you won’t see the screws and won’t be able to remove the top of the camera.
With the top cover replaced, I now have a working camera, although I need to devise a permanent solution to the battery connection problem.
Minolta Hi-Matic F
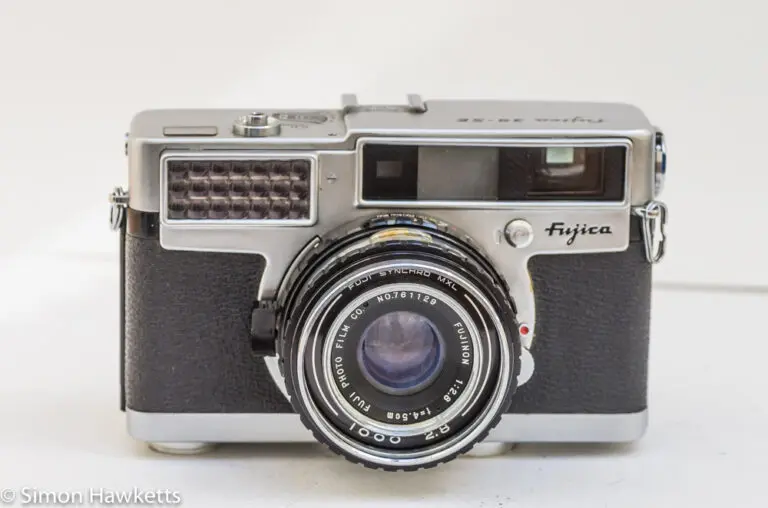
This is one of a whole host of small rangefinder cameras which were very popular in the 1960s and 70s. Similar cameras were made by Konica (the Konica 35 series), Ricoh (Ricoh 500 series), Mamiya (Mamiya 135) amongst others. It is an automatic exposure camera, with almost no controls other than focus and the ability to set the exposure for flash photography.
This camera is incredibly small and light, being about 4 inches in length, 1 inch deep and about 2 1/2 inches high. That makes it about the same size as my NEX 6, although of course the NEX lens is removable, so it changes in dimension when different lenses are fitted.
In terms of weight the Hi-Matic F is pretty light and would certainly be no problem being carried around all day, and I suspect that is exactly what this sort of camera was made for – the good quality, holiday snapshot market.
The exposure is fully automatic, with no control over any parameter other than focus, which is achieved by a rangefinder which produces a yellow registration square in the middle of the viewfinder.
The amount of adjustment is limited to only about 90 deg of movement, so the focusing is quite quick and, being a rangefinder, very accurate. If the shutter speed were too low for hand held photography, a small light will briefly light in the viewfinder, indicating that you need to use a tripod. With shutter speeds as low as 4 seconds automatically selected, you would need to carry a tripod with you!
For flash photography, there is a very simple guide number system which is used to set the correct exposure. Just set the dial to the guide number of the flash being used, and the exposure should be correct.
I haven’t put a film through the camera yet, but when I get the battery issue sorted out I will try a reel and take some flash photos to try it out.
Minolta Hi-matic F Specifications
- Minolta Hi-Matic F 35mm rangefinder
- Rokor 38mm f/2.7 lens
- Shutter 4sec to 1/724sec (as noted in handbook) EV 0.9 to EV 17
- Fully electronic shutter (won’t fire without battery power)
- Light cell inside lens filter mount
- 25 to 500 ASA film speed
- Rangefinder focusing
- Guide number flash setting.
- Hot shoe flash + external socket
- Ser No: 237237
- Manual is available on this page
Discover more from Everything Vintage
Subscribe to get the latest posts sent to your email.

