This is a post detailing the Konica Autoreflex T2 SLR top cover removal procedure. The following pictures show the steps I took to remove the cover, so I won't give any more details, but in the text which follows I will explain the problems I had.
Konica Autoreflex T2 top cover removal
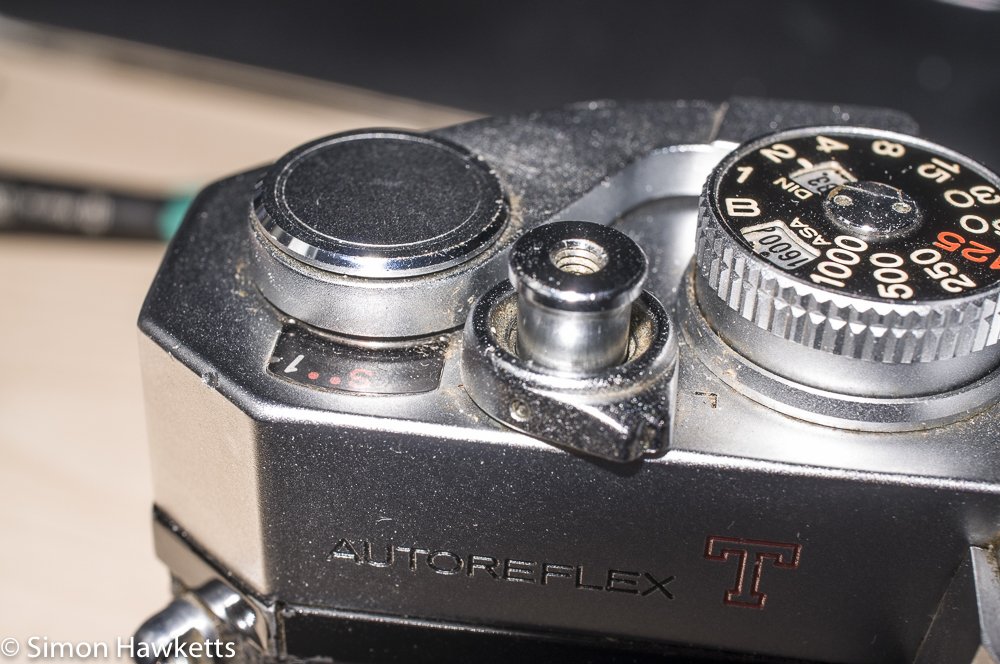
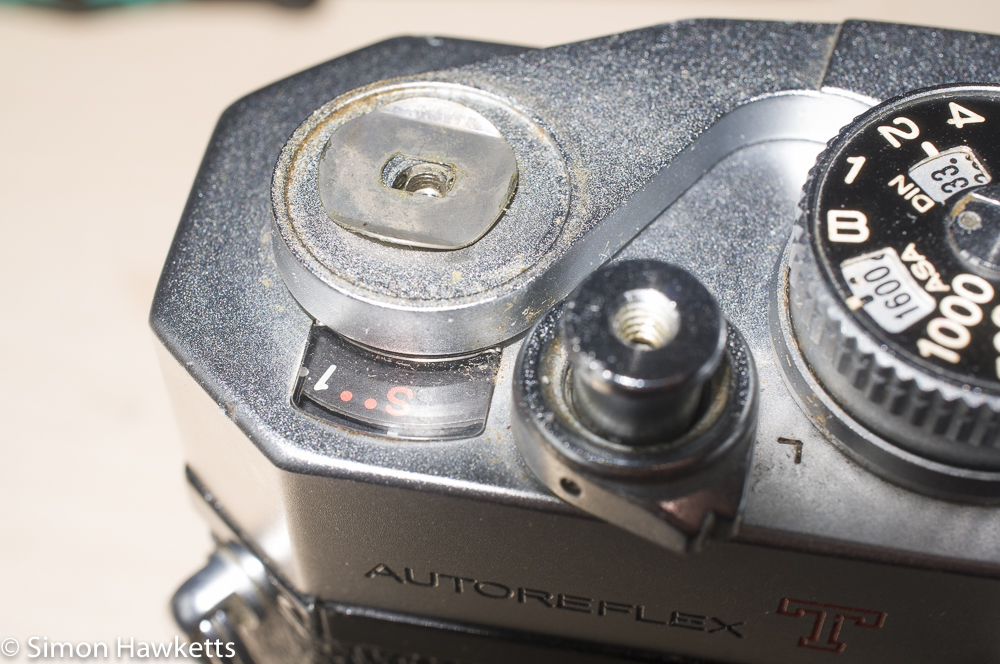
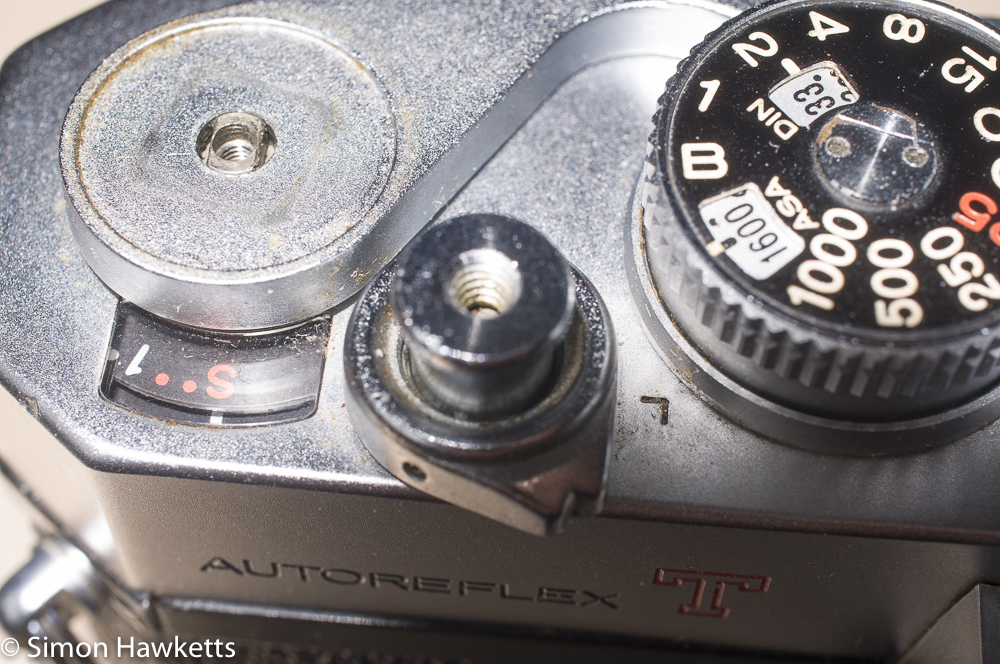
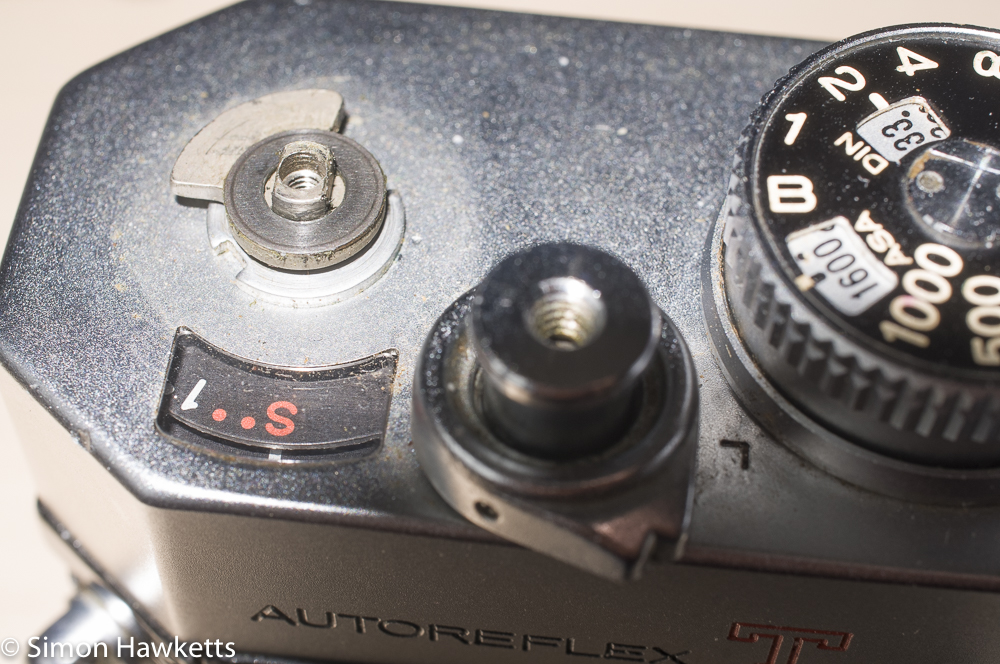
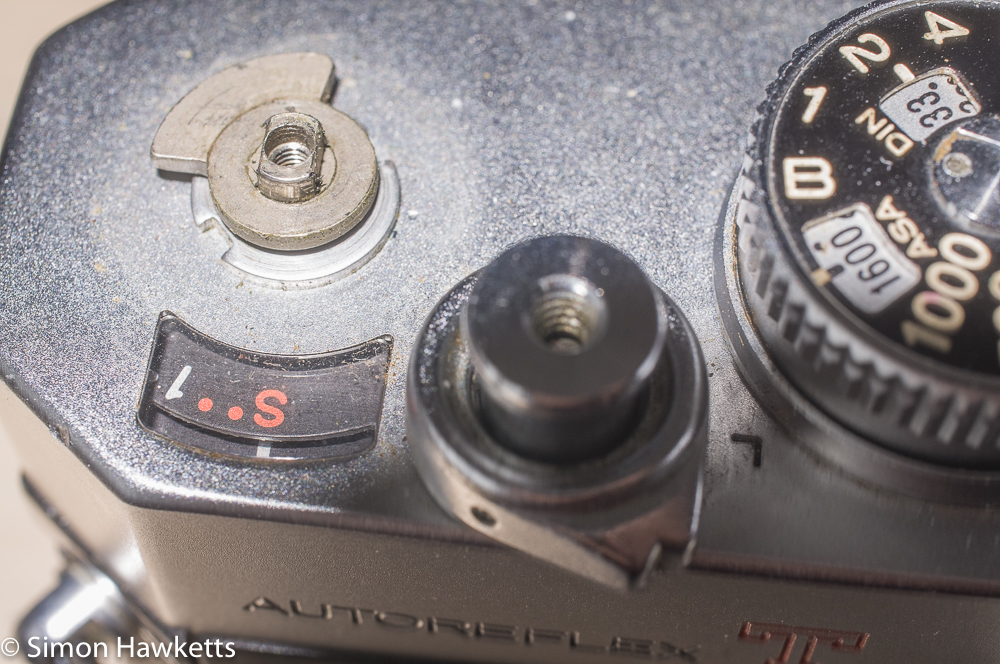
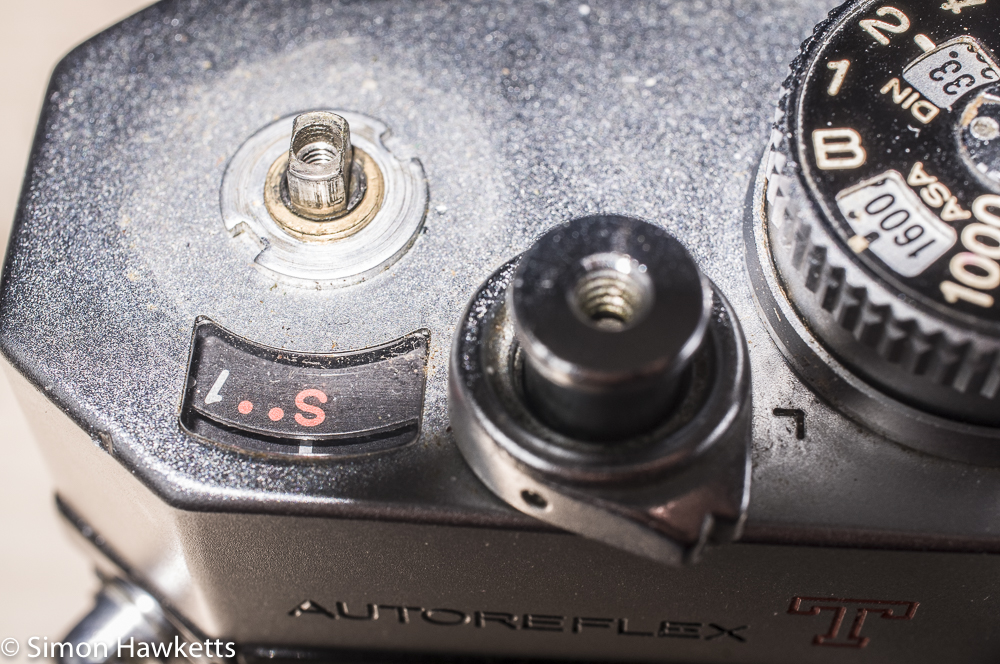
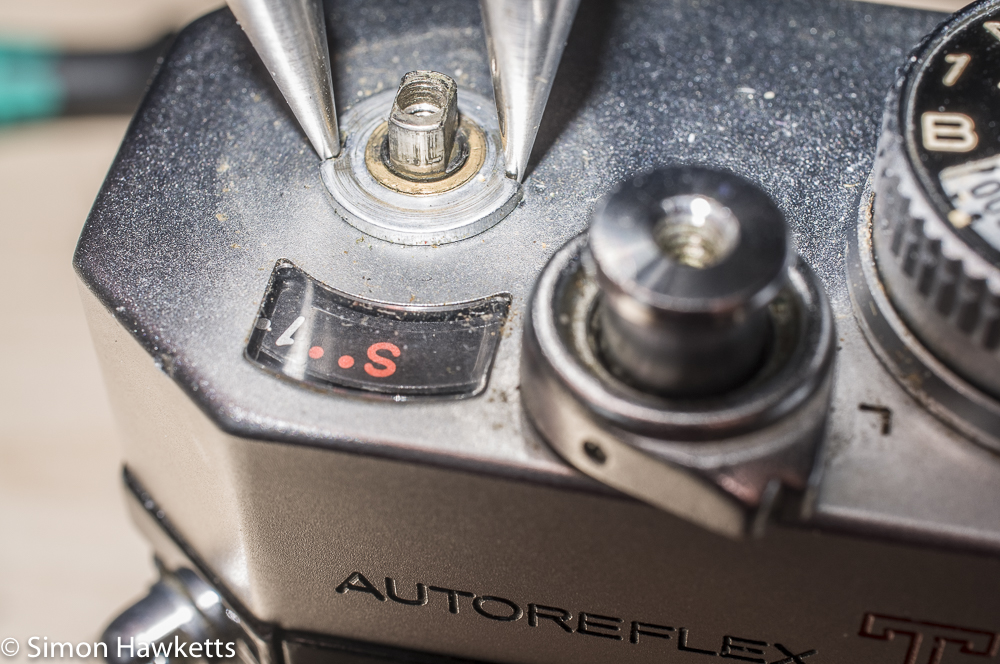
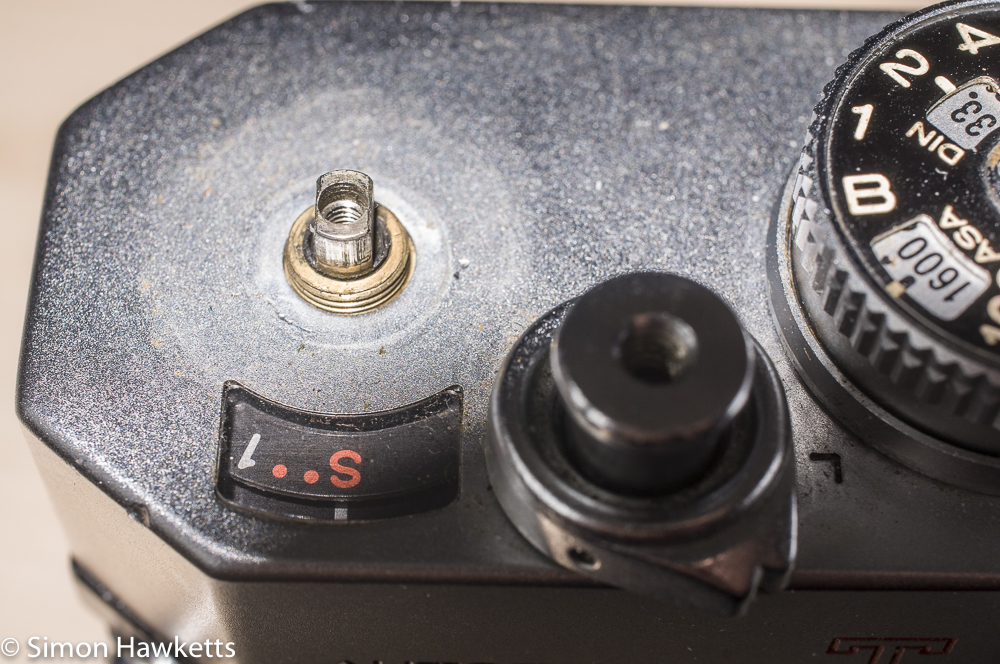
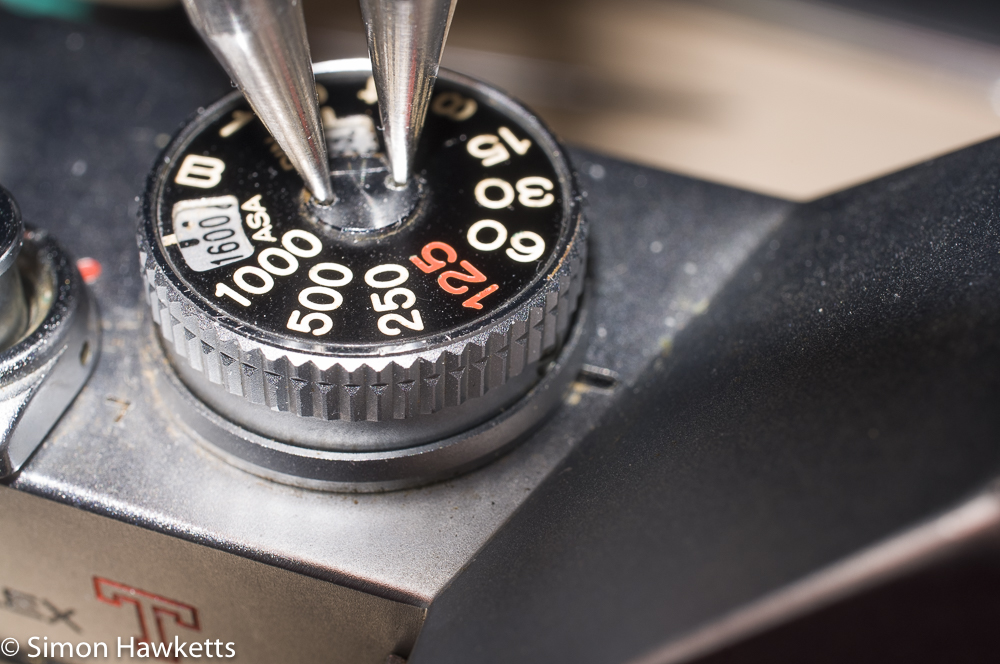
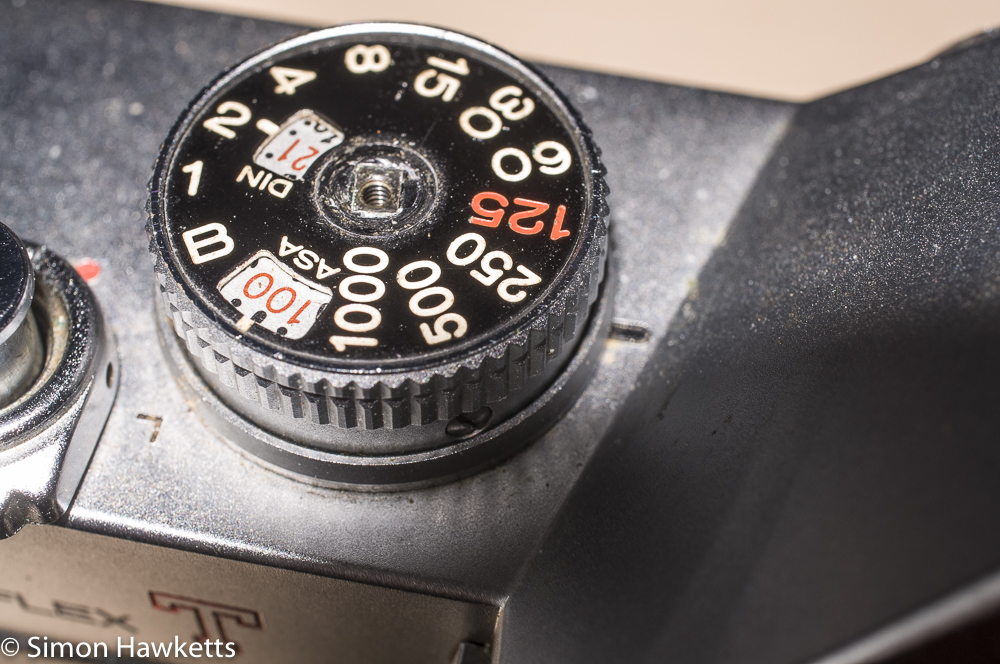
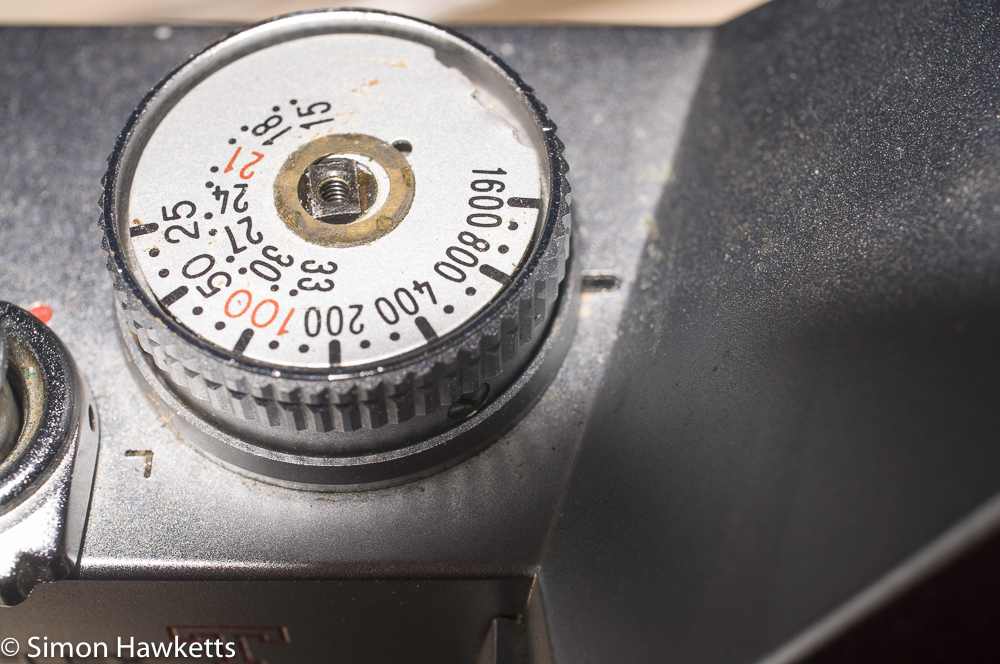
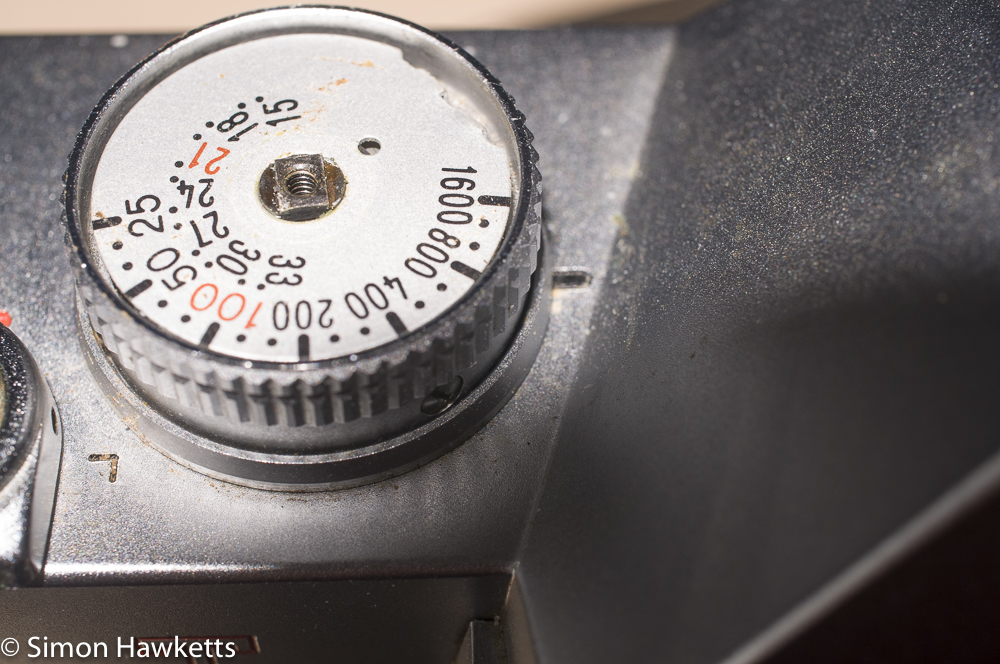
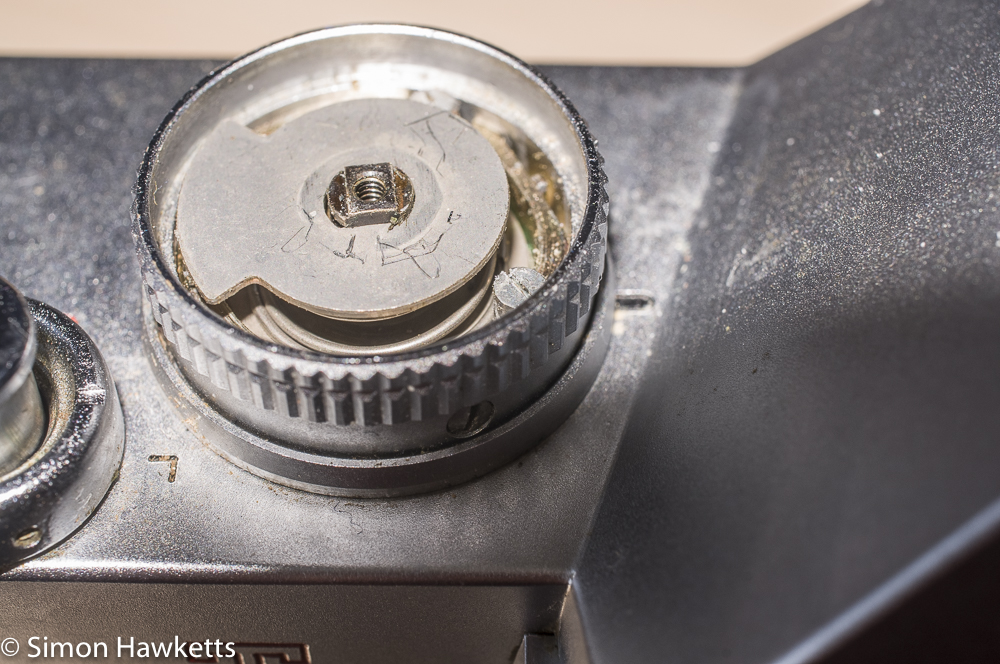
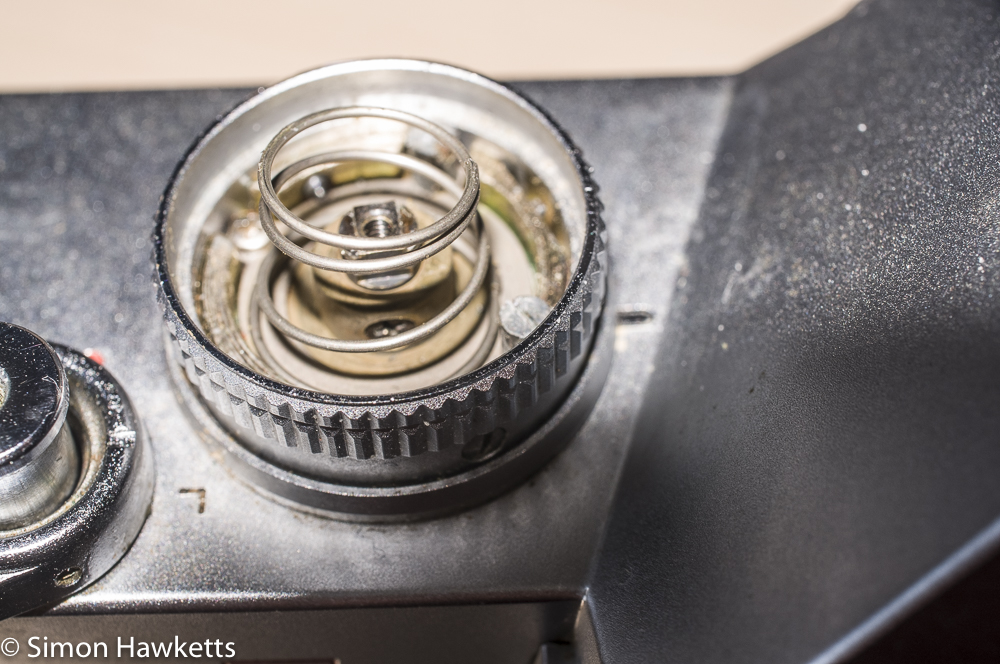
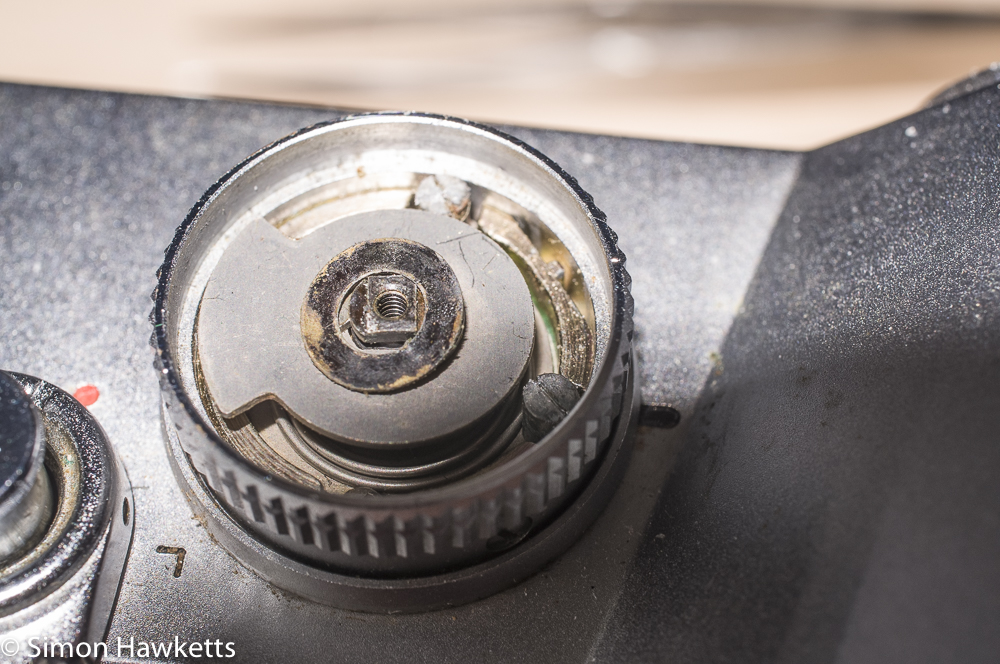
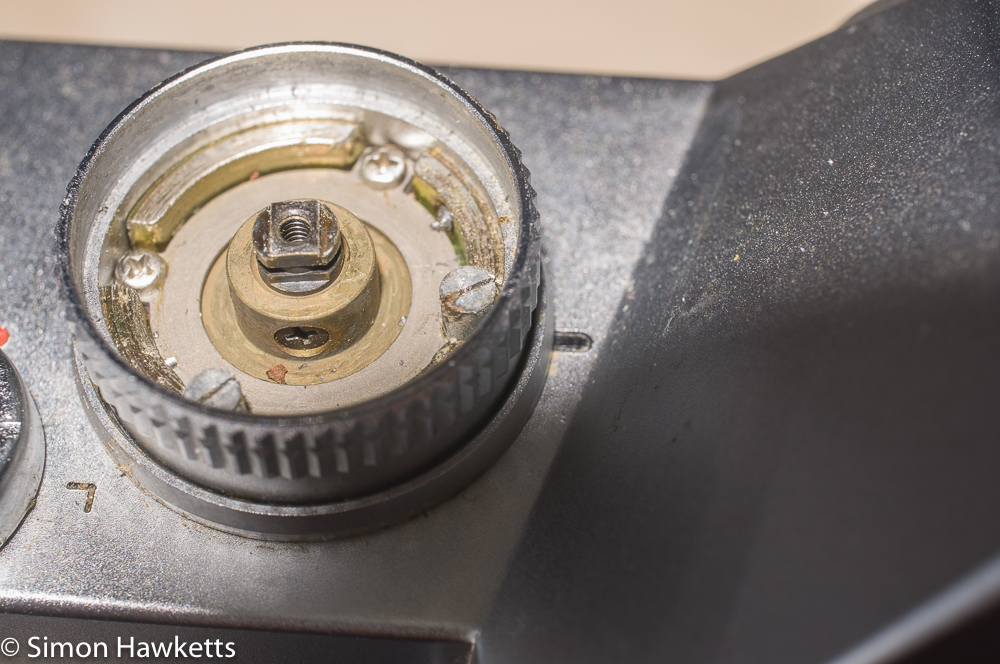
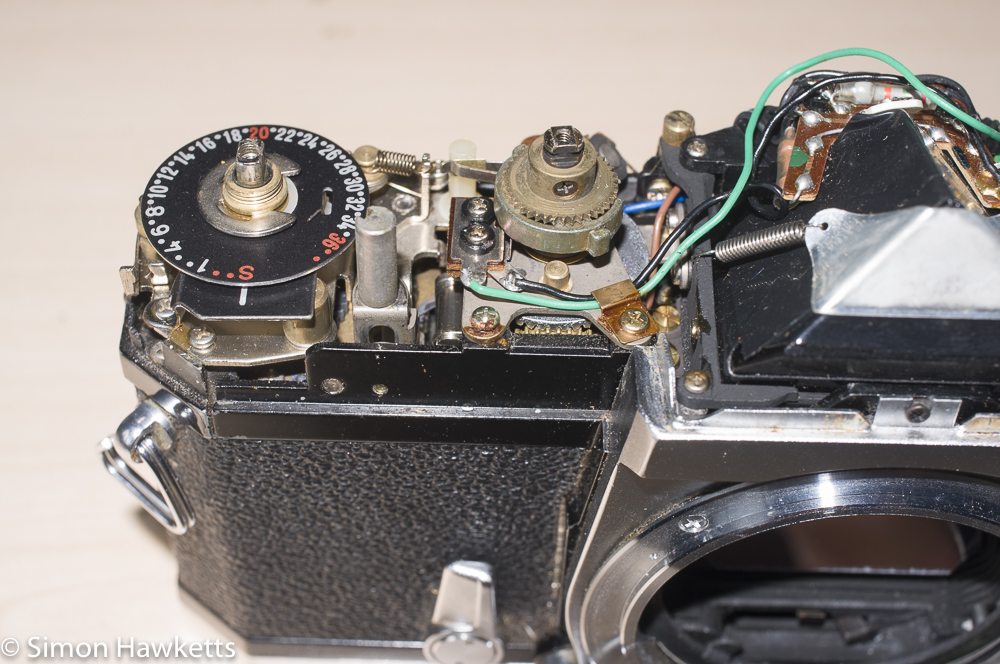
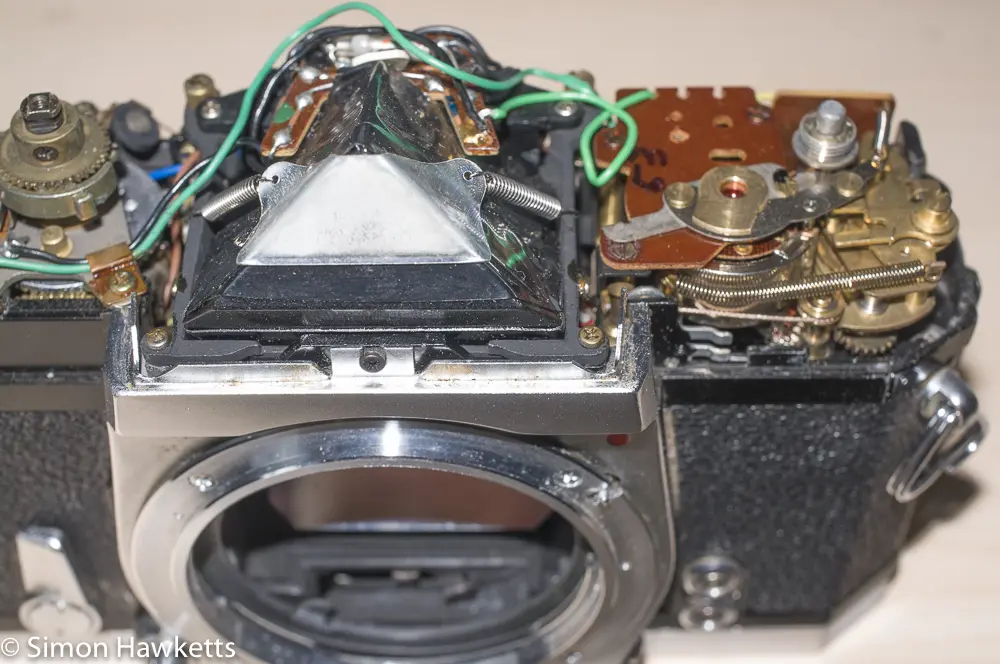
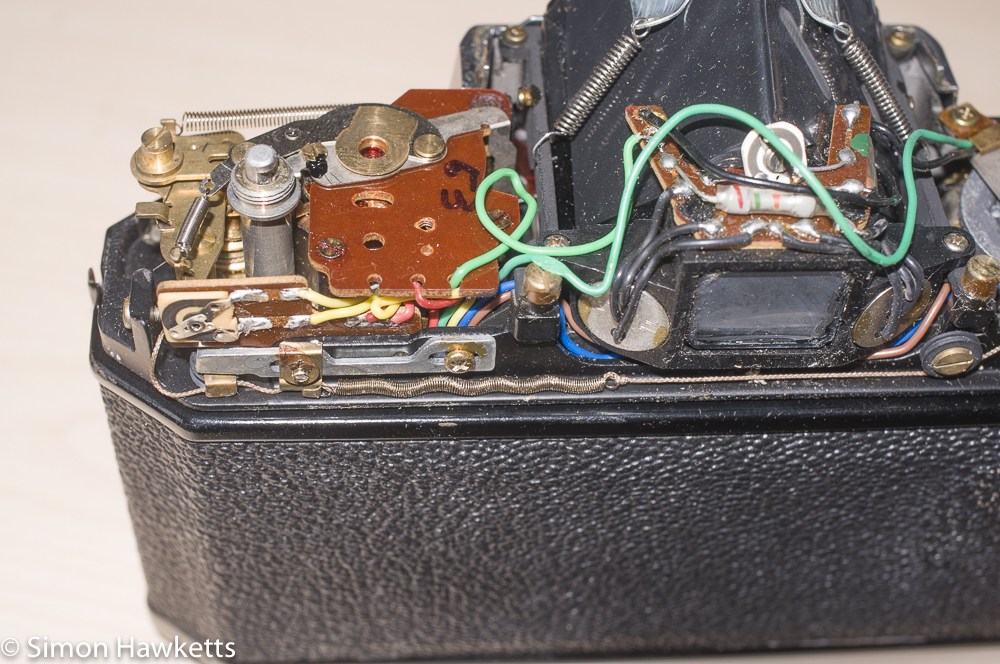
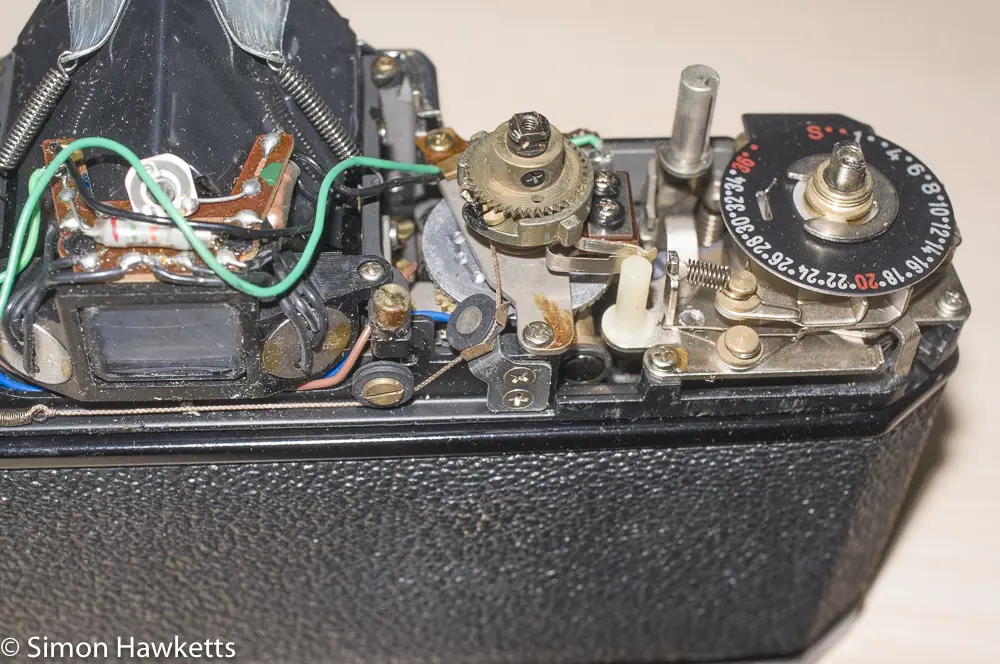
Autoreflex T2 top cover removal issues.
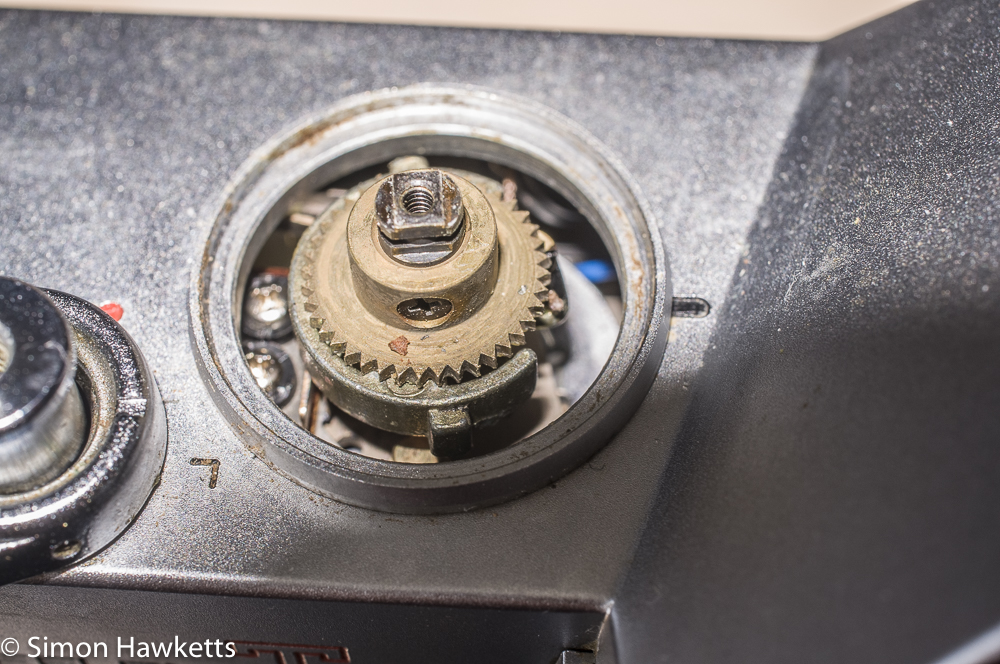
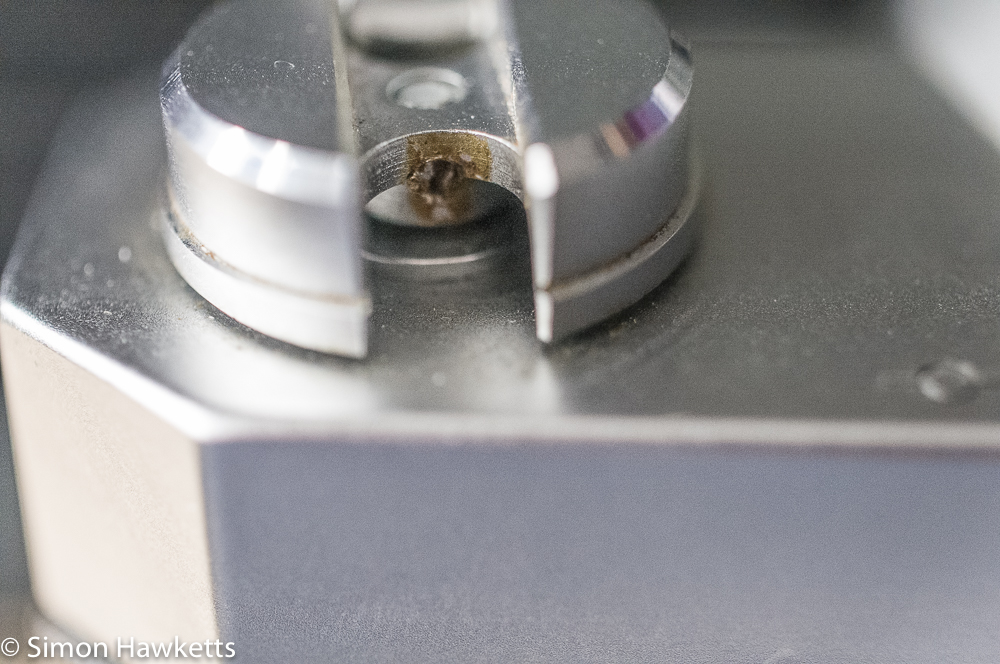
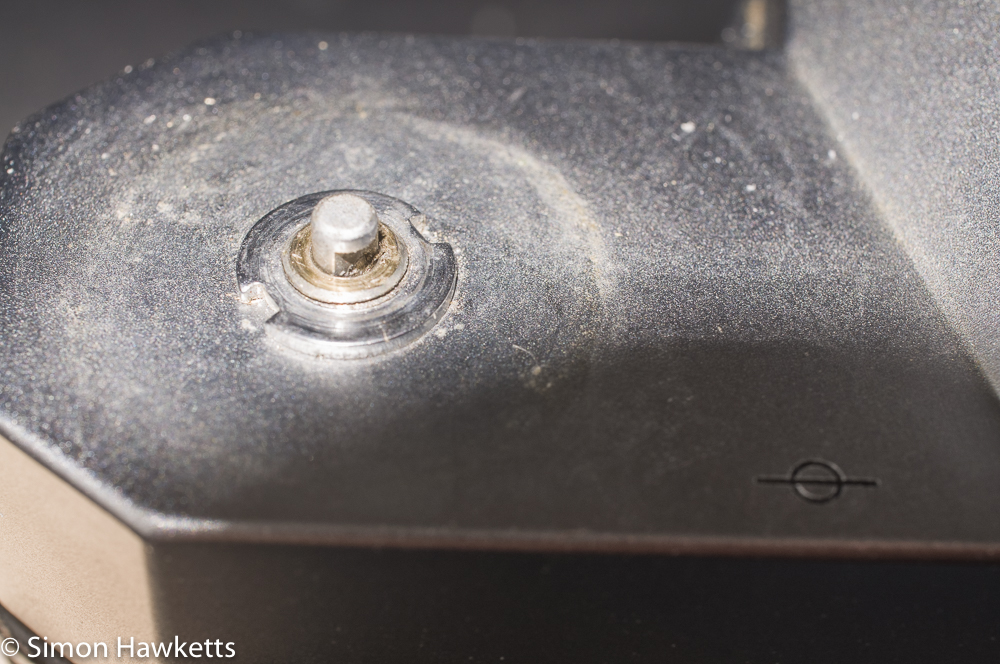
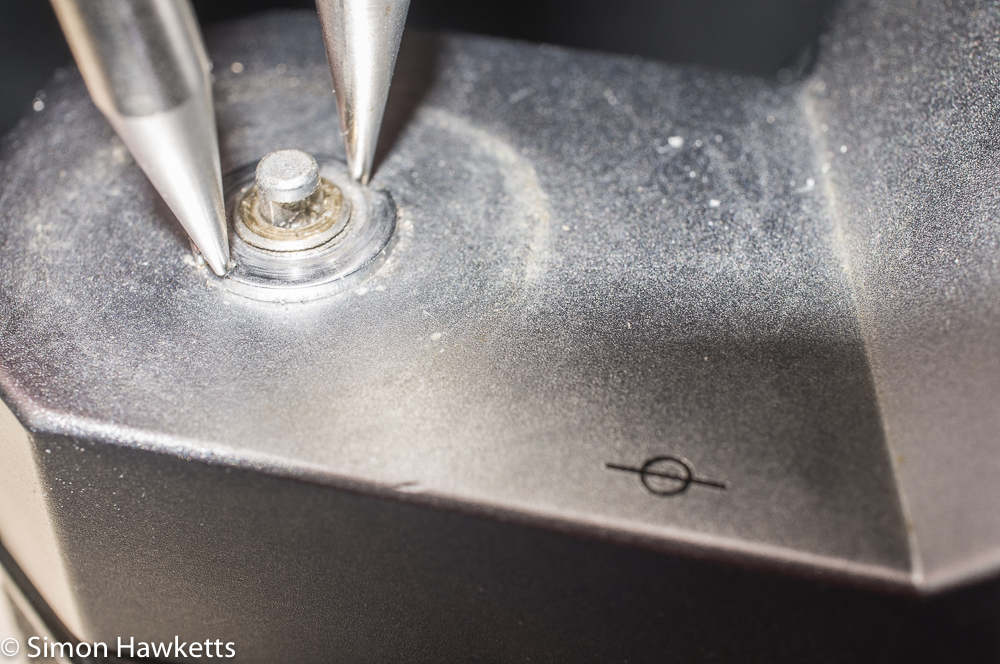
For the most part, the removal of the top cover of the Autoreflex T2 is the same as most other cameras of this era, but this is the first camera I've come across with a lock screw in the rewind crank. That threw me for a while as I tried to unscrew the top of the rewind as usual with a screwdriver in the prongs and turning the top knob. After applying a bit of force I realized it wasn't going to come off and started looking for a reason, fortunately before I bent the rewind crank.
Unfortunately, however, I couldn't release the lock screw no matter how I tried to undo it. It had been sealed with a locking compound, and although I could dissolve the compound on the surface, I couldn't get any to penetrate into the thread and release the screw. I therefore had to actually drill the screw out, so I could remove the rewind crank. I'll need to tap the hole and fit a slightly bigger screw when I re-assemble the camera.
The rest of the top cover components came off without any real problems, but I did notice these particular points when I came to do repairs on the camera, so I've noted them here for anyone who needs to do similar work.
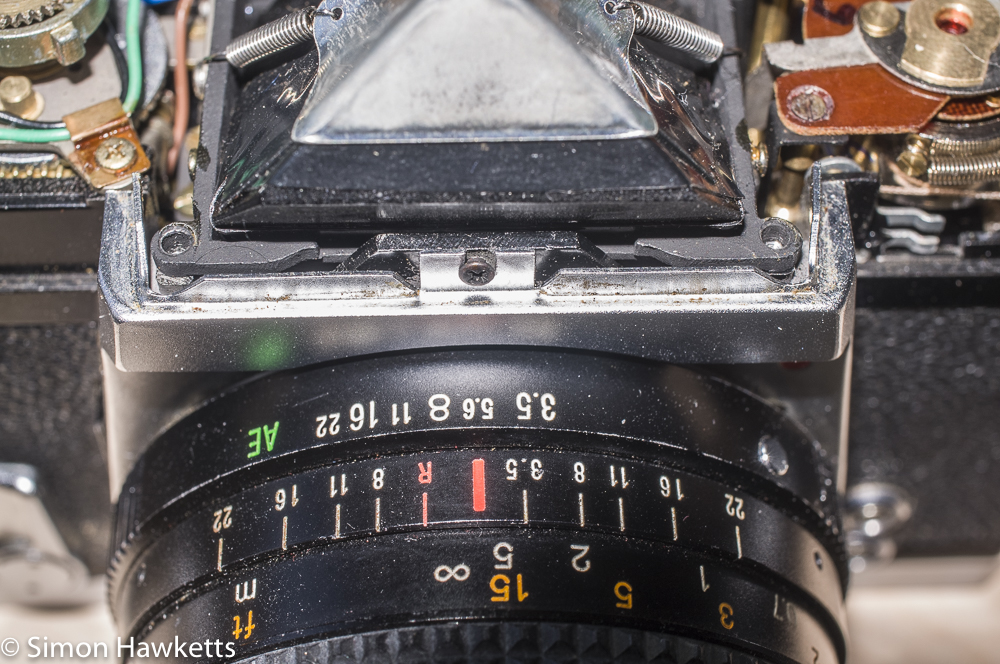
I had to remove the prism in order to clean the condenser lens and the viewfinder lens. That was particularly easy with this camera, just remove two screws to take off the viewfinder lens and then another four to lift the prism, but there is a small cog on the prism assembly which needs to engage with the shutter speed dial when the prism is put back.
The cog drives the shutter speed display in the viewfinder and I found the best way to get his aligned is to set the shutter speed to B and then adjust the cog until you can read B clearly in the prism and then mate the two together. This way, the shutter speed reading aligns with the actual speed set.
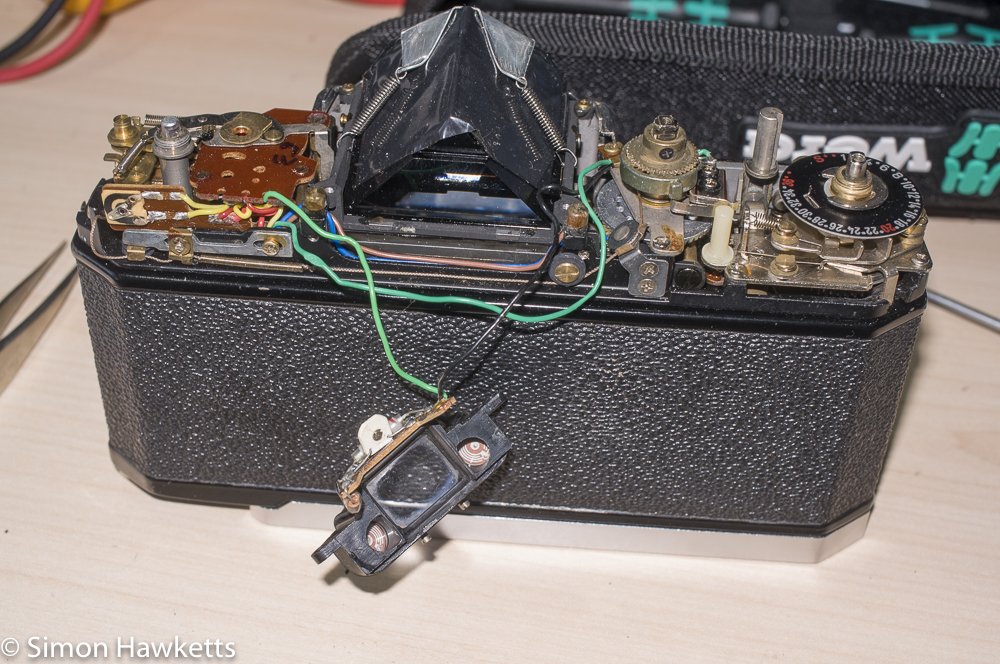
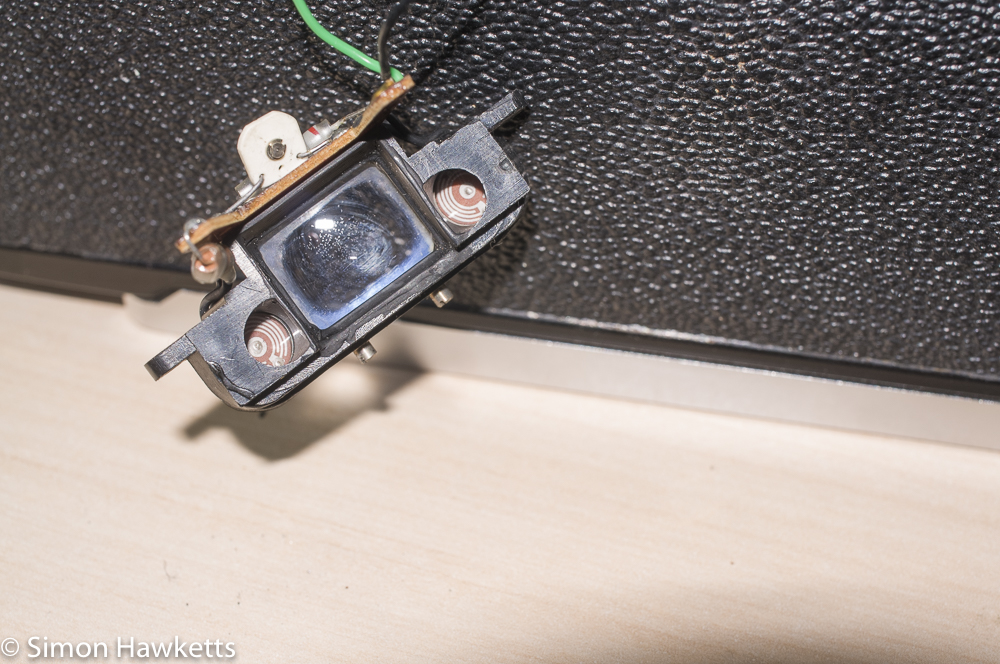
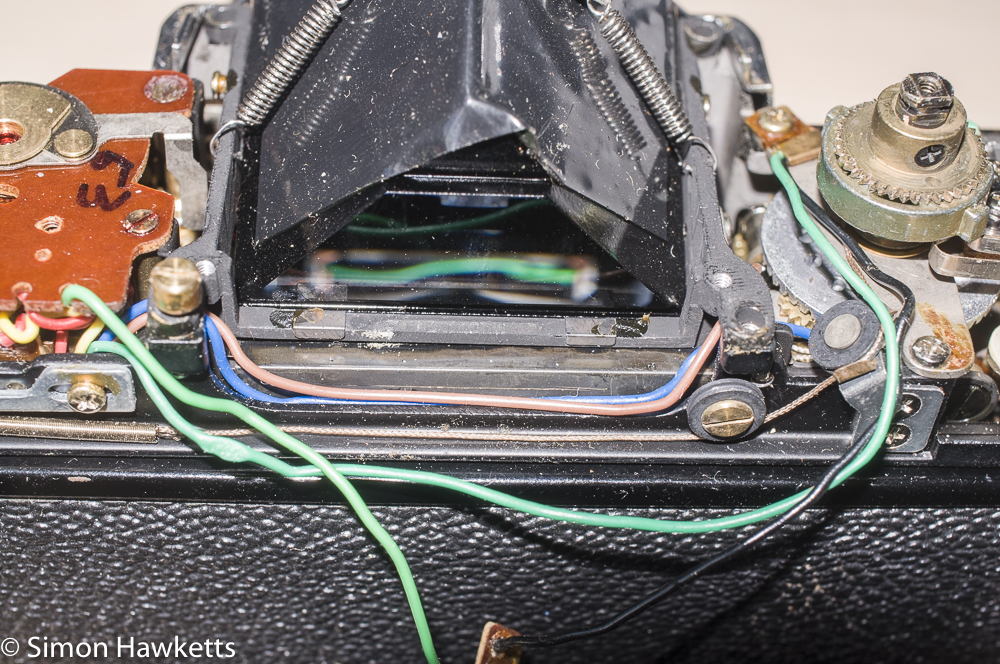
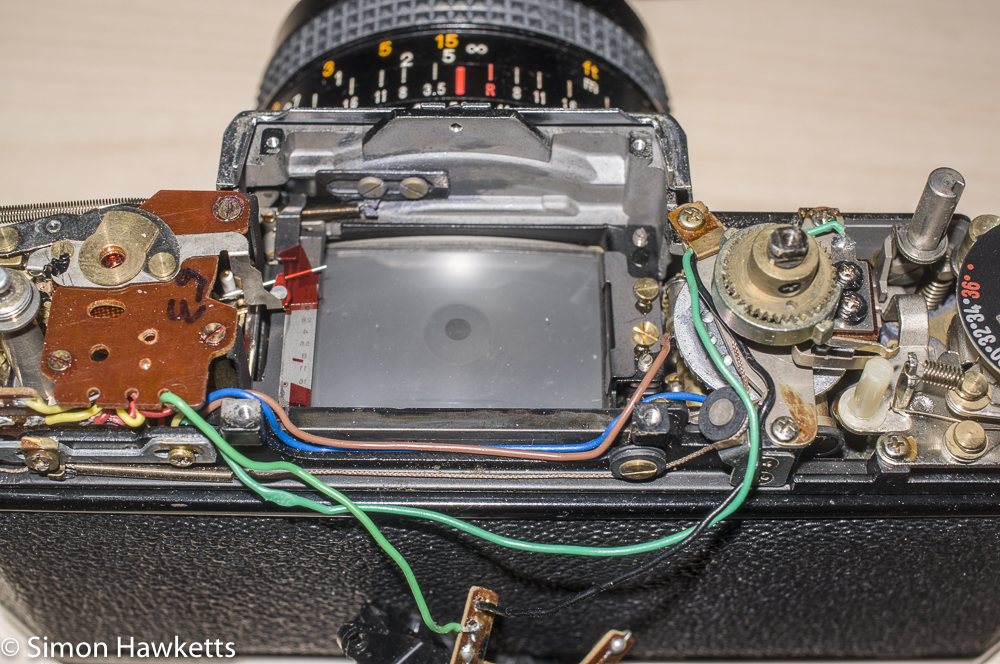
The other thing I noticed was that there is a string which goes from the shutter speed dial, across the back of the camera and joins with the exposure measuring system on the other side of the top of the camera. The exposure system on my camera isn't working yet, but I think the string is to set the film speed, so it may need to be tensioned correctly, so be careful of this. I'll give more information in a future post when I work out the details.