Tricky Kodak Retina Reflex S re-assembly
A couple of weeks ago I completed the restringing of the exposure meter of my Retina Reflex S which left me with a clean and working shutter and body ready to assemble together again. Yesterday I completed that operation, this post covers the Retina Reflex S re-assembly.
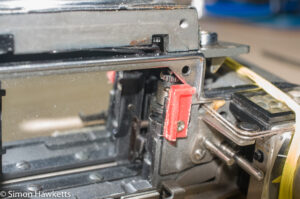
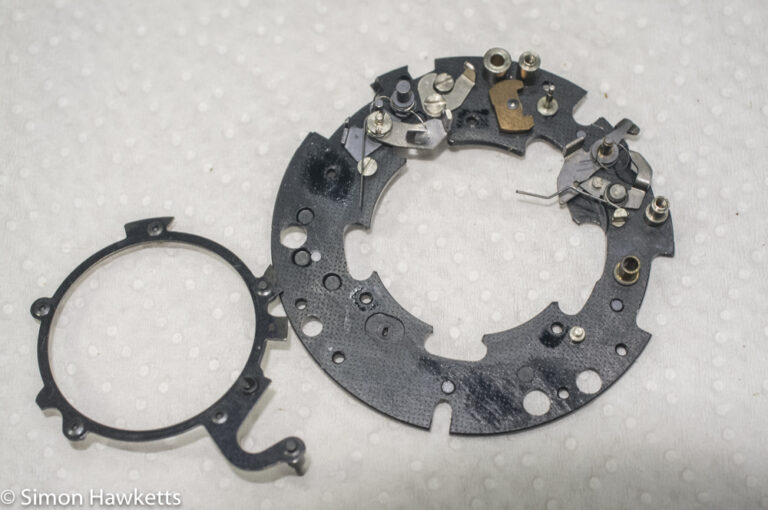
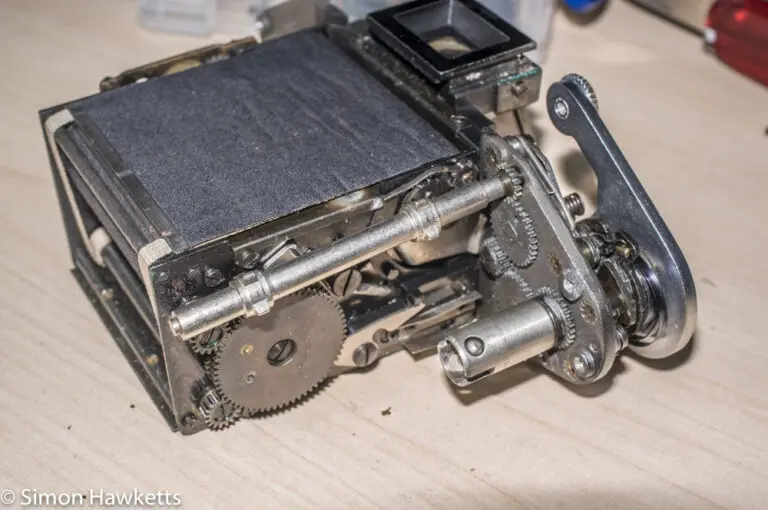
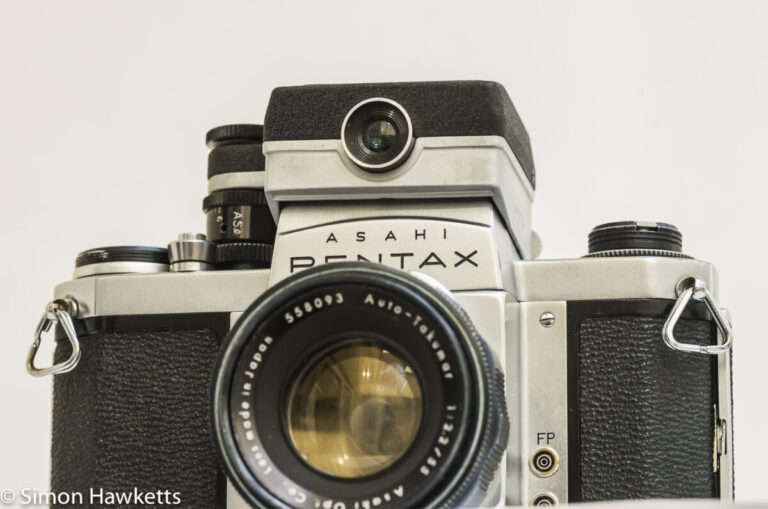
Retina Reflex S re-assembly images
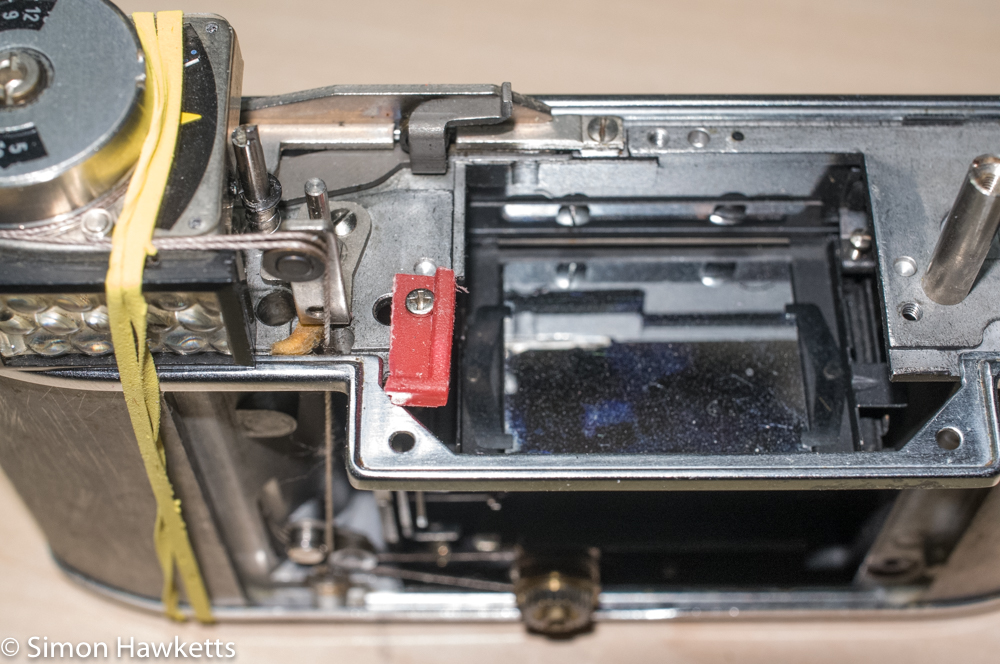
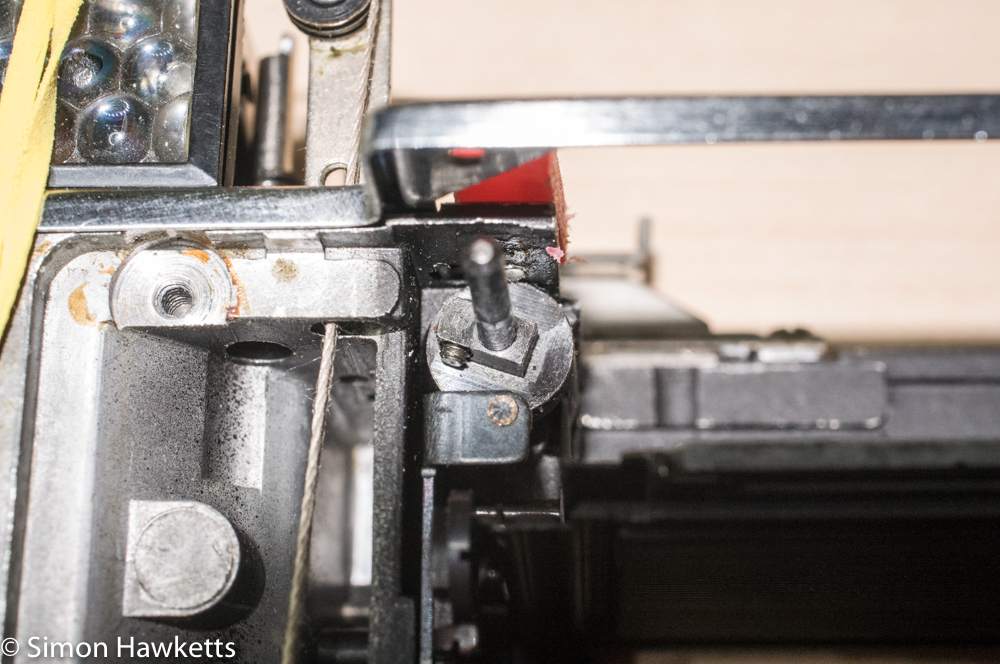
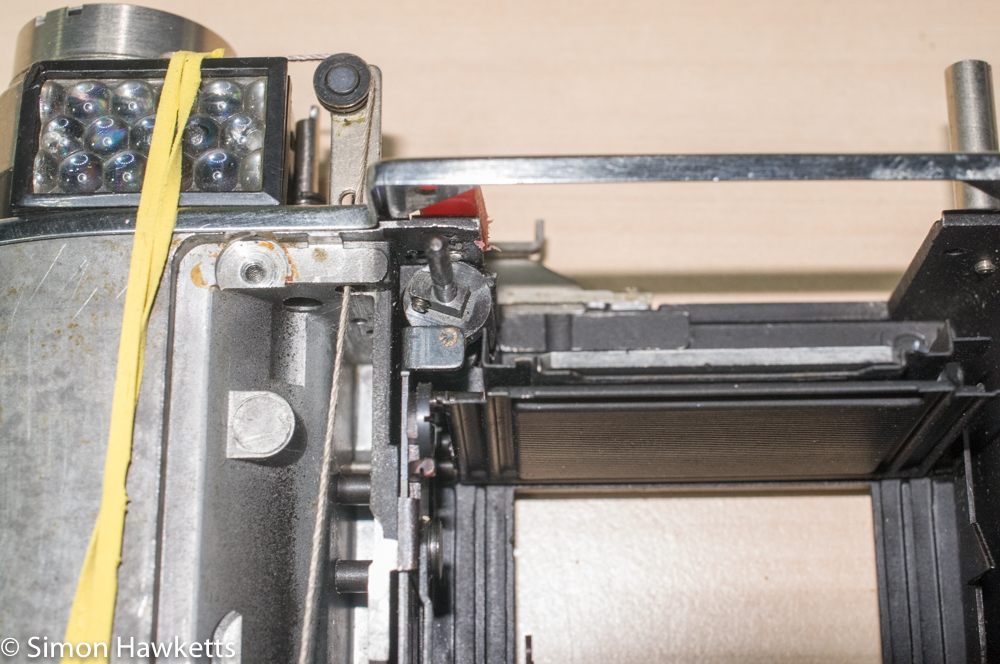
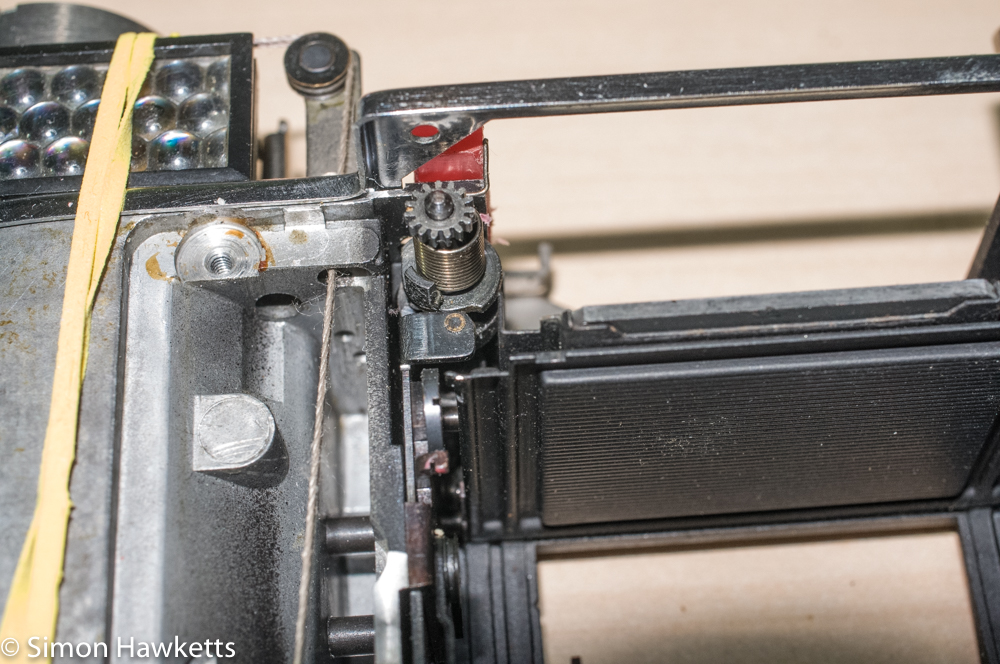
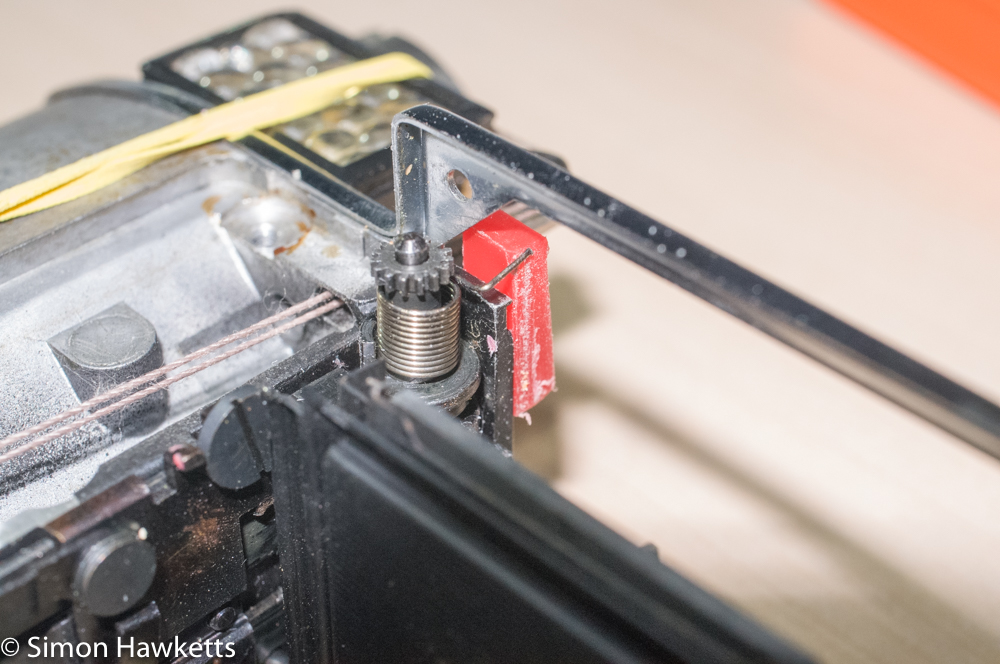
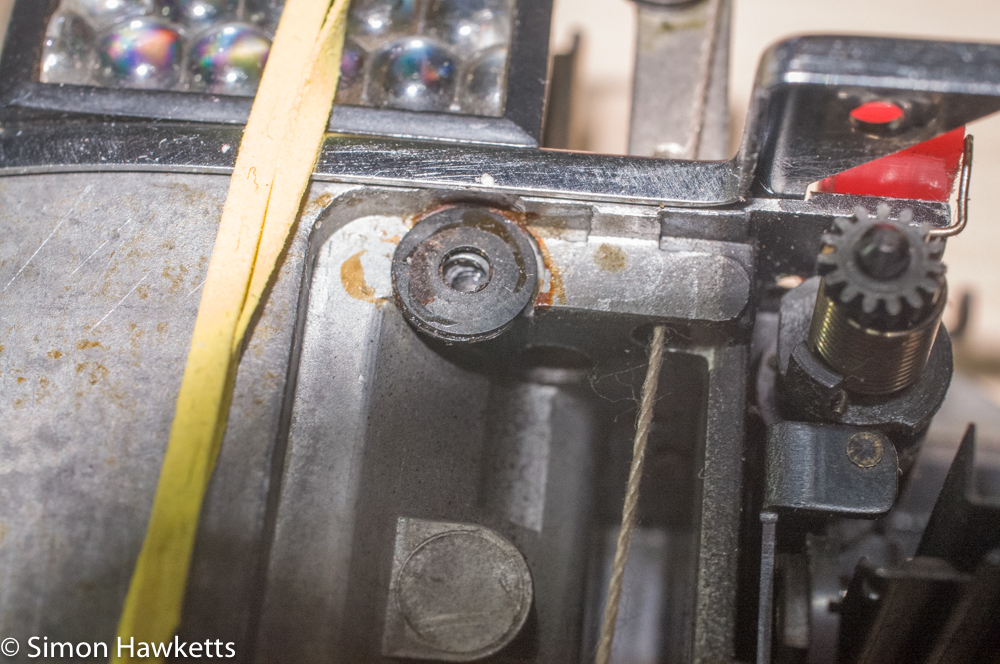
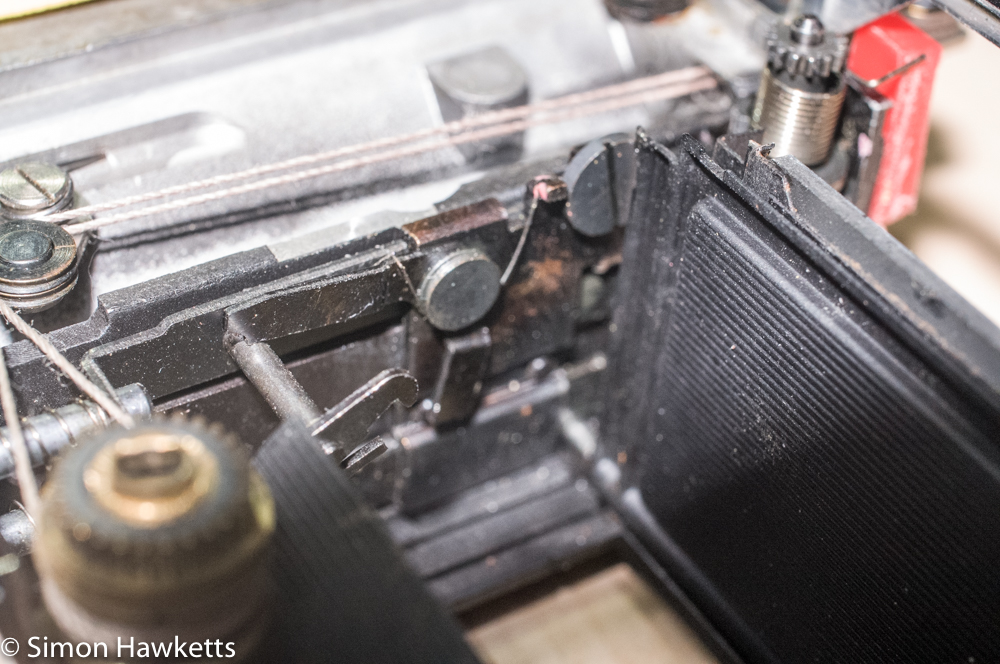
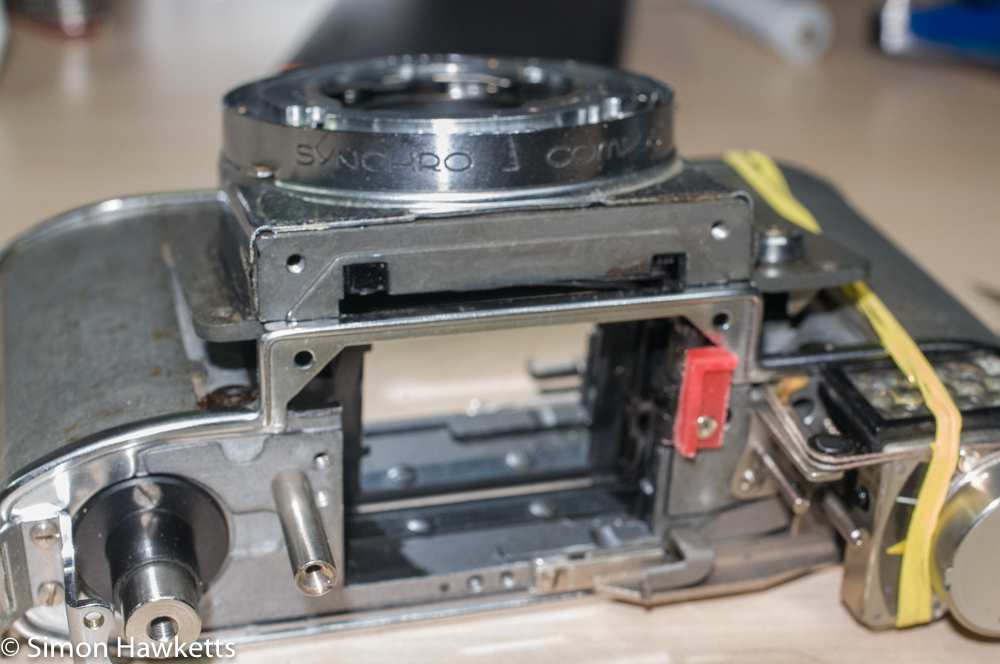
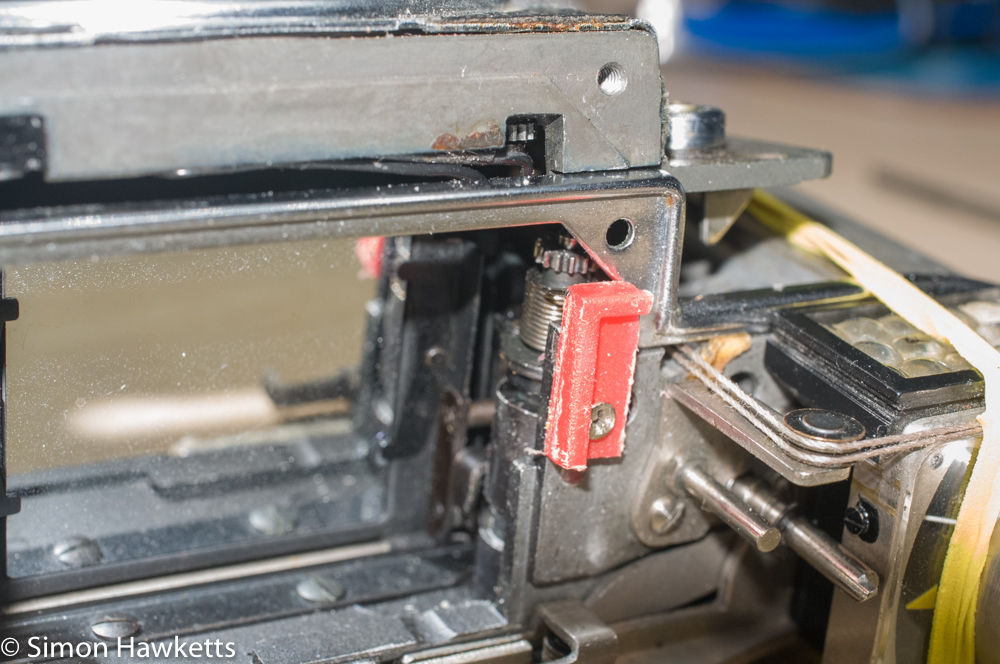
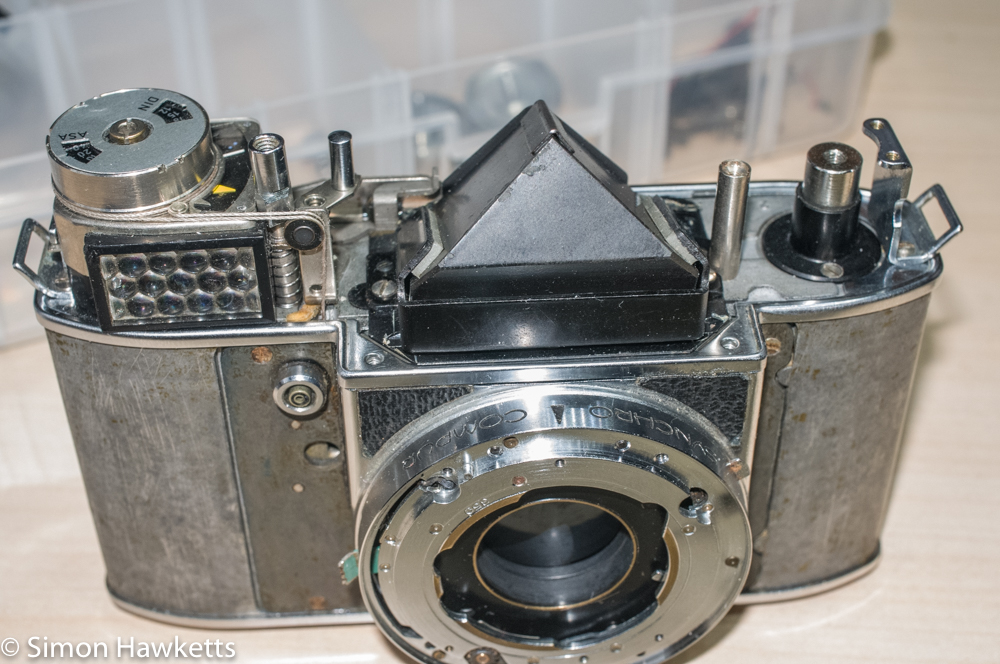
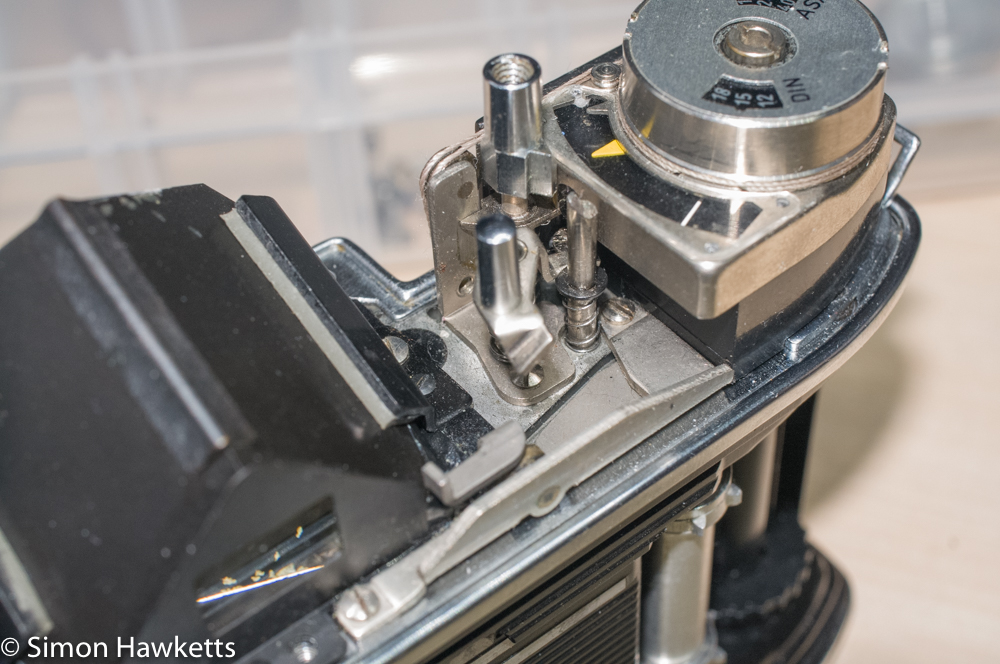
I have to say that this was probably the most awkward part of the whole re-assembly. It wasn’t exactly difficult, but I found it frustrating because I had to do it three times before the timing was right, and each time I didn’t really feel as if I knew why it was going to be different.
The basic procedure is outlined on the brilliant Retina Reflex site, so I would recommend anyone checks that out. The pictures above are just additional guidance for anyone who is faced with a similar re-assembly job.
Basically it is just a question of fitting the control shaft into the camera body, which is coupled to the film advance and is responsible for winding down the light shield & mirror and cocking the shutter. It’s important that the control shaft is correctly positioned because it determines the timing of everything. With it in place, the cam is placed over the top and the spring fitted to it is wound a turn to add some energy into the gears which control the shutter.
With these things set up and the washers the shutter sits on positioned, the shutter plate is placed into position and fitted. First the bottom of the shutter plate is pushed under the chrome trim and then the trim at the top is moved away to allow it to fit into the top. As the top of the shutter plate is pushed into place, the cog on the cam needs to mate with its counterpart in the shutter.
I managed to do it quite easily the first time but found the shutter was too far advanced – as I wound the film advance the shutter cocked, the mirror came down, but then the shutter released as I let the film advance back. The second time I tried the cog on the cam wasn’t mated as I started to turn the film advance which threw the timing out, so I had to take it apart and try again.
The third time was more lucky, I could advance the film and the shutter cocked, the light shield came down, and the mirror came down and stayed down.
All this looked good, but I found the shutter release didn’t really work properly. I’d been pushing the release using a pair of tweezers on the top of the release shaft and realised that the reason it wasn’t working properly was because I needed the full release button and spring fitted. For a horrible moment I thought I would have to take the light meter unit off, which would mean removing the shutter again and refitting the exposure meter cord, but fortunately I could lift the meter enough to get the shutter release in place!
With the release in place everything was back to working properly – wind the film advance, the light mask drops, the mirror drops and the shutter opens. Press the release and the shutter closes, the mirror and light shield come up and the shutter fires – magic!
At this point I refitted the camera top just to keep the light meter in place – I’m going to leave the camera in this state and try cocking and releasing the shutter for a few days just to make sure everything is OK before I reassembly the front of the lens mount and re-glue the covers.
Discover more from Everything Vintage
Subscribe to get the latest posts sent to your email.

