Exakta Varex IIb shutter repair and cleanup
Yesterday I published a very brief post showing how I got the shutter out of my Exakta Varex IIb camera ready for the repairs I needed to do. Today, I’m going to continue that theme by showing the Exakta Varex IIb shutter repair and clean-up process that I used to get the camera back to working order.
Exakta Varex IIb shutter repair images
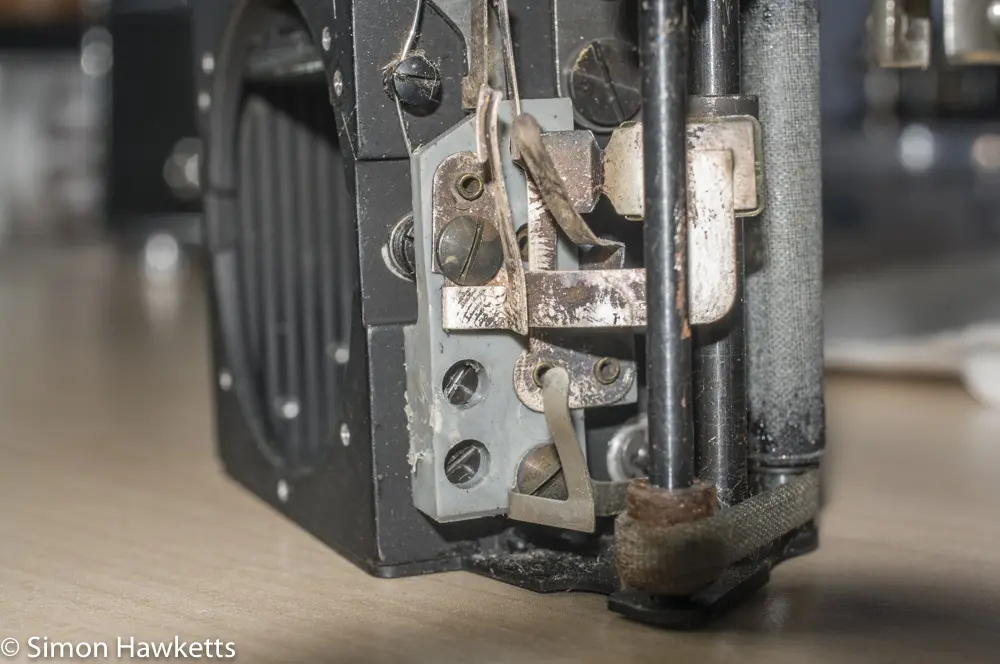
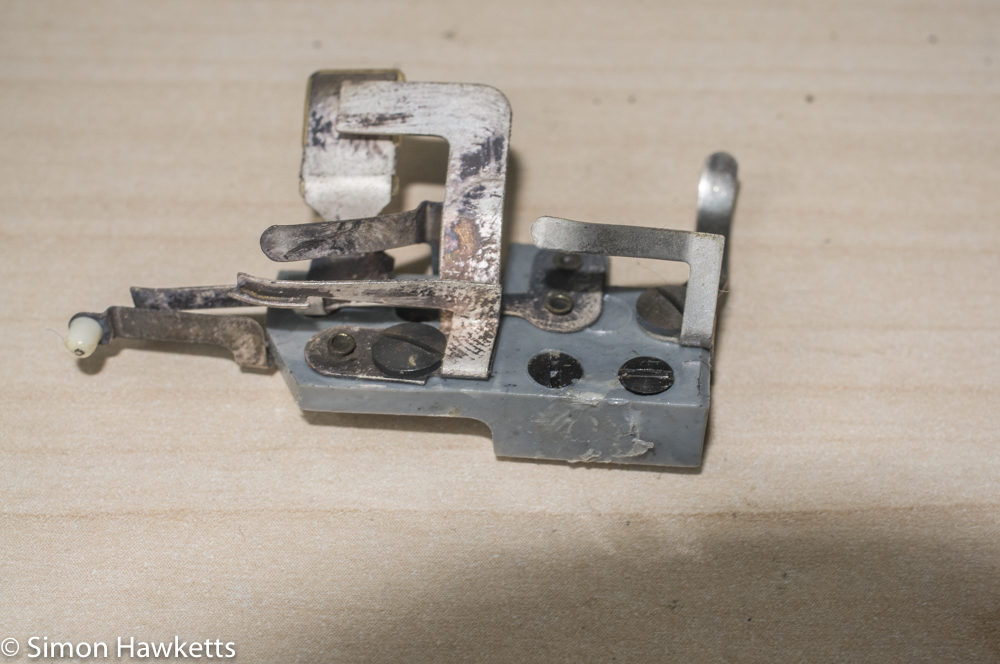
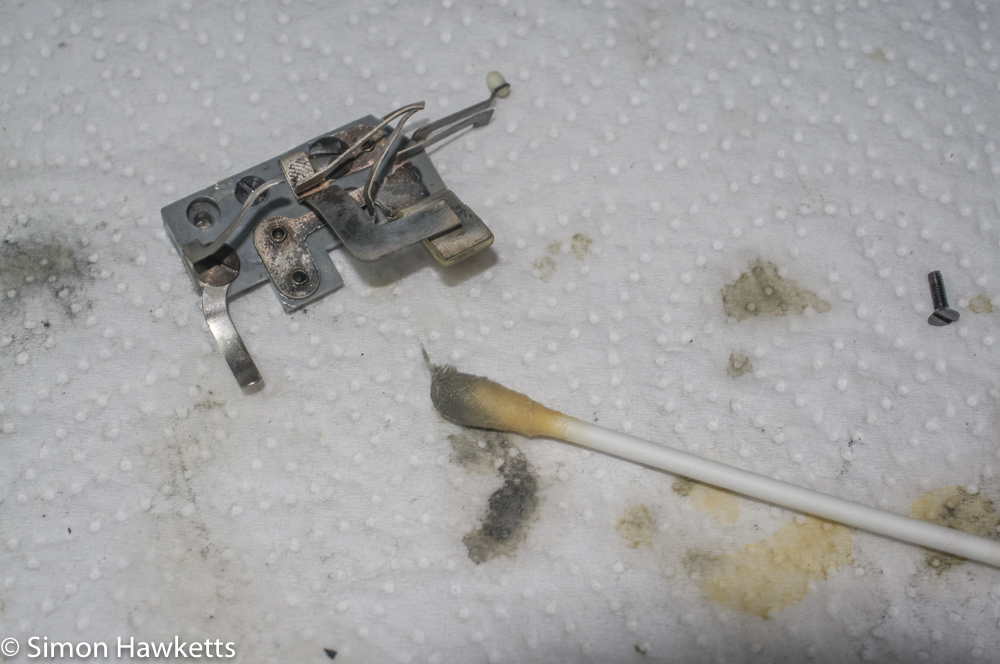
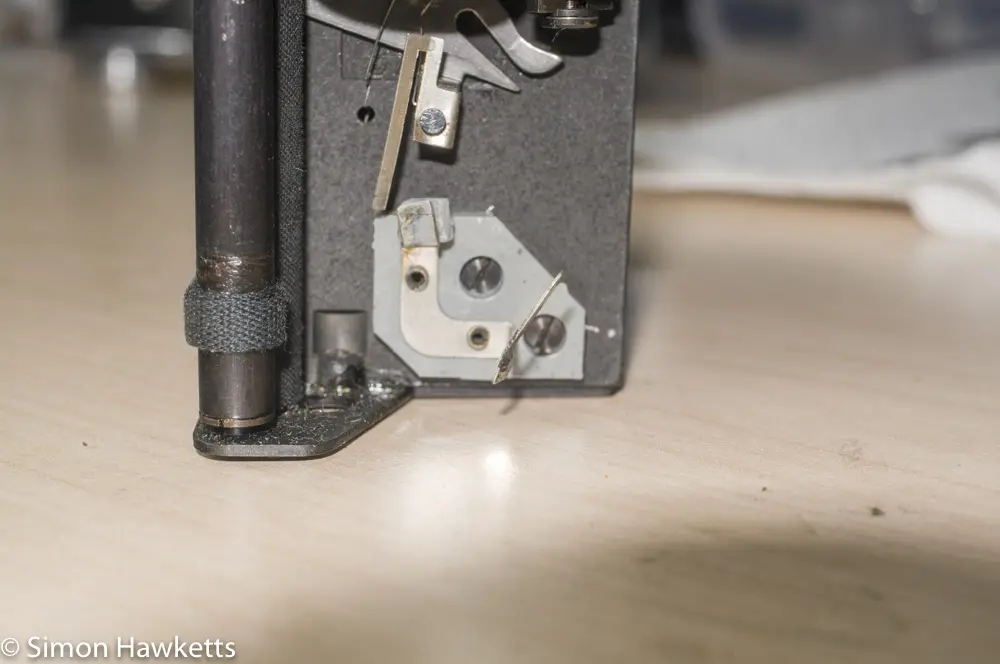
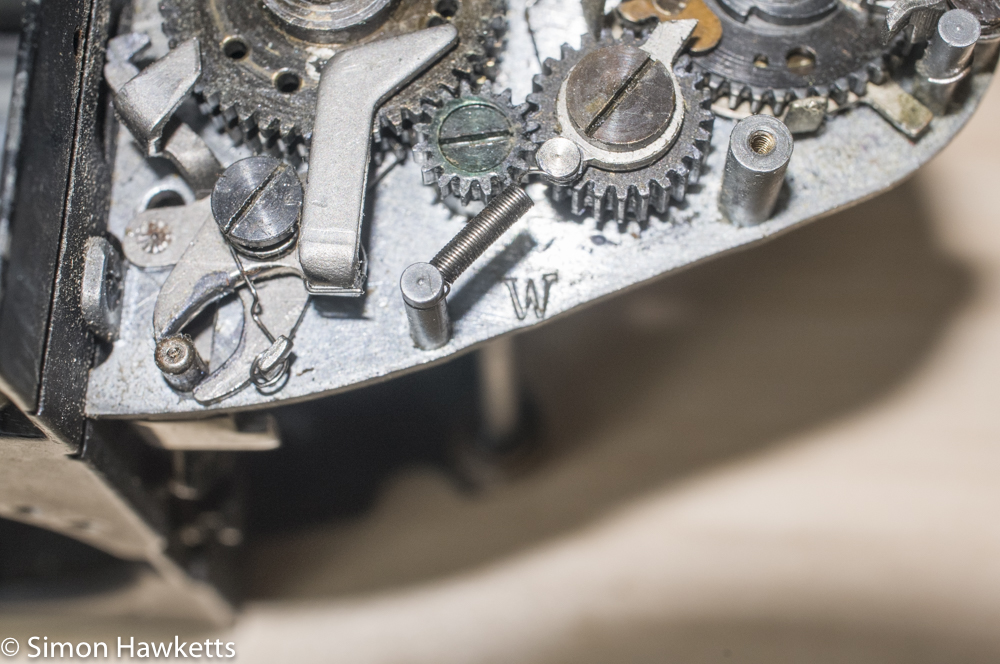
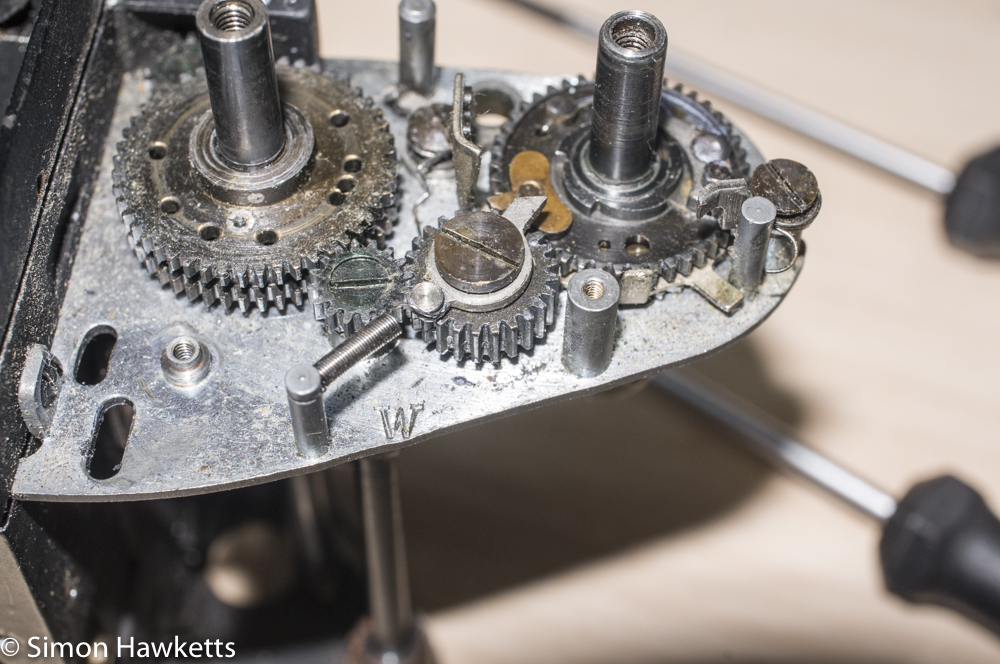
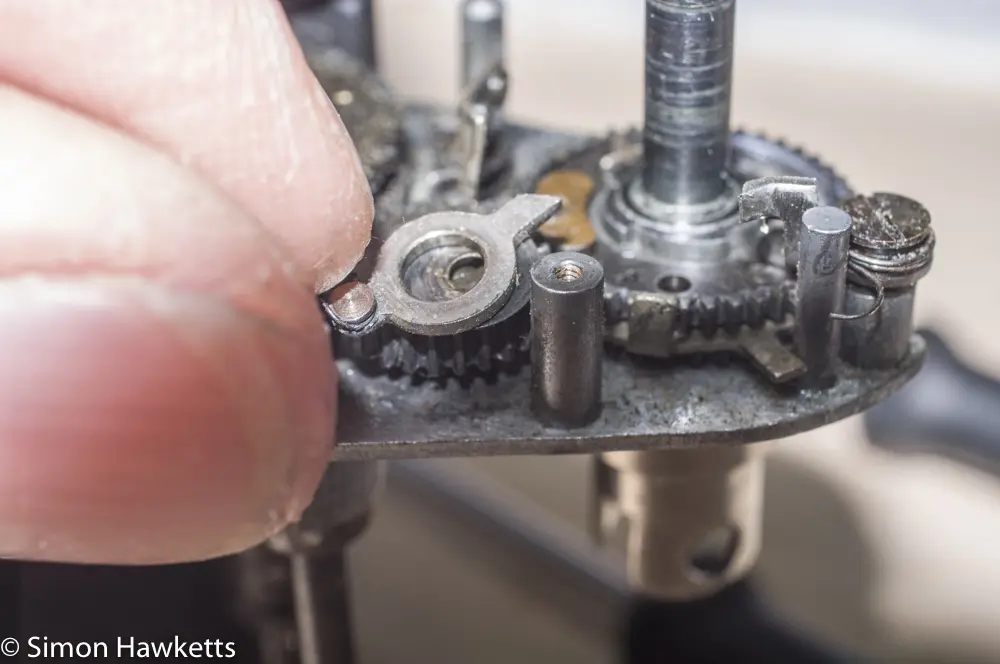
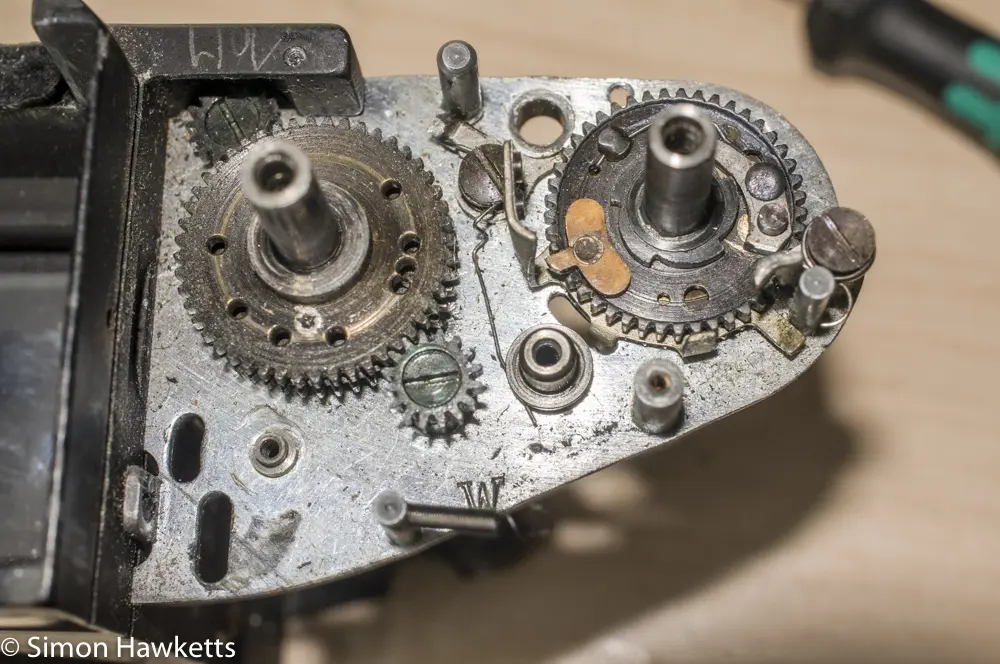
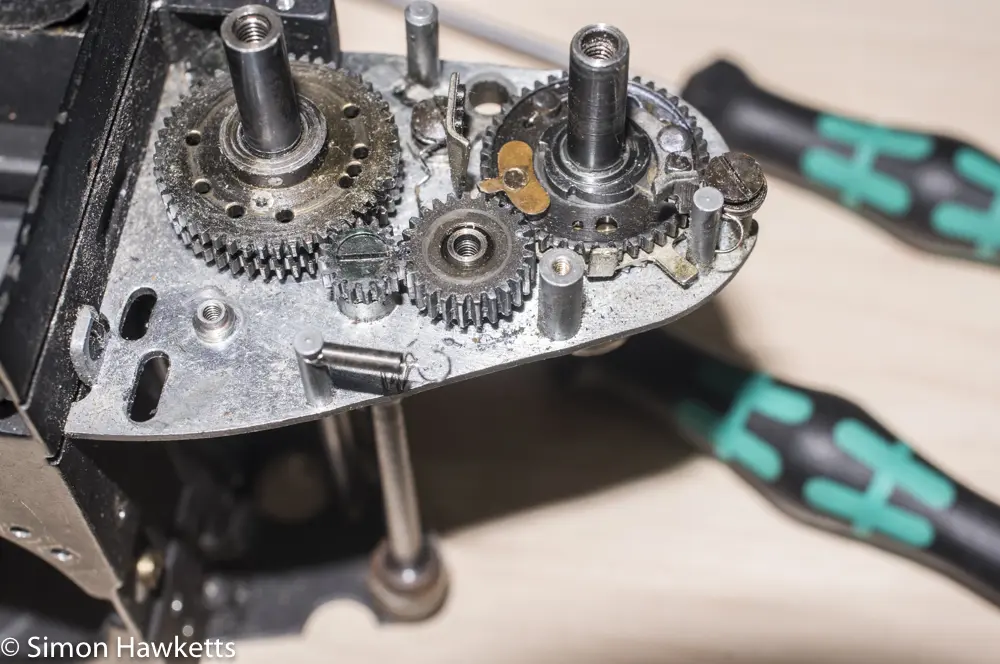
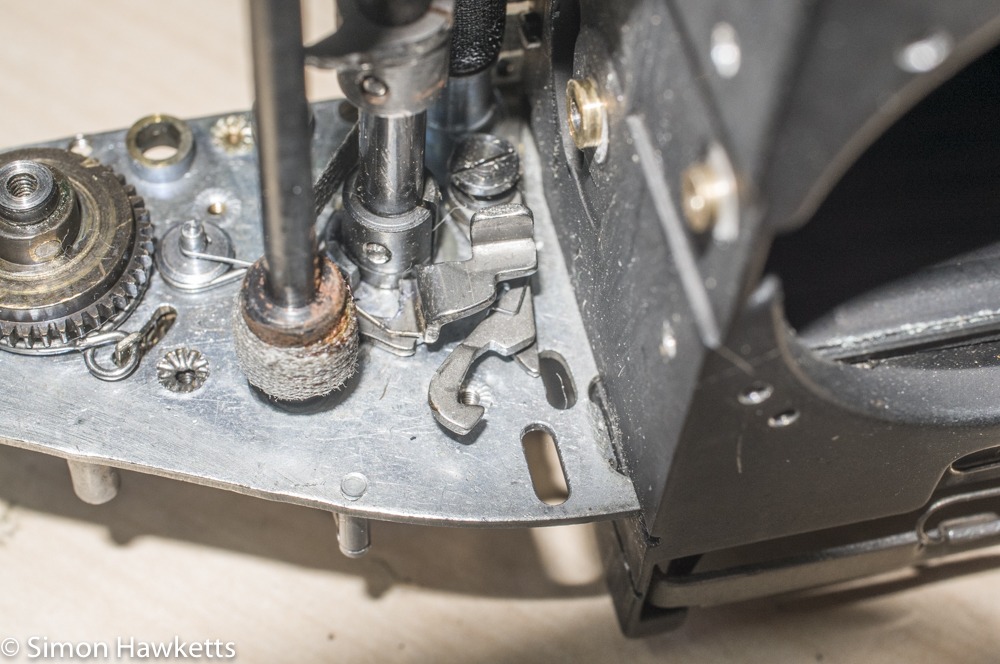
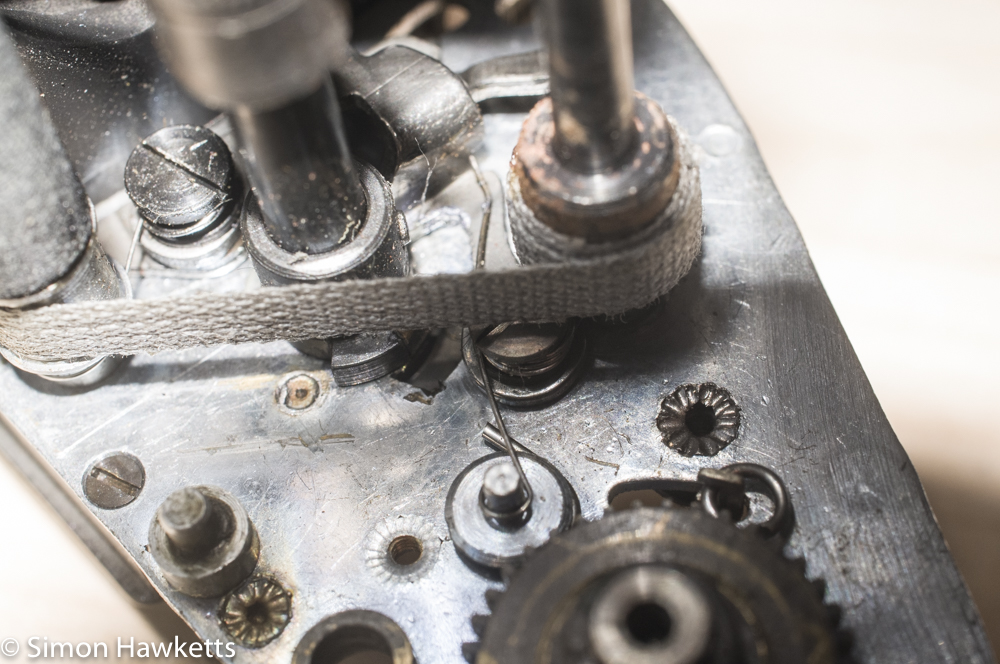
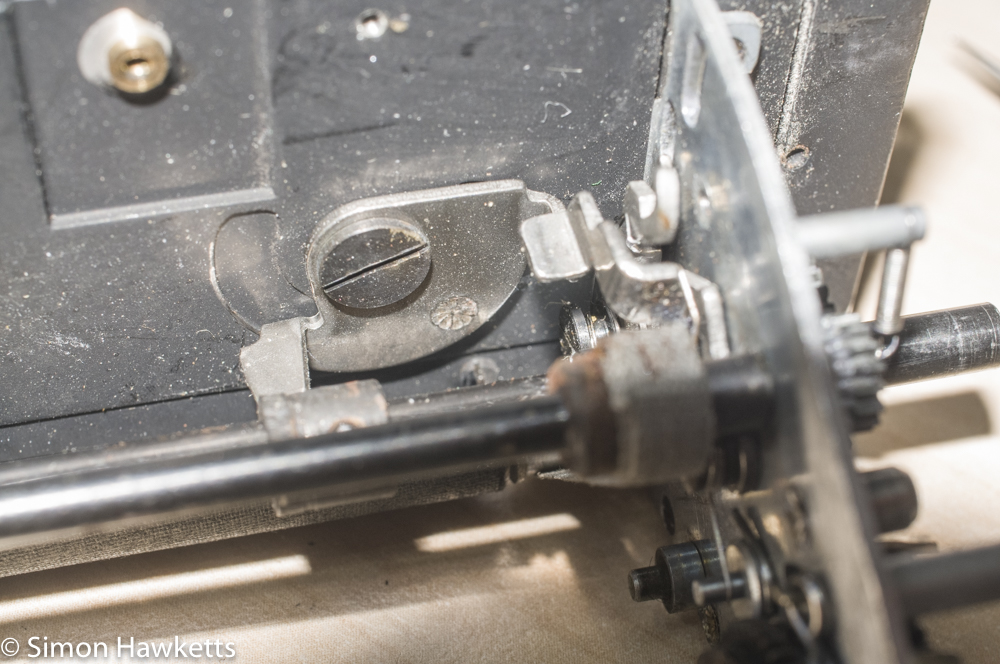
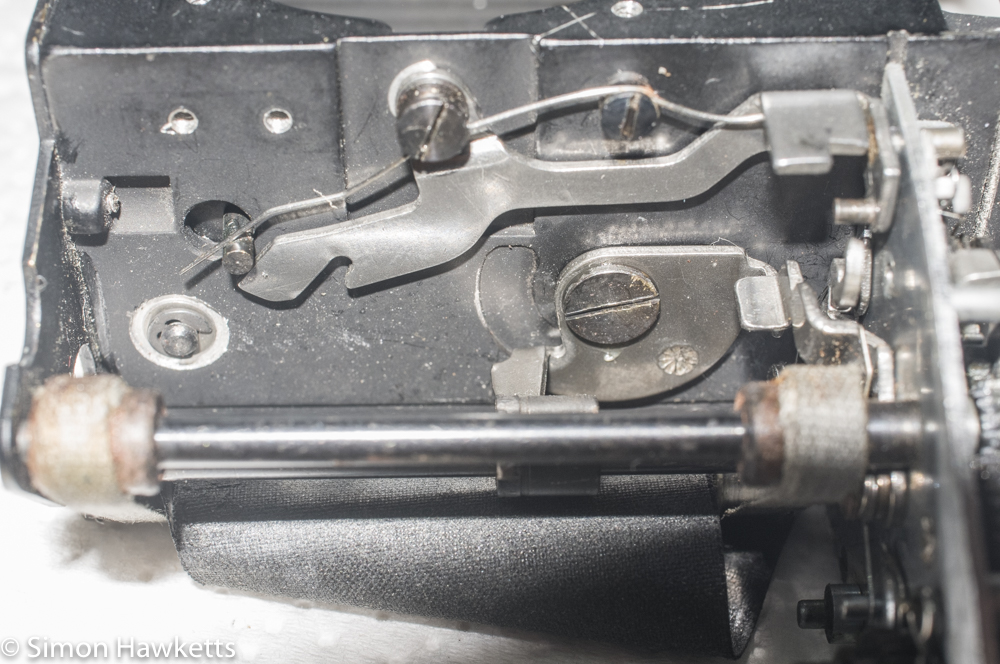
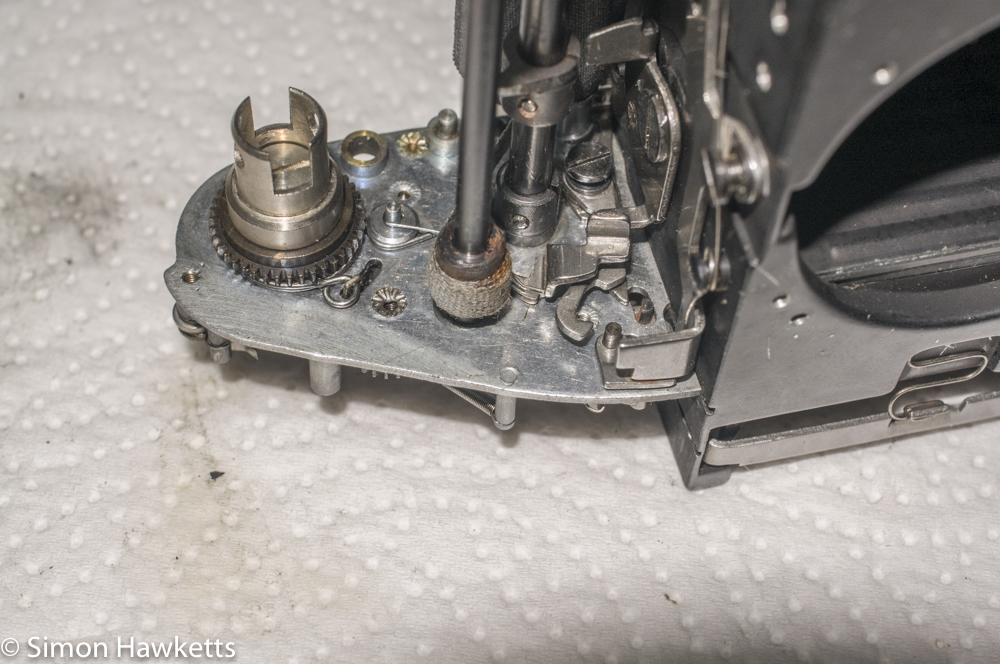
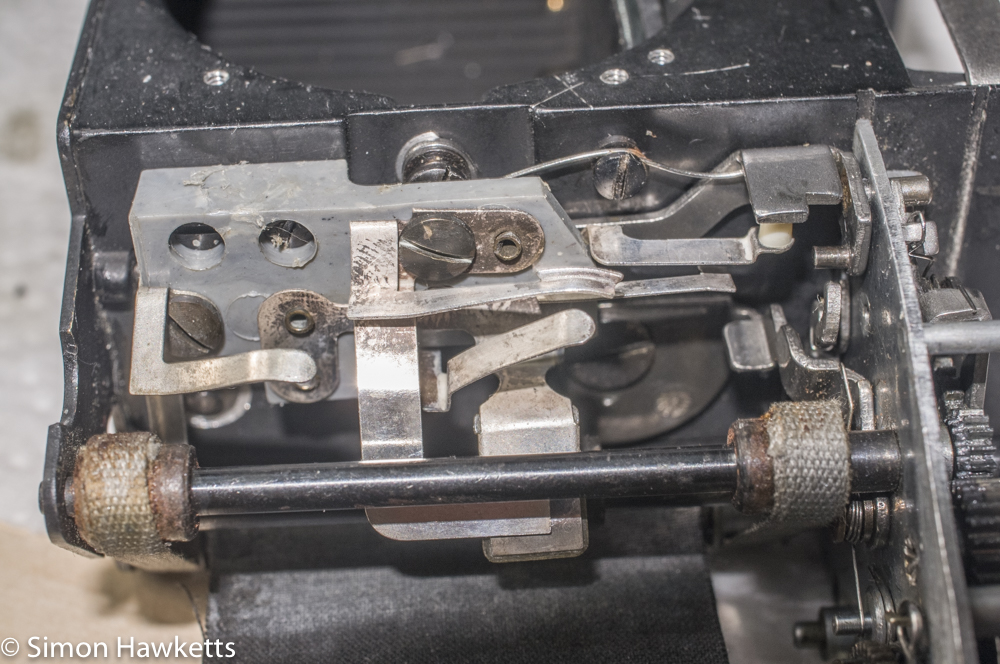
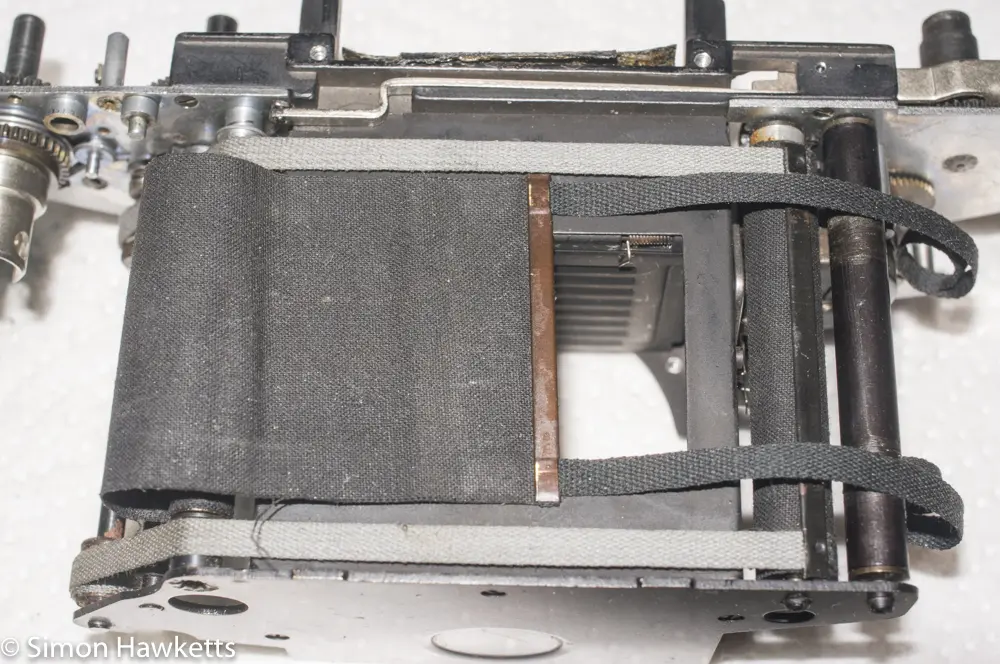
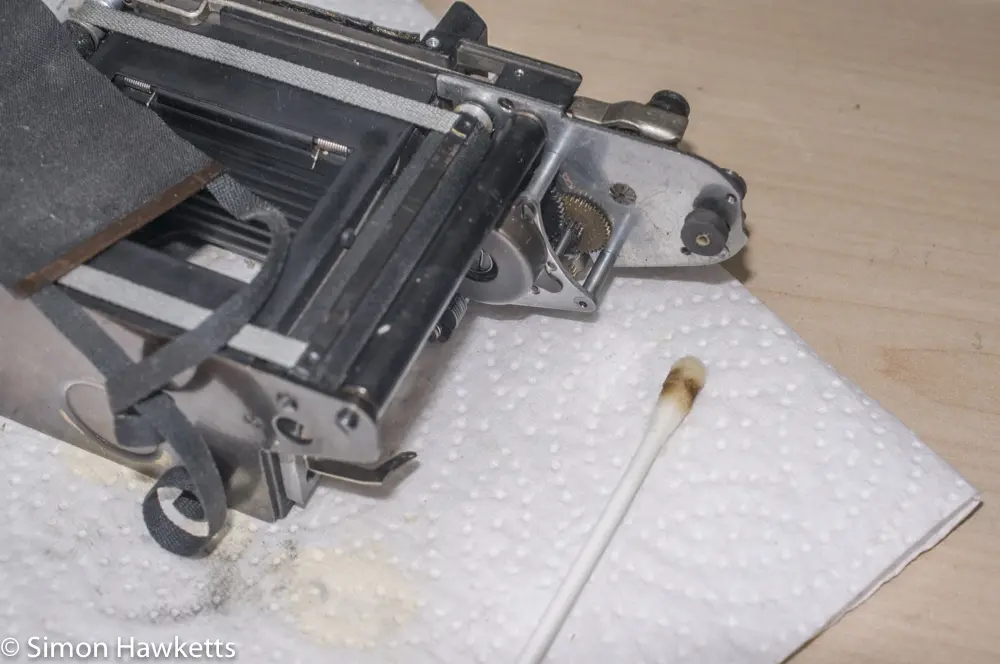
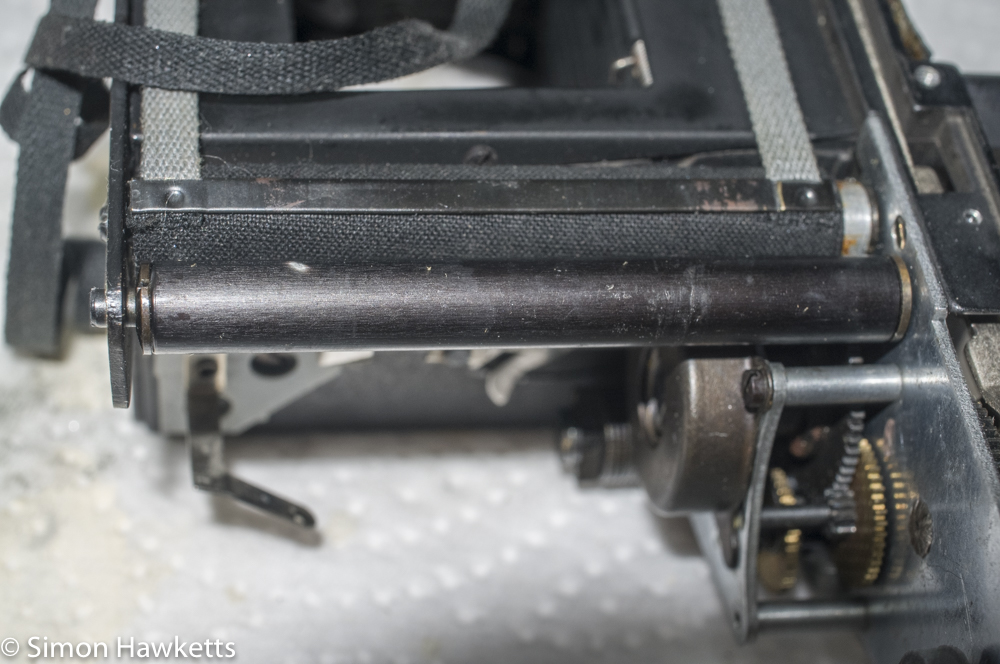
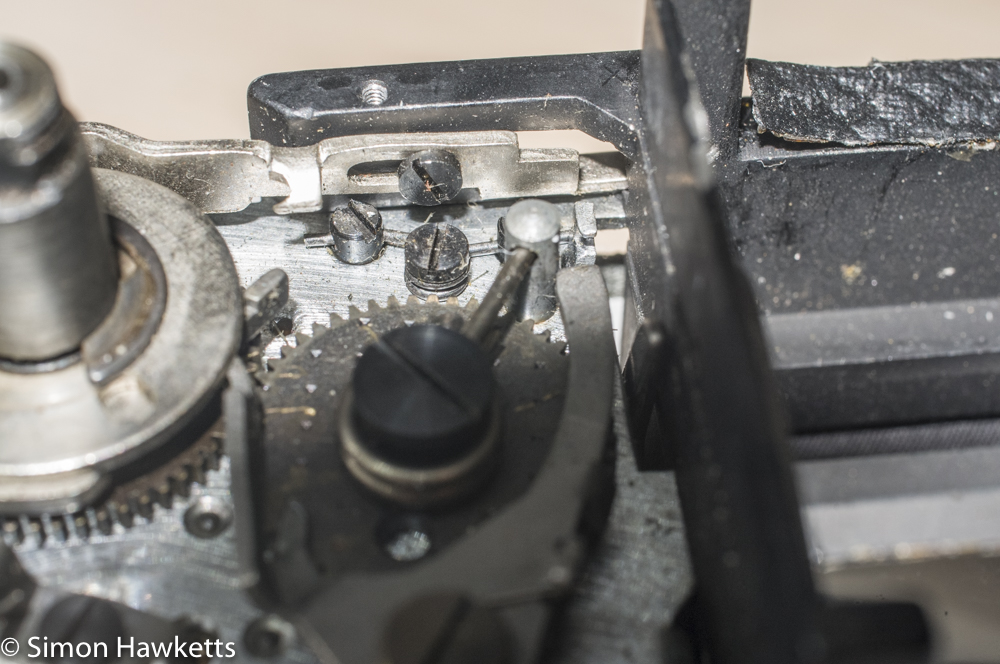
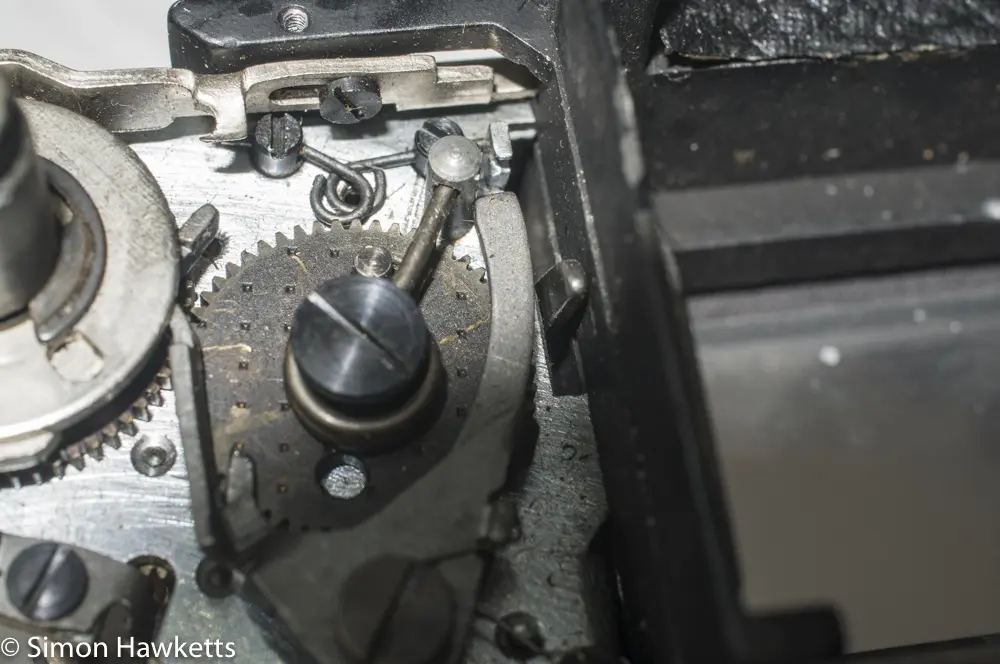
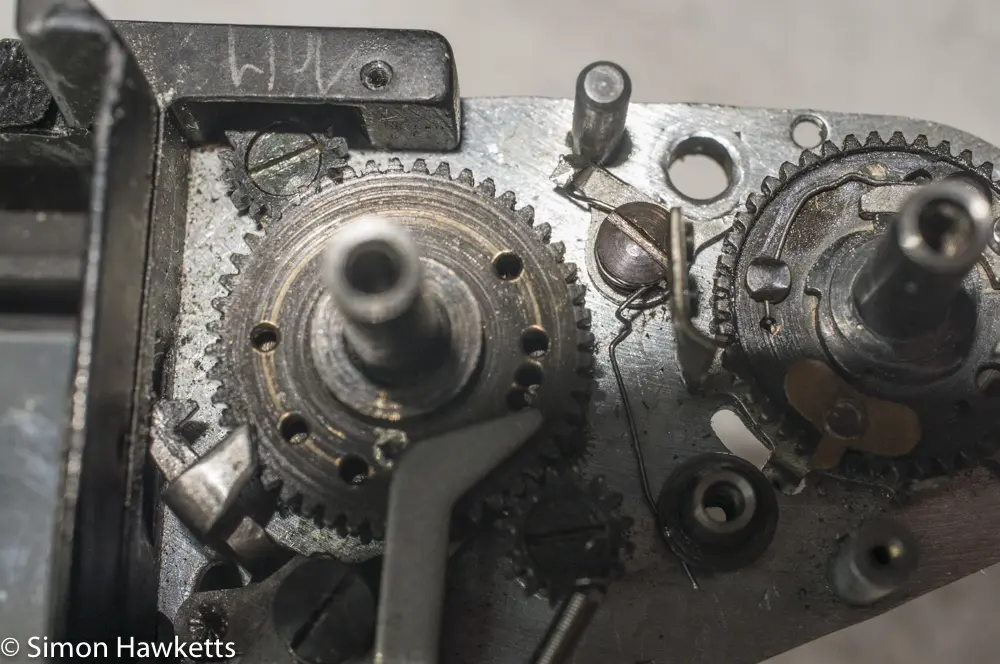
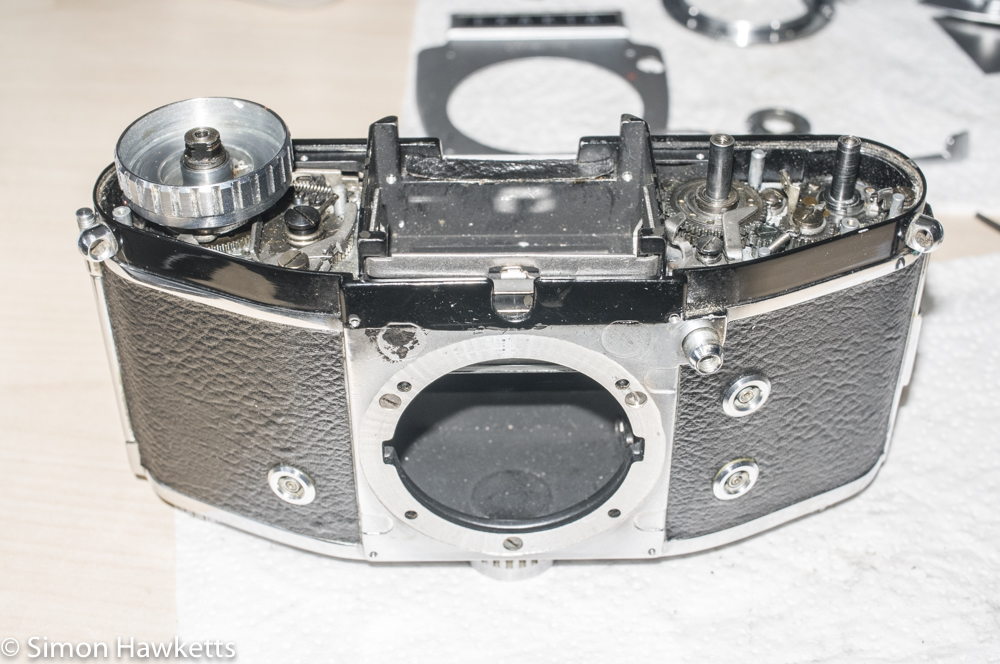
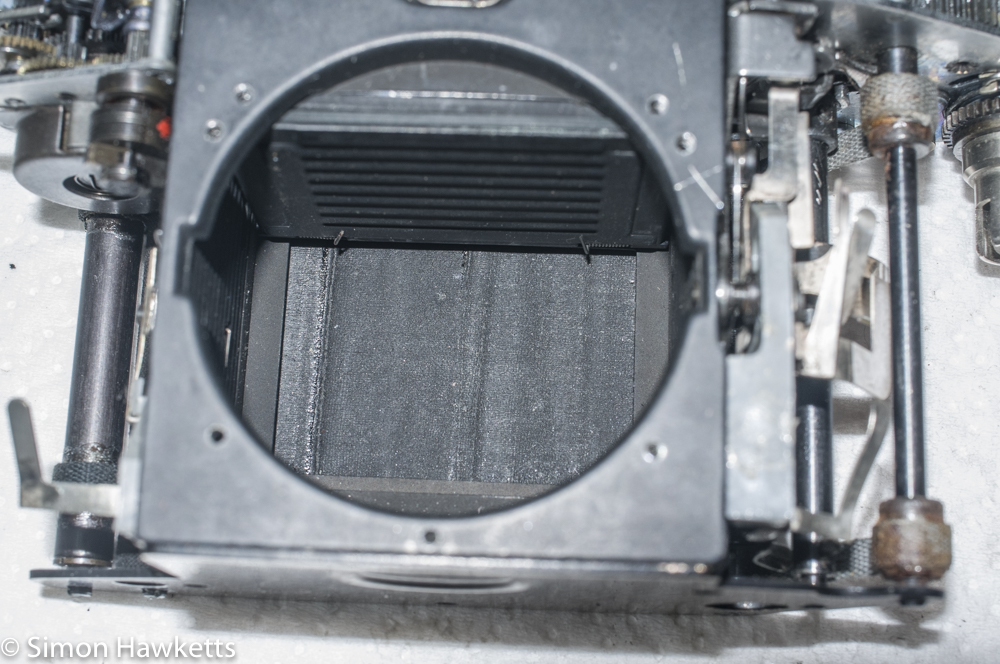
As I said yesterday, once the shutter was out of the camera case I found that it would work, but decided that it would benefit from being cleaned up and lubricated since there was a lot of old grease and dirt in the mechanism.
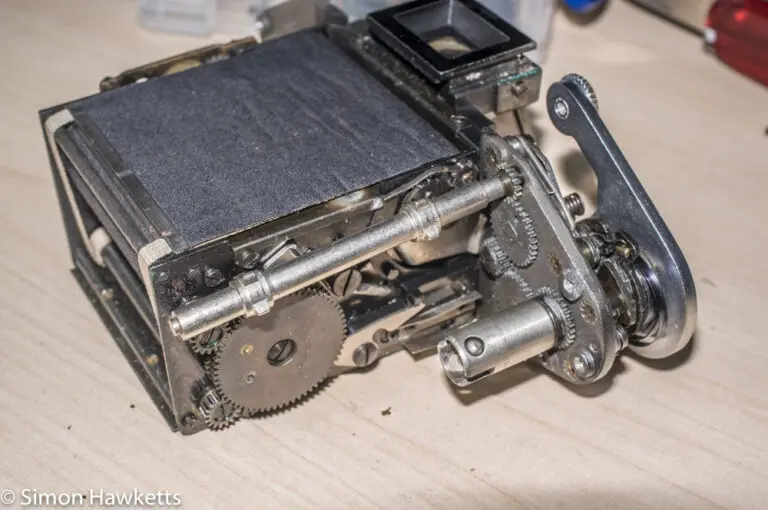
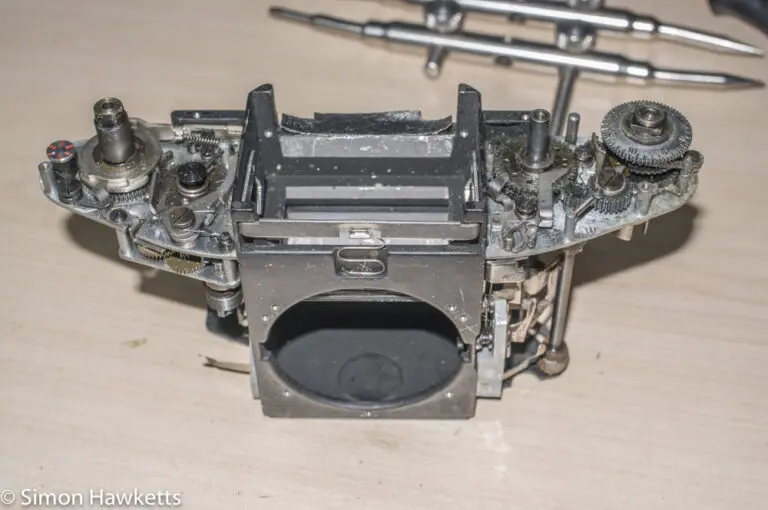
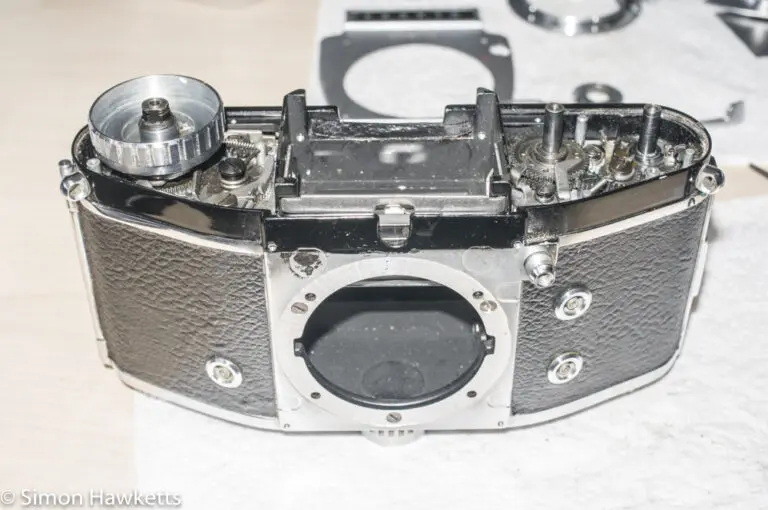
The pictures above show the layout of most of the mechanism, which acts as a guide along with the notes that follow.
The flash sync mechanism is just a collection of phosphor bronze strips which are connected by the shutter mechanism as it fires and can be removed as a block by undoing two screws. I took them off both sides because they needed cleaning, but also because you can’t get access to much of the mechanism without them out of the way. I tried to clean up the contact with IPA, but found it wasn’t very effective, and in the end found a small trace of Brasso on a cotton bud was much more effective.
To clean up the actual shutter mechanism, I basically removed everything shown in the pictures and cleaned them up and added a small amount of grease. The hardest bits to remove and replace were the latches under the plate, which are moved by the shutter release and the long bar from the slow speed mechanism. The position is very cramped and not easy to see with the curtains still in place, and it was very fiddly trying to re-position them with tweezers whilst trying to get a screwdriver in to tighten screws. Just as I was getting the last of the levers and springs in place, the ribbons for one of the shutter curtains became unglued from the pillar it was attached to!
When I looked at the condition of the curtains, it was obvious that really it should be replaced. On the bottom edge the rubber is coming off, so they may not be light tight, and there are some large folds which look wet on the reverse side. I thought briefly that I could use a curtain from a VX1000 which I have for spares, but in the end decided that I would order some shutter material to do a proper job, and in the meantime I’d re-glue the straps. Having read Rick Oleson’s page on replacing the curtain on an Exakta, it seems the standard way is to cut the old curtain and glue a new section on in its place, so re-gluing the straps is a sensible move.
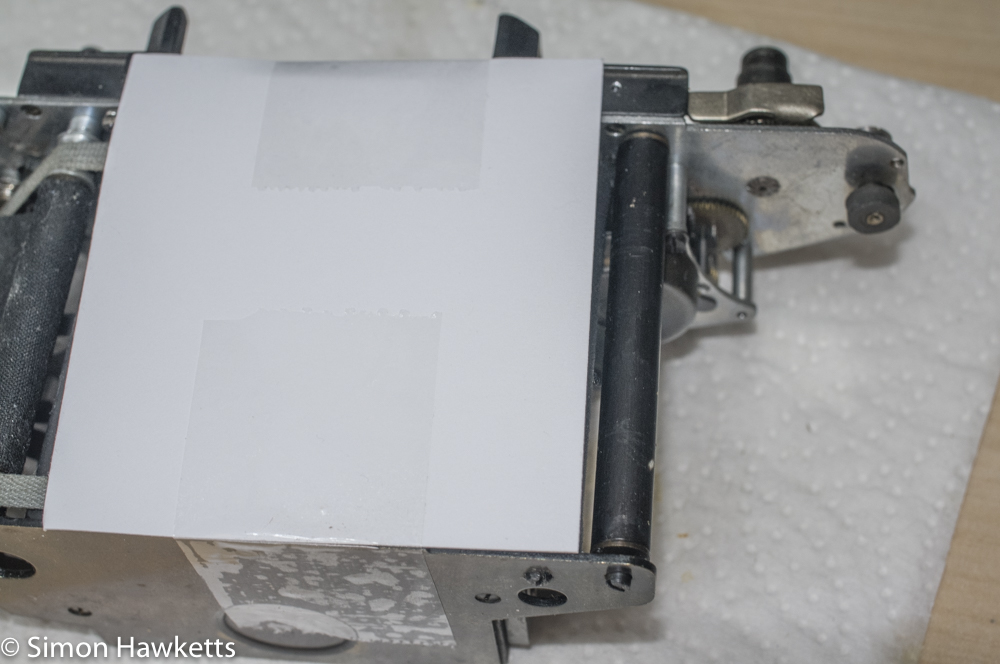
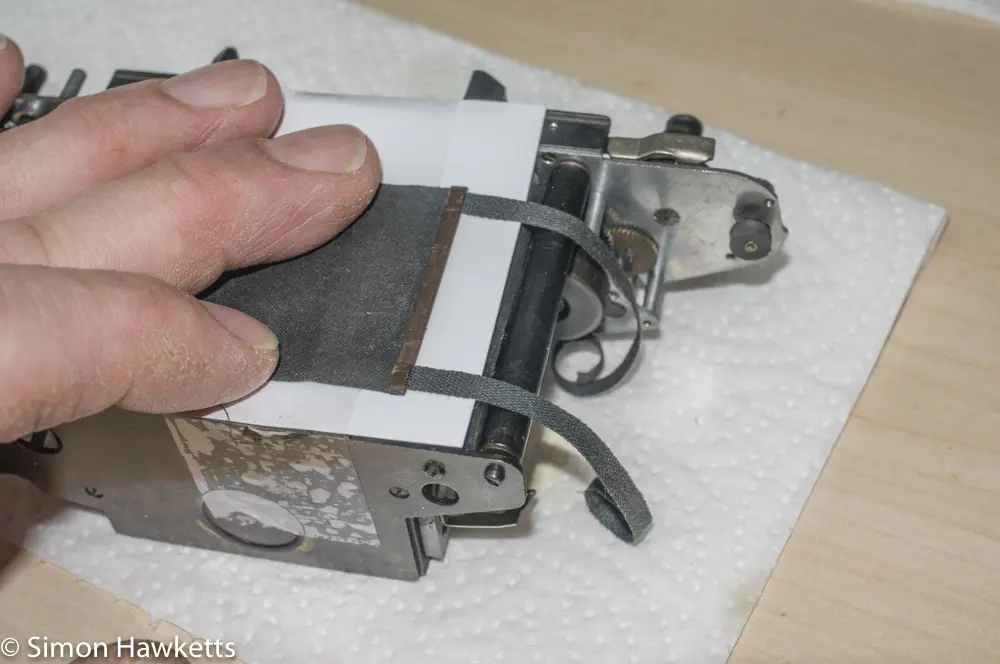
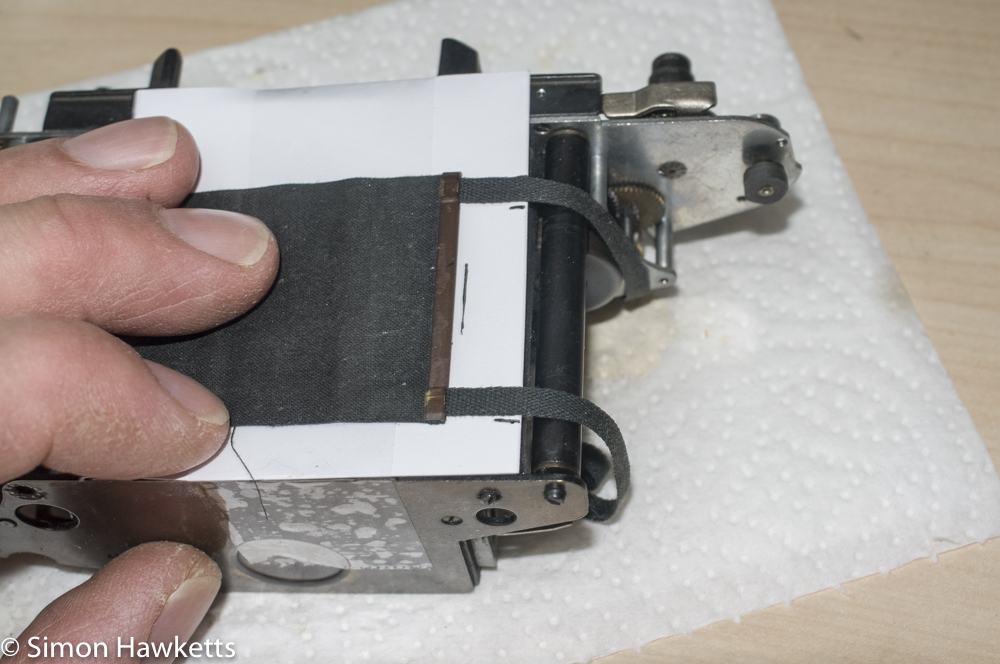
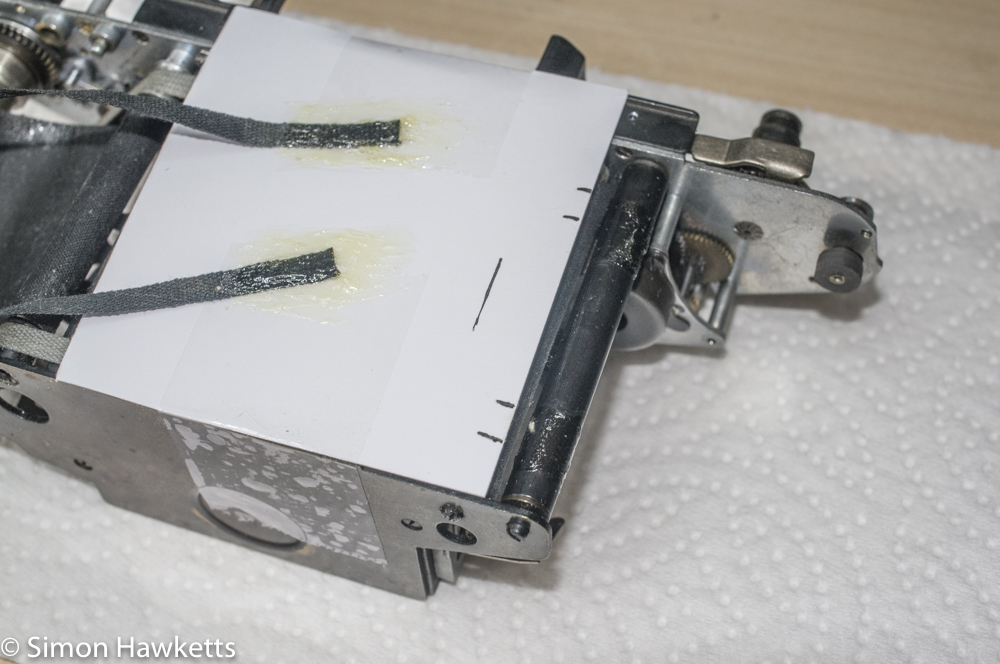
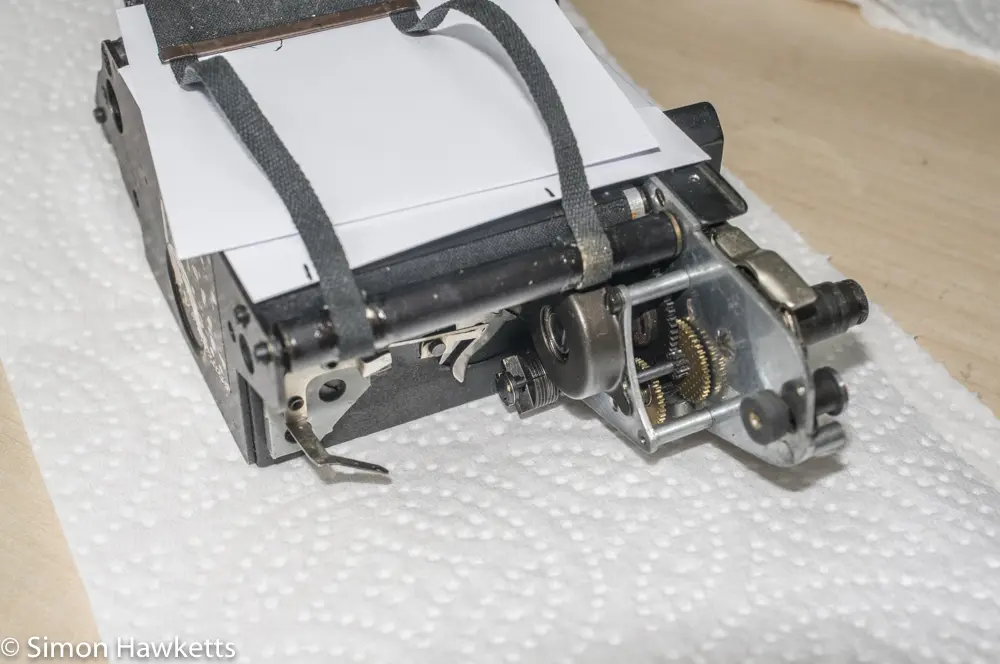
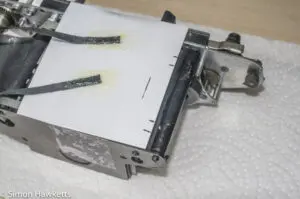
The method I used to re-glue the straps was to first use Acetone to remove all the old glue from the spindle, and then tape a piece of card over the back of the shutter and use it to mark where the straps came when the shutter was held in place. Then, I applied Evo-Stick contact adhesive to the spindle in the correct place, and also applied some to the ends of the tape. Once the adhesive was ready to glue, I fitted the straps and wound the spindle up a turn, so the tapes were held in place. After leaving the shutter to dry for a while, I reset the curtain tension and re-timed the shutter.
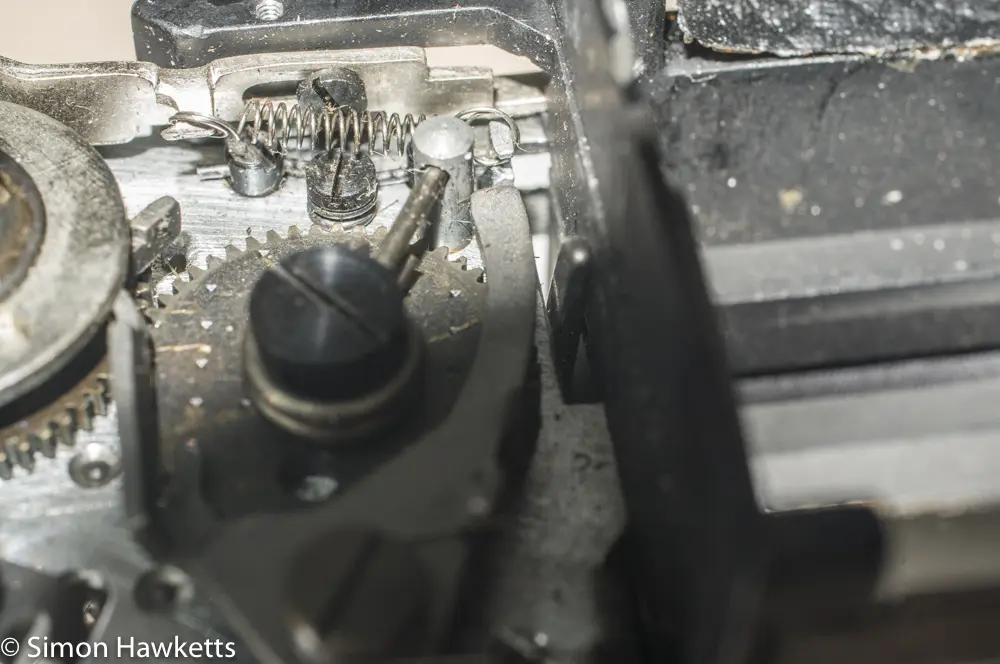
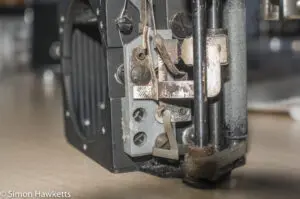
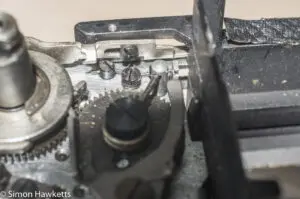
To reset the tension, there is a tensioner which is situated on the slow speed side of the shutter. It is held with a pin which needs to be removed, and then a screwdriver used to wind some tension in. In the pictures above, you can see that both curtain tensioners are held with pins, which are released with one central screw. I had to remove this screw, pull out the pin on the shutter I needed to tension (in the picture above it is the left one), wind about 7 turns with the screwdriver, and then, holding the screwdriver in position, push the pin back in place and lock it. Once I did this, the curtain was tensioned, but the shutter timing was completely out.
I don’t actually have any experience of setting the timing on a focal plane shutter and couldn’t find any detailed information, so please treat what I write now with caution!
To set the timing, I cocked the shutter and released the lock screw in the top of the drive gear for the curtain. This was locked with varnish, which I dissolved with some Acetone. Then I pulled off the gear and used my fingers to set the position of the curtain to just slightly overlap the other curtain, and replaced the gear. The first time I did this the curtain released but then wouldn’t wind correctly when the shutter was cocked, so I had to remove the gear again and move the position of the bottom gear on the speed setting cog so when the shutter is cocked the curtains both start to move together.
Once I had the setting correct, I replaced the screw holding the gear and did it up. I haven’t yet varnished it because I will need to repeat the procedure when I replace the curtain properly. When I do that, I will work out a better description of the process and write a better article explaining it.
Once I had the shutter timed, I was glad to find that the shutter is responding properly again and, although at the moment I can’t measure the speeds, they are certainly in the ballpark of being correct.
The next operation is to reassemble the camera, but since I need to properly replace the curtains, I’ve just dropped the shutter back in the camera for safekeeping until I can carry that operation out.
Discover more from Everything Vintage
Subscribe to get the latest posts sent to your email.

Hey, my Varex has the problem that the little stylus that is pushed back when the release button is pressed and then should jump right back to trigger the curtain closing movement again is not working properly. When I press the release button it starts the shutter mechanism but it doesnt jump back all the way, so the curtain closing doesnt happen. I dont know which parts are responsible for that and how to fix it.
Could you help me?
Best regards
Vincent from Germany
Here is a video Ive made to show the problem better 🙂
https://www.youtube.com/watch?v=HWxiLil-4M0