Cleaning the focus mechanism on a Kodak Retina IIc rangefinder
This post describes the antics I went through when I cleaned the focus mechanism in my Kodak Retina IIc rangefinder. This followed on from cleaning the shutter, so the shutter was removed from the camera when I started this operation.
Kodak Retina IIc focus images
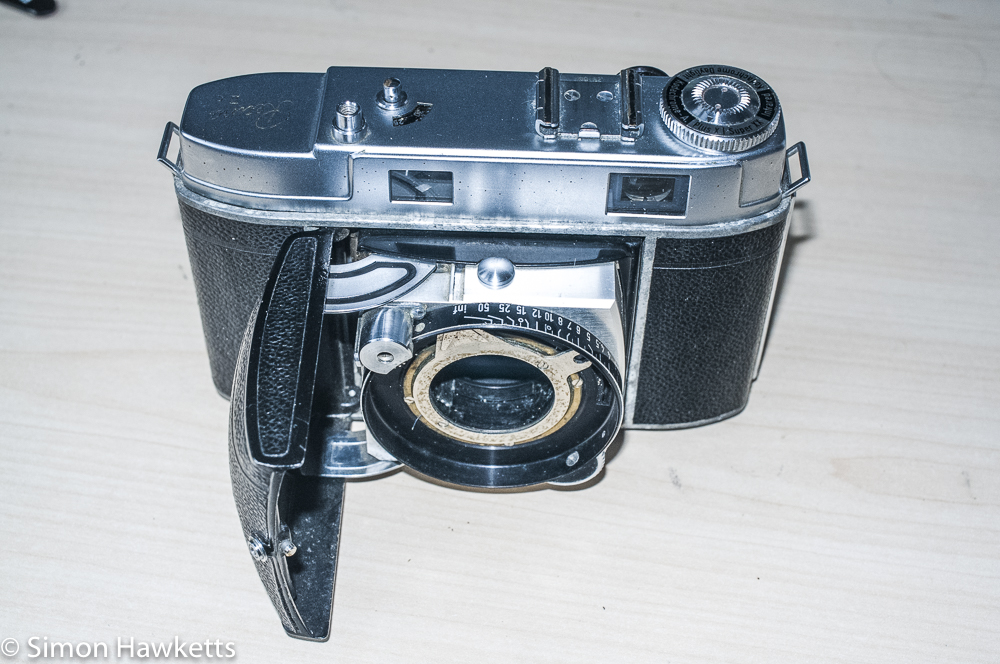
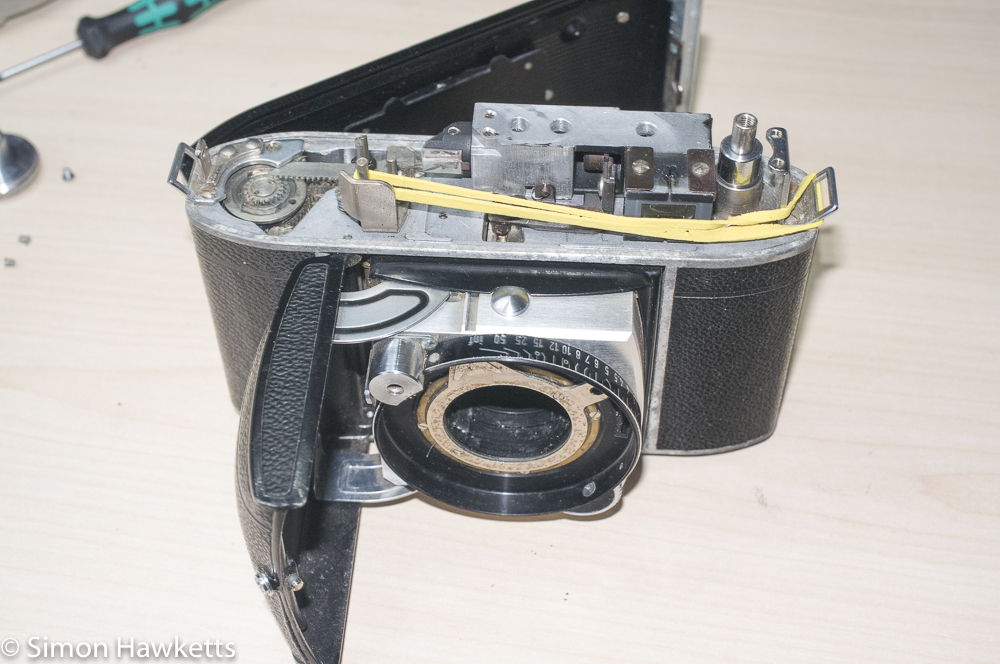
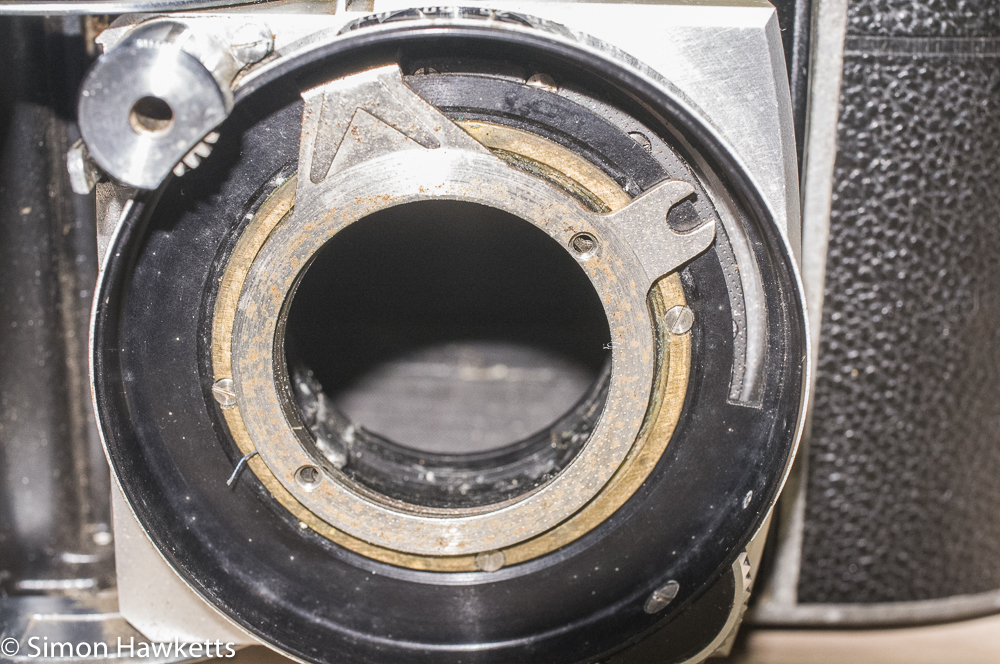
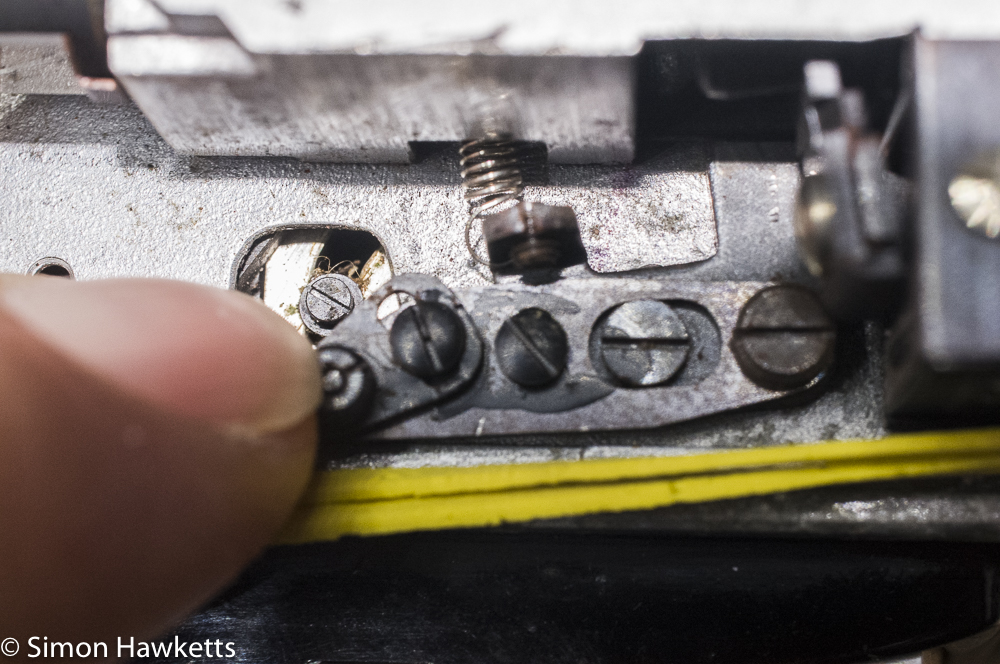
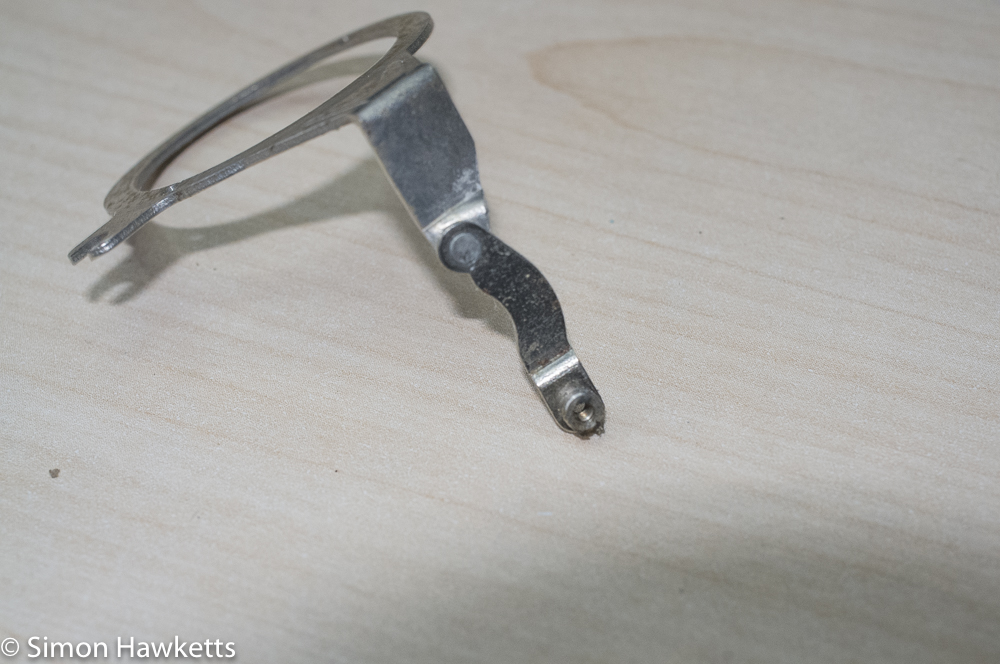
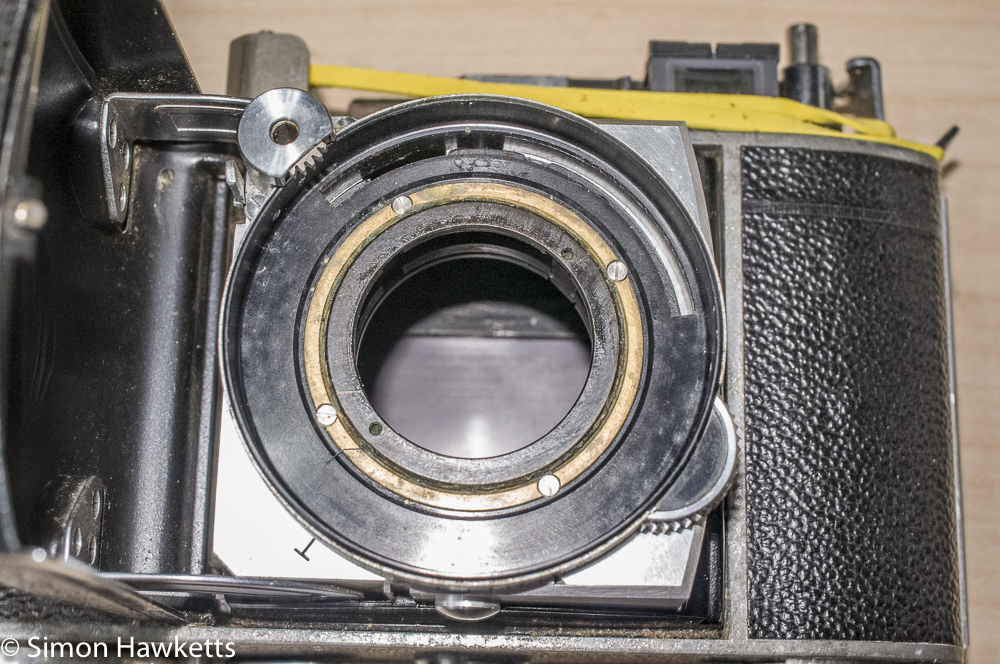
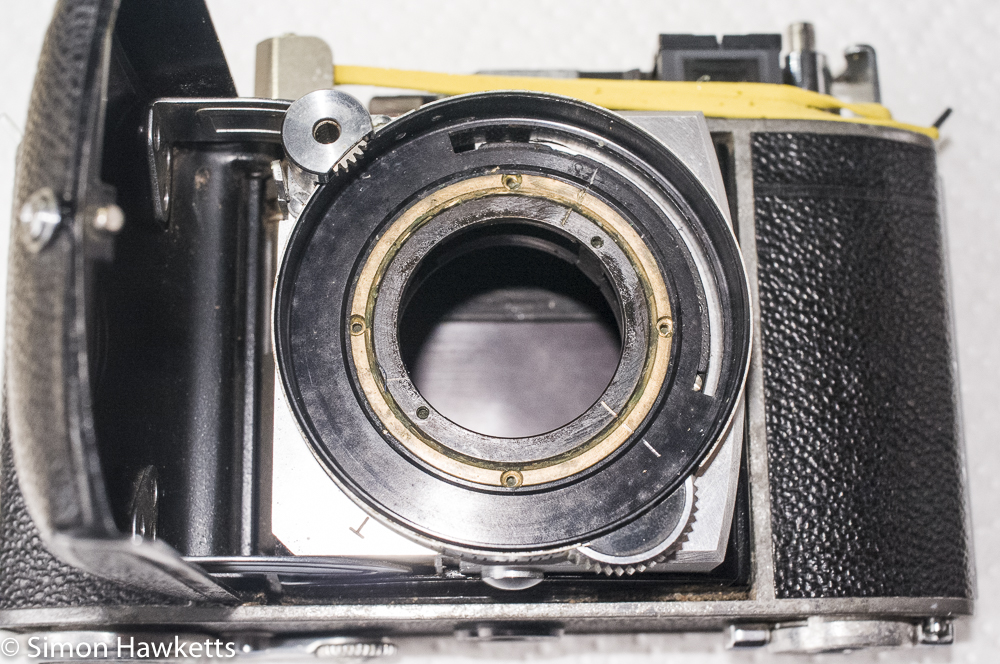
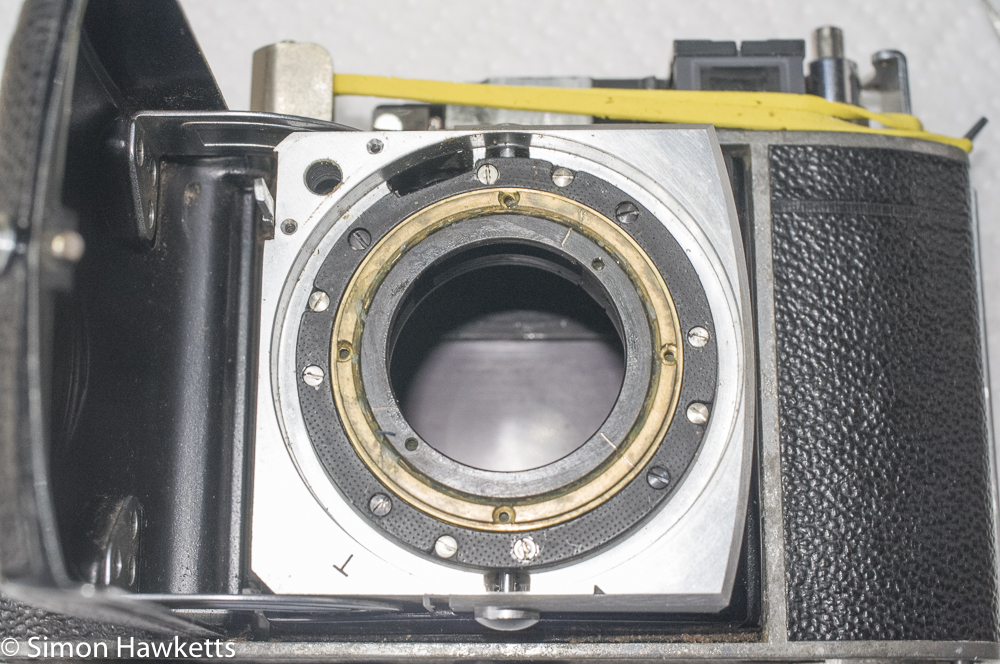
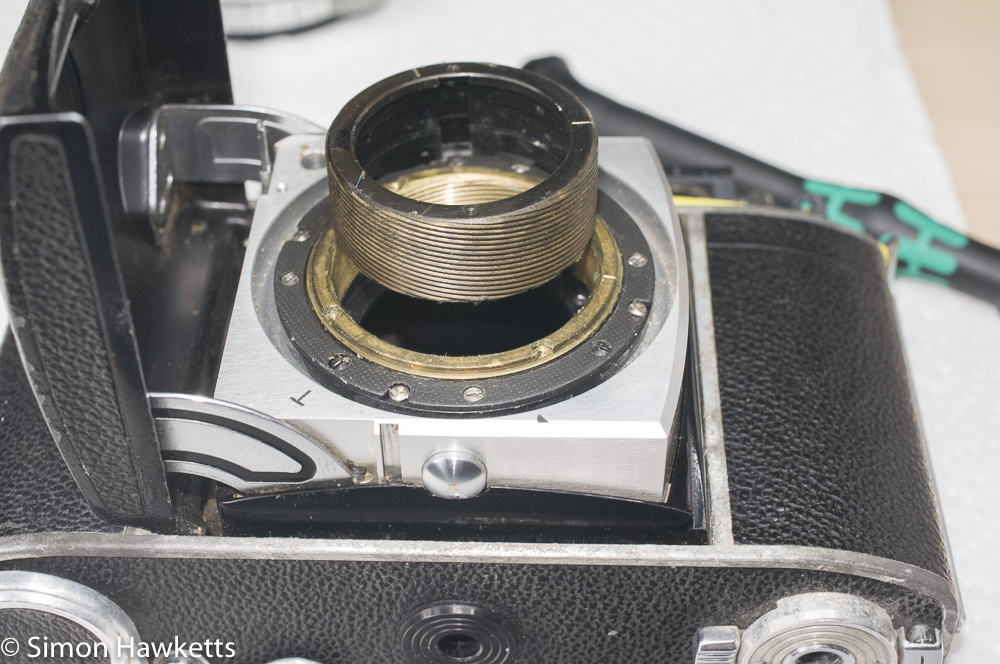
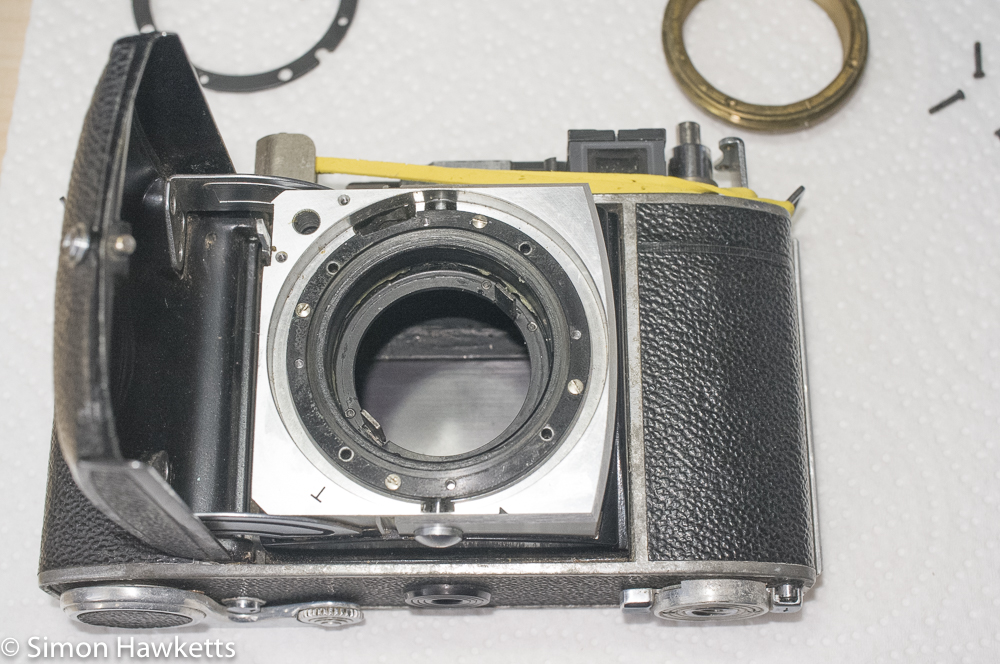
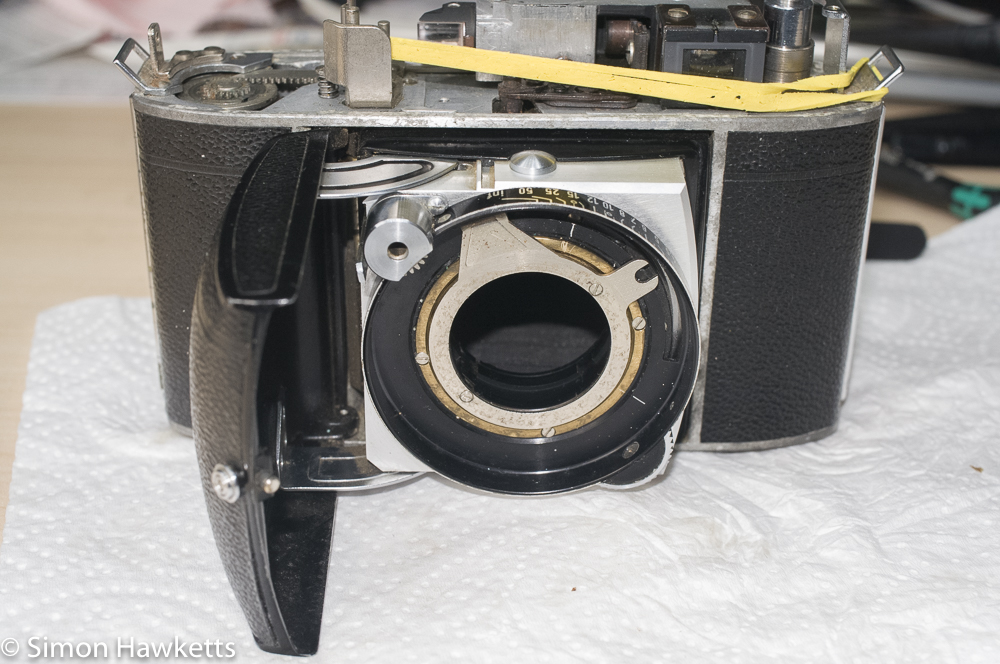
The first part of the operation was to remove the plate which transmits the position of the focus helicoid to the rangefinder on the top of the camera. This is removed my taking out two screws at the front where it is attached to the focus assembly, and a pillar which is reached through a slot in the top of the camera, near the rangefinder. Once these two fixings are removed it’s possible to pull the coupling arm out of the camera, but it is quite tricky to do. I found I had to turn the focus ring to change the gap and wriggle the arm through different angles to finally get it free.
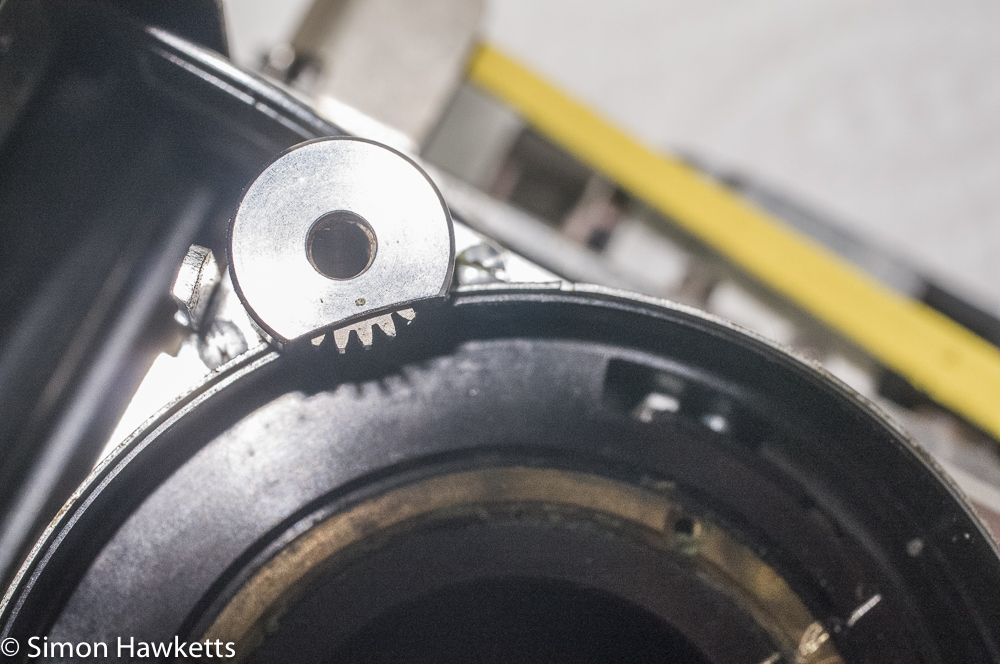
Once that arm is removed there are four screws which hold the focus adjustment ring in place, but to make it easier to get the alignment correct when you assemble it all back together it’s a good idea to scratch a line across the parts of the focus assembly (thanks to Chris Sherlock’s advice on the Retina Rescue site for that tip). I also found I had to remove the shutter cocking gear in order to remove the focus adjuster because I couldn’t squeeze it through the gap otherwise.
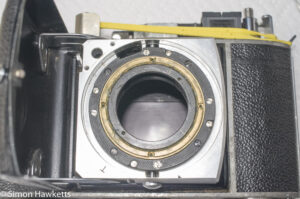
At this point there is an array of screws visible which hold the focus assembly into the body of the camera and others which retain the focus helicoid. I found that I needed to remove four silver screws and lift away a spacer, and then remove four black screws in order to pull the helicoid assembly out of the body.
Because there was a certain amount of trial and error, I also unscrewed the helicoid completely out of the body, but that didn’t matter much because I had the scratched lines to line it up with, so getting it back in the correct position was easy.
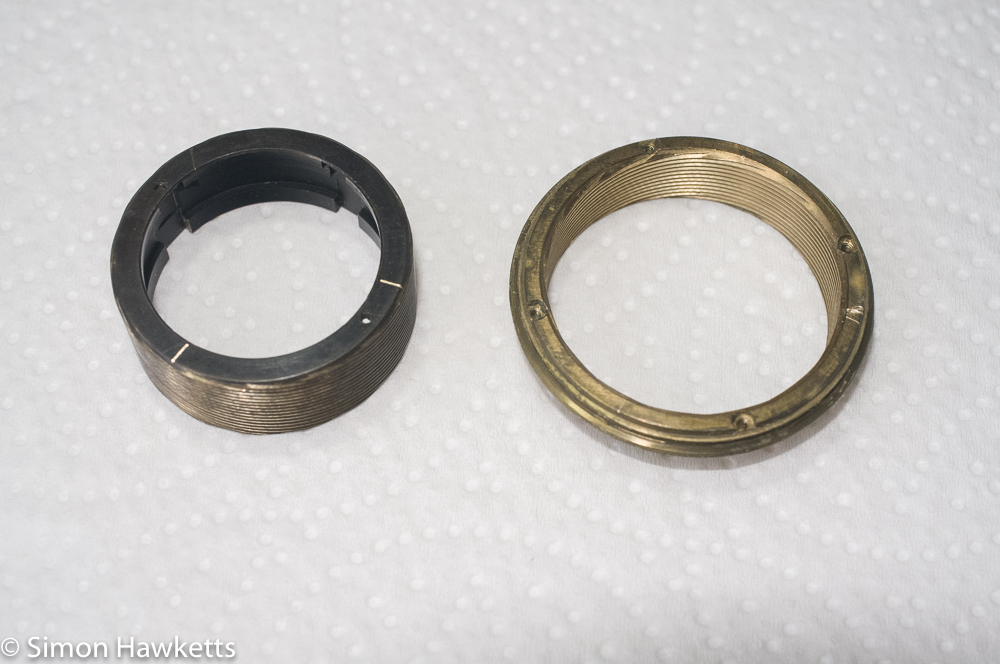
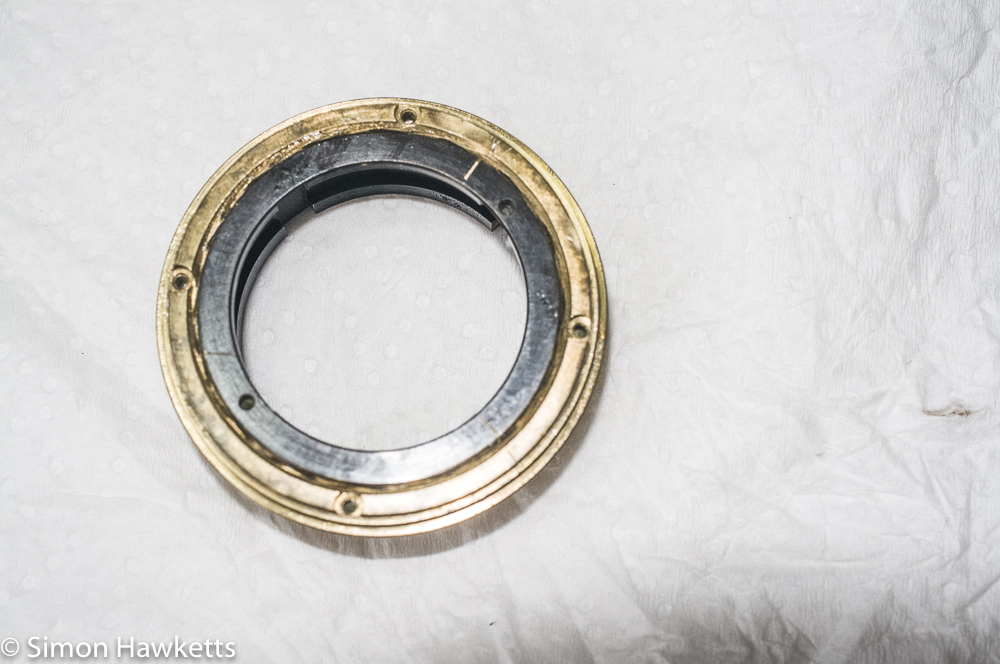
Once I had the focus assembly and the helicoid out, I could clean the assembly housing of all the old waxy grease, and separate the two parts of the helicoid and clean those as well. Initially I used some IPA on cotton buds and then the brass parts were scrubbed with soap and water and an old tooth brush to get them clean.
Finally, I put a smear of lithium based grease on the two brass parts and screwed them together, and another smear around the outside of the outer part before I dropped it back into the camera body. Since the helicoid has several interwoven threads, you can find that as you screw the two parts together, the lines you scratched on the rings don’t line up. If that is the case, just unscrew them and shift to another set of threads until the lines line up, which means the parts are correctly mated.
As you fit the focus assembly back into the camera body, you need to make sure the two prongs in the body line up with the two slots in the assembly. Then the rest of the re-assembly is just replacing the parts you took out.
With the focus re-greased, I turned my attention of refitting the shutter unit to the camera body.
Discover more from Everything Vintage
Subscribe to get the latest posts sent to your email.

