Carl Zeiss Werra Mat reassembly after strip down and refurbishment – part 3
In the last post in this series I described the cleaning of the shutter blades and dismantling / reassembling the shutter on my Carl Zeiss Werra Mat. In this the final part of the series, I’m going to deal with cleaning and reassembling the camera.
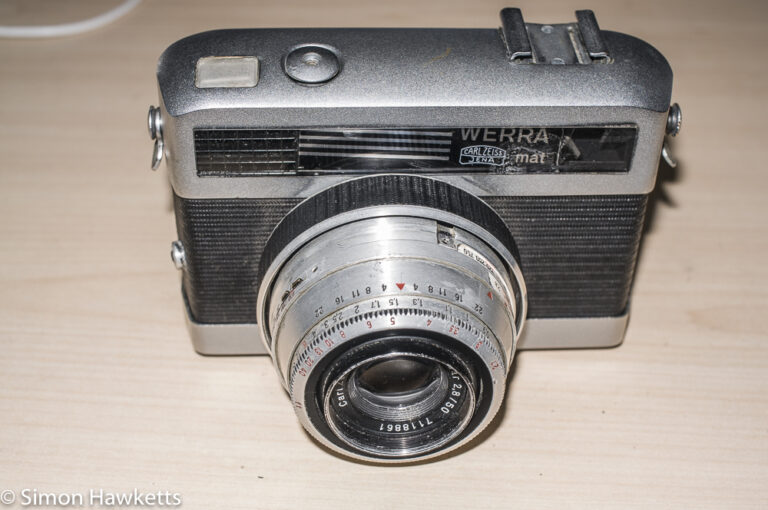
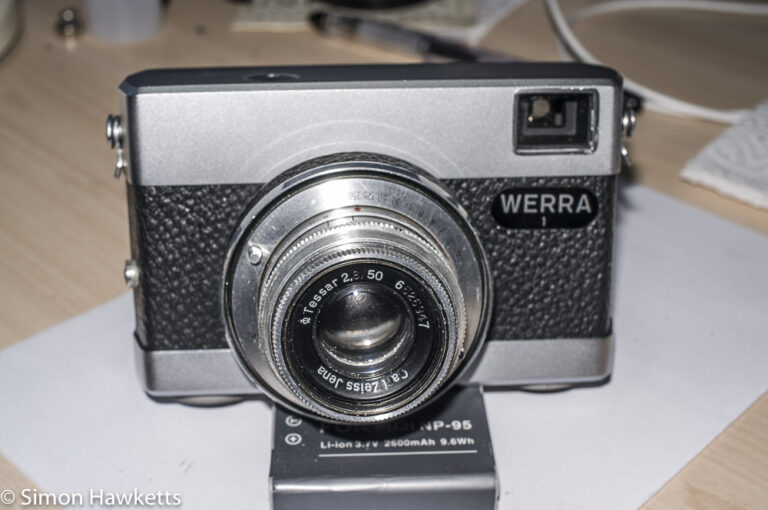
Werra Mat reassembly images
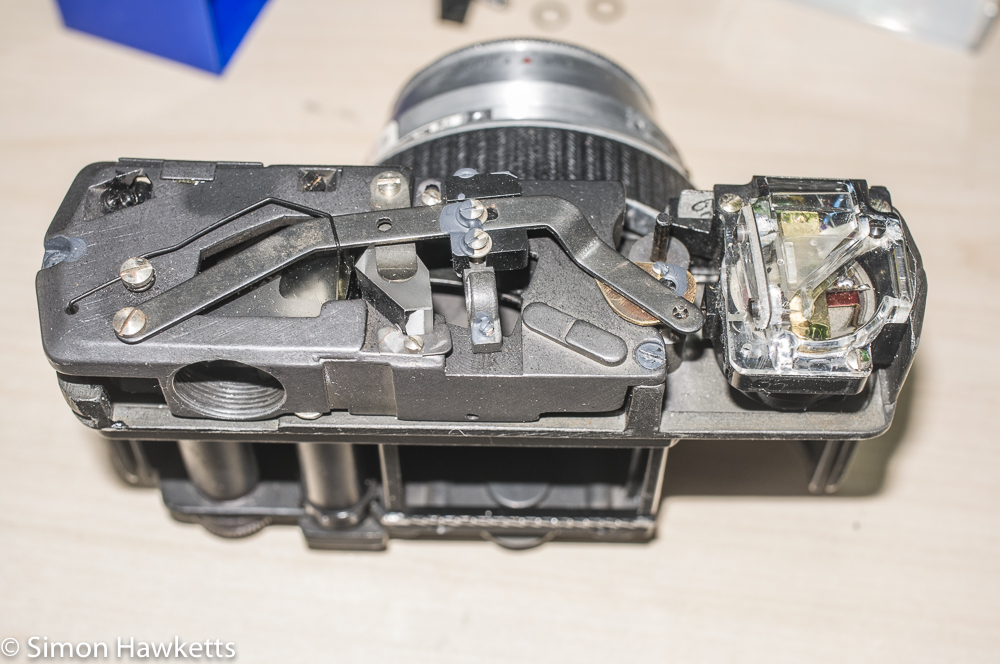
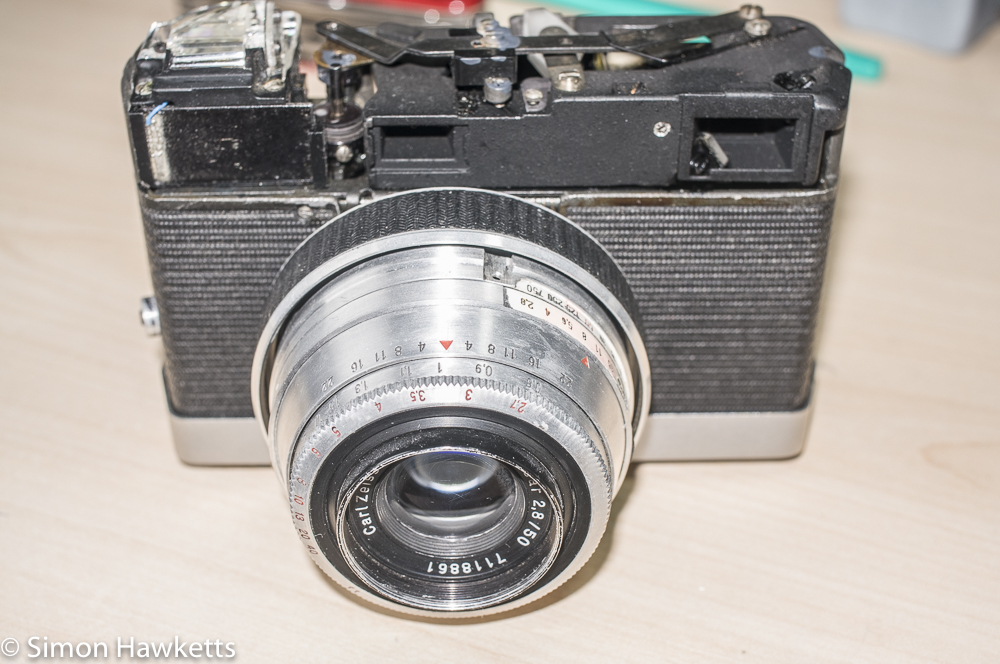
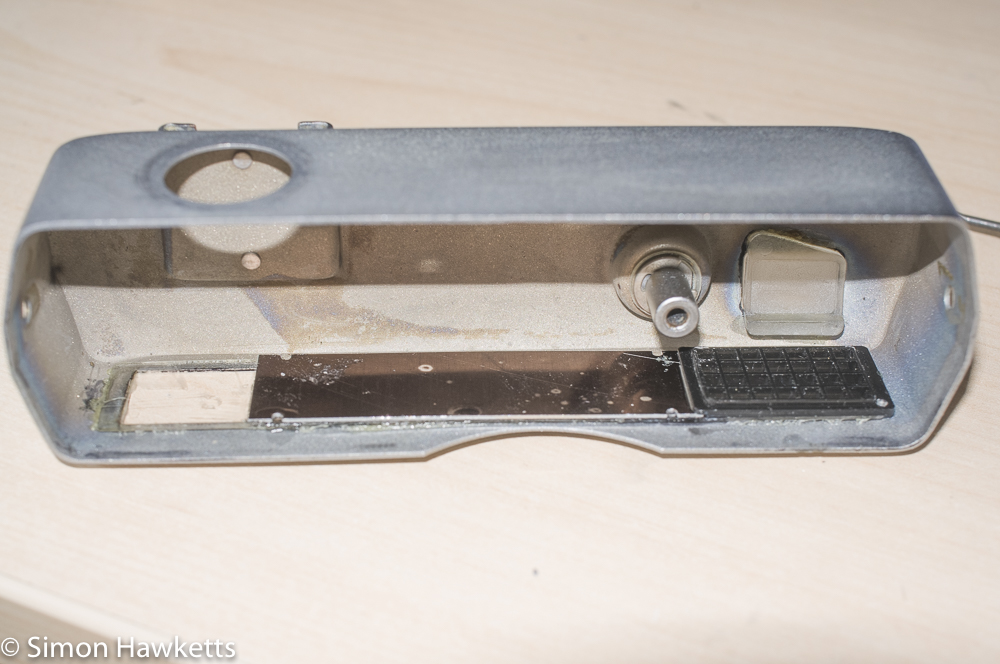
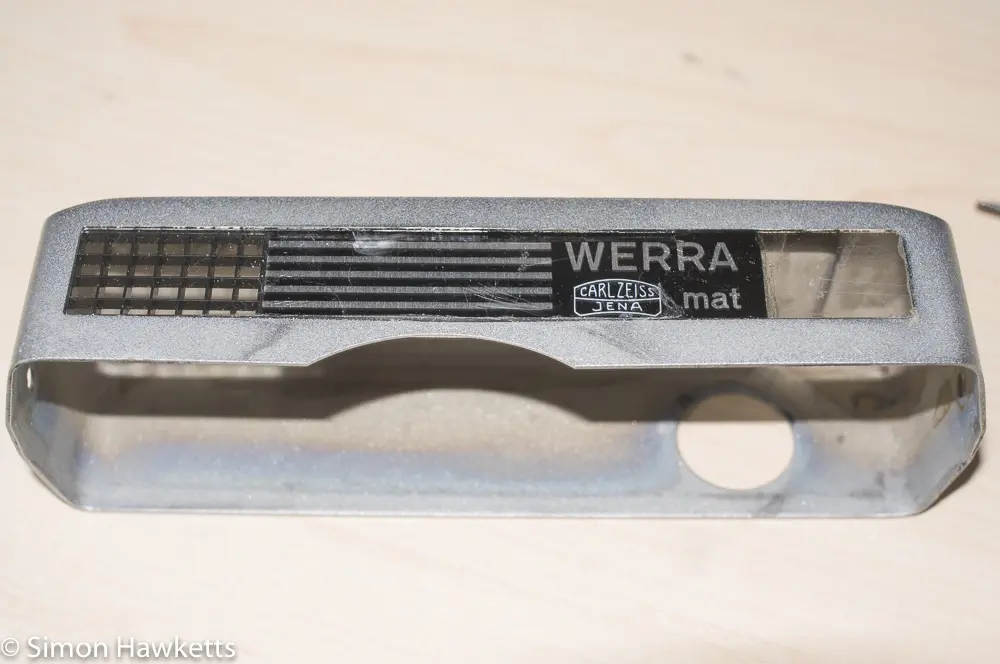
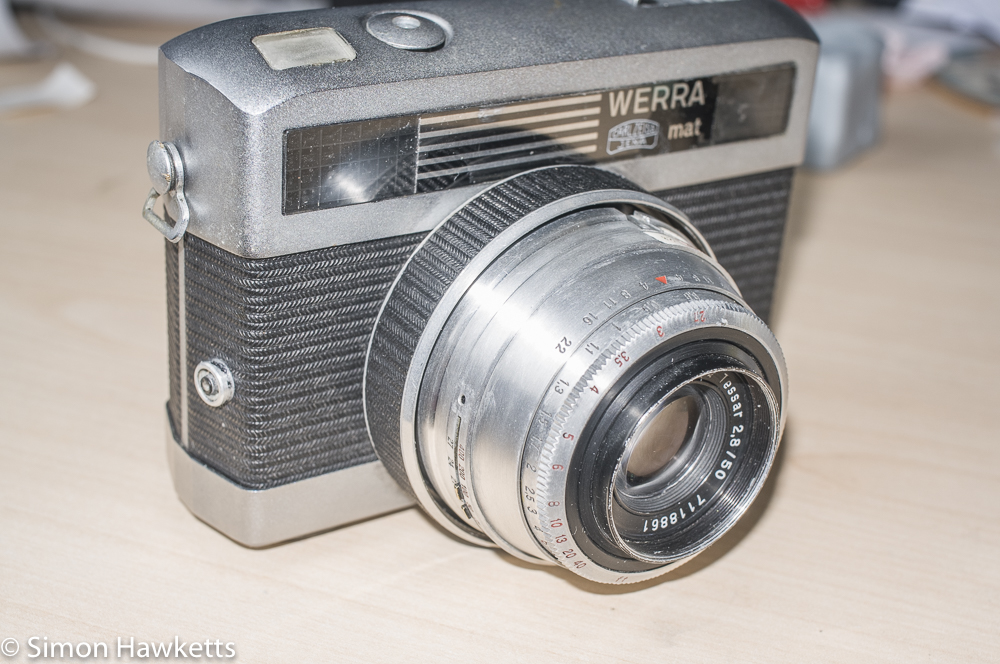
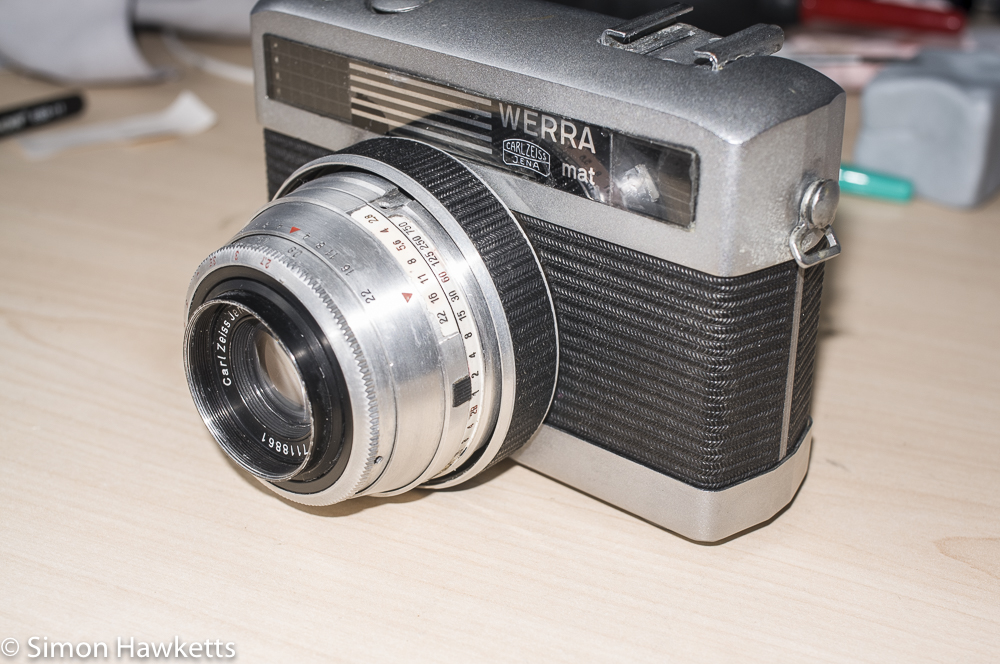
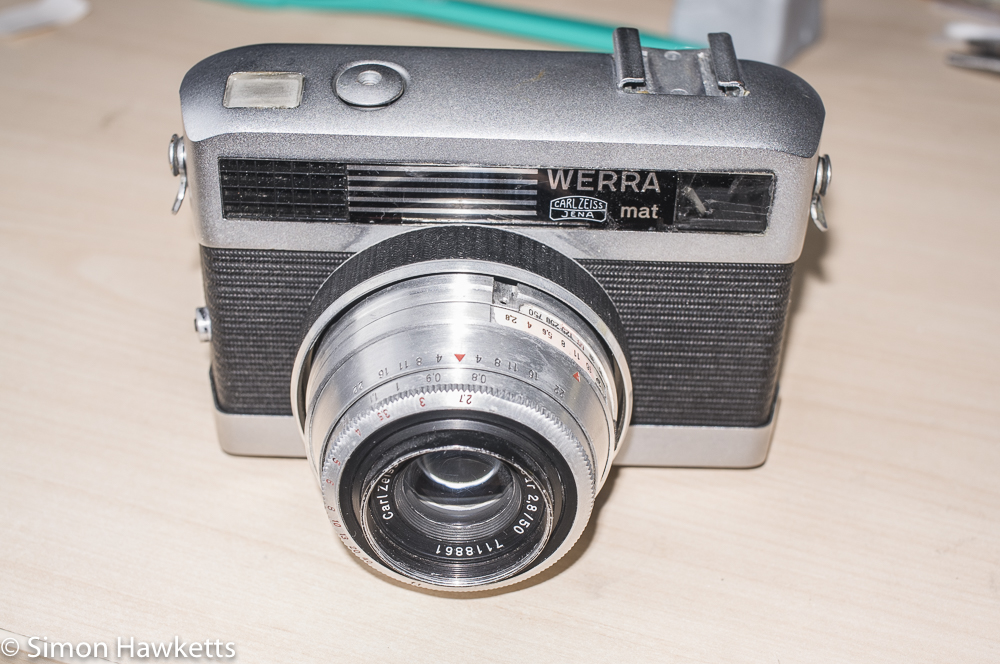
Werra Mat reassembly Process
The case of the camera was quite dirty and stained, and I cleaned that with an old toothbrush very lightly damped with soapy water. After a good scrub with the toothbrush and a wipe down with some lint free cloth, I then used another old toothbrush with a very small amount of black shoe polish to bring back the colour. Again I rubbed it down with a lint free cloth to remove all the polish.
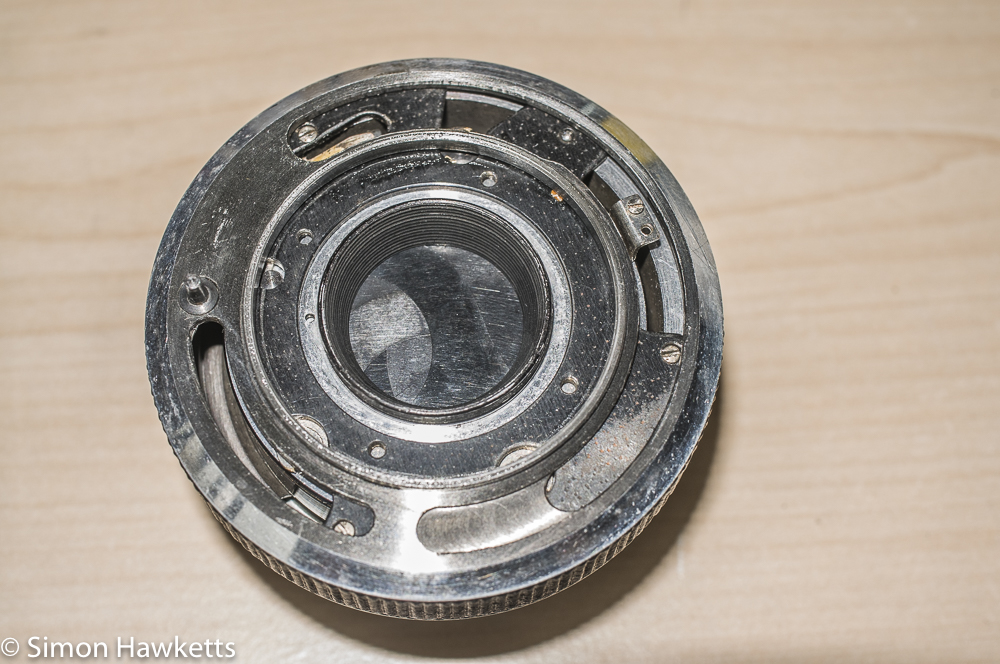
The aluminium surface of the lens unit was oxidized with age, but I found I could clean it up with a fibre cleaning pen which a bought a while ago for the purpose of cleaning stains off internal camera parts. It is very good at removing the oxidation, but it does tend to shed small fibre debris, so you need to be very careful how you use it and keep/blow the debris out of sensitive areas.

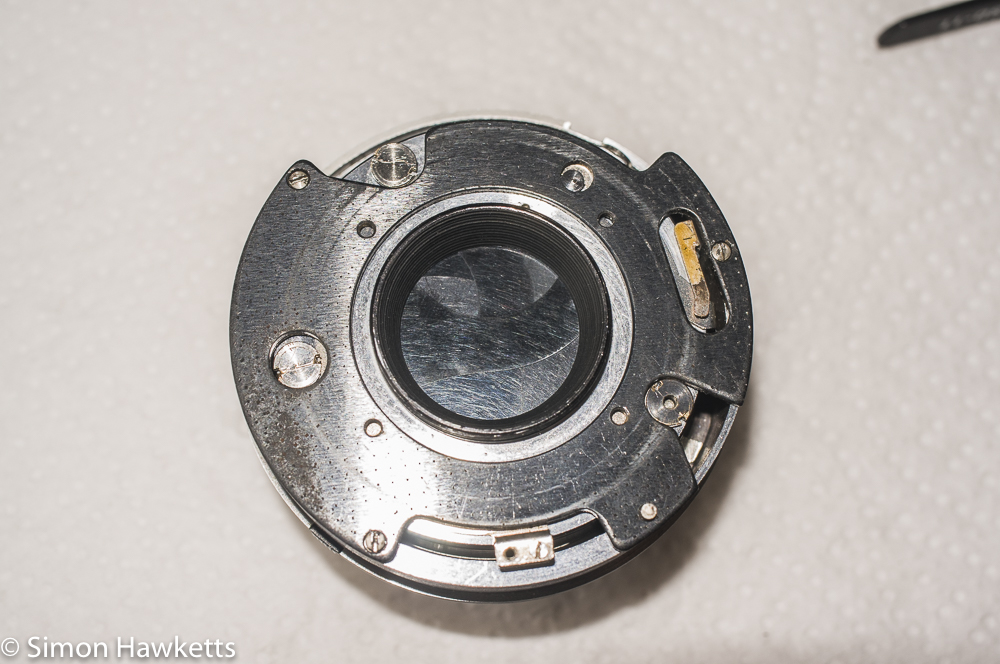
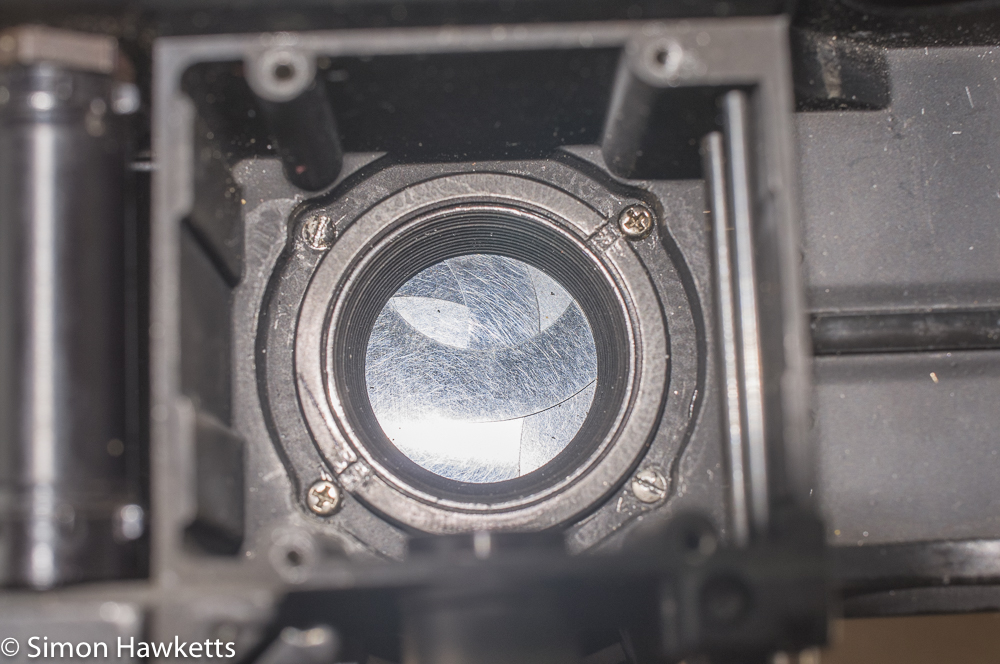
Once the shutter was mounted back in the lens unit the positioning of the lens on the camera was the only critical part of the reassembly procedure.
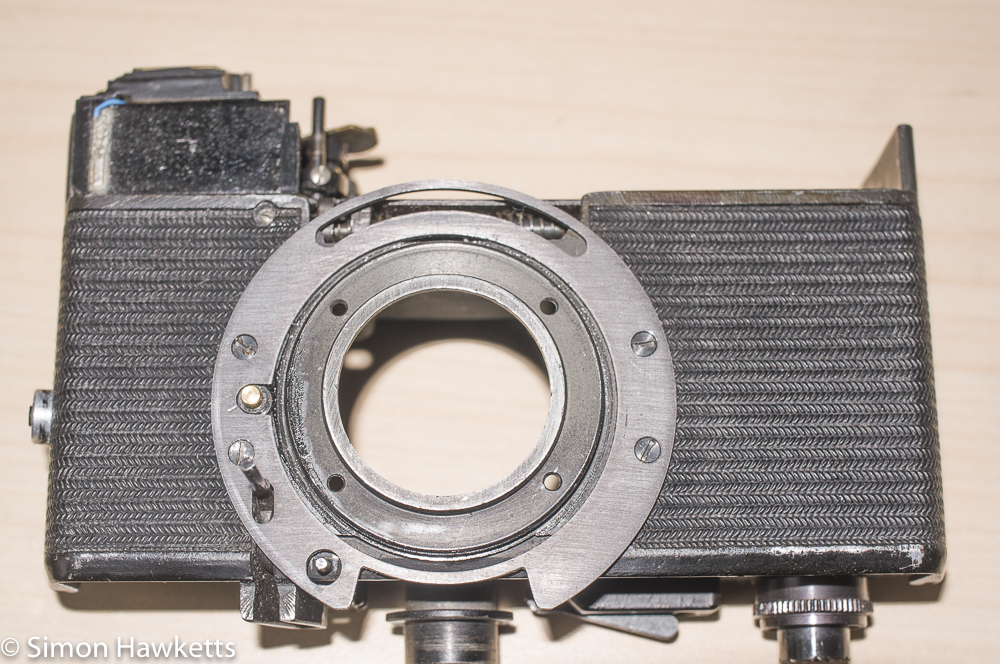
I initially placed the film advance ring on the front of the camera and then tried to fit the lens unit within that ring, but I couldn’t get the two parts to properly mate. So I fitted the film advance ring to the lens and then fitted the complete assembly to the front of the camera. This worked in terms of the film advance and cocking the shutter, but I couldn’t get the shutter release rod to properly mate with the release lever in the lens body.
In the end I found the way to get it all to work was to fit the frame advance on the lens, then fit that part on the camera, making sure the pin which mates with the film advance mechanism in the body was in the correct place. Then I turned the whole unit over and positioned the lens so that the screw holes in the camera body aligned with the lens unit.
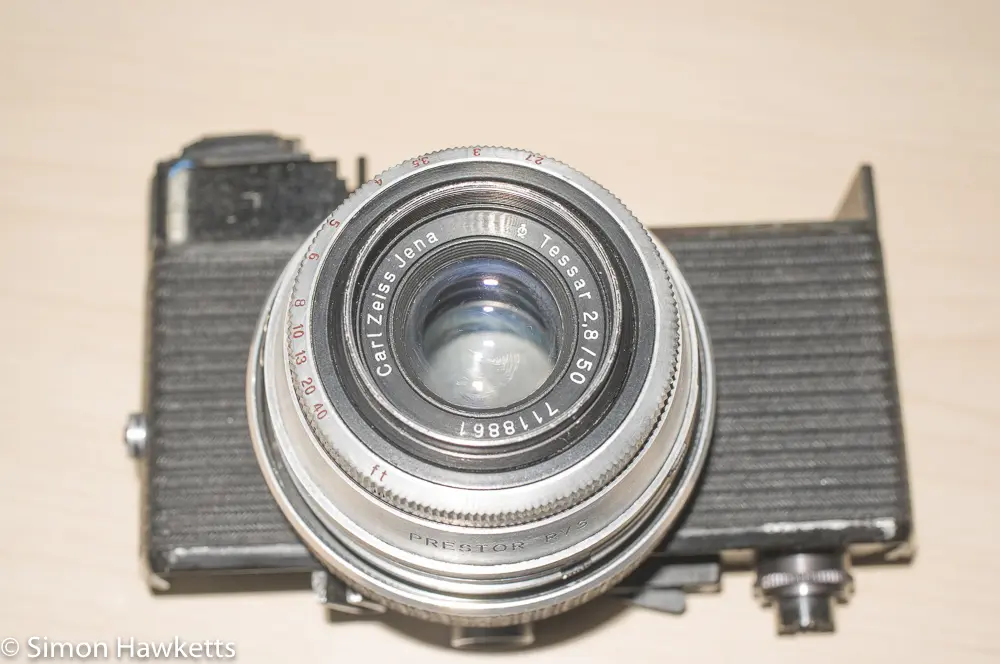
Once I’d put the screws in everything else seemed to line up properly and the mechanism all worked. Because there were only two screws holding the lens on when I originally received it I poked around in my spares box until I found a couple more which fitted so that the lens was securely held in place.

With the lens back on the rest of the re-assembly was pretty straight forward, although I needed to glue the front window onto the top cover with contact adhesive and the name plate with superglue.
Although the camera is now fully working and looks a lot better than when I bought it, it’s a shame that the small controls which are used to adjust the shutter speed are missing. Unfortunately they seem to be a weakness of the Werra design because most examples seem to have these missing.
Discover more from Everything Vintage
Subscribe to get the latest posts sent to your email.

