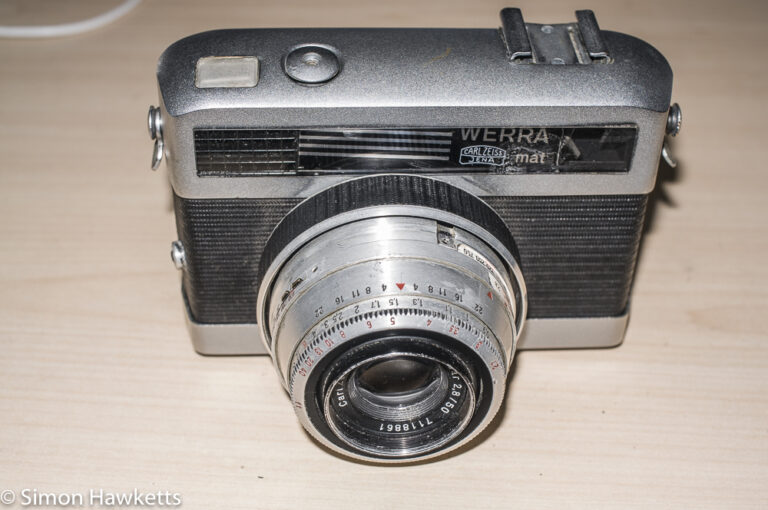
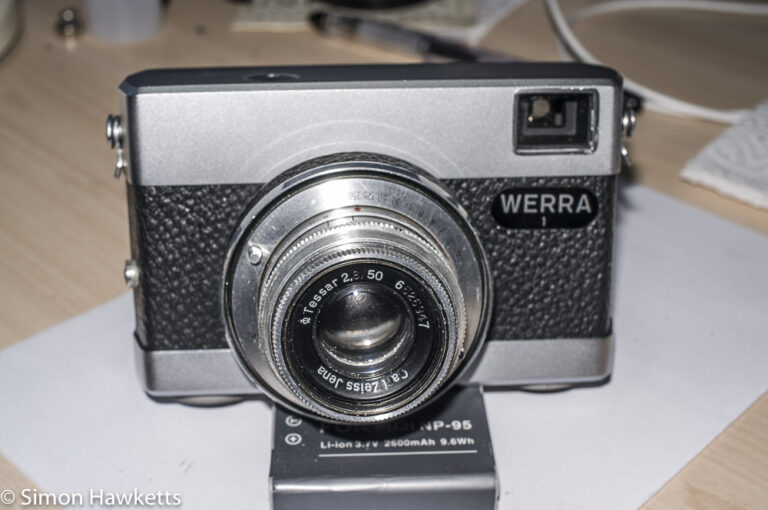
Carl Zeiss Werra Mat strip down and refurbishment – part 2
In the first part of this series I showed how I took my Werra Mat camera apart and removed the shutter unit from the camera. In this part I’m going to show how I cleaned the shutter and re-assembled it.
Carl Zeiss Werra Mat shutter images
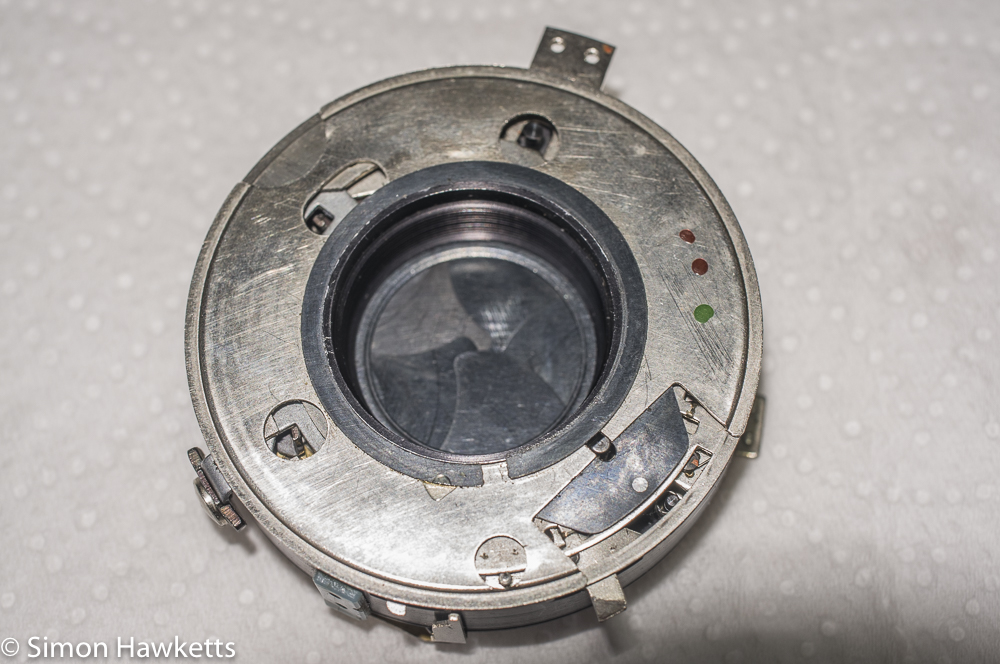
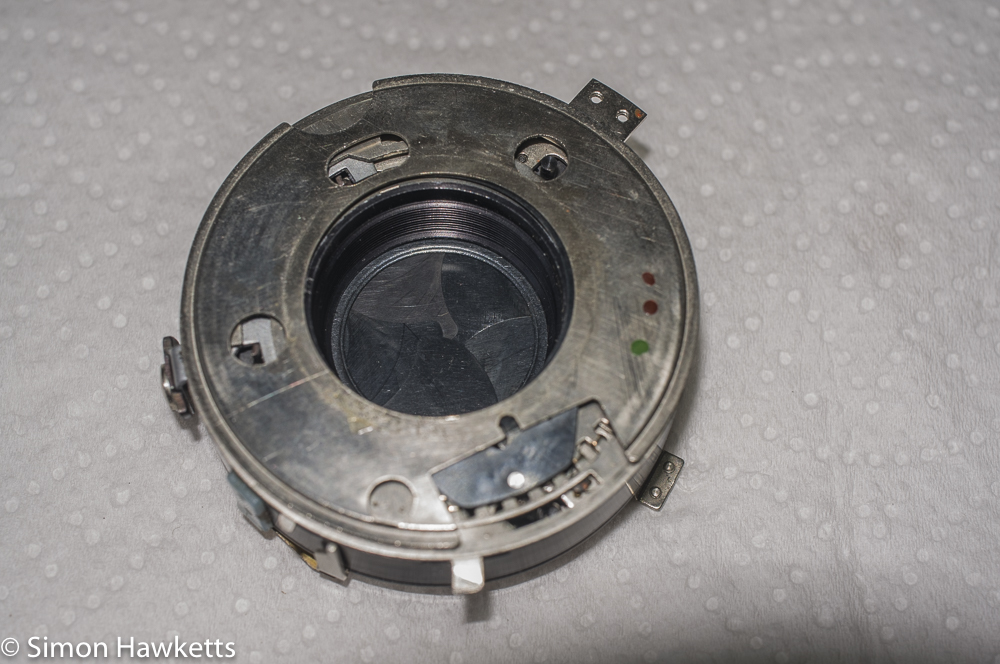
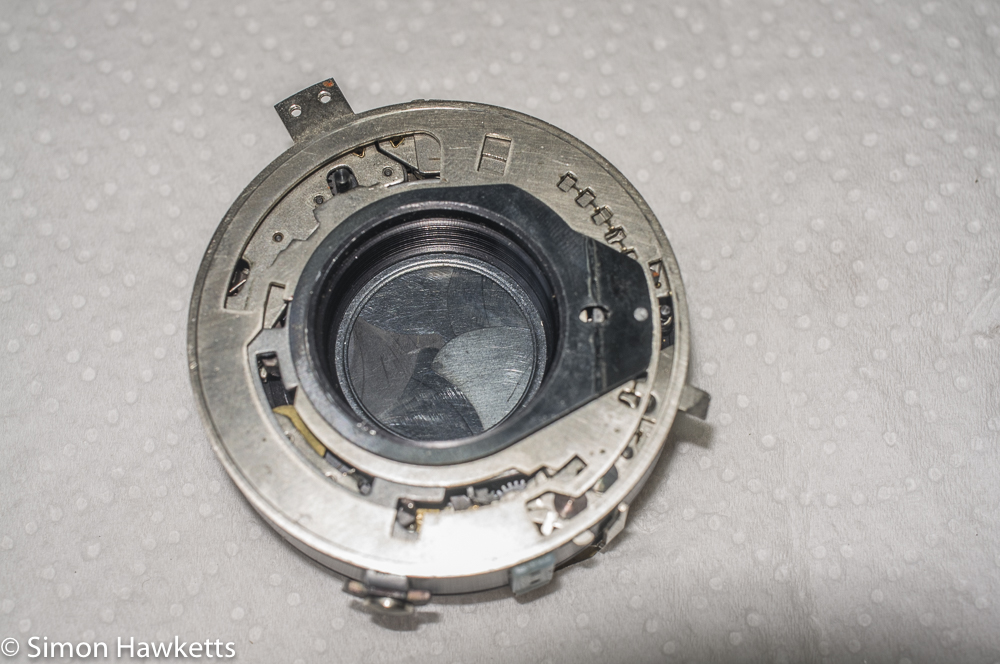
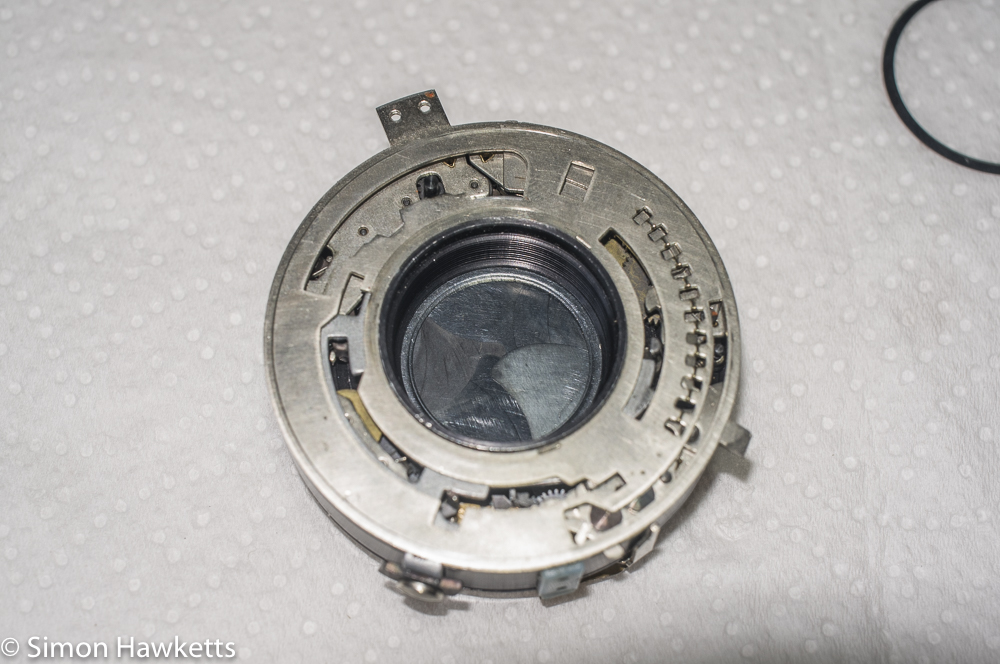
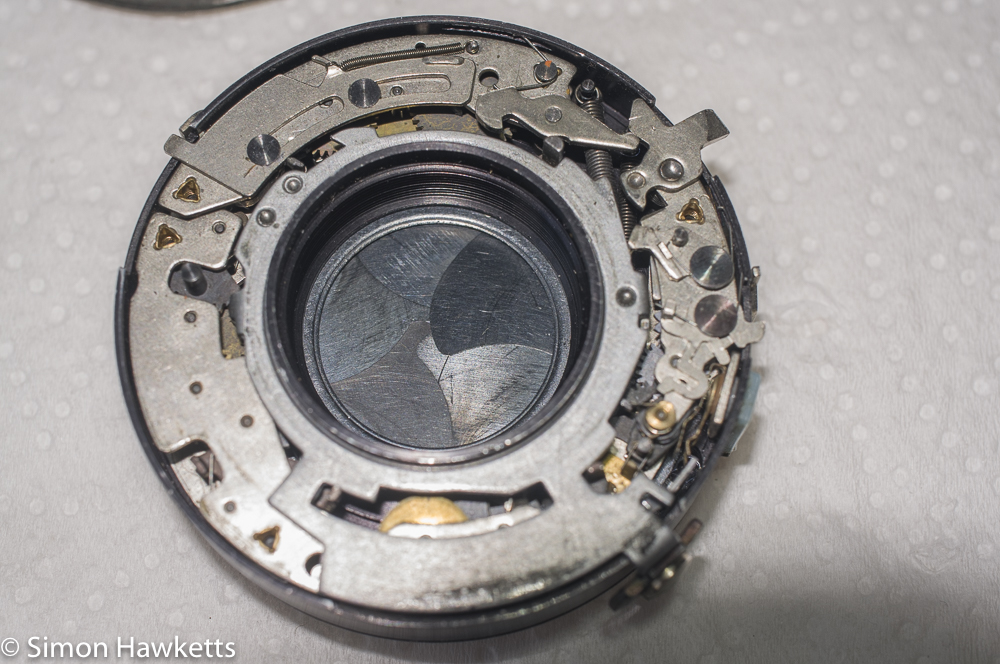
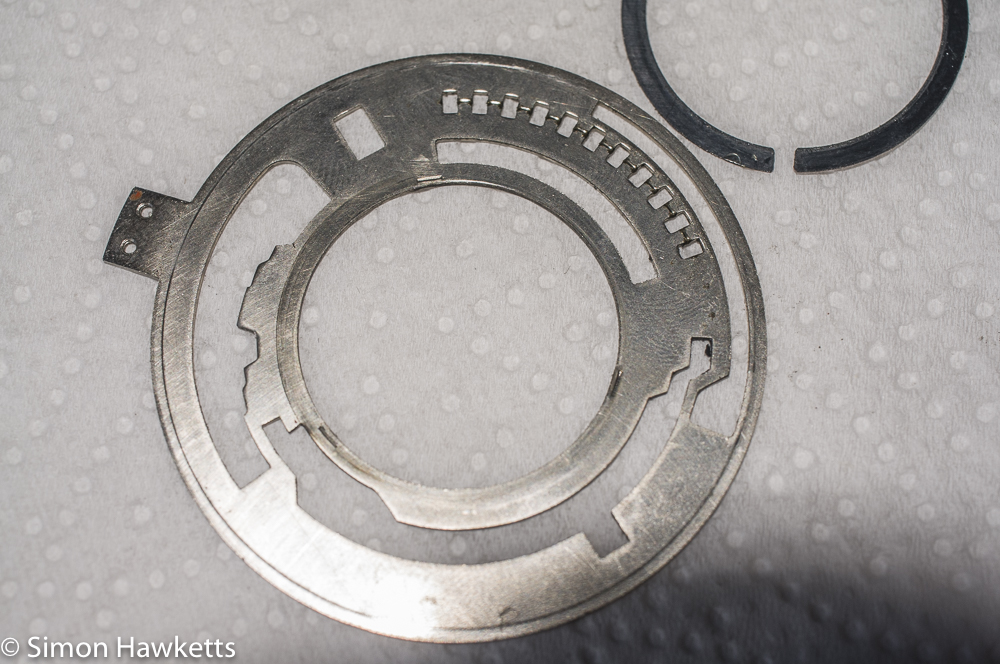
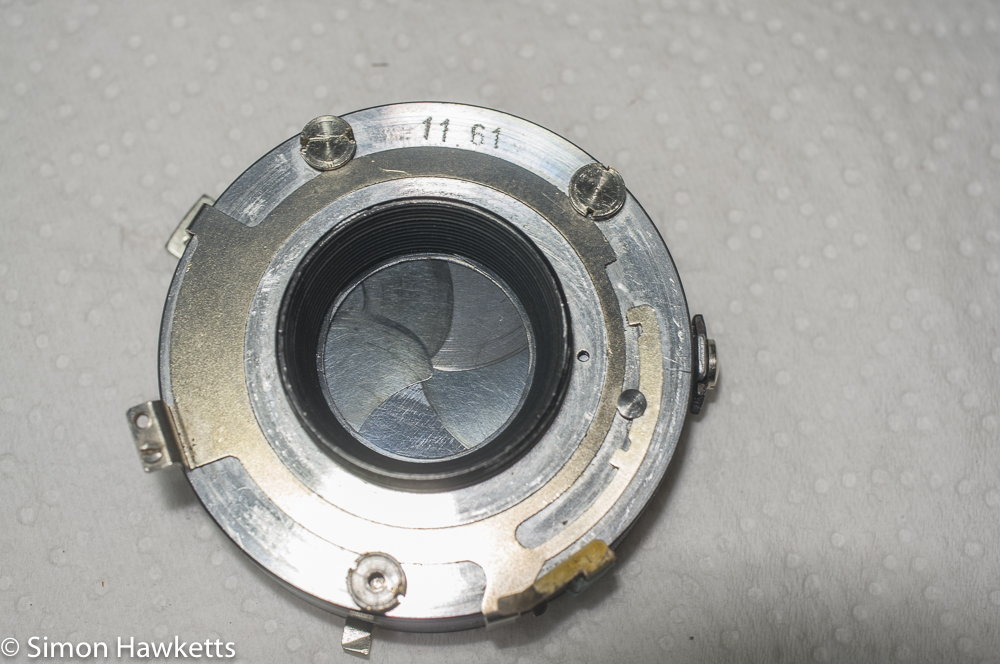
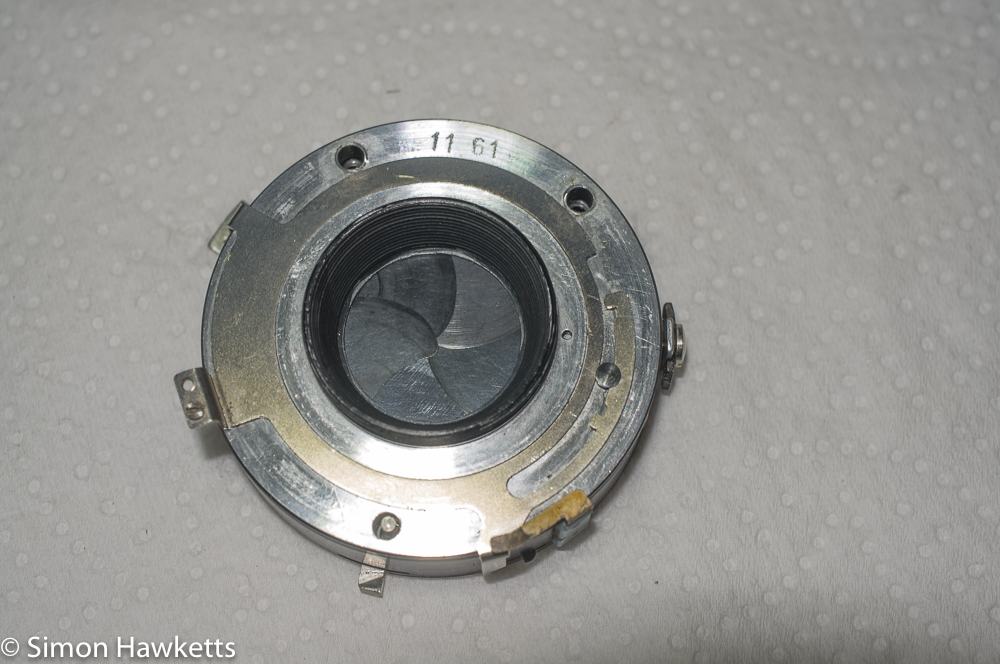
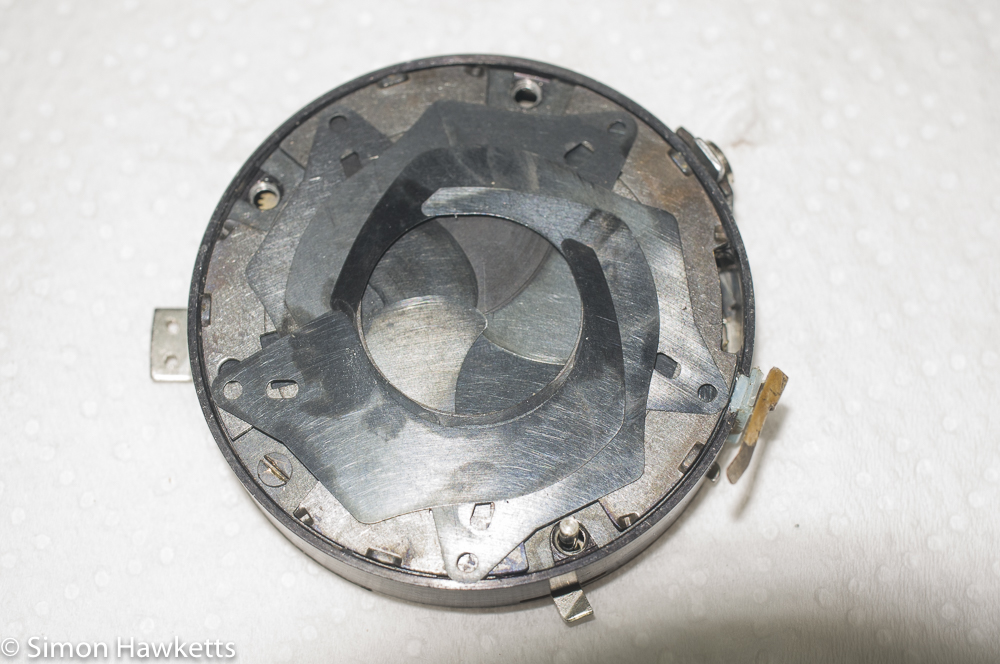
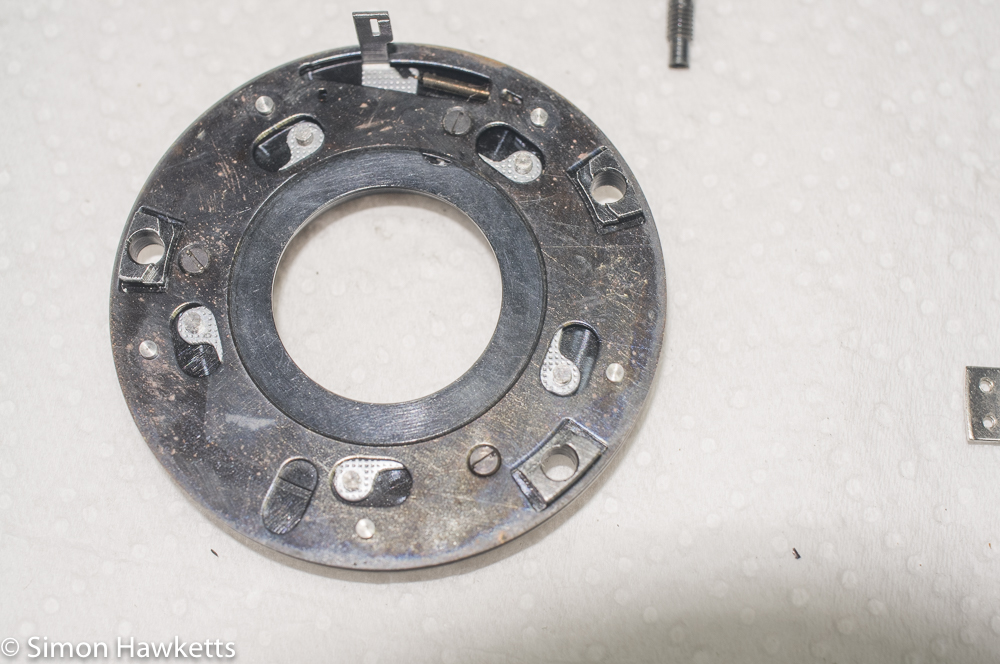
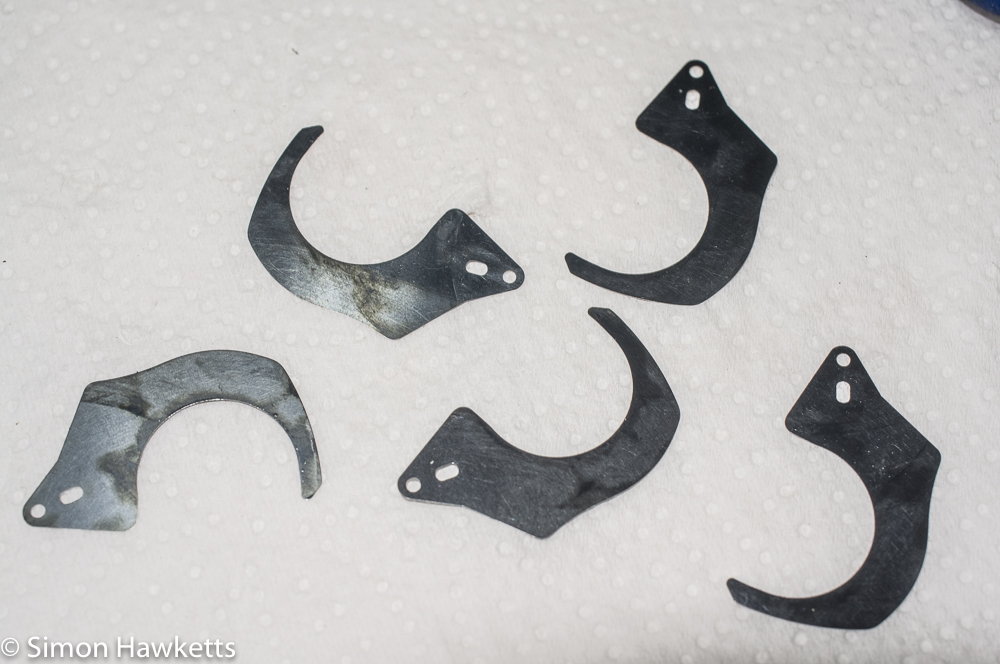
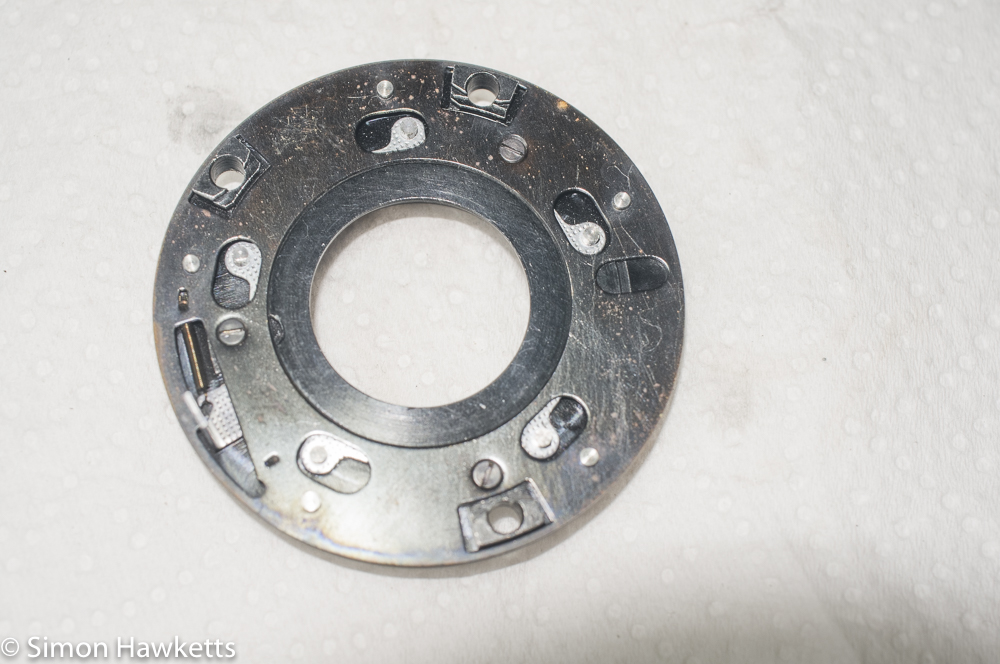
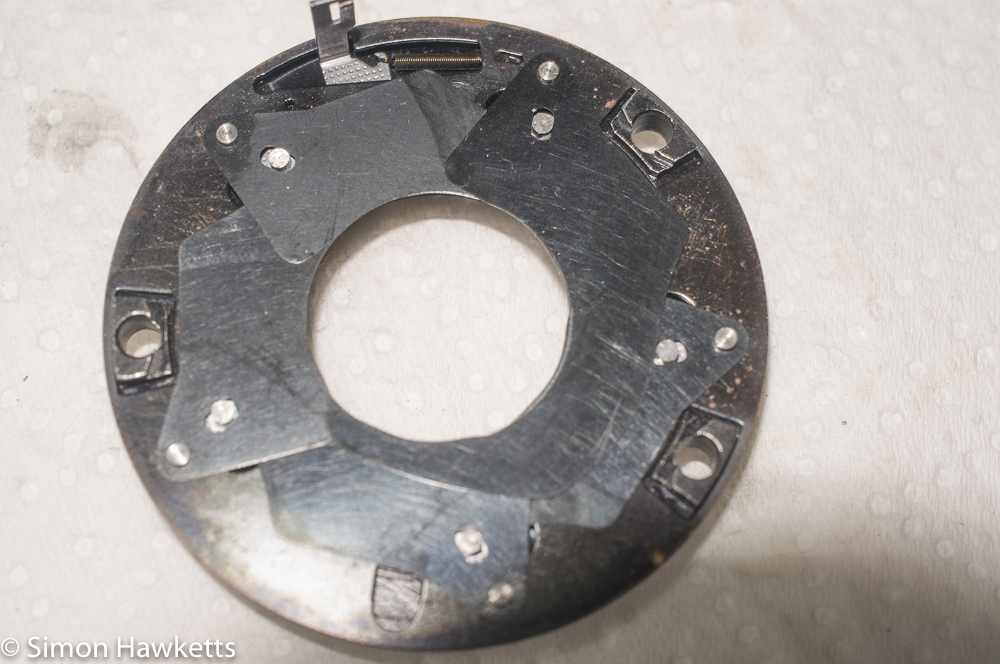
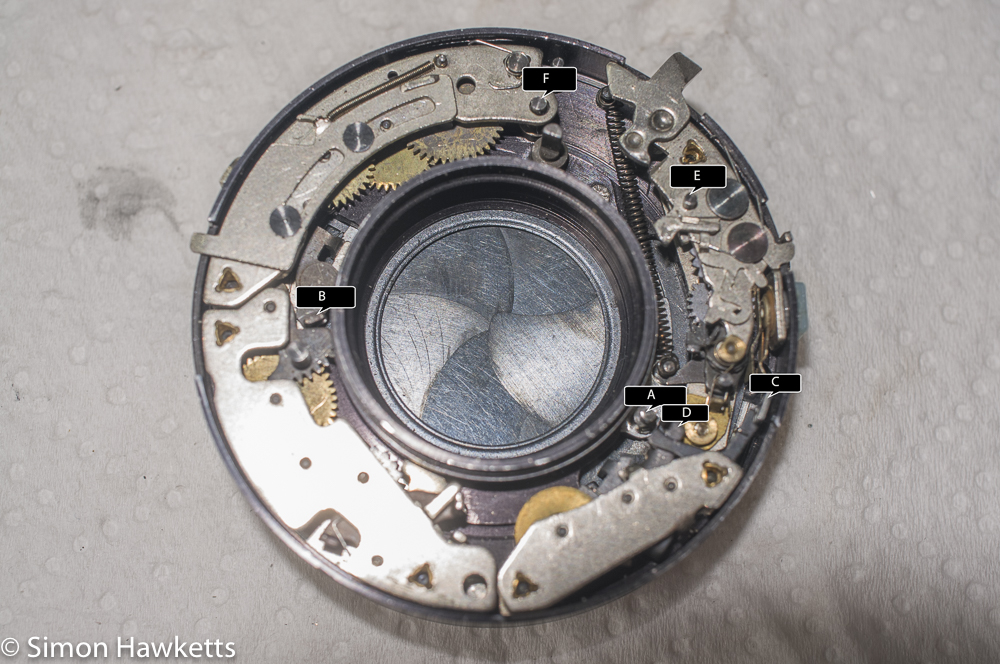
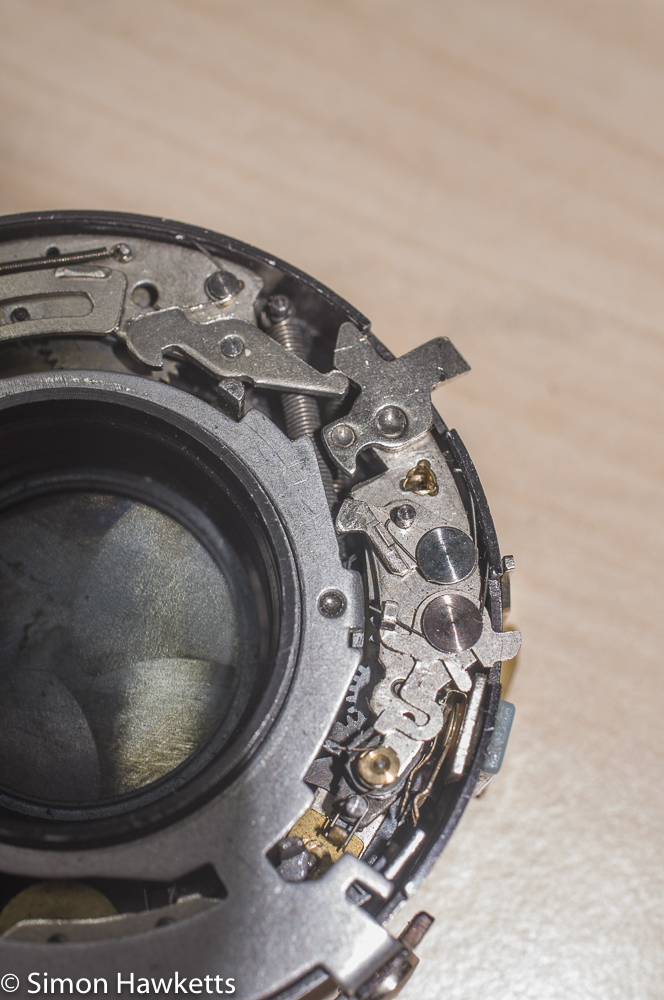
The shutter fitted to the Werra Mat is the same design as that fitted to the Pentacon Pentina which I looked at a few weeks ago, and I found then that it’s not a nice unit to work on. It doesn’t seem to be modular like other shutters, so you can’t remove parts to clean separately, and there are too many pieces which are held in place by the speed setting plate and can float off during re-assembly.
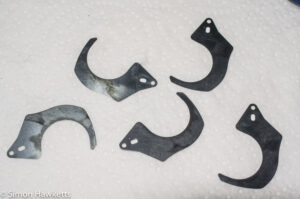
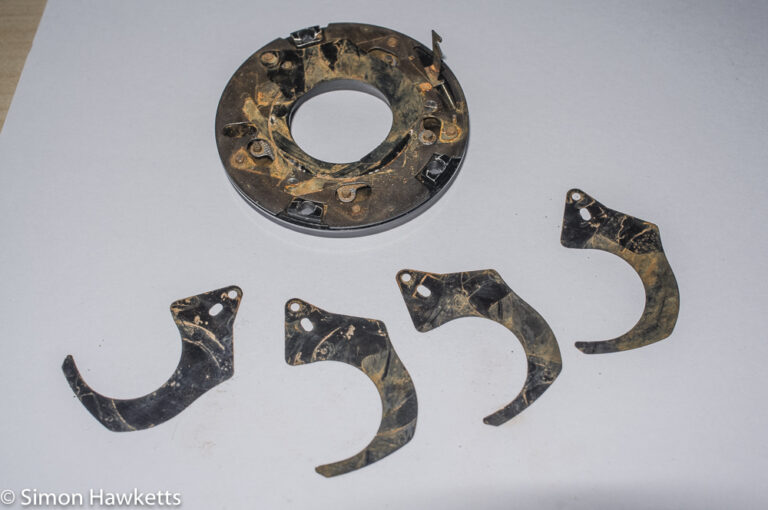
Anyway, the first thing to do was to clean the shutter blades. The blades which were actually sticking were the back set of blades which are normally closed until an exposure is going to be made. To get to these I had to remove the three screws which hold the back of the case on and remove the bottom plate and the blades to get them clean.
To clean the blades I used acetone rather than the normal solvent I’ve used in the past which is IPA (Isopropyl Alcohol). Although IPA removes all the oil and grease, I’ve come to the conclusion over the last few times I’ve used it that it can leave a white deposit on the blades. Acetone doesn’t seem to do this, but it can dissolve some plastics, so you need to be careful where you use it.
Once the blades and the plates they fit between were cleaned, I reassembled the blades and refitted the backplate to the shutter assembly. I found this quite easy – much easier that the other Werra camera I repaired a few months ago.
With the blades clean I removed the front cover to the shutter to check on the rest of the mechanism and found that it was in generally good order, although I removed a bit of debris with a blower. I also removed and cleaned the shutter speed ring and the cocking ring – the pictures above show the general procedure I used.
Refitting the speed selector plate was a bit tricky because you need to hold several pieces in the correct place as you fit the plate. I’ve annotated a picture above to show some of the parts, and the section below describes these annotated pieces.
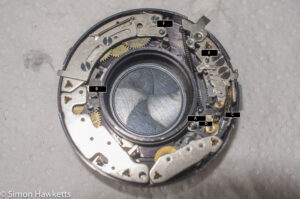
Post A is the post which the cocking ring moves to cock the shutter. As it’s moved round the front shutter blades open and close. The lever B is the lever which releases the shutter and allows the blades to open. Lever D is the lever which is responsible for closing the blades and so is triggered after the timing mechanism which sets the shutter times. Lever C is used to open the front shutter blades – it is held by a latch which is moved when the shutter closes which makes the front shutter close as well.
The post F has a lever which is part of the shutter release mechanism on. Unfortunately, this lever isn’t permanently attached to the post and will fall off when you turn the shutter over, so you need to make sure that it is in place and is properly tensioned by the spring above it when you fit the speed ring. In the picture above the spring is misshaped, and I had to reshape it before the shutter would release properly.
The pin marked E needs to be moved up towards the edge of the shutter when the speed plate is replaced on the shutter so that it runs in the correct slot. This is one of the things you need to re-position as the plate is replaced, along with the lever on Post F and all the other levers which protrude through the speed plate. I found I had to get the cocking ring in place and hold it down while I got the speed plate on and then use tweezers to get the other levers and posts into their correct place as I tried to hold it all together. Once the speed ring is on you then need to refit the click stop ring, the top cover and the retaining ring without losing the alignment of the other pieces – it wasn’t an easy job by any means.
Once everything is back in place it’s important to try cocking and releasing the shutter a few times on all speeds to make sure everything is working correctly. I needed to disassemble and reassemble mine several times to get everything correct.
The next part of the post will show the rest of the refurbishment.
Discover more from Everything Vintage
Subscribe to get the latest posts sent to your email.

