Carl Zeiss Werra Mat strip down and refurbishment – part 1
A few weeks ago I wrote a couple of articles about the procedure I used to strip down and clean up a Carl Zeiss Werra 1 camera. Unfortunately, because of damage to the shutter blades, I couldn’t get that camera working correctly, but I found the design of the Werra series quite interesting, so I kept an eye out for another example to buy.
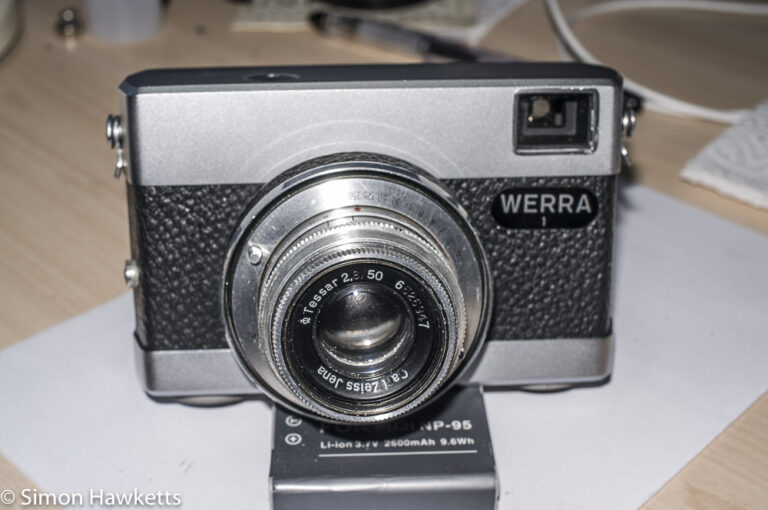
A few days ago I found a Carl Zeiss Werra Mat, which is a slightly more complex camera with in-built light measuring capabilities.
I bought this camera as a faulty, broken and dirty unit because I hoped it would be possible to get it fully working, although the camera is quite tatty and has some cosmetic items missing.
Carl Zeiss Werra Mat strip down images
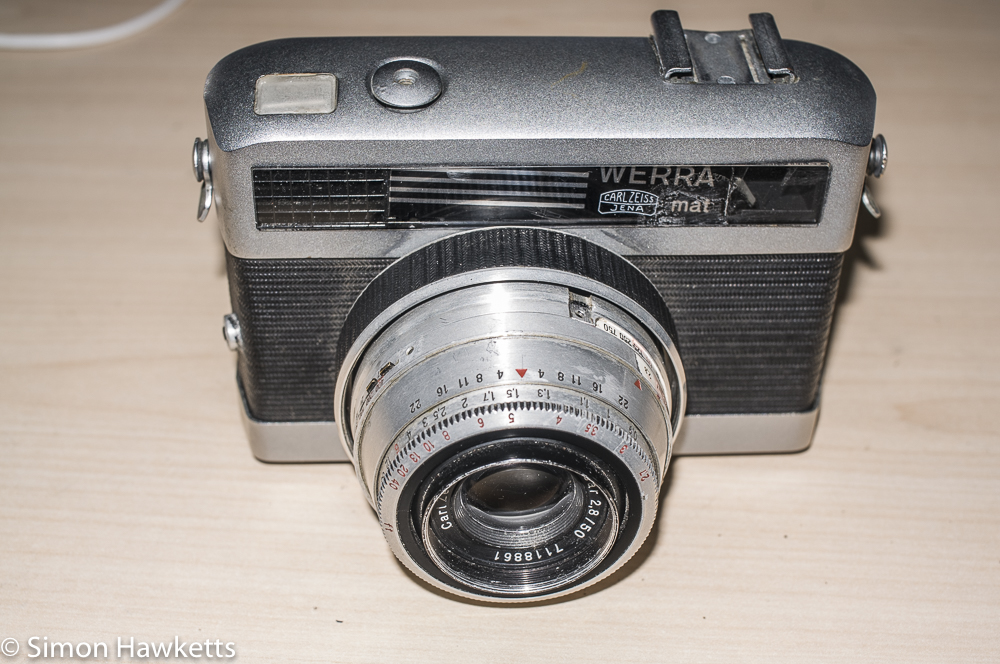
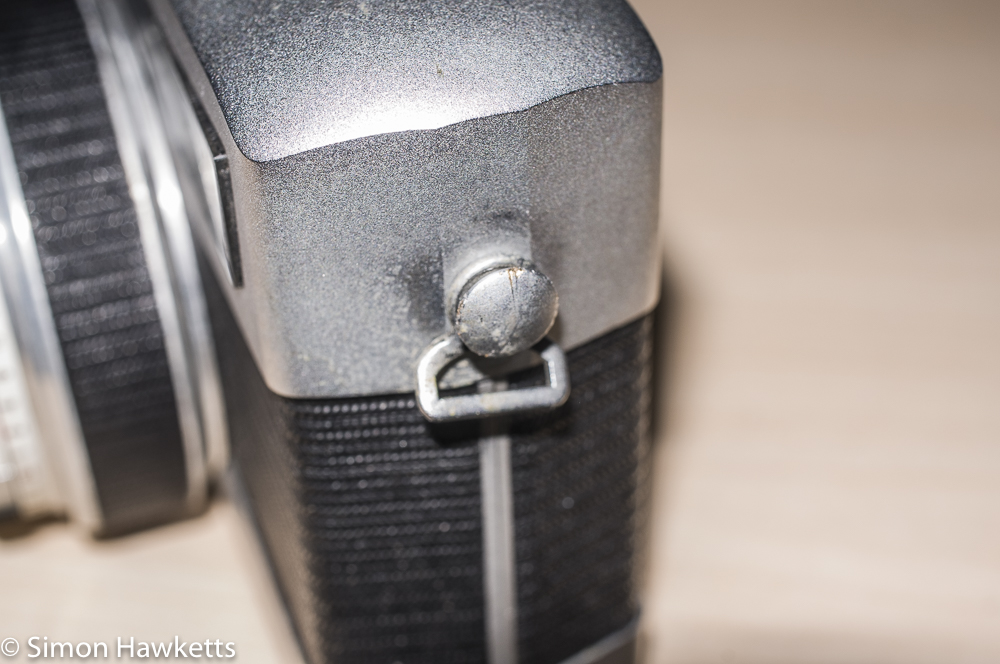
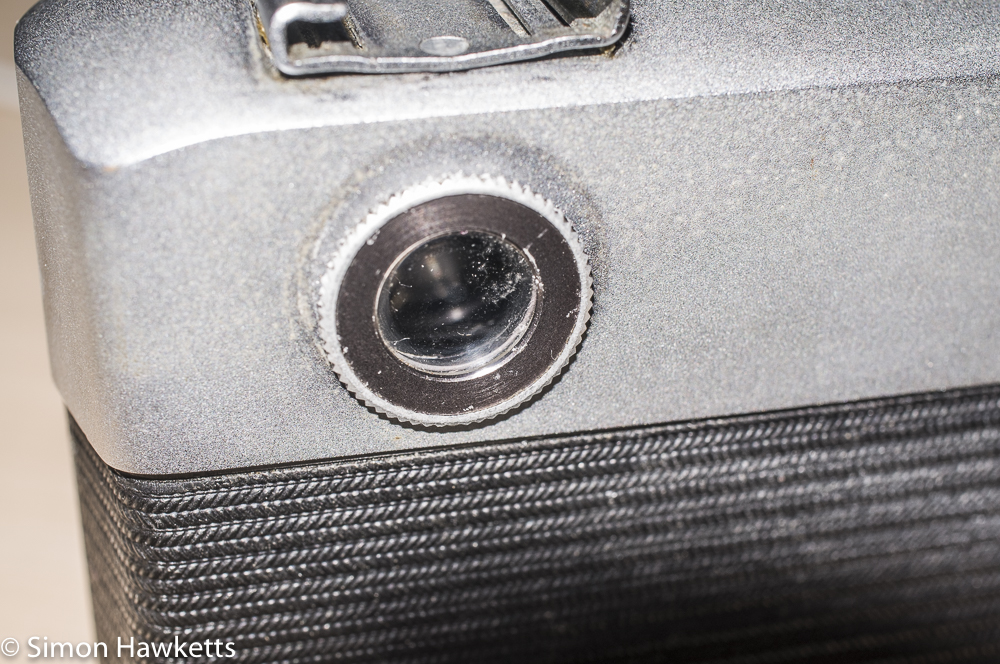
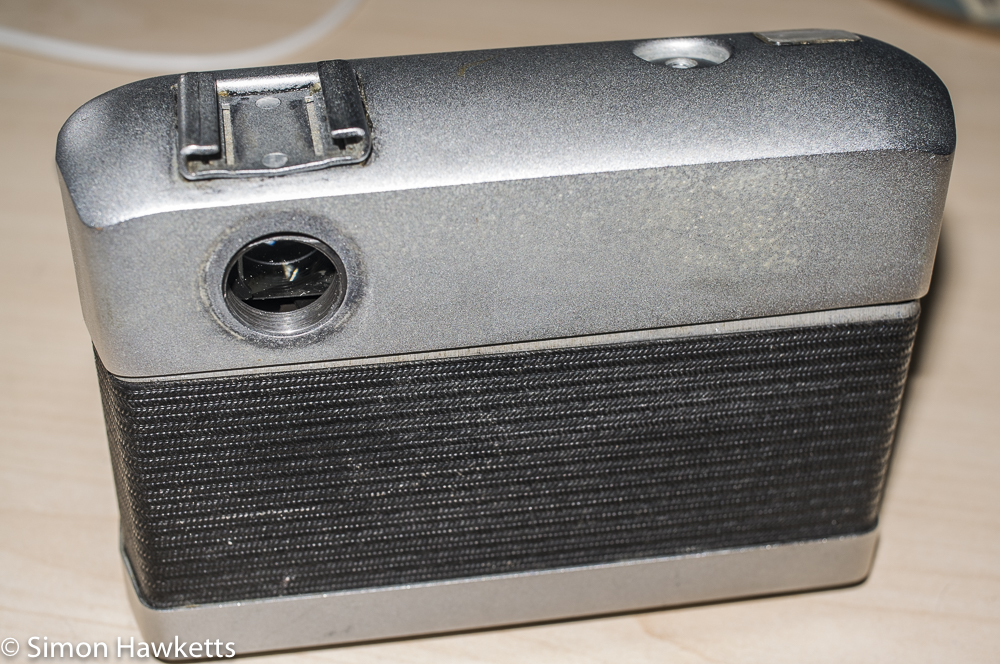
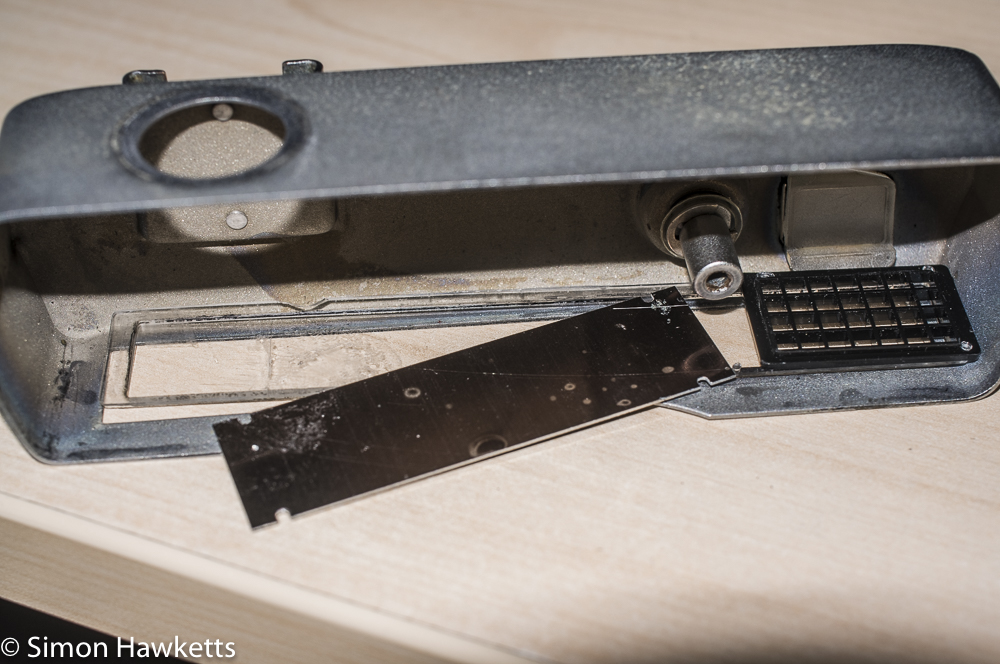
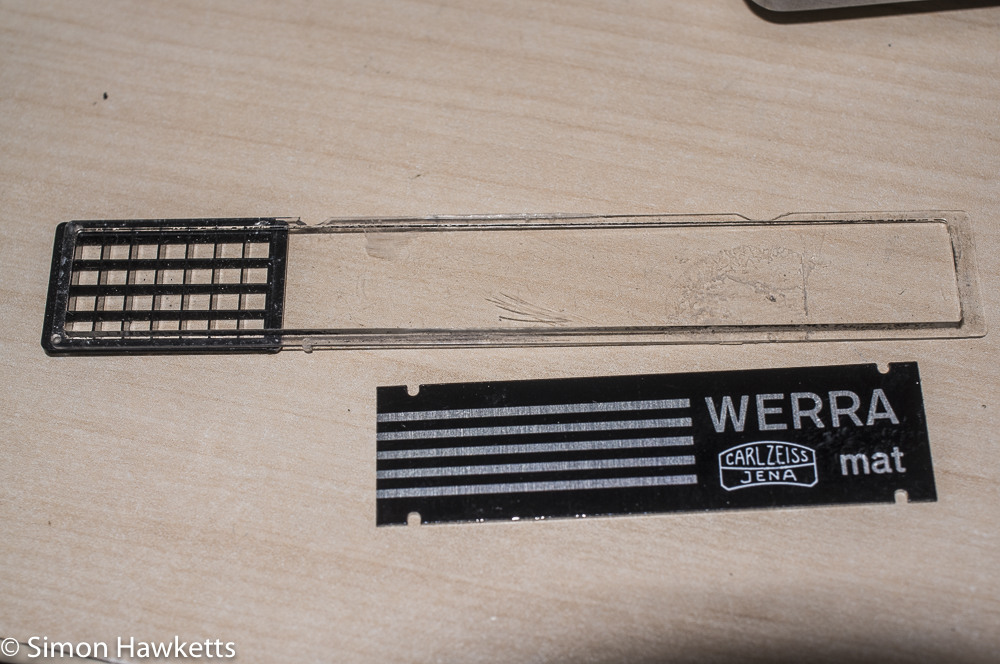
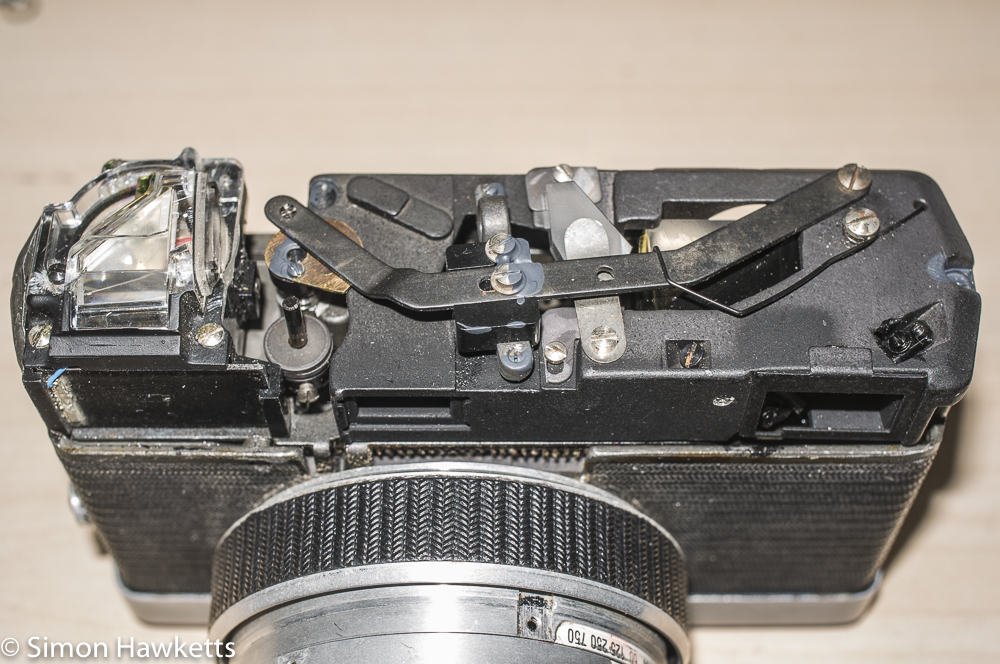
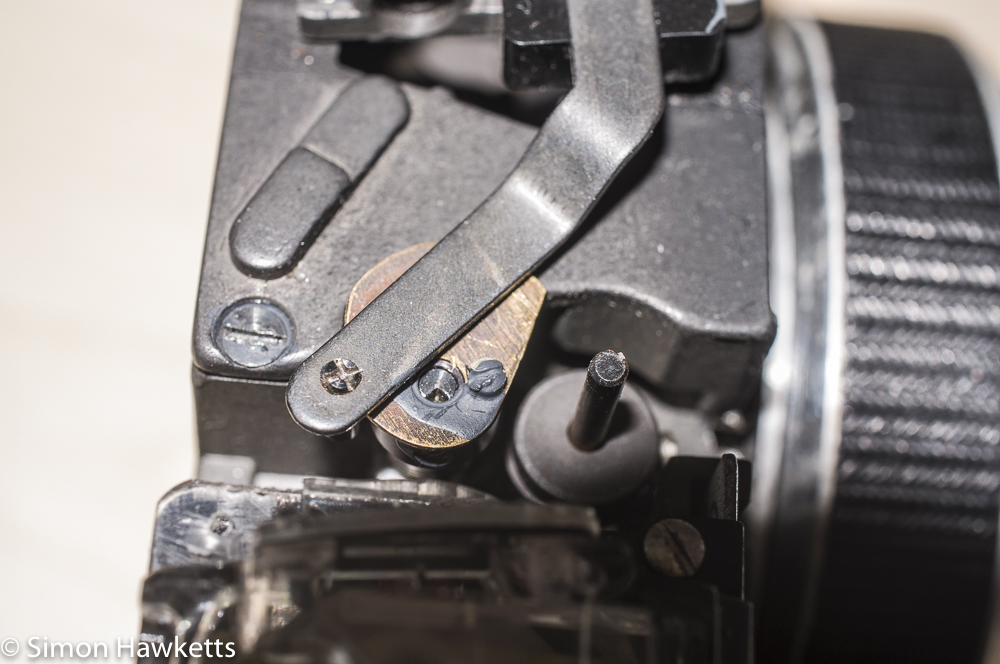
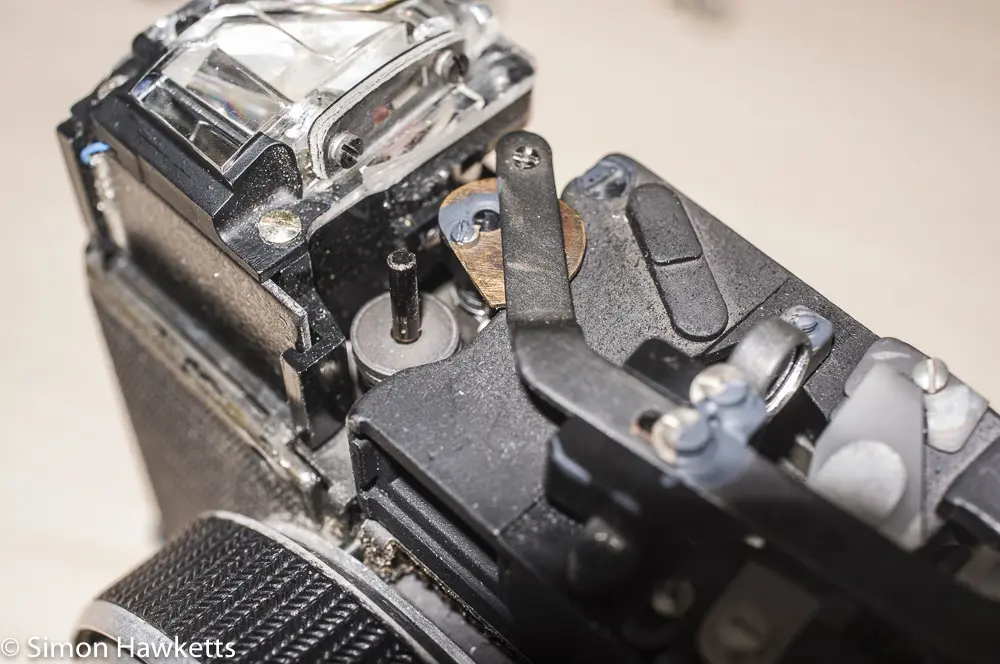
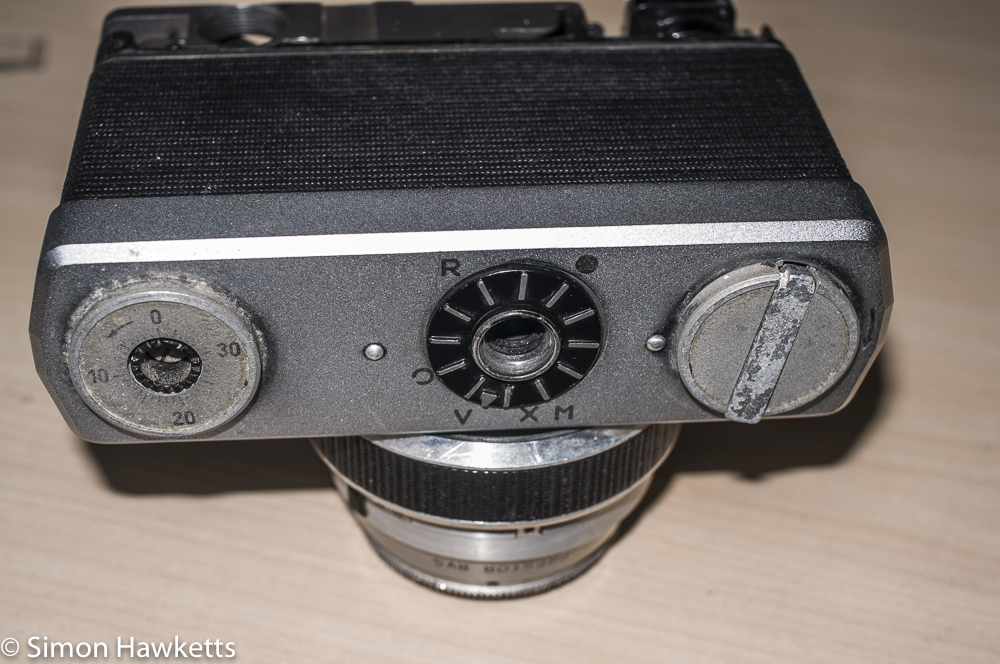
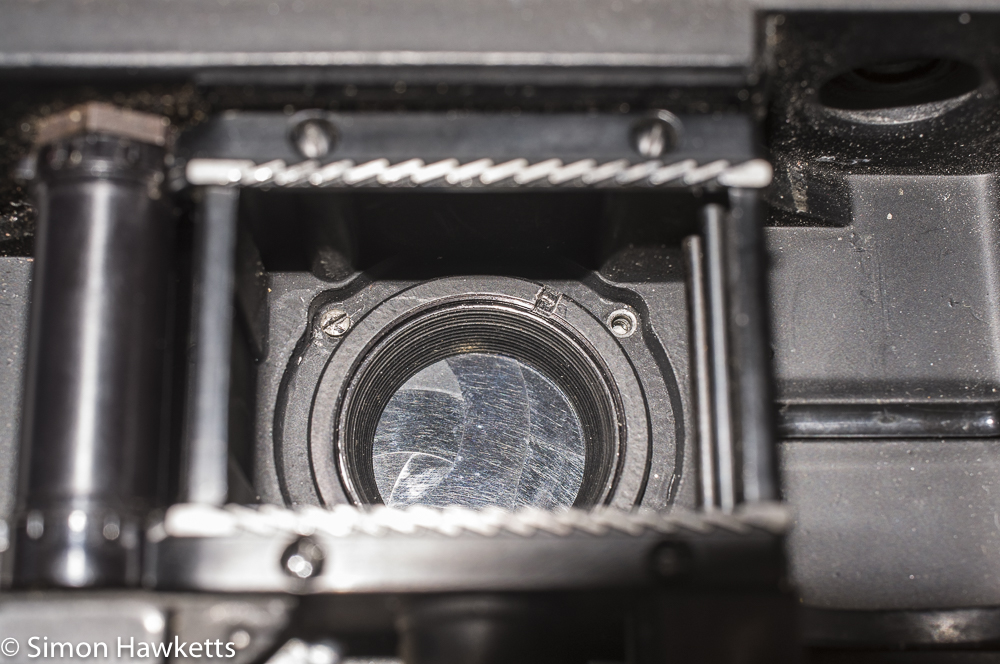
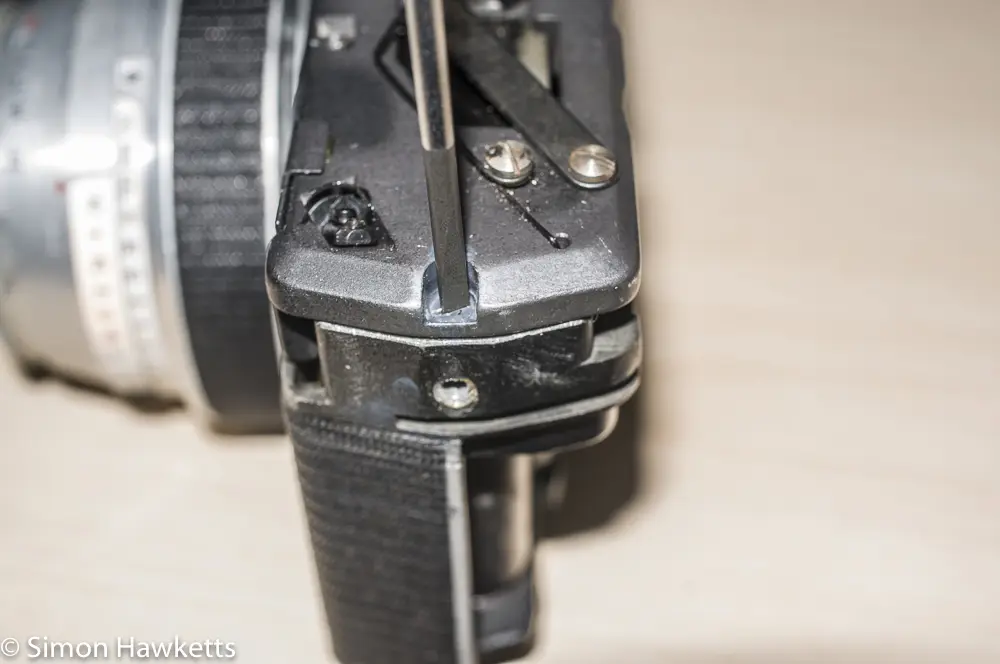
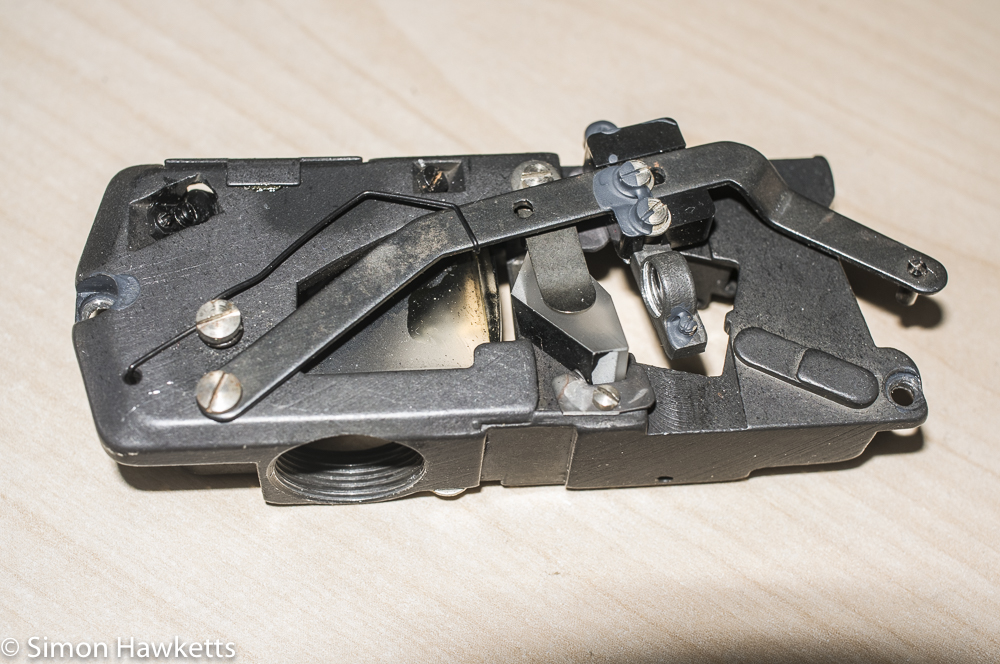
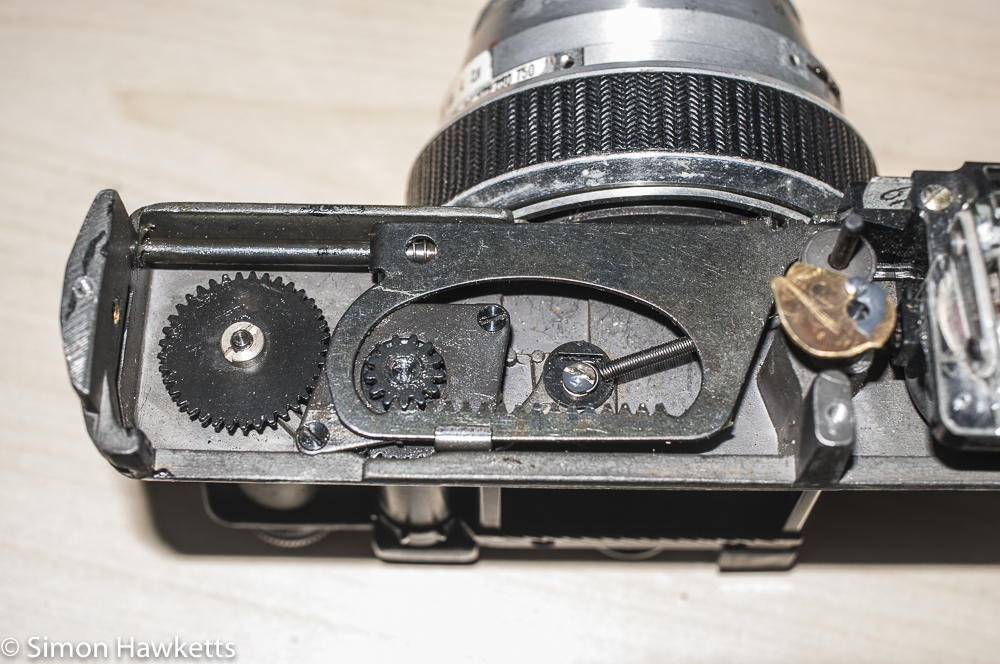
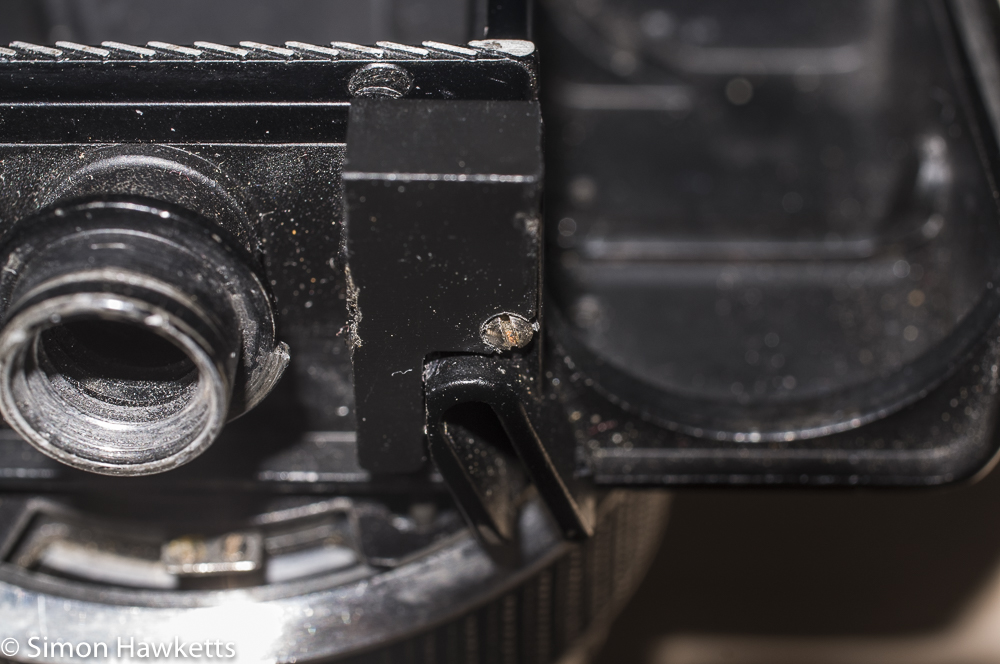
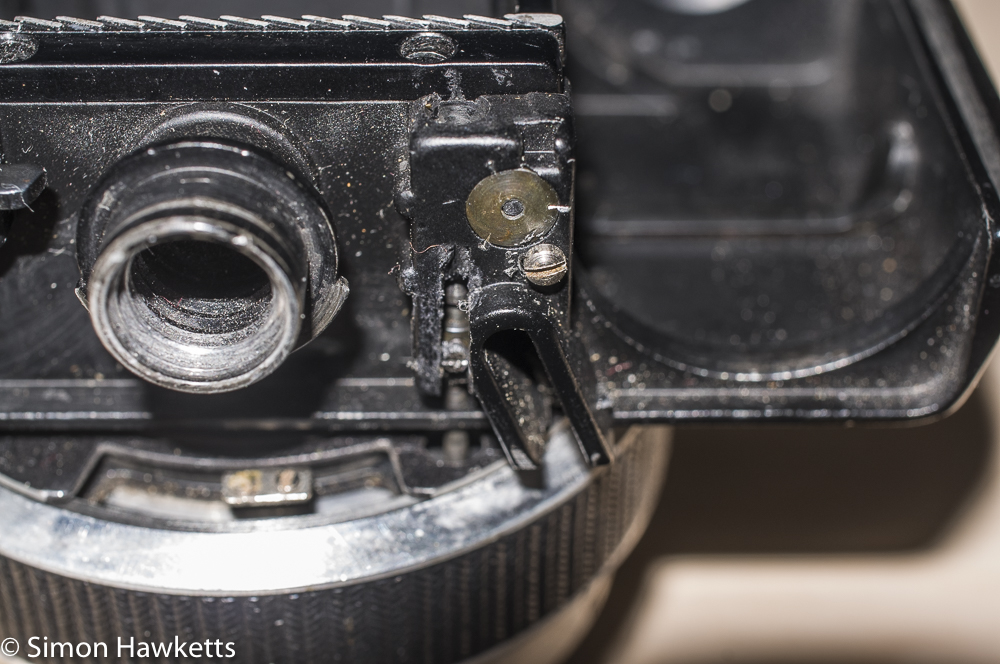
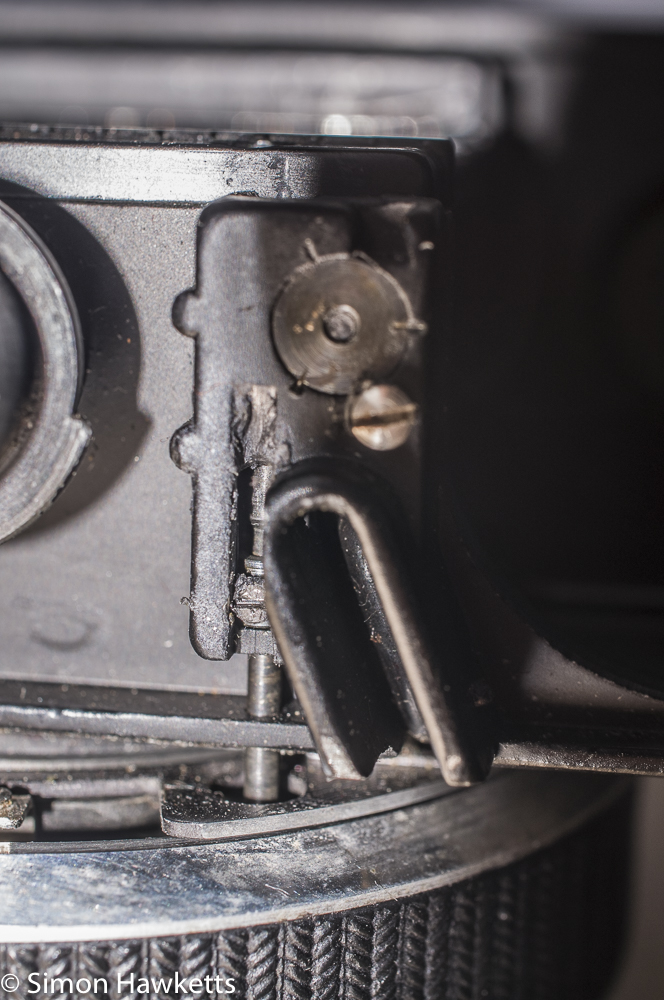
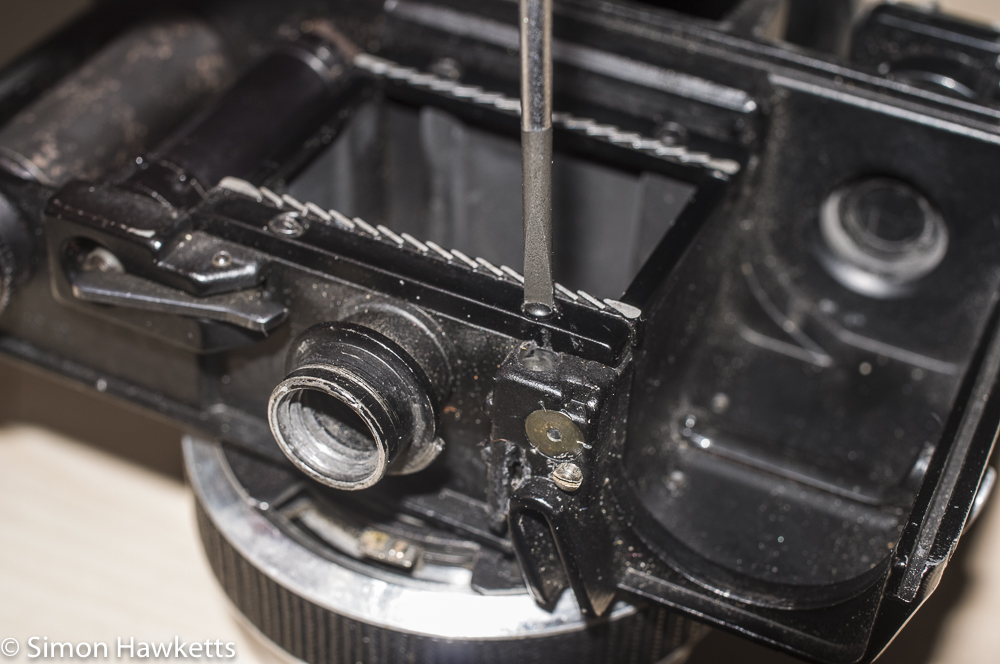
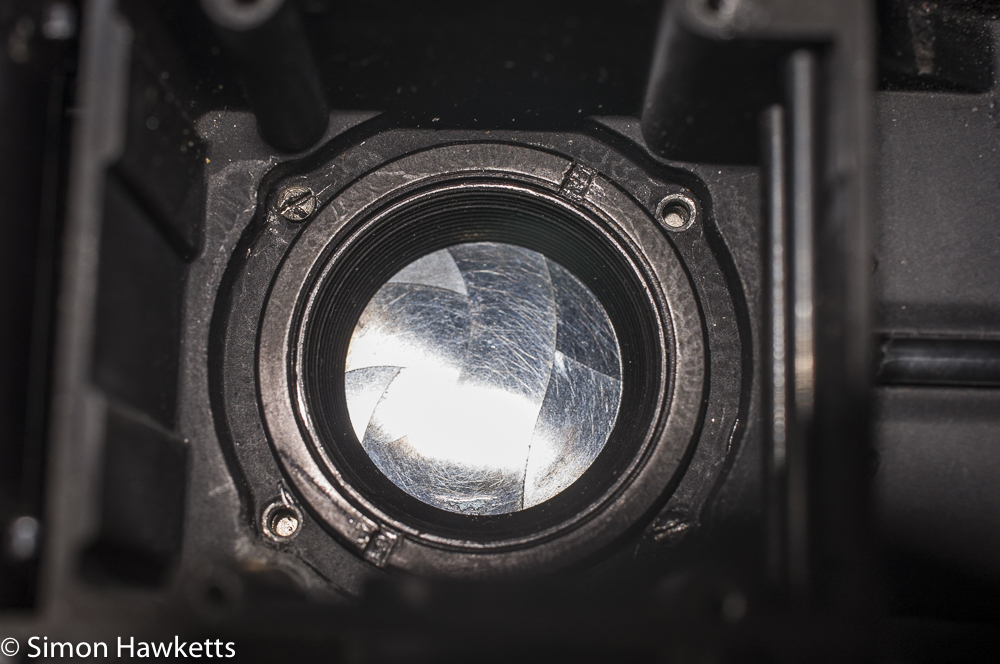
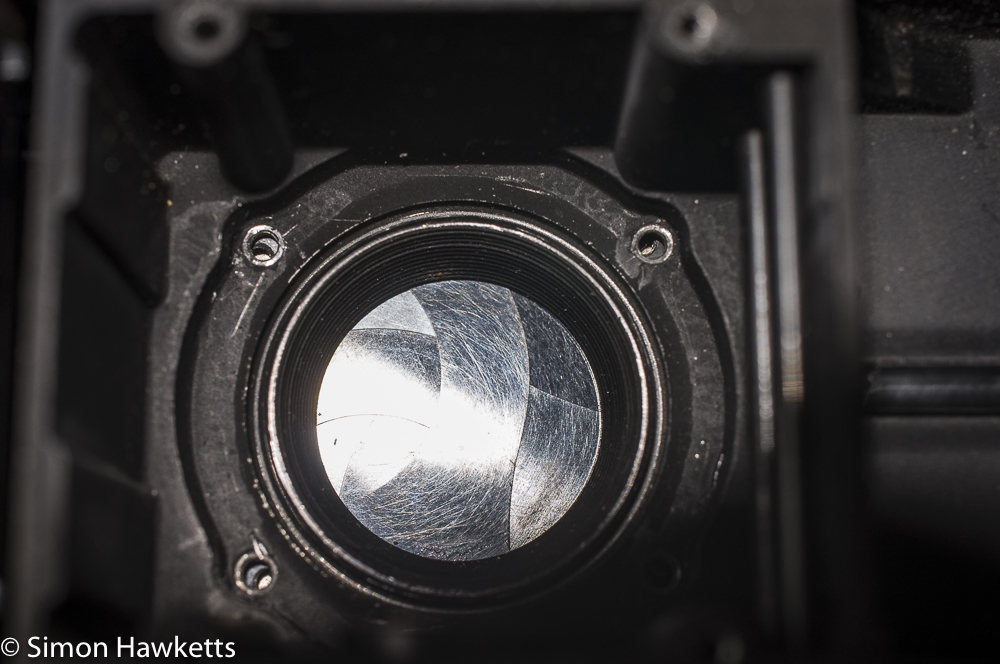
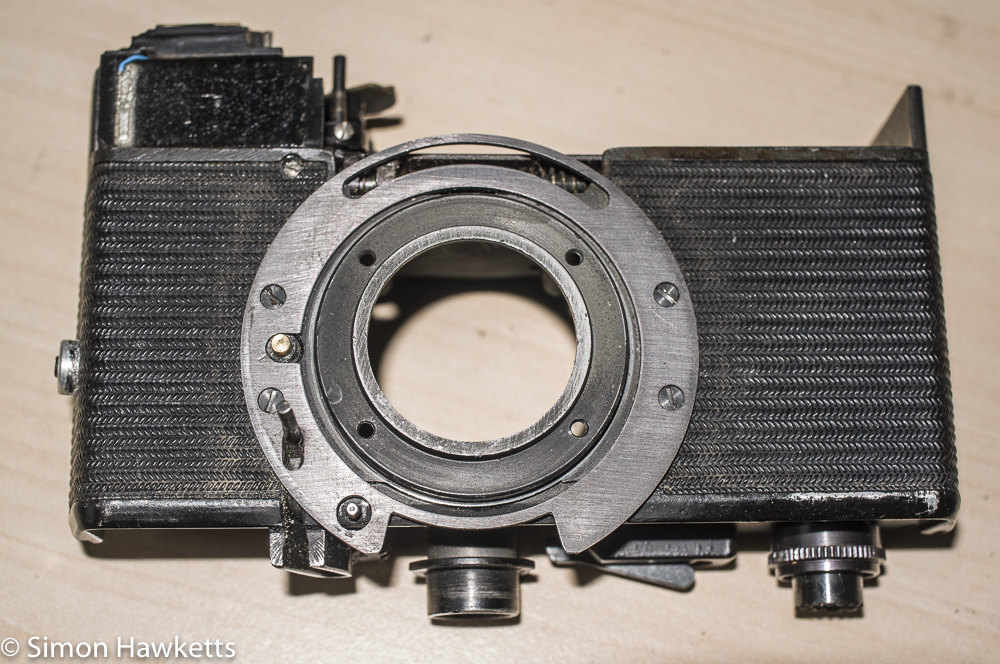
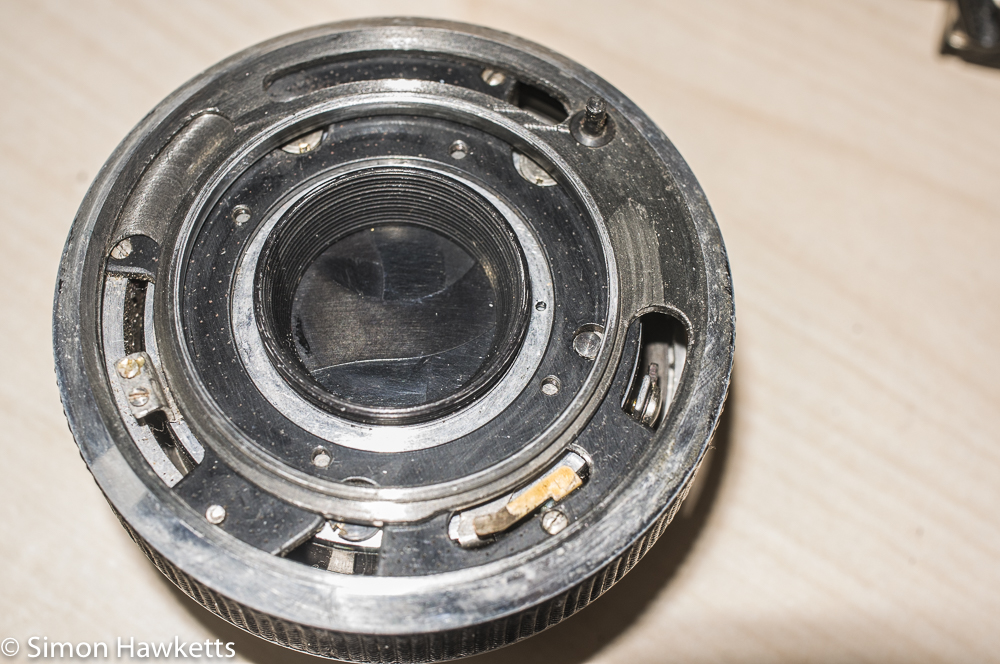
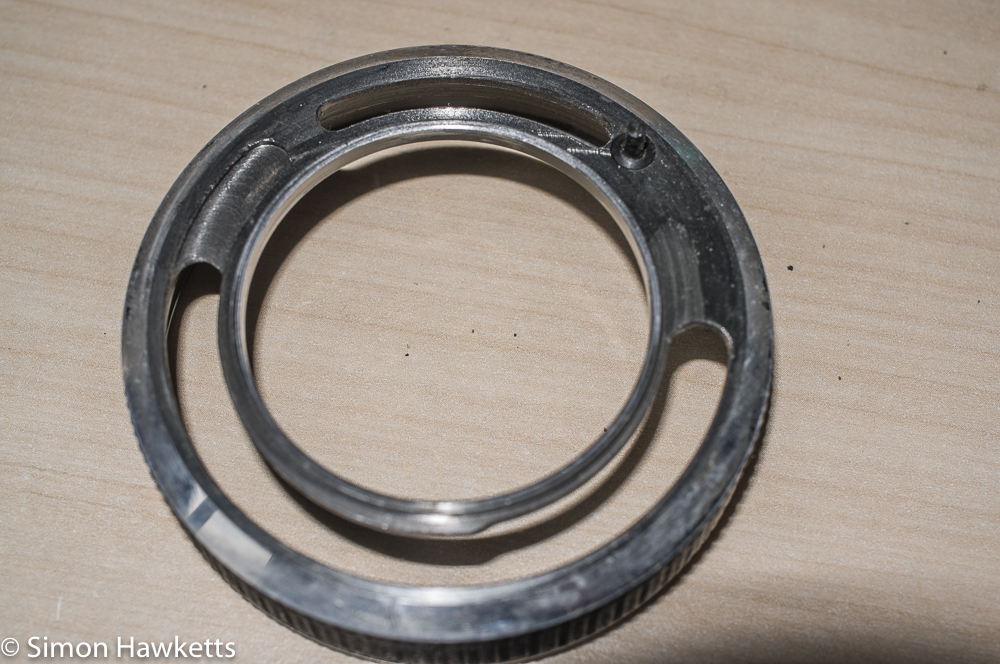
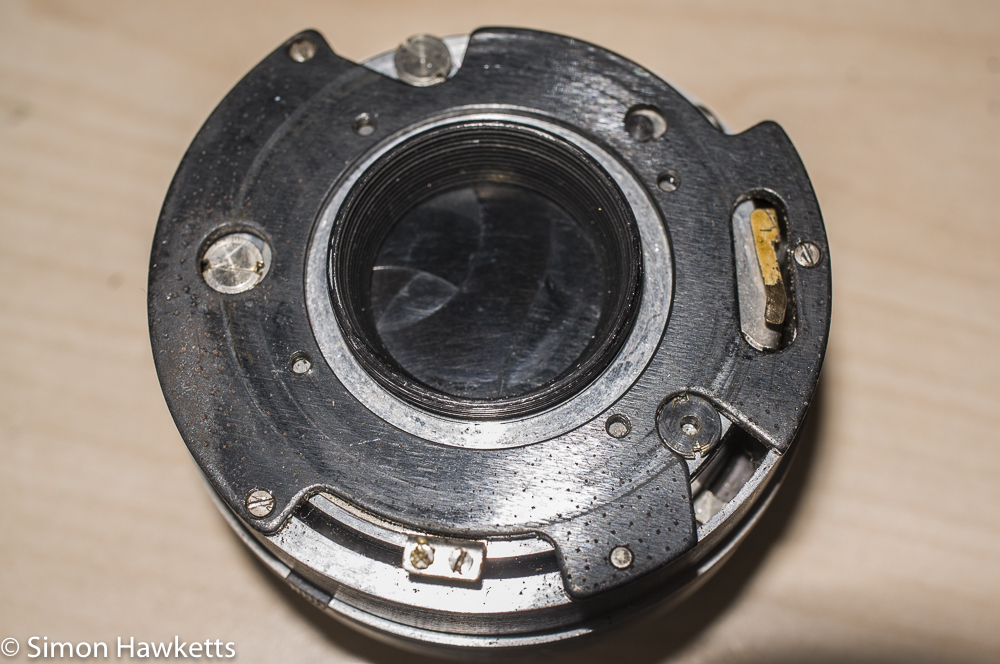
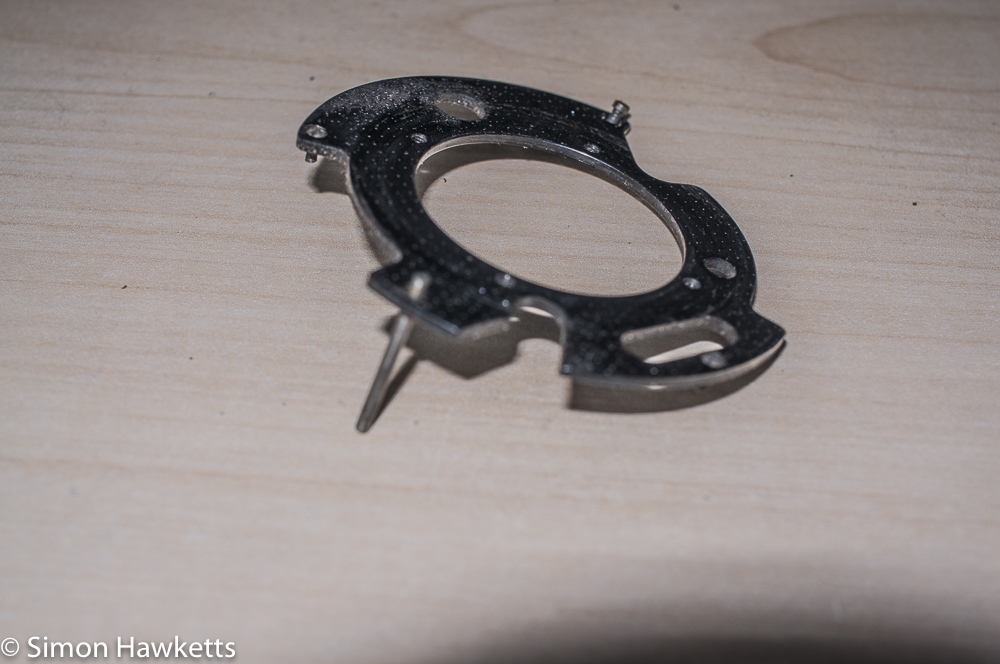
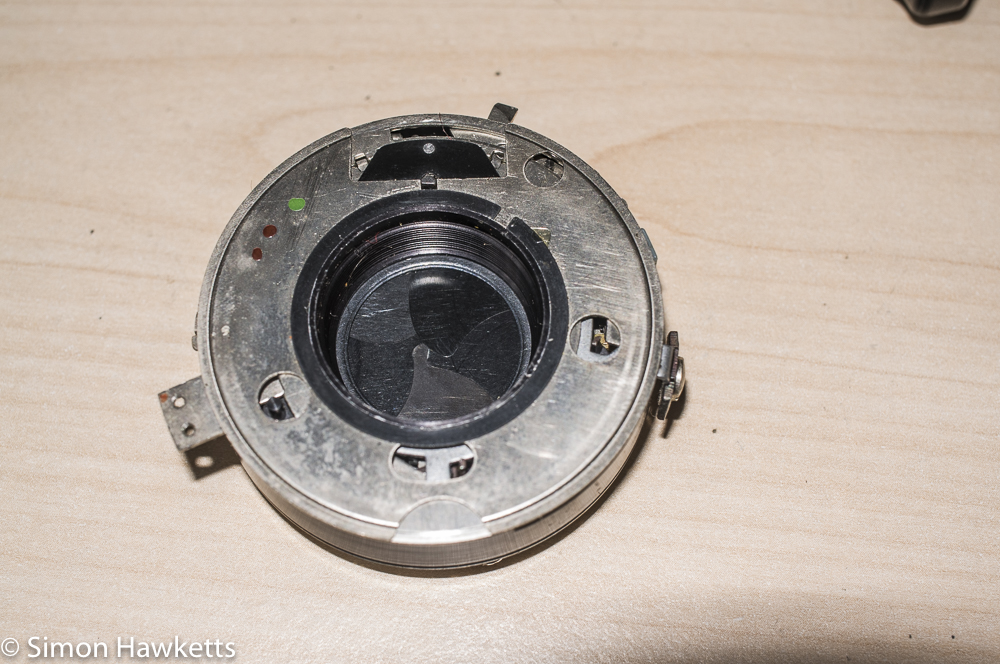
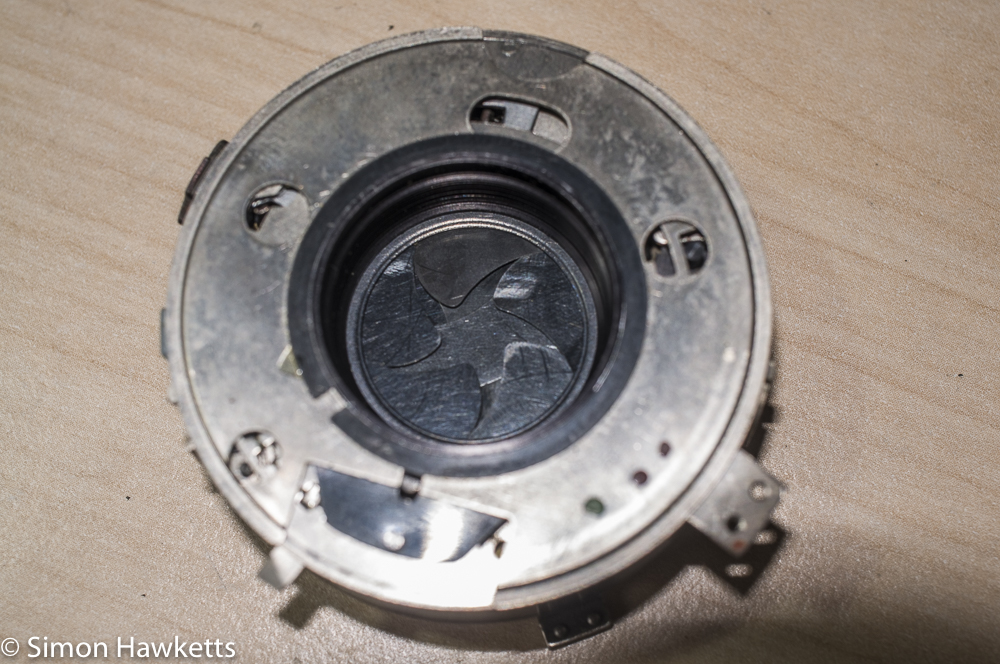
When I first received the camera the immediate, obvious problems were that the lens unit was loose on the body of the camera, the front identification plate was misaligned, the small adjustment controls on the lens for aperture and shutter speed were missing, and the shutter blades were sluggish at returning to their closed position after the shutter had been fired.
This post describes the procedure I used to get the camera stripped down. The picture sequence above shows the procedure in a fair amount of detail, but I’ll add some notes here to highlight everything I found noteworthy.
- The strap lugs on my camera were pretty badly mangled, but I still used some rubber sheeting wrapped round them before I used pliers to unscrew them. On this camera they were easy to undo which suggests they had been off before.
- When I removed the top cover I found there is a neat mechanism which is used to project an image of the light meter needle into the viewfinder. This works by moving an arm with a lens attached as the aperture is changed. On my camera I found this linkage was on the wrong side of the coupling plate which again suggests the camera had been apart (the pictures above show the correct position).
- The lens unit only had two screws holding it to the camera body, although there are four holes, so I’m sure it had been off. It was also loose on the body because the screws were loose and the ring next to them loose.
- The frame advance mechanism on the top of the camera was completely dry, so I added a small amount of grease to it and worked it a few times to get the grease distributed. Once it was working properly I then wiped the rest of the grease off. The pictures above show the greased mechanism
- The light meter coupling adjustment was also packed with old dirty grease which needed to be cleaned up and replaced with a light coating of new grease.
- The flash sync / self-timer lever is missing its end piece which should project out of the lens unit to allow the user to set it. I can probably use the one from my original Werra to replace it.
- At the bottom of the lens/shutter unit, where it attaches to the camera, a plate is screwed which has three short screws and one long. The pictures above show the location of the long screw.
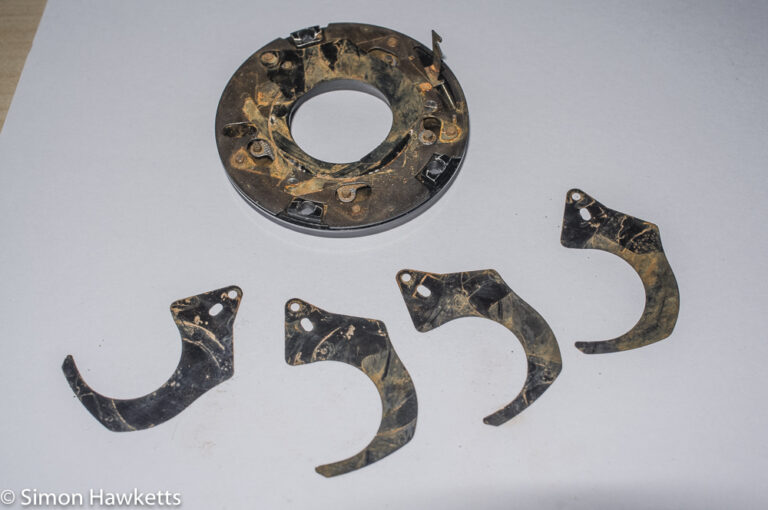
- When I had removed the shutter unit from the camera I found that the plates are not always opening correctly on every speed, so I need to open the shutter and clean the mechanism / blades which will be the subject of my next Werra Mat post.
Discover more from Everything Vintage
Subscribe to get the latest posts sent to your email.

