Bronica ETRsi first film
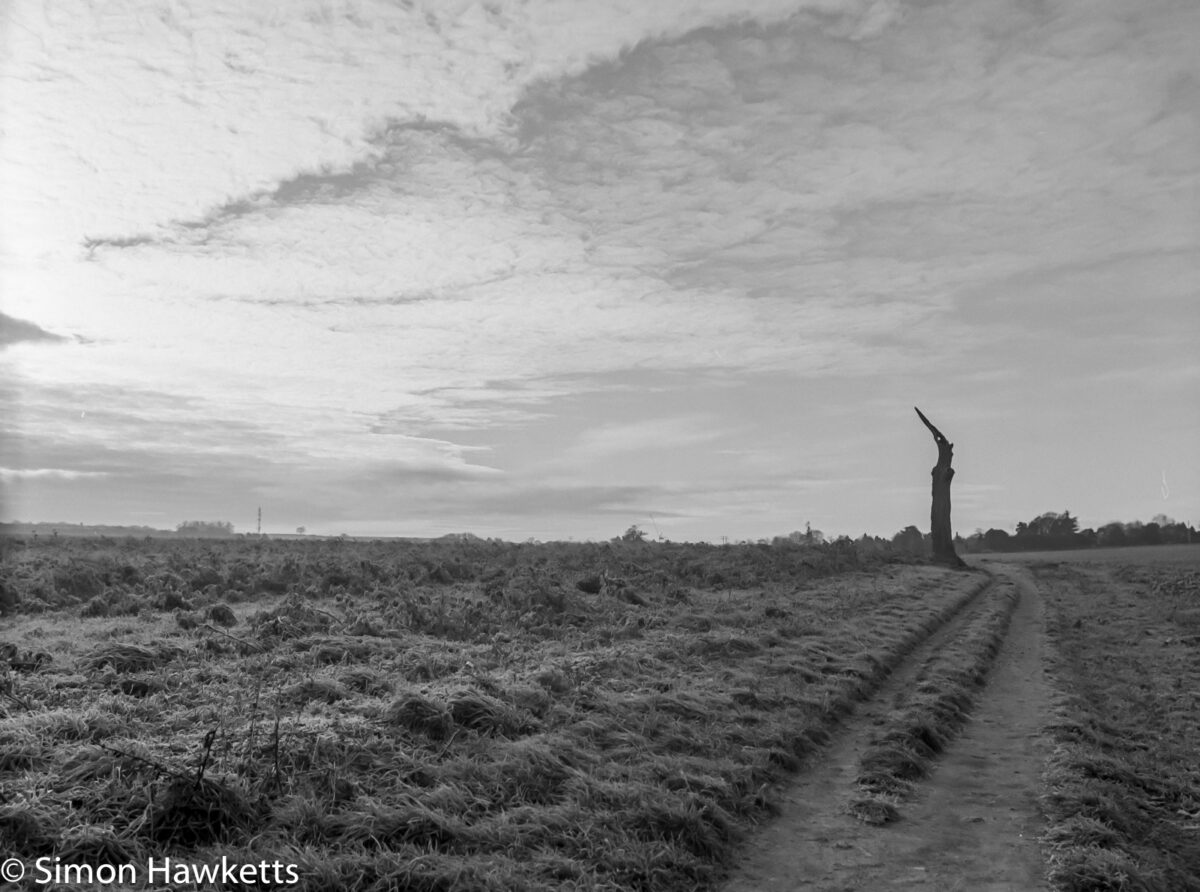
This morning I developed the first film I put through my Bronica ETRsi medium format SLR and scanned the negatives.
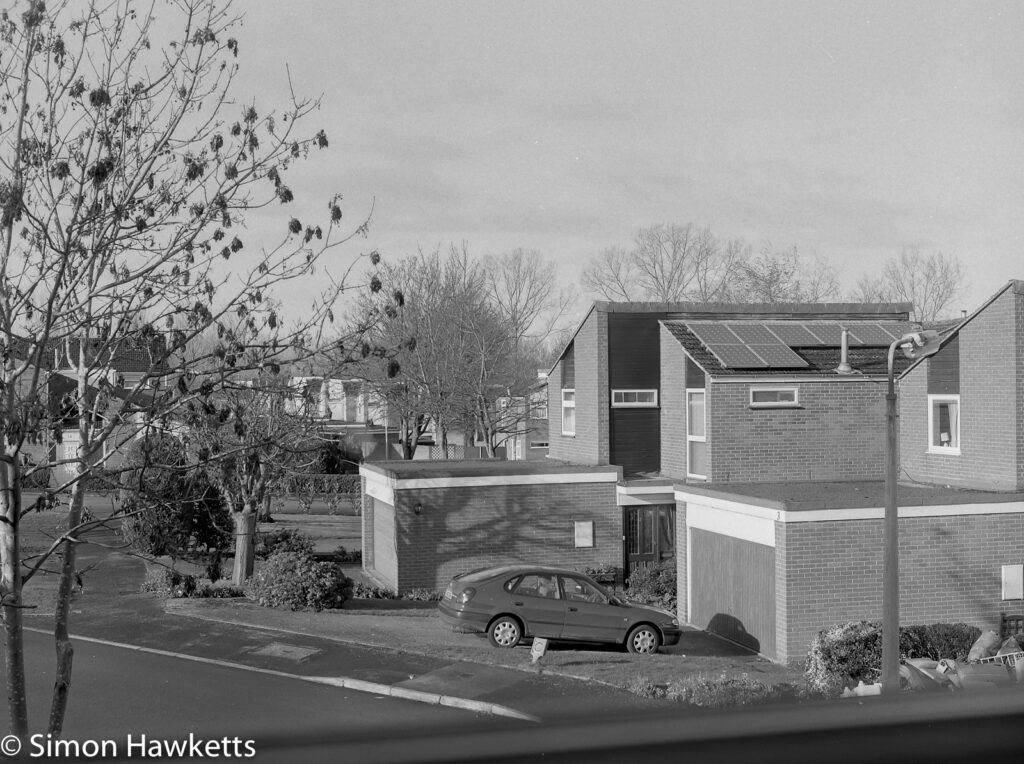
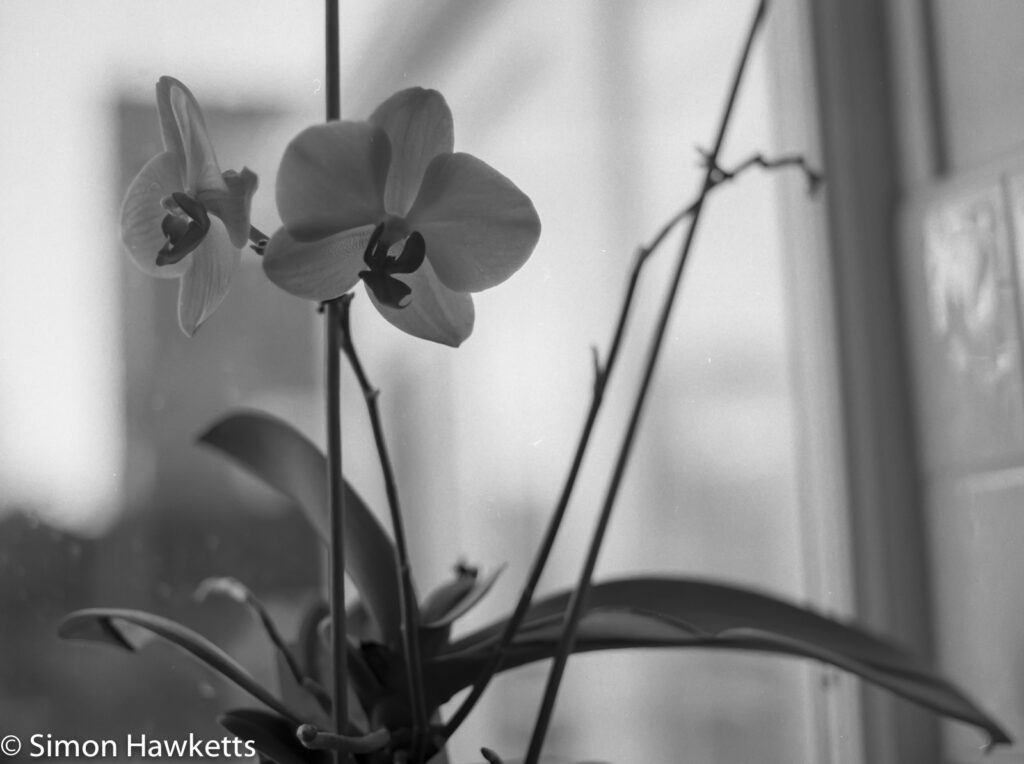
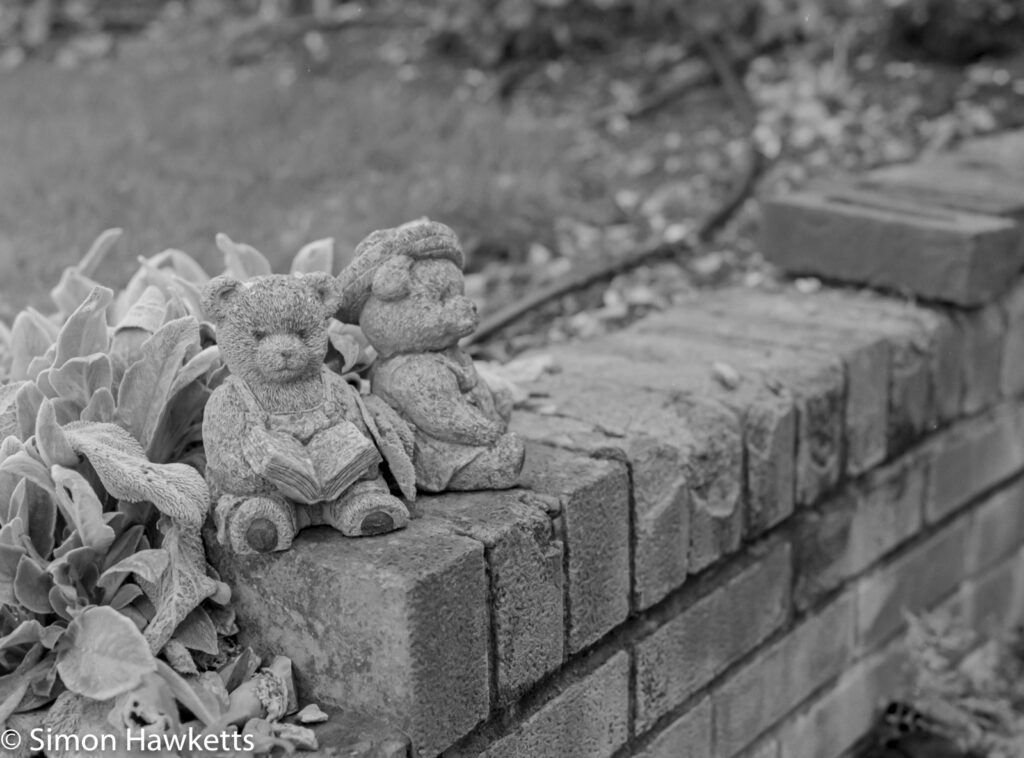
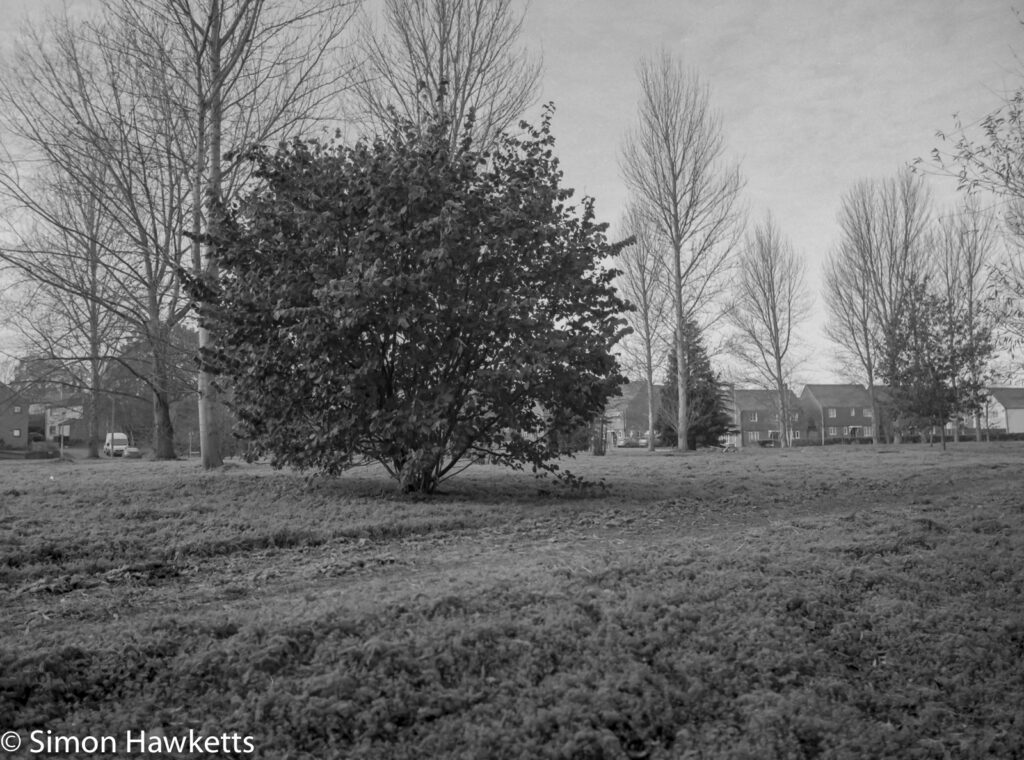
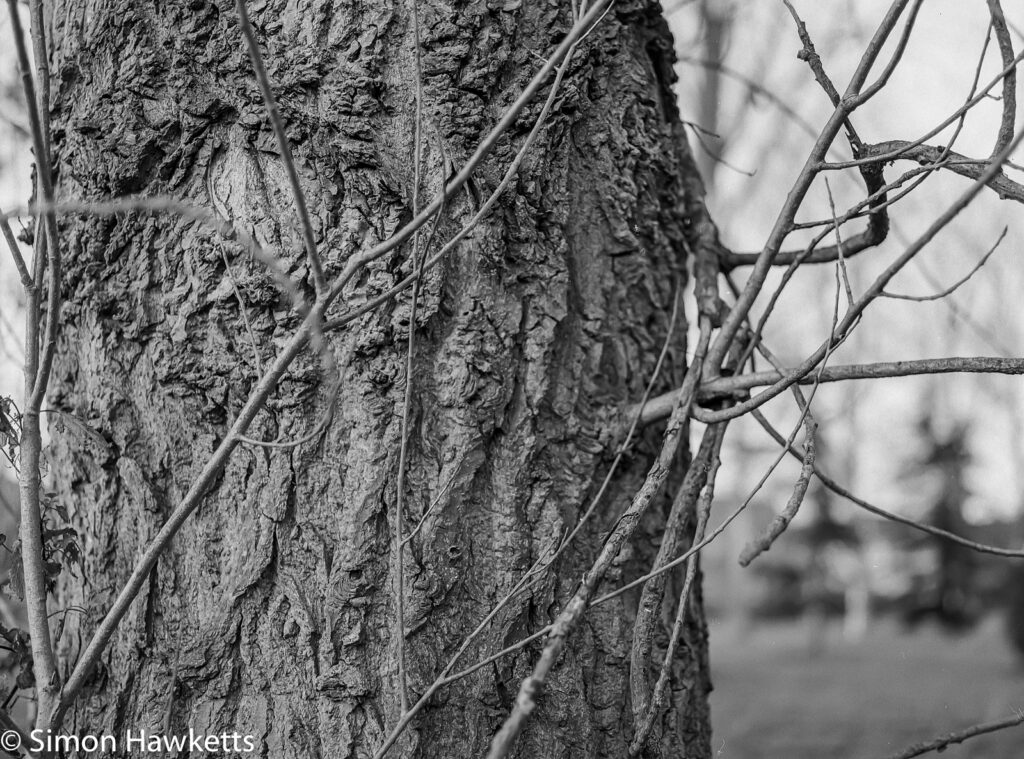
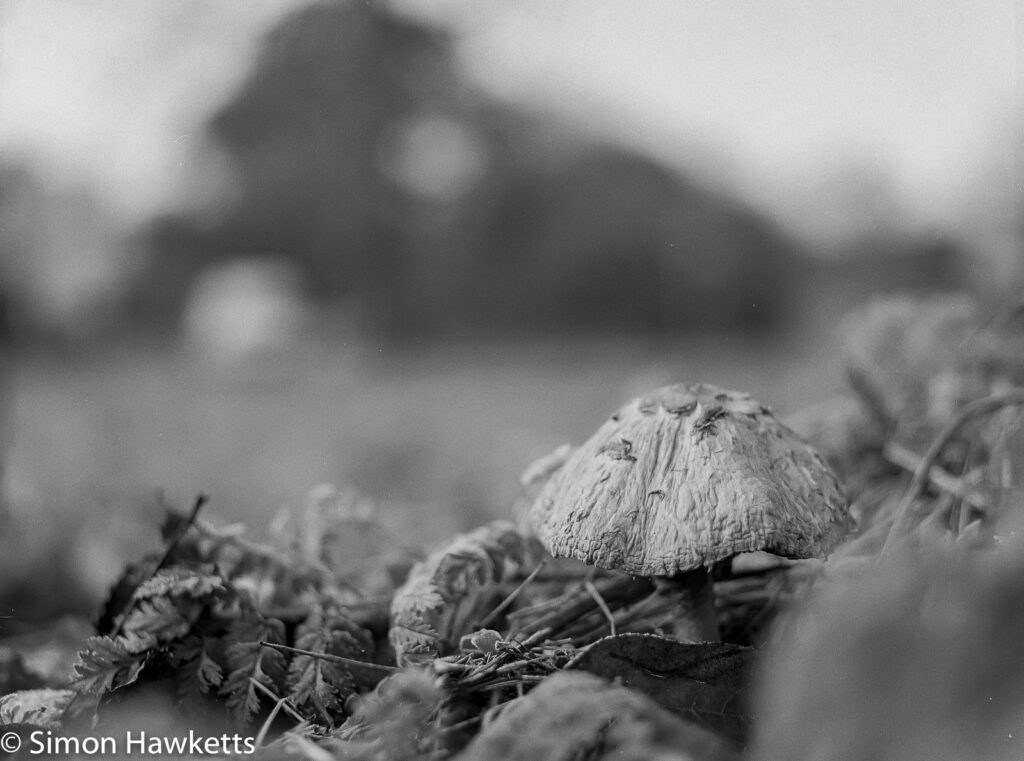
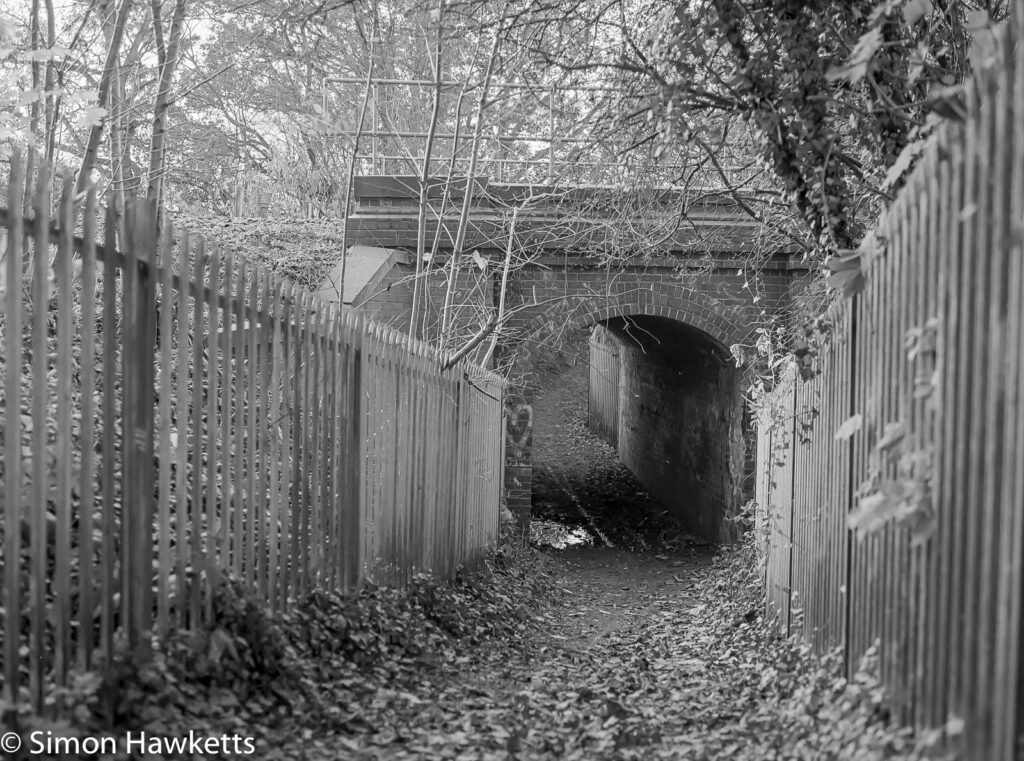
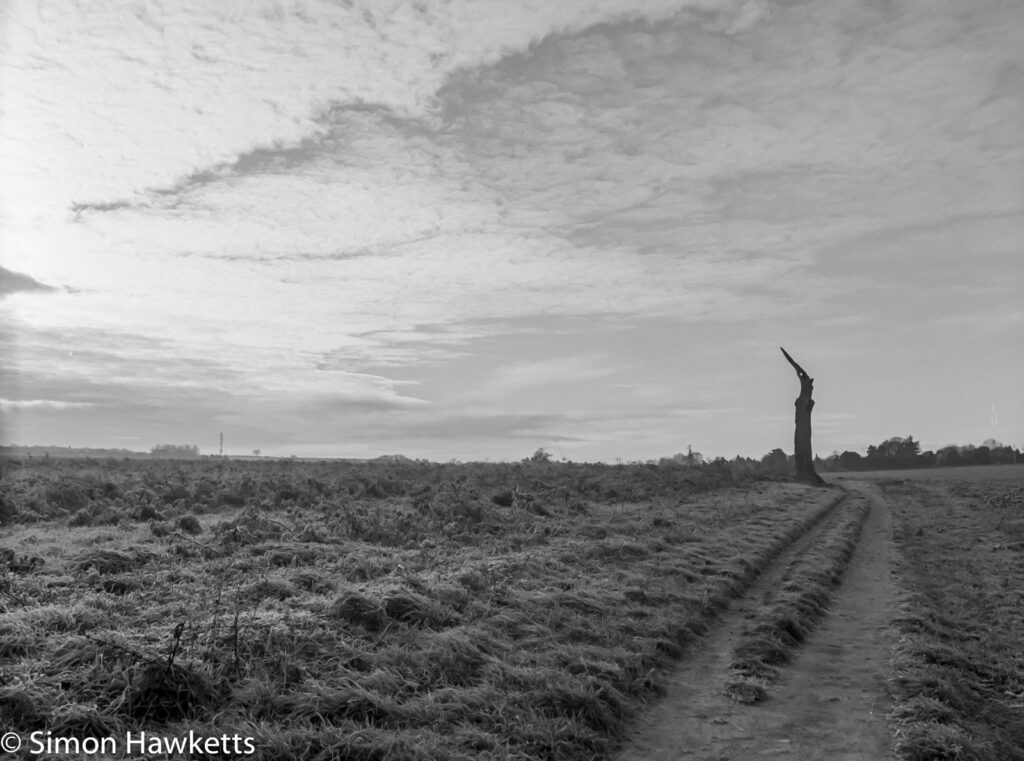
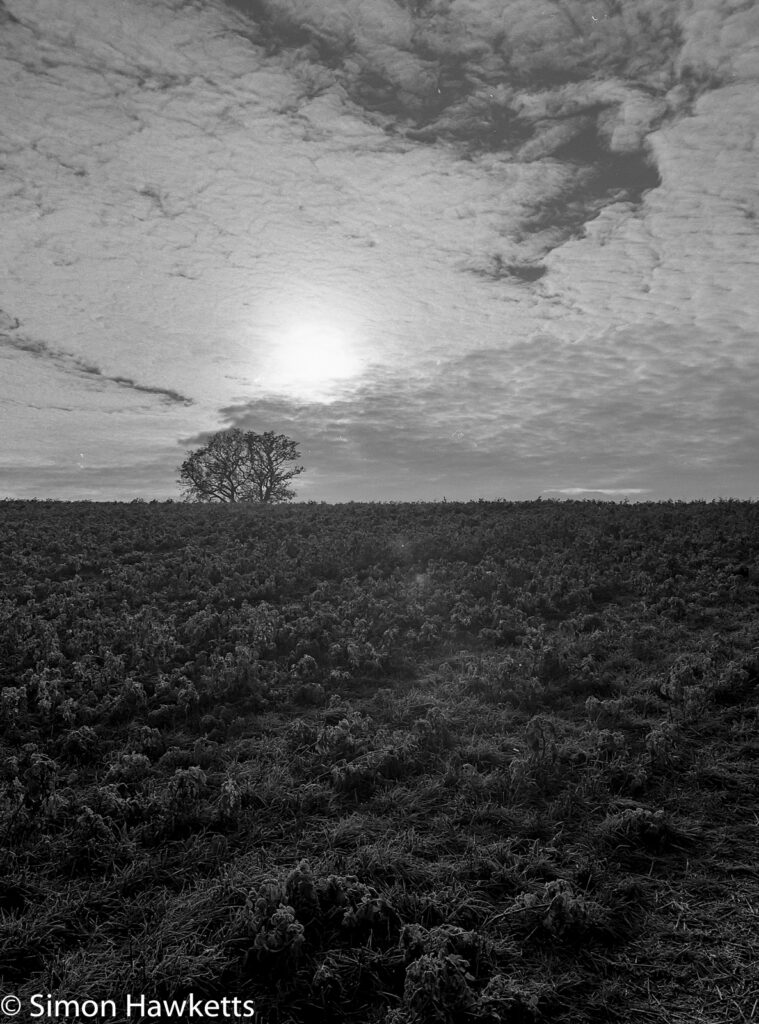
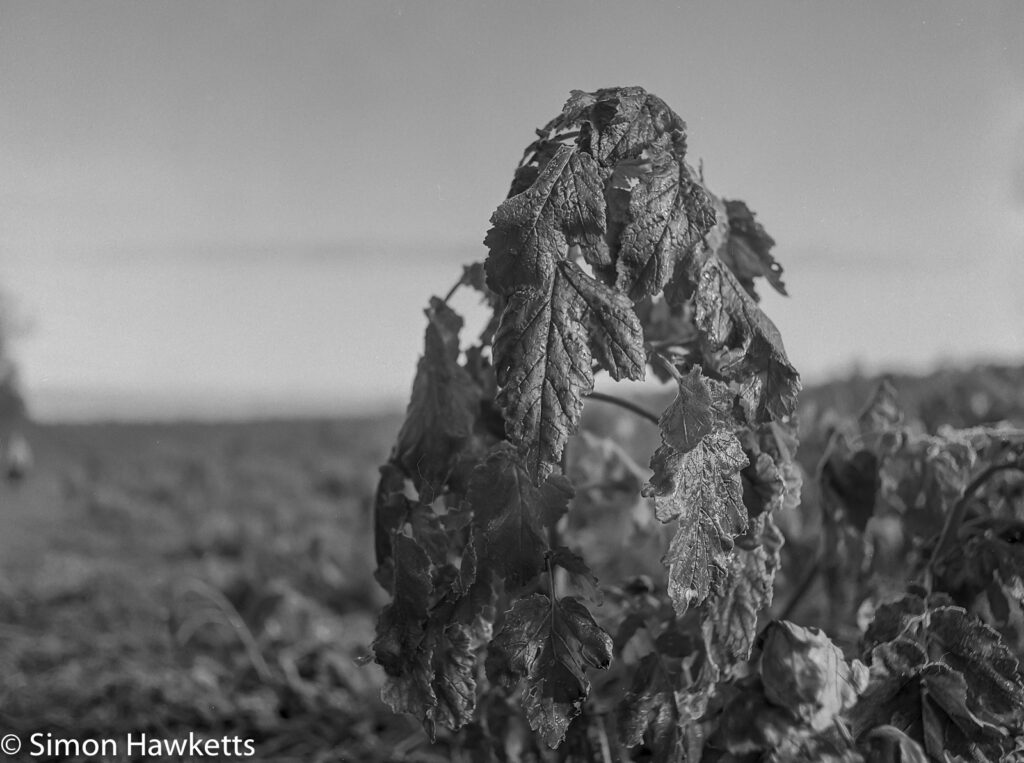
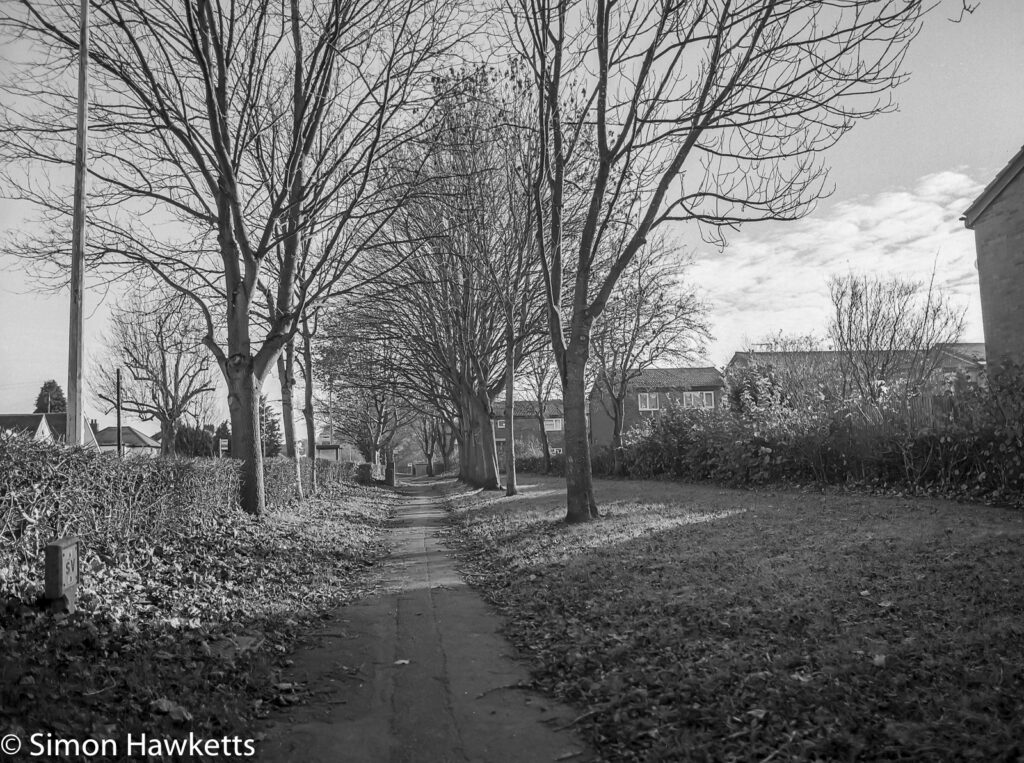
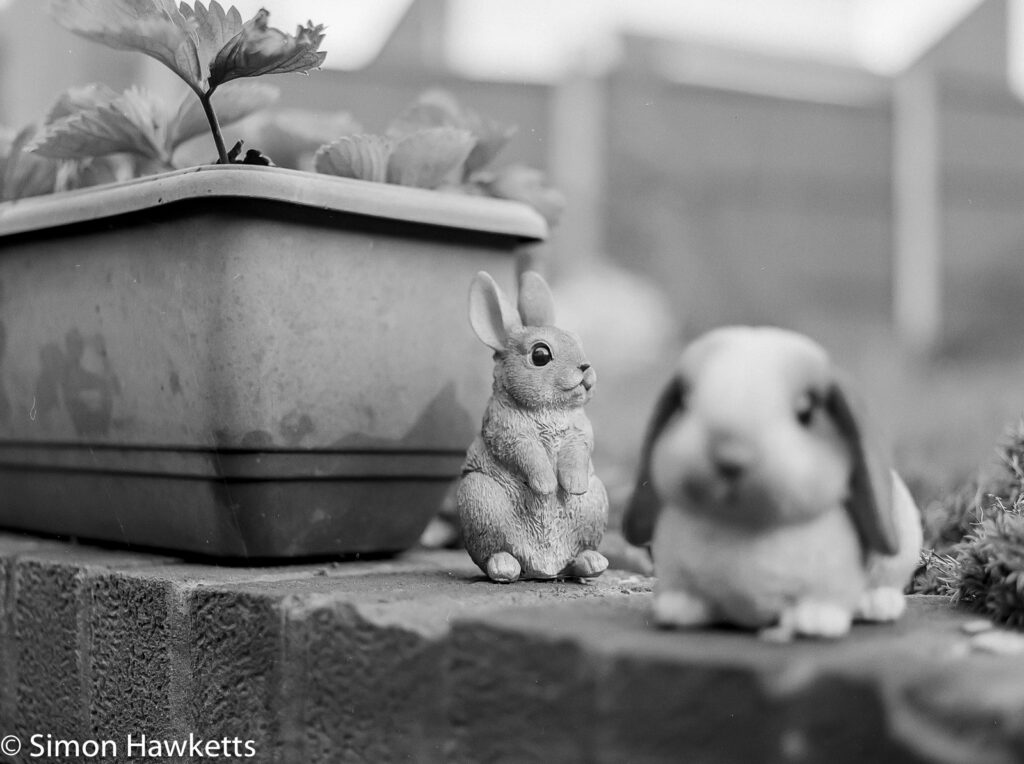
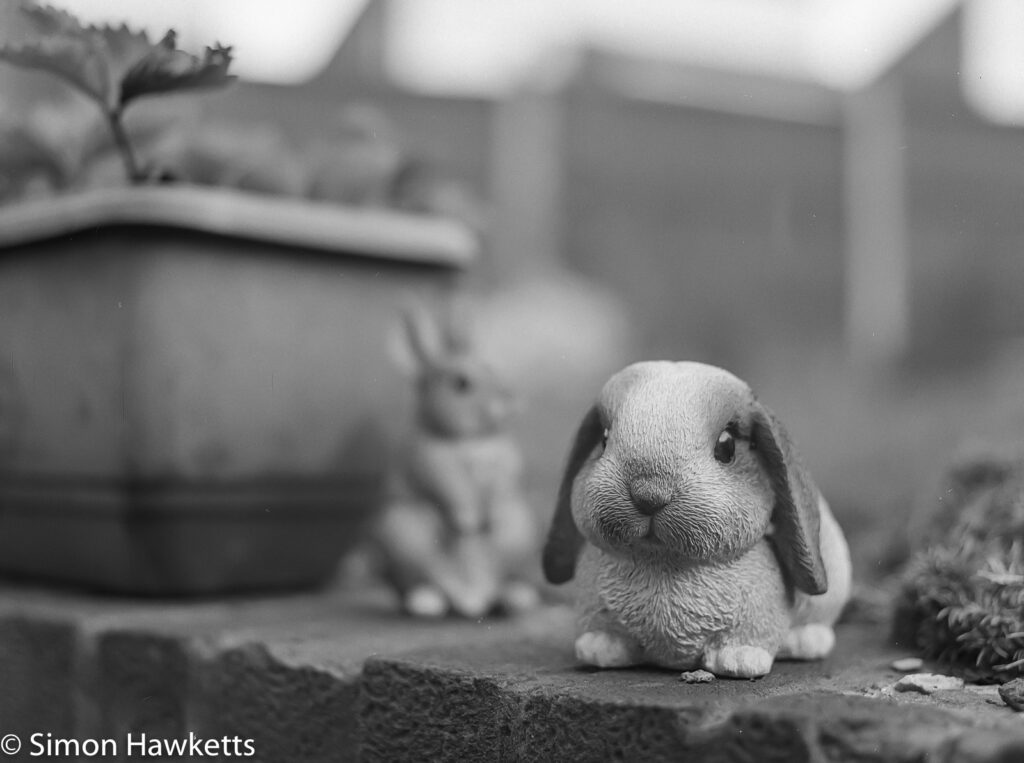
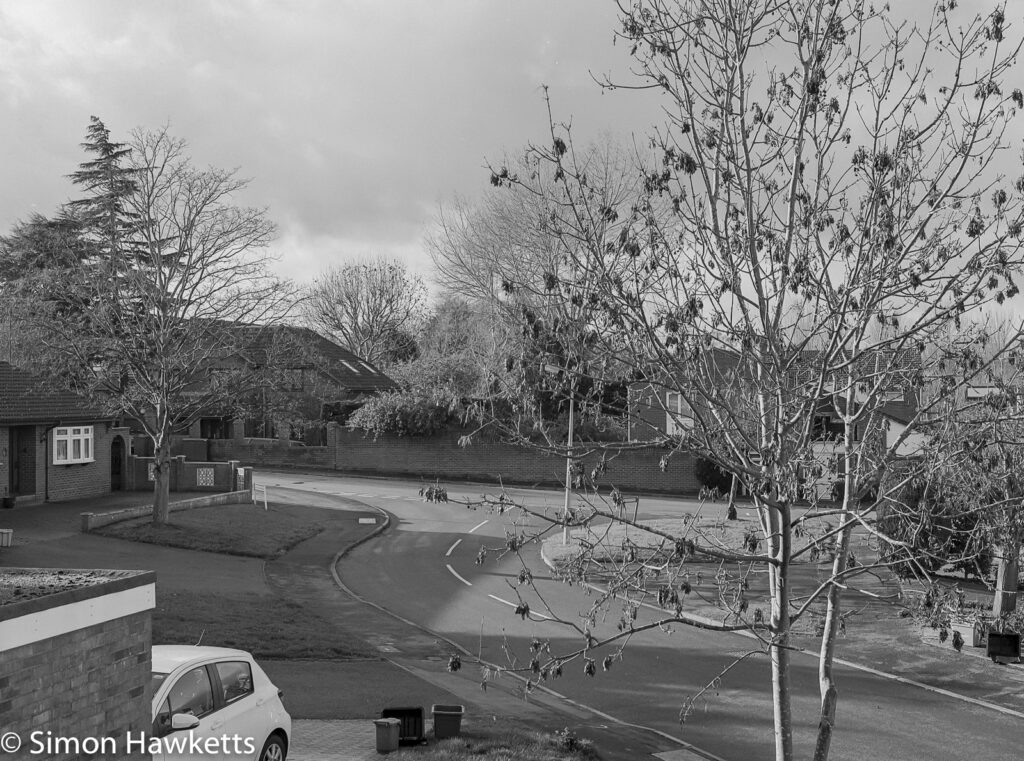
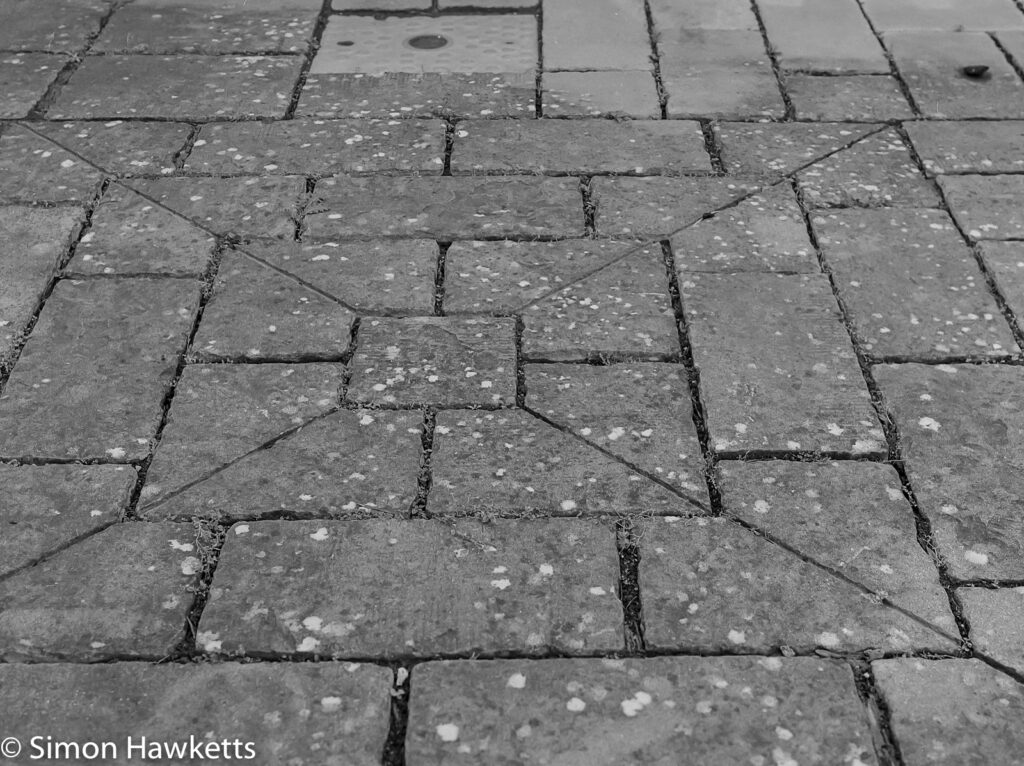
Because it’s winter and I wasn’t sure how much light there would be I chose a fast film (HP5) and developed it in Ilford ID11 developer at a dilution of 1+1. The total development time was 13 minutes at 20°C and then another 15 min in the fixer.
The first thing I noticed as I pulled the film from the tank was the separation of the negatives, which is quite a lot wider than I got with my Selfix 1620 where I relied on the backing paper numbers. Obviously, the Bronica takes care of the spacing, and it makes sure there is no possibility of negative overlap, but this does result in one less picture per roll of film.
The next thing I noticed, with some relief, was that all the negatives seemed to be well exposed. I was concerned because my light meter seemed to be under exposing by a couple of stops, and so I compensated for that, but I was still a bit apprehensive that the light meter could actually have been correct, and I’d over compensated.
I scanned the negatives from the Bronica ETRsi with an Epson V550 flat bed scanner using 16 bit greyscale and 3200 dpi settings. Every other option on the scanner software was switched off, allowing me to make adjustments in Lightroom rather than at the scanning stage. Once scanned, I imported the files into Lightroom to make any additional adjustments.
The scans were quite flat and lacking contrast because I’d not applied any corrections, but that was easy to fix using the ‘basic’ controls in the Develop module. I increased the contrast, dropped the black level and then rebalanced the exposure. After adding a bit of clarity and then looking in more detail at the negatives on 1:1 I found there was quite pronounced grain structure in the images. This was presumably the result of using a faster film, so I added some luminance noise reduction and then set the sharpening.
Overall, I’m really pleased with the results. I think it proves the camera is OK, which was the main purpose of shooting the film, and gave some pleasant, well exposed negatives with good definition. I’m a bit concerned by the amount of grain structure in the scans, but that could be the result of the way they were scanned, so I’m planning to rescan one negative using a variety of different options to try to work out the best settings for black & white scans using the Epson.
Discover more from Everything Vintage
Subscribe to get the latest posts sent to your email.

