Agfa Ambi Silette shutter repair
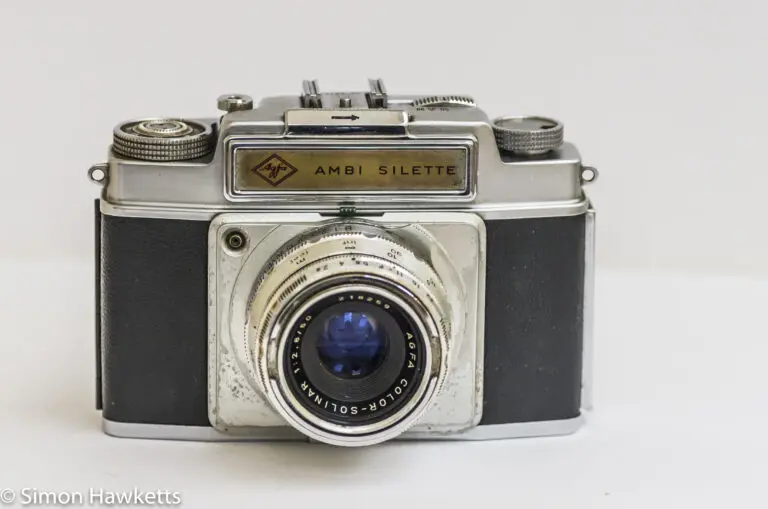
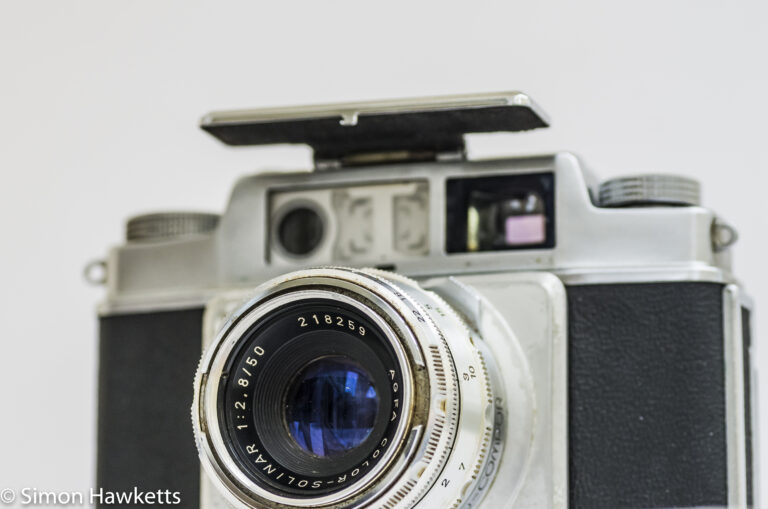
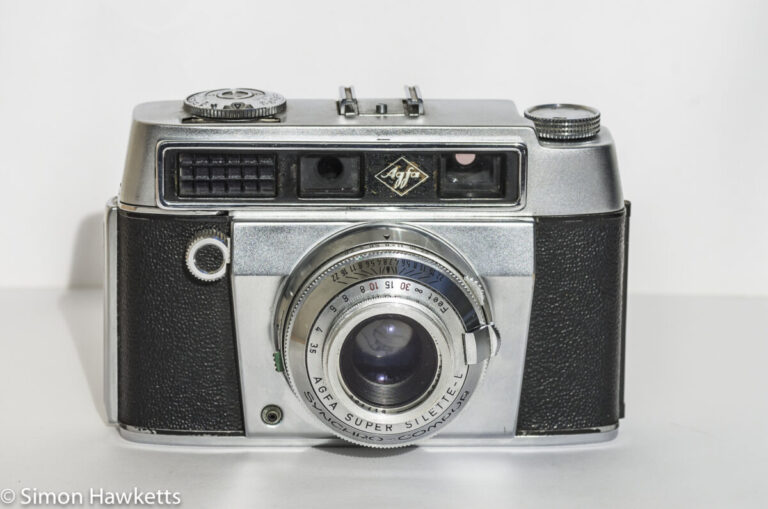
A little while ago I managed to acquire an Agfa Ambi Silette 35 mm rangefinder camera which, I discovered on receipt, had a few problems. My last post dealt with the frame advance system, which I needed to clean up and lubricate; this post deals with the next problem area and explains how I went about the Ambi Silette shutter repair.
When I first tried to cock and fire the shutter, I found that the shutter blades would move slightly as the shutter was cocked, but then only move back when the release was pushed. I assumed at first this was because the blades were stuck together with old oil, but when I tried touching the blades with a cotton bud loaded with lighter fuel they didn’t spring apart, so I knew it was more serious. So I decided I would need to try to get the shutter out of the camera and fix it.
Ambi Silette Shutter repair – images
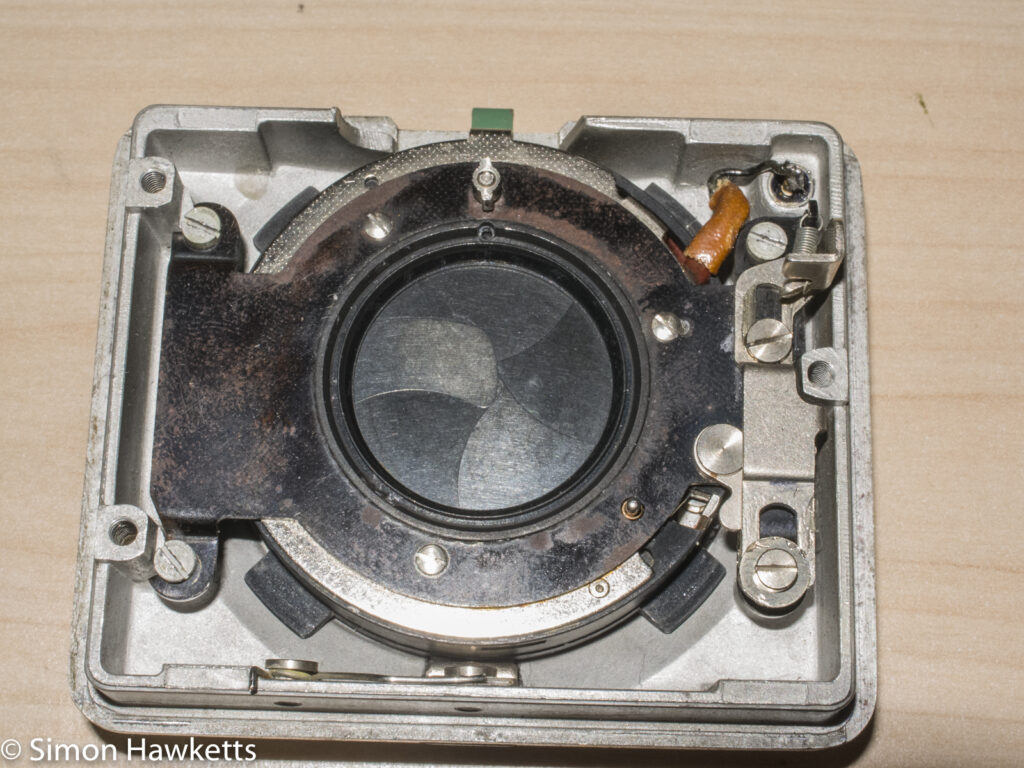
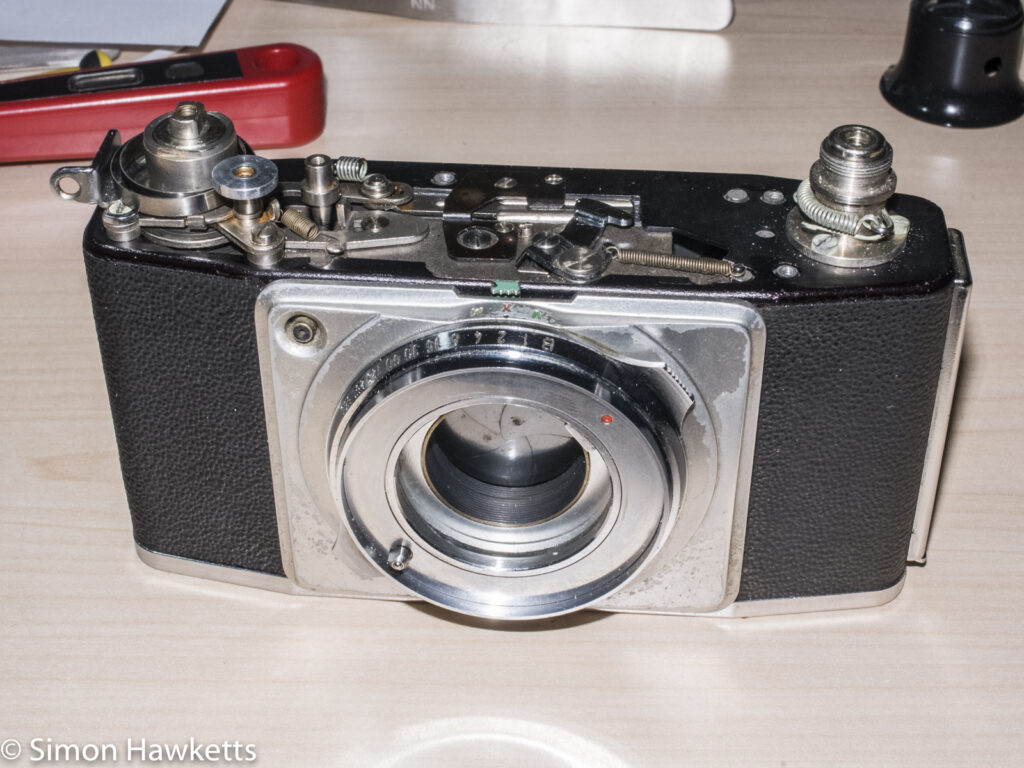
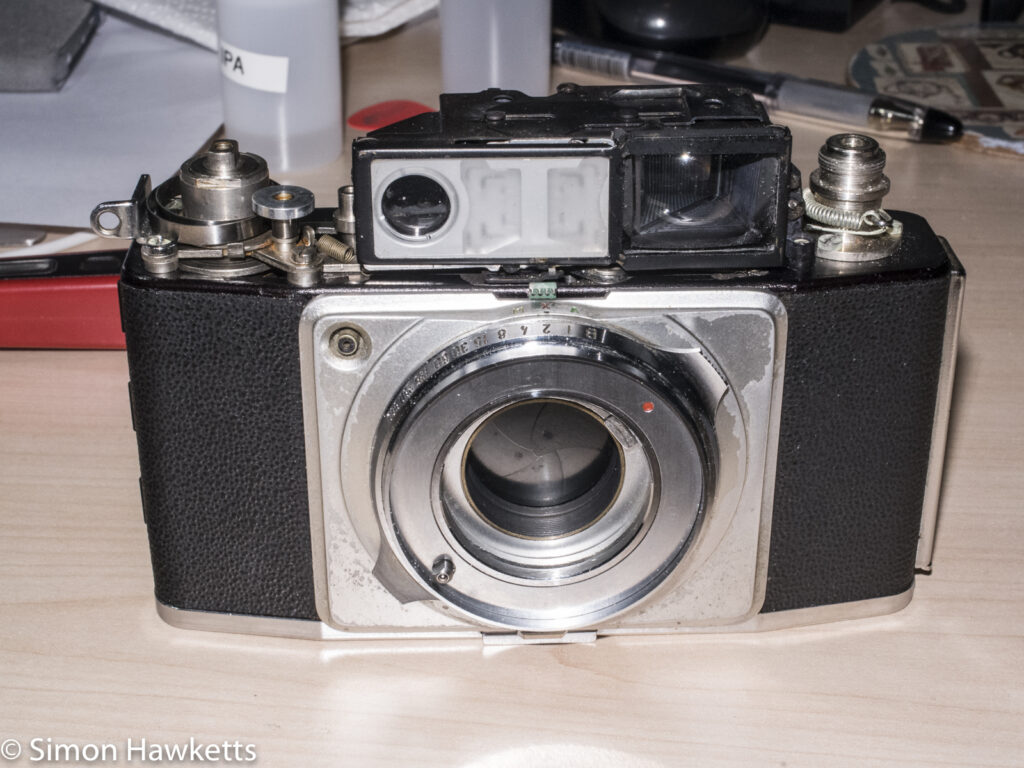
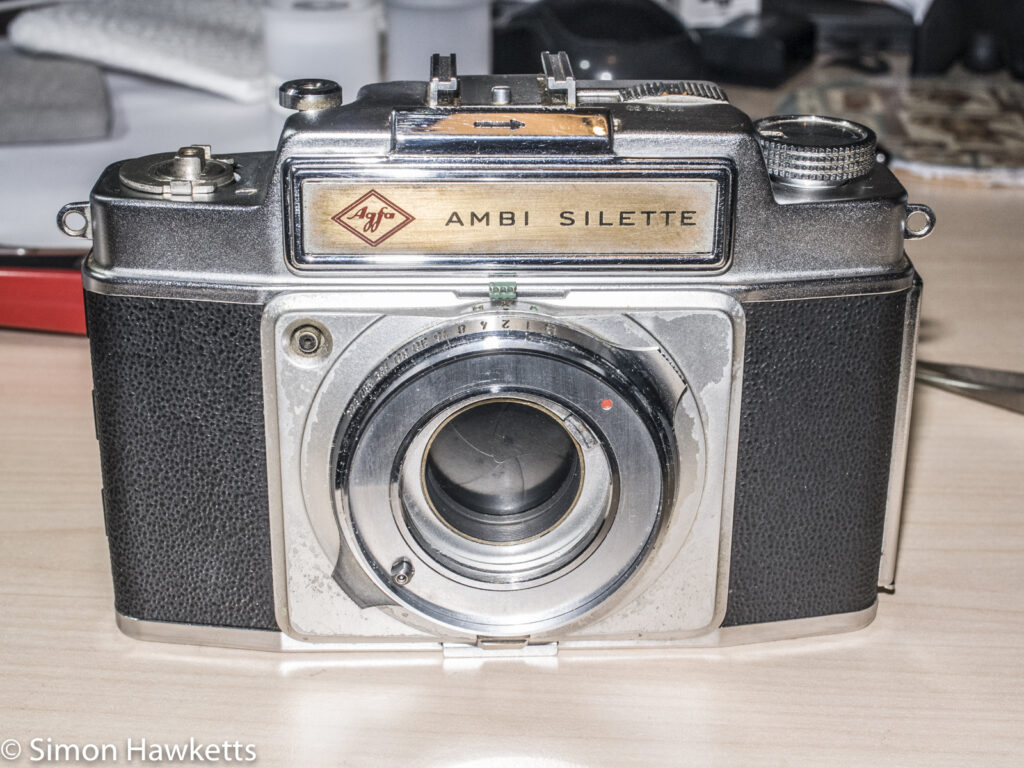
Removing the shutter
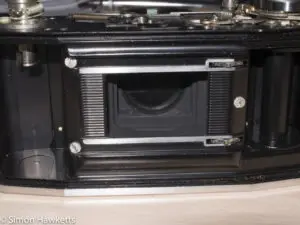
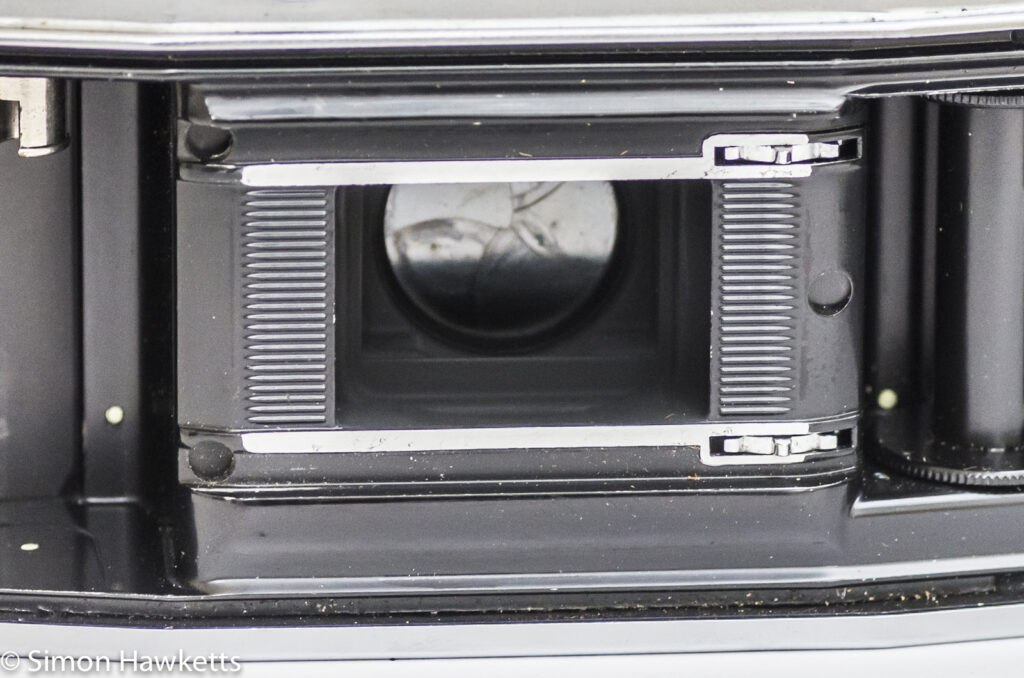
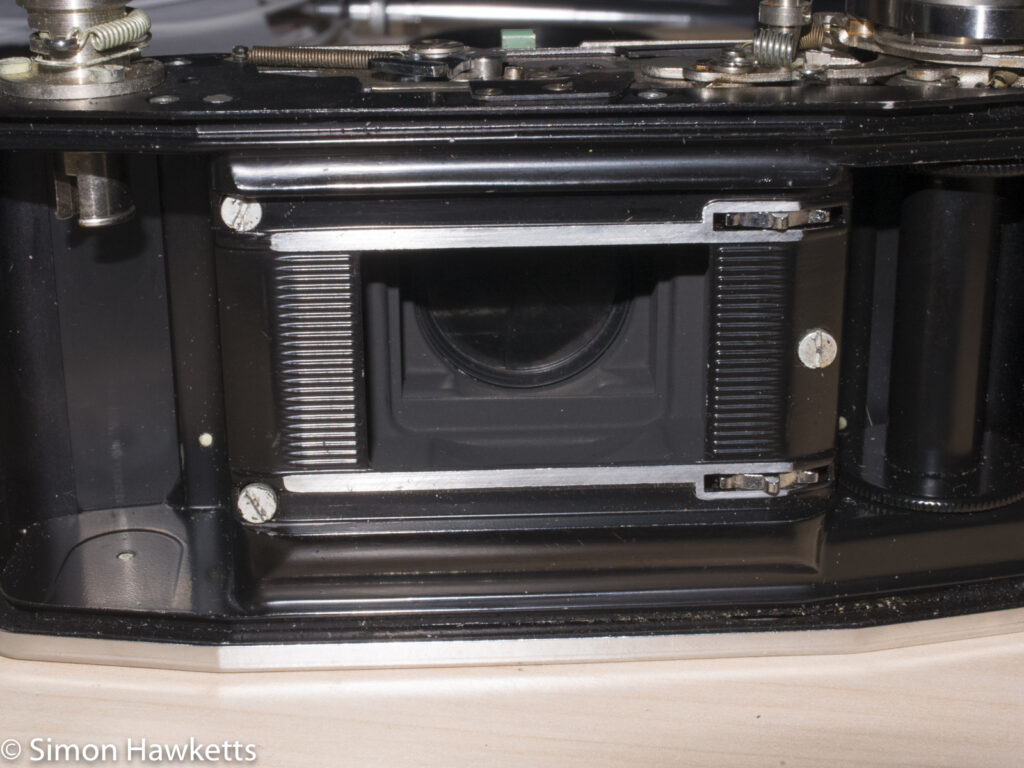
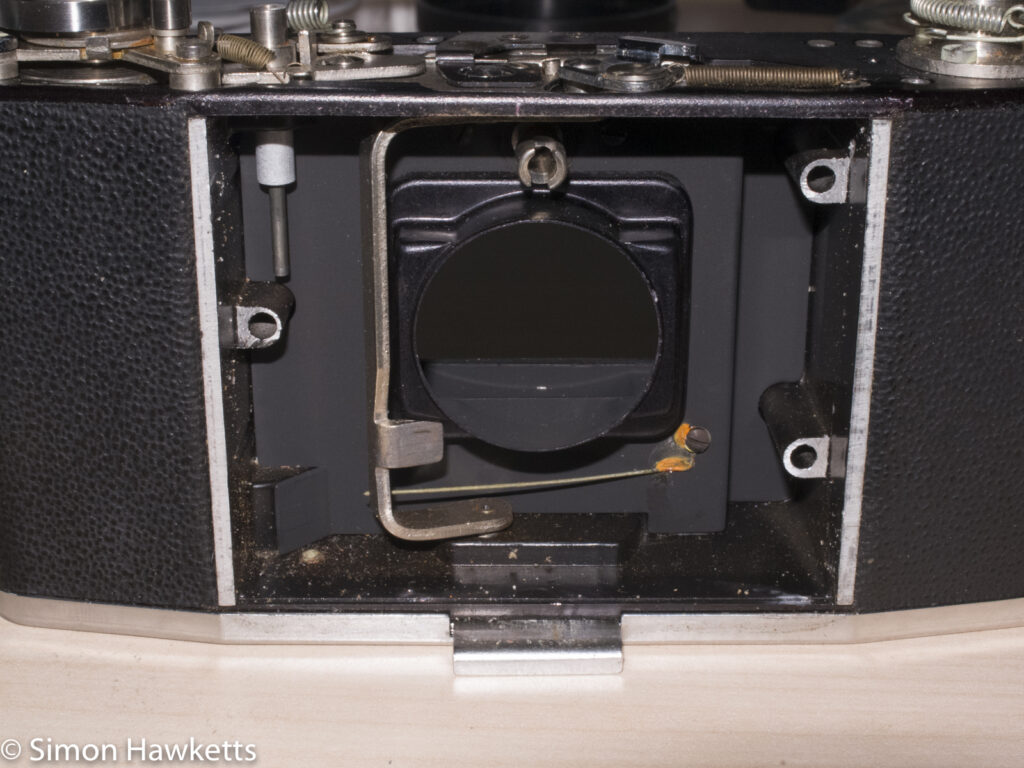
On the Ambi Silette the shutter is held in the front section of the camera, which is attached to the body by three long bolts in the film compartment. They are sealed under black caps, which I removed by piercing with a pair of sharp tweezers and pulling them off.
Once the bolts were revealed I could undo them which releases the front of the camera which contains the shutter assembly.
With the shutter free of the body I could see how the winding mechanism, which I’d earlier worked on, is used to cock and fire the shutter. The long bar along the back of the camera body turns a shaft which mates with the shutter cocking pin and therefore cocks the shutter. The shutter release pushes down on a lever which is mounted in the shutter assembly, and this transfers the energy into a mechanism which fires the shutter. There is also a small pin which protrudes out of the lens mount which takes the position of the focus ring and applies it to a large C shaped bar which then transfers the position to the rangefinder assembly.
Ambi Silette shutter repair – diagnosis
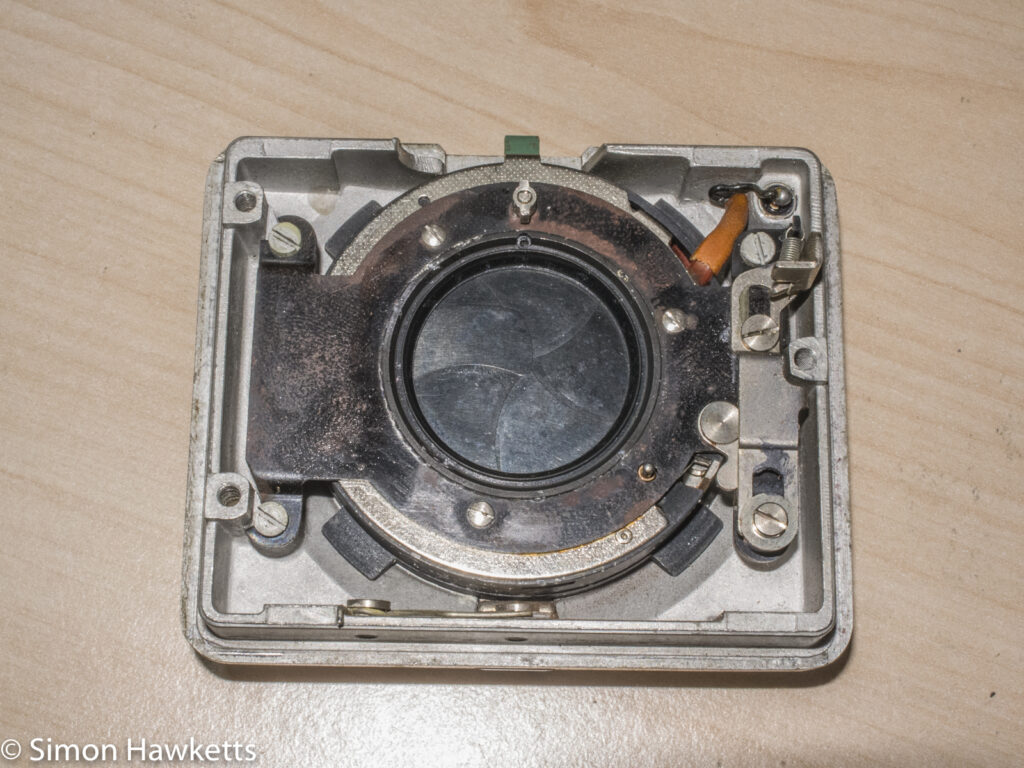
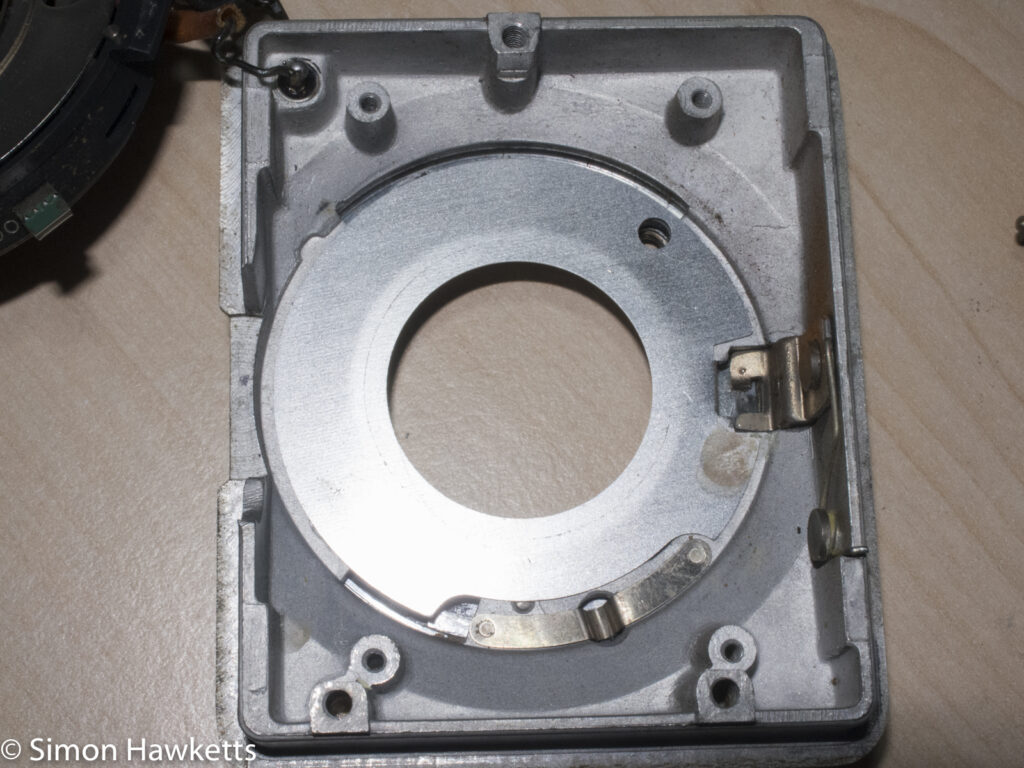
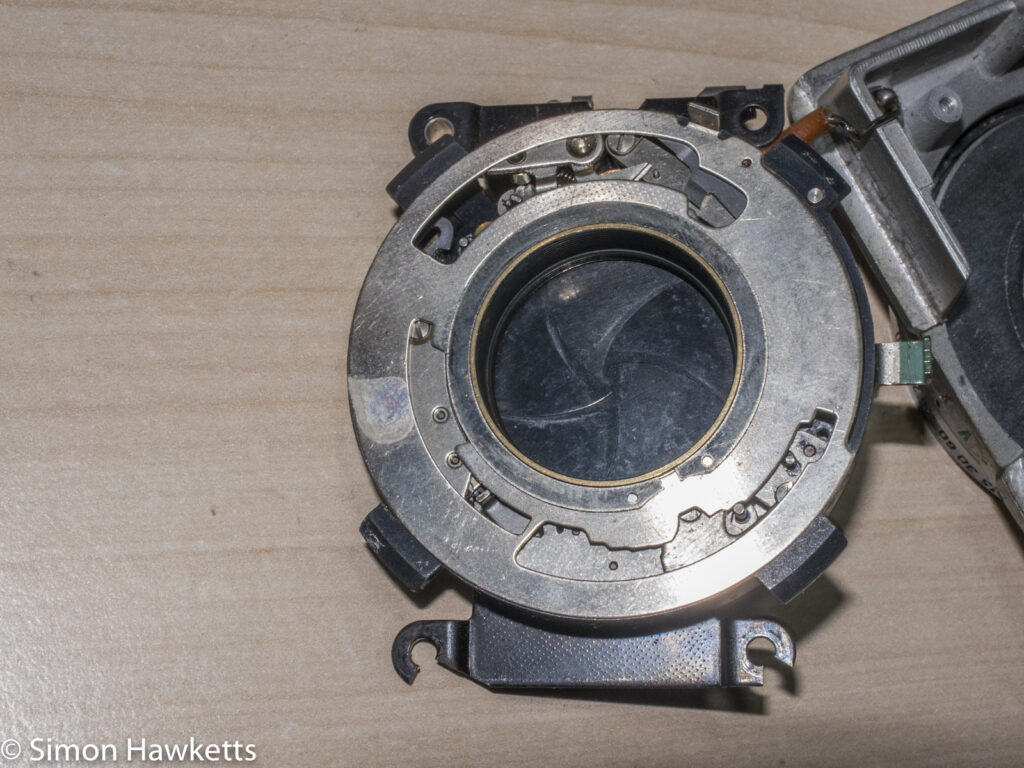
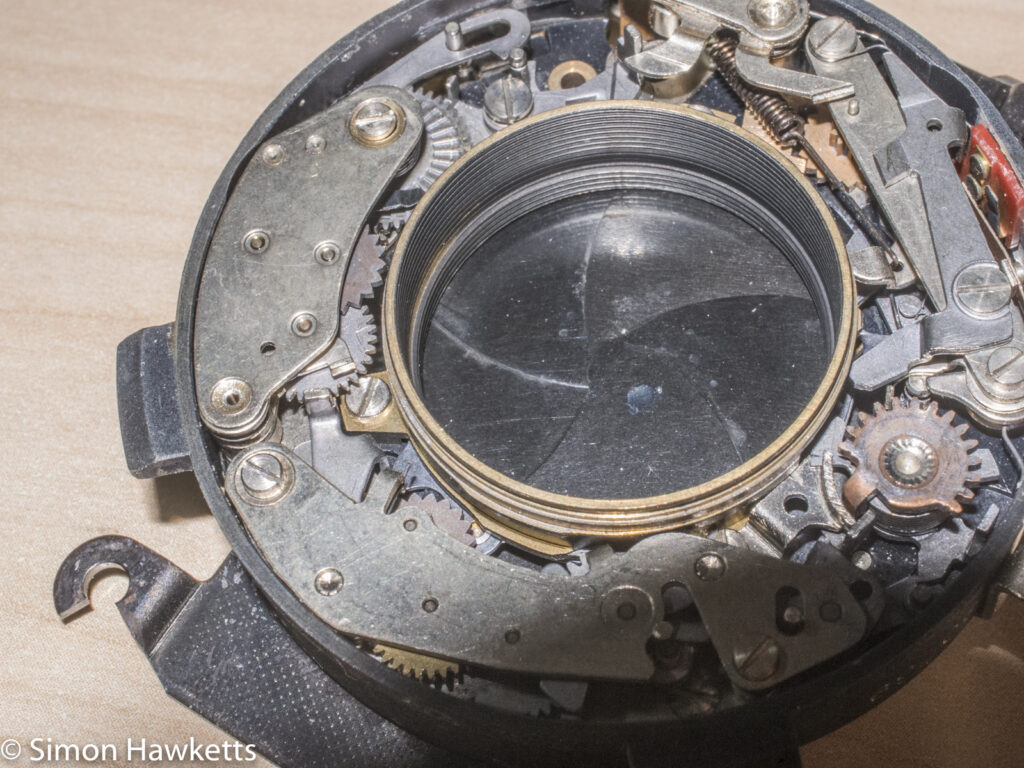
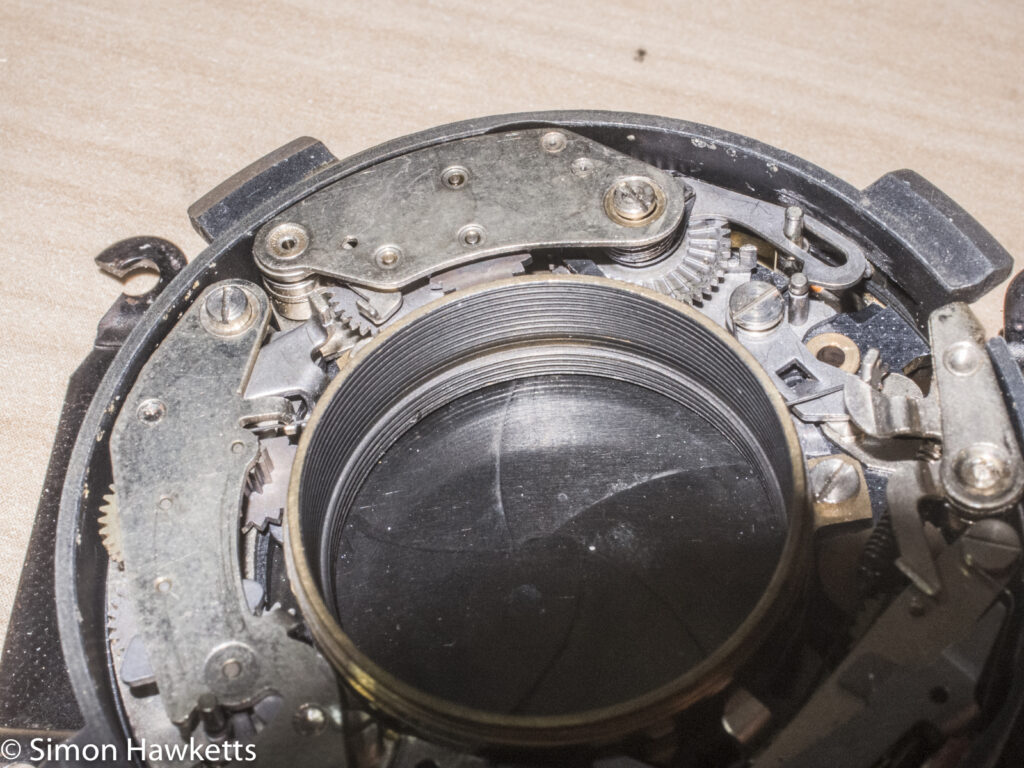
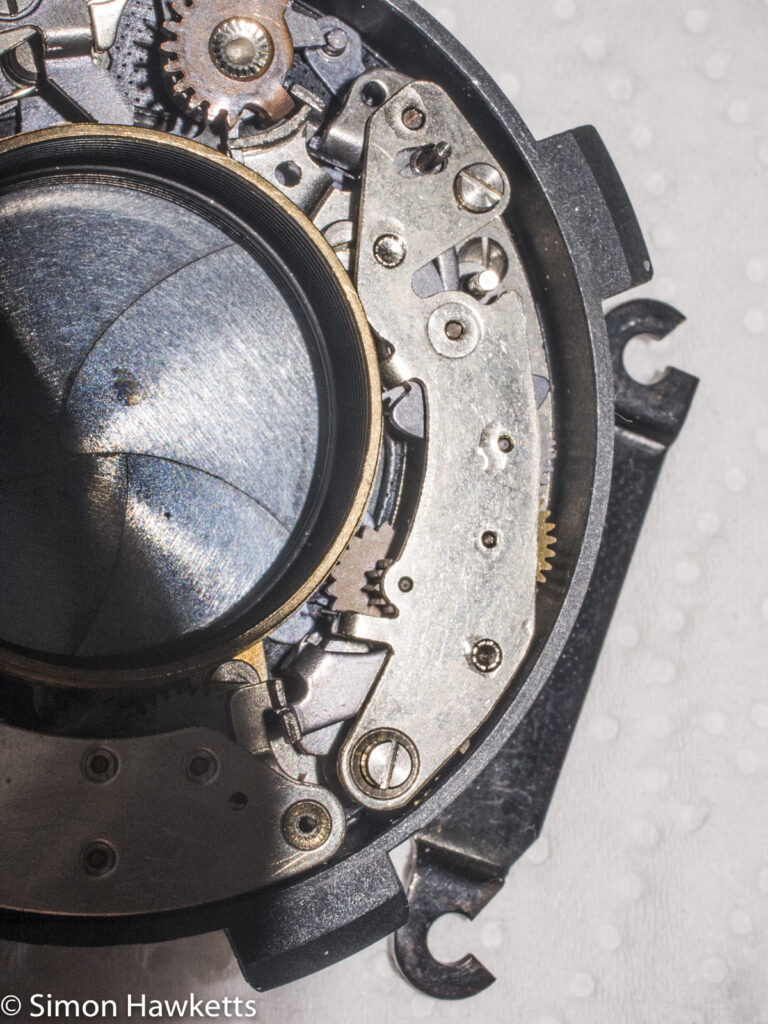
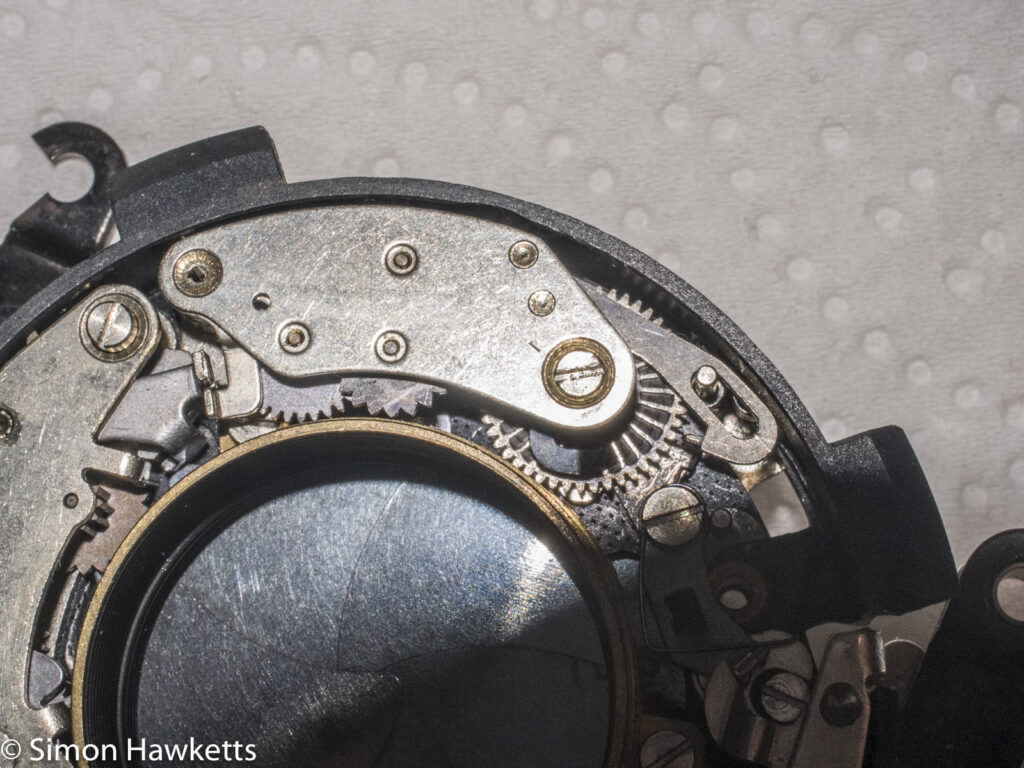
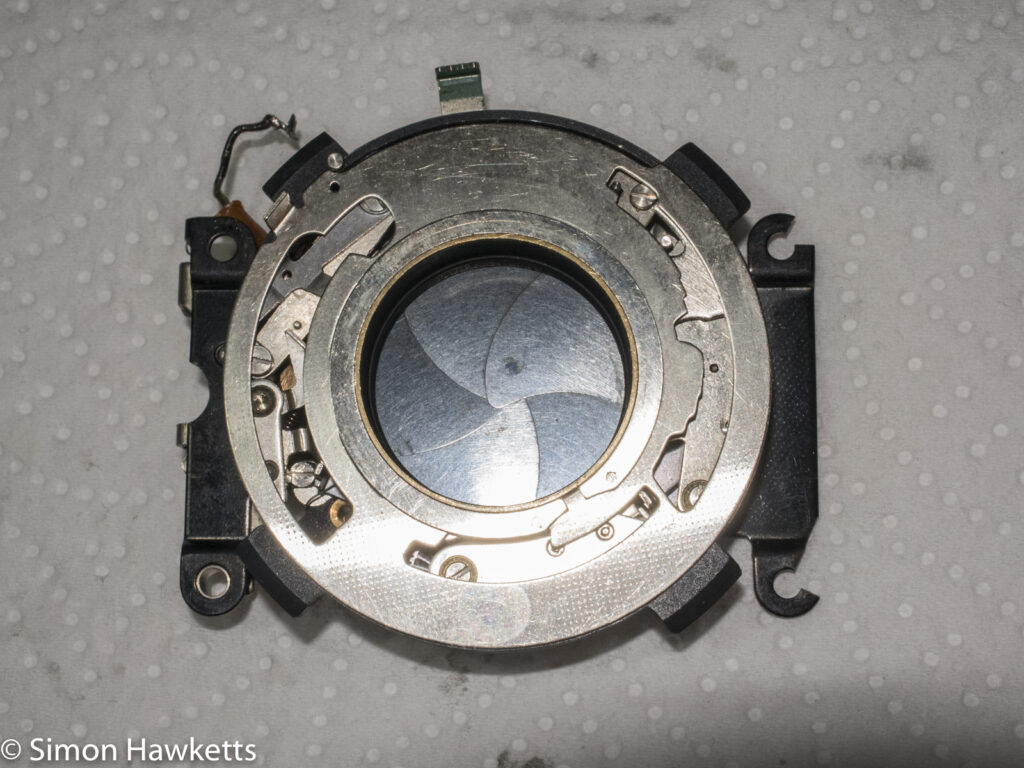
With the shutter unit out of the camera, I found I still couldn’t see much of the actual shutter, so I removed some more screws until I could lift the actual shutter mechanism out of the camera front piece.
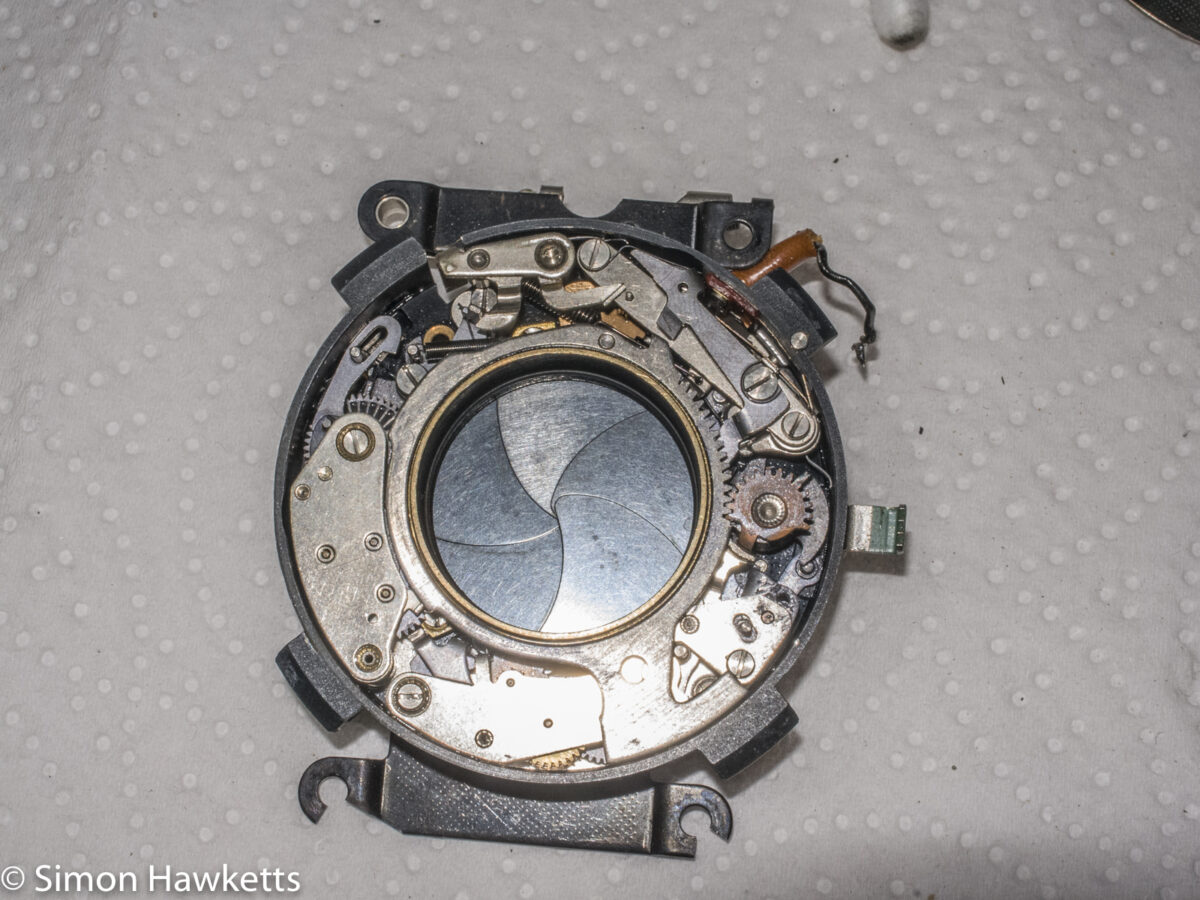
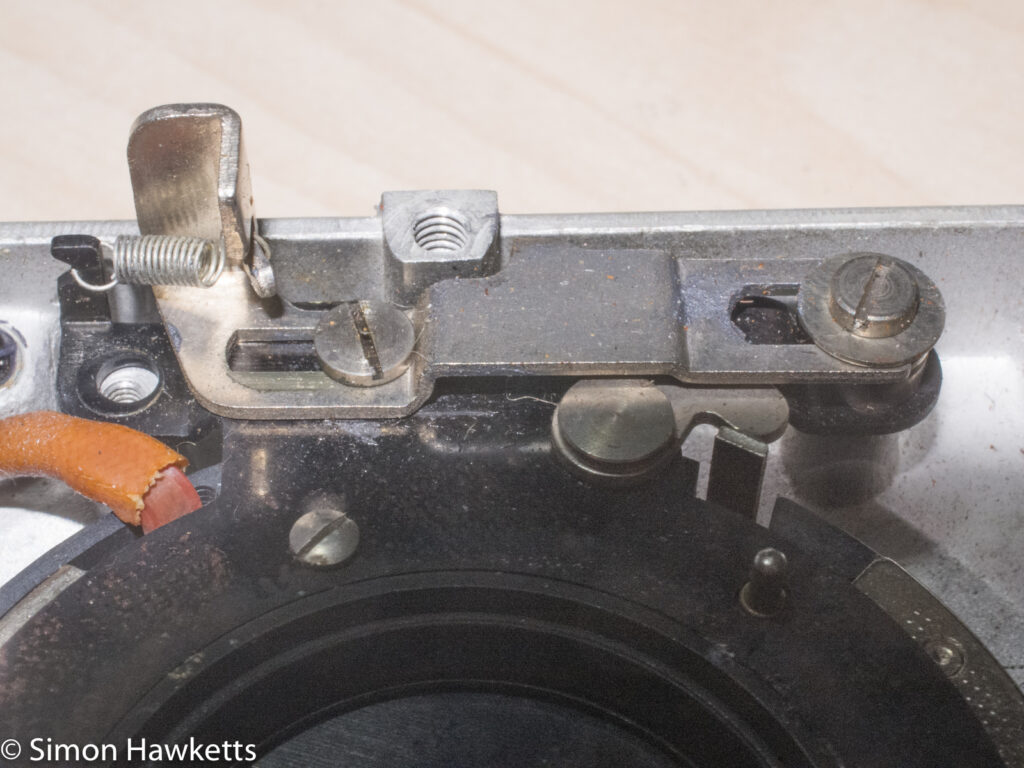
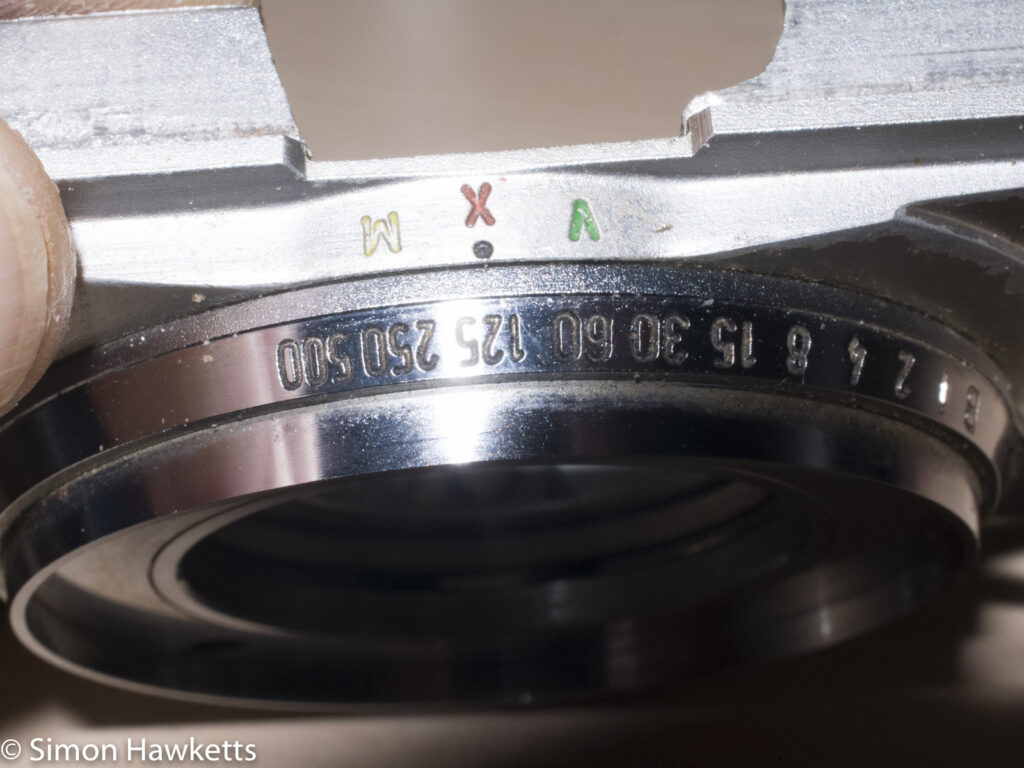
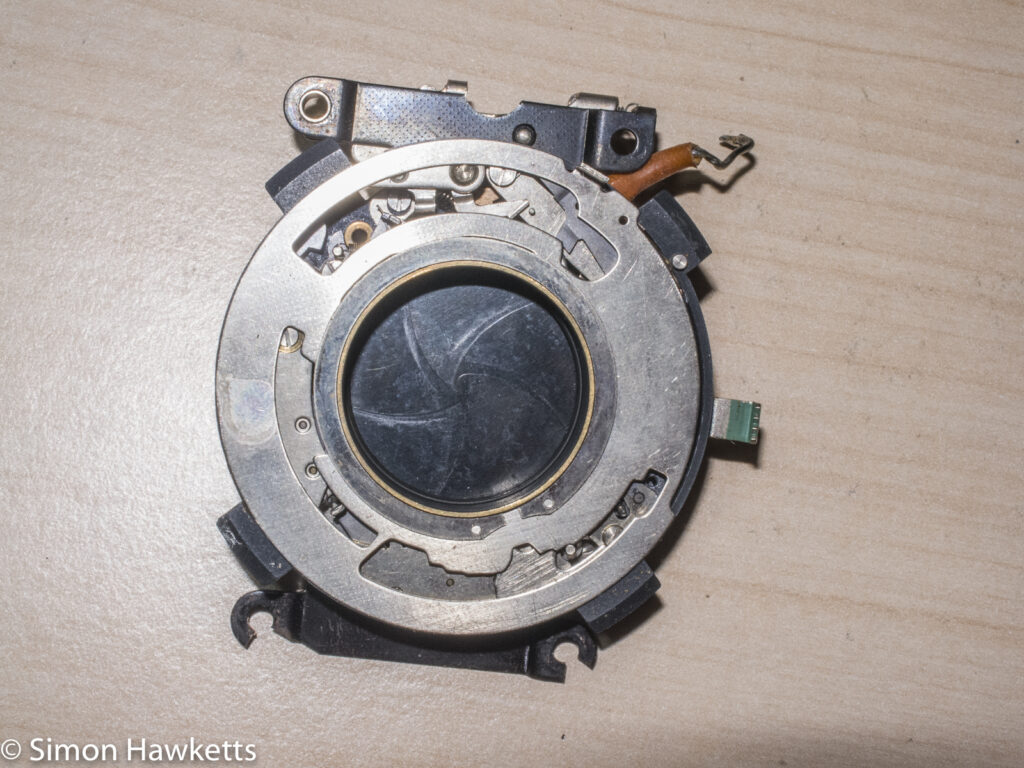
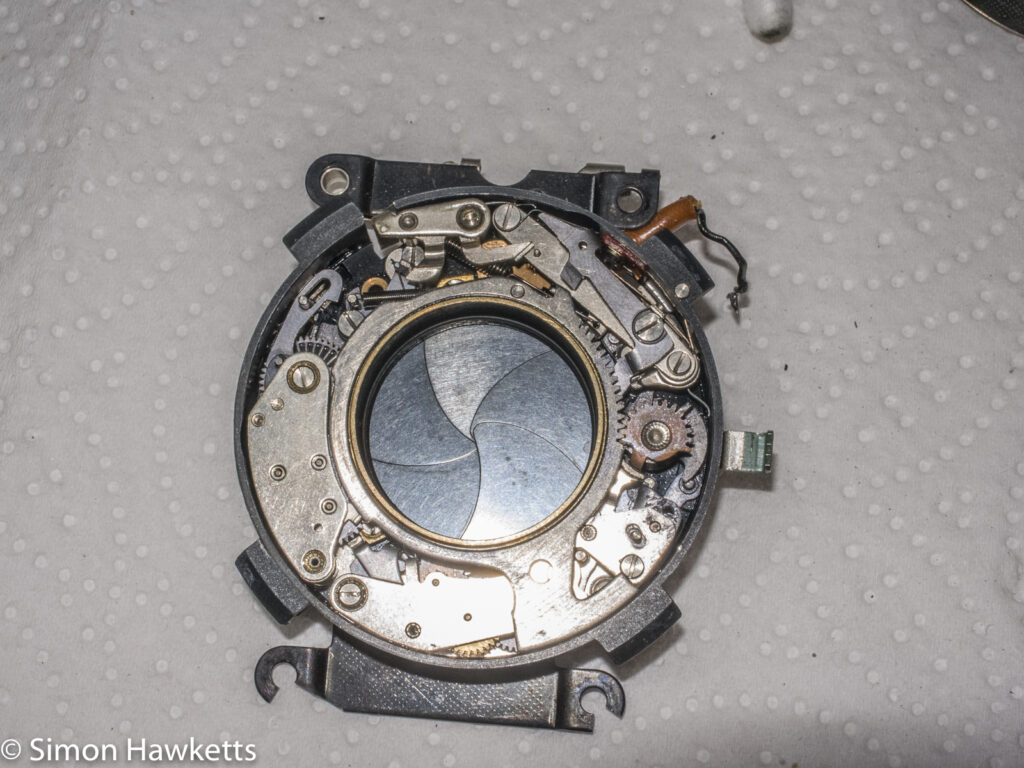
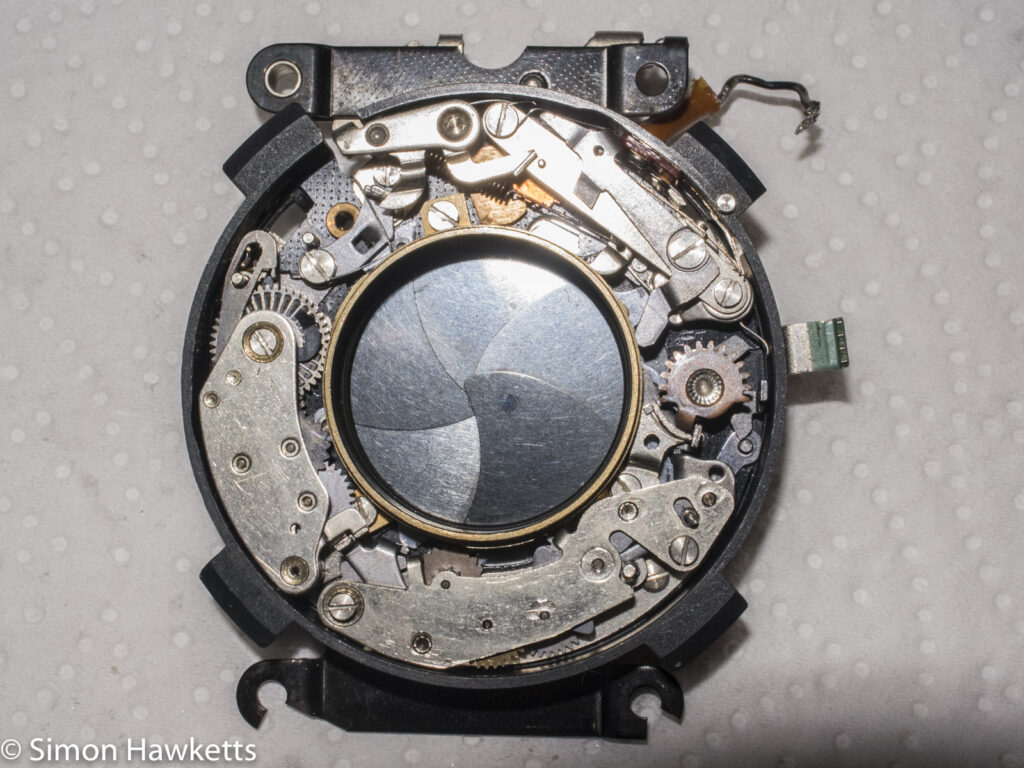
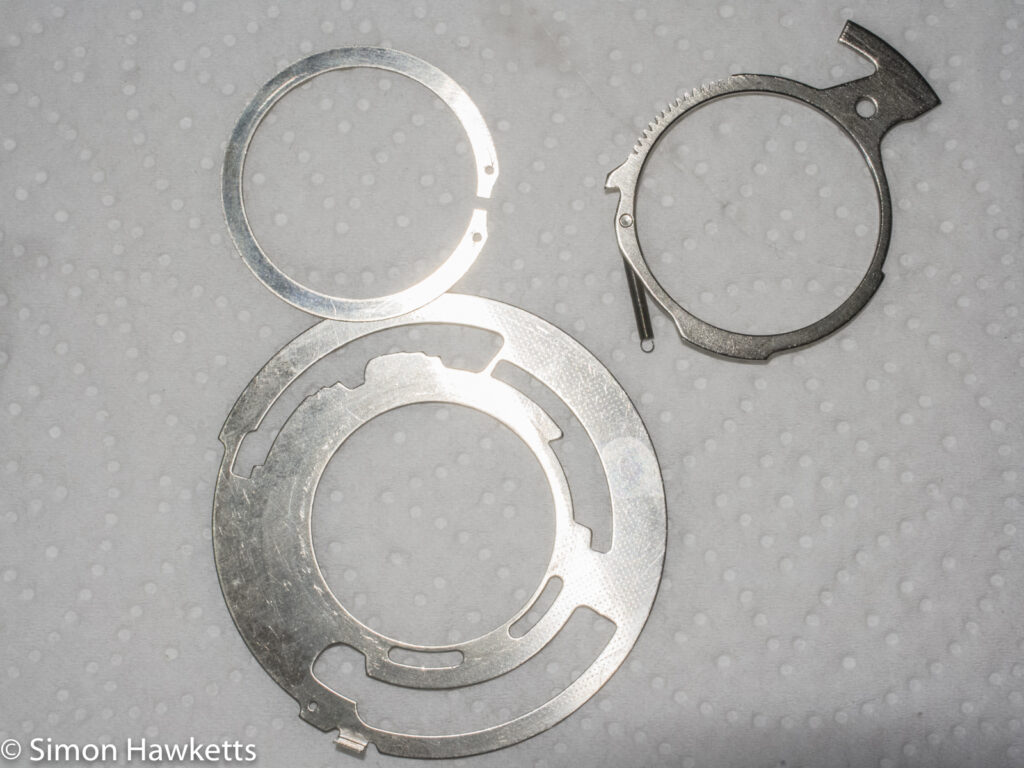
With the shutter out (and the flash sync socket unsoldered) I could see a bit more of the problem. First I had to remove the speed setting plate and the shutter cocking ring, so I could see the actual shutter mechanism and try to identify the parts.
I spent about an hour just trying to work out which parts were which, and during that time I worked out at least part of the problem. At some point in the past someone (probably the seller while testing the camera) had engaged the self-timer and the accumulation of years of dirt and old grease had completely gummed it up. This was obviously stopping the shutter from opening and closing because in normal operation that happens after the self-timer has run down, and the timer wasn’t moving. What I wasn’t sure of was any damage which would have been caused by re-cocking the shutter with the self-timer set.
I tried to do some Internet research on the shutter and came up with some valuable information:
- The shutter fitted is a synchro compur 1110-030 model
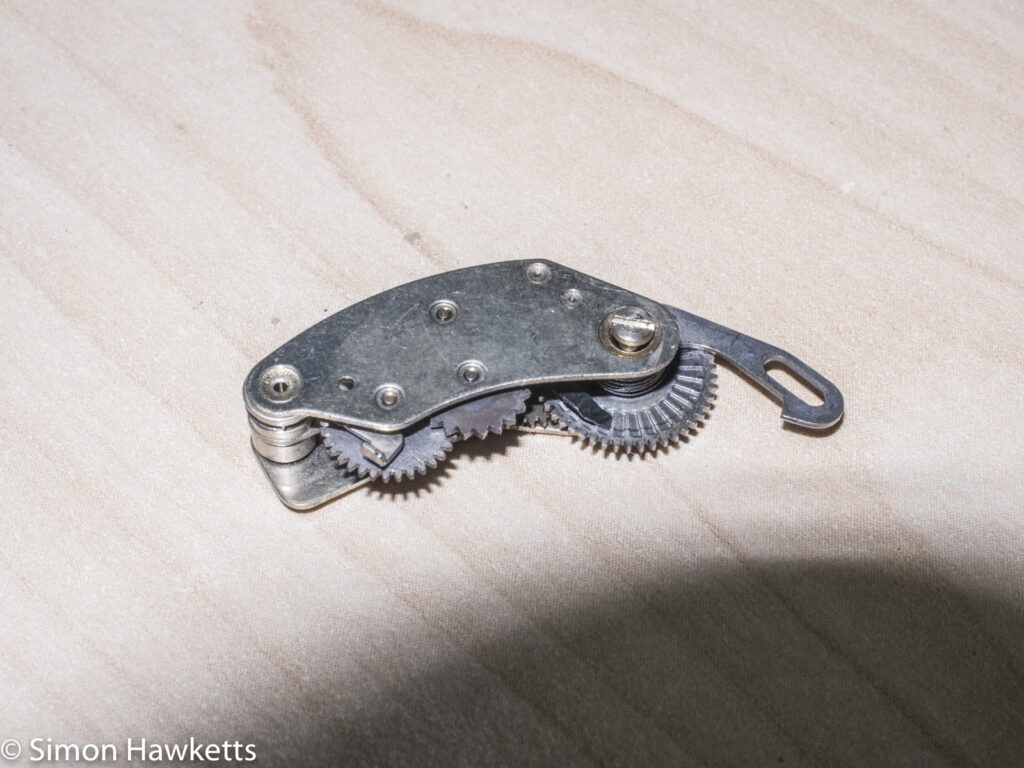
- The self timer module can be removed as a unit and cleaned up
- The timing module can also be removed as a unit and cleaned
Once I had this information, I decided the best approach was to remove the self-timer and see it I could get it working by itself.
Cleaning and repairing
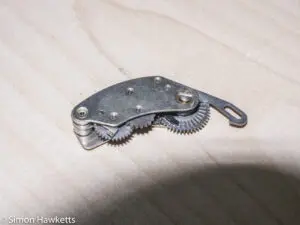
The self-timer was held in with just one screw and was pretty easy to remove from the shutter assembly with a pair of fine nosed tweezers. Once it was out, I got an old film canister and placed the whole module in and poured a quantity of IPA (isopropyl alcohol) over it and gently swirled the canister around to get the dirt and gunk out. I then left the module sitting in the bath for a couple of hours.
After a couple of hours, I pulled the unit out and tried turning some of the cogs to see if there was any movement. I could get a couple to move, so I dunked the module back in the pot and swirled around again and repeated the process (this time for only 5 minutes or so) until the self-timer could be set and would run down by itself. Once it could run, I pulled the setting bar and ran it in the bath a few times to clear some more gunk out.
Once the module was running as normal, and I’d dried it I added a tiny amount of light watch oil on the ends of the pillars which the cogs are mounted on just so there is some lubrication and then put it to one side to refit in the shutter.
While the self-timer was out of the shutter, I tried to see if I could cock it and fire it as normal, to assess if there was any other damage or problem. Unfortunately, the shutter was still stubbornly refusing to work. However, while I was messing about I found a lever (around the self-timer and shutter release position) that I could move which would get the shutter to open and close!
After a bit more research, I found that the way the self-timer works is it holds a lever in place, which allows the shutter to work. When the self-timer is run down, this is the normal position; if the self-timer is set, it releases the lever which stops the shutter working until the timer runs down and then re-holds the lever in the correct position. That’s the cool thing about fixing things – you learn how they work! So in order to get the shutter working, the self-timer needed to be back in the shutter.
Next I turned my attention to the state of the rest of the shutter.
I guessed that the escapement mechanism and the blades were probably just as dirty as the self-timer unit was, so I decided to try bathing the whole shutter unit in some IPA. Although that sounds a bit radical, I found a Japanese site which had pictures of the shutter being washed in a bath of lighter fuel (I couldn’t understand the language on the site and Google Translate wasn’t much help, but I could see a shutter in fluid and then a load of sediment left after evaporation, so I worked out what was happening).
So I got a bigger plastic box, placed the shutter in and poured IPA over the whole unit. Obviously, I couldn’t operate the shutter because it wasn’t working, but I gave it a good soak and then lifted it and allowed the fluid to fully run through all the parts. I did this several times over the course of an hour or so, and then I took the shutter out of the bath and placed it on a paper towel to dry off. I then used a cotton bud soaked in IPA to remove any bits of grease and dirt I could find on any of the components.
When the shutter was dry, I refitted the self-timer unit to the shutter, added the cocking ring and speed selection plate and locked them in place with the locking ring and tried once again to cock and fire the shutter. And …… it worked!! The blades snapped open and closed as if the whole unit had been made only yesterday.
Ambi Silette shutter repair – reassembly
So with the shutter working, I just had to refit it back into the camera. This was basically the reverse of the process I used to take it apart, but there were a few points of note.
- I lubricated the ends of the spindles for the escapement in the same way I had the self-timer
- I made sure the speed selection plate and the front speed selection control were both set to 1/500 before I placed the shutter in the front plate.
- Feeding the focus pin through the hole in the shutter was a little bit tricky
- I added a touch of grease to the shutter release mechanism in the front plate
- Once the front was on and done up, I tried the film advance mechanism and found it wouldn’t cock the shutter. I had to take it apart again and use a pair of tweezers to turn the cog in the body of the camera as far as it would go, and then make sure the long actuation arm was as far over to the left as possible. This gives it enough reach to cock the shutter.
With all the work done, the camera body is now working like new, although not surprisingly the rangefinder now needs to be reset because it is showing the focus out at infinity. So my next job with this camera is to calibrate the rangefinder.
Discover more from Everything Vintage
Subscribe to get the latest posts sent to your email.

