Olympus OM-2 sample pictures
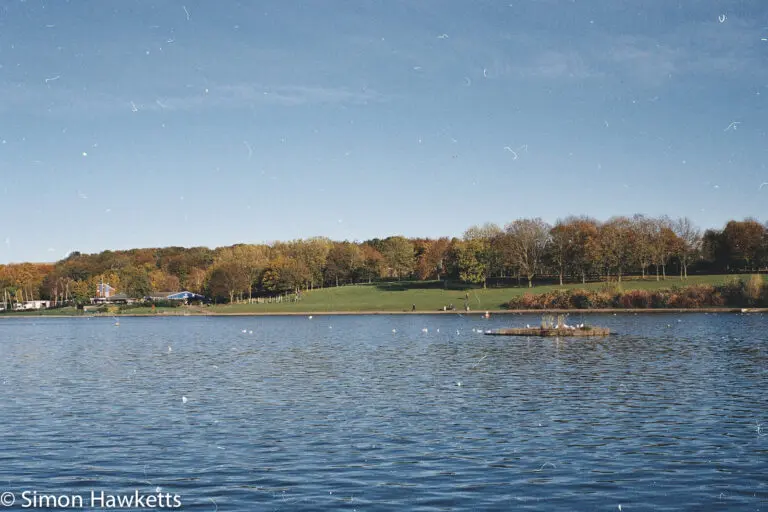
Yesterday I loaded up my Olympus OM-2 with a reel of Kodak ColourPlus 200 colour film and headed off to the sailing lake in Stevenage at Fairlands Valley Park to give the camera a test run. Since the OM-2 is a camera which I’ve wanted to own since I was a teenager, I was interested to see how it actually performed when I could finally take it out for a film test. The pictures below show the Olympus OM-2 sample pictures I took
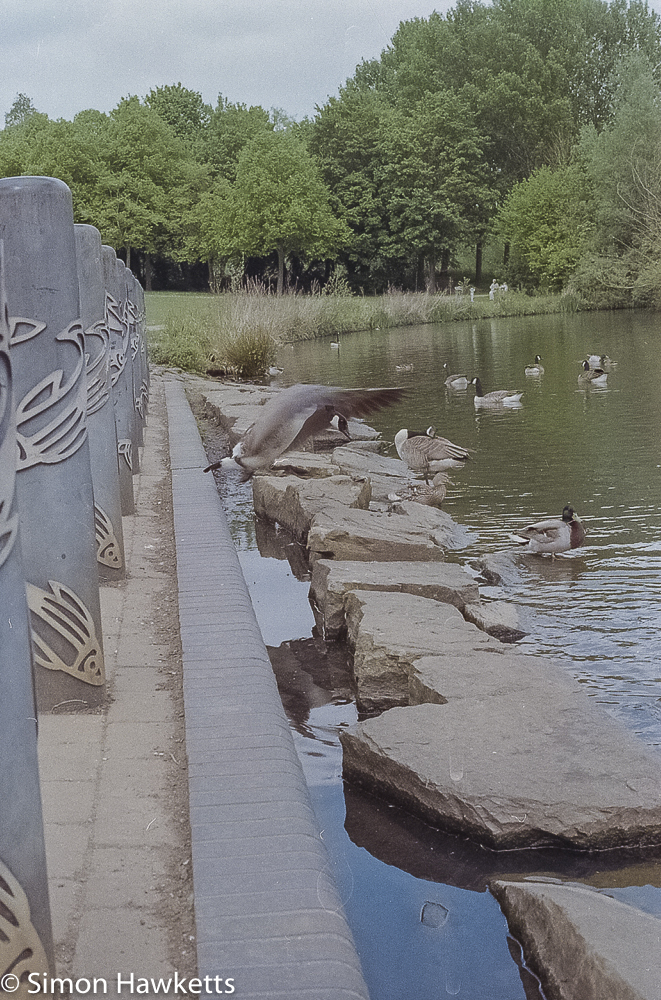
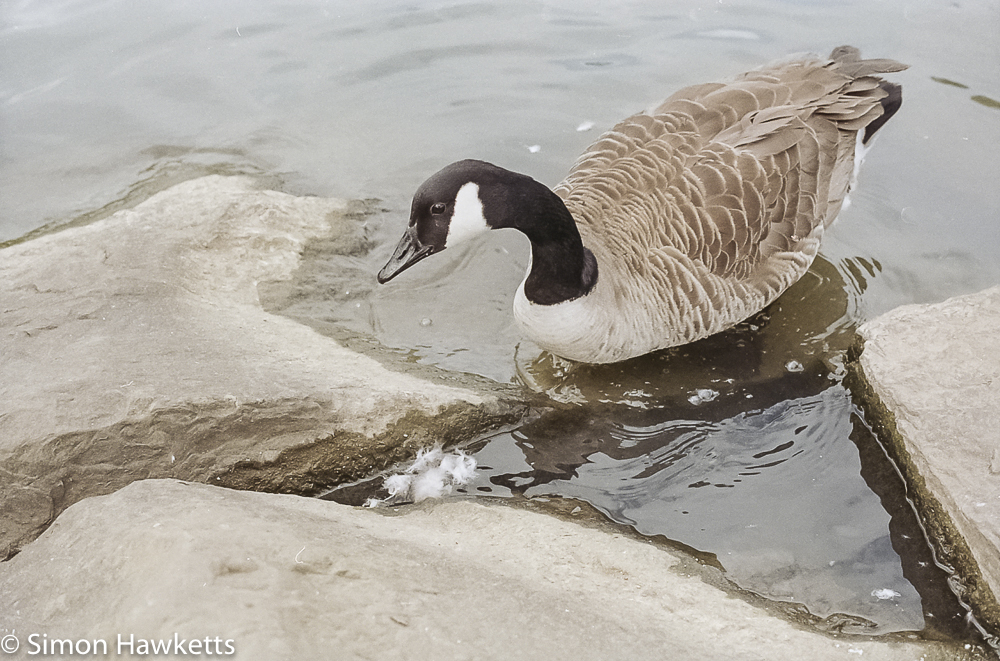
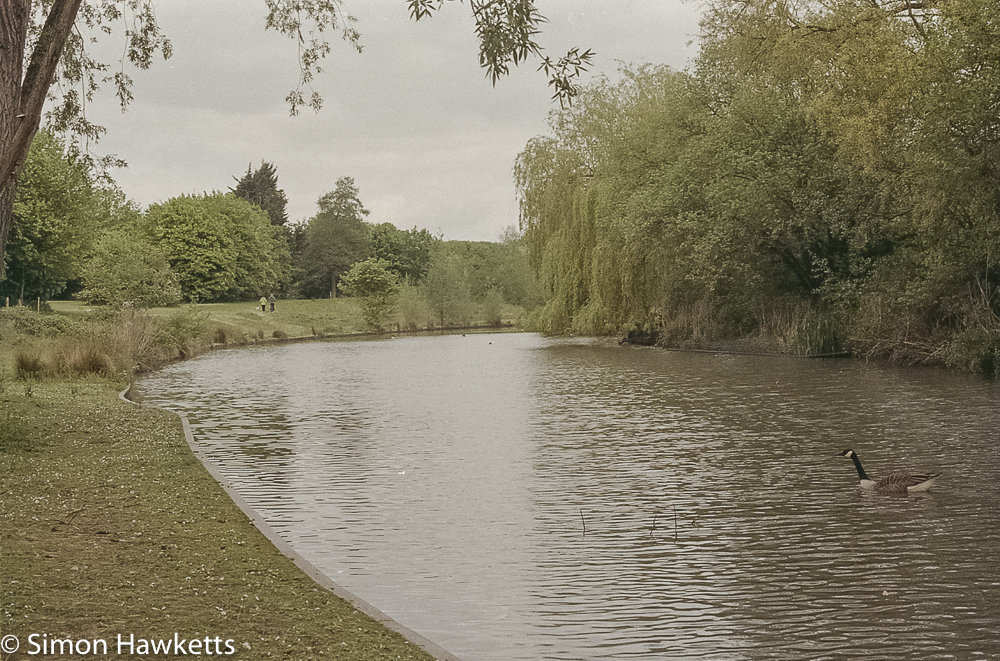
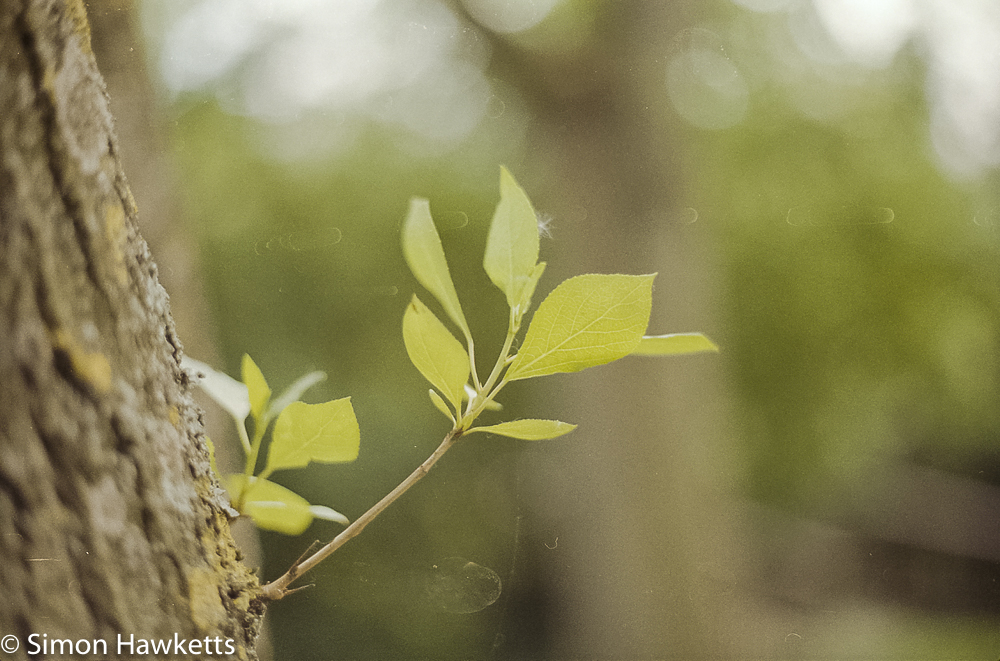
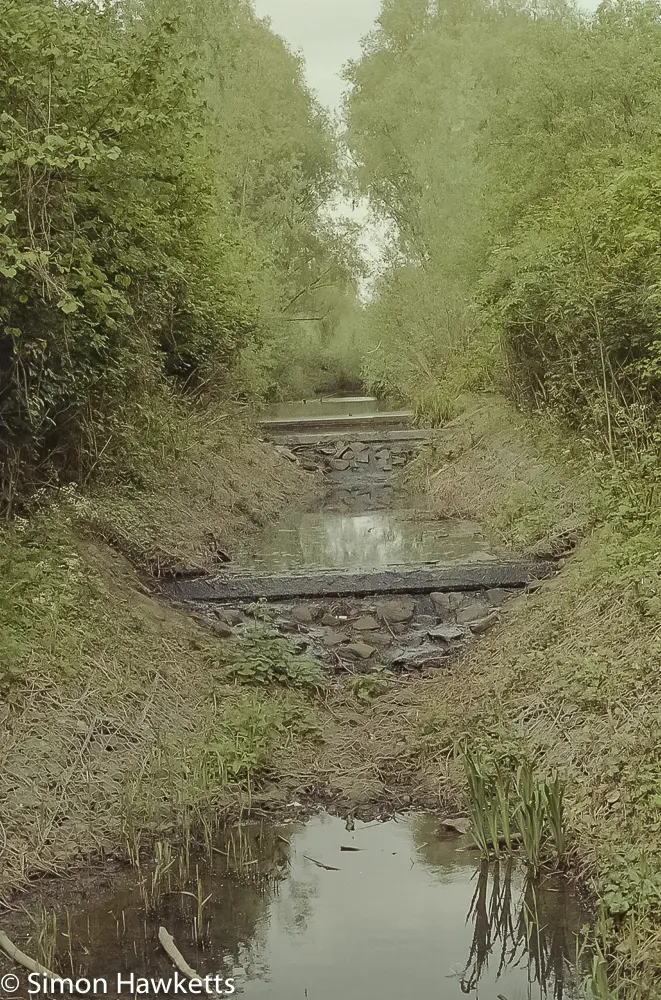
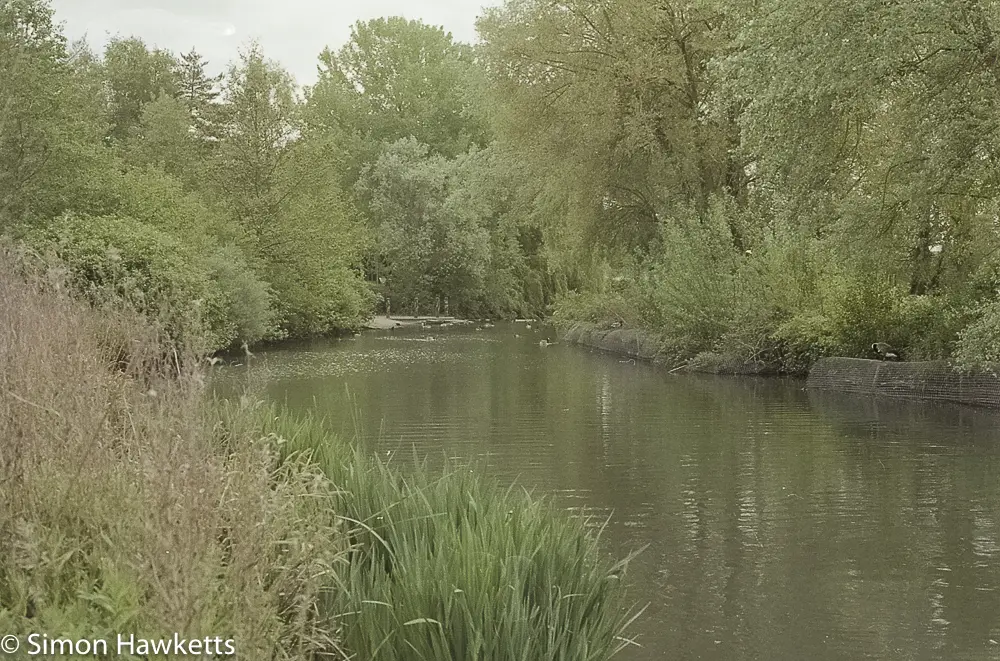
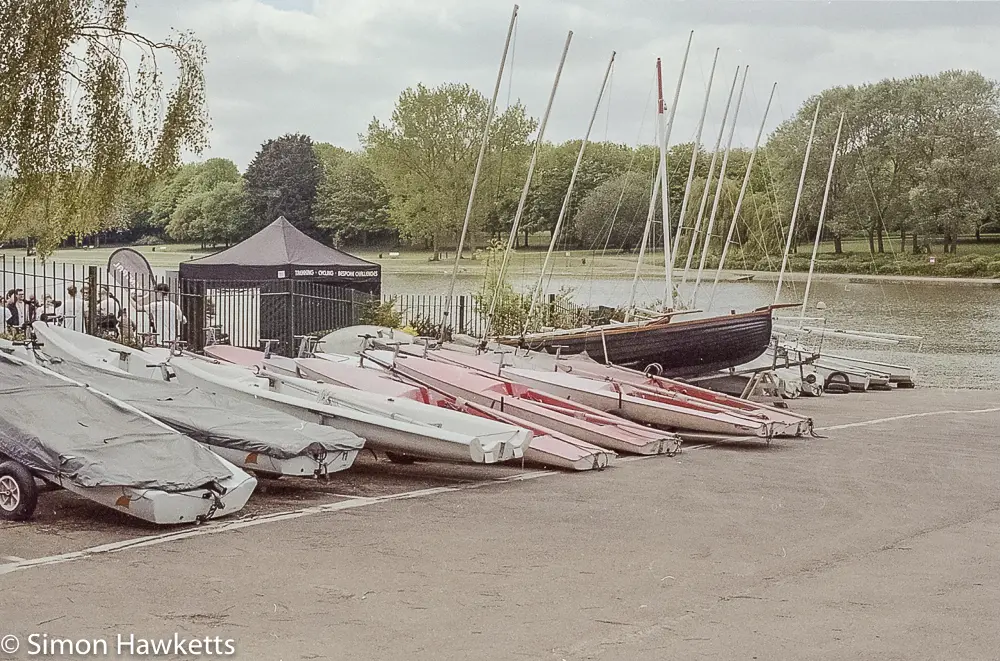
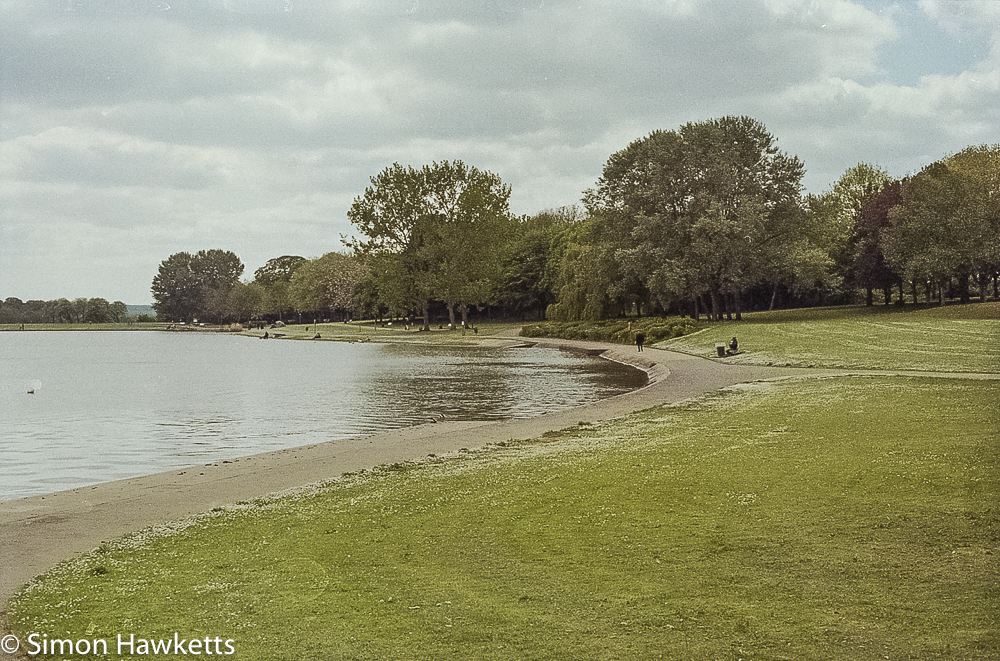
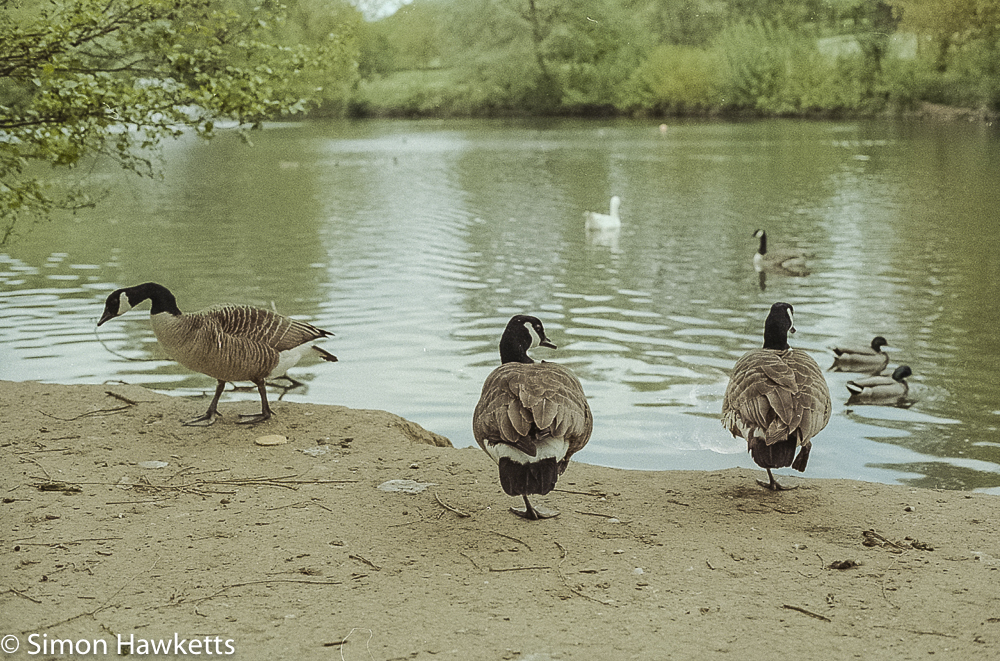
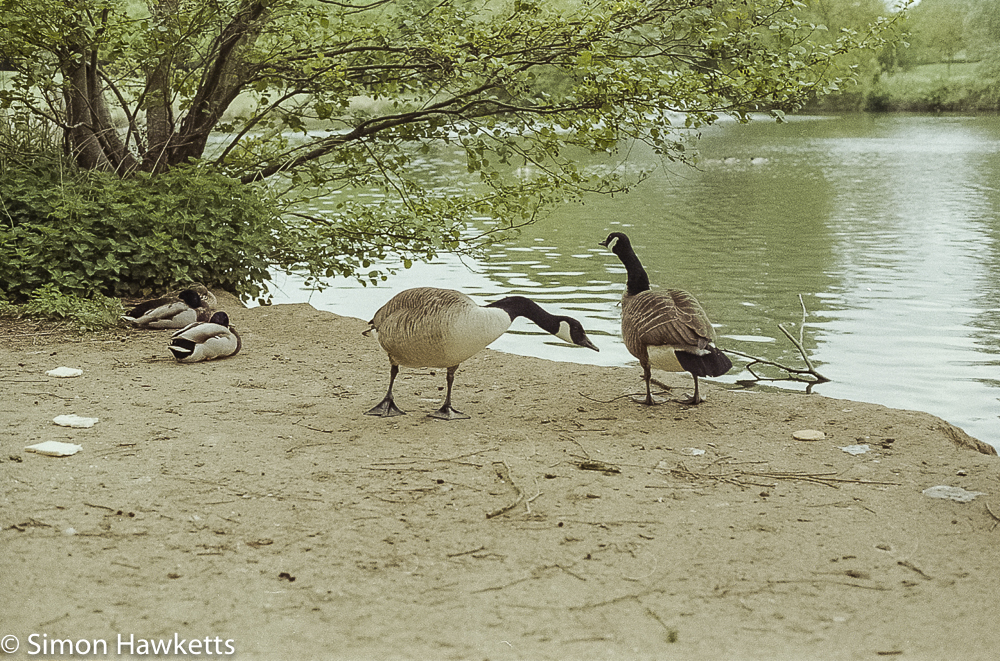
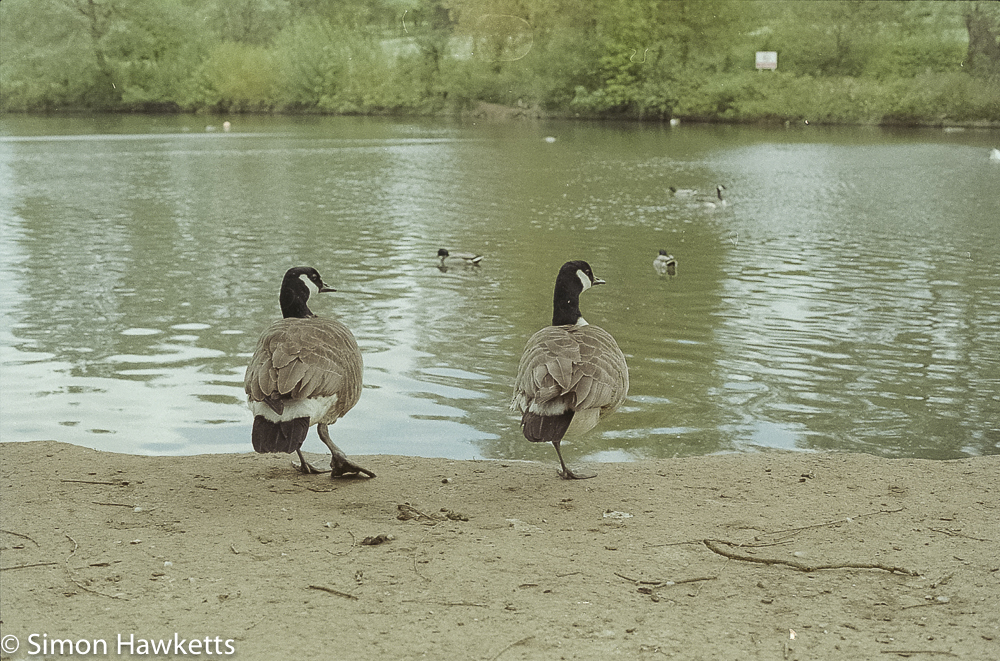
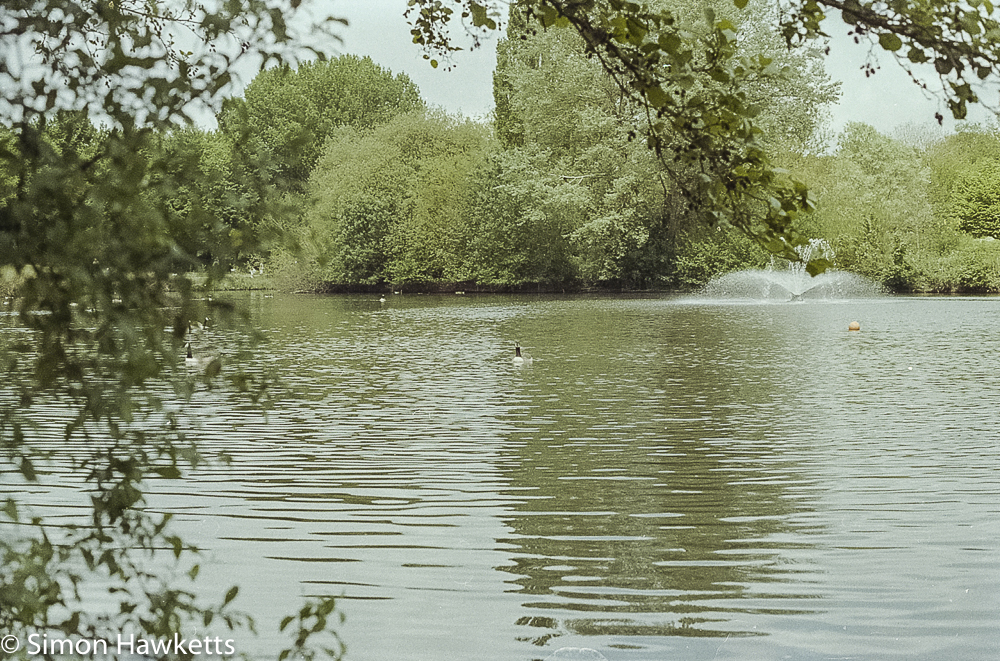
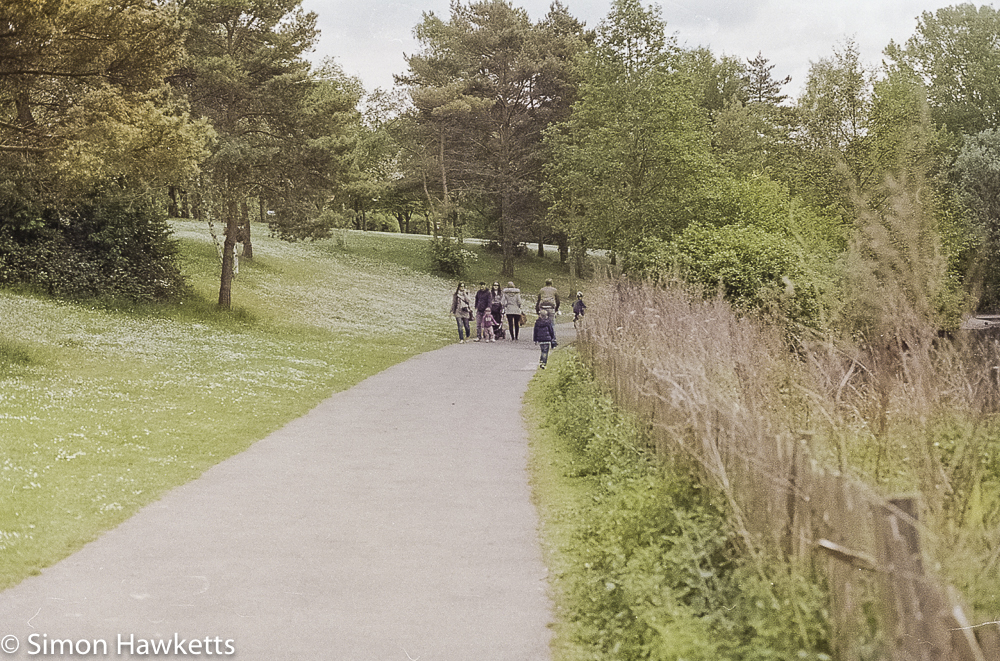
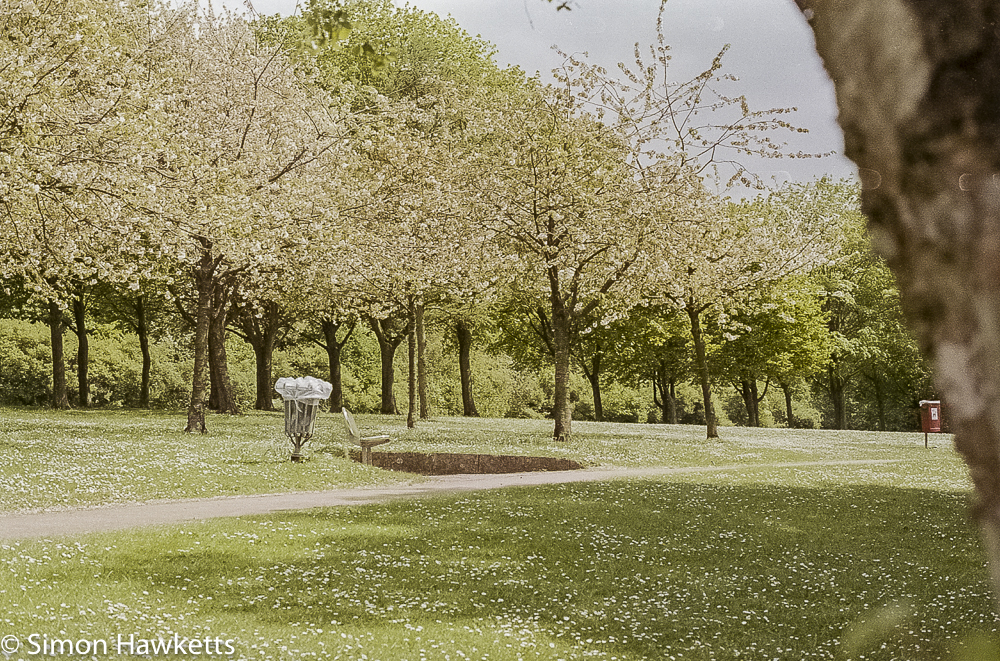
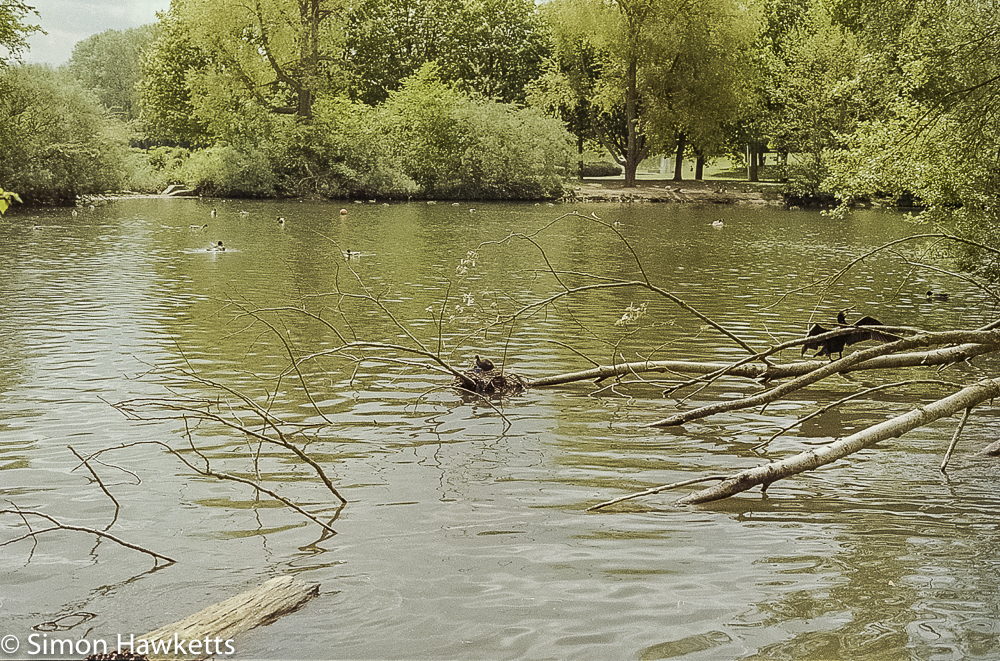
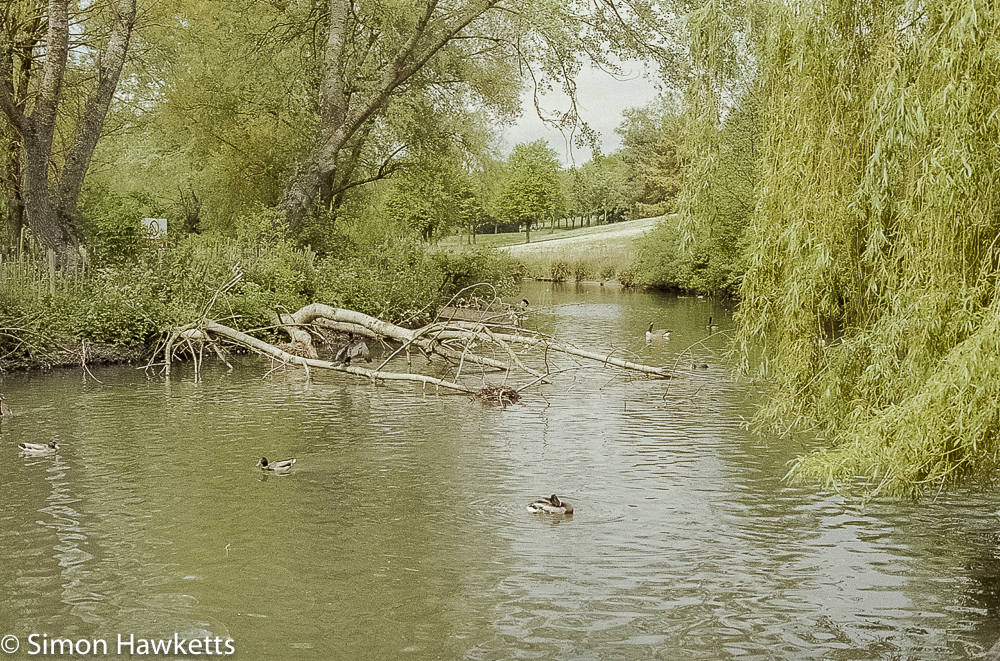
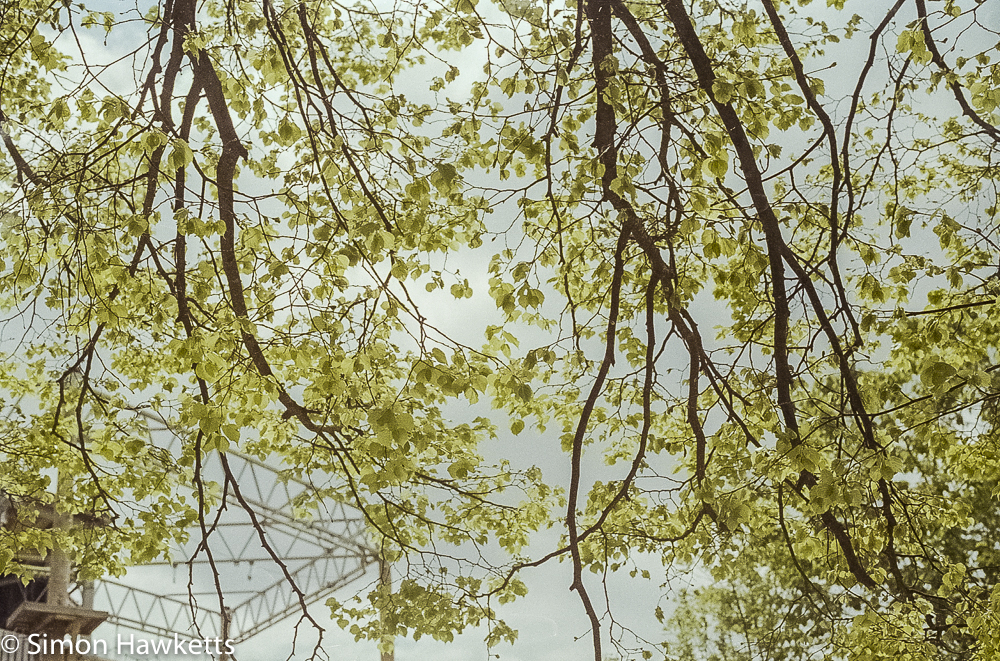
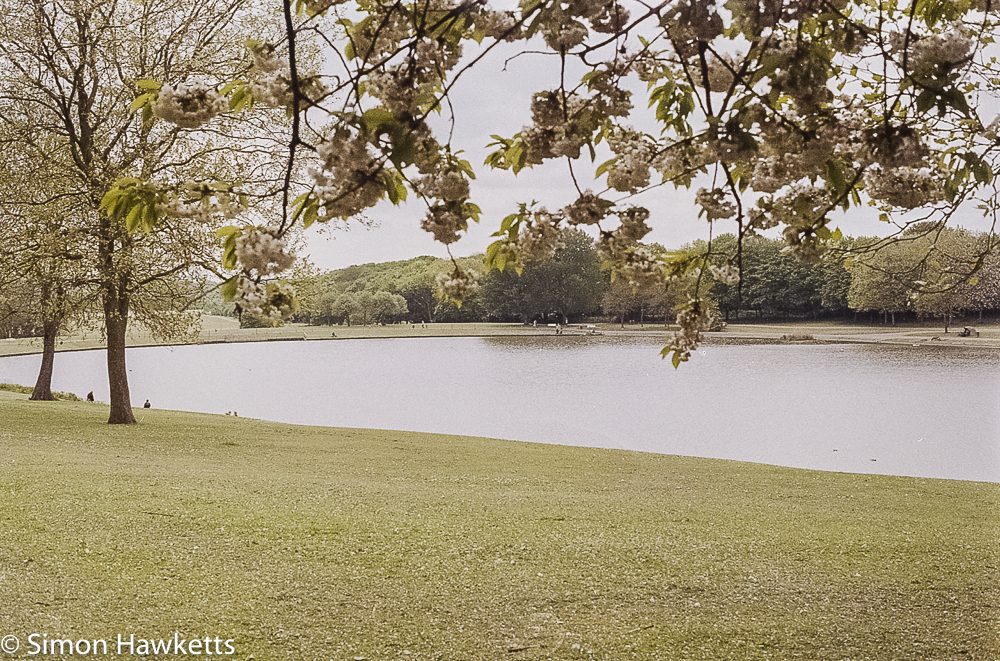
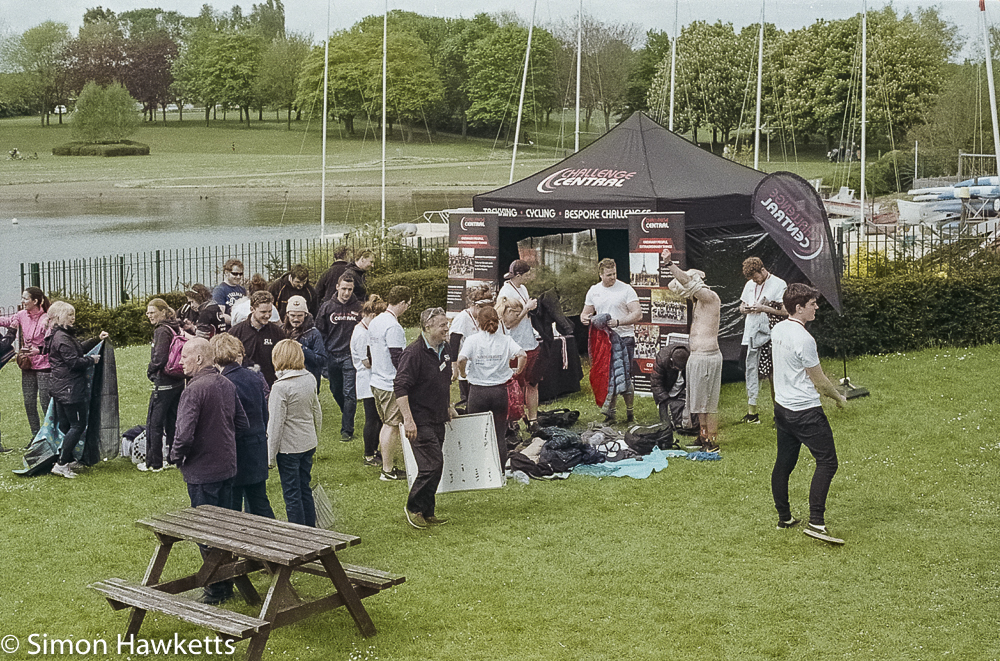
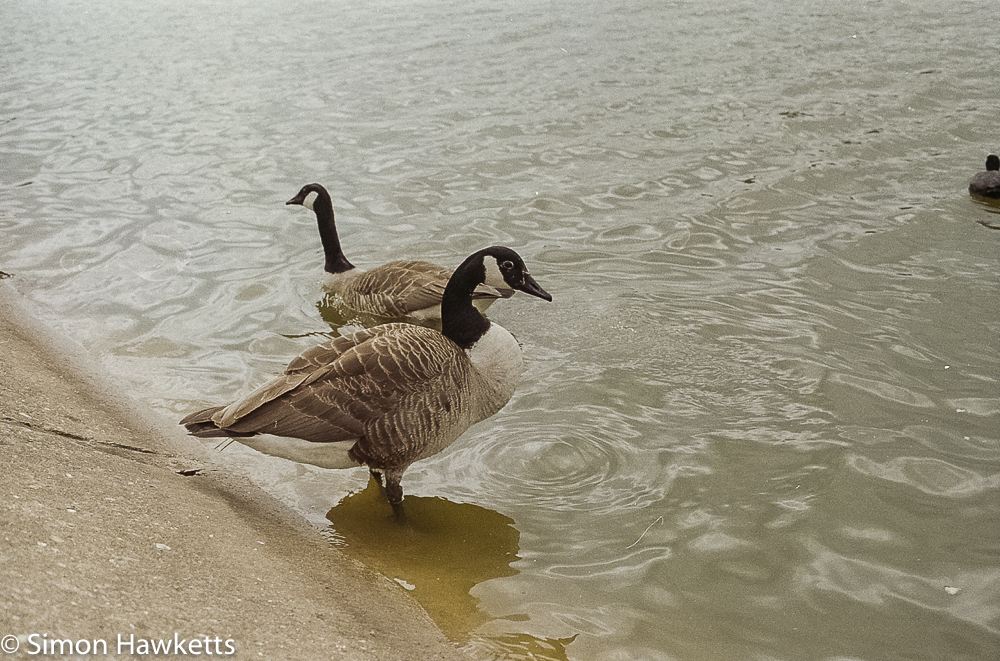
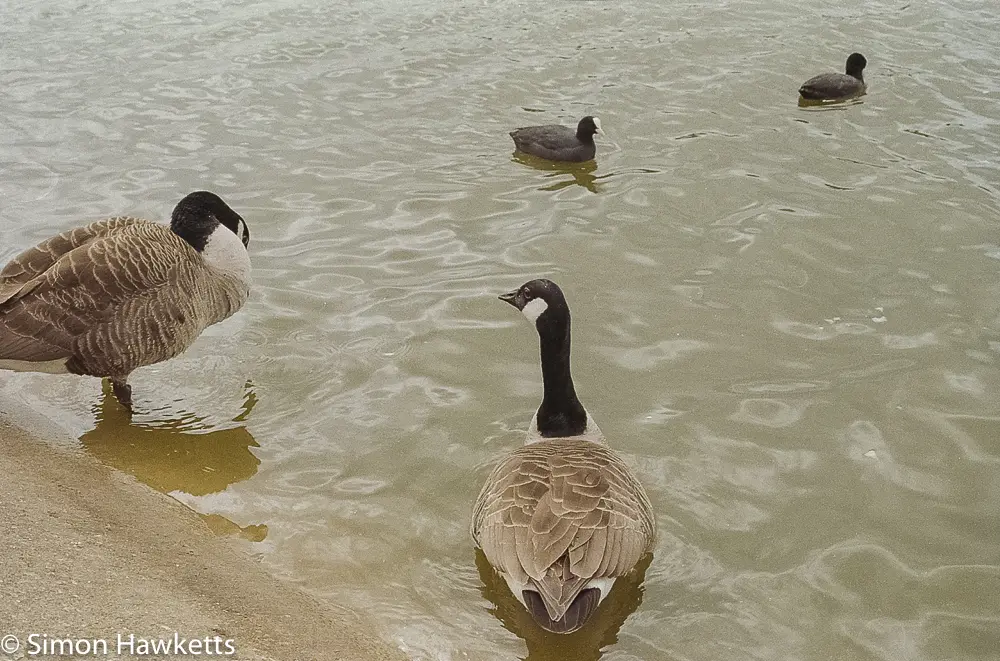
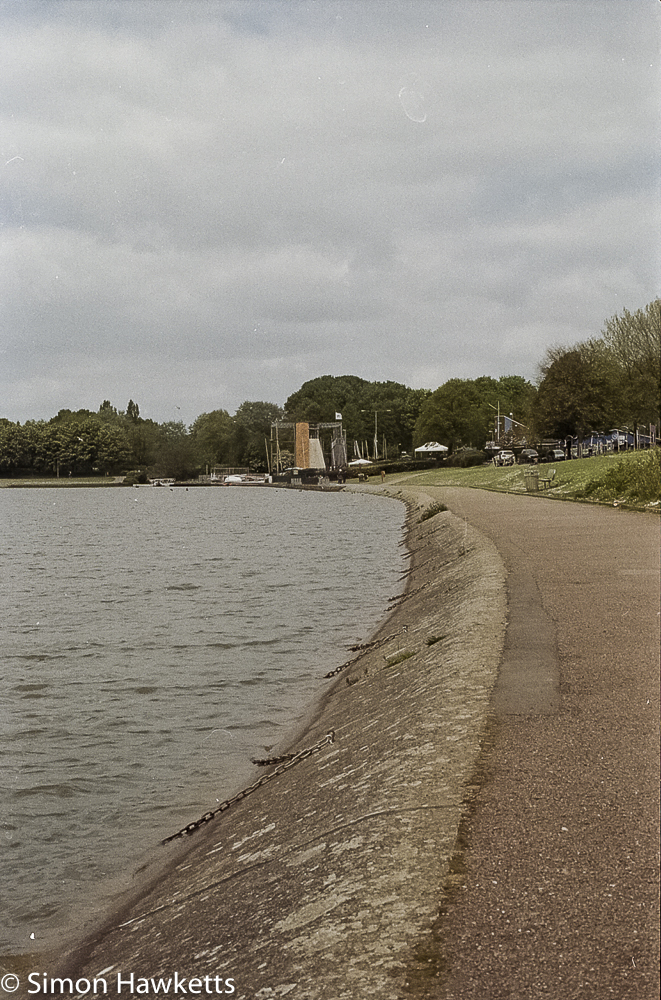
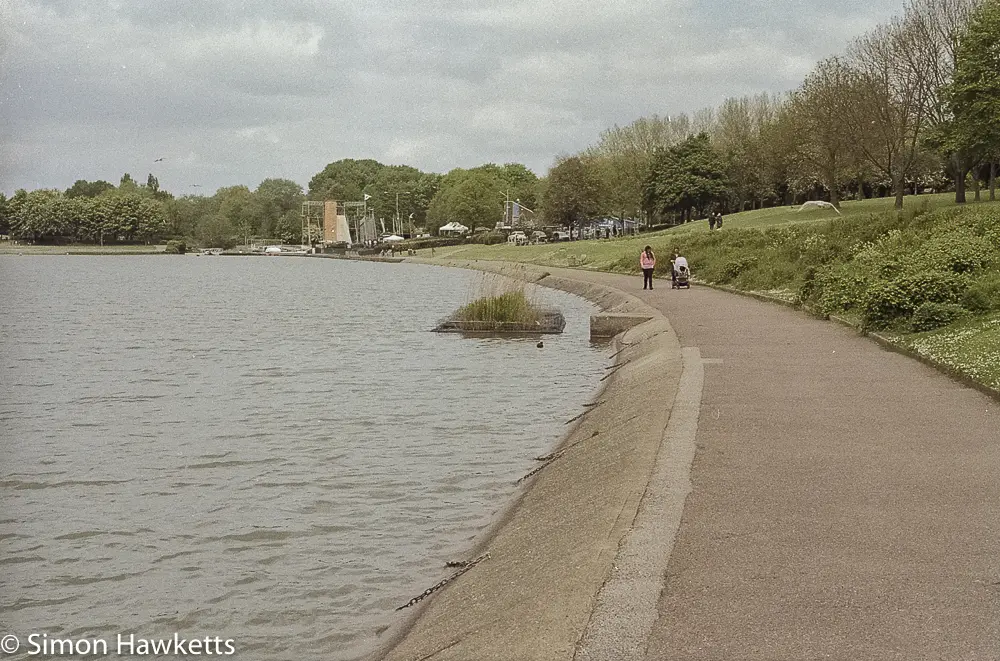
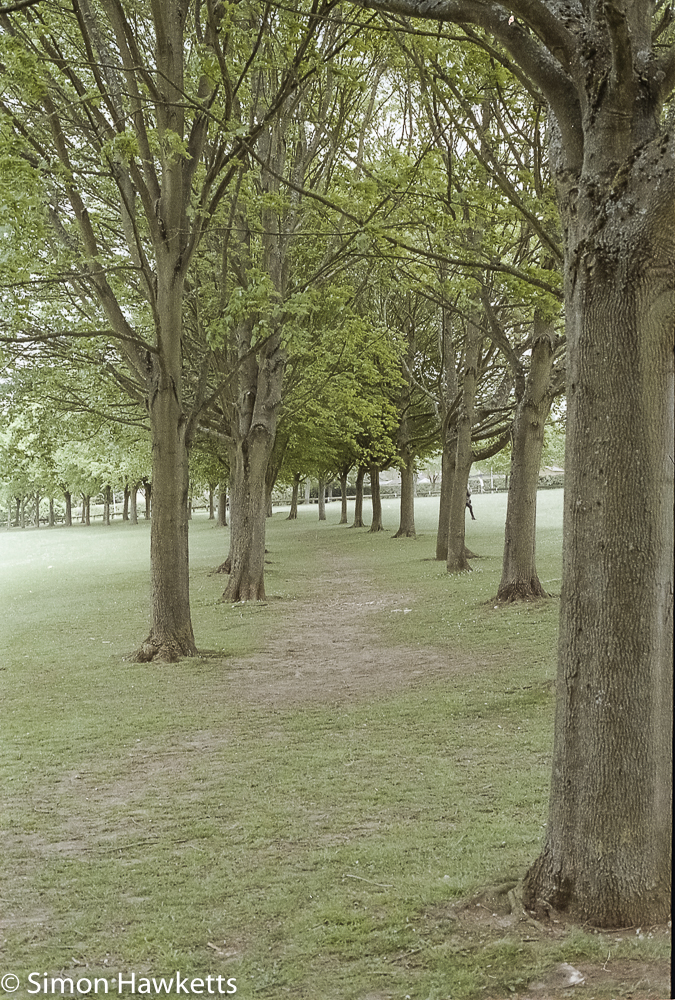
The only lens I have in OM mount is an original Olympus 50 mm Zuiko f/1.8 so all the pictures here were taken using that lens and the majority of them were taken in aperture priority (or Auto Mode in Olympus speak). Although the film I loaded was rated at ISO200, I set the OM-2 to meter for ISO160 because, unlike digital, film is always best over rather than under exposed.
I found the OM-2 fantastically easy to shoot because the viewfinder is so big and bright. For the most part, because the scenes I was shooting were general landscape views where I wanted as much as possible in focus, I could just set the aperture to something around f/11 and as long as the shutter speed indicated was above 1/60sec, fire away.
The one aspect that did trouble me was that during shooting, my finger seemed to rest close to the top of the film rewind button on the front of the camera. This concerned me because I was worried I would push it and mess up the frame spacing. It was only when I finished the film and needed to rewind it that I realized that you actually push the bottom of the control to rewind the film, so there was no danger at all.
When I returned from the park, I removed the film and processed is almost straight away in the Digibase C41 kit. This is the 10th film I’ve developed in this kit, so I’ve certainly had my money’s worth since it works out at £2.50 per film, and it doesn’t seem to be running out of steam yet. I am starting to increase the development time however, so this film had 8 minutes at 30 °C in the colour developer followed by 7 minutes in bleach and then fix. After a wash, the film was hung in the shower cubicle to dry for a few hours and then stored in negative sleeves ready for scanning this morning.
I scanned the film at 1200 dpi and 48bit on an Epson V550 perfection scanner and then imported into Lightroom for any tweaks and adjustments. I basically followed the usual workflow I have for dealing with colour negative scans, although I did change the way I’ve been handling noise reduction and smoothing/sharpening.
What I’ve been doing up to now is applying a fair amount of Luminance noise reduction to remove the film grain, and then applying a lot of masking before I sharpened. I started by doing that with these negatives, but just before I exported the pictures to add to this post, I realized that a couple of the pictures of trees looked as if they had plastic leaves. I went back to the Detail pane on Lightroom and tried reducing the noise reduction and the masking and was amazed at the level of detail in the negative which I’ve been smoothing away.
So with these scans I’ve reduced the noise reduction and masking a lot and allowed the detail to come out of the negatives at the expense of a little grain structure. I think they are significantly better as a result.
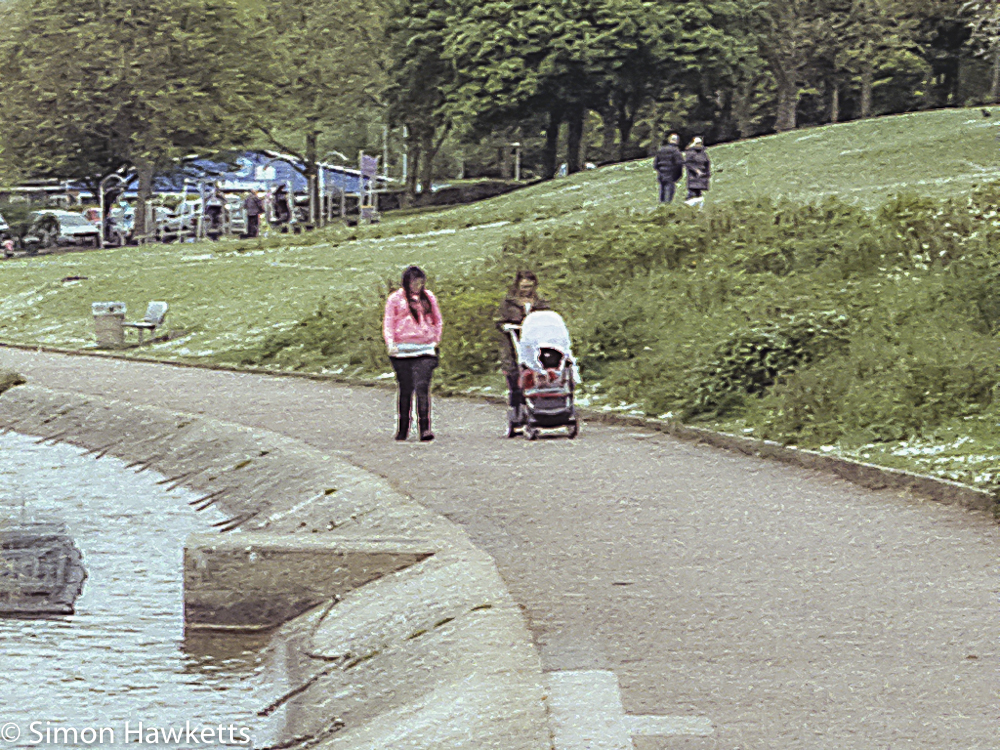
One other thing I wanted to try was trying a detailed scan of just a section of a negative to see what sort of detail is being recorded on the film. I tried that on a picture of a couple of girls pushing a pushchair by the lake – there is definitely more noise and grain structure showing on that image, but it’s still interesting to see how much detail is recorded.
Discover more from Everything Vintage
Subscribe to get the latest posts sent to your email.

