Ciro-flex repair and clean up.
A few days ago, I published a post on the techniques I used to clean and service the shutter from my Ciro-flex TLR camera. Today I’m going to show the other things I needed to do to get the Ciro-flex repair finished, and the camera fully cleaned up and ready to use.
Ciro-flex Repair and clean up pictures
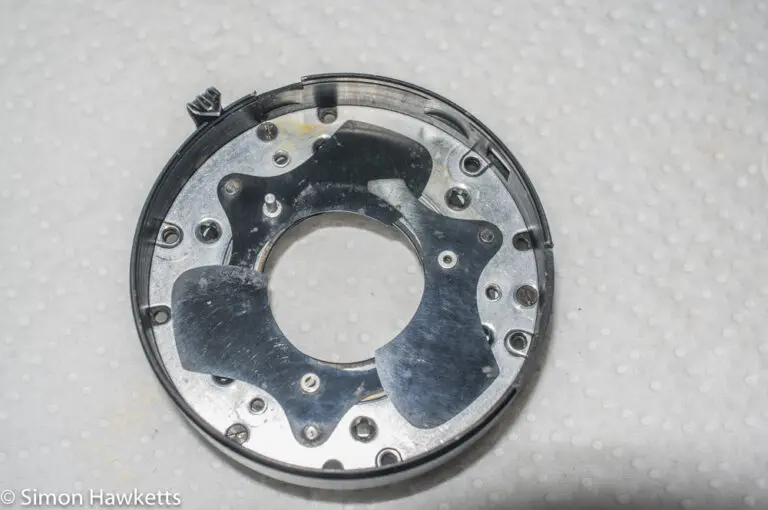
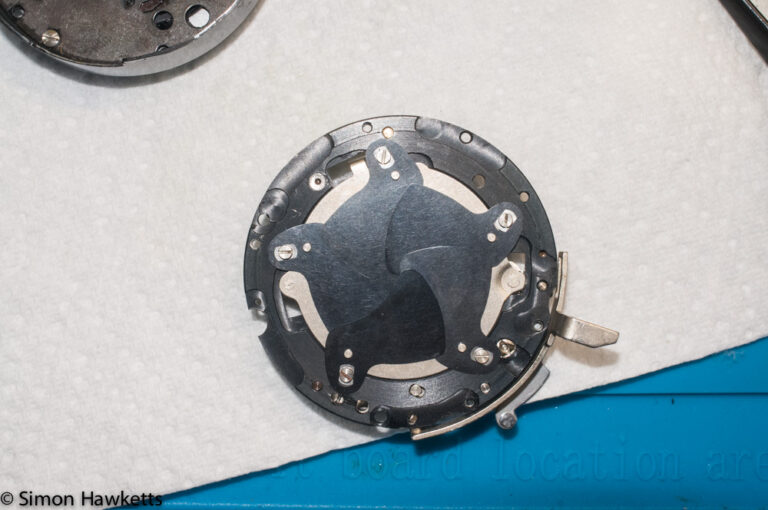
The pictures below cover the items I’m going to discuss in the sections which follow.
Viewfinder
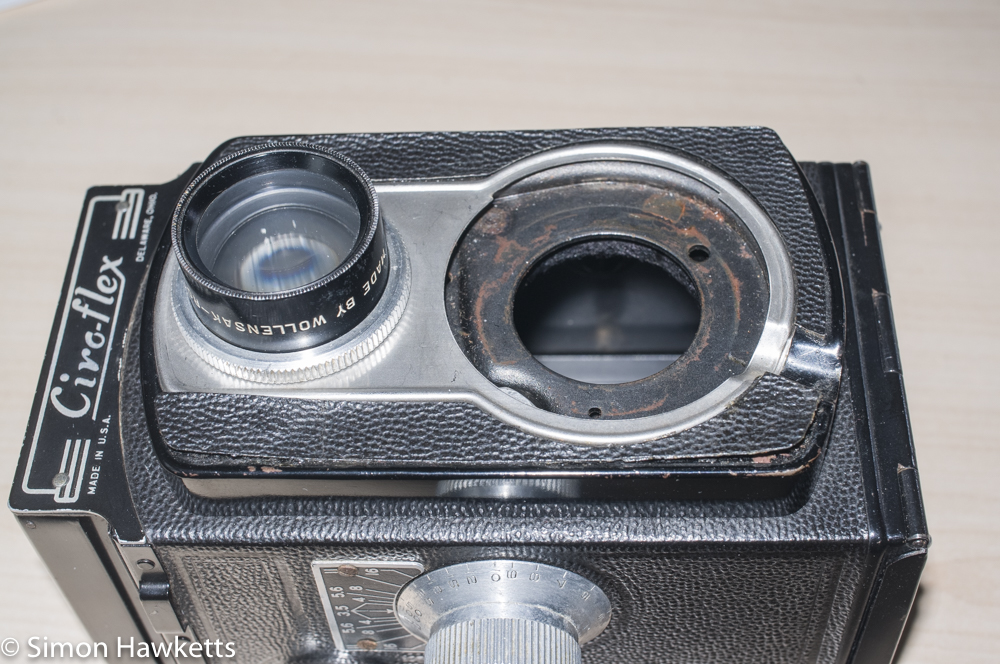
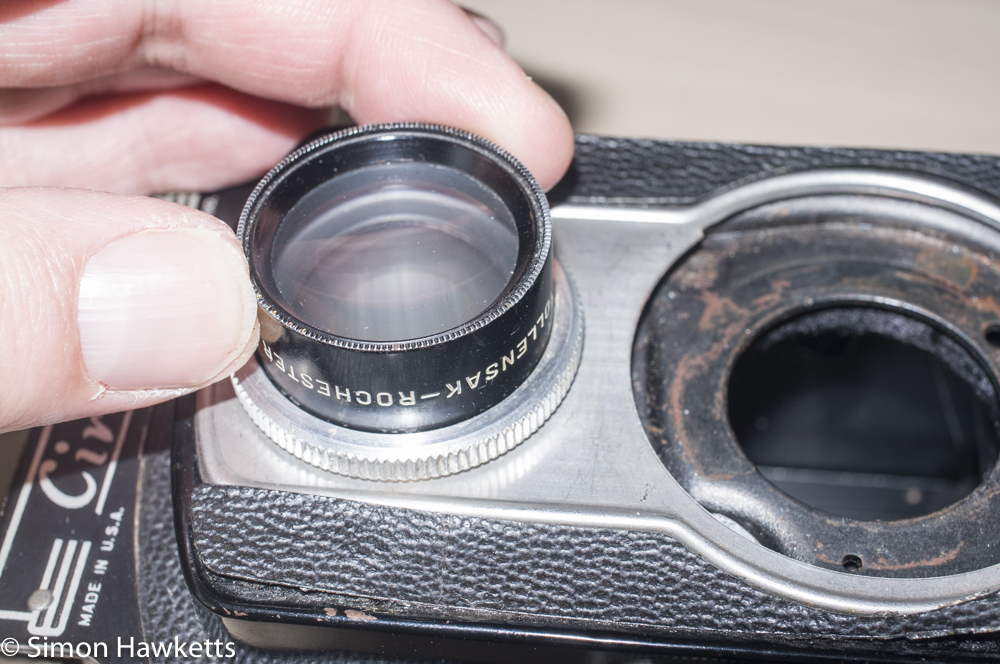
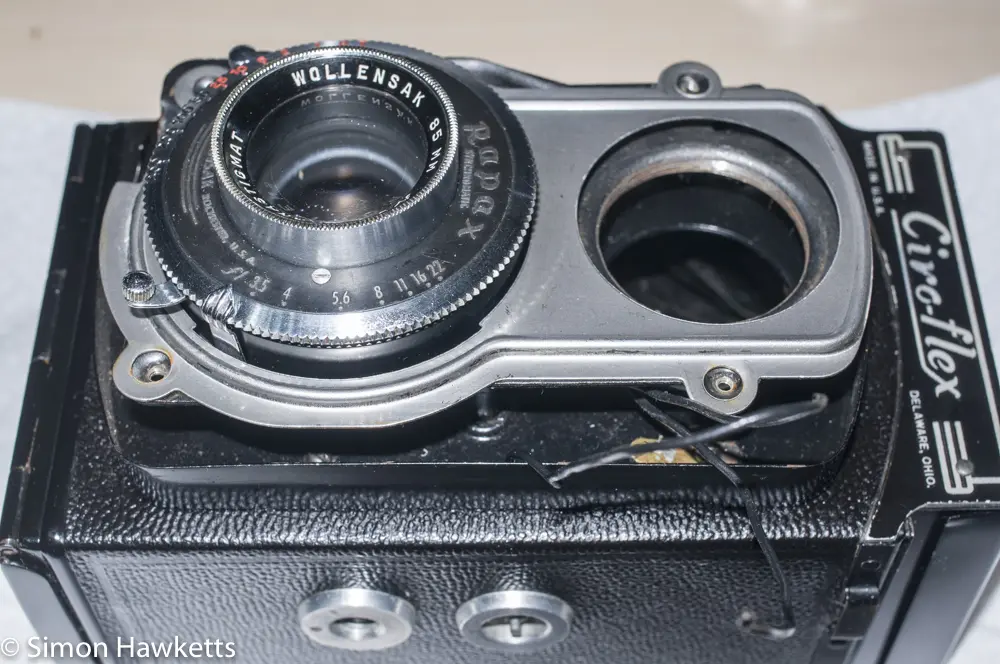
Other than the shutter, the next most obvious problem with the Ciro-flex was the state of the viewfinder with the image being dark and difficult to see clearly, let alone focus. The most obvious cause of this was likely to be dirt on the mirror and focusing screen, and the fact that the viewing lens has a small amount of misting, so this was the next step in my Ciro-Flex repair process.

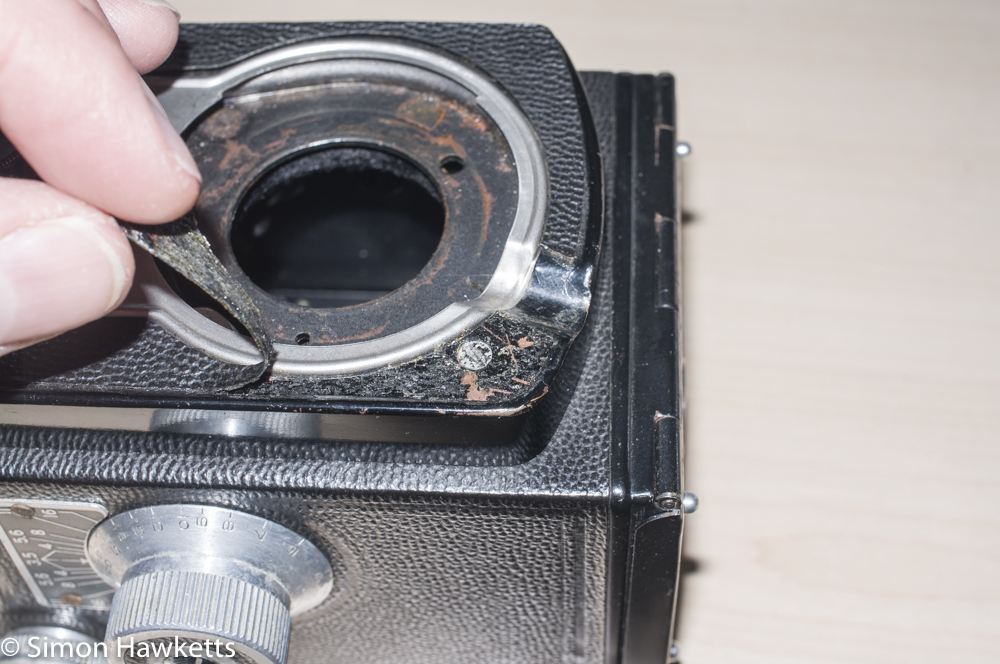
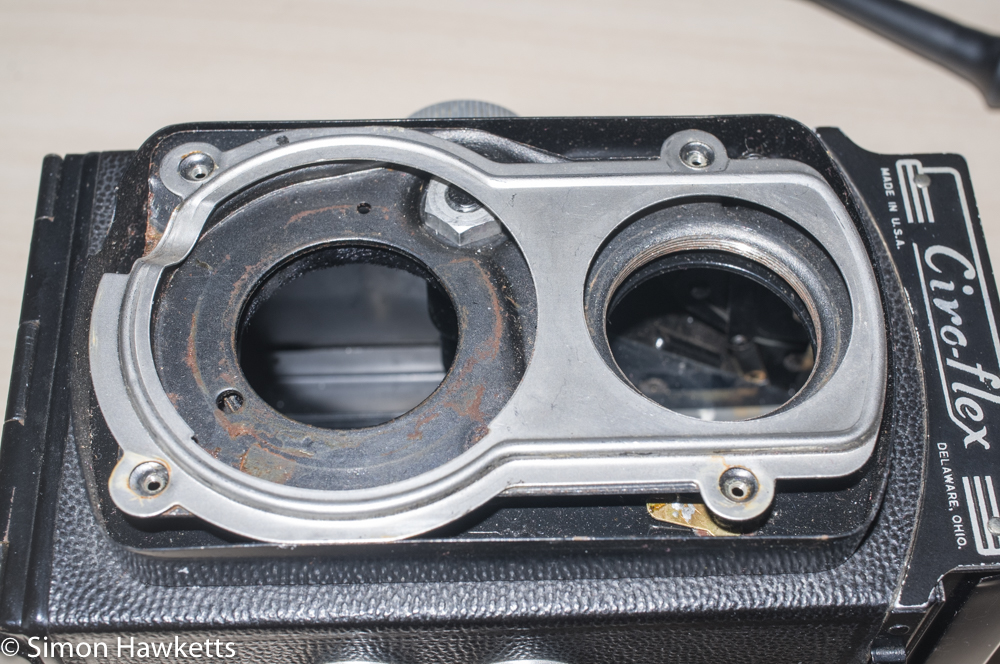
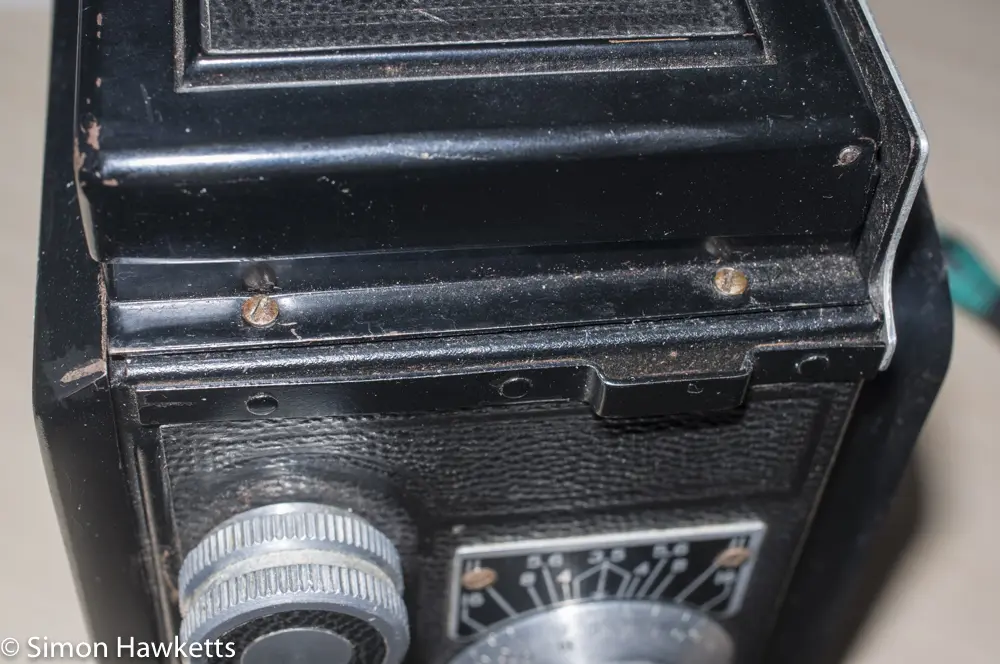
Taking the viewer off the top of the camera was as simple as unscrewing the four screws which held it in place. With those removed, I could lift the viewer off to see how dirty the mirror and focusing screen were. Underneath the viewer assembly, along the sides of the camera were some plastic strips which may have been fitted as shims, so I marked each with an L & R, so I could re-fit them correctly.
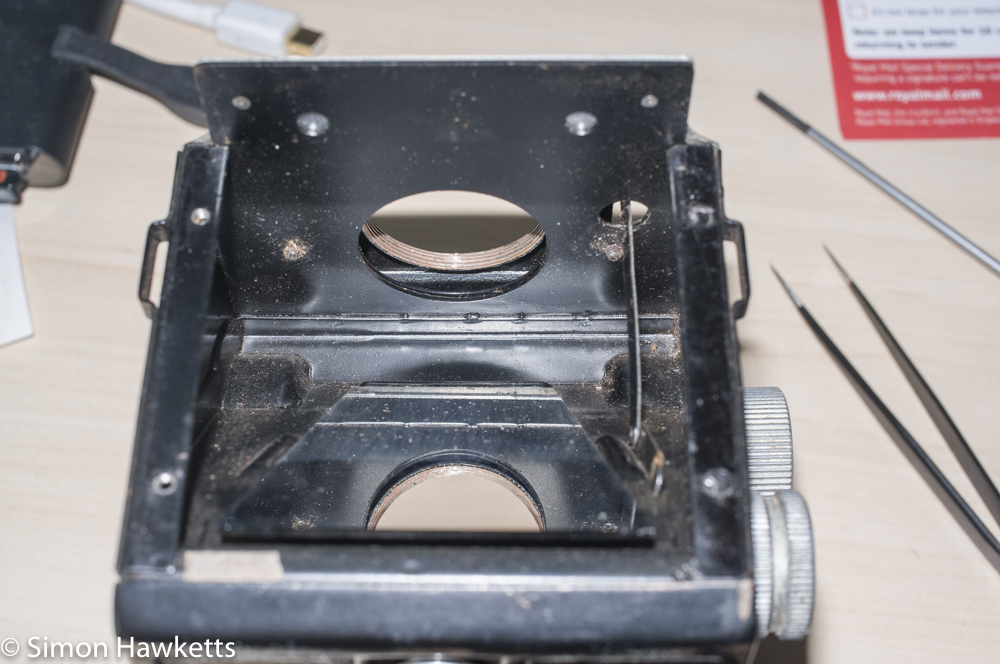
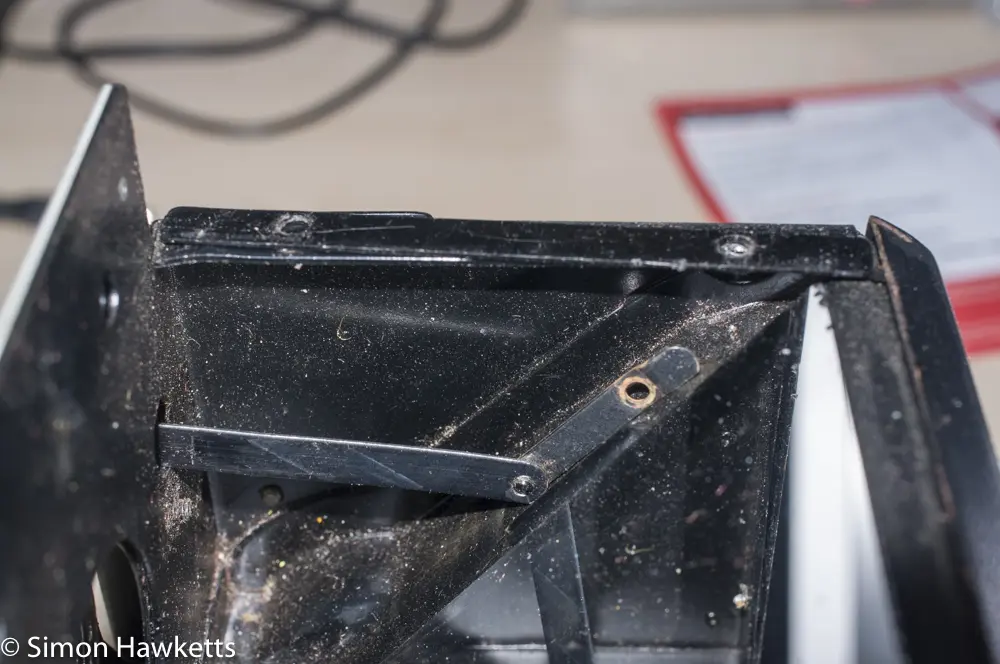
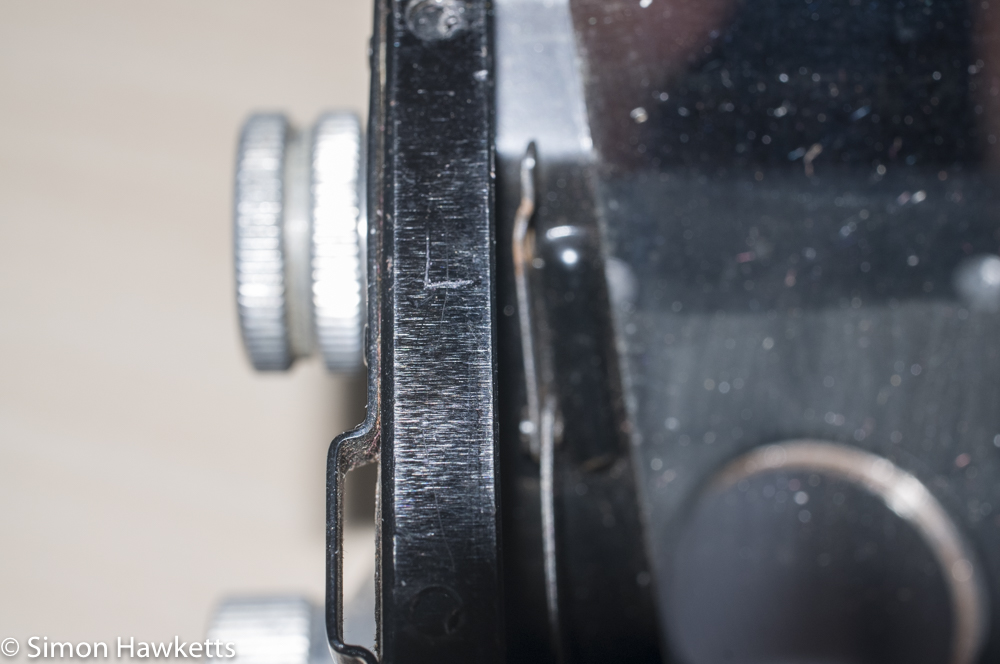
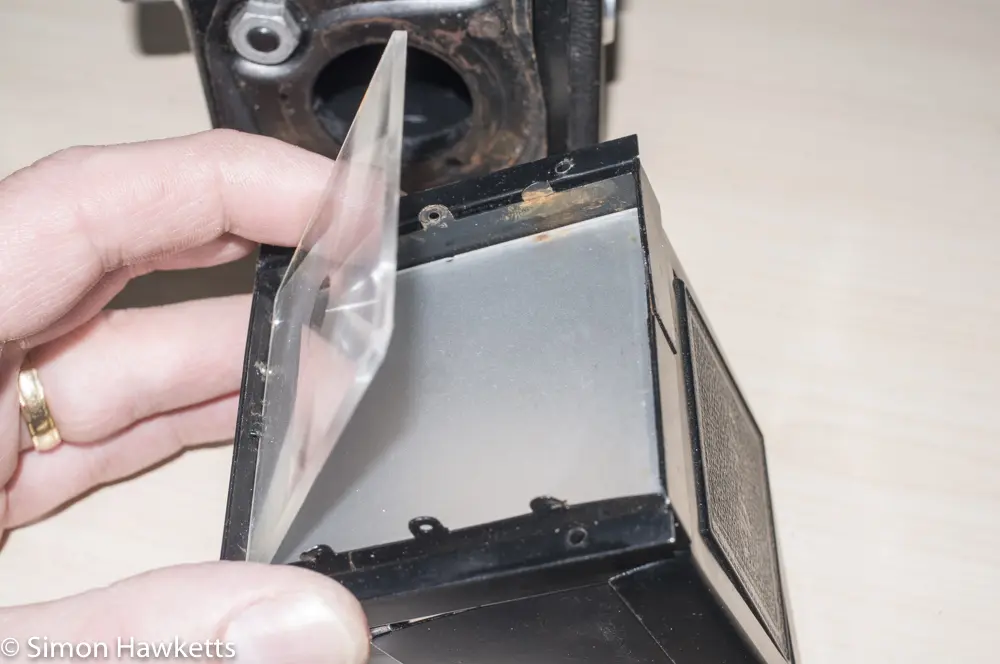
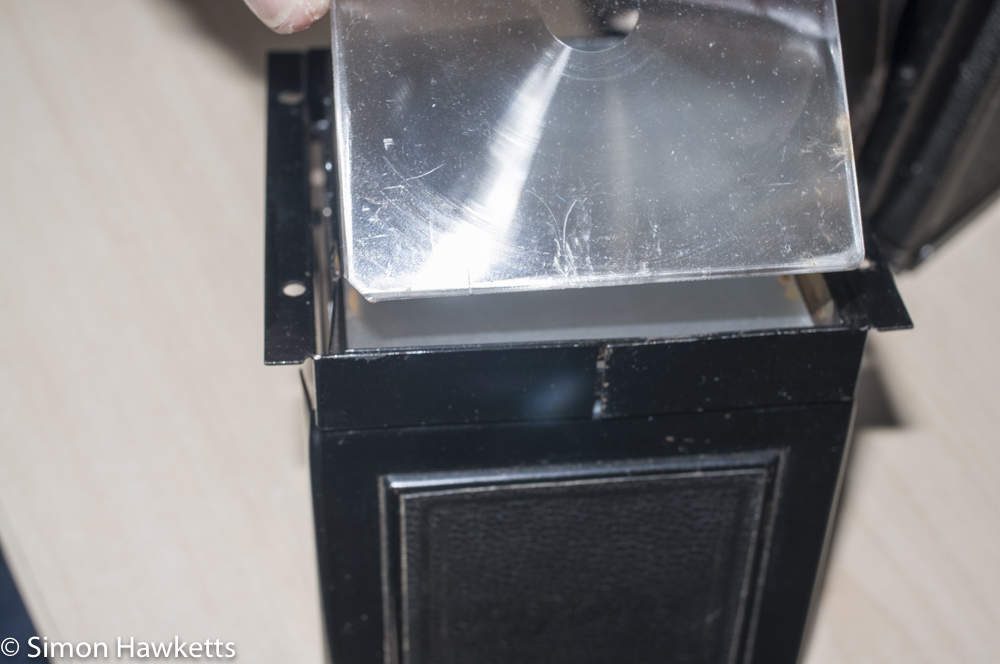
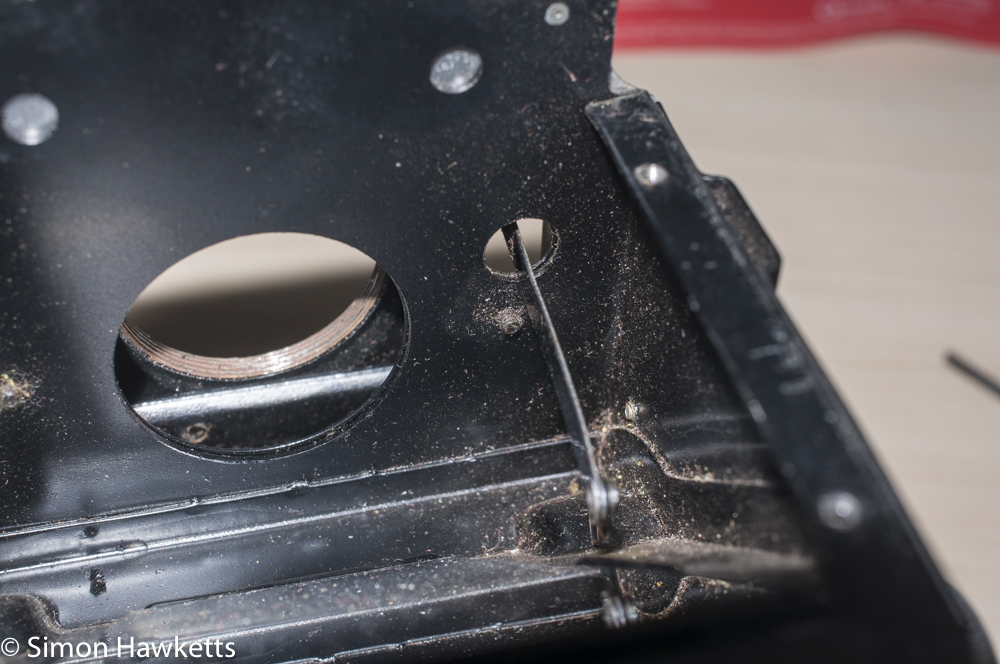
With the viewer off what I found was that the mirror was not particularly clean, the focusing screen was fairly dirty and there is a Fresnel screen fitted behind the focusing screen which was also dirty and scratched. I also found there was a linkage arm fitted to the front plate of the camera which didn’t connect to anything in the mirror compartment. At first, I thought this may be a problem, but a bit of research enabled me to find out that some models of the Ciro-flex had parallax correction mechanisms fitted which moved the image in the finder as the focus was changed, but this wasn’t very effective and was removed after a while. I suspect my camera still had the linkage but not the mechanism under the viewing screen, so I actually removed the linkage to stop it rattling about.
I decided the first step to get the viewing screen better was to clean the Fresnel screen and the viewing screen itself. I washed them in warm soapy water and allowed them to air dry before trying the viewer again.
The results, although not startlingly good, were good enough for me to not try cleaning the mirror. Camera mirrors are front surfaced (i.e. the reflective surface is on the top of the glass, not the bottom) and are therefore very easy to destroy by cleaning. I simply blew the surface dust off the mirror with a puffer and re-assembled the viewer. With this done, the image is acceptable, and I decided to stop there. It might be that the image would be brighter if I can de-mist the viewing lens, but to do that I need a friction tool to remove the actual lens assemblies, which I’ve ordered but not yet received.
Fitting the shutter / lens
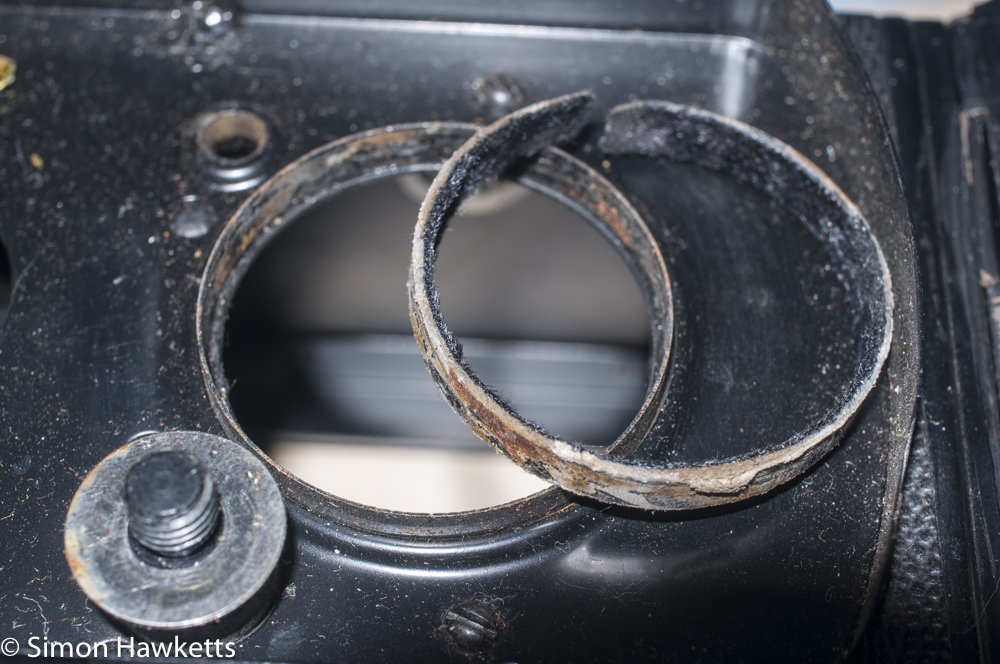
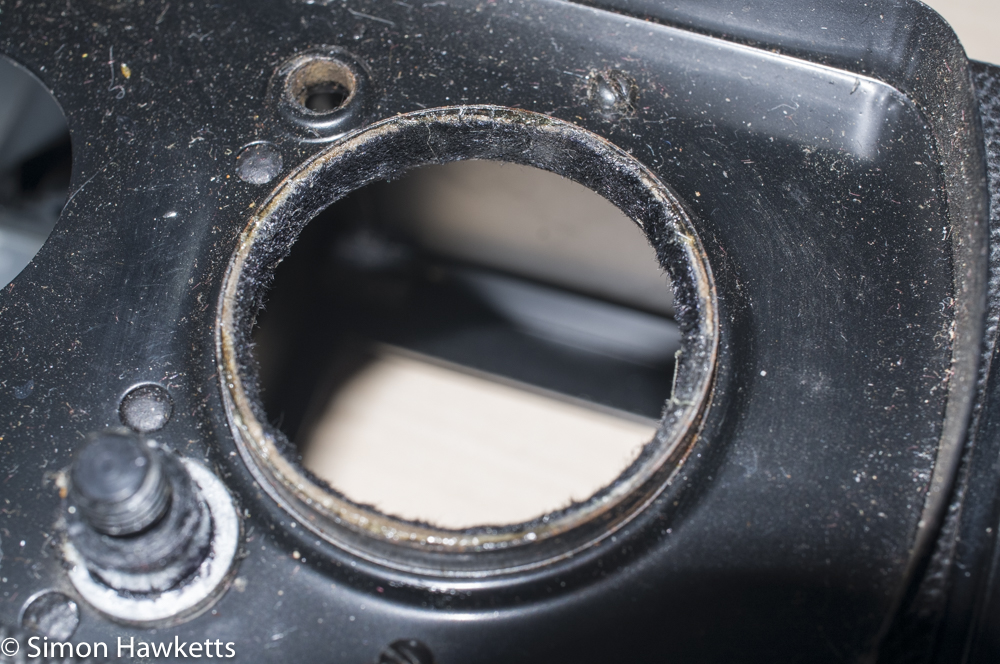
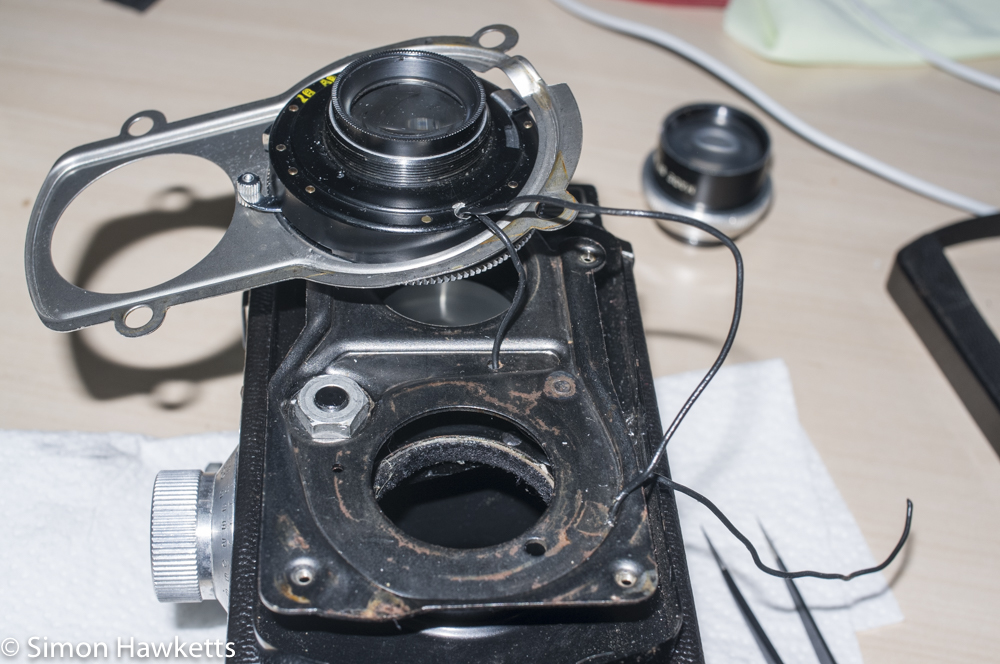
To fit the shutter assembly back into the camera was relatively straight forward, but was complicated a bit by the flash sync leads which need to be re-wired and the fact that the felt lining to the hole the shutter passes through had become detached. To re-attach the lining, I had to remove the front focus plate, so I could get proper access and re-glue the felt.
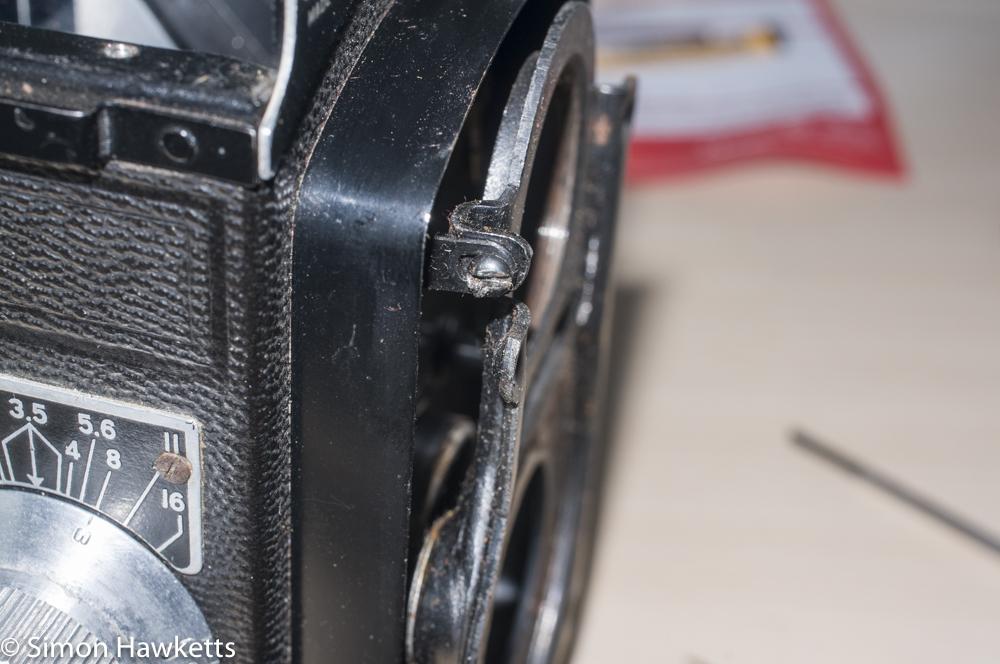
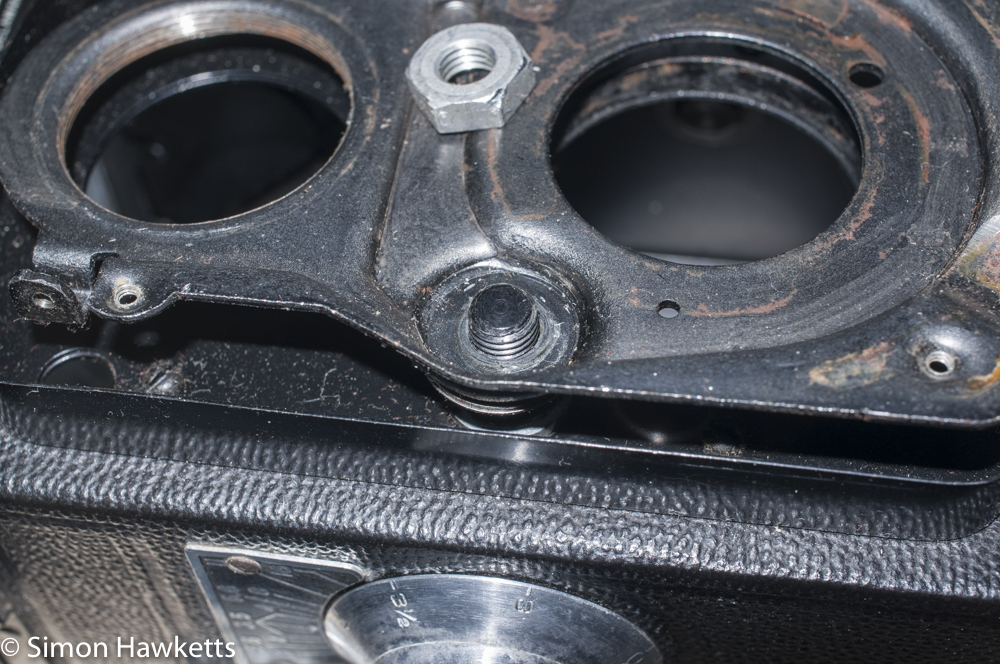
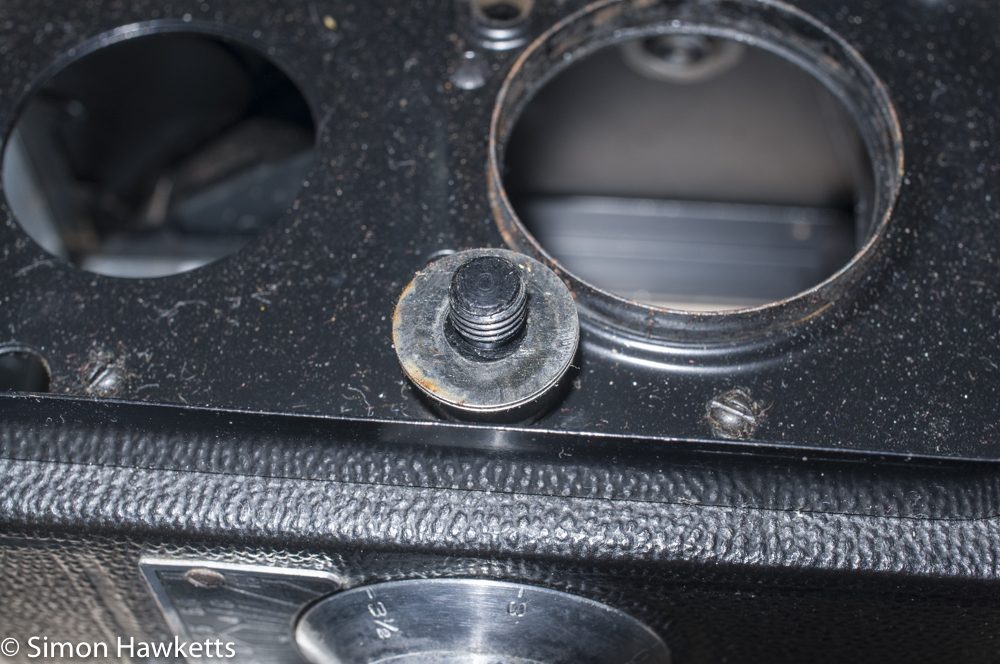
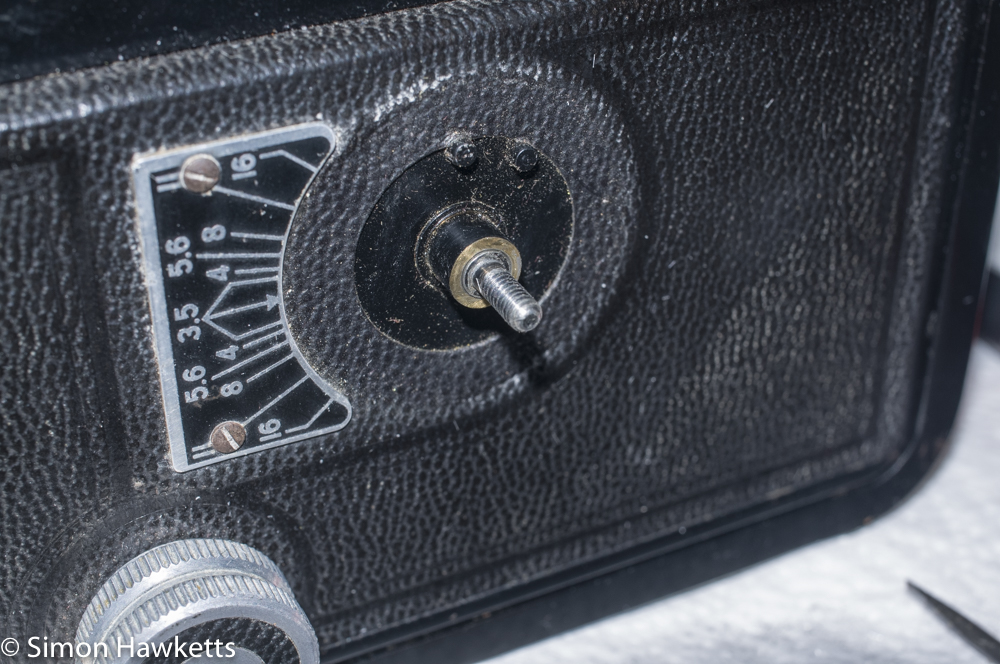
The front focus plate is removed by undoing a large bolt head on the front and removing it. Once it’s off the whole plate just pulls off the front of the camera and with it removed I could get access to re-glue the felt lining. I also gave everything a bit of a clean while it was off, and regreased the two shafts the focus plate run on.
The flash contact leads are not difficult to re-wire, just a bit fiddly to fit through the different holes they need to pass through. Also, the lead which passes into the film compartment and connects to the flash contact needs to be sealed with sealing wax, so it doesn’t form a light leak in the film chamber.
General Cleaning.
I cleaned the body material with some black saddle soap and found it came up really well. The aluminium work I cleaned up with a short bristle nylon brush which could get into the knurled parts, and also was quite effective at removing the surface corrosion. The chrome trim which surrounds the lens units was cleaned with Brasso, which worked well.
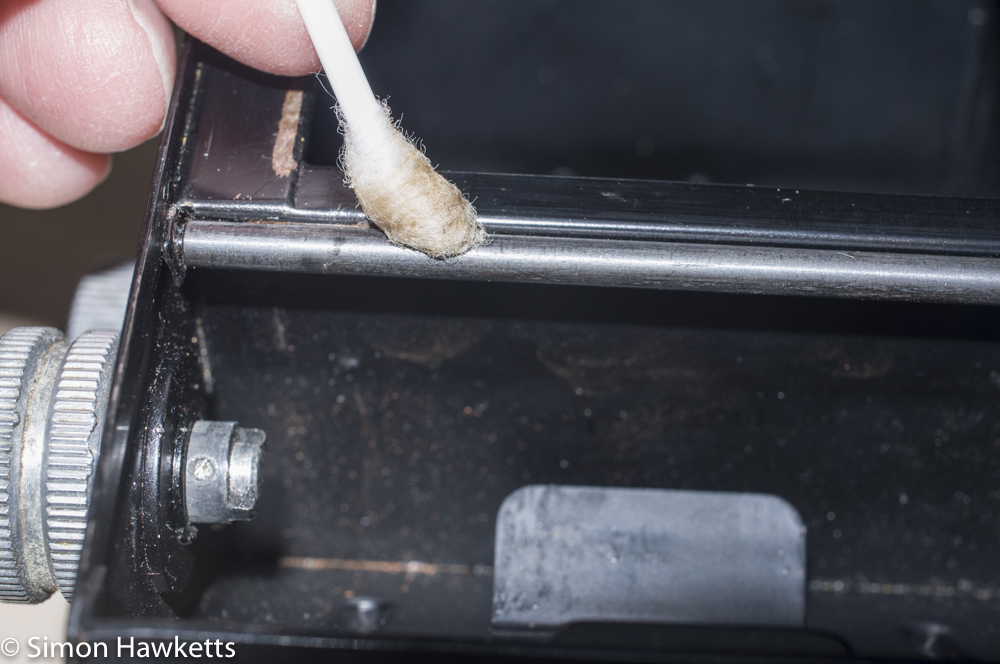
The other parts of the camera had a wipe down with a cloth to remove the years of dirt and grime, and the film transport rollers were cleaned with cotton buds soaked in a little IPA and a tiny amount of light grease added to the bearing they run in.
Calibrating the focus.
Because I’d dismantled the front panel that the lenses mount on, I re-calibrated the focus.
The Ciro-flex is a really easy camera to do this on – all I needed to do was open the camera back and position a ground glass screen in the place where the film would normally sit behind the shutter. Then, with the shutter set to T I opened the shutter, set the aperture to it’s brightest setting (f/3.5) and checked that infinity was correctly focused. Fortunately, my camera was correct, and I didn’t need to set the focus of the main camera lens, although if I needed to it would be relatively easy because the adjustment is a simple screw setting in the film chamber.
To set the viewing lens focus is even easier. With the focus set to infinity and the taking lens checked, I then looked through the viewfinder and used the magnifier to check the focus. In this case the focus was off, and adjusting it is simply a question of loosening the locking ring around the viewing lens, turning it until focus is achieved and then re-locking it without moving the position of the lens.
The camera is now in a fully operational condition, but I am going to try a roll of film through it to check everything is lightproof. When I have the film developed, I’ll publish the pictures.
Discover more from Everything Vintage
Subscribe to get the latest posts sent to your email.

Do you have a source for replacement glass for the viewfinder? I dropped mine, and despite the fall, nothing broke except for the glass on top, which split into three pieces. Camera shops have told me I would have to buy a whole other camera just to get the part. Any suggestions?