Cleaning and servicing the Agfa Karat 12 film advance.
In this post I describe the process I used to clean and service the Agfa Karat 12 film advance mechanism.
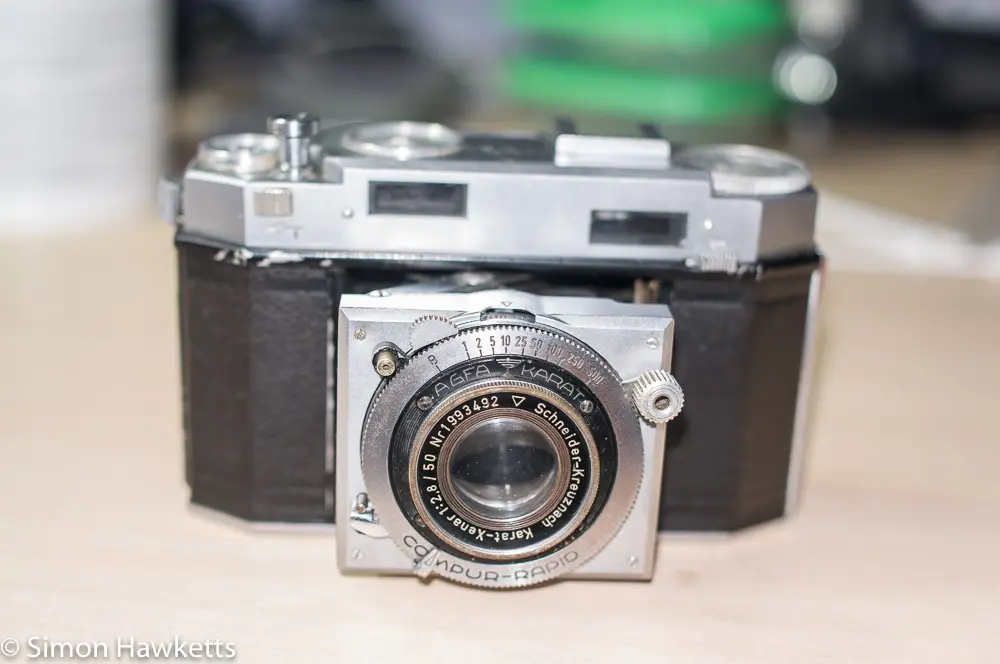
I recently bought an Agfa Karat 12 folding rangefinder camera from eBay, which needed a bit of work to get it fully functioning. Although I bought it as a ‘fully working camera’, when I received it I found the film advance was stiff, the shutter locked up and the focus pretty much solid. I think the seller on eBay was probably a fairly strong contender for the Man Booker Prize as a creator of fictional work!
Since the Karat 12 can be quite a lot of money, and since I thought I could probably get it working, I decided to fix it rather than send it back.
The easiest part to deal with first was the film advance mechanism, so I proceeded to take the top off the camera and strip it down and then clean each of the parts, apply grease where applicable and re-assemble it.
I’ve done this before on a different model Karat, but since his camera is a rangefinder, and has a more complex mechanism, it is quite different.
I’ll describe the procedure I used to get the film advance working, and the pictures below will also give some guidance.
Pictures of the Agfa Karat 12 film advance servicing
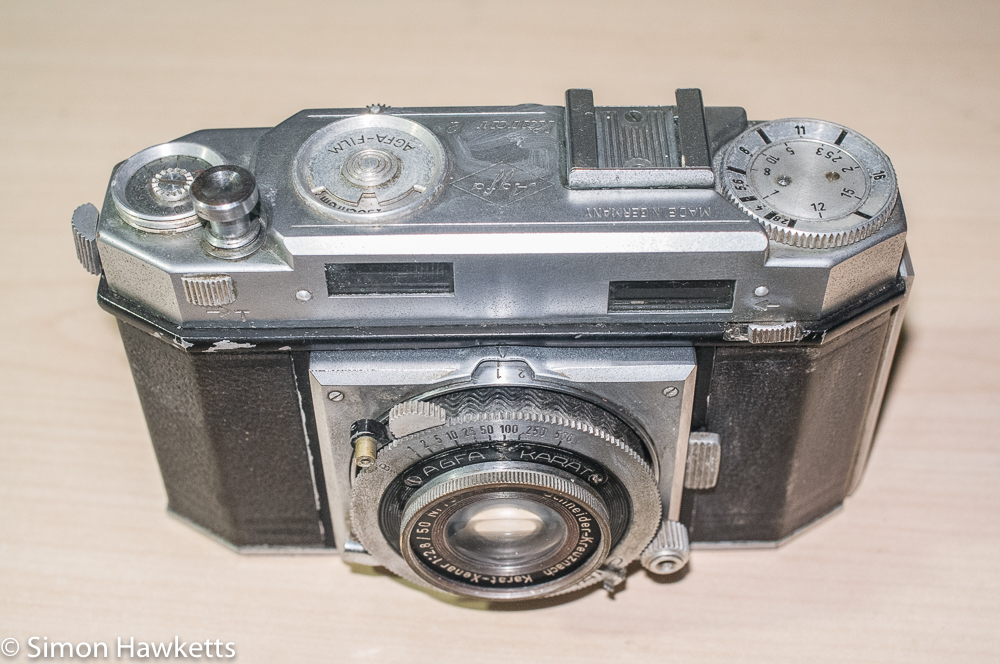
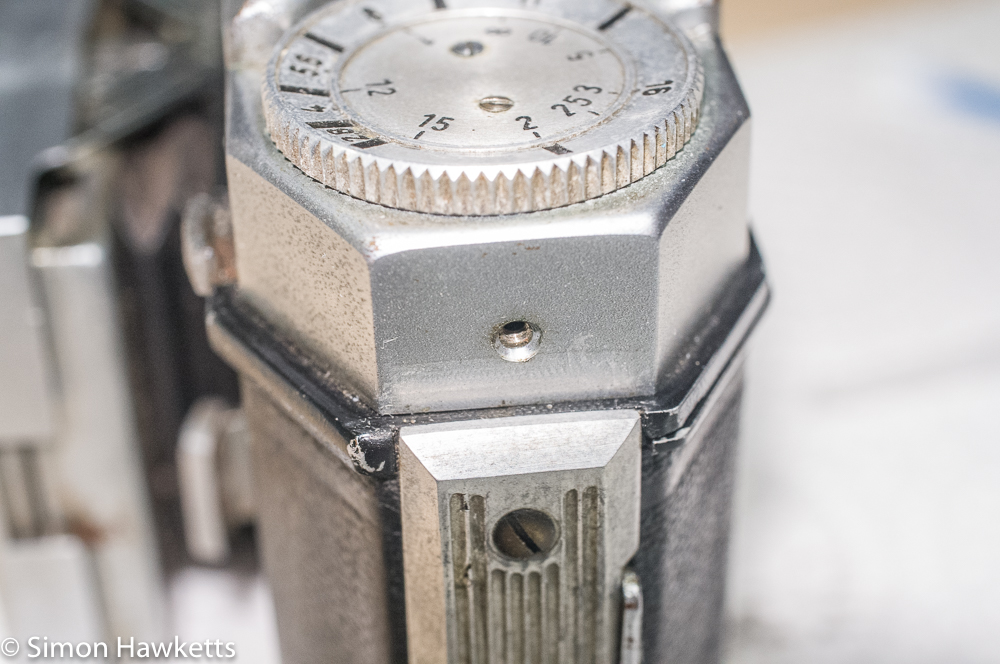
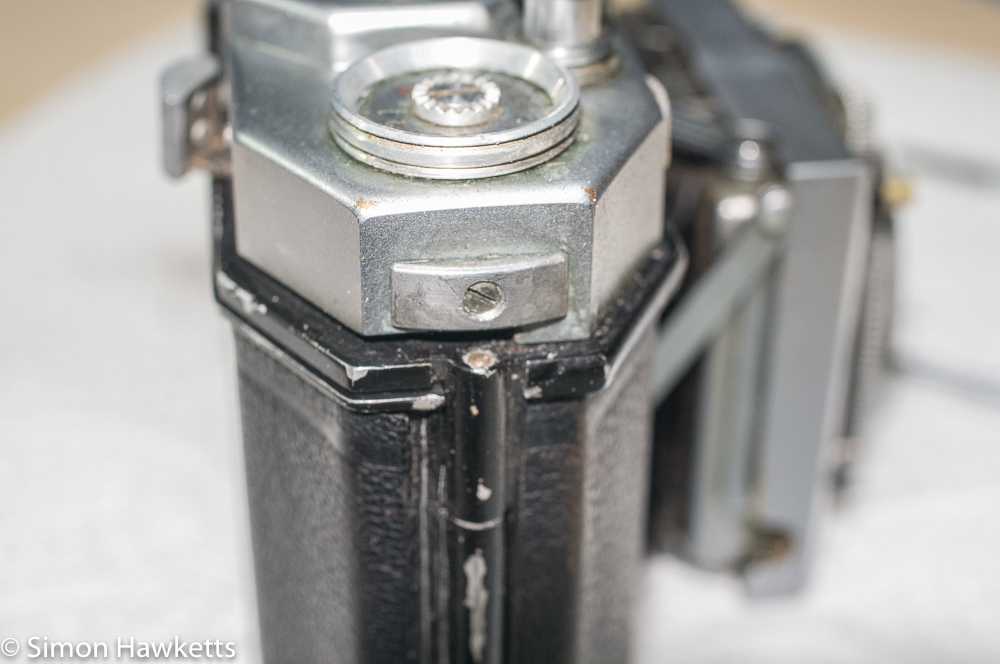
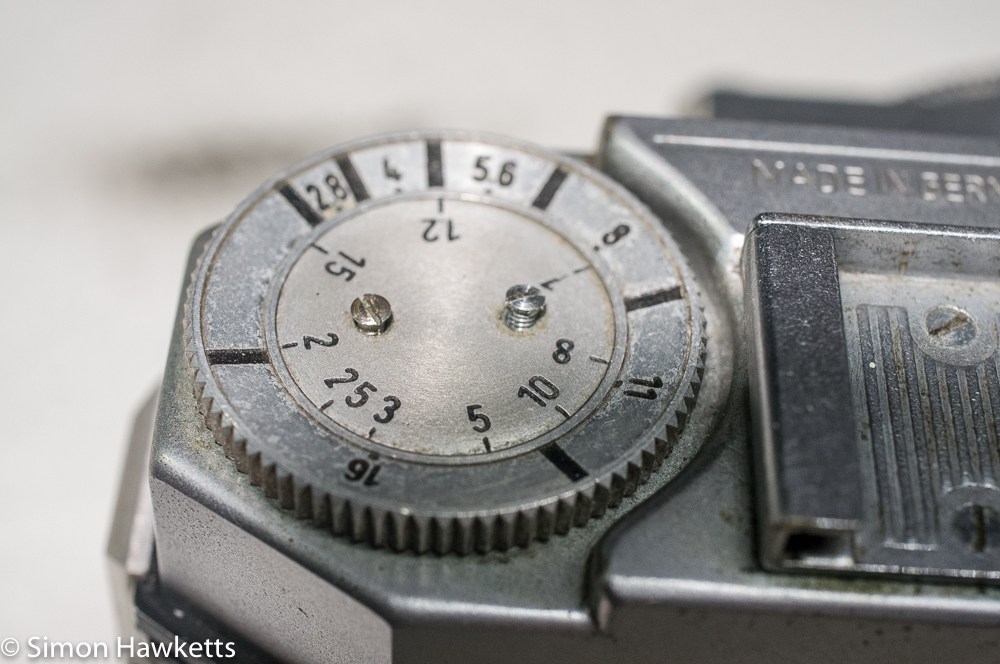
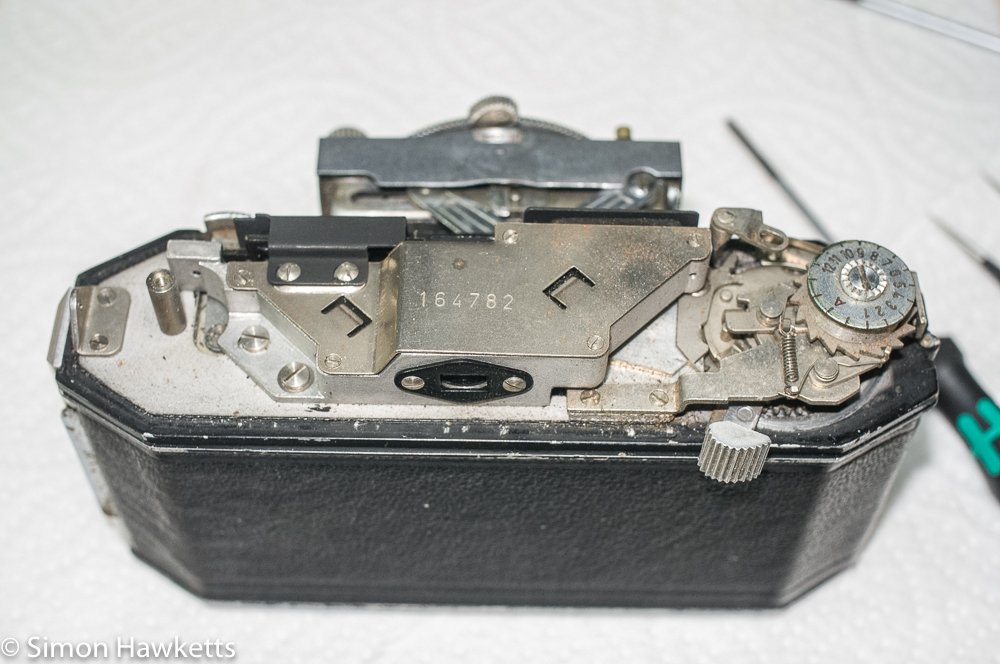
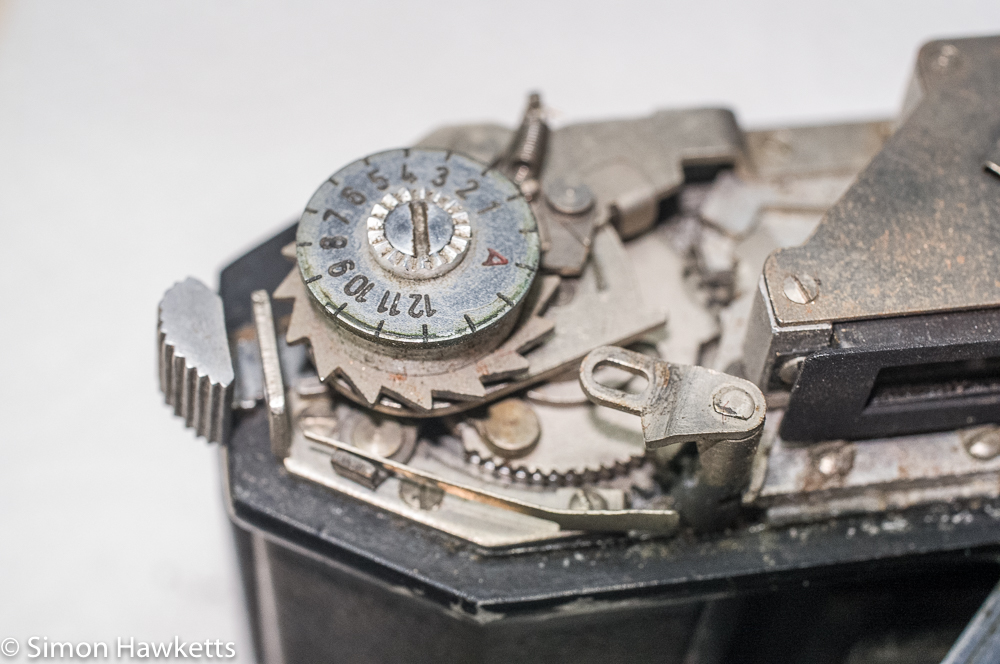
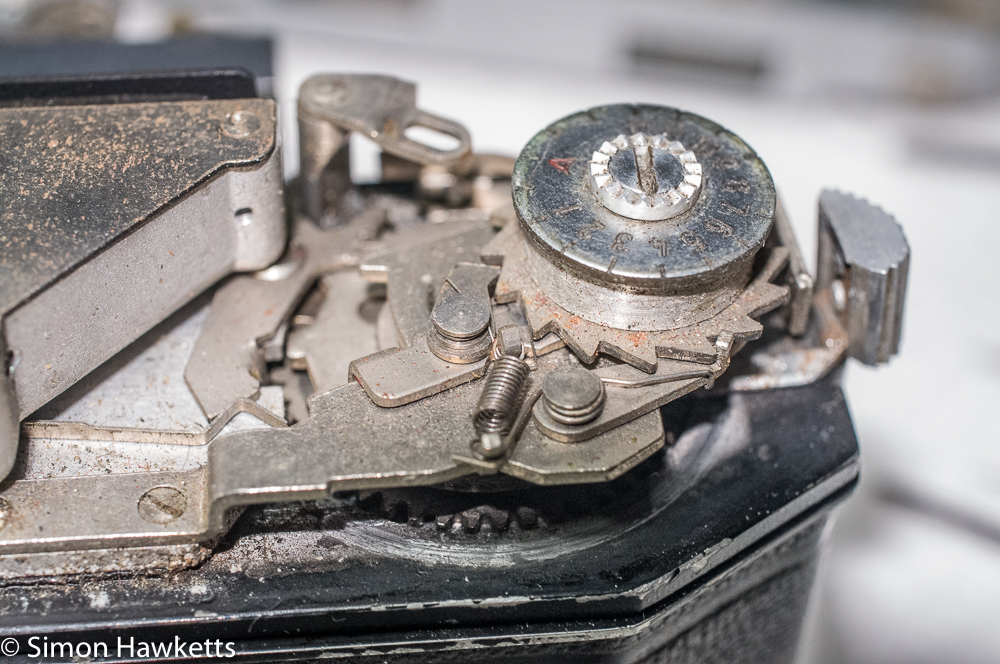
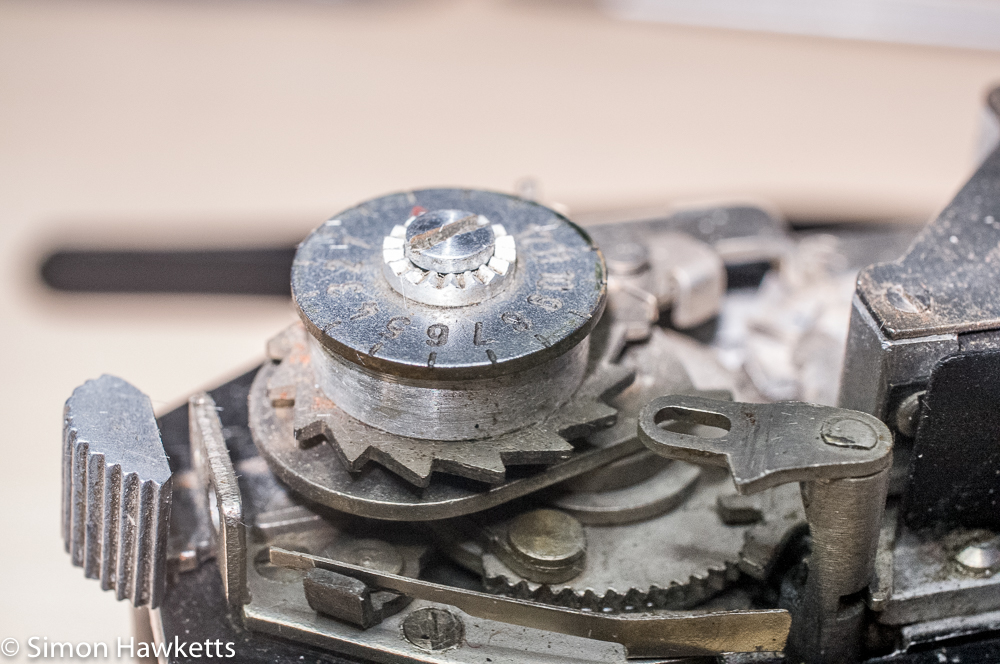
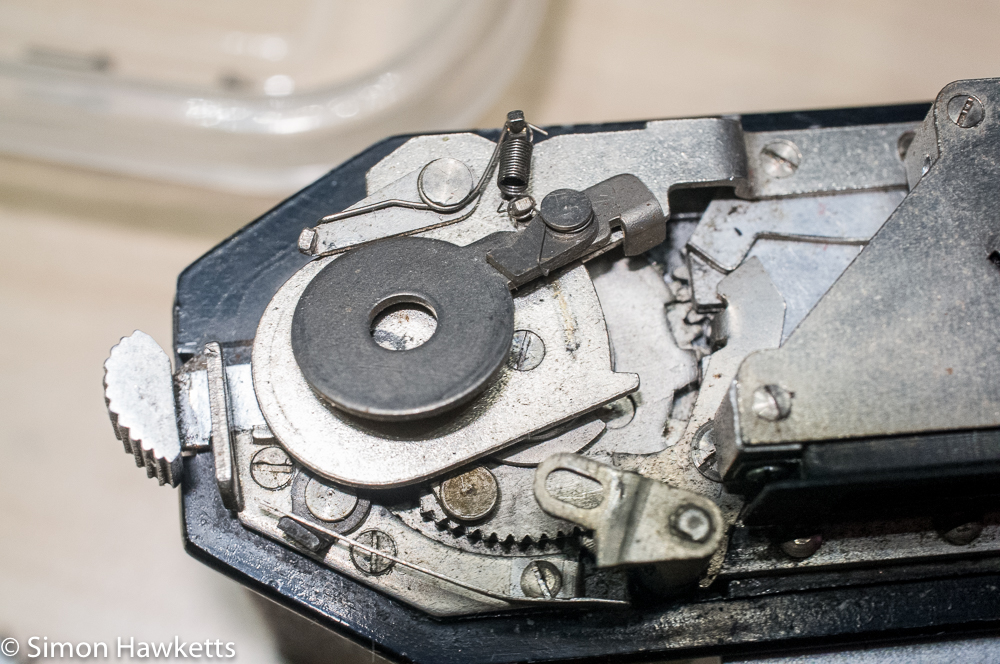
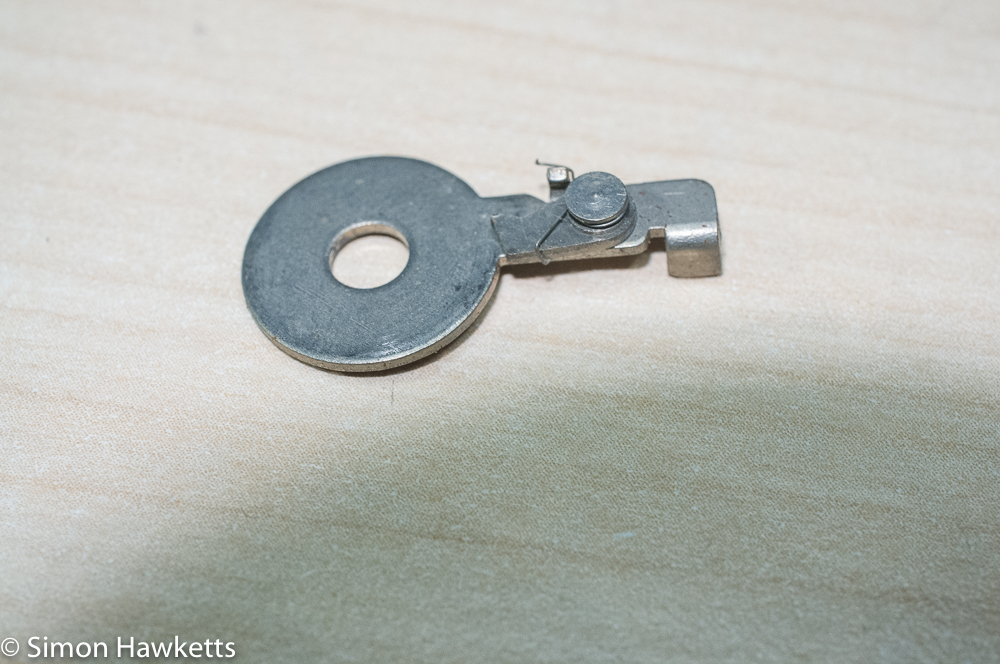
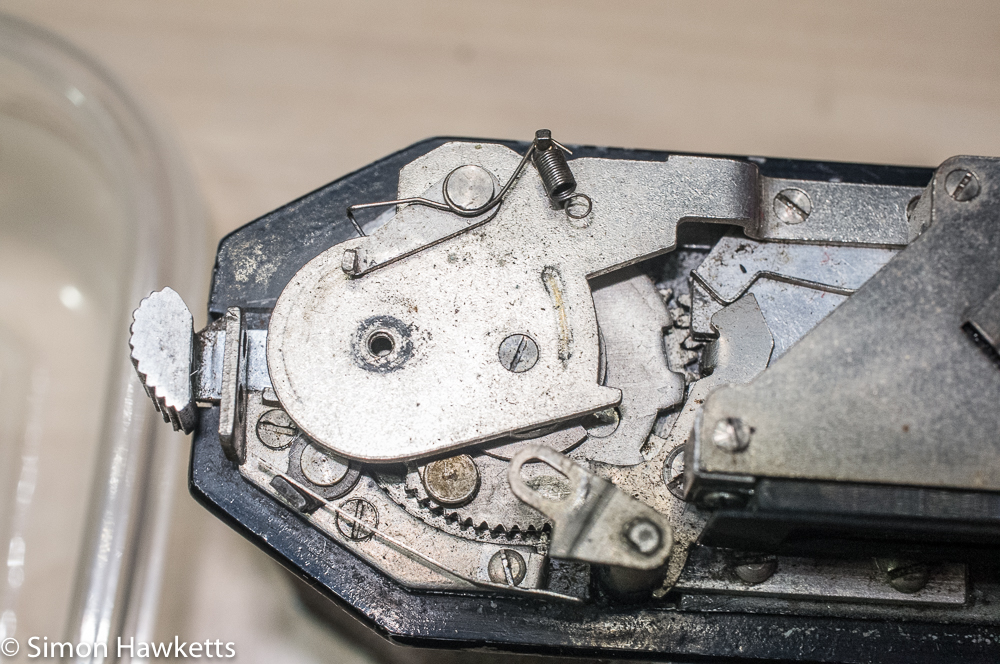
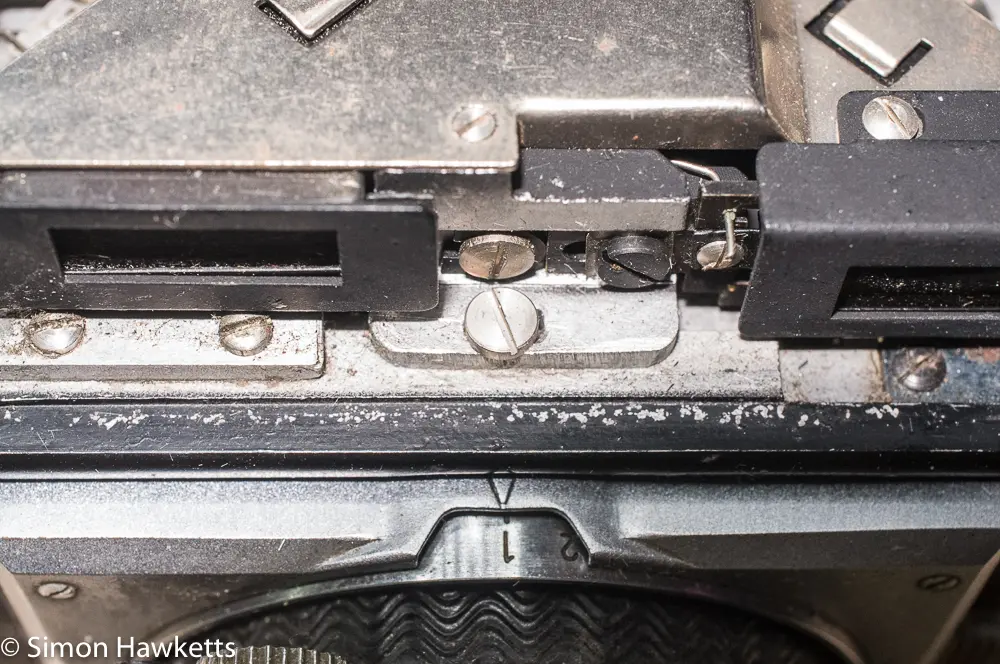
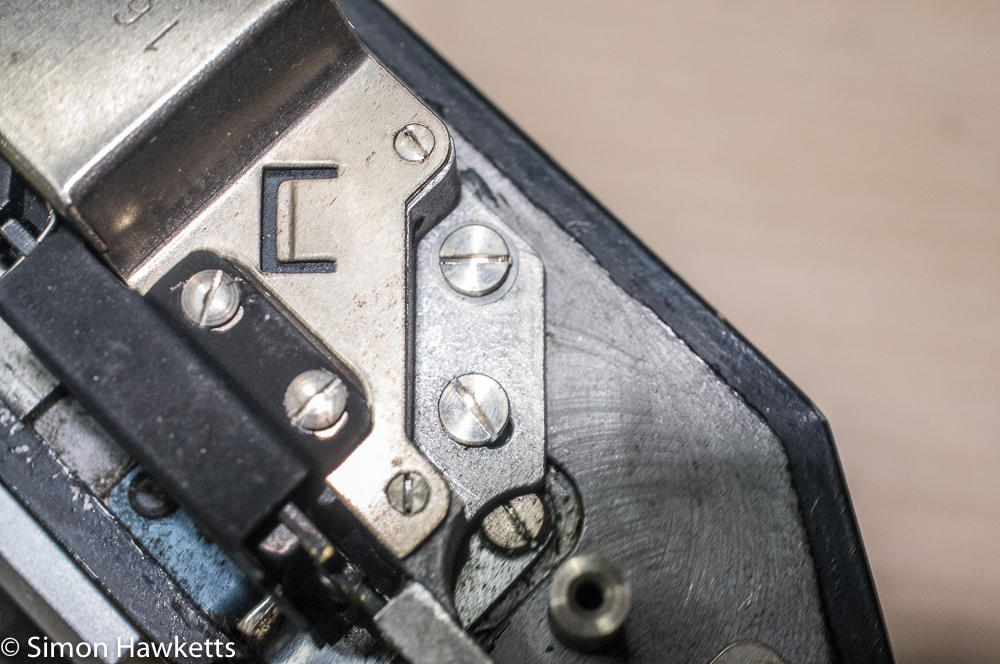
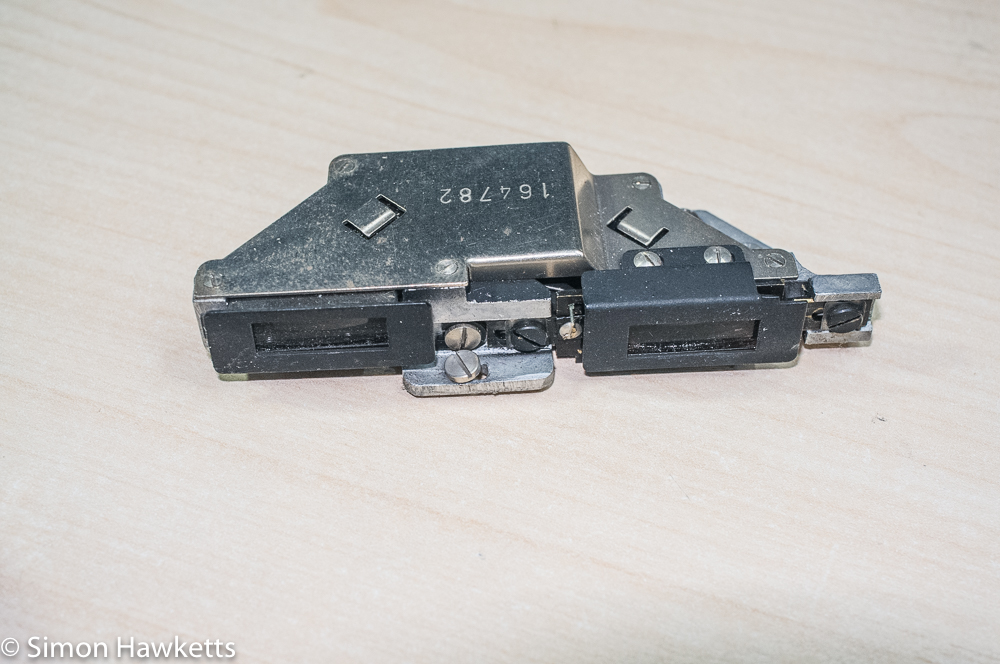
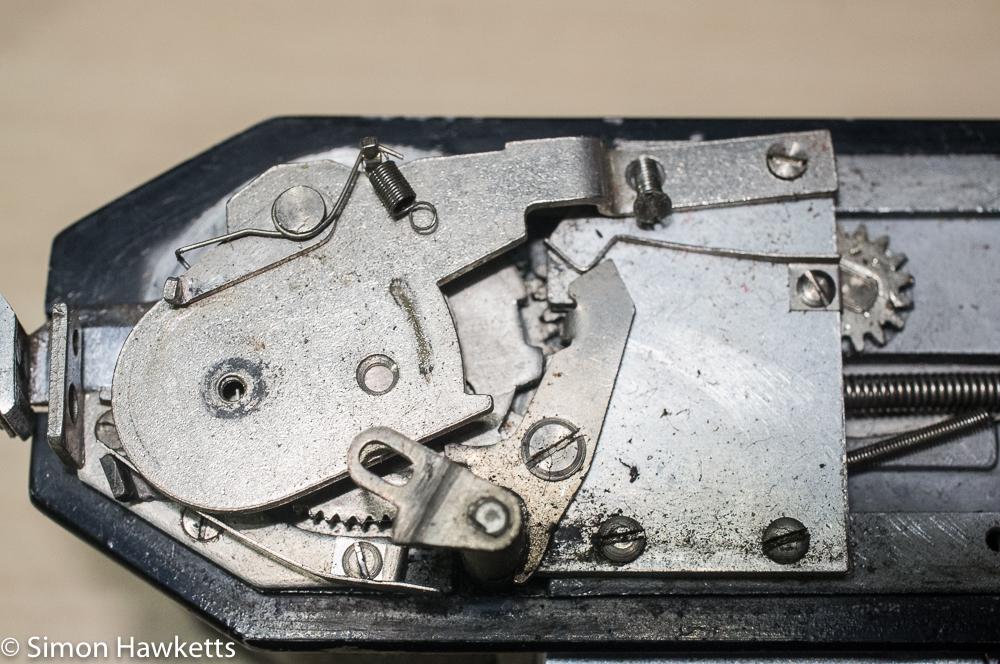
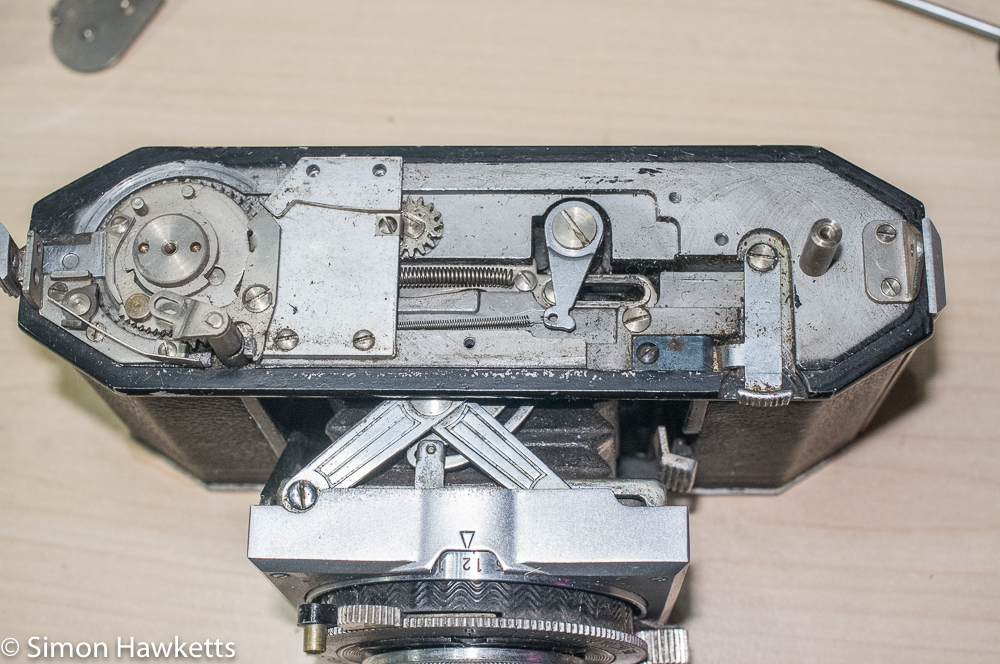
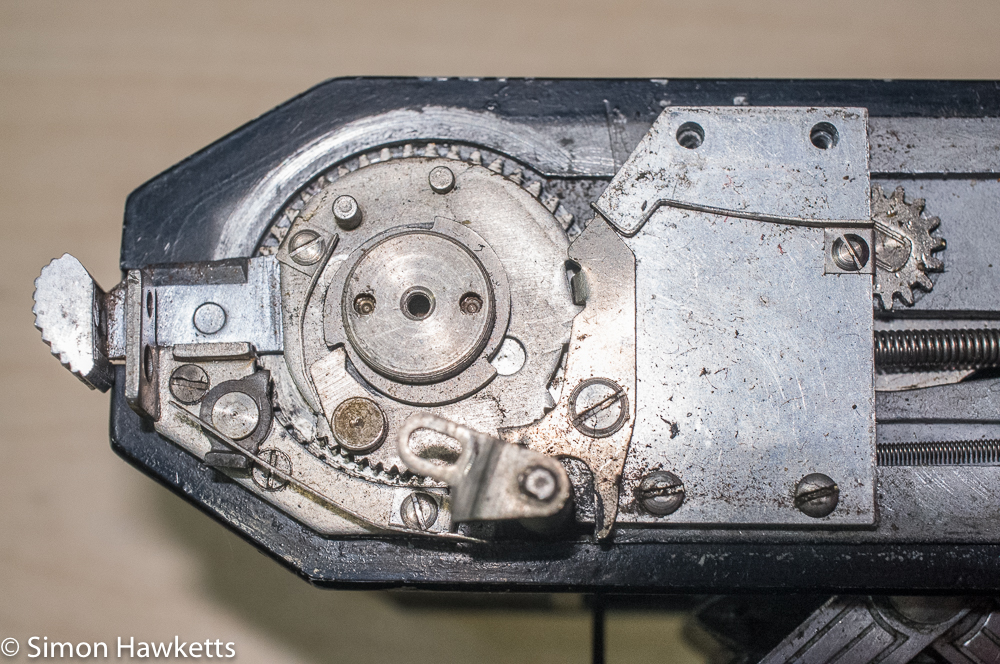
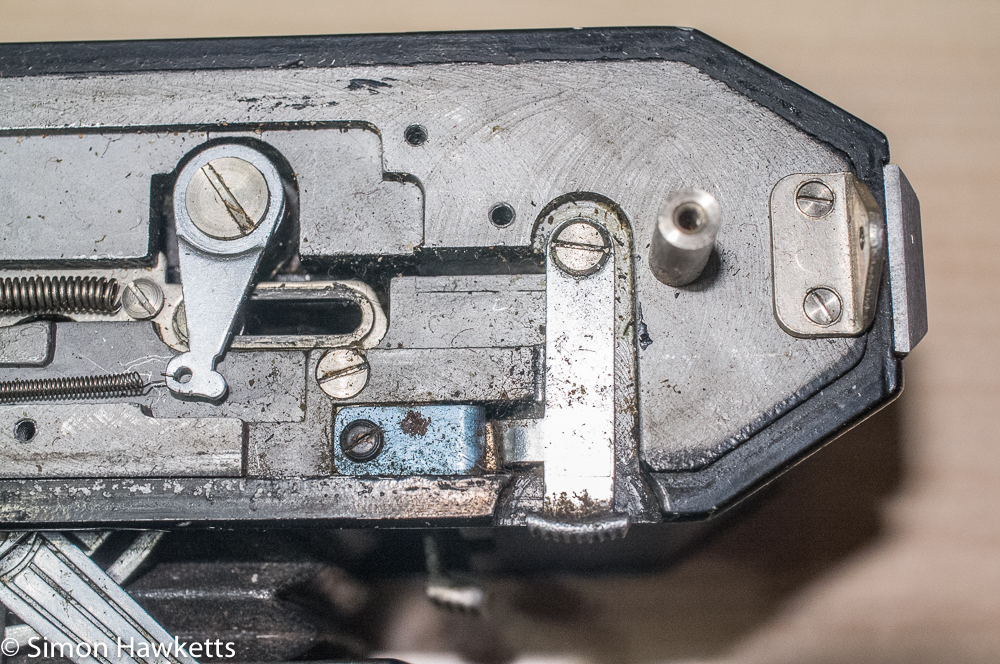
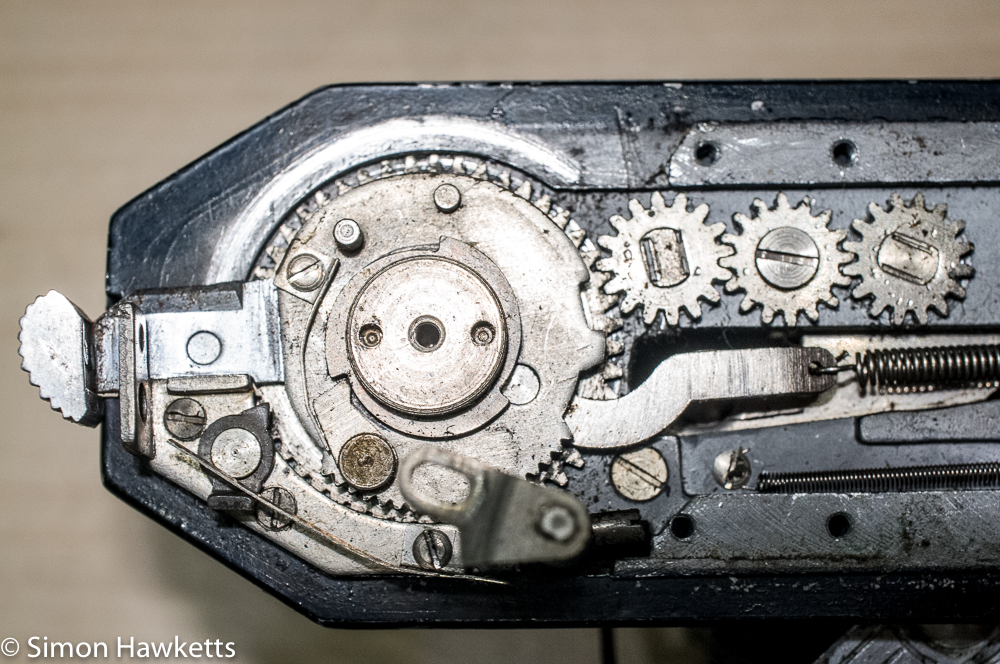
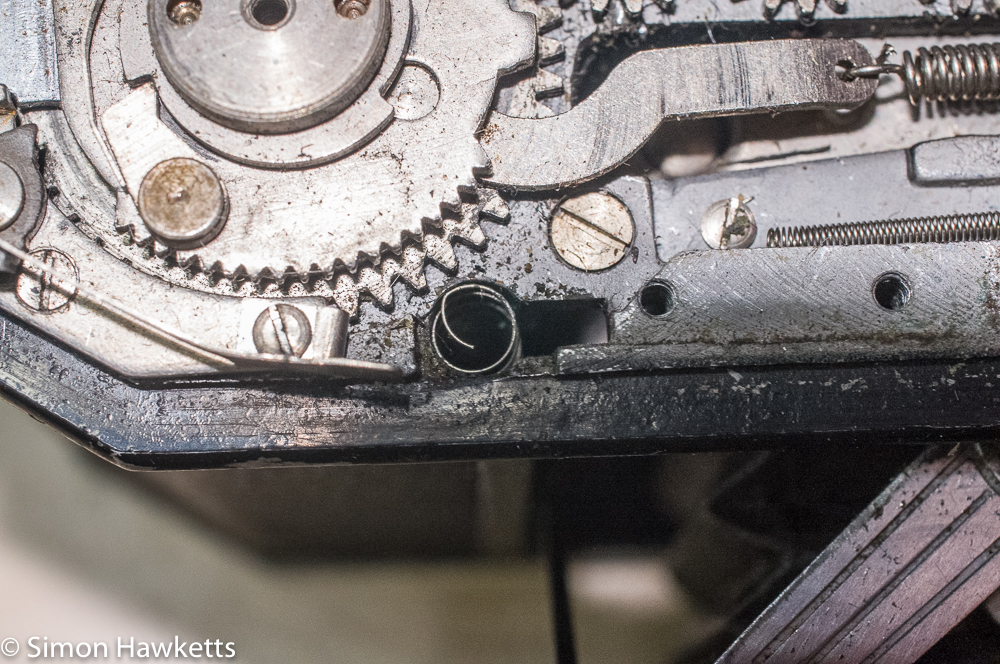
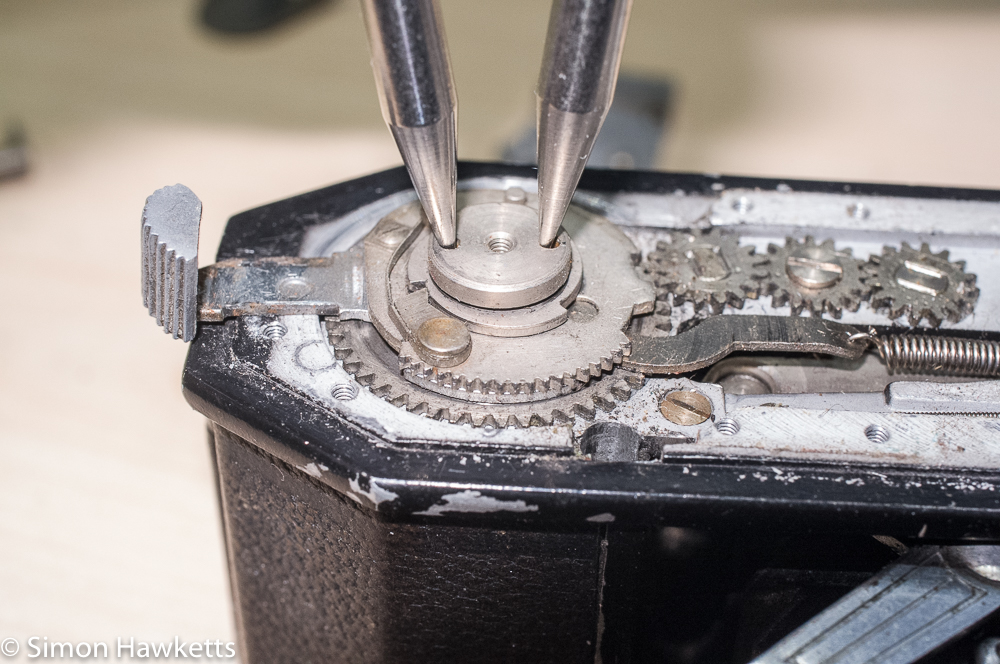
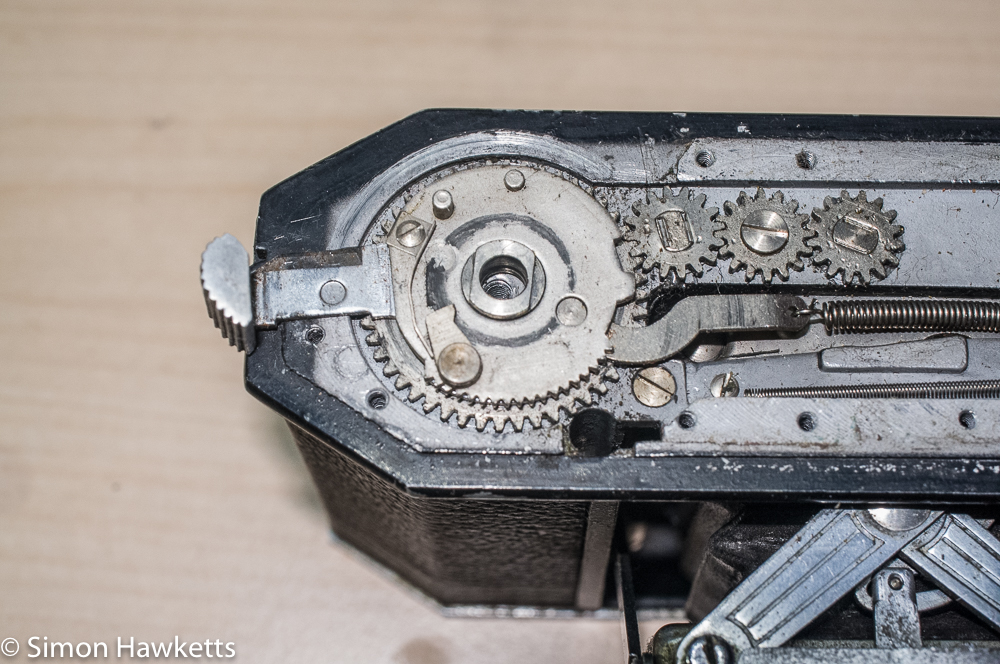
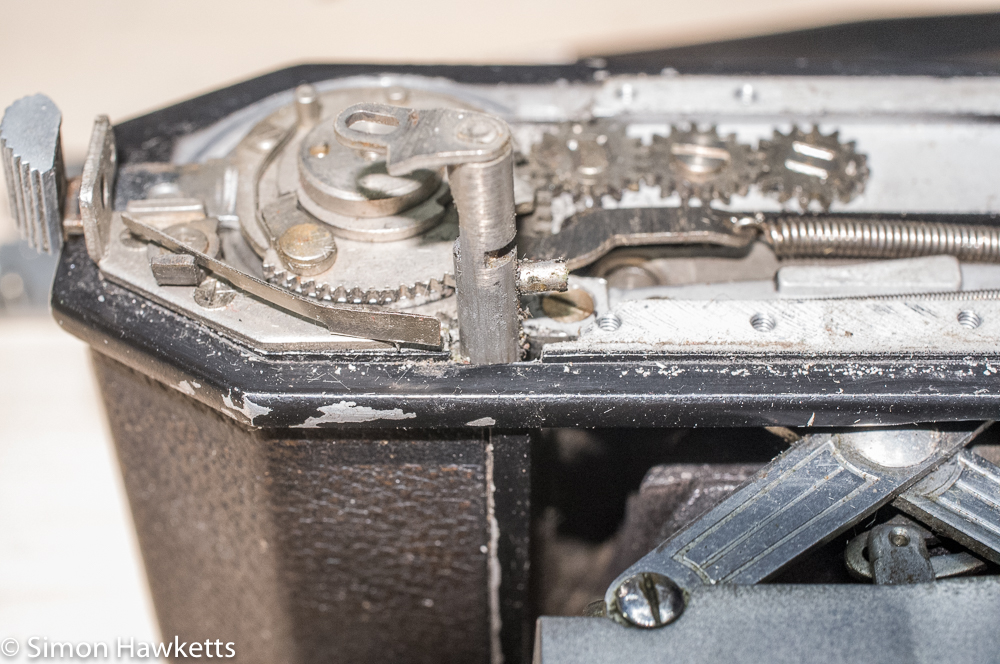
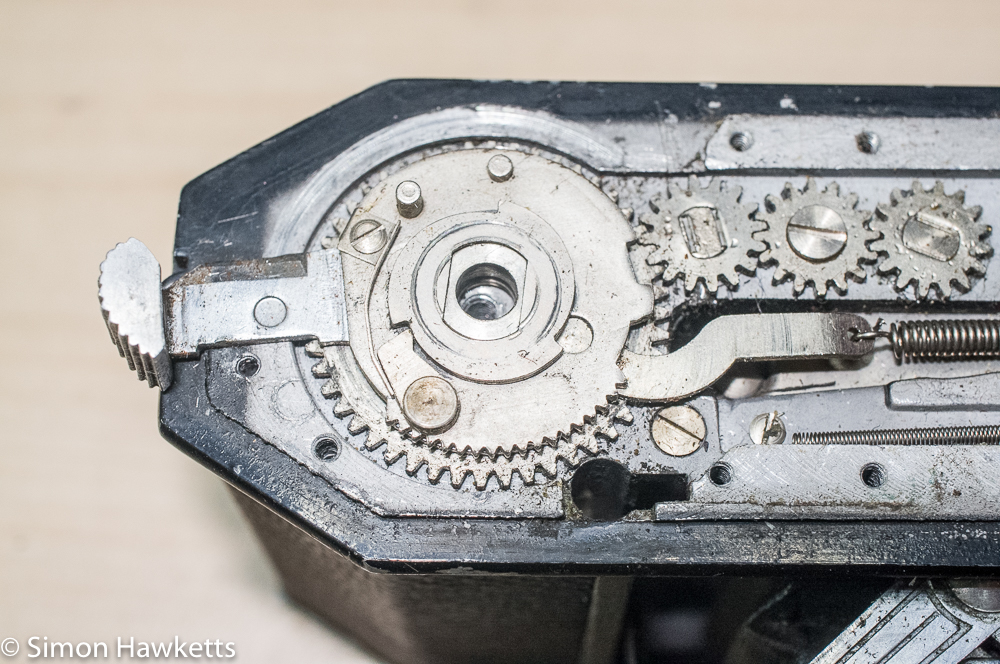
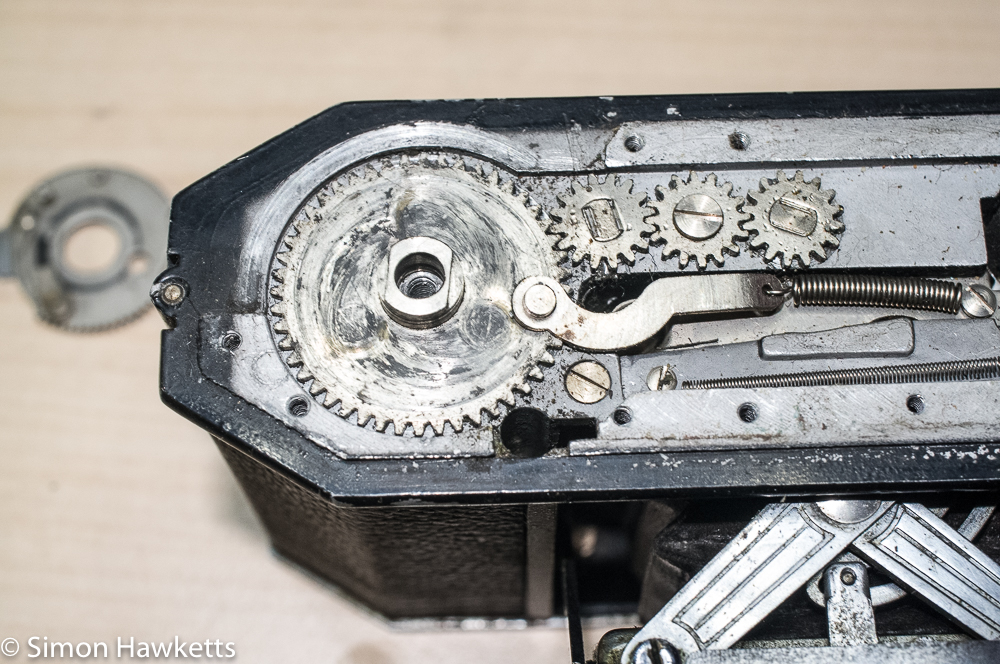
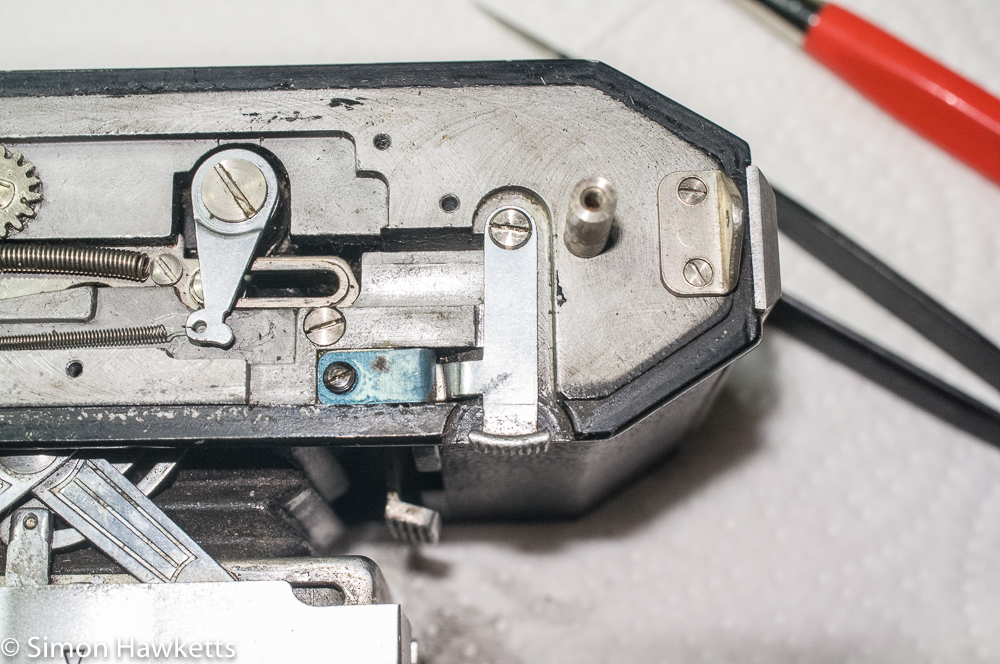
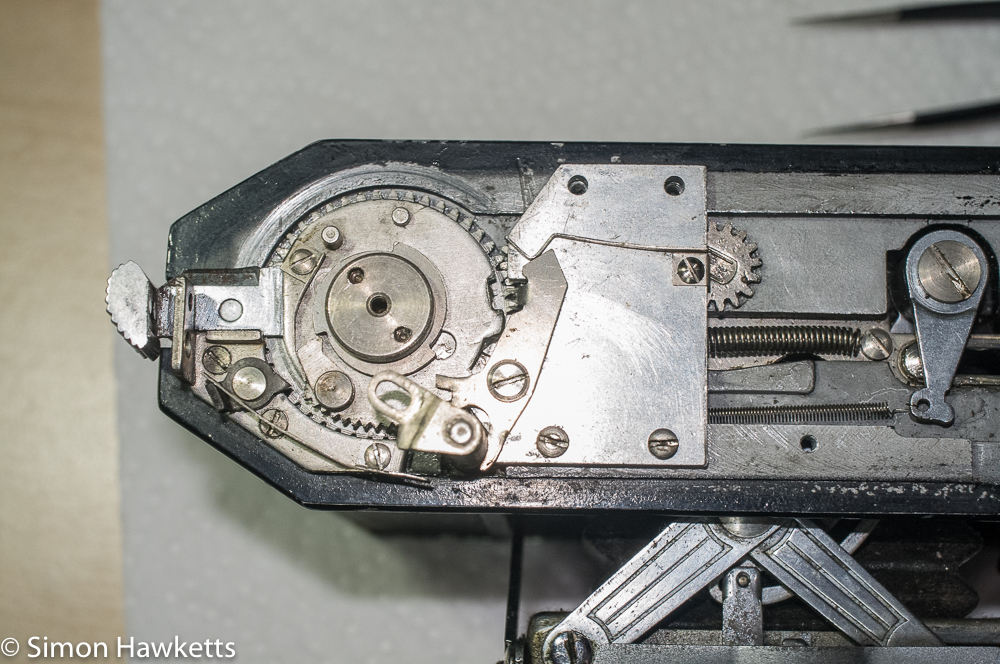
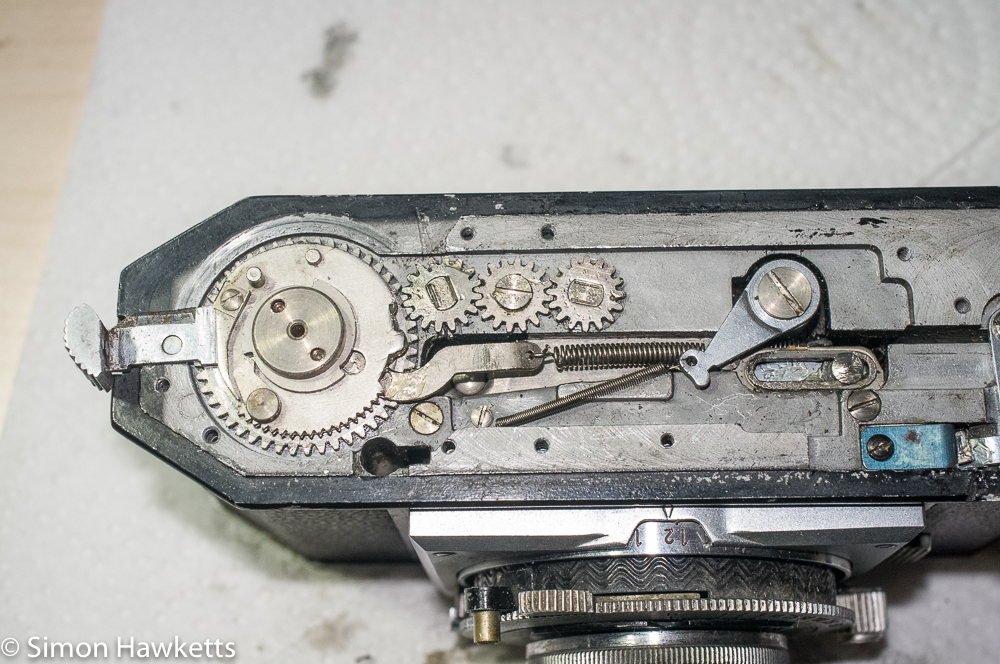
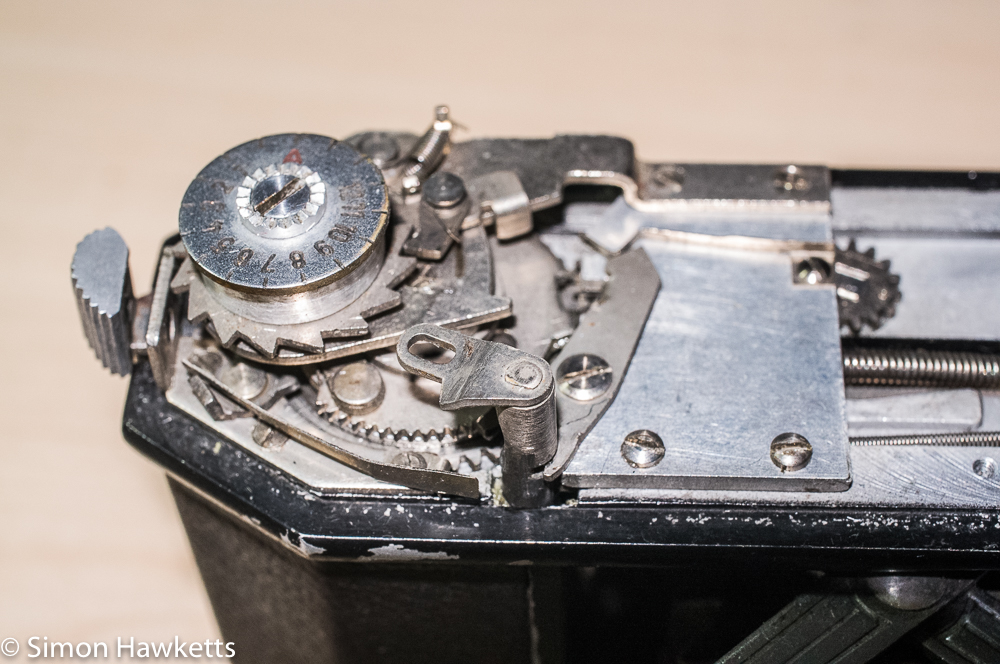
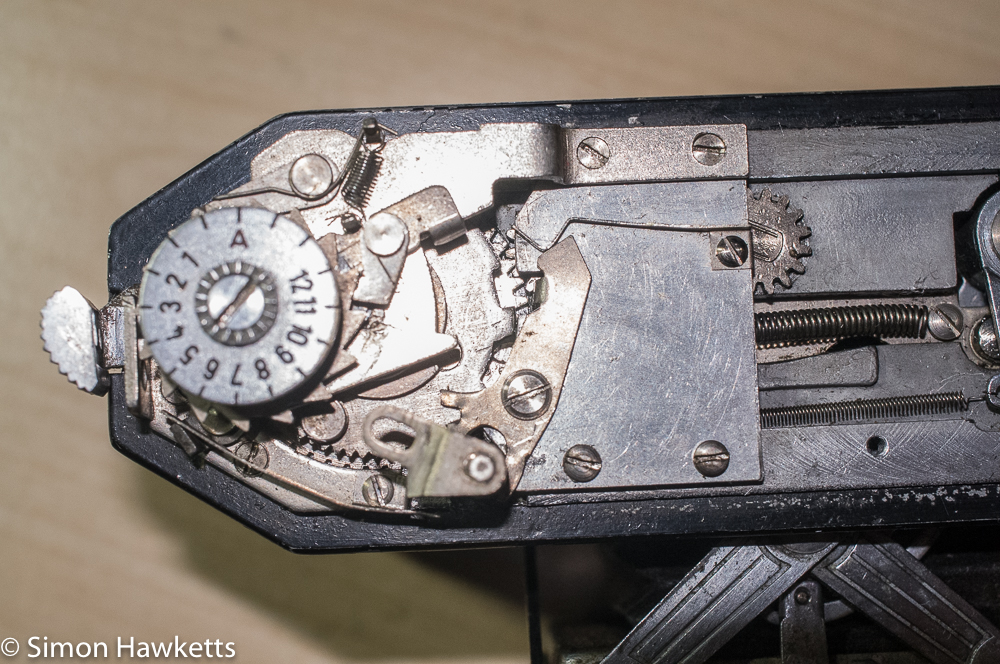
Strip down of the Agfa Karat 12 film advance.
The first part of the process is to get the top of the camera off so that the mechanism is exposed.
This is quite an easy camera to get apart – there is a screw at the end of the camera top by the depth of field guide, and another one which is hidden by the film advance. Move the film advance round the back of the camera to expose the screw and undo & remove it.
The top is then held on with a screw through the middle of the depth of field gauge. Remove the two screws in the top and lift off the plate and there is an obvious screw to remove – with it out, the top lifts away. Be aware that the shutter release button has an inner rod which may very well fall out as the top comes off.
With the top off I started to take the film advance apart using the steps shown in the pictures above. Although I only removed the rangefinder after I’d got to a point where in needs to come off, if I were to do the process again I would probably remove the rangefinder first and put it safely out of the way.
During the process of stripping down the mechanism, I would suggest each part is put safely to one side and as much as possible keep the screws in the holes they fit in so that it is easier to remember which screw goes where.
The film advance mechanism naturally consists of two main assemblies – the frame counter and the actual film advance mechanism.
The frame counter consists of the counter dial itself, a latch underneath it and a plate which supports the mechanism. Once this is off, the shutter release cover plate, latch, release rod and spring come off and then the film advance mechanism itself is exposed.
The film advance is held in place with a screw through the centre, which has two holes in the top. You need to use a lens spanner or something similar to unscrew this, and it needs a bit of force to get it undone. Once it is out, the other components lift off for cleaning.
The bottom component is a large cog which mates with three smaller cogs. When it comes time to put this back in place, the cog has to go back in the same position, so it would be a good idea to mark the cogs which mesh in some way. I didn’t do this, I just used the pictures I’d taken to get the angle of the cam on the top of the cog the same, but if I were to do it again I would mark the position.
As well as the film advance, there is also a mechanism on the other end of the camera which is used to release the front standard from the body. I also disassembled that and cleaned and re-greased the runner in which the sprung mechanism which pushes the front standard out sits.
Re-Assembly of the Agfa Karat 12 film advance
With all the pieces off, I proceeded to clean each with cotton buds and Isopropyl Alcohol (IPA) removing all the old grease and dirt.
With the pieces clean, I re-assembled the film advance first, adding a very thin film of grease where necessary. The general rule I use is that if pieces had grease on when I cleaned them, or obviously need to move against other pieces, then I add a very small amount of grease.
As I said above, it is important to get the film advance cog at the right angle when it is re-assembled so that the timing of the rest of the film advance is correct. I used the picture I had taken and set it just off straight, which seemed to be right. Then the rest of the film advance components went on top and I screwed the central screw down again.
Another tricky bit to reassemble is the frame counter latch mechanism. You need to hold the plate under the frame counter in place and swing the sprung loaded latch out of the way.
I found the spring on the latch came off, and I had to re-fit it, but once everything is in place just screw the central holding screw in. I found this screw mustn’t be done up too tight or the frame counter will bind and not work properly.
With the film advance re-assembled and tested to make sure it all worked nicely, I then moved on to taking the shutter off and cleaning and lubricating it, which will be the subject of my next post in this series.
Discover more from Everything Vintage
Subscribe to get the latest posts sent to your email.

