Repairing a Rusty Werra 1 camera – part one
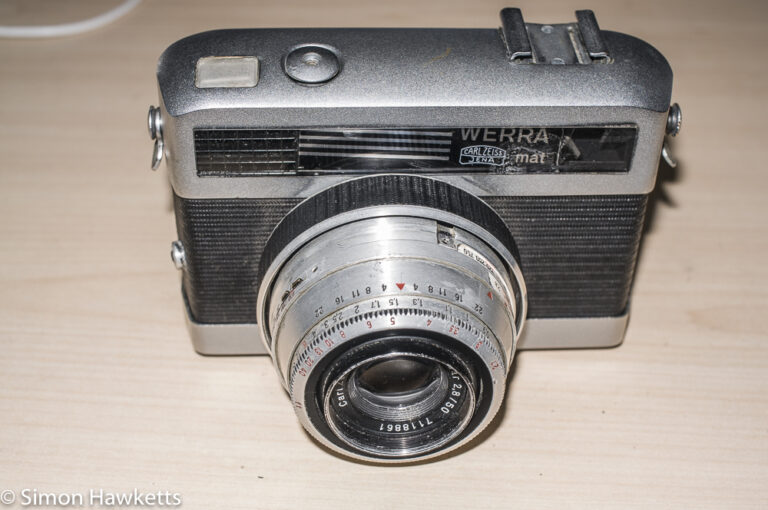
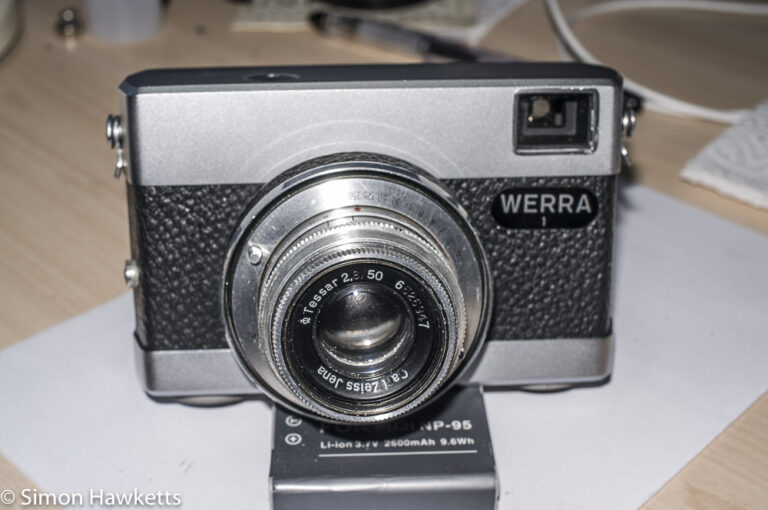
A few weeks ago I bought a faulty Carl Zeiss Werra 1 camera which is a 35 mm viewfinder camera, with a view to getting it repaired and working again.
The story was that the seller on eBay was testing the camera and found that the shutter was a bit sticky, so they were trying to use the camera to see if it loosened up. Their nephew, hearing that it was sticky and knowing that you can remove stickiness with a steamy kettle, borrowed the camera and held it up to a steaming kettle to fix it. Obviously, this did no good at all!
Because of this ‘accident’ I managed to get the Werra 1 for only about £8, and it was shipped to me a few days after the purchase.
Werra 1 camera dismantling
When I received it I did a quick assessment and found that the camera is in pretty good shape from a cosmetic point of view, but the mechanics are not so good. The shutter blades had patches of rusty deposit, and the film wind/cocking action of the outer ring on the lens was very rough feeling and didn’t reliably cock the shutter. After a few attempts to get the shutter working, it locked up and wouldn’t turn fully.
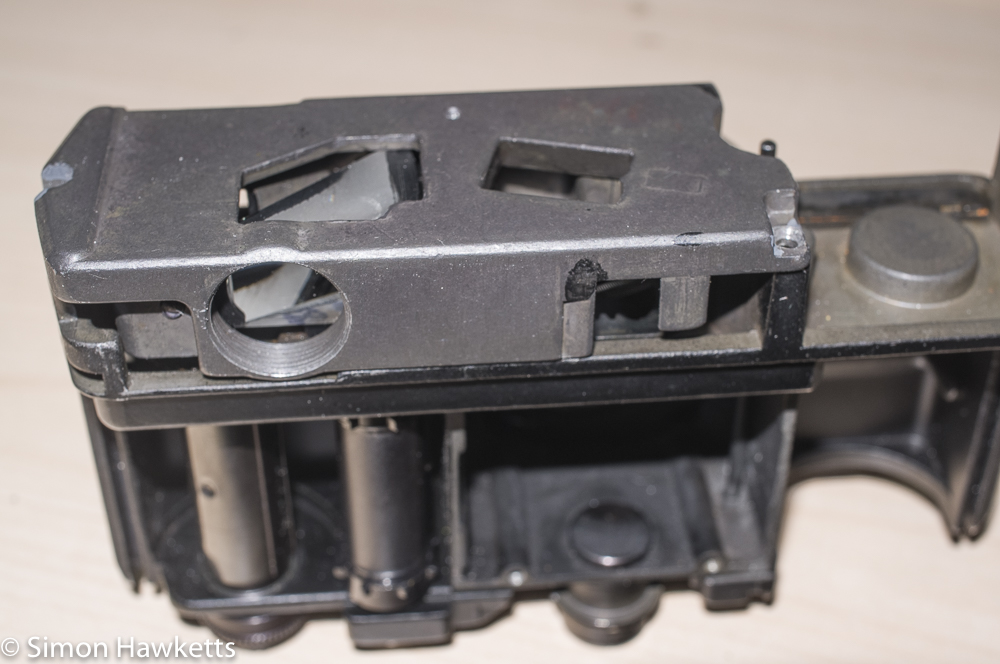
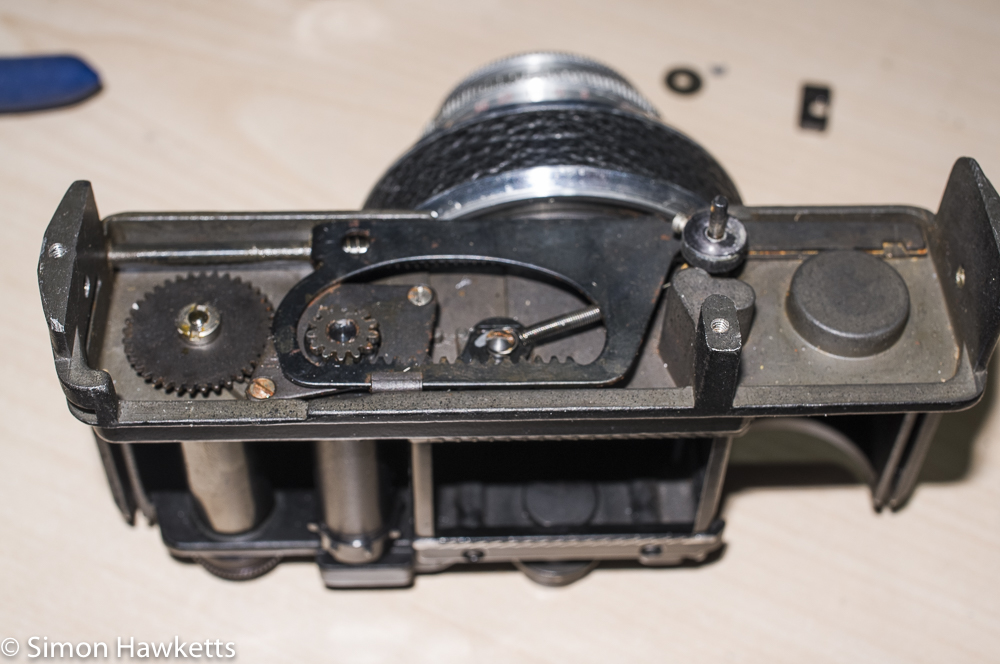
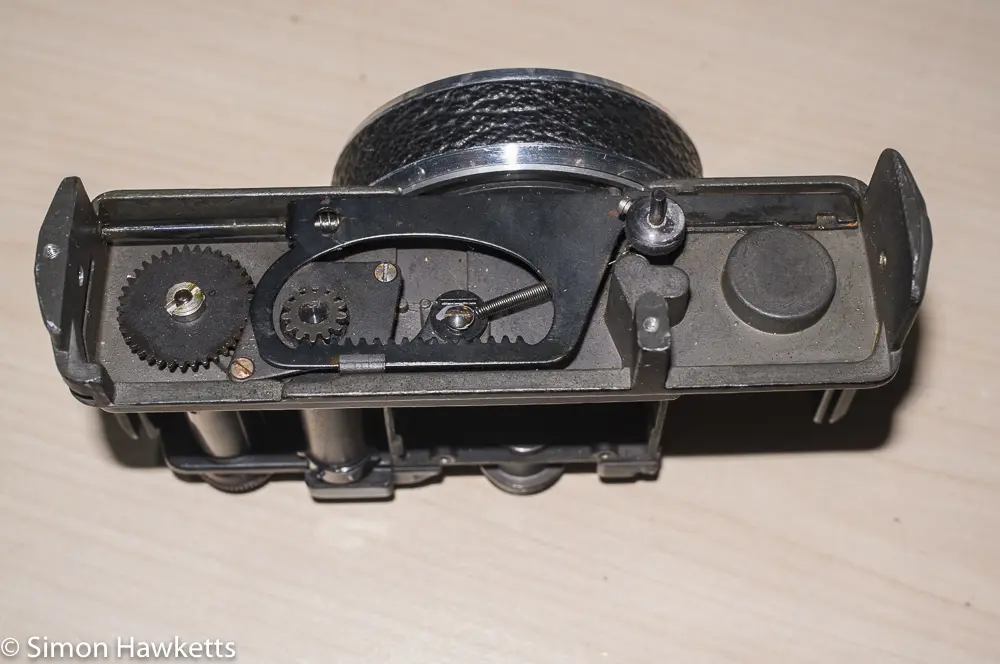
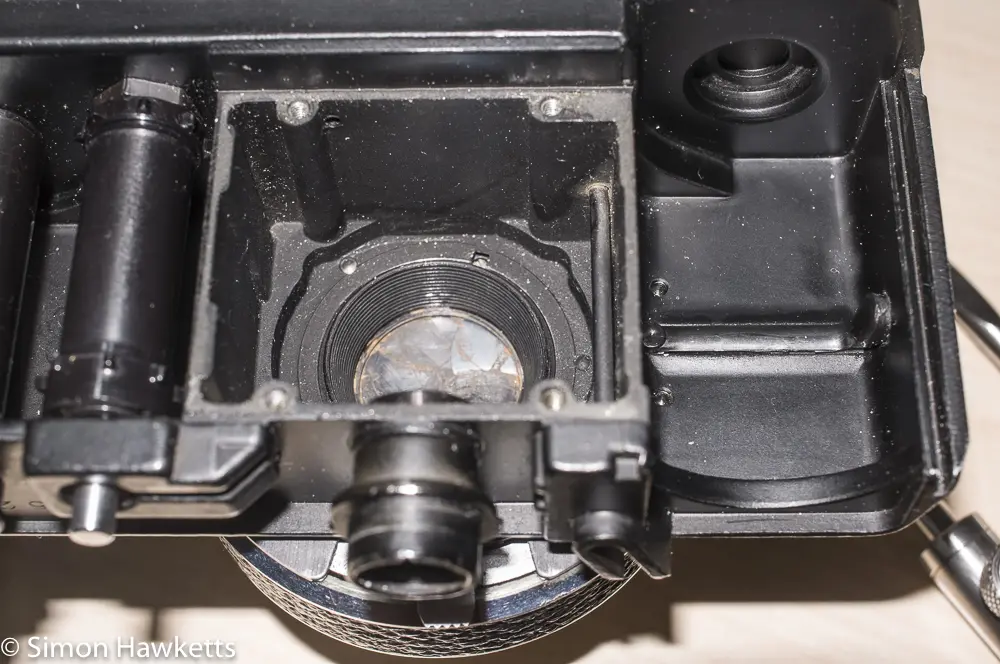
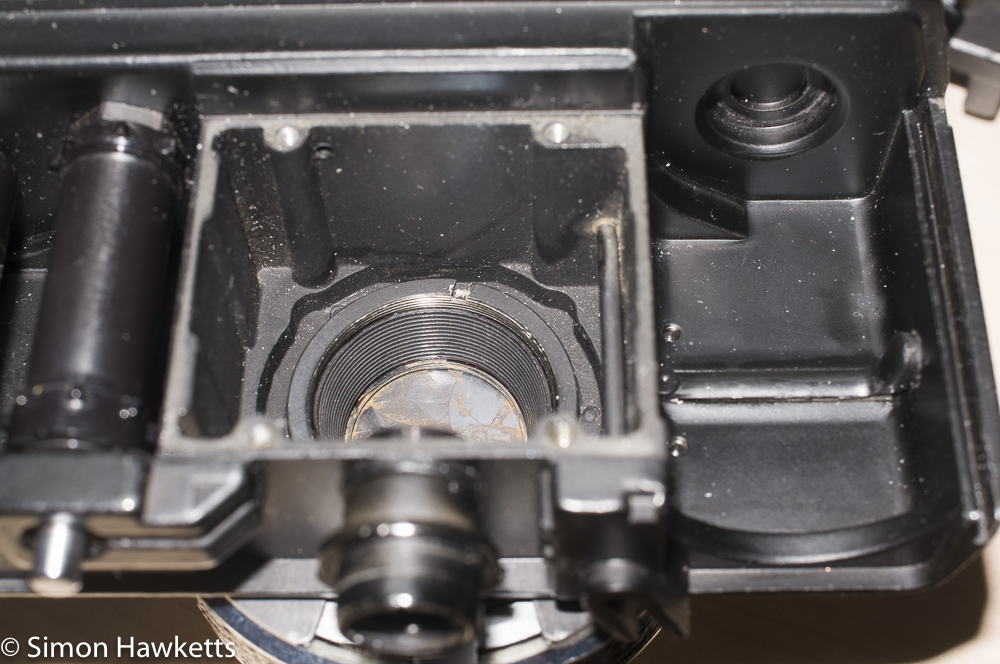
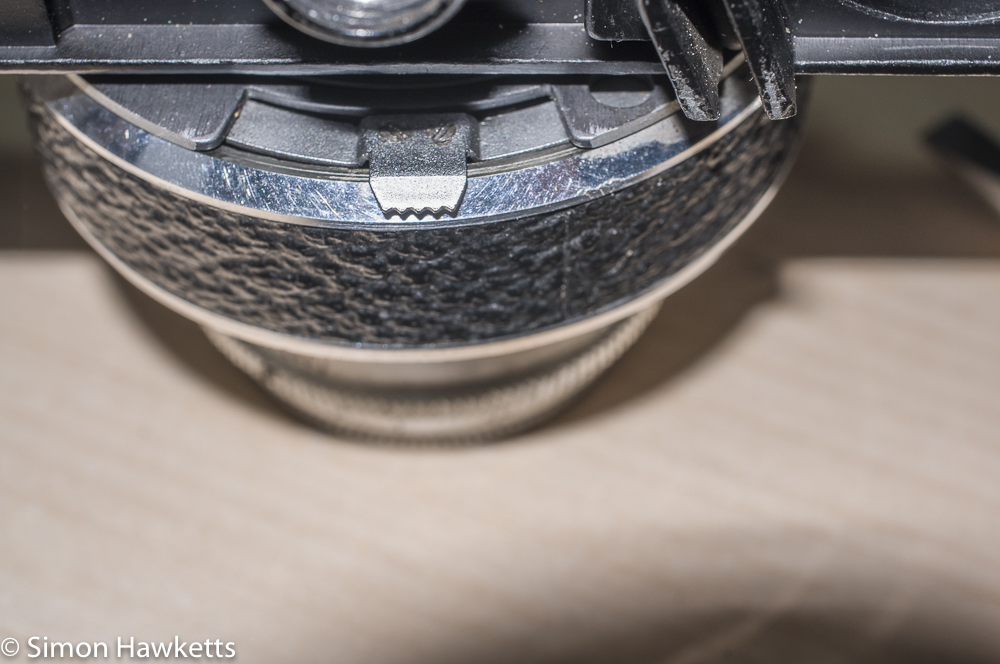
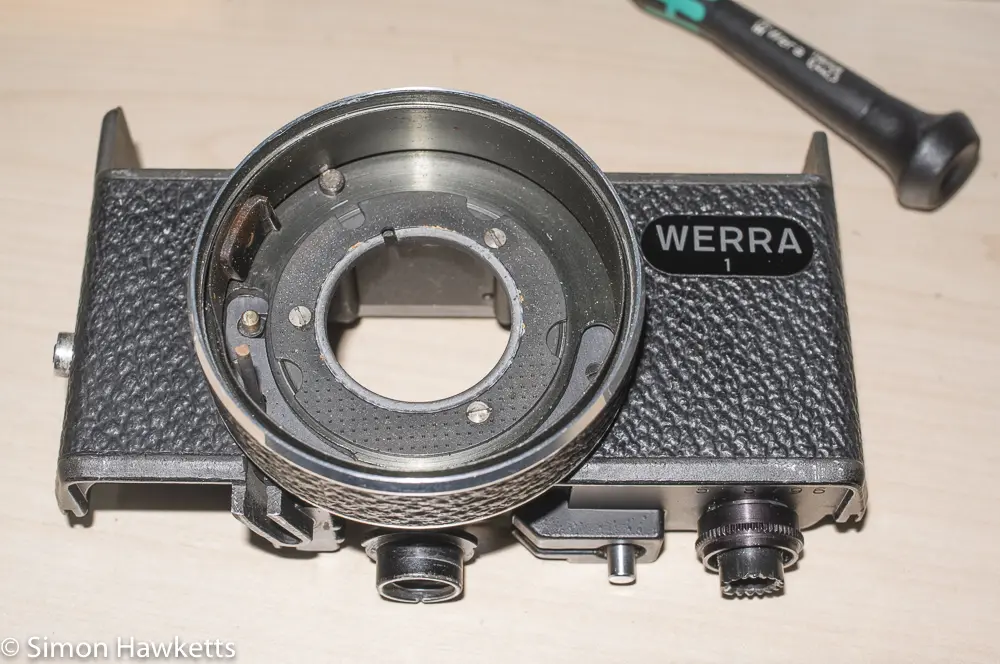
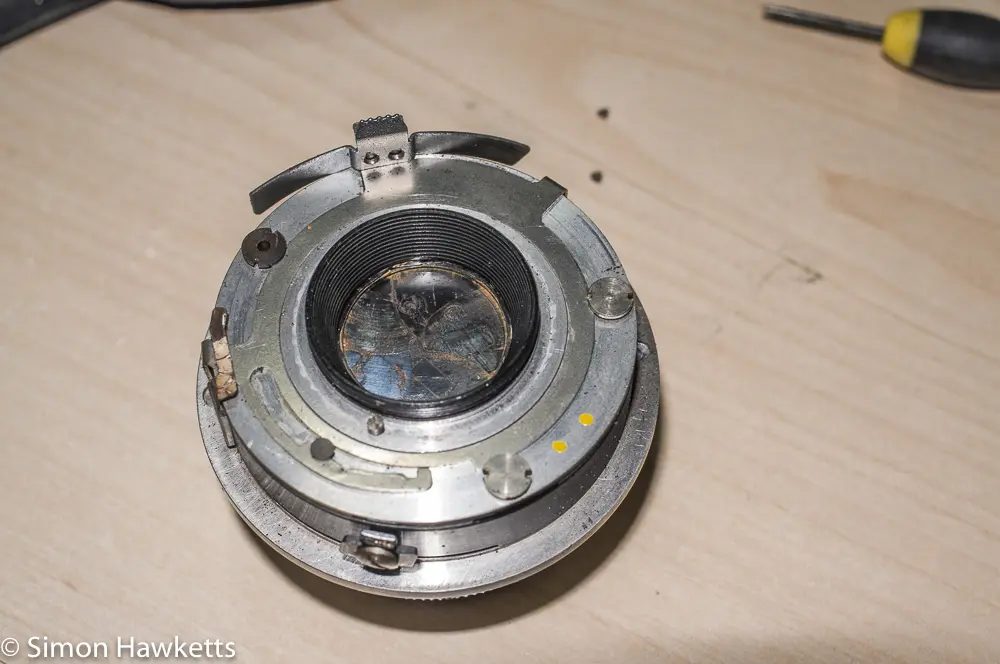
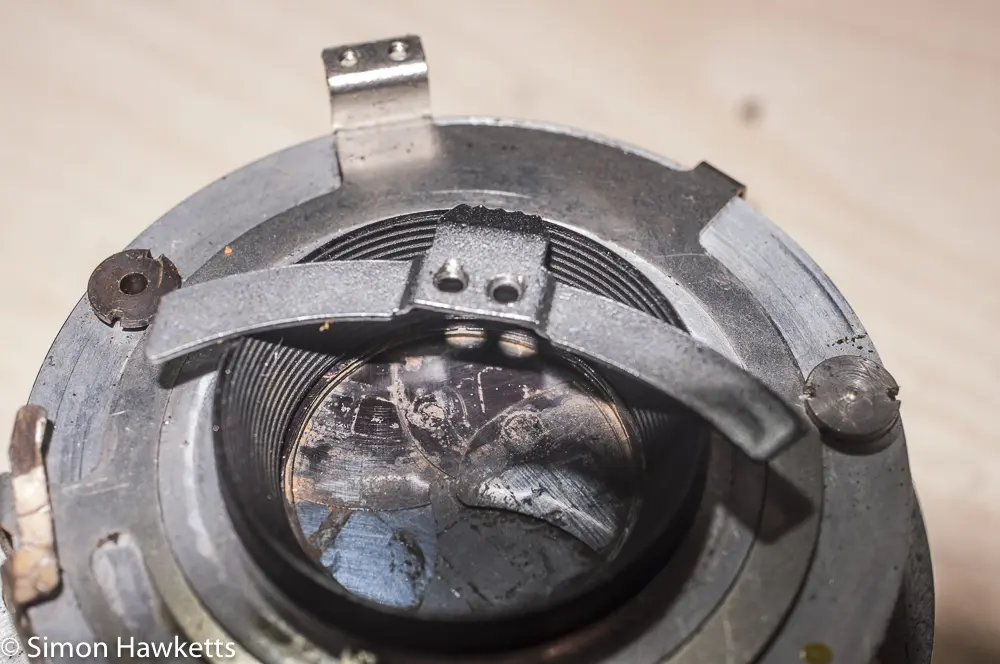
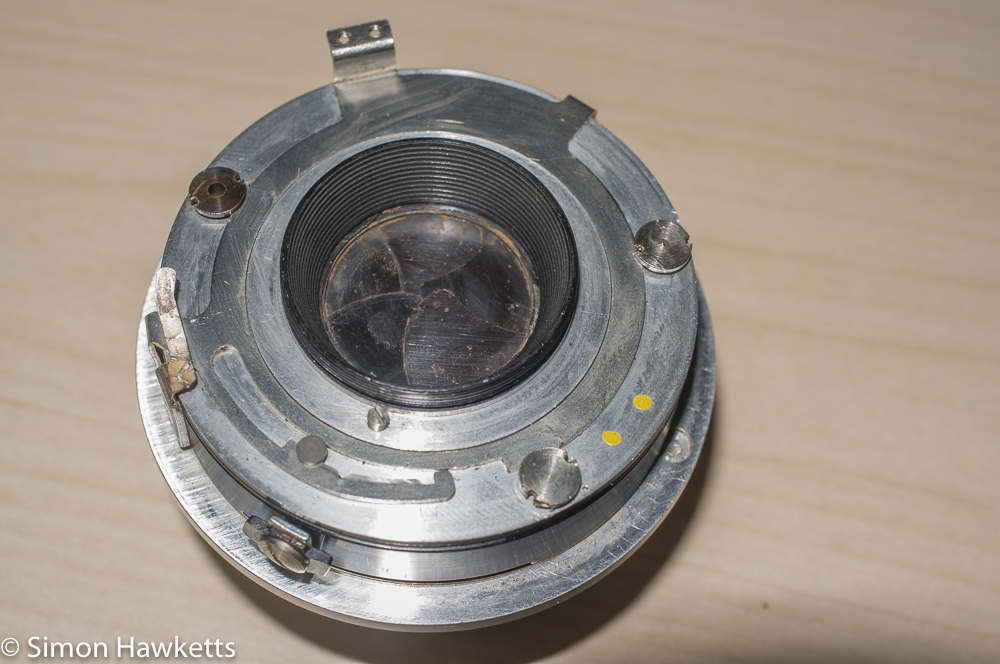
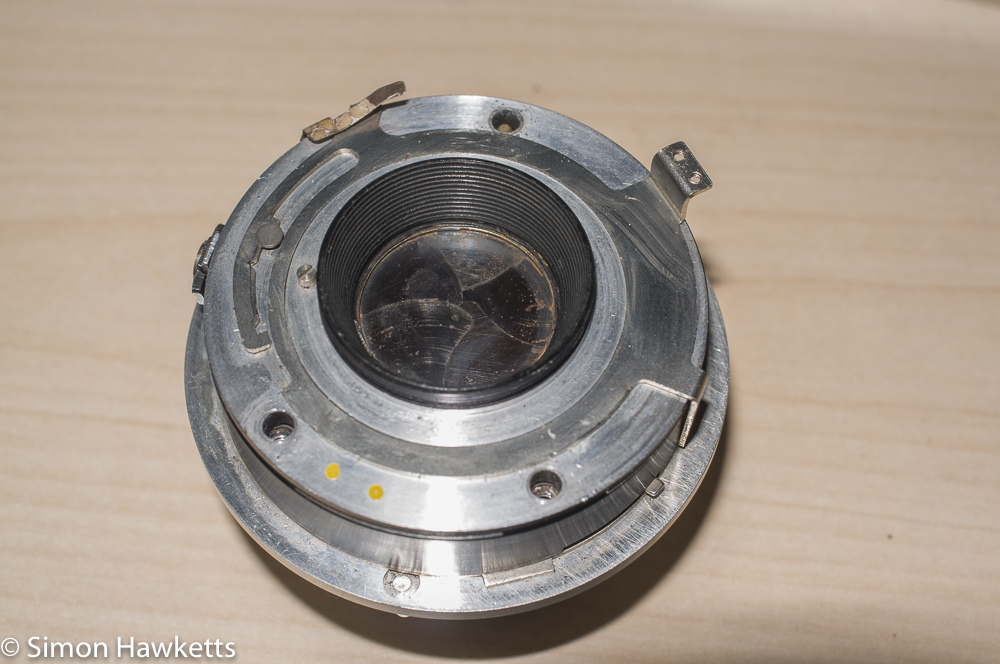
The first puzzle to solve was how to remove the top cover. The Werra range were somewhat odd in that apart from the shutter button, they appear to have no controls or means of entry. The only possibility seemed to be the two lugs which form the strap holders, but they are completely smooth and have no screw slots.
However, an Internet search suggested that these were the items I needed to unscrew, so I very gingerly gripped them with a pair of pliers wrapped in some rubber sheet and after a bit of effort they turned and could be removed.
With the strap lugs off, the top cover could lift a fraction, but I found the viewfinder had to be unscrewed to remove the cover completely. With the viewfinder off the cover could be lifted to reveal the top workings of the Werra.
I found that the viewfinder assembly was held on with two screws and could easily be removed. Underneath was the winding mechanism, which, now it was revealed, would work again but was very dry and had some surface rust. I applied a very small amount of light oil to the shaft of a couple of the cogs in the film transport and a touch of grease to the three points which rubbed against each other which were all on the big b shaped component which is driven by the front film advance. After working this in by repeatedly winding and firing the camera the film transport at least seemed to be working properly again.
Removing the shutter
The next item on the agenda was to try to get the shutter blades working, and for that I needed to get the shutter off the camera. It turned out to be quite easy to do.

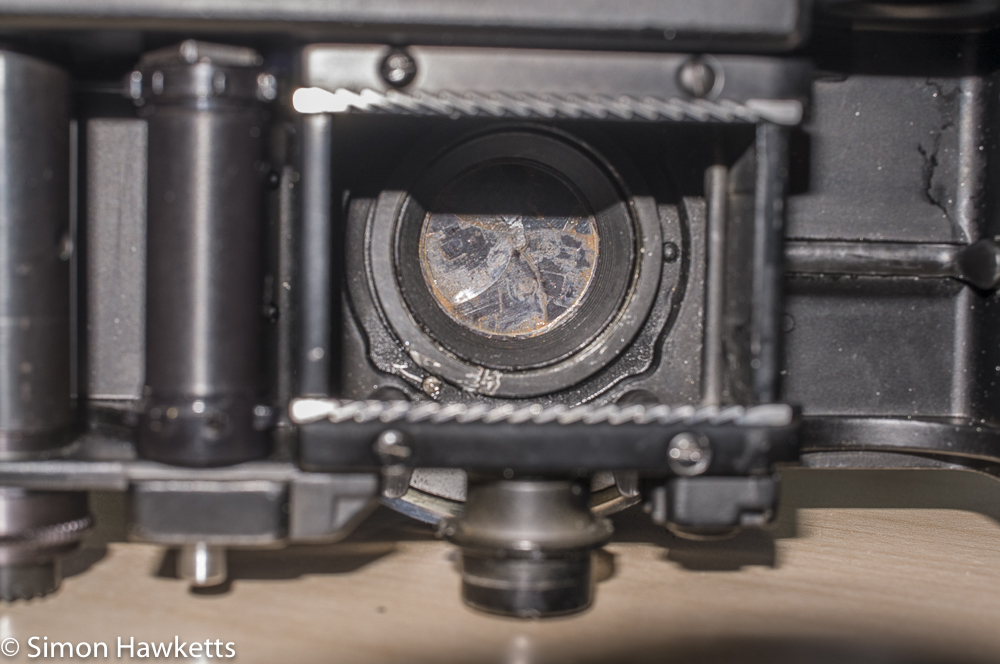
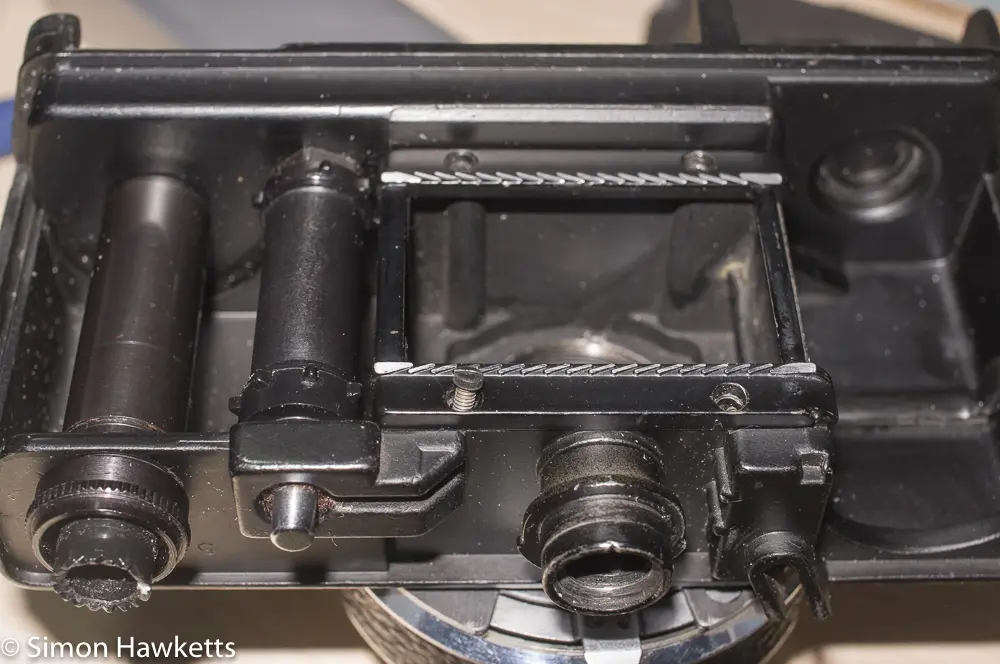
Remove the four screws which hold the film gate in place and remove it and then unto the locking ring nut on the back of the lens. It’s easy enough to do, but you will need a lens spanner to do it. I suspect trying to remove it with a screwdriver in one of the slots will lead to a scratched lens.
With the nut off the lens unit is loose and will move about, but it won’t come off the camera body yet. It’s held in place by the flash sync / self-timer switch which protrudes from the bottom of the film advance ring. There are two tiny screws which hold it on and with those removed you can extract the complete lens/shutter unit.
With the lens unit out I tried cocking the shutter and firing it using the controls on the side of the lens unit. Although I could cock the shutter and fire it, I couldn’t get the shutter to open & close, so I soaked a cotton bud in Ronsonol lighter fluid and tried to clean the rust and dirt off the shutter blades. After about 15 minutes of cleaning and retrying the shutter I eventually got the shutter to open and close, but it wasn’t reliable and there was no timing involved – the shutter opened as I fired it and closed again as I cocked it.
I spent time over the next few days trying to clean the shutter blades and I got them, so sometimes they would open, but I couldn’t get a reliable operation, so it was obvious that I’d have to dig deeper into the shutter to try to fix it.
One thing that was odd was the fact that as I cocked the shutter it would open and close. I couldn’t see how this was going to work because the film would be exposed every time the film was advanced until one time I was trying to clean some rusty deposit off the shutter and another set of shutter blades moved and partially covered the ones I was working on. It seems the Werra has a set of blades at the back which are kept closed whilst the shutter is being cocked and then opened when the shutter is tensioned ready to release.
Dismantling the lens assembly
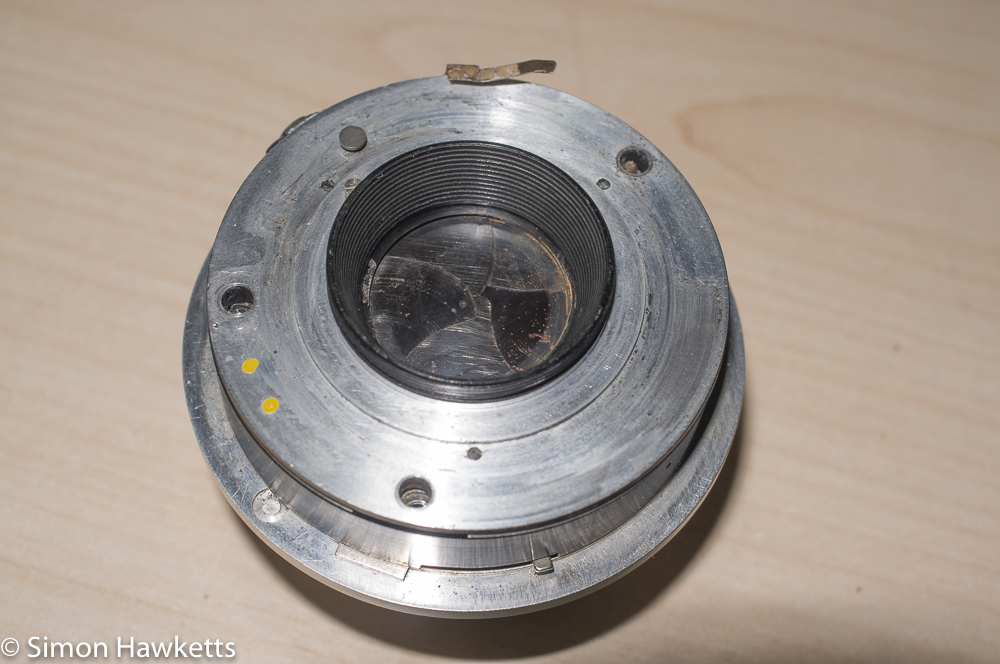
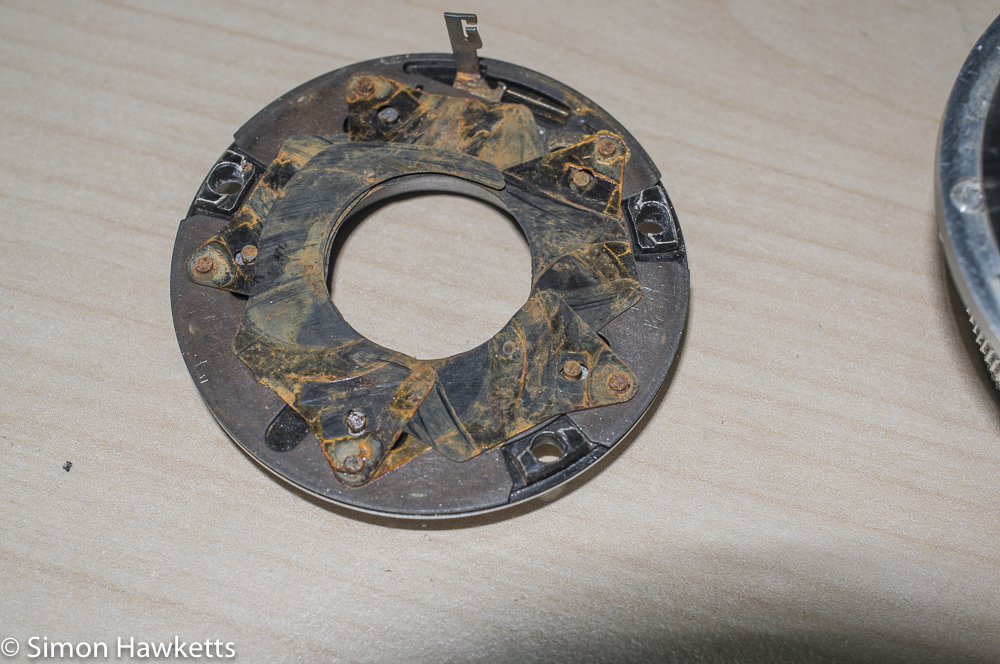
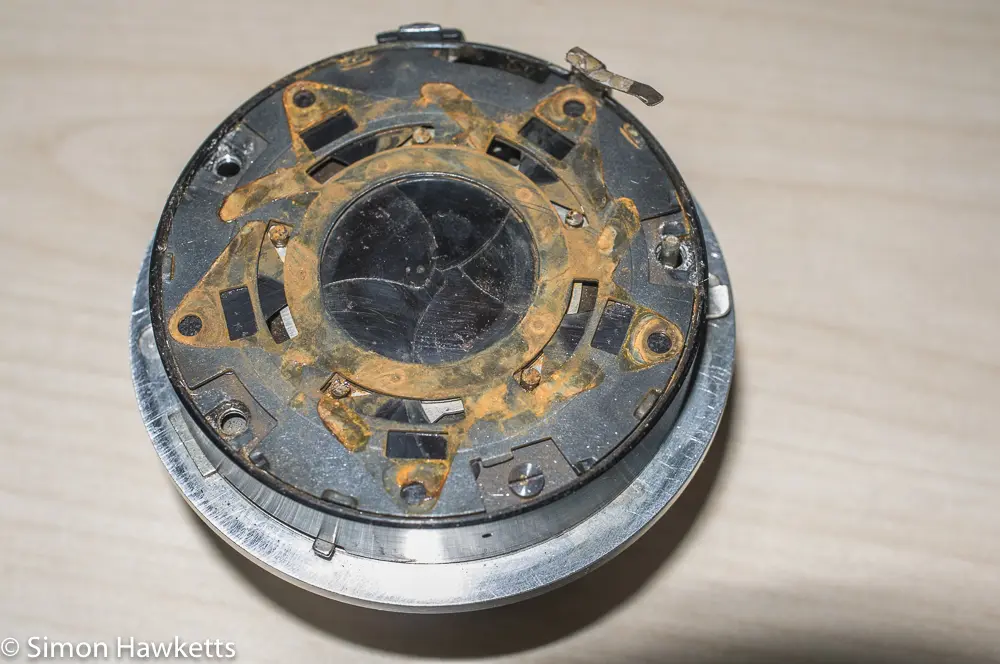
Even though I was making some progress with cleaning the blades I knew I would have to take the unit apart to have any real chance of fixing it, so I removed the three bolts in the bottom of the shutter and lifted the backplate off the rest of the shutter.

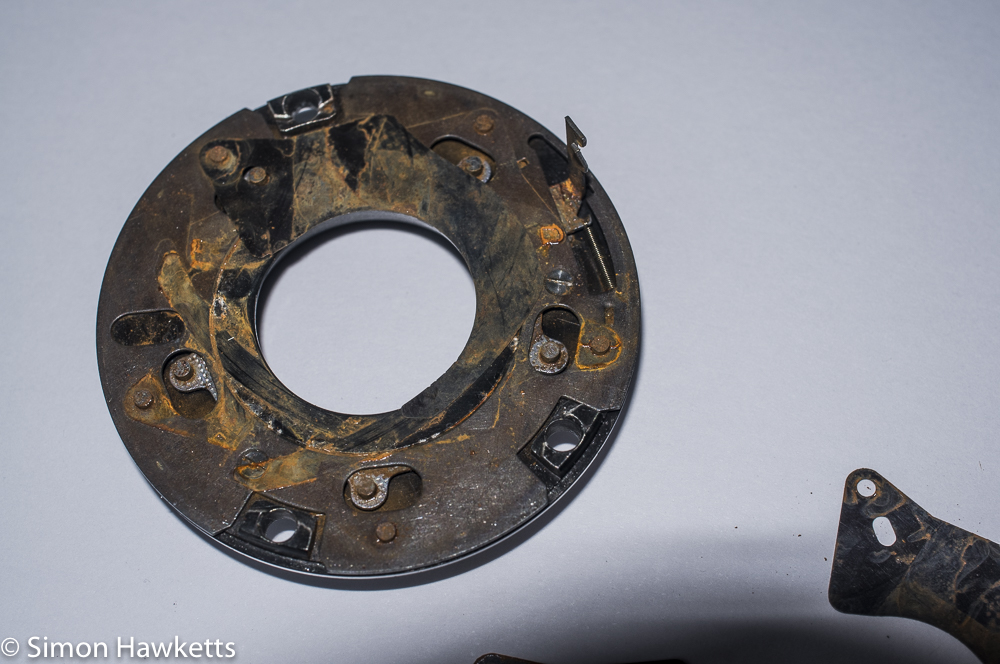
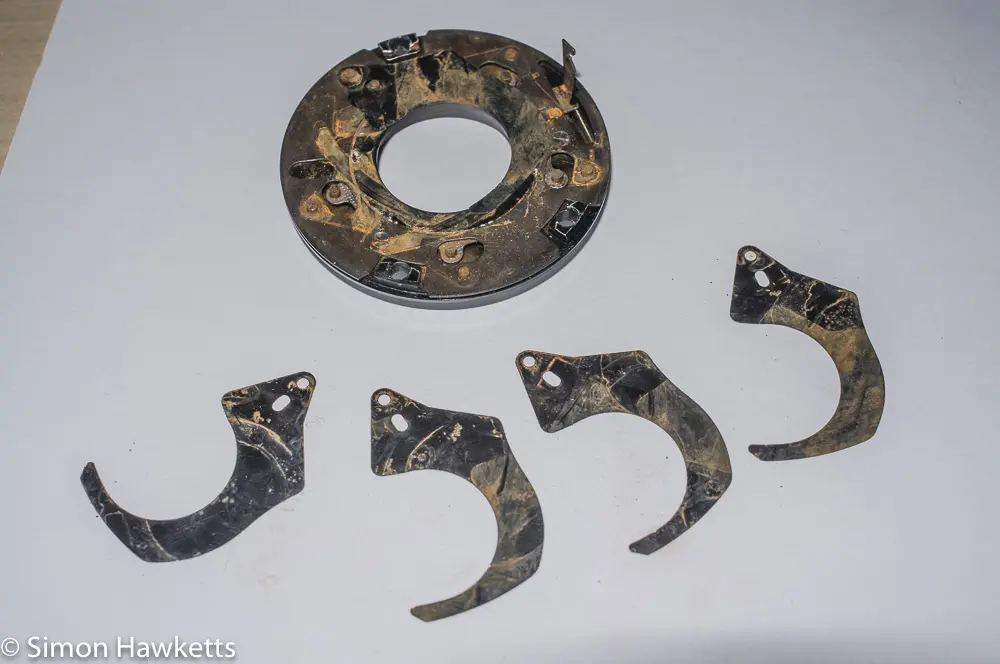
What I found was that the rear shutter assembly was coated in a fine rust which was also covering the proper timed shutter which was just below it in the assembly. Even though I’d cleaned a lot of the muck and rust off the blades over the preceding few days it was obvious I needed to get the shutters apart and clean them properly.
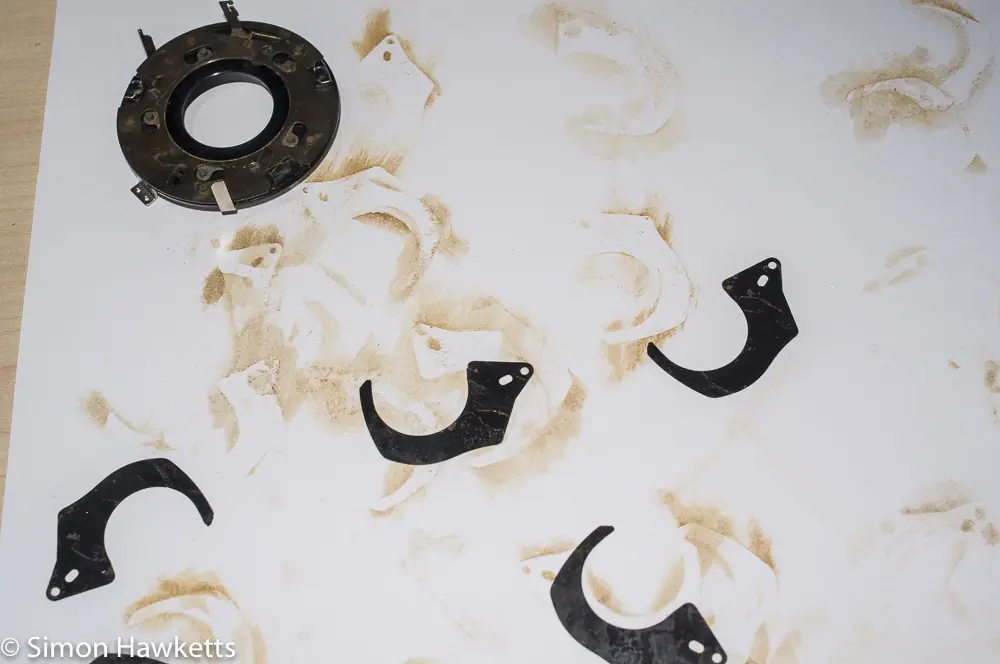
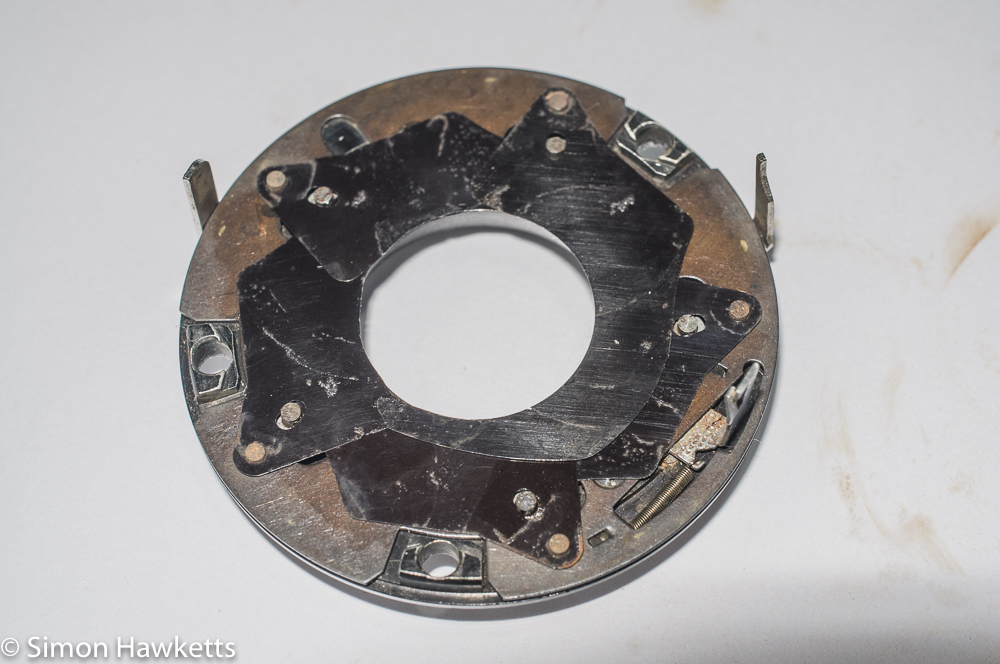
Removing the blades from the back shutter was simple because they were just laid on the assembly, so I could just lift each one off their pins and try cleaning them. I used some IPA on cotton buds to clean off as much of the rust as I could and once they were as clean as possible I had a look at each blade with an eyeglass. What I found was there was still a fair amount of surface corrosion on the blades, and I wasn’t sure they would properly slide over each other when they were re-assembled.
Because of this I tried something I’ve not tried before which was to apply a small amount of a dry lubricant called TF2 to the blades and the shutter assembly. TF2 is made to protect and lubricate bicycle parts, but I’ve seen others recommend it for aperture blades and I bought some a while back but haven’t used it. This seemed as good an opportunity as any.
I applied the TF2 and reassembled the blades back on the back shutter unit. When it went on it was very wet and gloopy and the shutter was very slow to work, so I took the blades off again and waited overnight for them to dry. In the morning I checked and there was still a residual wetness, so I dried each blade with a cotton bud and then polished it by rubbing it over a sheet of clean paper. The TF2 is supposed to deposit a Teflon coating which should assist with them sliding across each other and after this treatment they did look considerably cleaner.
It’s not normal practice to add any sort of lubrication to shutter blades, and it may be that I’ll need to remove the TF2 if I can, but although the general rule is that shutter blades are designed to run dry, they are also designed to have a proper finished surface. If nothing else it will be an interesting experiment to see if the blades work with the TF2.
In the next part I’ll describe how things went when I took the main shutter apart.
Discover more from Everything Vintage
Subscribe to get the latest posts sent to your email.

