Edixa Reflex D strip down
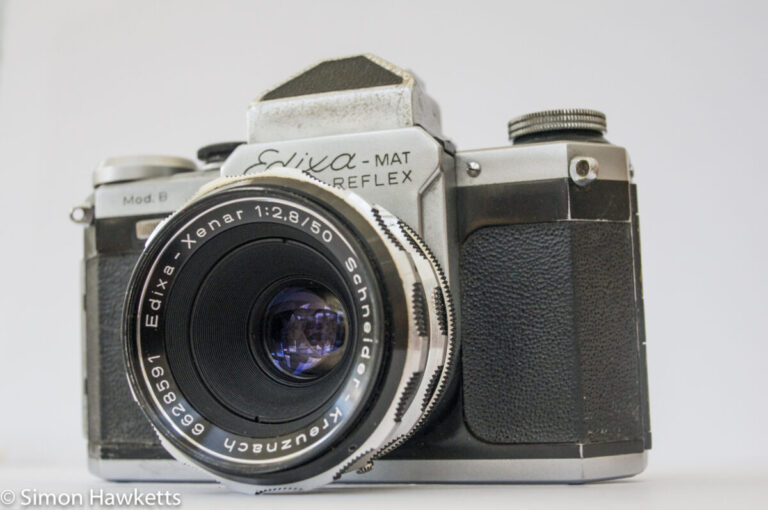
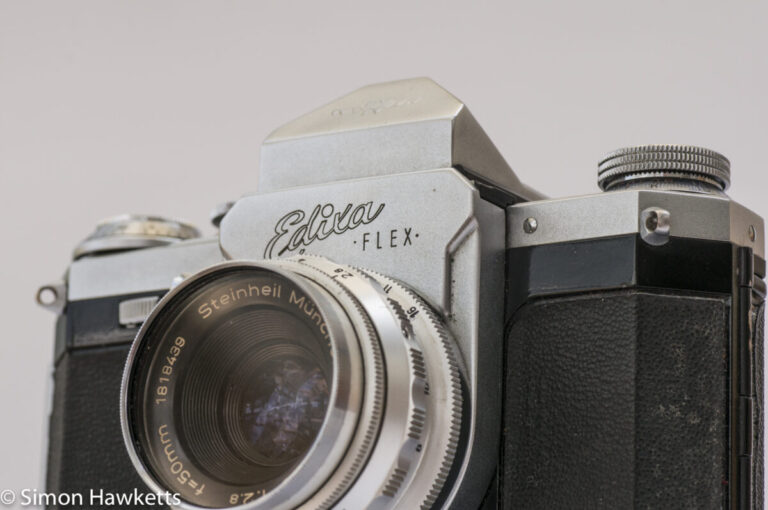
As I said in another post earlier today, I recently acquired an Edixa Reflex D 35 mm SLR to join my vintage camera collection but discovered that the shutter assembly wasn’t working properly. The shutter release button seemed to jam and feel ‘gritty’ when pressed, and the shutter operation was not at all reliable.
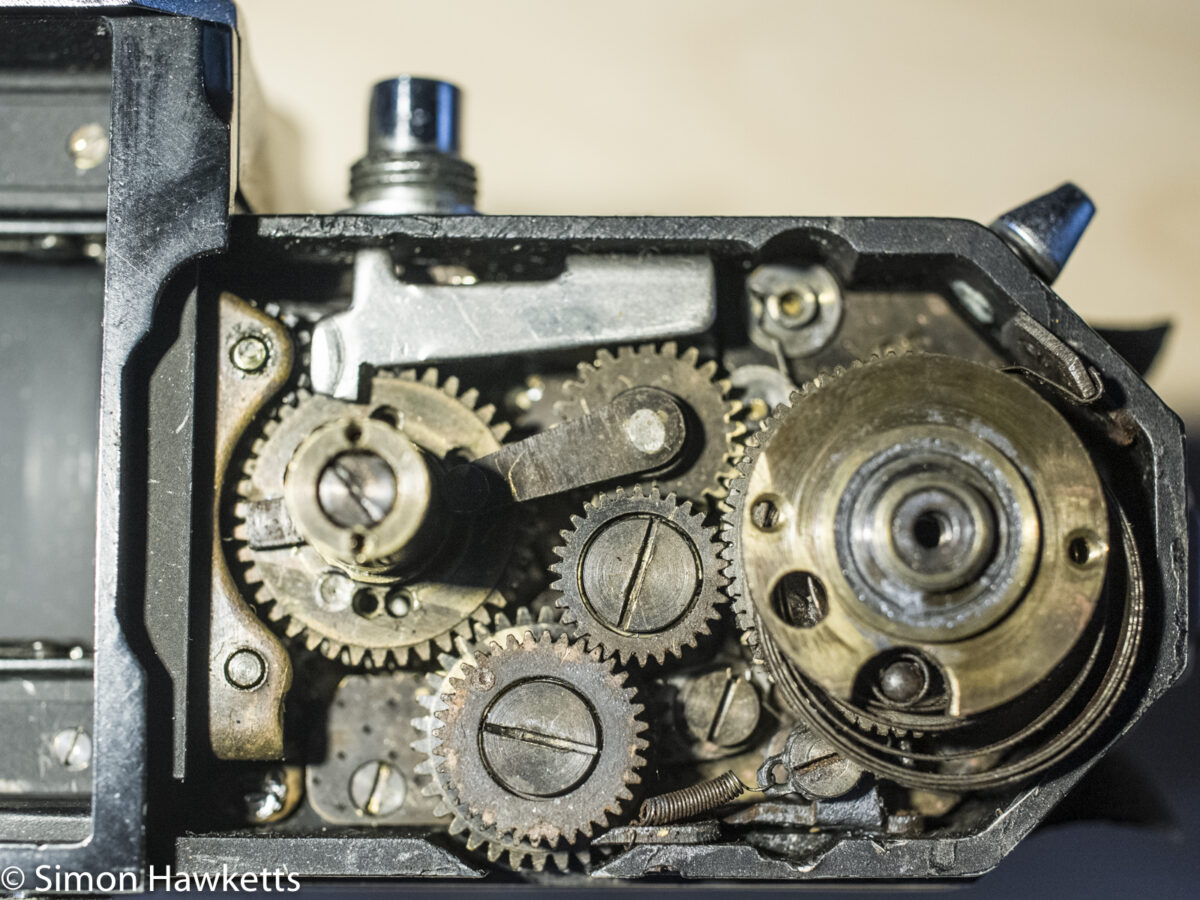
I decided to have a go at stripping the camera down to see if I could find the cause, so I took pictures along the way, as this procedure may be useful to others. Apologies for the white balance in some of the pictures – they were taken under mixed lighting.
Edixa Reflex D strip down images
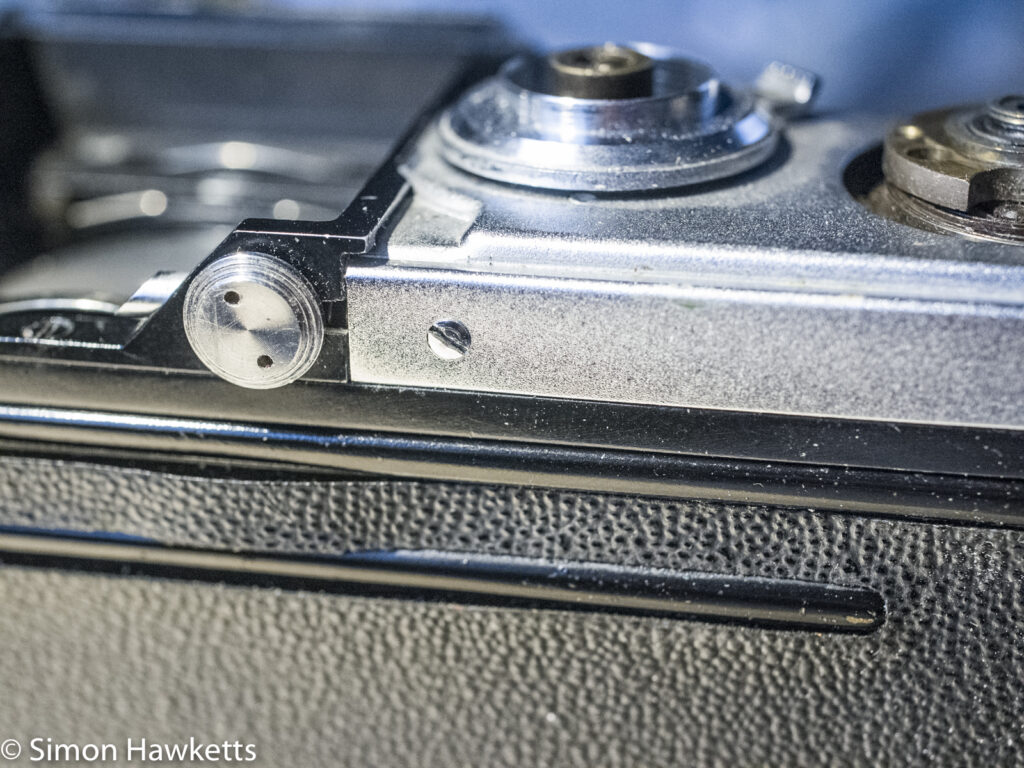
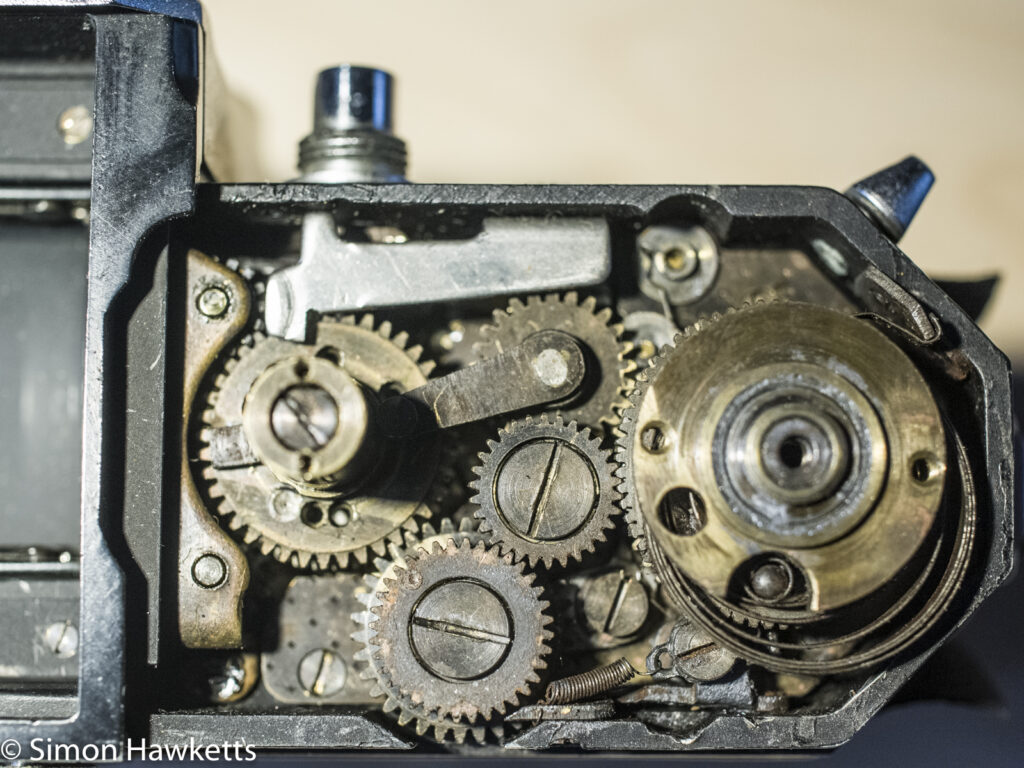
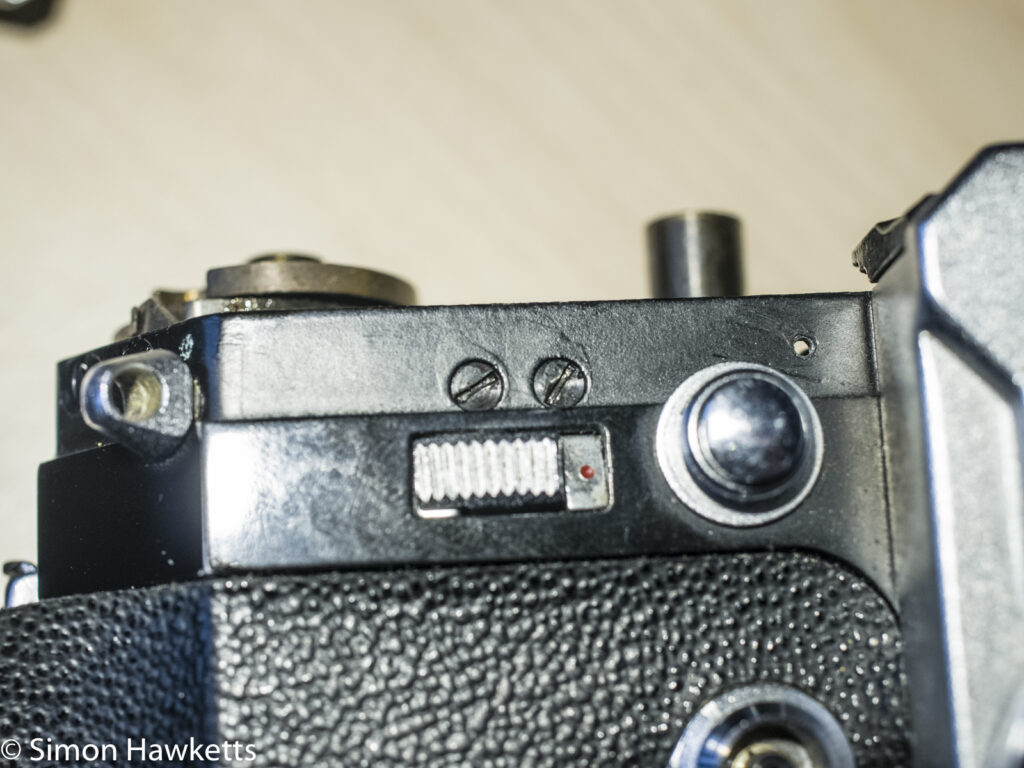
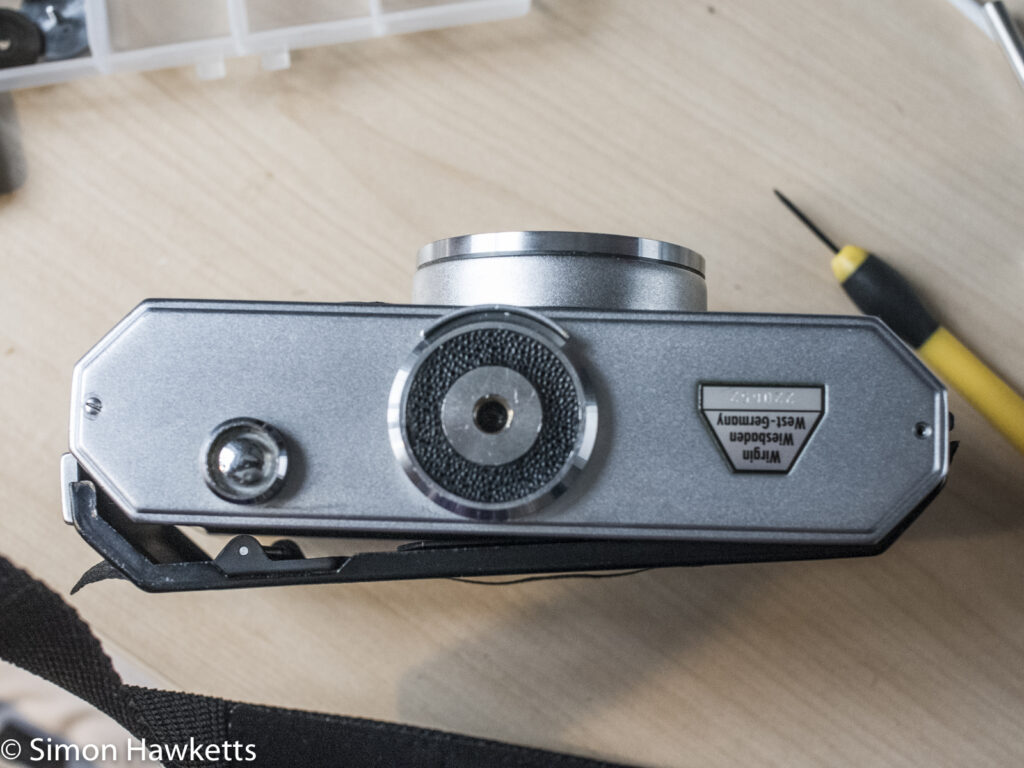
Edixa Reflex D strip down
This is the procedure I used. The photos above relate to the individual steps below
Step 1
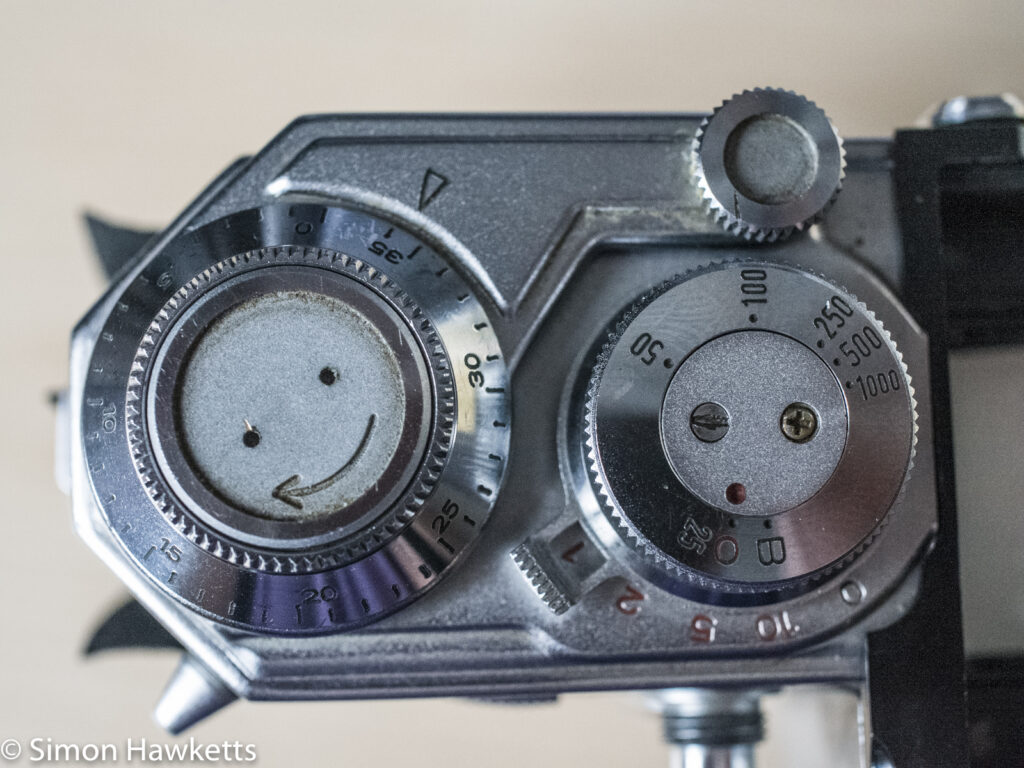
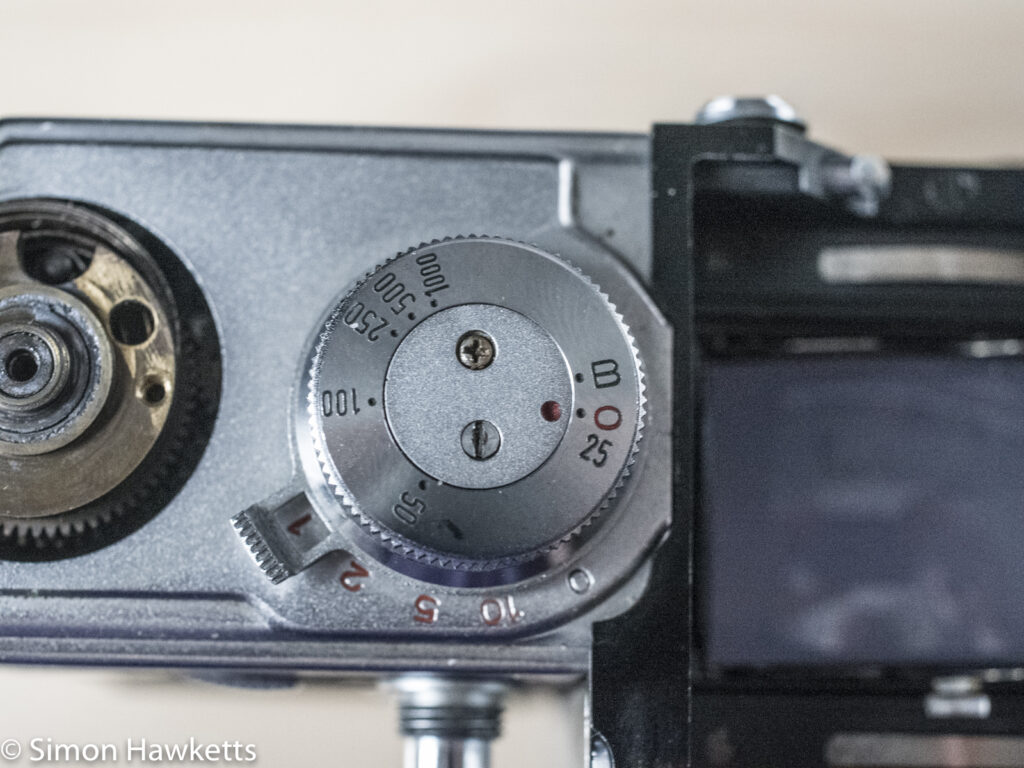
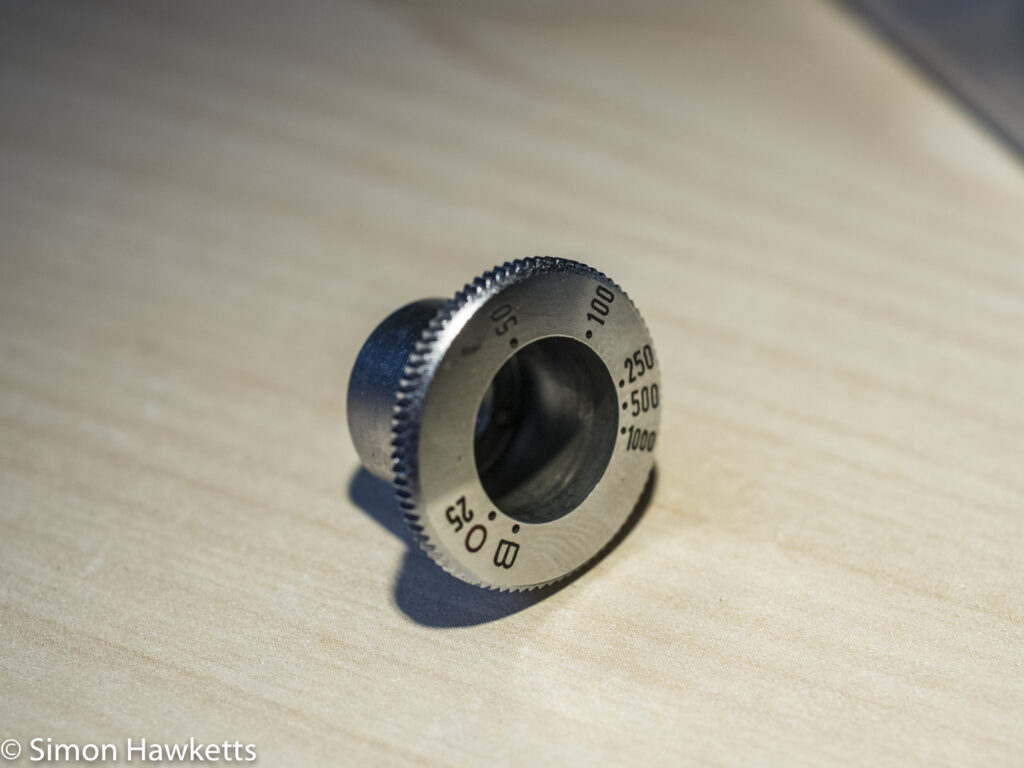
This is the shutter speed selector prior to strip down.
Step 2
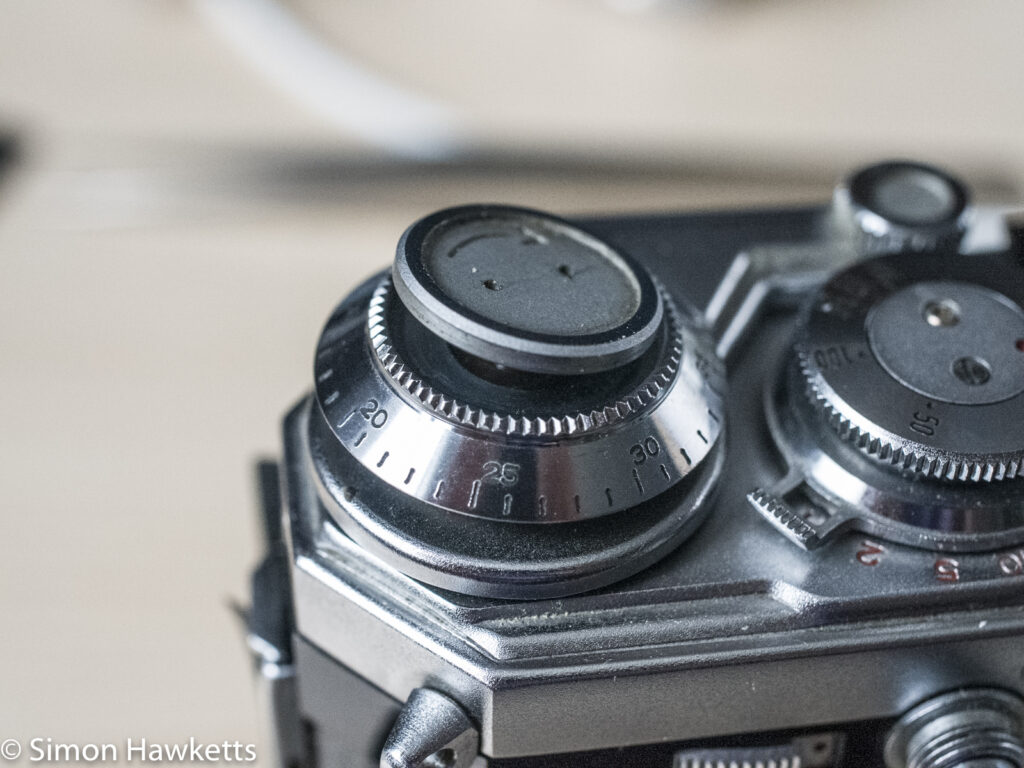
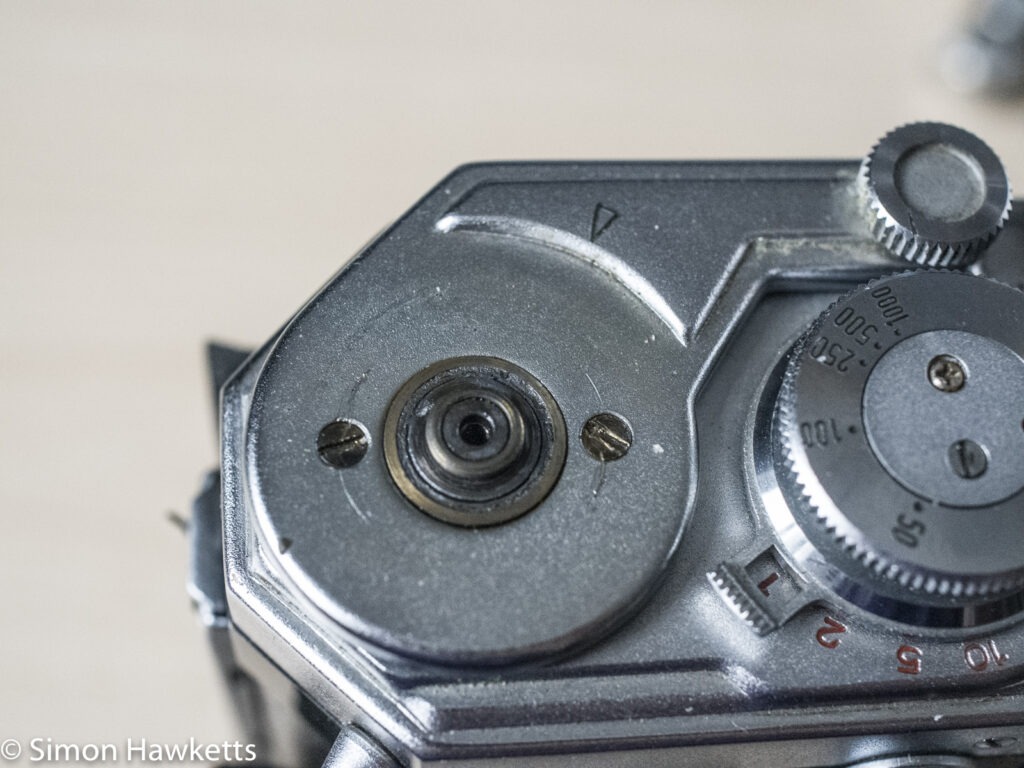
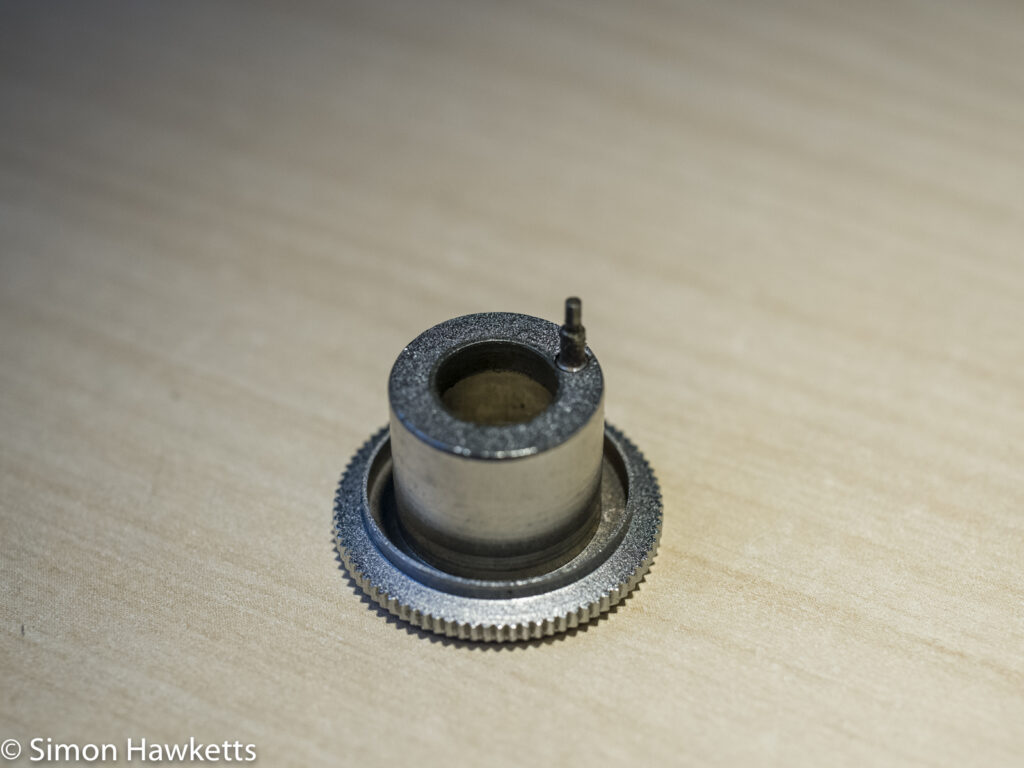
Remove the top of the film advance by using a set of tweezers or pliers to turn the top disk whilst holding the top milled disk in place. I found I needed to cock the shutter first, or the top disk just rotates.
Step 3
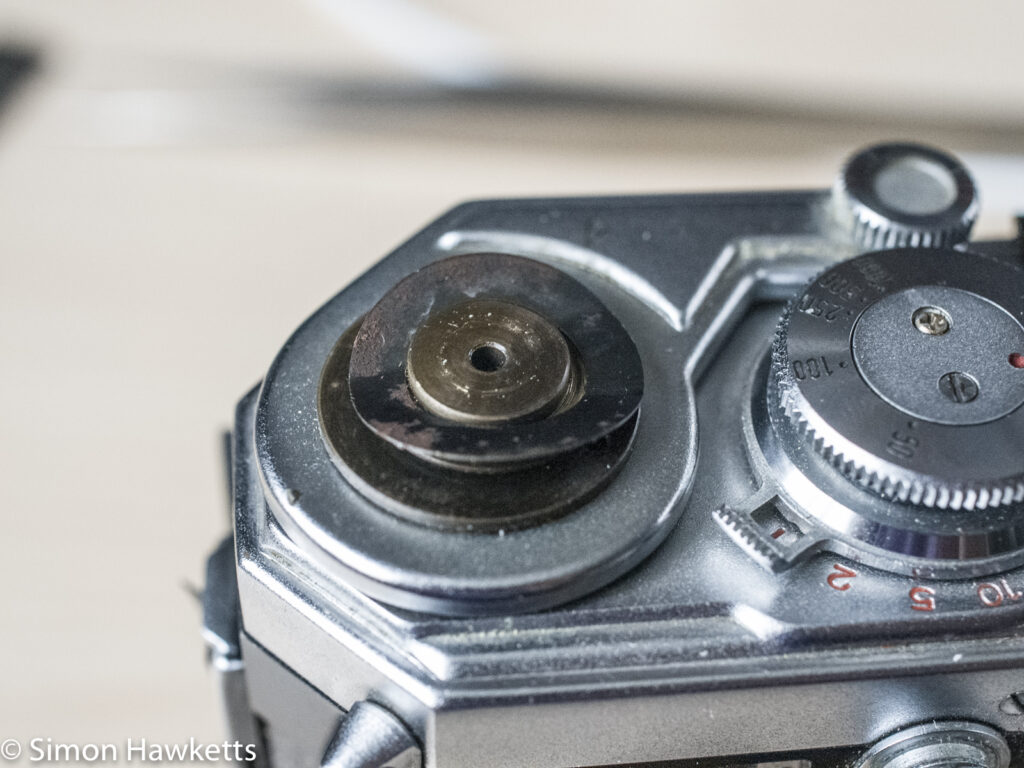
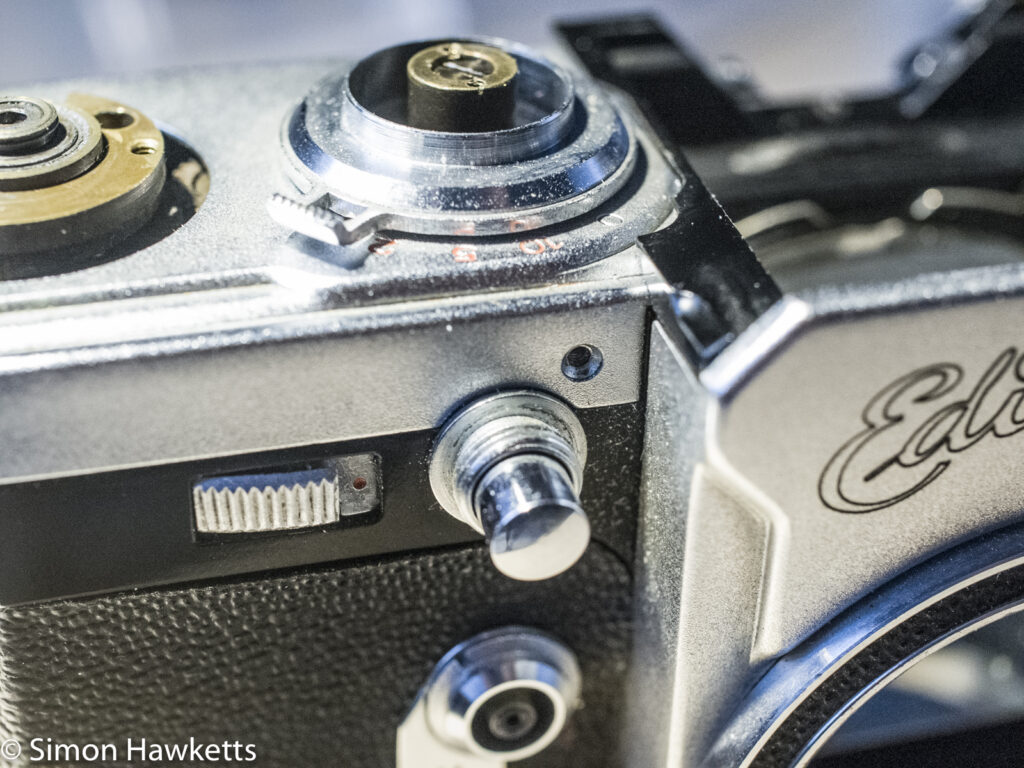
Remove the top plate and cover and there is a spring washer and a metal disk – remover, those also.
Step 4
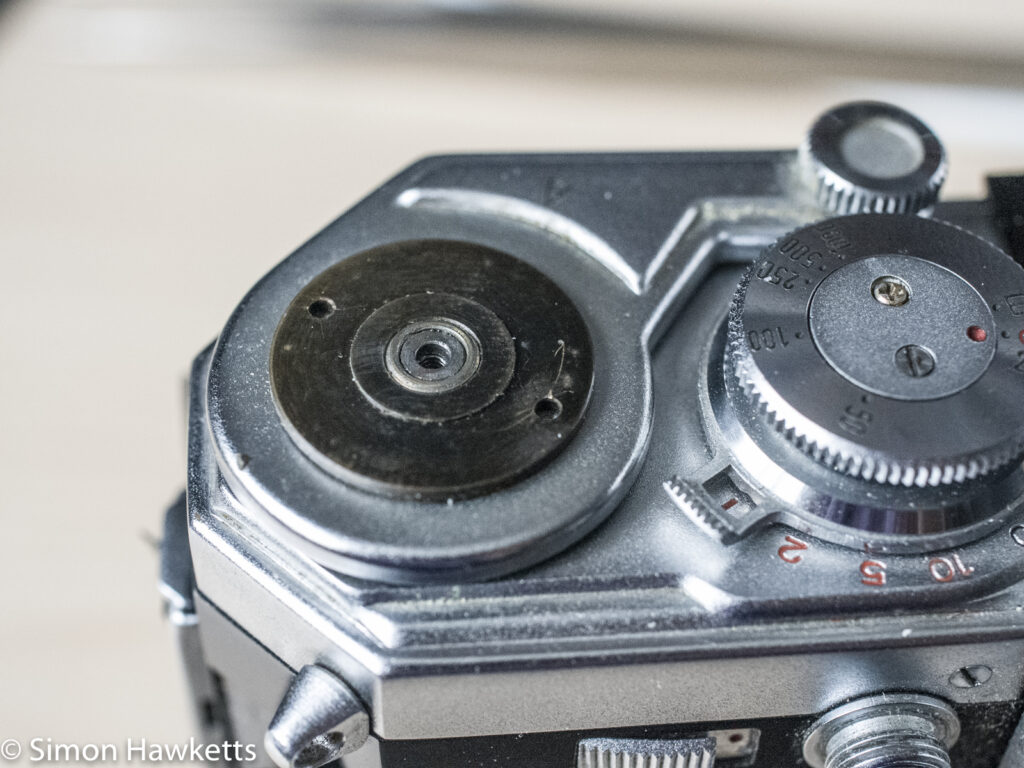
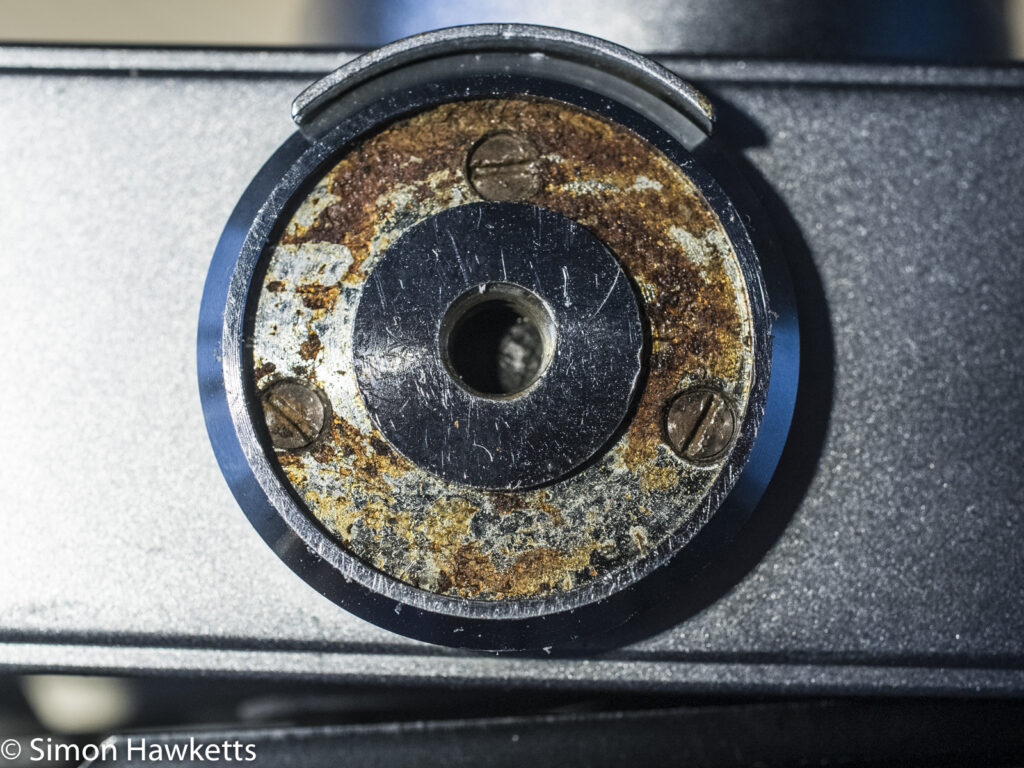
Remove the disk underneath with a set of pliers or a lens spanner
Step 5
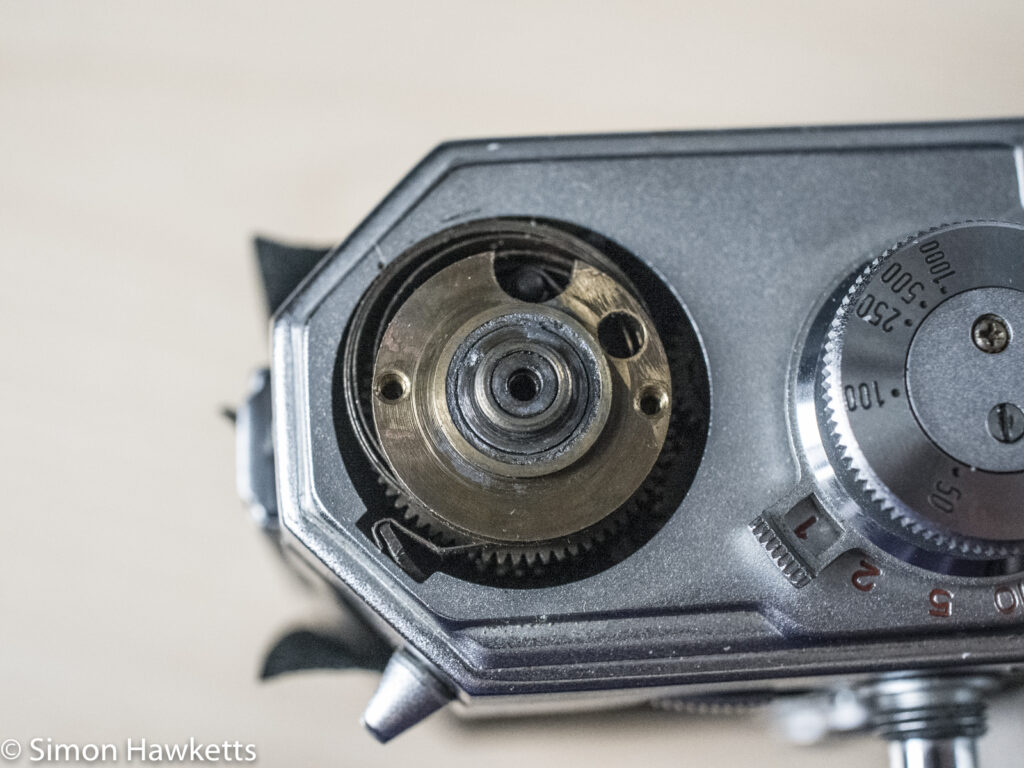
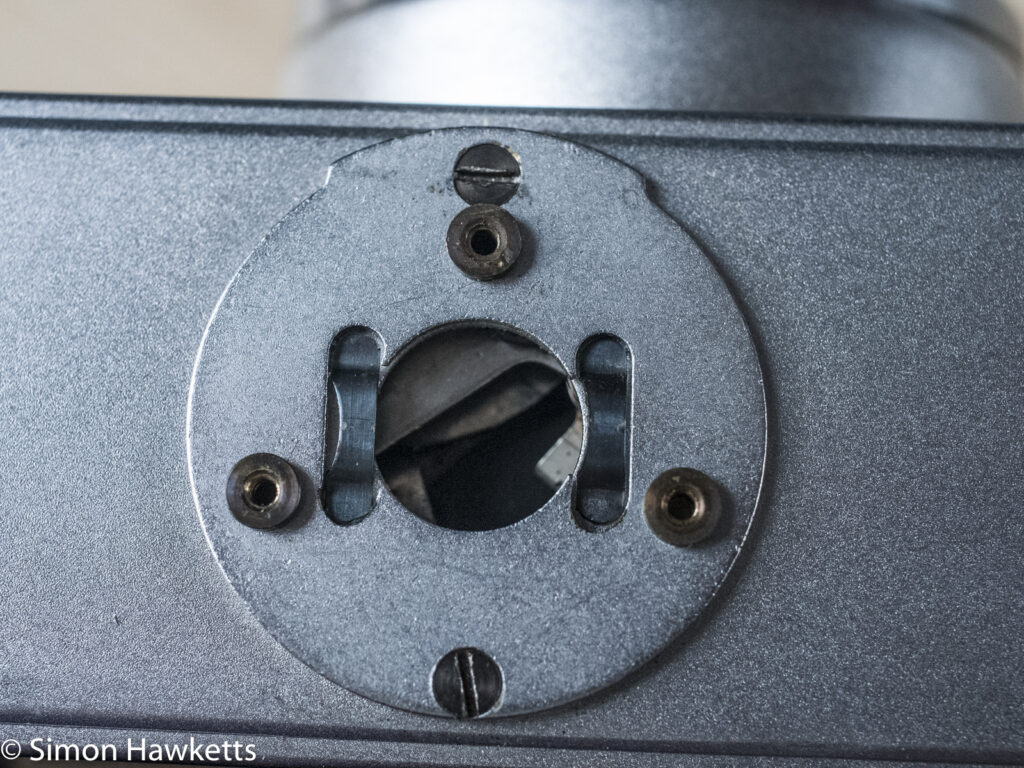
Remove the two screws which are revealed when the disk is removed
Step 6
The film advance lever can then be removed
Step 7
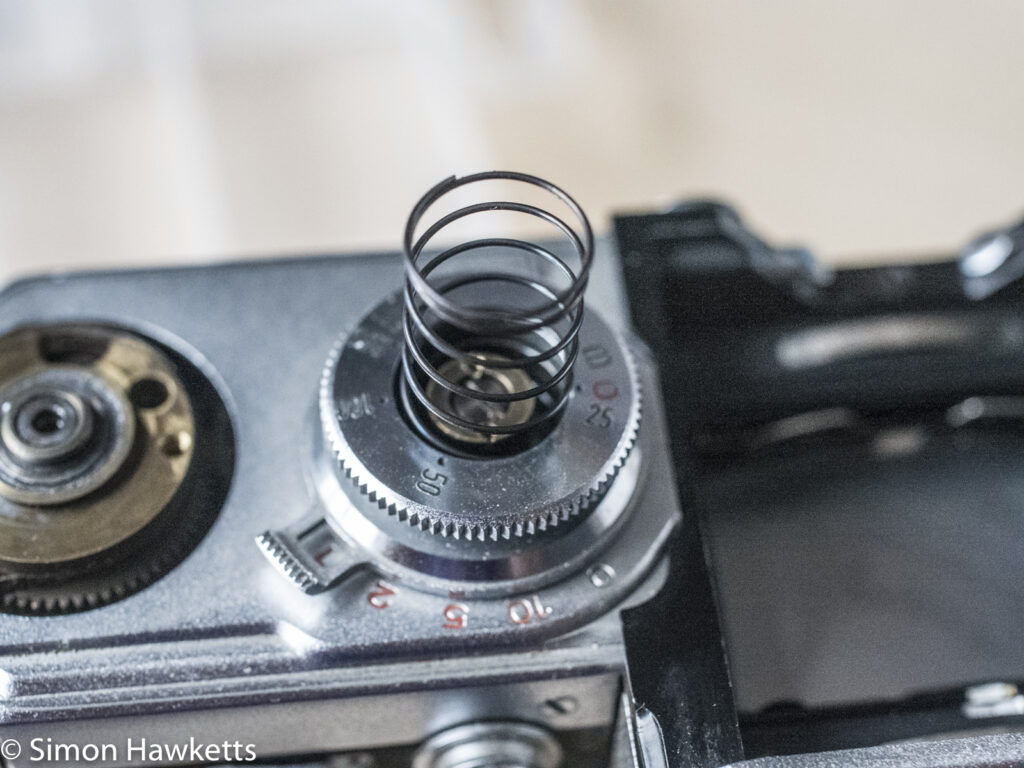
Now we move to the shutter speed dial. There are two screws which hold the top in place. These need to be removed, but be careful because there is a large spring underneath the plate which will push the plate up.
Step 8
Take the spring shown out.
Step 9
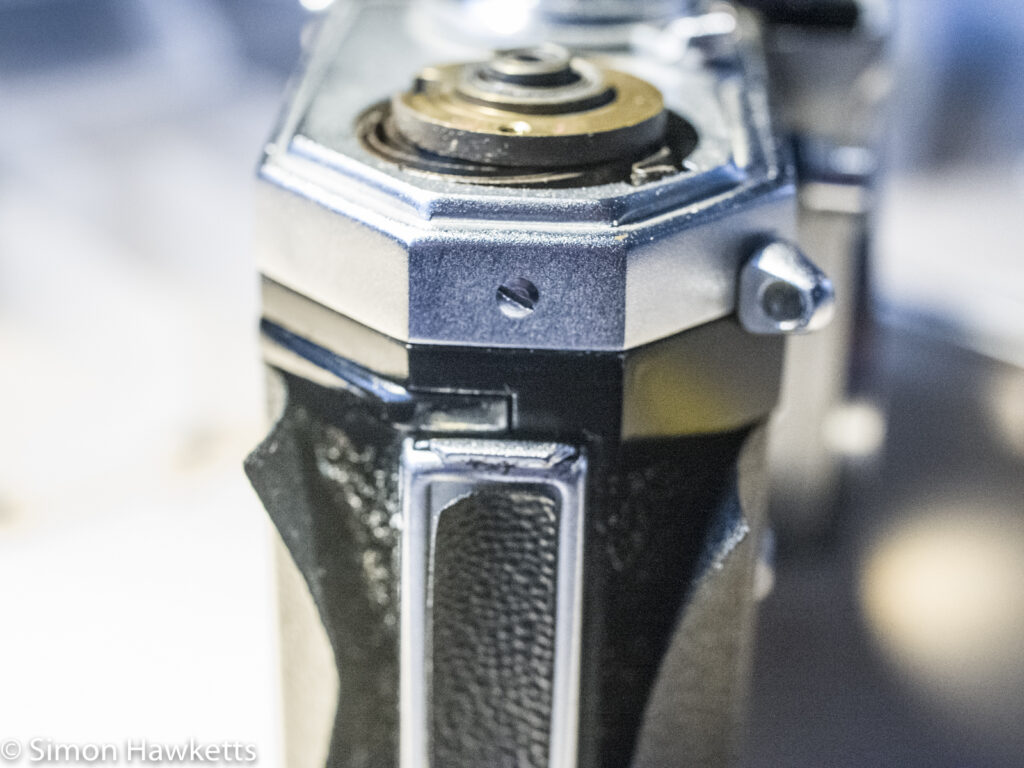
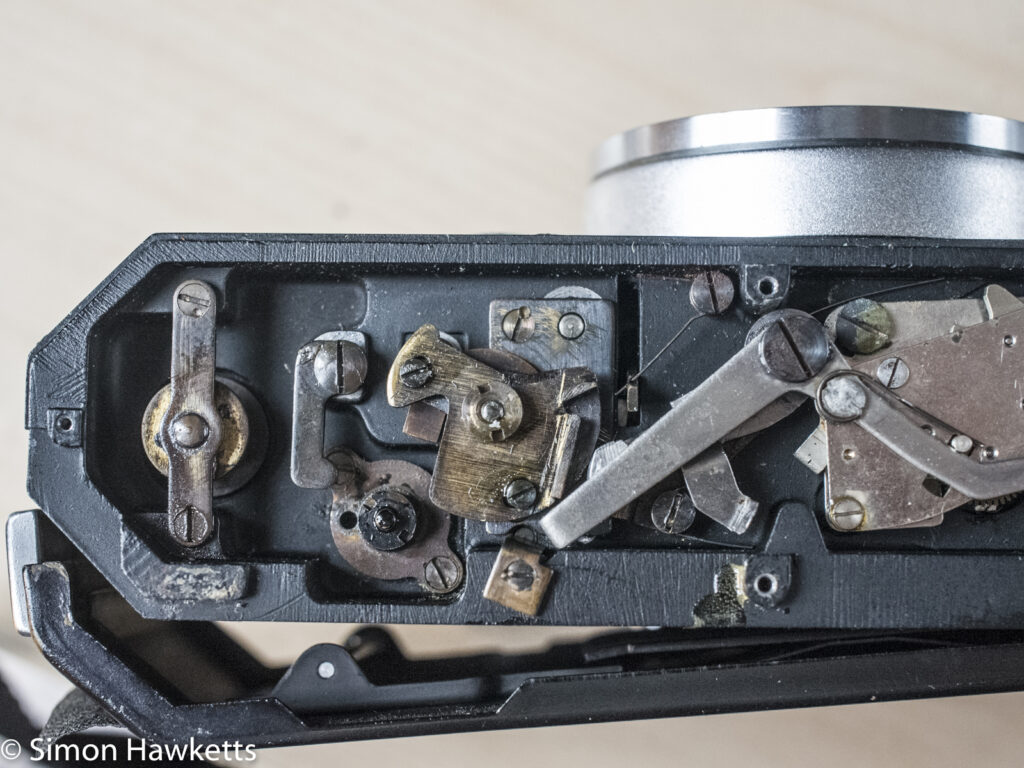
Remove the screws holding the top plate of the camera on – there are 3 at the front, side and back. Once these are out, the top of the camera can be lifted off. It gets caught under the viewfinder block, but with a bit of wriggling about it will come out.
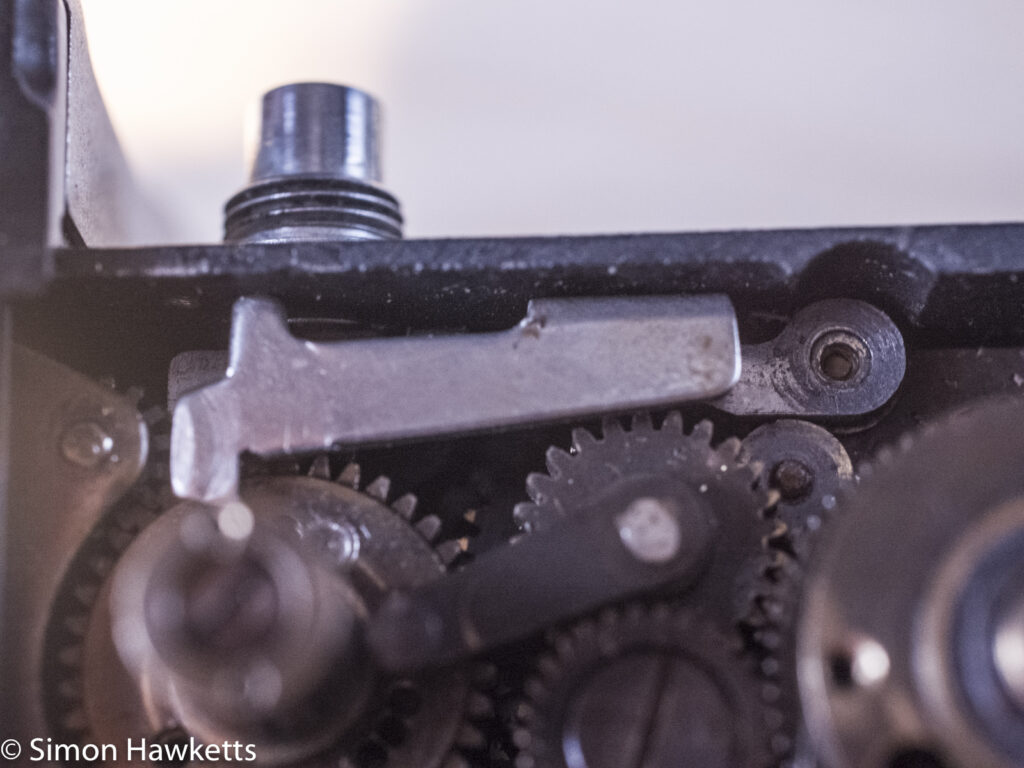
At this point I found that the shutter release mechanism on my camera had fallen apart, and the bottom piece had fallen into the path of the button, which was why it jammed. This is not easy to see in the pictures, but if you compare the picture called ‘under the cover’ with the one called ‘Reassembled shutter button’ you can just make out the difference.
In order to fix this, I had to remove the shutter release assembly and replace it properly. I also added a drop of watch oil to the mechanism to lubricate it a bit, since it was completely dry. The repair to the release assembly was easy enough to do, but it hasn’t fixed the other issue with the wind on mechanism jamming and the shutter curtains getting stuck, so I think there needs to be a bigger strip down yet.
Discover more from Everything Vintage
Subscribe to get the latest posts sent to your email.

