How to go about Cleaning old 35mm slides
This is a short post which shows how I go about cleaning old 35 mm slides.
One of the things which is a common curse with film photography is dirt and dust and this is particularly the case with old colour slides. Although I try not to physically clean them unless I really need to, this is a short post which shows how I go about cleaning old 35mm slides.
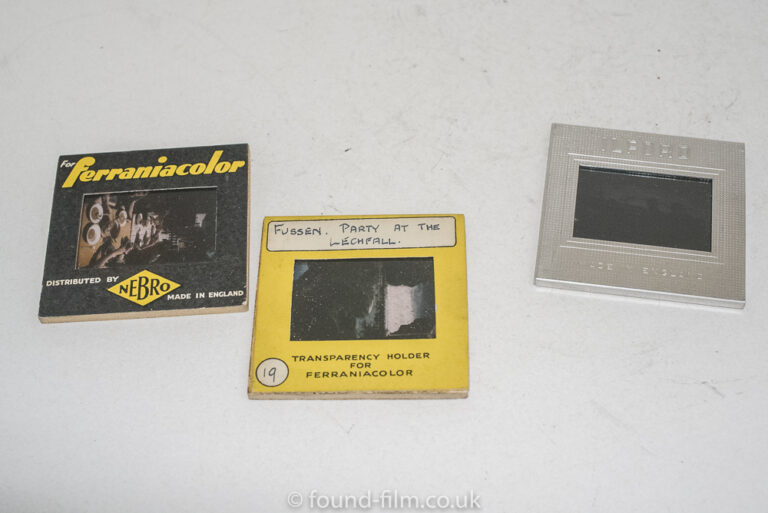
First I’d say that the best option is to try to clean the slide with a blower and remove any dust without actually touching the slide. This is particularly the case with slides which are mounted in a cardboard mount because any liquid used on these slides will invariably lead to fibres of the mount being spread about the film surface.
Process for cleaning old 35mm slides
If it is impossible to blow the dirt off and the slide is one which can be opened, I go about cleaning it in the following way:
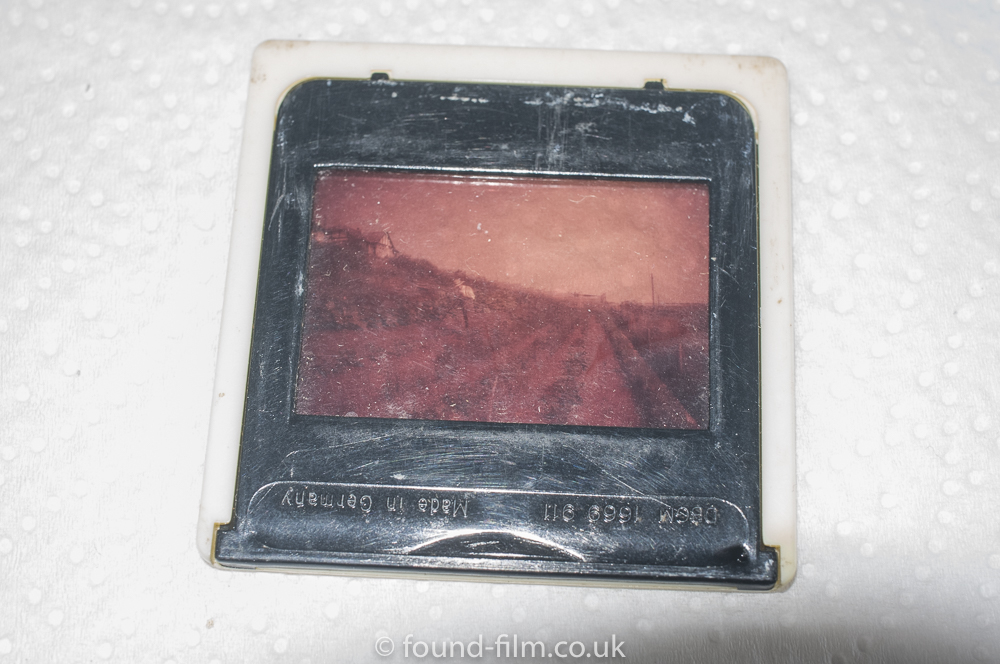
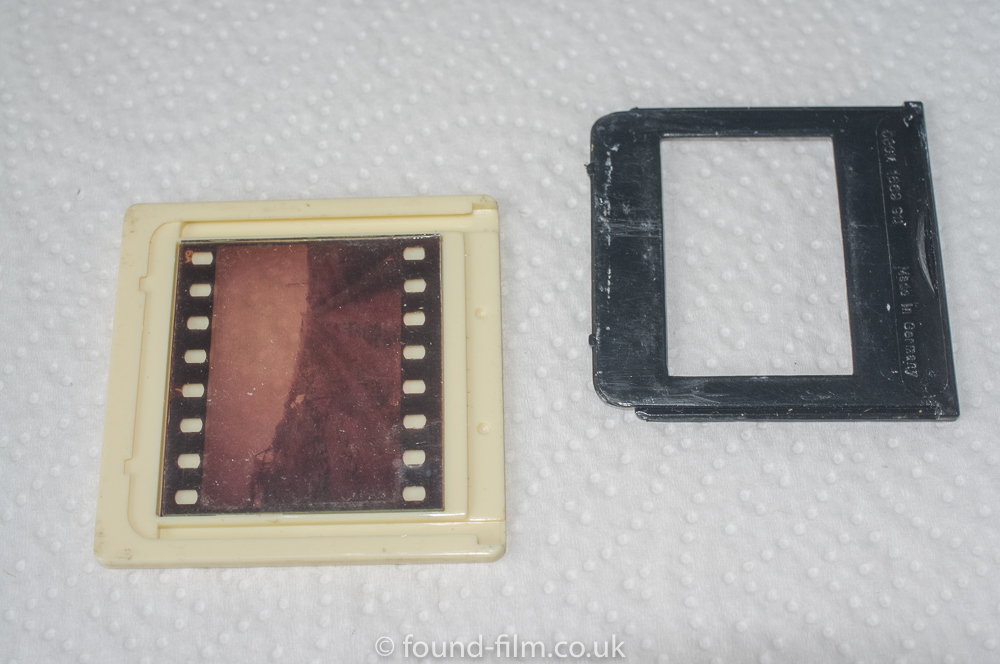
- Open the slide mount and separate the pieces keeping note of which side of the film has the emulsion. If it isn’t possible to tell which is the emulsion side, there are normally frame numbers on the film edge which can be used to check the orientation.
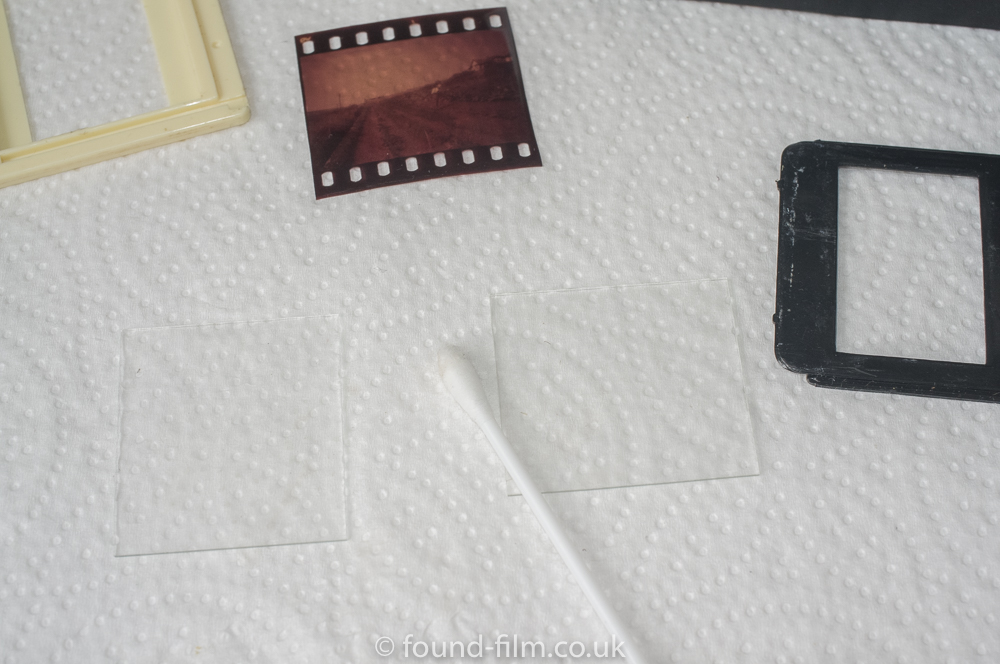
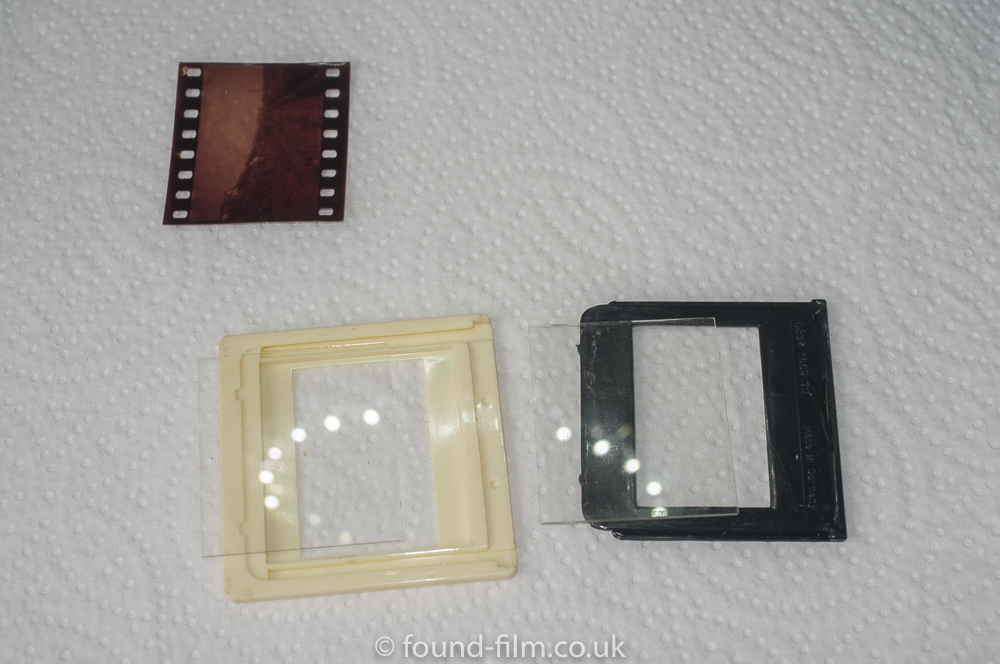
- Often there will be glass on either side of the actual film and in many cases it is only the glass which needs to be cleaned. This can be done with warm soapy water and then the glass rinsed and left to dry on something lint free.
- I tend to clean the mount itself in the same warm soapy water to make sure no dust is transferred to the film when it’s reassembled. If however the mount has some markings to indicate what is on the slide then I don’t do this – I like to preserve the slide in it’s original, marked condition.
- If there is dirt on the film which needs to be removed I use a cotton bud and IPA (Isopropyl alcohol) to gently clean over the surface of the film. You need to make sure that the cotton bud doesn’t leave bits of cotton behind which can be tricky – it is possible that a tool sold for digital camera sensor cleaning could be used but I haven’t tried that. Once the surface has been cleaned let the film dry, which should happen very quickly with IPA.
- Reassemble the pieces making sure the film is put back the same way it came out.
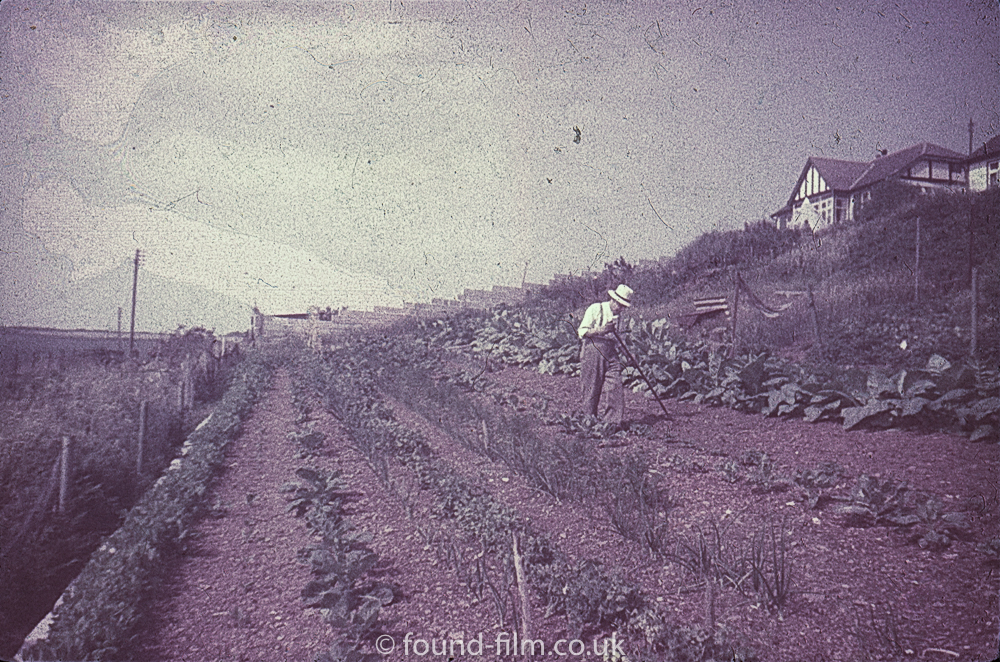
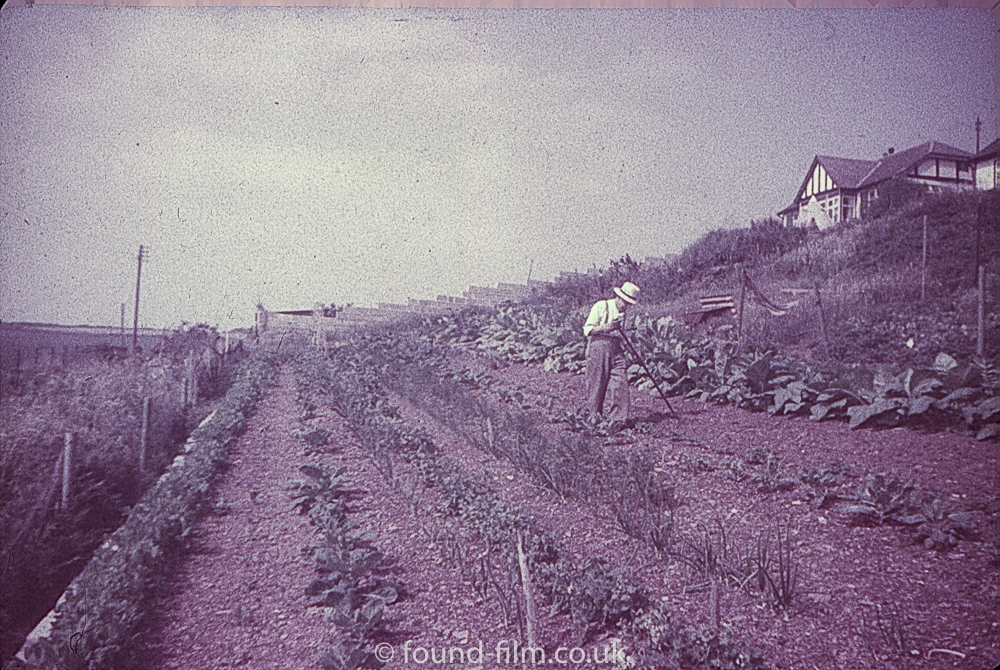
The pictures below show the difference between a cleaned slide and a dirty slide. In this case the film has lost much of its colour information, but the effects of cleaning the glass and film surface are clear to see.
Finally I’d just cover a few don’ts
- Don’t use water to clean the film. Any water will soften the emulsion and will almost certainly lead to the slide looking much worst than it was to start with.
- Practice the process on a slide which doesn’t matter to you.
- Film is delicate material – don’t use too much force to clean the surface or you can end up with scratches
- Make sure the IPA you use is pure IPA. There is a product called rubbing alcohol which is a dilution of IPA in 25% water – don’t use this
- Make sure there is plenty of ventilation in the room and read the safety precautions on the IPA bottle.
So that is the way I go about cleaning old 35mm slides but I’ll also just add the caution that this is the process I do but I don’t guarantee it won’t damage your slide – I’ve not damaged one, but I don’t want to be responsible for anyone messing up their only remaining photo of their parents!
Discover more from Everything Vintage
Subscribe to get the latest posts sent to your email.


