Olympus OM-1n strip down
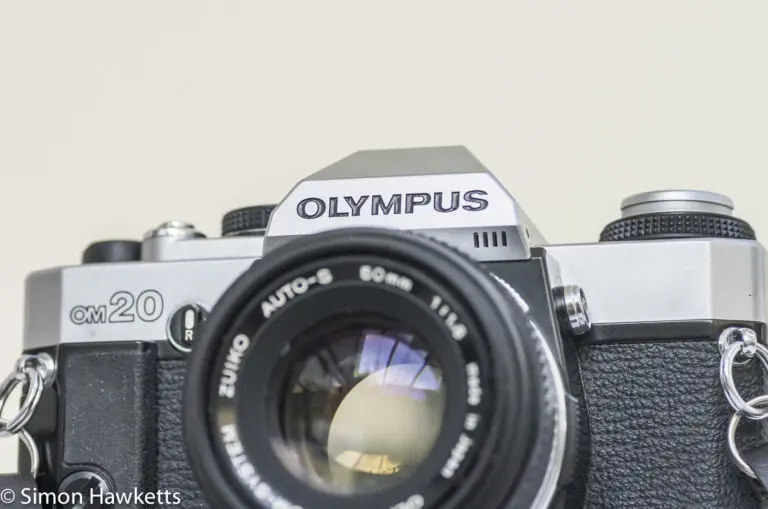
The Olympus OM-1 was an iconic camera of the mid 1970s which started a trend towards smaller, lighter 35 mm cameras. I bought a non-working example of the OM-1n version with a shutter/film advance problem to see if I could repair it, and this post describes the Olympus OM-1n Strip Down process and repair I carried out.
Olympus OM-1n Strip Down Images
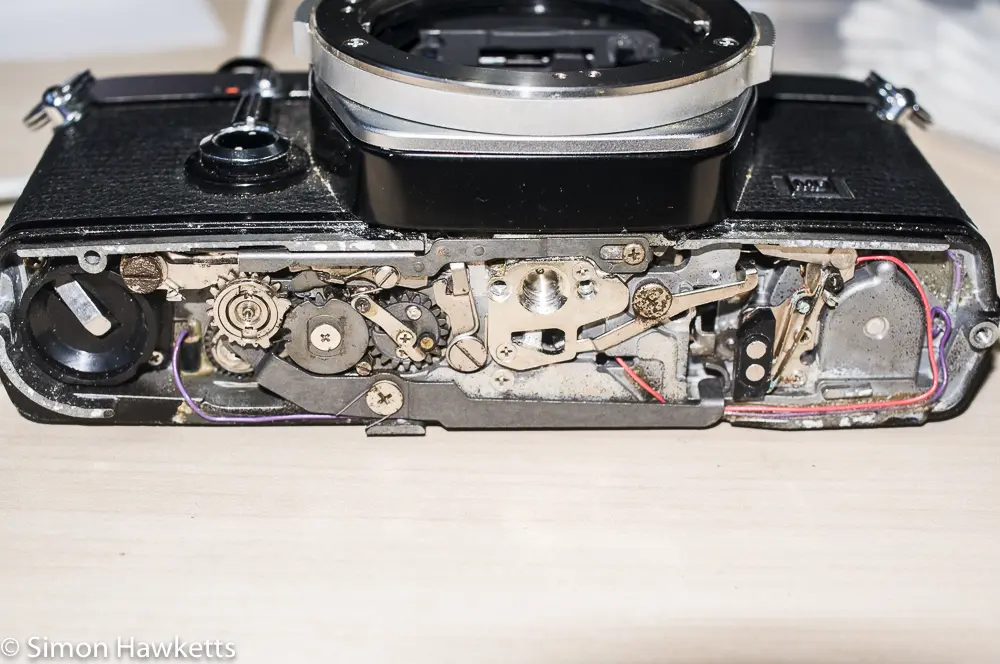
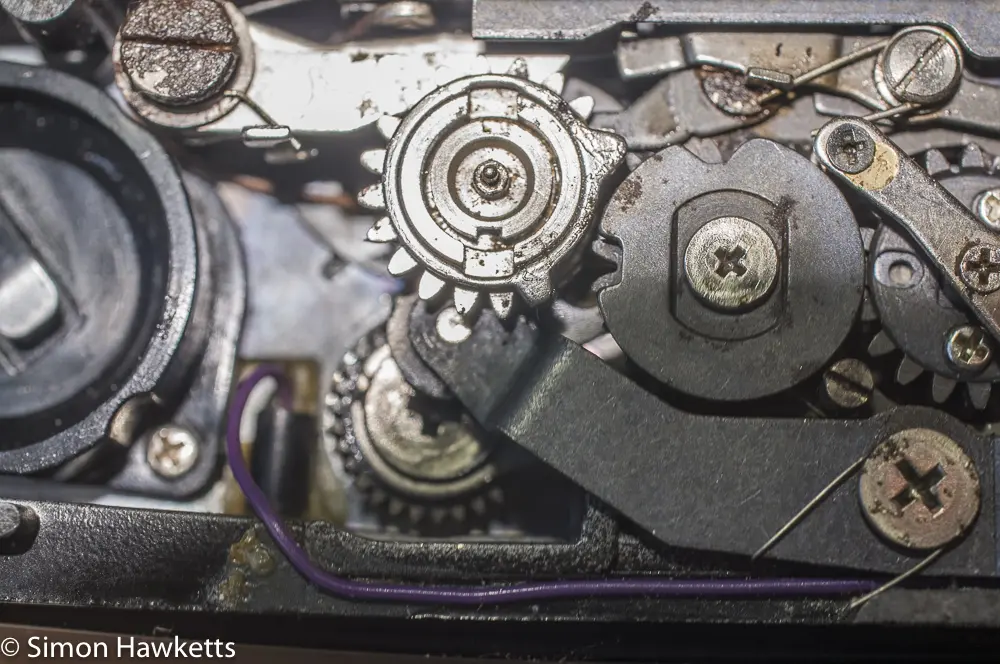
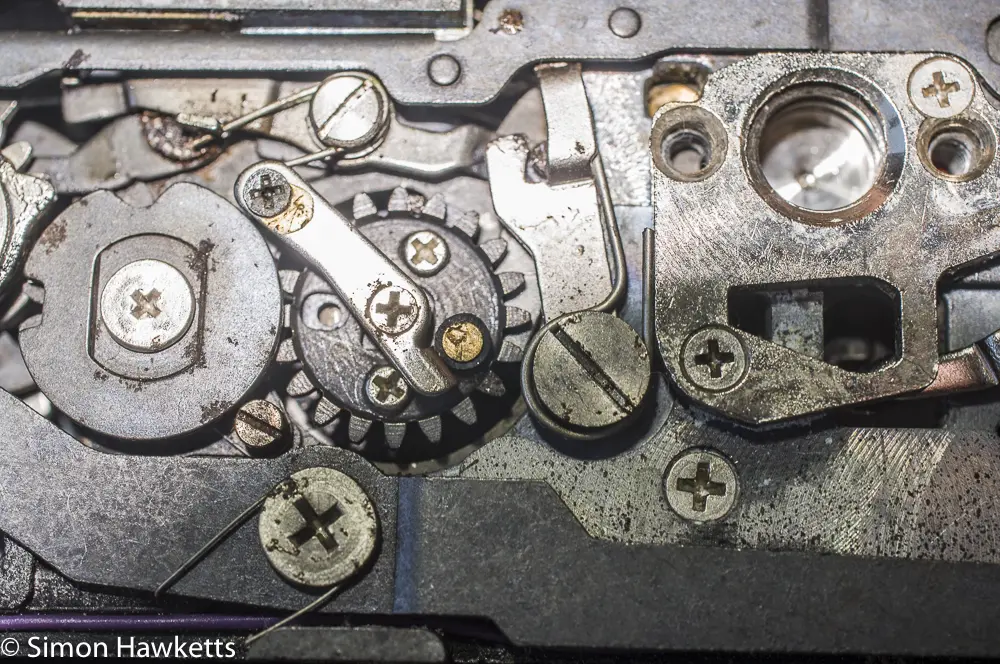
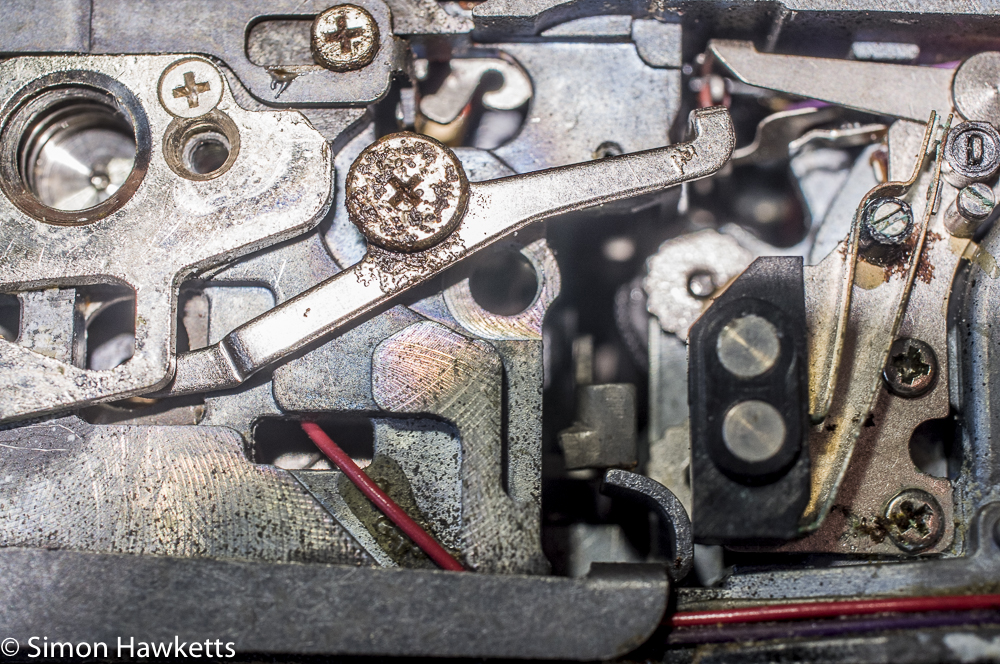
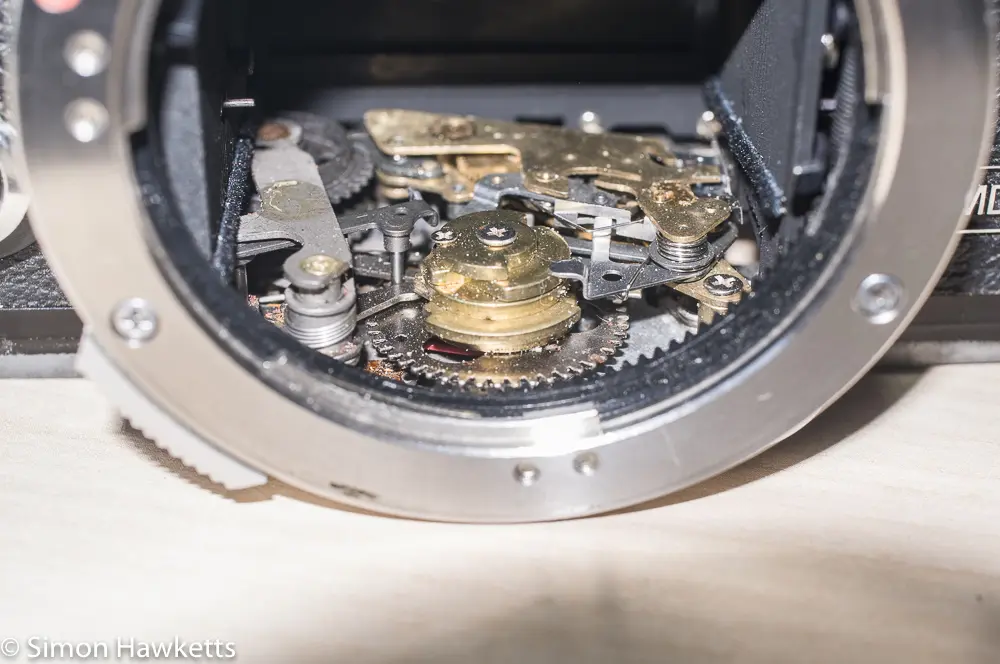
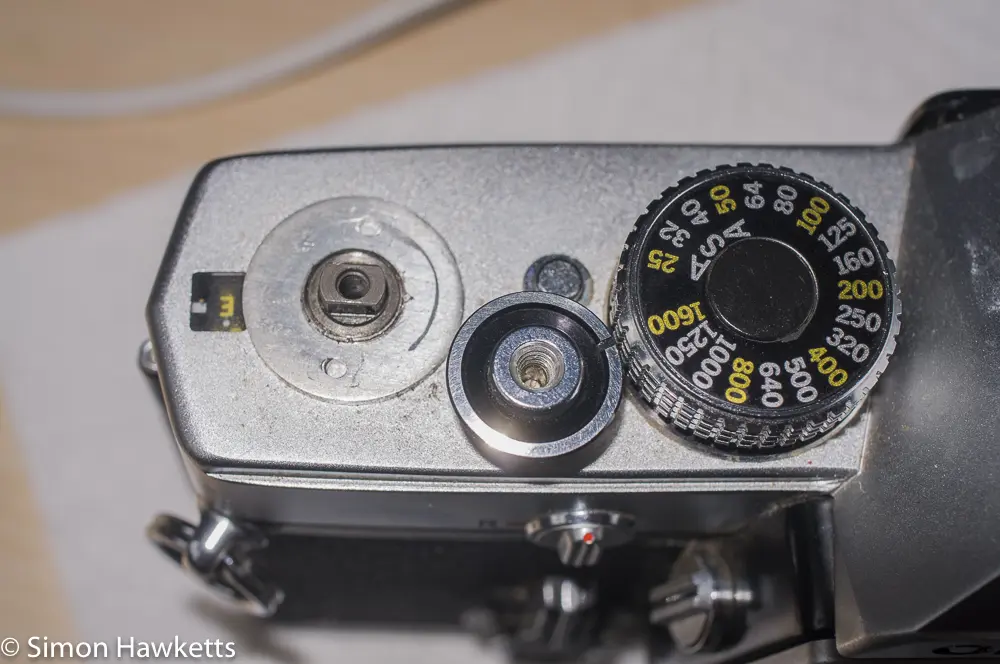
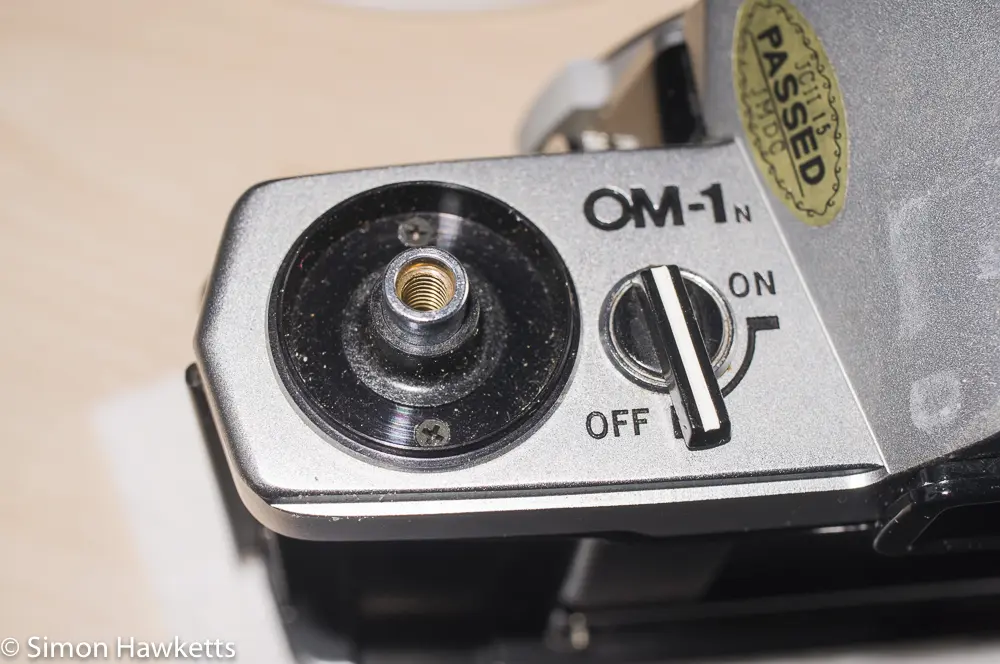
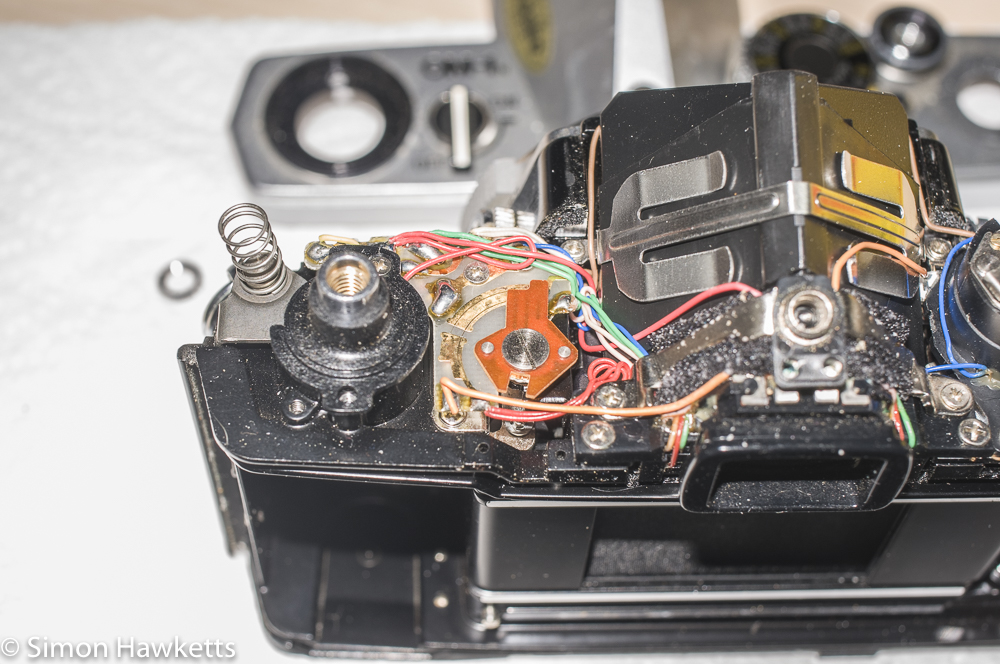
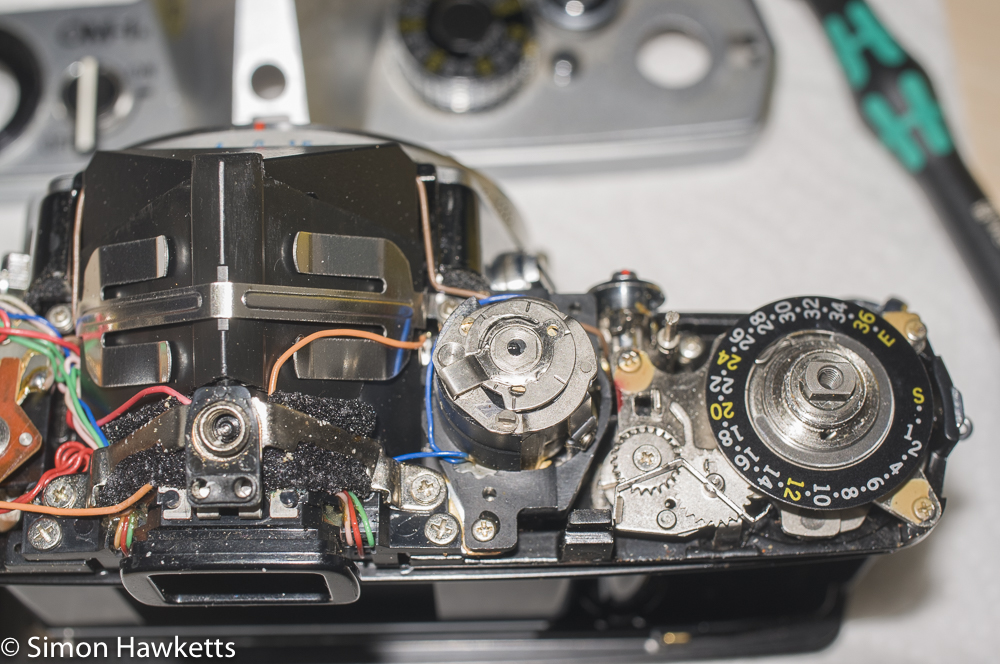
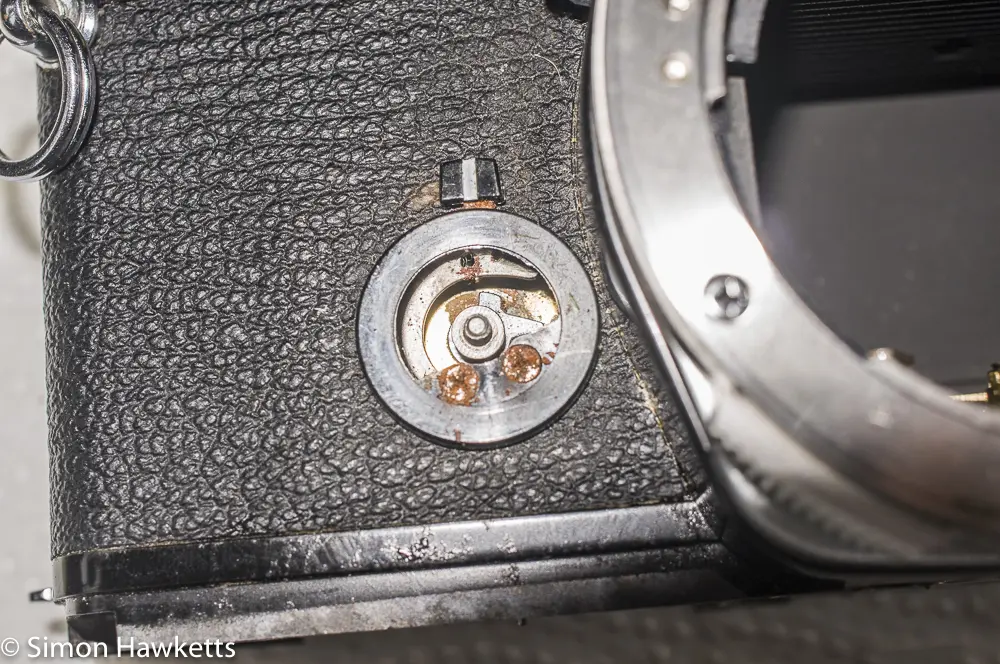
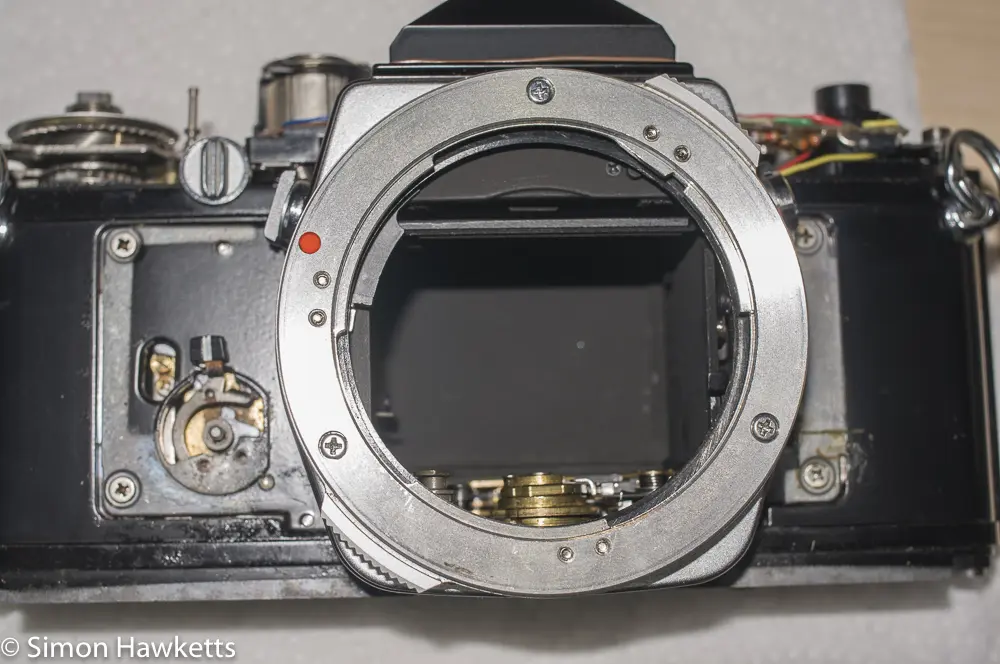
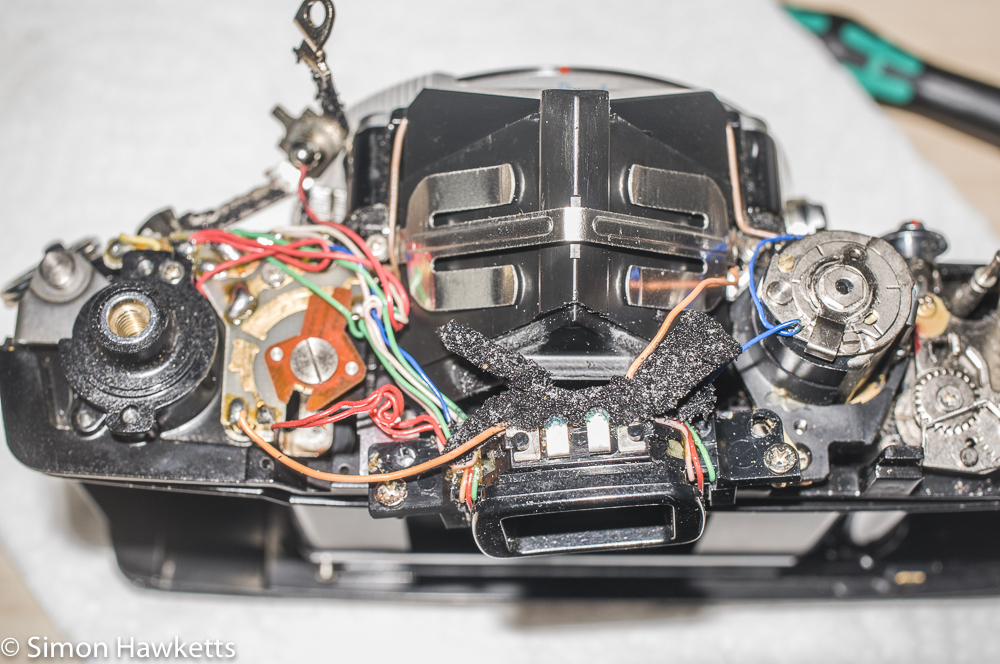
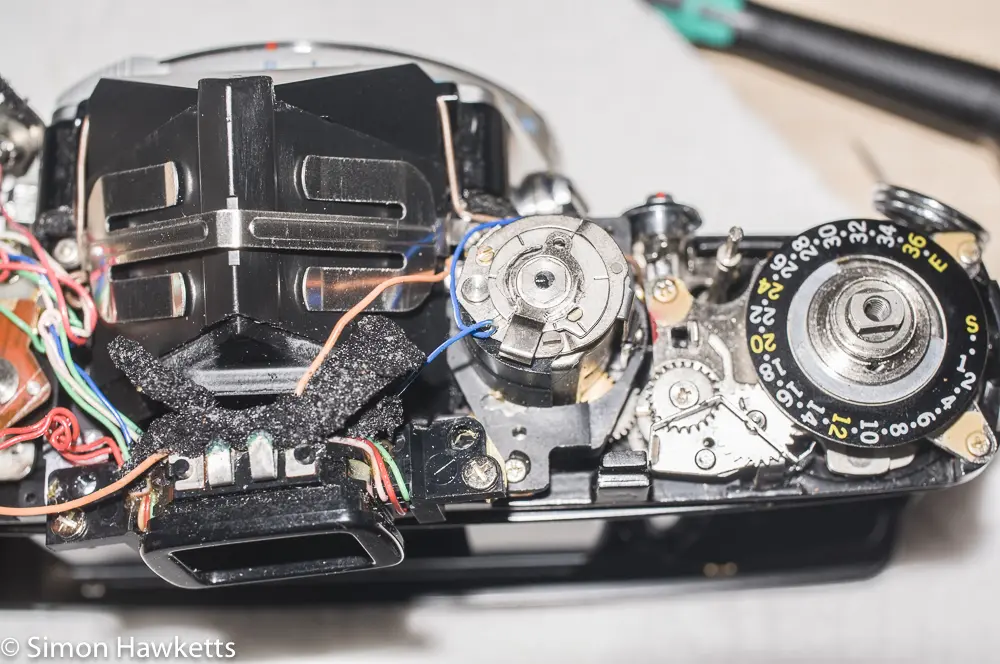
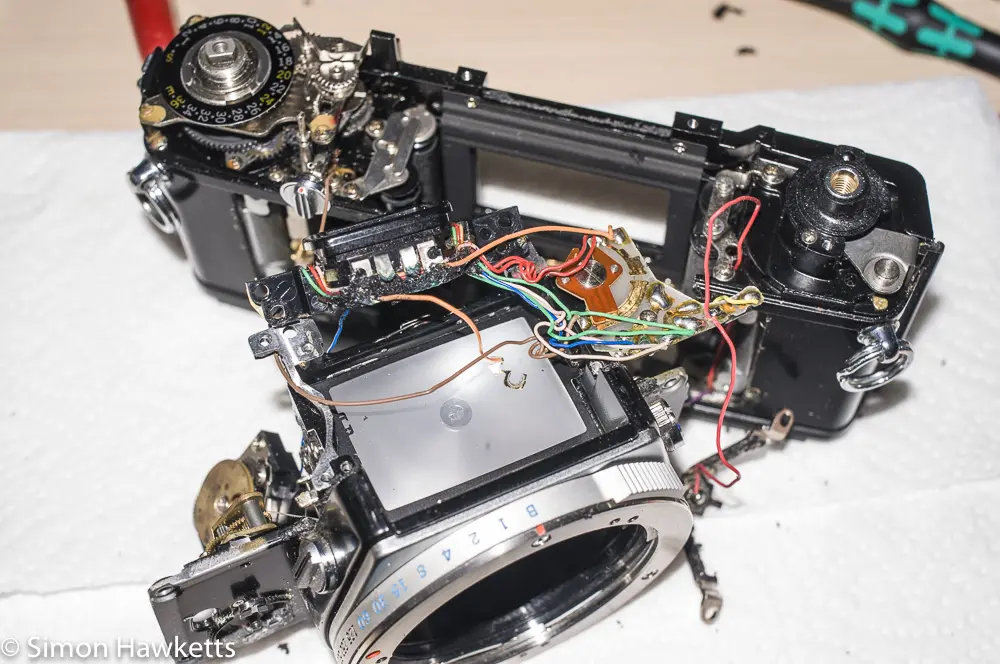
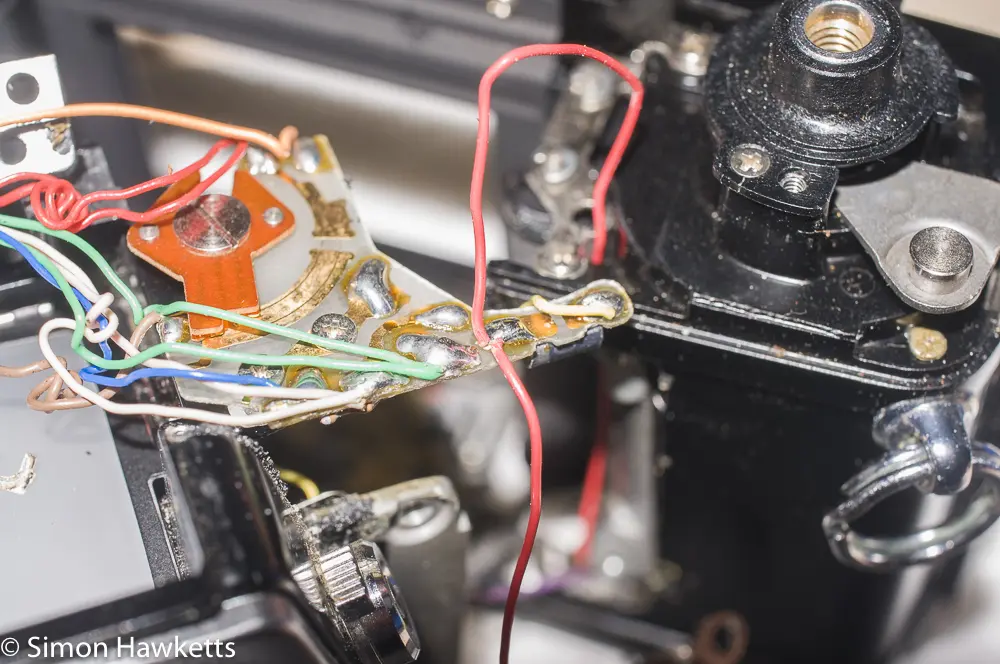
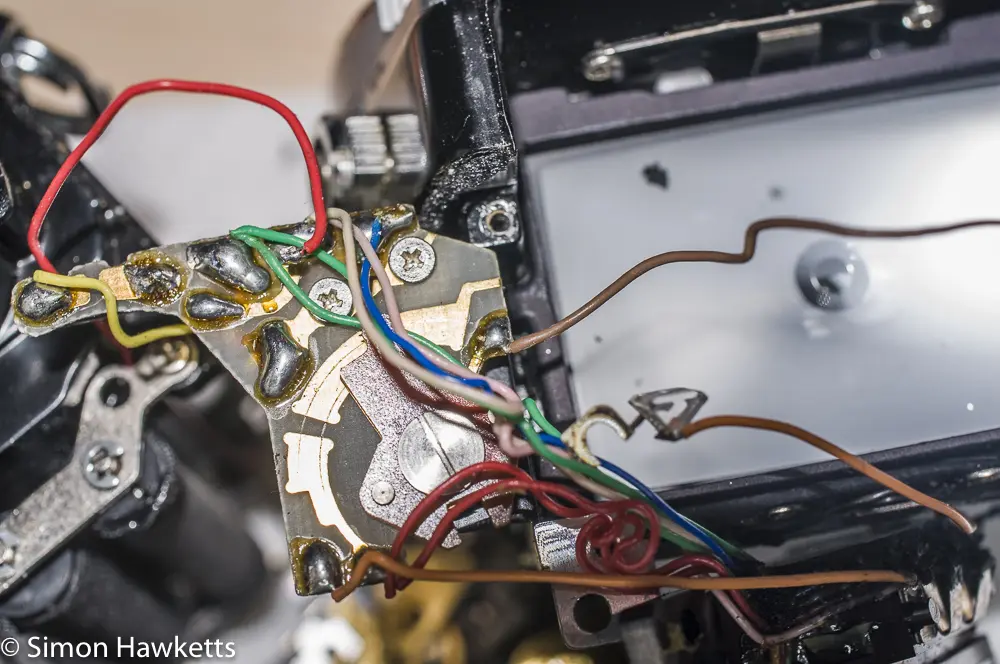
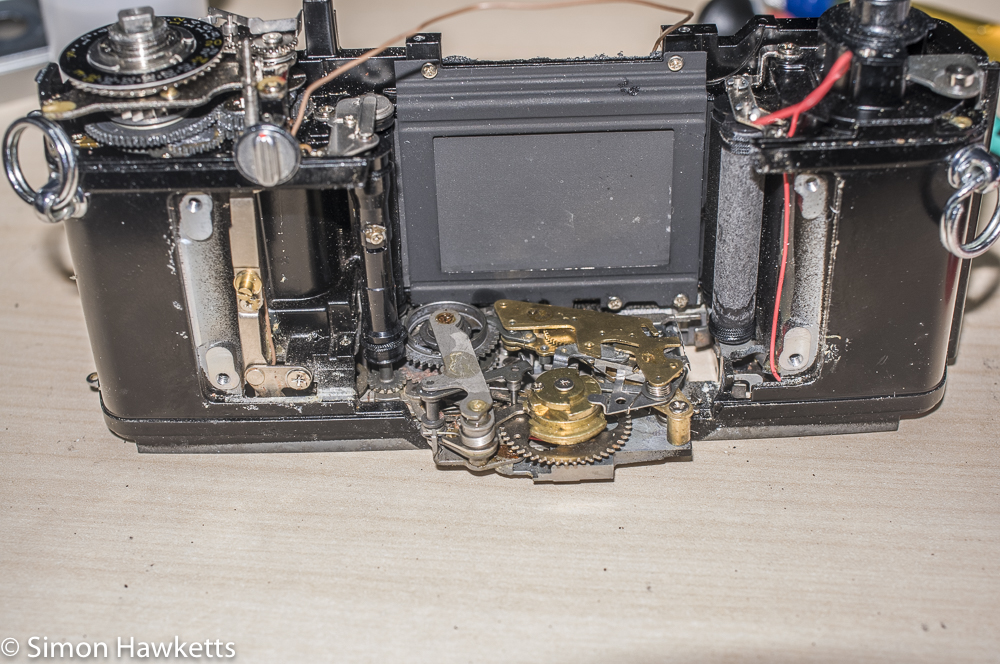
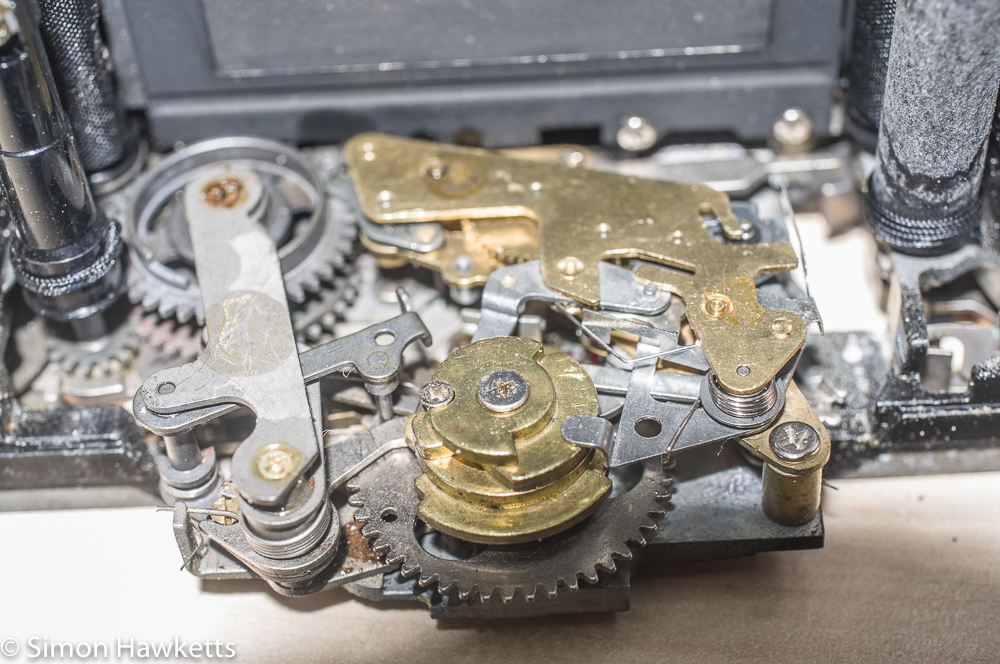
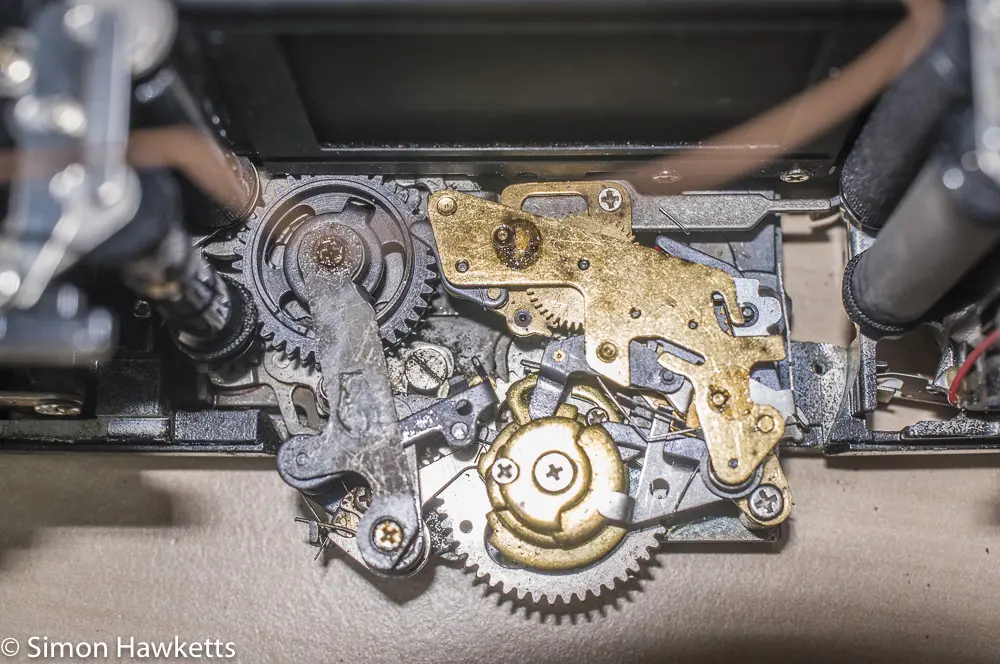
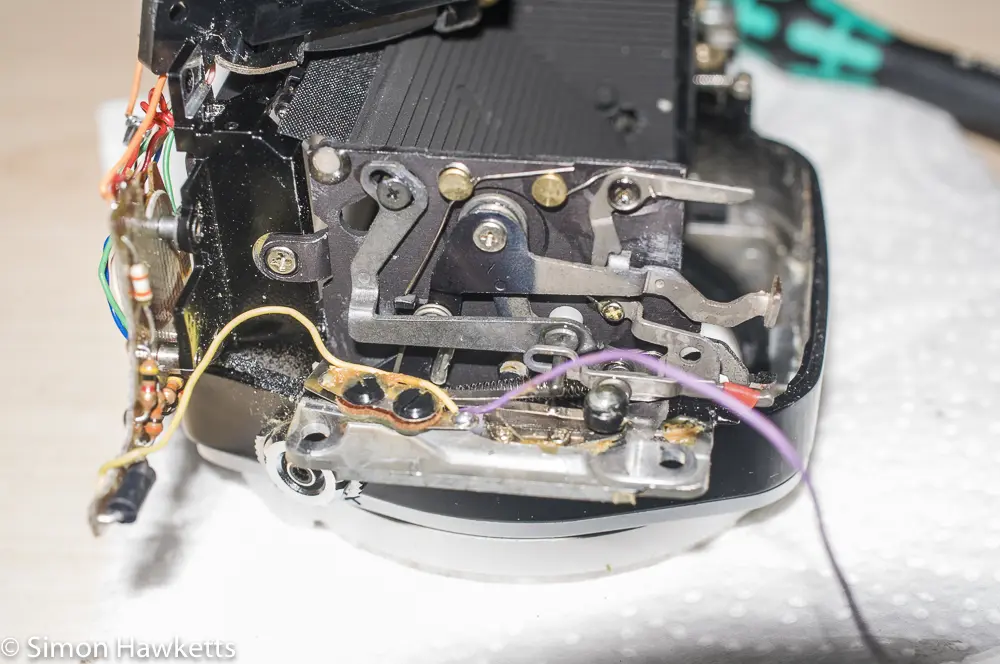
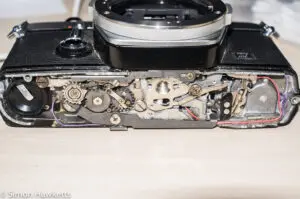
When I received the camera, I confirmed that the shutter and film transport had indeed seized up with the film advance locked, and the shutter button jammed solid. Obviously, the last thing to do in this situation is trying to force anything, so I started my investigation by removing the bottom cover to see if I could find the cause of the problem.
With the cover off, I could see that there had certainly been a problem with a battery leaking at some point in the camera’s life. There was some corrosion around the battery compartment, and also a couple of screws were very corroded with a solid layer of rust. A bit of a poke around with a set of tweezers confirmed that most of the levers under the cover were pretty locked, and a couple had small springs which had come off their posts.
I worked out the first thing to do was to get things loosened up, so I applied a small amount of Isopropyl Alcohol with a cotton bud onto the worst of the rusty screws and wiped, brushed and swabbed them to remove as much rust and dirt as possible and get the levers moving. After a few minutes, with the misplaced springs refitted and the dirt and rust gone, I could get most of them moving, and once I had the main shutter release lever cleaned up and lubricated I could move it and then the shutter button would press.
The film advance lever was still jammed at this point, but I found one of the levers under the bottom cover was in the wrong position, and when I moved it I found I could move the film advance and the shutter cocked. It was fairly stiff and difficult to move, but when I pressed the release button there was a click and one of the shutter curtains slightly moved, but the mirror stayed up. I had to help the shutter curtain to close and poke around again to find the lever at the bottom of the camera which released the mirror.
After repeating this a few times, the camera was basically working, but needed help with most of the steps. The film advance would work, although it took a couple of throws to cock the shutter. The release button would release the shutter, but the mirror wouldn’t always drop, and the curtains stopped halfway across the frame and needed to be helped to close. Although things were improving, it was obvious that I was going to have to do much more of a strip down to get the camera working properly, so I decided to remove the mirror box, so I could get to the shutter mechanism which is under the bottom cover of the film chamber in the OM-1n.
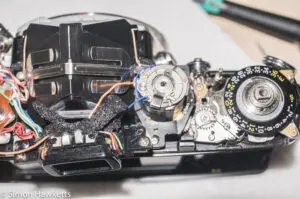
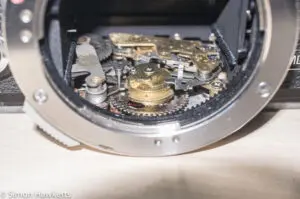
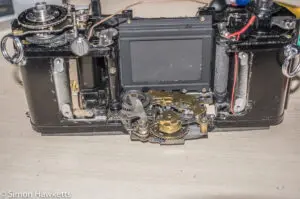
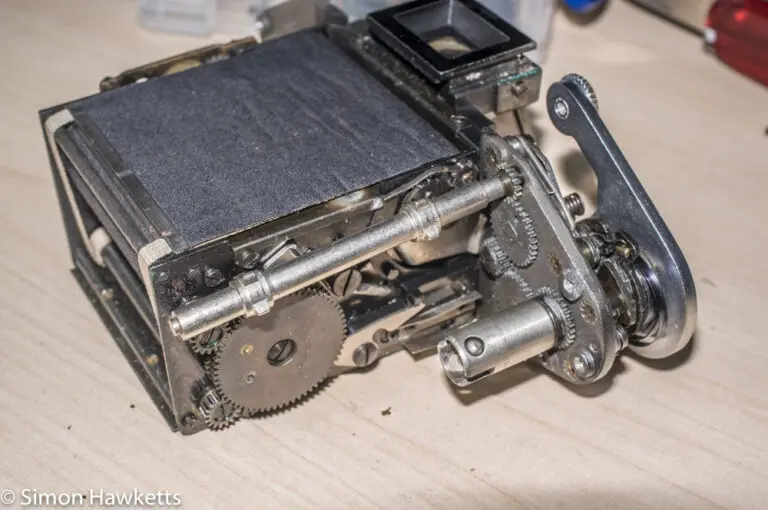
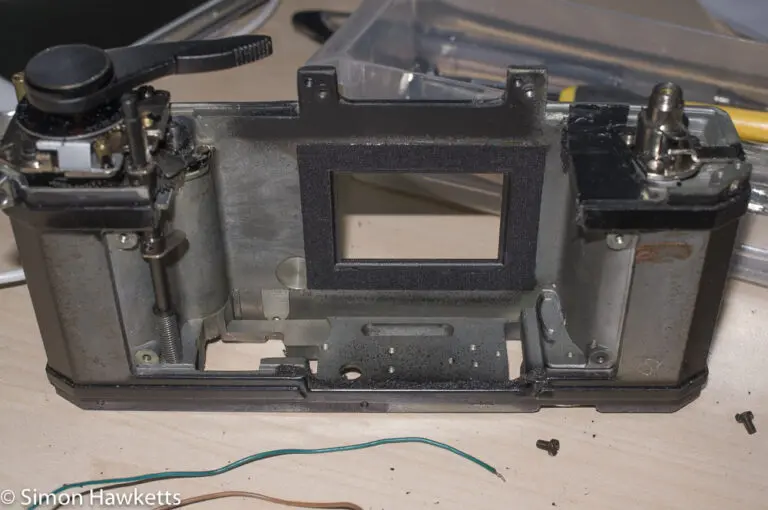
I turned out that removing the mirror box on the OM-1n is quite easy. The top cover needs to come off, the prism and the light meter galvanometer needs to be removed, but then the mirror box and front lens mount comes out as a complete unit, exposing the whole shutter mechanism at the bottom of the camera. Because of this design, it also means the shutter can be cocked and released with the mirror box removed, which makes it easier to fix issues.
Removing the Top Cover.
The top cover is one of the easier ones to remove on 35 mm cameras. The rewind crank is unscrewed after holding the prongs within the camera body with a screwdriver blade. There are then two screws under the crank which are unscrewed.
The film advance has a trim which needs to be unscrewed with a lens spanner. It might be possible to remove it with a pair of tweezers, but on my example it was pretty tight. With the trim off, the film advance lever lifts off, and then there is a screwed ring underneath which is also removed with a lens spanner.
The one last thing to remove is the threaded ring around the flash adapter contact on the prism housing, which I found I could undo with my fingers.
With those pieces undone, I found the top cover just lifts off, but there is a spring on a post by the rewind crank, so be careful as you lift it off.
Removing the prism and galvanometer.
The prism is held in place by a simple strap which fits over the top of the prism and screws into the camera body. Once the screws are undone, it lifts out of the camera and can be placed safely out of the way to keep clean. I also removed the flash sync socket and cleaned away as much of the old crumbly, messy light seal as I could (note that the flash socket is soldered to the circuit board).
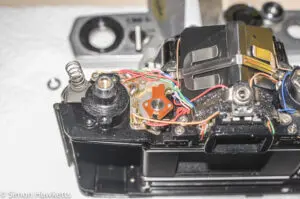
The light meter galvanometer needs to be lifted to get enough clearance to lift the mirror box out of the camera body. Once the prism is out of the way, there are a couple of screws which need to be undone and the galvanometer is free, but there are wires attached, and I found it easiest to remove the eyepiece and then unscrew the mirror box and lift it free of the camera at the same time, so I could get all the wires unsoldered.
I needed to unsolder two red wires on the front circuit board which are the flash sync wires, a brown wire from the camera body and a purple wire under the bottom cover, so I could lift the mirror box free. Hopefully the pictures above give enough details.
The mirror box is held in the camera with four screws which are under the front covering. This peeled off easily on my copy of the camera, although I had to remove the self-timer lever and trim to get it completely off.
To release the mirror box I found I needed to cock the shutter and disconnect the shutter release mechanism from the bottom of the camera, and also untangle the mirror tripping mechanism from the shutter unit as I lifted it away, but it certainly wasn’t the most difficult unit I’ve dealt with.
Once the mirror box was removed from the camera, I discovered that there is a cord which transfers the shutter speed and aperture reading to the light meter system, which needs to be re-threaded when the camera is reassembled. To keep everything together, I reassembled the galvanometer and eyepiece back onto the mirror box, so I didn’t lose the screws etc.
The actual shutter mechanism is mounted on the top surface of the bottom of the camera, i.e. it sits in the bottom of the film chamber with a cover over it which is glued in place. I actually removed this cover before I took the mirror box out to see if I could flush the mechanism without disassembly, but in my case I couldn’t. The cover is just prised up with a pair of tweezers, breaking the glue bond. There are a couple of strips of light seal along the side of the cover which can be removed and replaced or if they are in good condition just kept safe.
Shutter assembly.
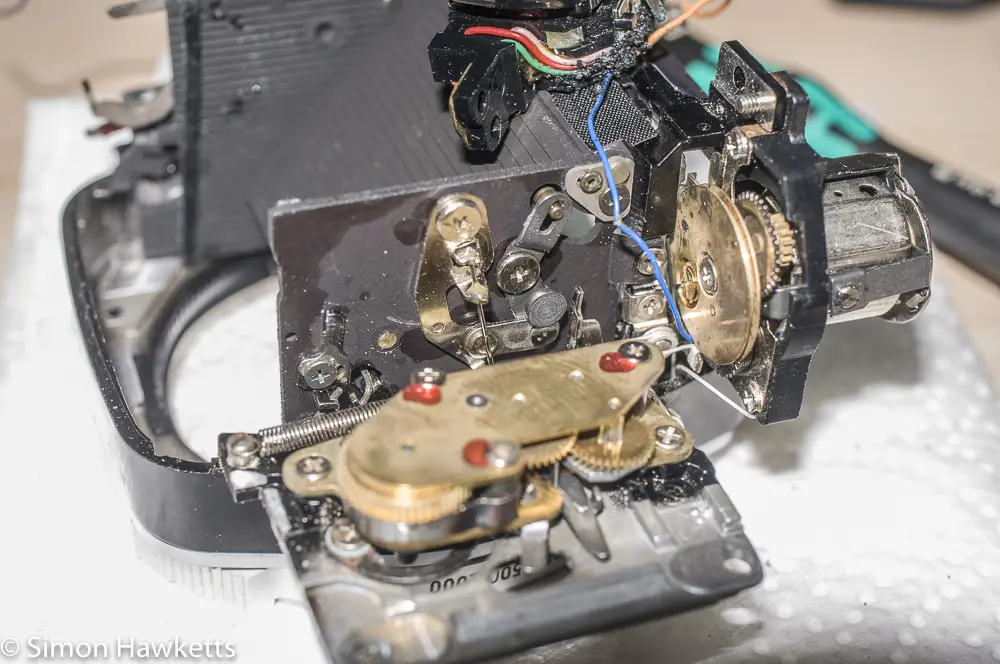
With the camera apart, I could get to the shutter mechanics to clean the timing and slow speed units. Although it may be possible to get the unit out of the camera I couldn’t see a way without serious dismantling, so I cleaned it up in-situ with some IPA, cocking and releasing the shutter as I flushed it with IPA to wash out all the old grease and dirt. To catch the dirty IPA, I sat the camera body on a piece of kitchen towel, so I could see how dirty the fluid was.
The shutter can be cocked by replacing the film advance lever, and then it can be tripped with a pair of tweezers pushing the lever on the right-hand side of the mechanism next to where the red lead comes up from the bottom of the camera.
Once I’d flushed the mechanism a few times, most of the speeds seemed to be working, although not necessarily accurately, and the whole mechanism started to feel more like a piece of quality engineering rather than a rusty box!
Mirror box assembly.
The mirror box assembly was mostly working when I took it out of the camera, although it did stick up sometimes. To try to fix that, I blew out all the mechanism with a puffer, and then applied a very small amount of thin oil to the linkages which moved.
With the mechanics basically working, I cleaned up all the old light seal and then reassembled the camera, which will be the subject of my next post on the OM-1n.
Discover more from Everything Vintage
Subscribe to get the latest posts sent to your email.

