Vintage camera’s aperture tests
This post is going to cover how you go about checking a vintage camera’s aperture
One of the most important parts of any camera are the combination of shutter and aperture which determine how much light is allowed through the lens and onto the film. It’s also one of the most common problem areas for vintage cameras with aperture blades sticking due to oil contamination and focus rings becoming stiff from old grease and dirt. This post is going to cover how you go about checking a vintage camera’s aperture and follows on from the article about checking a camera’s shutter
How you test the aperture depends to a great extent on if you are dealing with a camera with an automatic or a manual aperture blades.
Testing a Manual Vintage Camera’s Aperture
A manual exposure camera is easier to test than an automatic exposure camera because its action is not dependent on the amount of light. These instructions can also be used on an automatic camera which can be switched to manual mode, but won’t apply to ‘point and shoot’ cameras which have no way of setting the aperture.
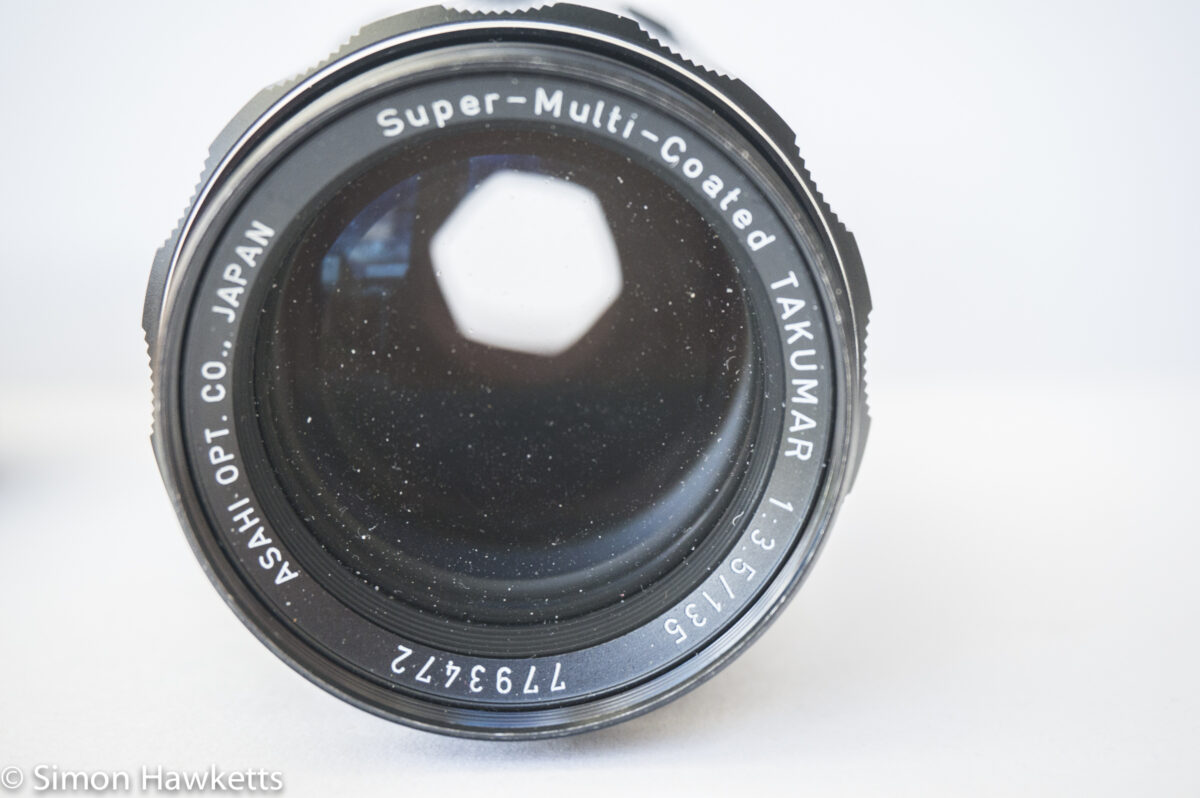
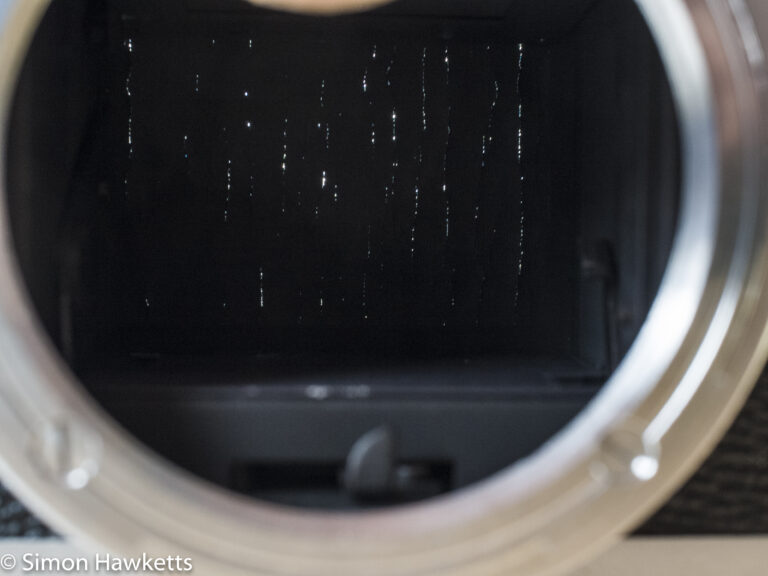
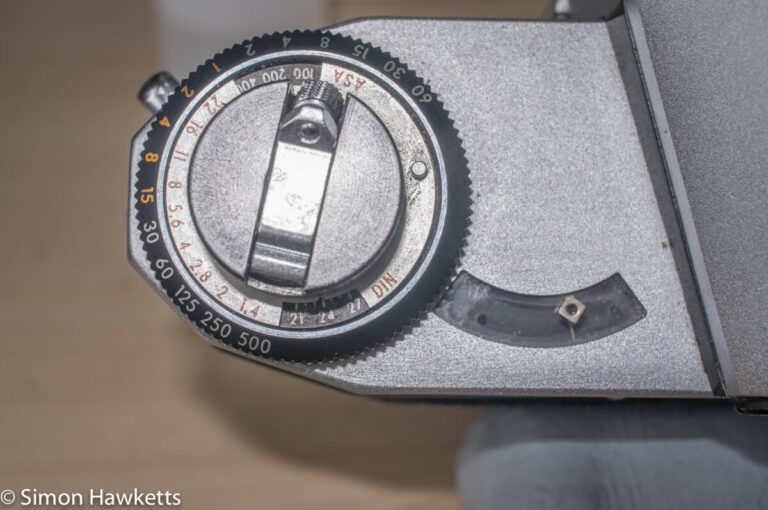
To test the aperture it’s a question of rotating the aperture ring or control and observing through the front of the lens to see if the aperture changes. I’ve recorded a video of this on a Pentax Spotmatic SPII fitted with a Super-Multi-Coated Takumar lens, which is a typical manual exposure camera. In the video I’ve opened the back of the camera to allow the aperture to be seen more easily. This process is shown in the first section of the video up to about 55 sec and below is the procedure I used.
- Set the lens auto diaphragm switch to Manual using the Manual/Auto switch
- Set the aperture to it’s widest setting, which is the smallest f number (the numbers will probably be marked on the lens as 2.8, 4, 5.6 etc – just set it to the smallest of those numbers).
- Look through the front of the lens and rotate the aperture ring one click at a time until the largest number is selected.
- As the ring is rotated the aperture can be seen closing through the front of the lens; each change should result in a smaller opening.
- The change in opening should happen as soon as the ring is changed. There shouldn’t be any delay.
- Rotate the ring back to the smallest number and make sure the opening gets bigger – again each change should result in a slightly bigger opening.
If the aperture doesn’t move or seems to be sticky or slow to respond to the change in the aperture ring, this could be a sign of oil contamination on the aperture blades. If you see the blades stop and can detect that they seem to be flexing then it’s a sign that the blades have probably been damaged and aren’t sliding over one another.
Checking a Vintage camera’s auto aperture
This procedure is shown in the second part of the video below, from 0:55 onwards.
Basically what we are checking is that the auto diaphragm closes as the shutter opens and then opens up again when the shutter closes. This is a simple enough thing to check using the following procedure:
- switch the lens auto diaphragm to the Auto position
- select an aperture opening somewhere in the second half of the range – say f/8
- set the shutter speed to a slow speed – say 1/4sec
- cock the shutter while watching the front of the camera.
As shown in the video below, you should see the aperture close when the shutter opens and then snap back open when the shutter closes again. Again, there shouldn’t be any delay in either action – it should quickly close, remain closed while the shutter is open and then quickly open back up as the shutter closes.
It’s easiest to see this on a slow shutter speed, but it’s best to check it on several shutter speeds and at several apertures because sometimes the aperture can be slow to open or close which will lead to incorrect exposures.
When I next have an aperture which is sticking I’ll add a video of that to this post to make it clear.
Discover more from Everything Vintage
Subscribe to get the latest posts sent to your email.


