Miranda Sensorex 35 mm SLR camera
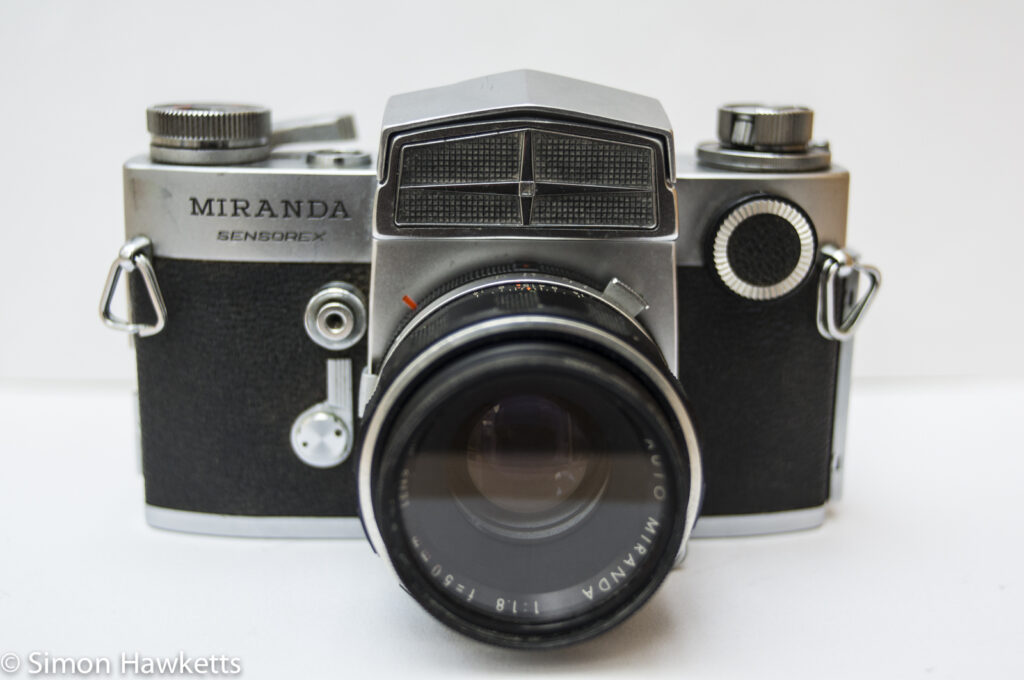
This is the fifth Miranda camera I’ve bought since I decided to concentrate my vintage camera collection around two iconic makes – Miranda and Topcon – and covers a quite famous model, the Miranda Sensorex.
The Sensorex was a model which built on the changes introduced to the Miranda line up by the Automex camera released a few years earlier. The features of the Sensorex included through the lens metering, replaceable viewfinders, a self-timer mechanism and a maximum aperture dial and mechanical coupling between the lens aperture and the camera body for the exposure measuring system. It was introduced in about 1967.
Miranda Sensorex Images
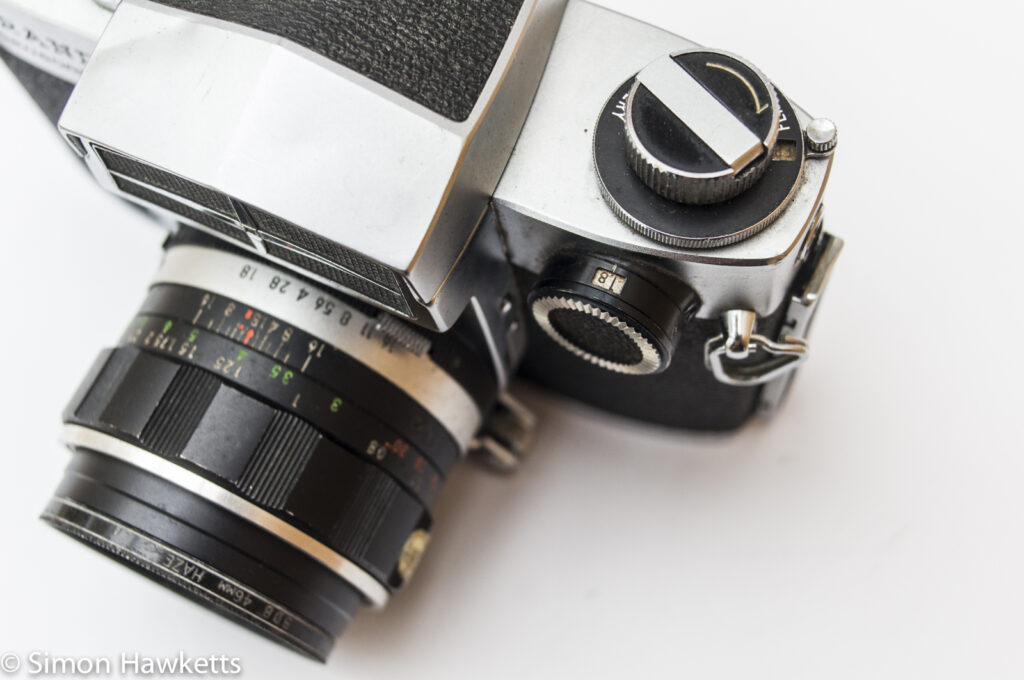
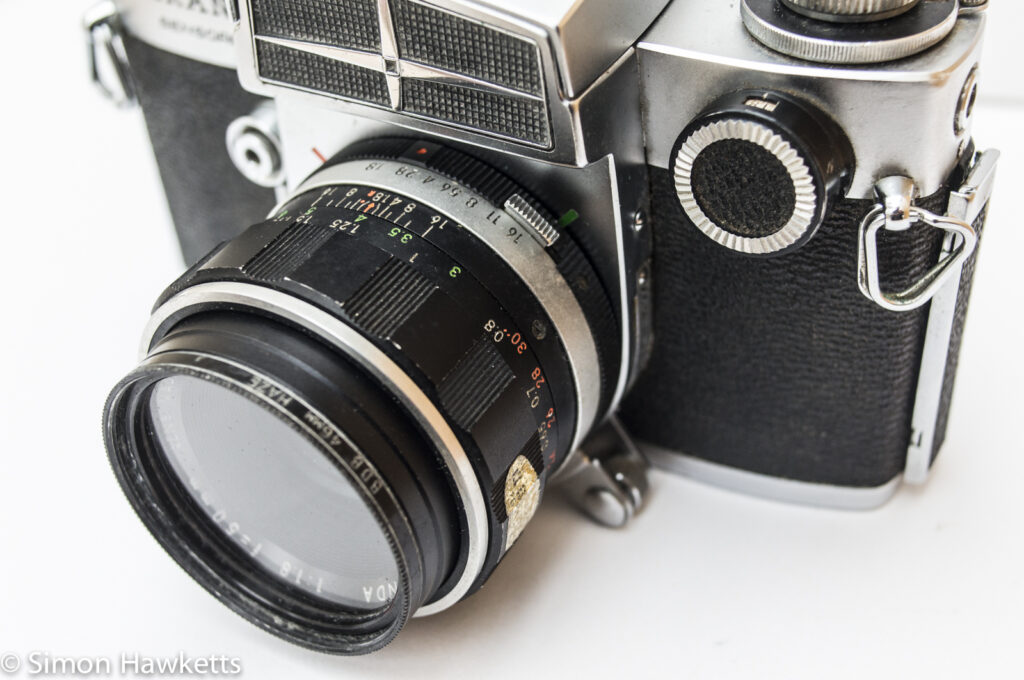
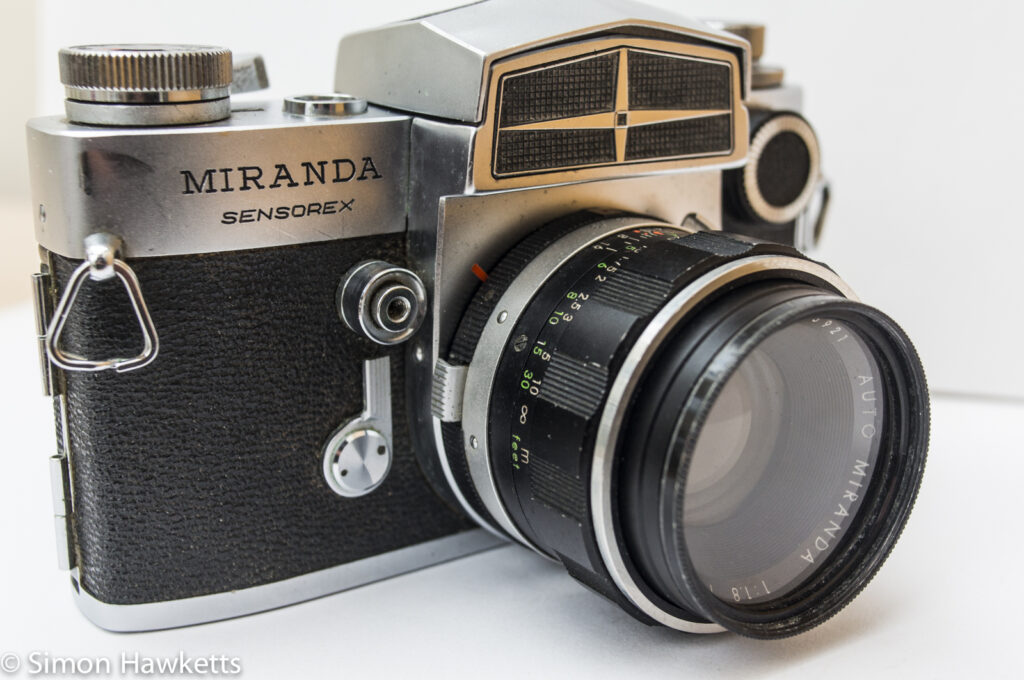
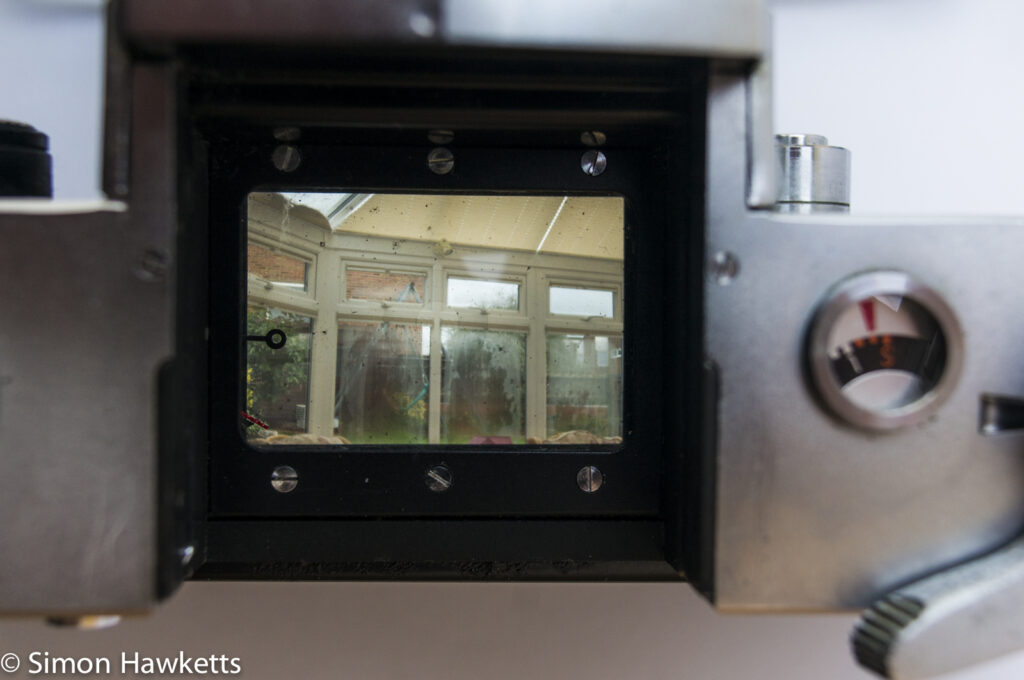
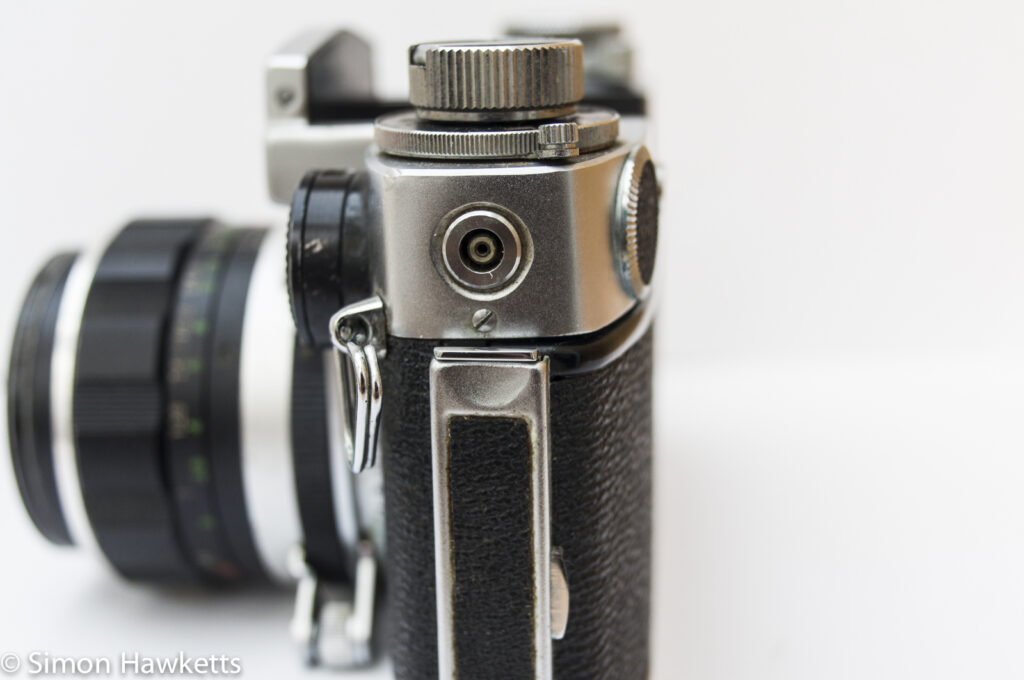
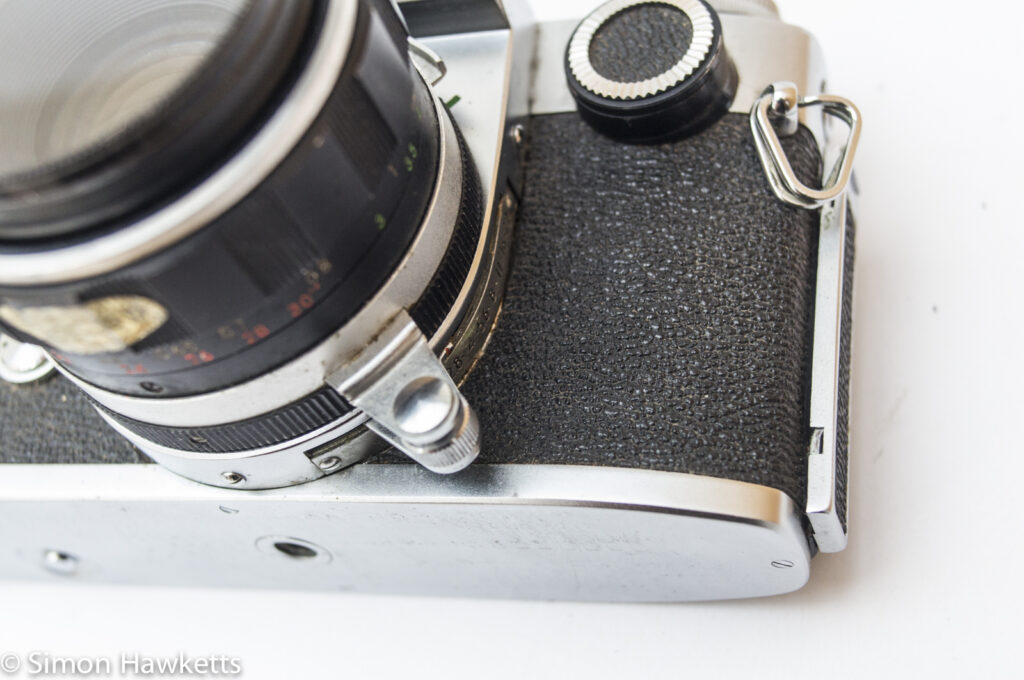
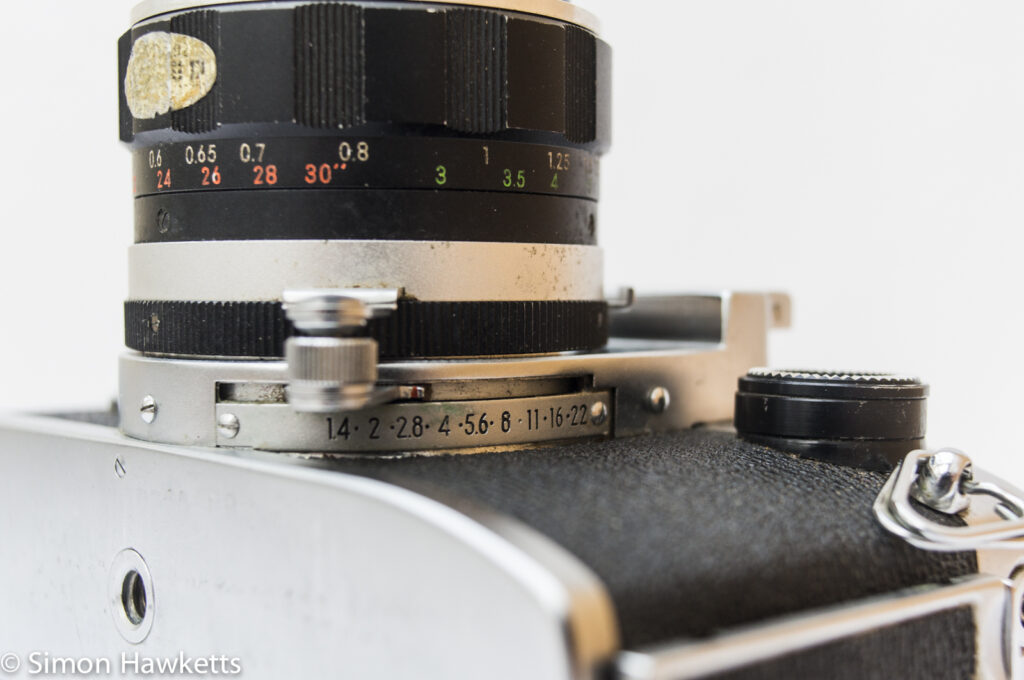
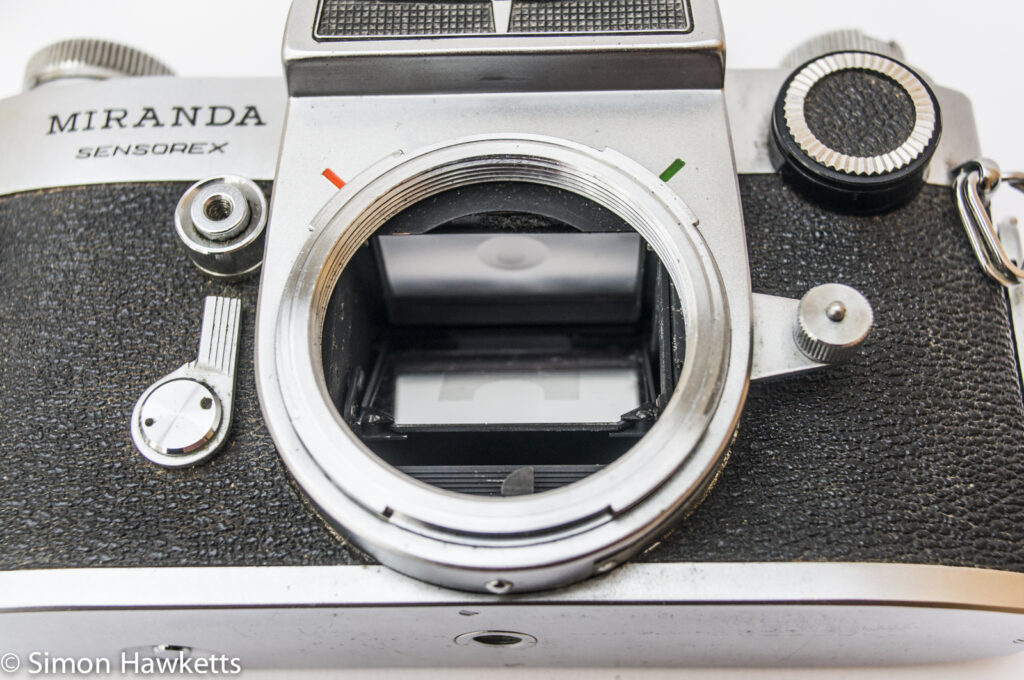
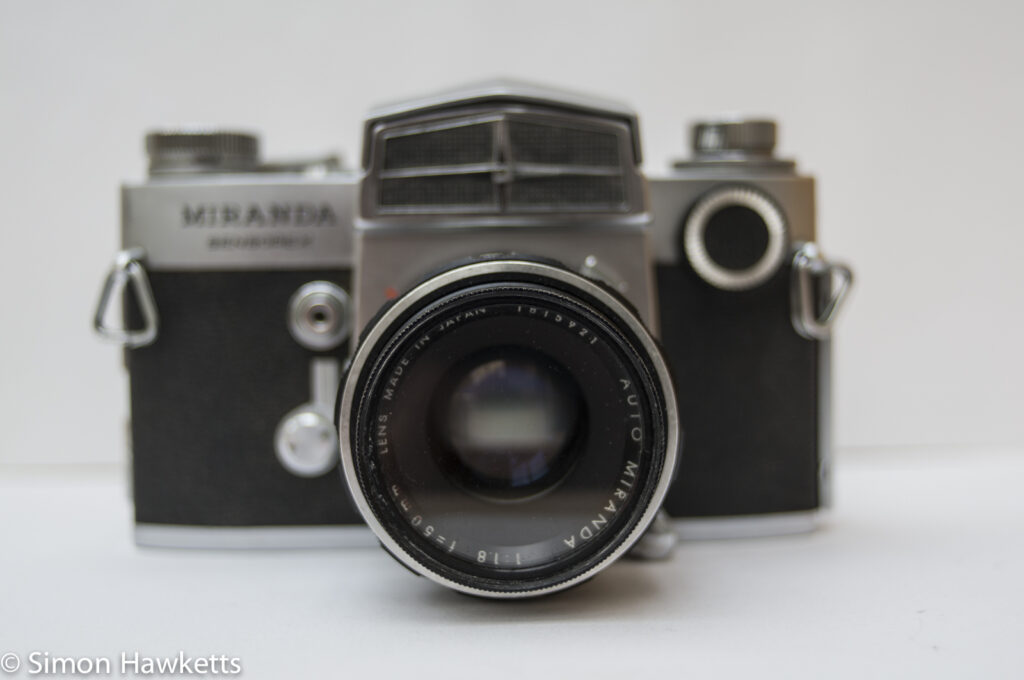
My Miranda Sensorex Camera
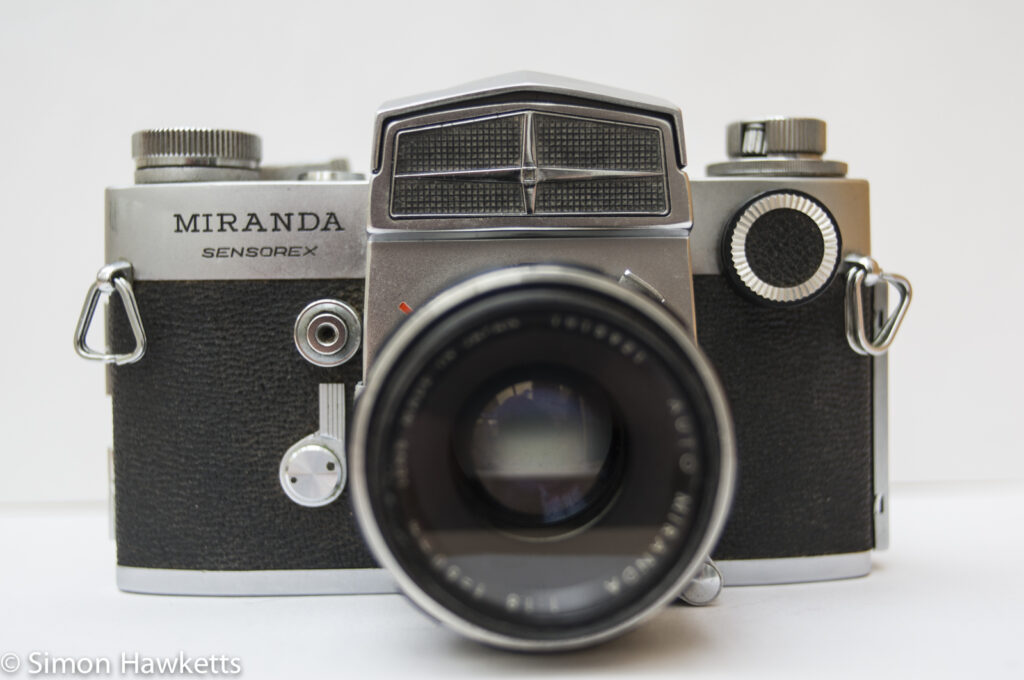
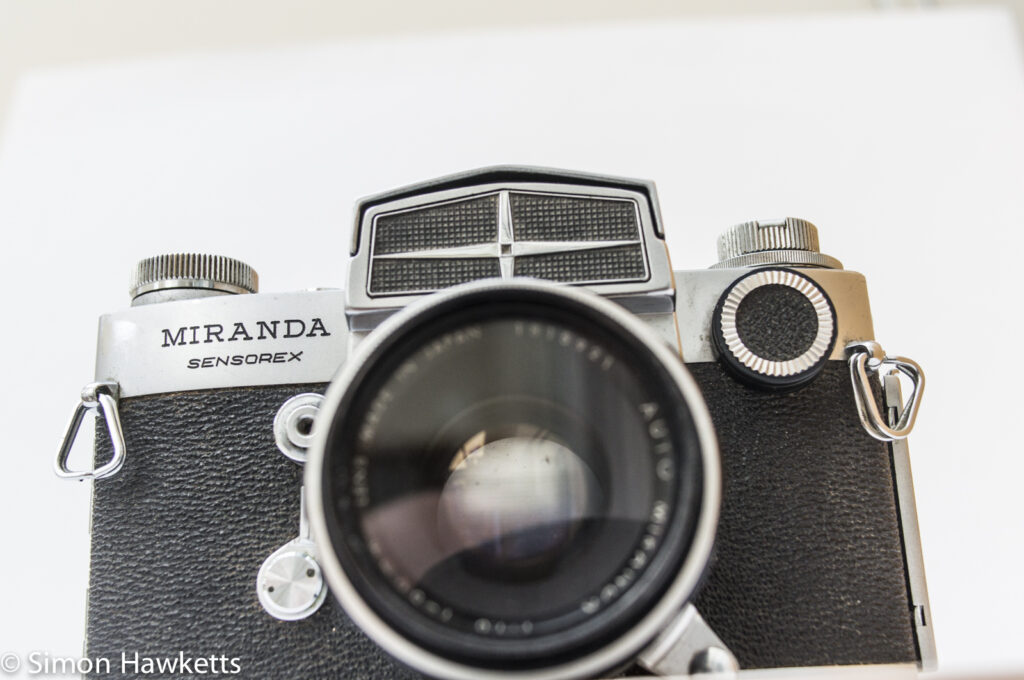
My copy, as with all my Miranda cameras, was purchased from eBay and is one of the later Sensorex models – the Sensorex type 3 (I originally thought it was a type C but a reader – John – pointed out the correct model, thanks John).
It is in generally pretty good mechanical condition, with all the shutter speeds working and the other mechanical parts seeming to function as expected. The lens will require a clean because there are a few dust particles and the focus ring has a bit of an uneven feel to it, so it is probably going to need a re-greasing at some point. The lenses on the Miranda cameras are quite easy to get apart and repair, however, as I found when I had to clean up the aperture blades on my Fv.
I found that the supplied lens hood and filter were almost totally stuck on, and I had to unscrew the front of the lens to remove the hood. At the moment I still haven’t been able to unscrew the filter, so I think I’ll need to apply a bit of WD40 (with the front unscrewed from the lens body, I hasten to clarify).
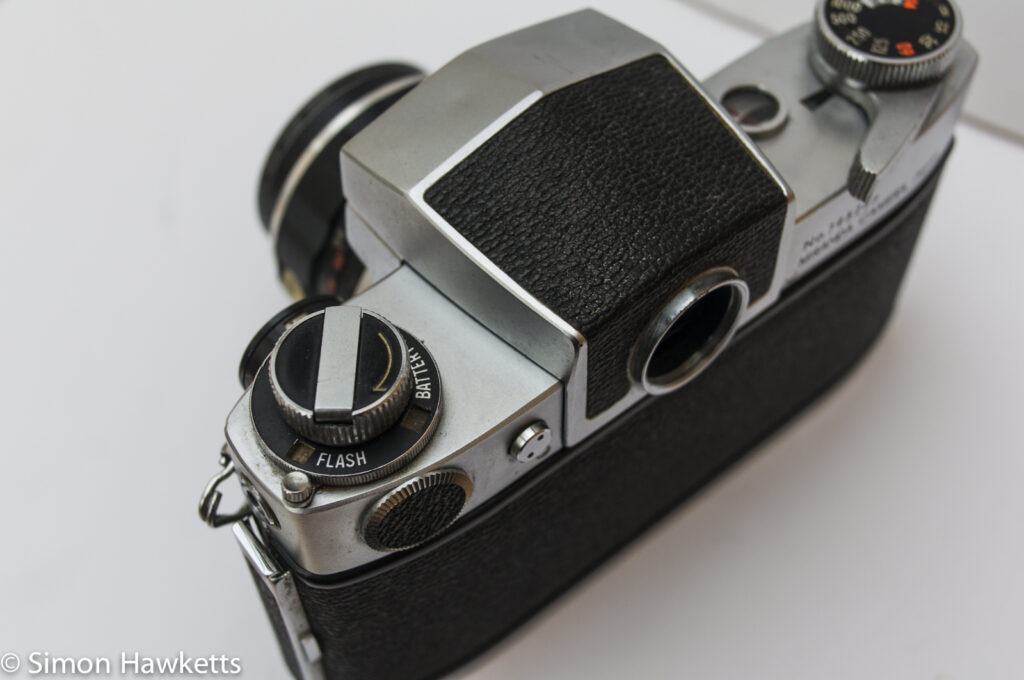
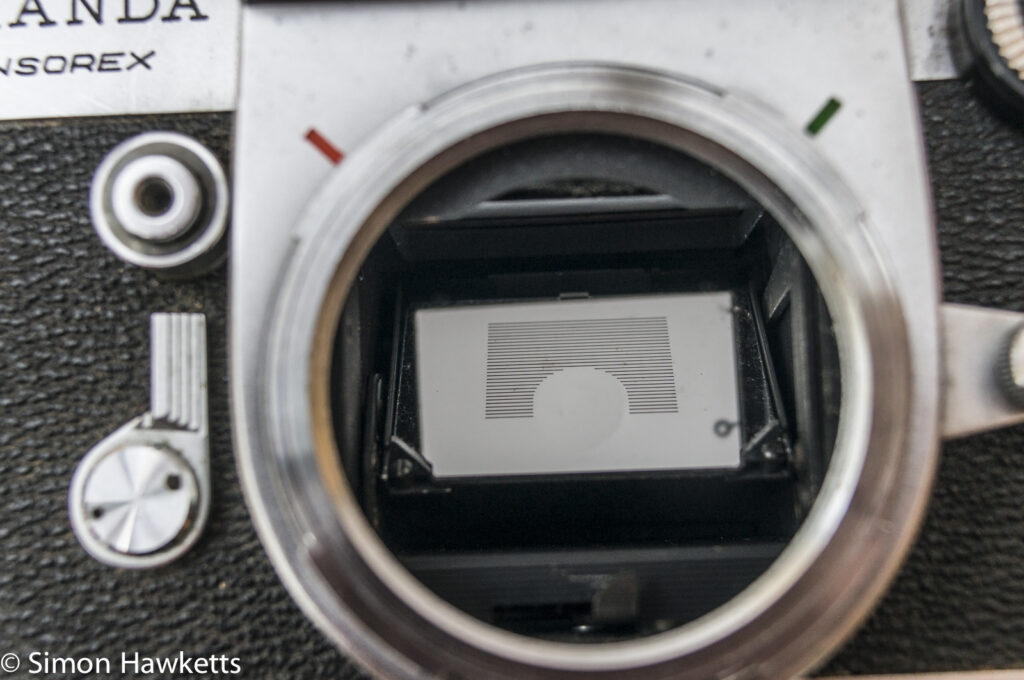
There is a small crease in the top of the viewfinder, so I’ll probably need to replace that, and the view through the finder is filthy, although I’m pretty sure that is on the focusing screen rather than in the viewfinder. I guess that, like all the cameras I want to repair and keep, I’ll probably need to buy a second copy to provide parts to get everything first-rate again.
Major features of the Miranda Sensorex
Dual lens mount
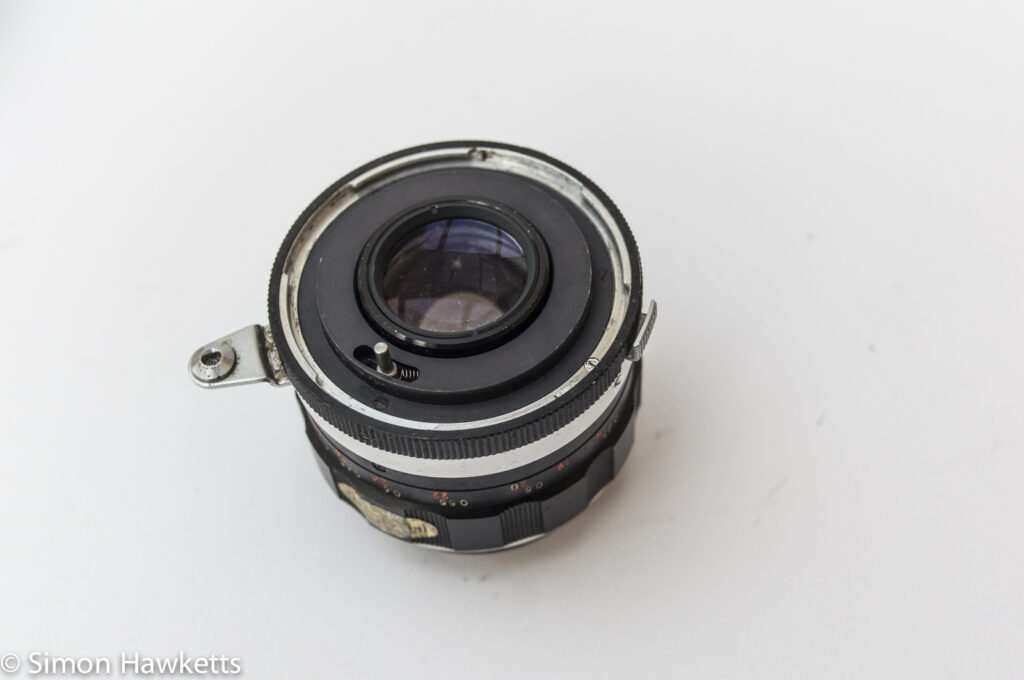
Like all the other Miranda cameras I own, the Sensorex has the dual mount system for lenses. This is quite a novel way of allowing screw mount lenses which owners may already have owned from an earlier Miranda camera, to fit on an internal screw thread and also allow newer (at the time) bayonet mount lenses to fit over an external bayonet mount.
Although I know of manufacturers who have retained their bayonet mount from the 1960s (Pentax most notably) I don’t know of any other manufacturer that allowed both screw mount and bayonet mount on the same camera body.
I have heard arguments that because the lens clamps over the mount rather than fitting within the mount it’s not a strong and the lens could fall off, I can’t say it’s ever happened to one of my Miranda’s – mind you, I don’t shoot with them day in – day out as photographers in the 1960s did.
Front release
The shutter release is fitted to the front plate of the camera rather than the top. At first, I thought this was rather odd, but it actually fits in well with the design of a camera with replaceable viewfinders. When a waist level finder is fitted it is much easier to fire the shutter on the front of the camera than the top plate, and it’s also possible without too much difficulty to fire a front mounted shutter release when using an eye level finder.
Some of the other cameras in Miranda’s line-up had the option to also fit a top mounted shutter where the cable release fitted, but this model doesn’t have a cable release option on the top plate.
Replaceable Veiwfinder.
The Sensorex retains the ability to replace the viewfinder, but it isn’t the same design as the Fv and Sensomat versions. This unit is bigger overall (as is the whole camera, actually) and sits lower in the camera body. It’s released by shifting the small lever on the back of the camera near the eyepiece over towards the battery compartment and pulling the viewfinder body backwards.
There were a variety of different waist and eye level finders available, and I believe, although they were different from the Fv and Sensomat models they were interchangeable with the Automex (I don’t yet have an Automex, so I can’t at the moment be sure of that).
Exposure system
This camera has a match needle exposure system which worked at full aperture (i.e. without the lens being stopped down as the exposure was measured). As there is no electronic coupling between the lens and the camera, the information about the aperture selected is communicated to the body via a mechanical arm which coupled to the aperture adjustment lever on the lens.
Because of this reason, as with my Topcon IC-1 and Unirex, there is a dial to set with the maximum aperture of the lens fitted to the camera. Although this would seem to be a real pain to use these days, at the time it was a good compromise and allowed users to carry on using lenses they may have paid a lot of money for.
Because the viewfinder could be replaced, it wasn’t economically possible to fit the light meter selenium cell in the viewfinder as other manufacturers did, so Miranda fitted the cell under the mirror and added slots in the mirror to allow light to pass through. This is quite clever; In use there is no indication of the slots in the viewfinder, and it means the metering works with any viewfinder fitted.
The metering produces an averaged reading from three cells fitted under the mirror. Earlier versions of the Sensorex had a single cell fitted to the centre of the mirror and therefore had spot metering.
In use, the exposure measuring is a simple match needle system used in the following way
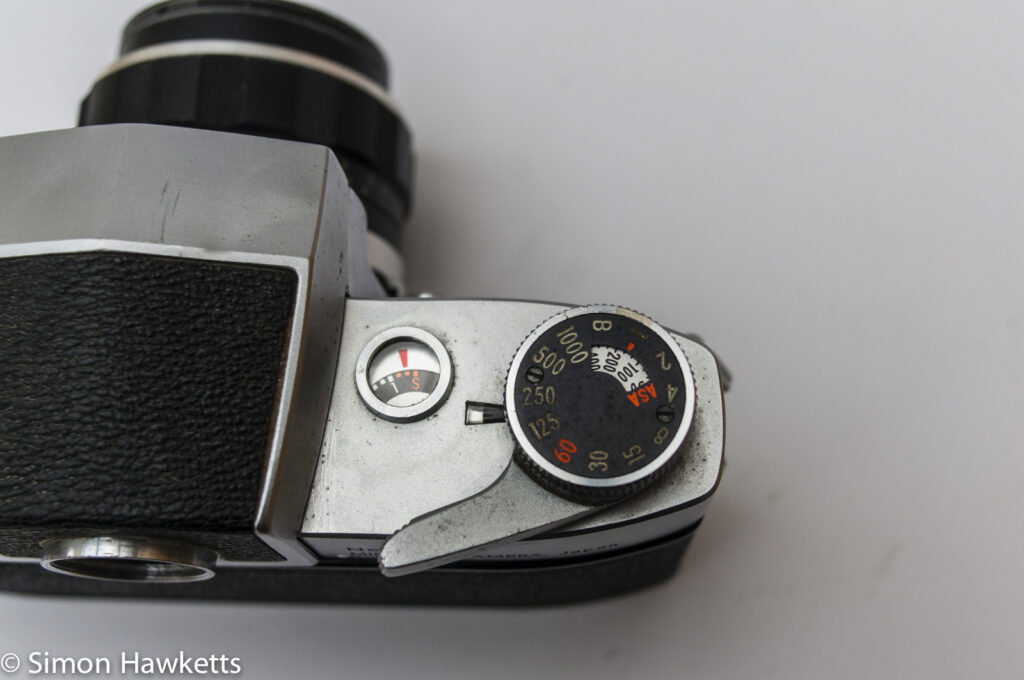
- Turn on the exposure system by pushing the lever under the rewind crank forward.
- Set the lens maximum aperture on the dial at the front of the camera (if it wasn’t set).
- Set the desired shutter speed.
- Compose the picture.
- Set the aperture until the circle in the viewfinder matches the position of the needle
- Depth of field can be previewed by pushing the DOF preview button on the lens to stop the aperture down.
- If necessary, the aperture can be read of the lens.
- Press the shutter
Of course, it would also be possible to set the aperture and adjust the shutter speed dial to match the needles if that was desired.
Lens
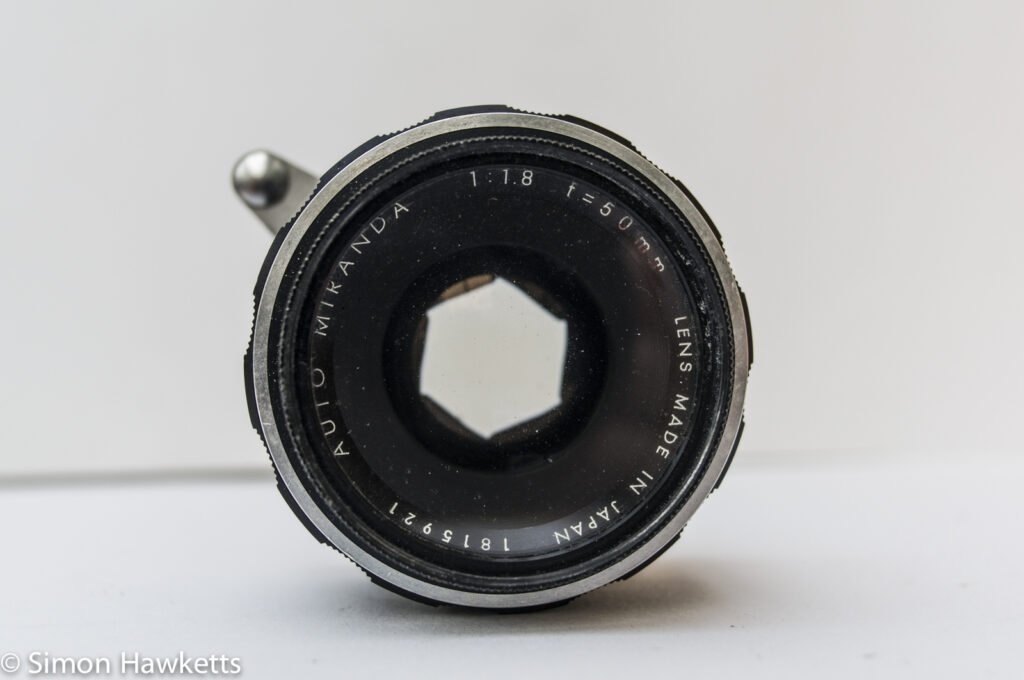
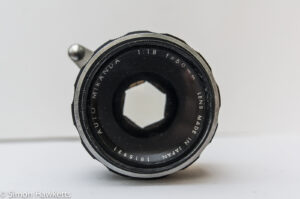
The lens fitted to this camera is essentially the same basic design as that fitted to the Fv and the Sensomat except it is a click-less aperture adjustment and has the coupling arm to the body.
It is a 6 element 50 mm unit with a max aperture of f/1.8. As I said above, I think it will need a bit of a clean, because there are some rather large dust particles and one spot which may be the start of a fungal growth.
The other major feature of the Miranda Sensorex, and in-fact all the Miranda models in my opinion, is the beautiful design. I find the curved body and general aesthetics of the camera very appealing. The frame counter in particular is really nicely thought out, and I think typifies the way the whole camera was really made to not only take pictures but stand out as a great example of design.
Miranda Sensorex Specifications
- Miranda Sensorex 35mm film camera
- Manufactured around about 1967 – 1972. This model probably about 1971.
- Replaceable viewfinder with eye level and waist level options available
- Shutter 1 – 1/1000 + B
- Front mount shutter release
- Self timer
- Averaged metering with match needle exposure measurement
- Max aperture dial
- ASA 25 to 1600
- Switchable X and FP sync socket
- Miranda bayonet and screw lens mount
- Depth of field preview
- 50mm f/1.8 bayonet mount lens with aperture coupling arm
- Body ser no: 795253
- Lens ser no: 1815921
- Manual available on-line here.
Discover more from Everything Vintage
Subscribe to get the latest posts sent to your email.

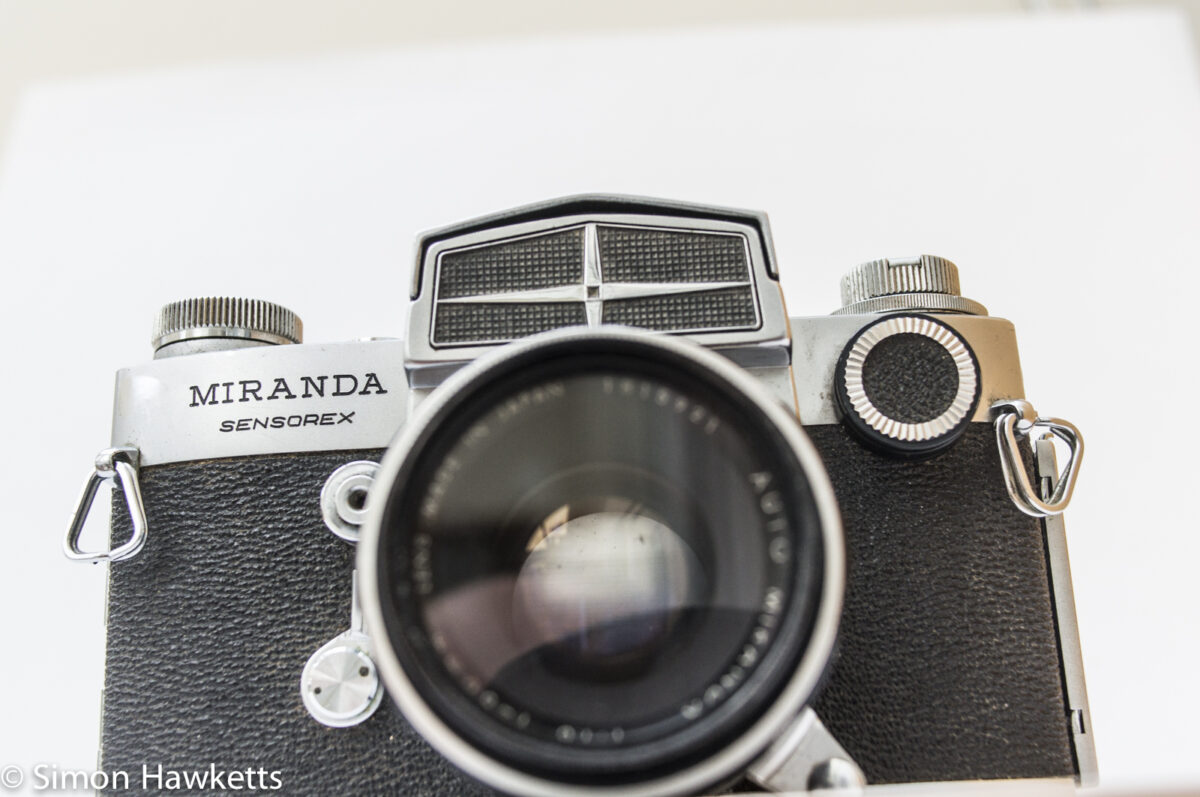
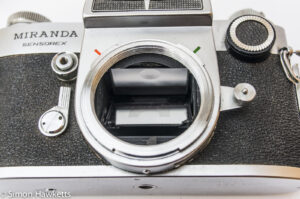
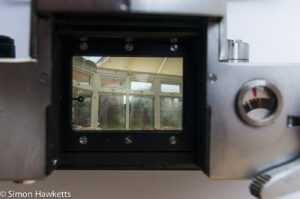
I got a miranda sensorex two weeks ago and there are two minor issues I hope someone here knows how to fix , 1 -the iso/asa solector is stuck on 400. 2 – the aperture coupling leaver/arm on the camera body just randomly fell off , it has two screw holes in the part that attached inside but no crews fell out and nothing is rattling away inside. I think the previous owner might have glued it in. I can opperate it without that since I am obviously not using the light meter but is it an easy fix ?