Processing scanned 35 mm slides in Lightroom and Photoshop
This is a post describing the steps I’ve taken to try to correct some colour casts and exposure problems with 35mm colour slides.
This is a post describing the steps I’ve taken to try to correct some colour casts and exposure problems with 35 mm colour slides.
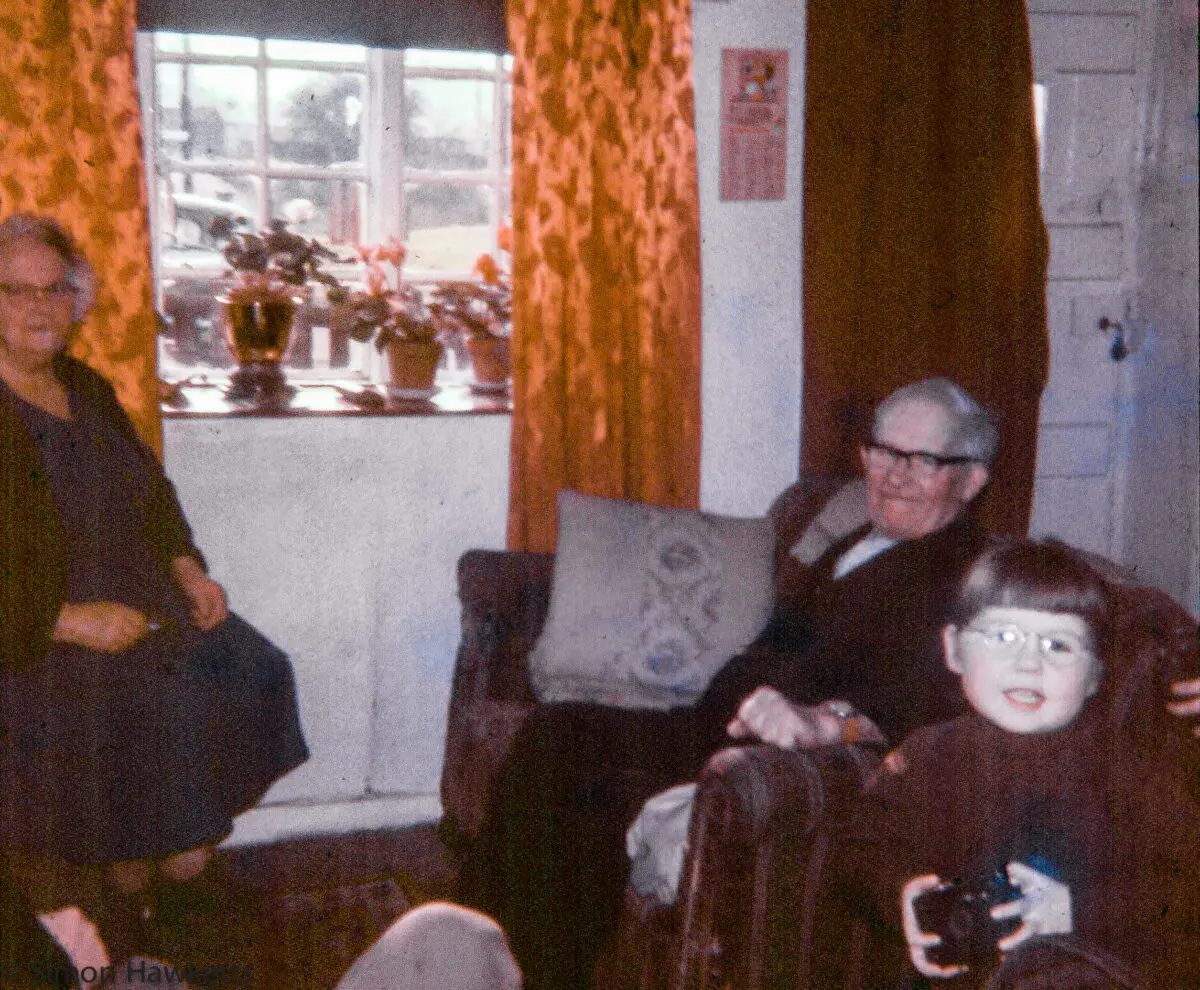
I recently discovered a large box of 35 mm slides which my Dad took in the 1960s of our family. There are about 500 slides in total, and I’m working through scanning them and getting them to look as good as I can. I am scanning them on an HP Photosmart C8180 Printer/Scanner using the inbuilt slide holder which allows me to scan 4 at a time to JPEG files. For the purpose of this post I chose a slide which was particularly bad – not all the images I’ve had to deal with need all these steps, but it’s a good image to show the process.
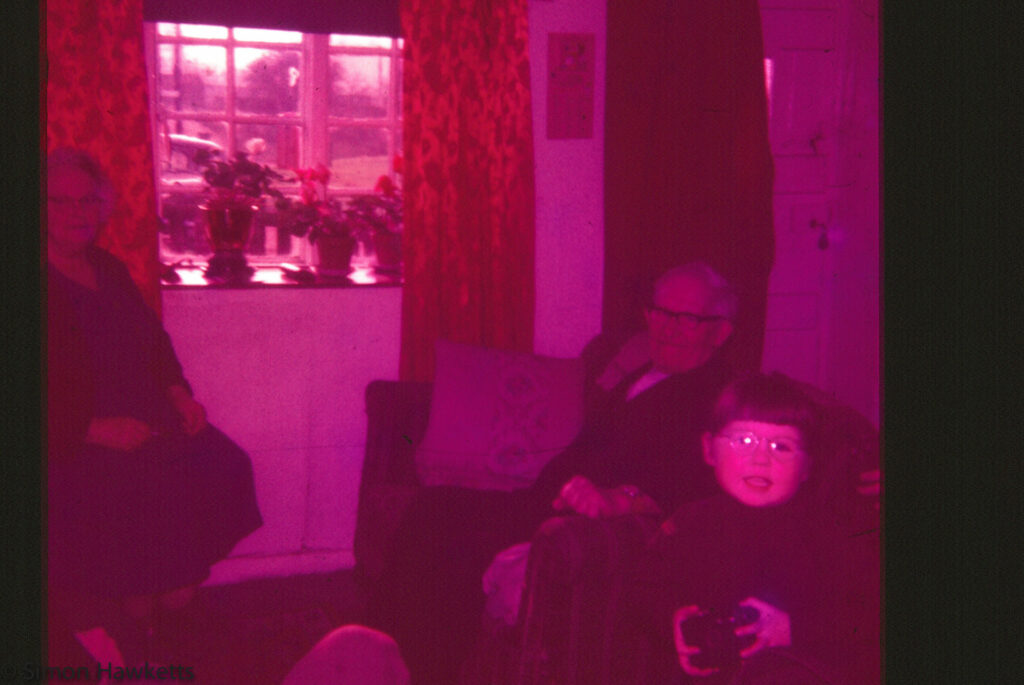
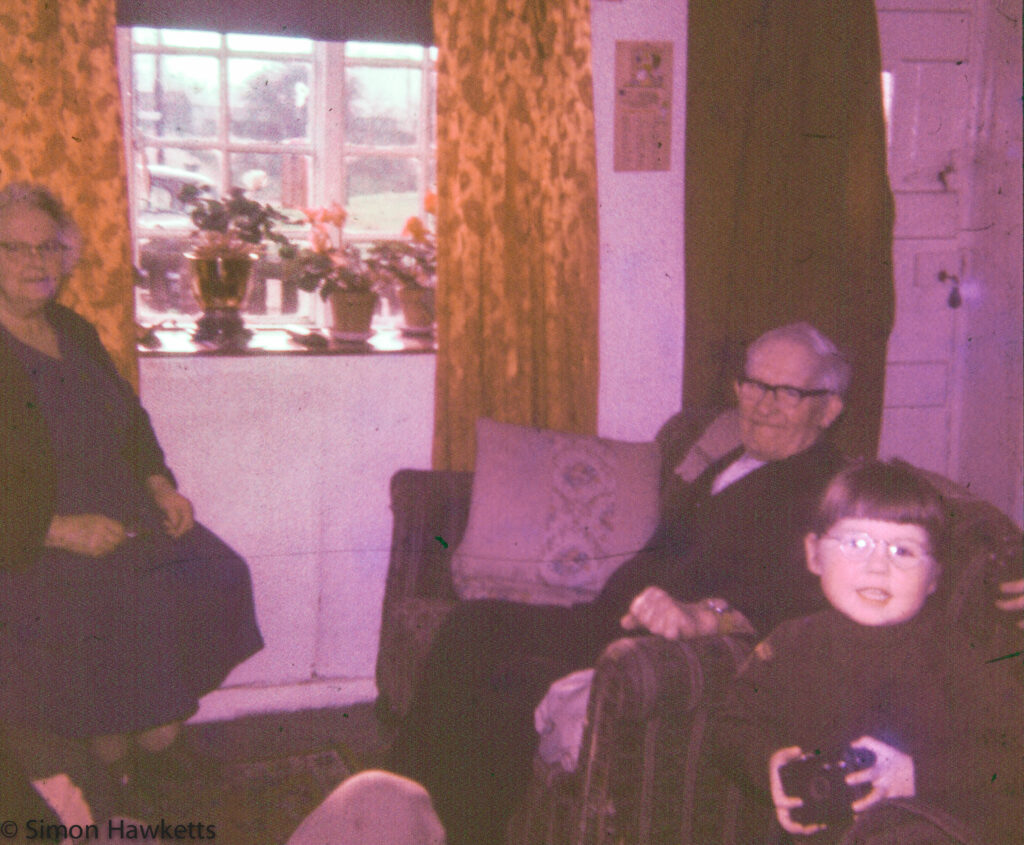
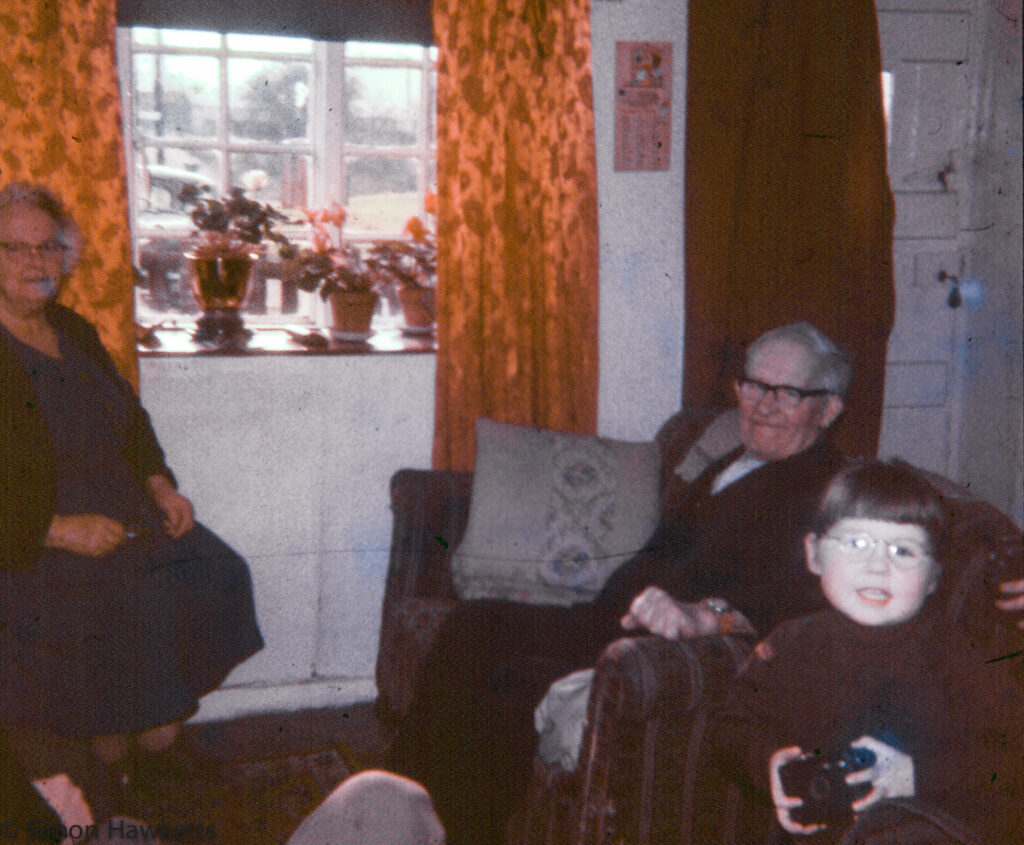
The picture here is of my Grandparents in their small cottage in Walsingham, Norfolk and my Sister Karen. From the age of my Sister in this picture I would guess it must have been taken about 1968.
Here are the pictures, the steps taken follow below. It’s probably best to open a copy of the page in another window or tab, so you can see the pictures and the technique at the same time.
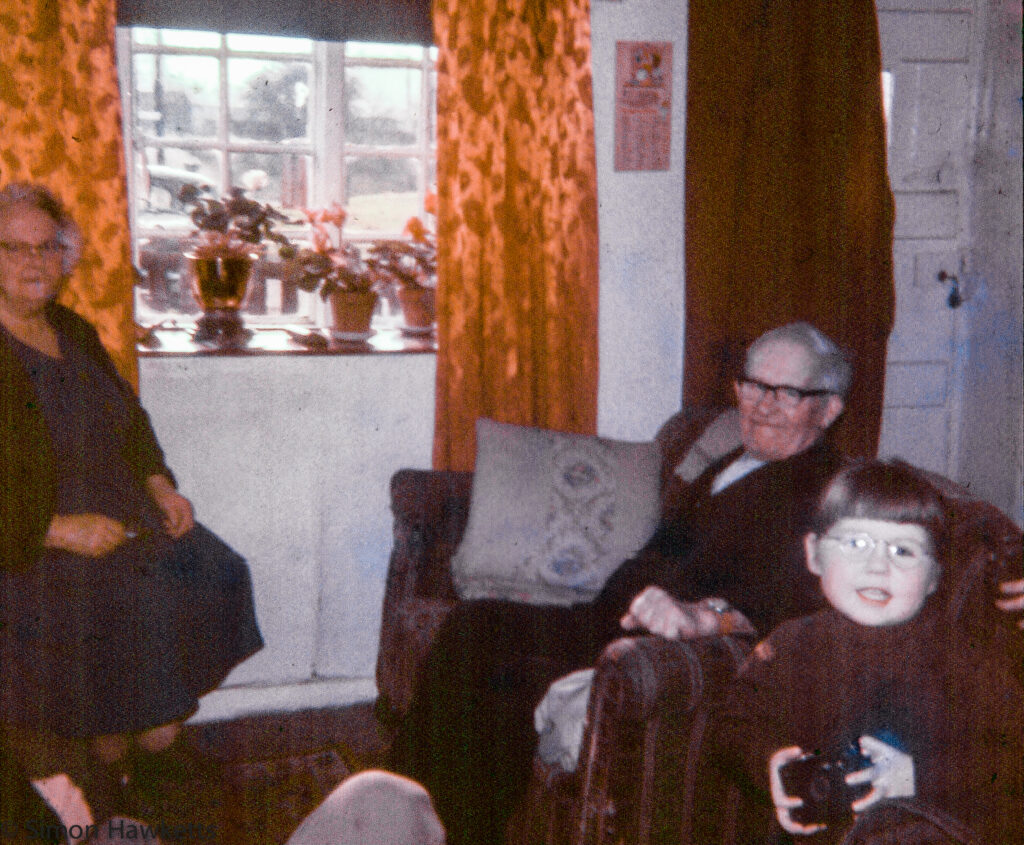
Step 1
This is the original slide as scanned. There is a very pronounced pink colour cast to the picture which I assume is because the image was under exposed or was daylight film exposed with a tungsten light source. It is certainly pretty dark which hints at underexposure. I imported this file into Lightroom 5.6 to do the majority of the corrective work.
Step 2
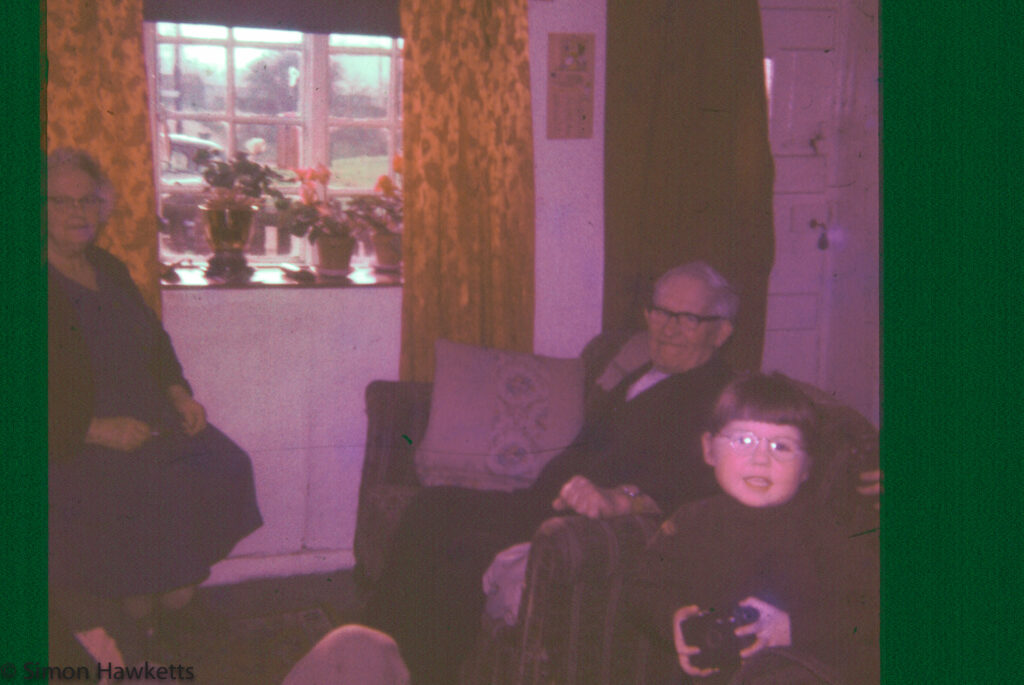
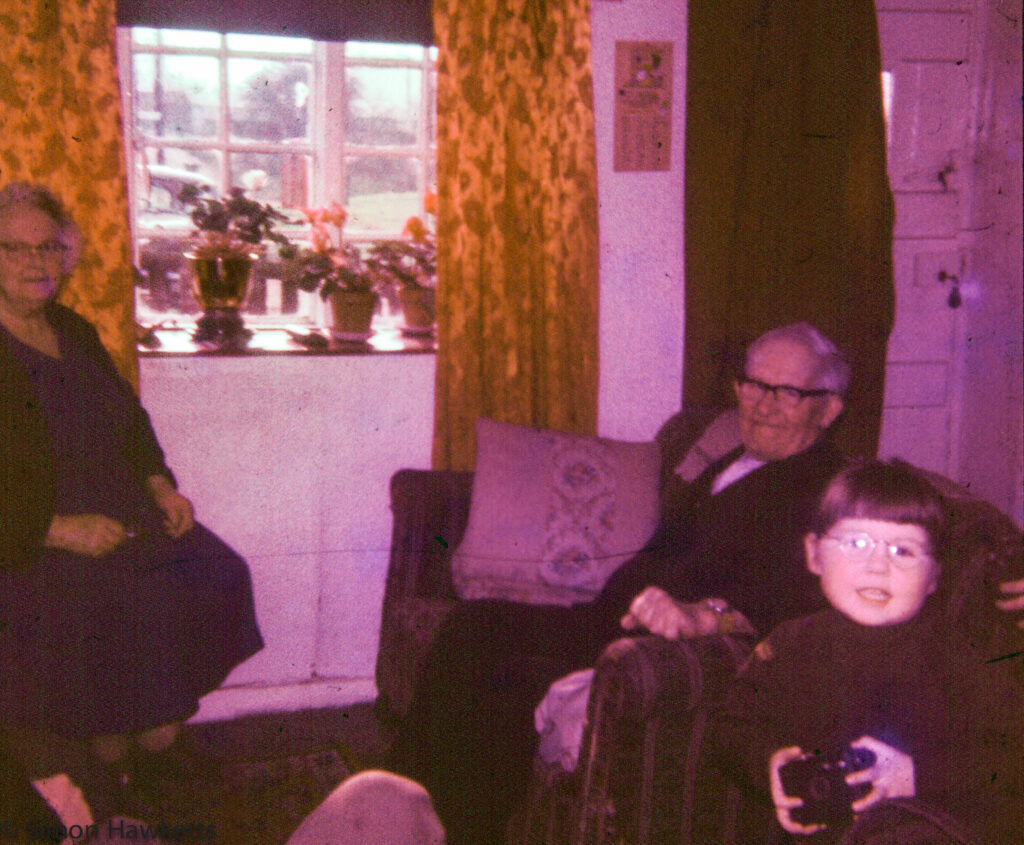
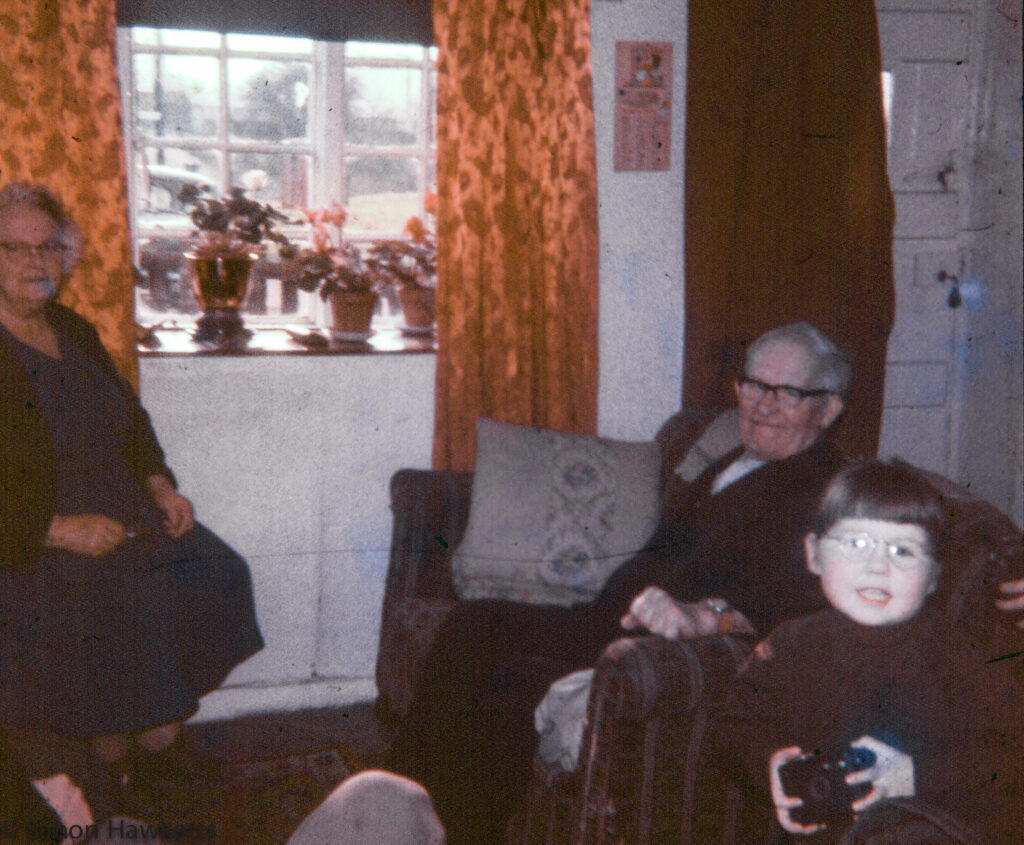
This image has had the overall colour cast corrected using the colour picker tool in the basic tool set. I just selected the door (which is white paint) and at this stage accepted the setting it suggested.
Step 3
I adjusted the contrast at this point to try to improve the brightness/darkness ratio (well that is contrast!)
Step 4
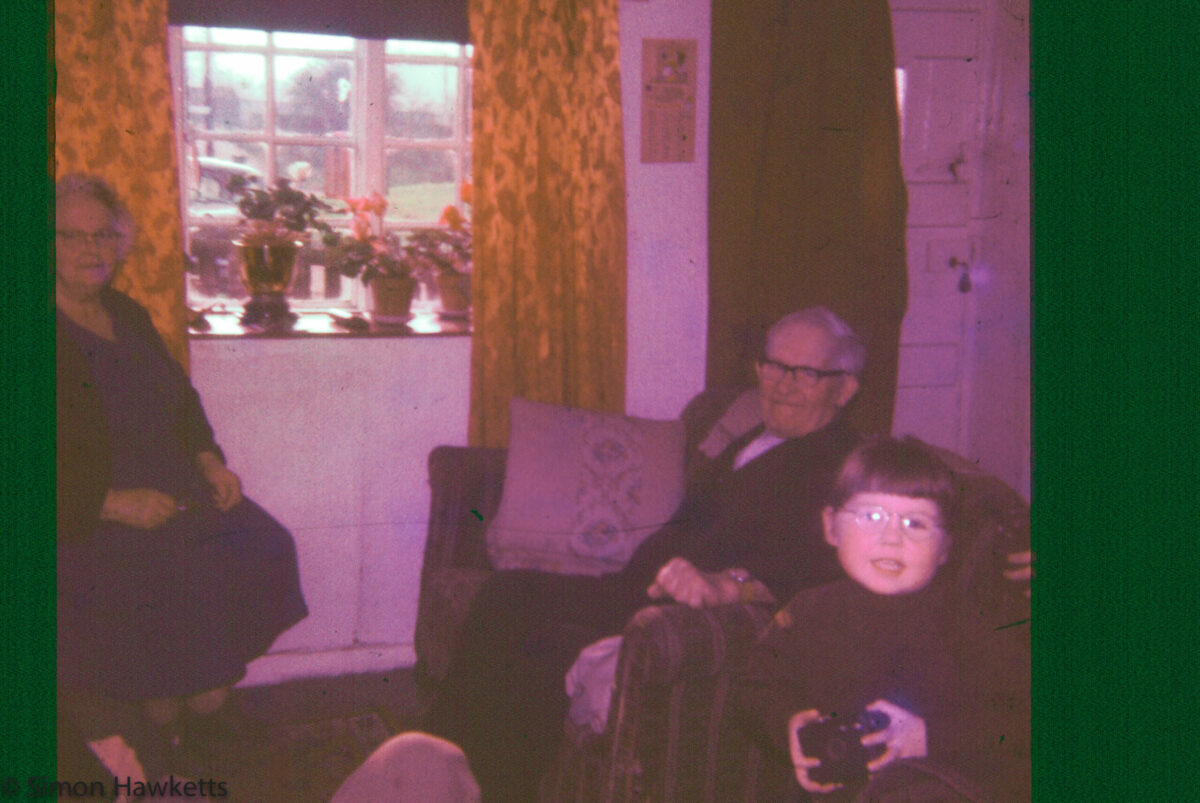
This stage cropped the picture to the correct size. This is obviously a square image which tells me that it is actually a 126 film and not 35 mm. This could also be a clue as to why the exposure was wrong because the only 126 cameras we had didn’t have any exposure controls. It could have been taken with a flash cube and the flash didn’t fire. At this stage I also check if the picture needs rotating or flipping (which this one didn’t)
Step 5
I added some clarity to the picture to try to improve the definition of the picture. A lot of these slides, especially the ones taken indoors are a bit soft, and the clarity boost seems to improve this slightly.
Step 6 – Step 11
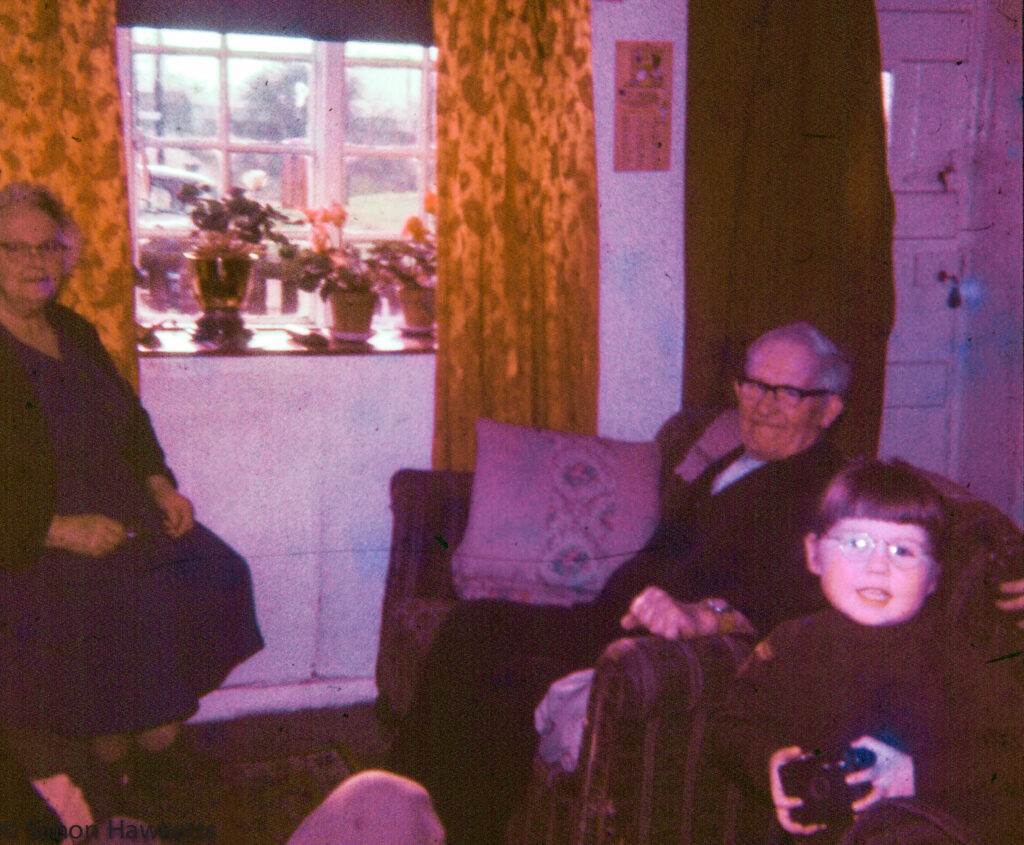
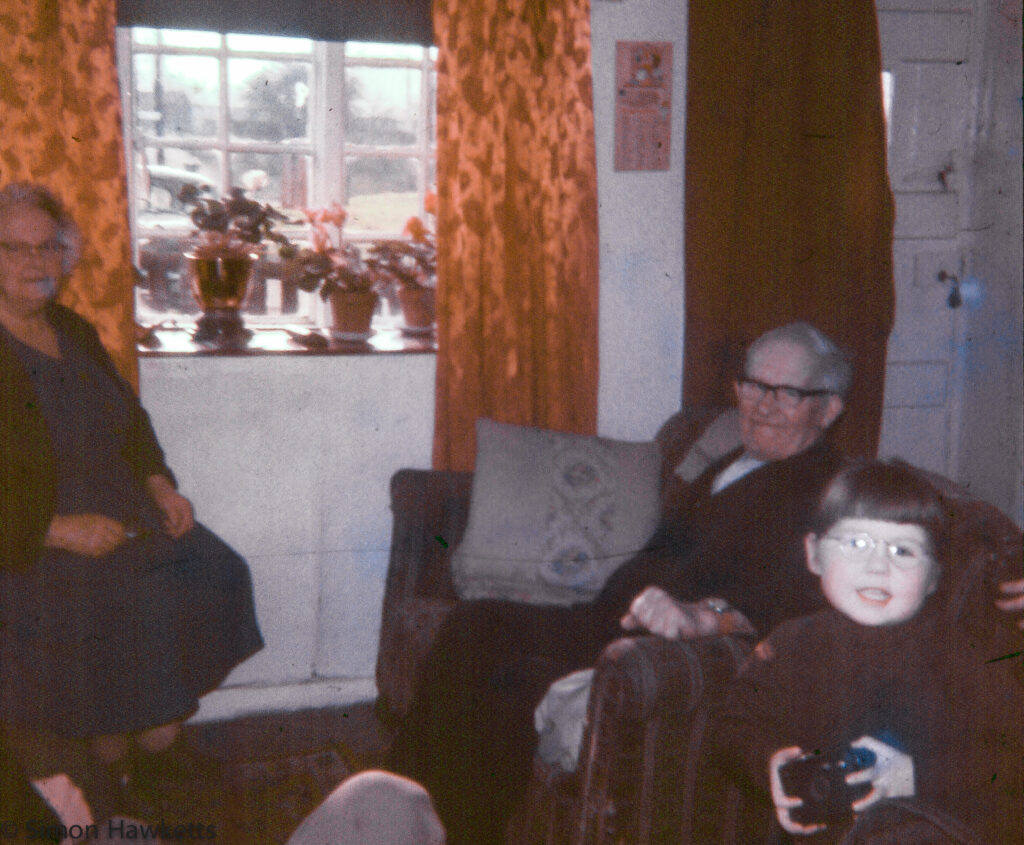
All of these stages are basically the same but for different colours. I used the HSL panel in Lightroom to select various areas of the picture with the worst colour errors and reduce the level of saturation in the picture. This tool is great for this because you can select the area with the mouse and gradually drag the saturation down.
In some cases the cast has been so bad that it’s not been possible to correct it without some areas of the picture becoming very oddly coloured. In those cases I’ve sometimes taken the decision to convert the picture to black & white.
Step 12
The scans of the images which are really dark have a lot of noise which I assume is added by the scanning process. To flatten this down a bit I apply some smoothing and then sharpening to try to produce a better image. Some images work better than others with this technique – this one is not particularly good,
Step 13
I used the spot healing brush in Photoshop to remove some of the blemishes which show up on the original picture. The Photoshop tools are better than the Lightroom tools for this, so I use the ‘Edit in’ option in Lightroom to edit a copy with the Lightroom corrections applied.
Step 14
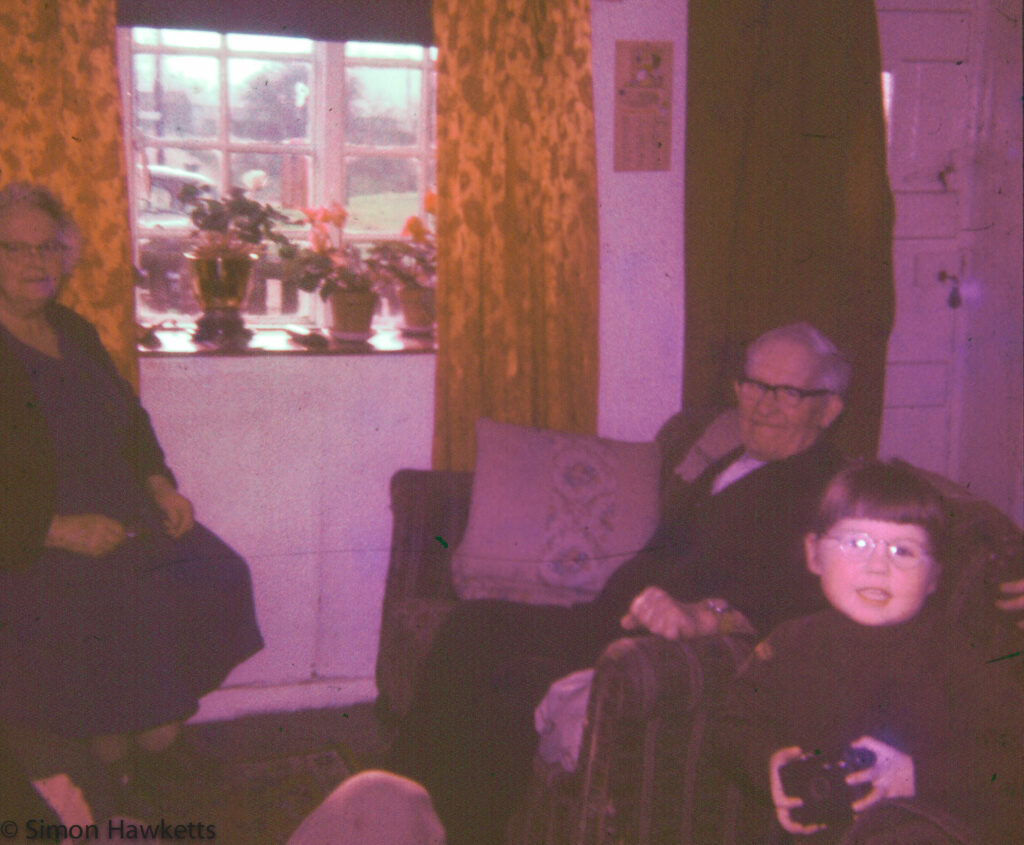
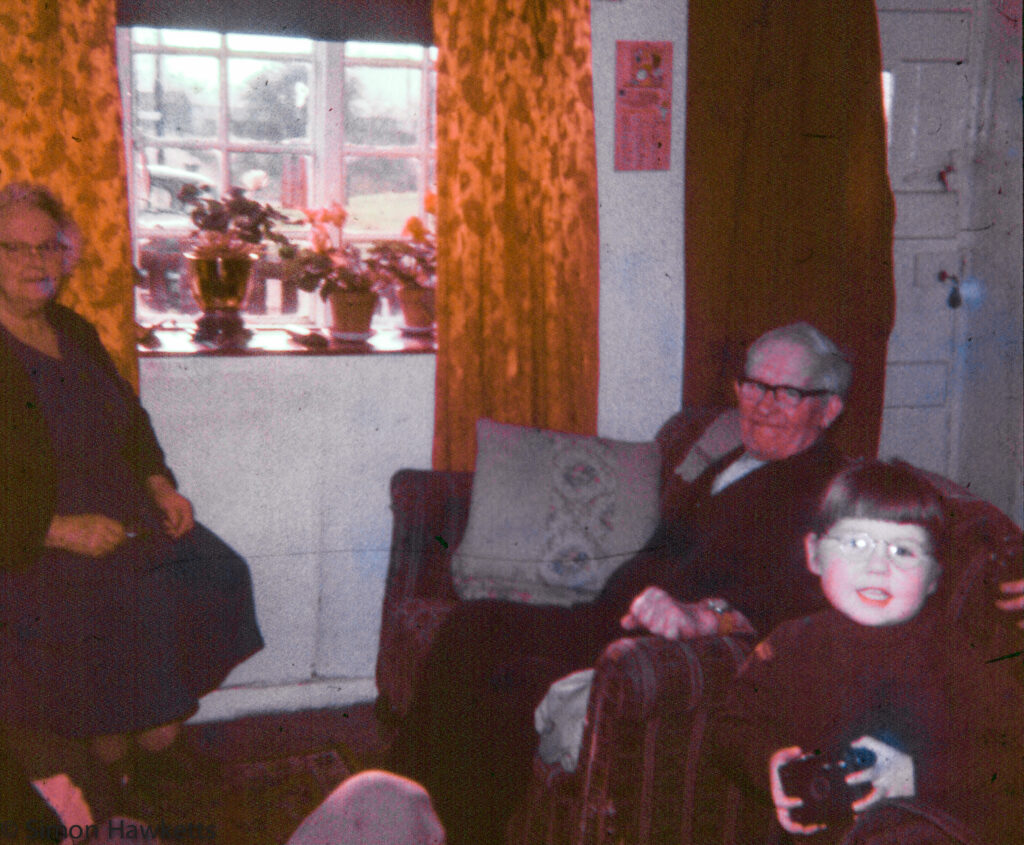
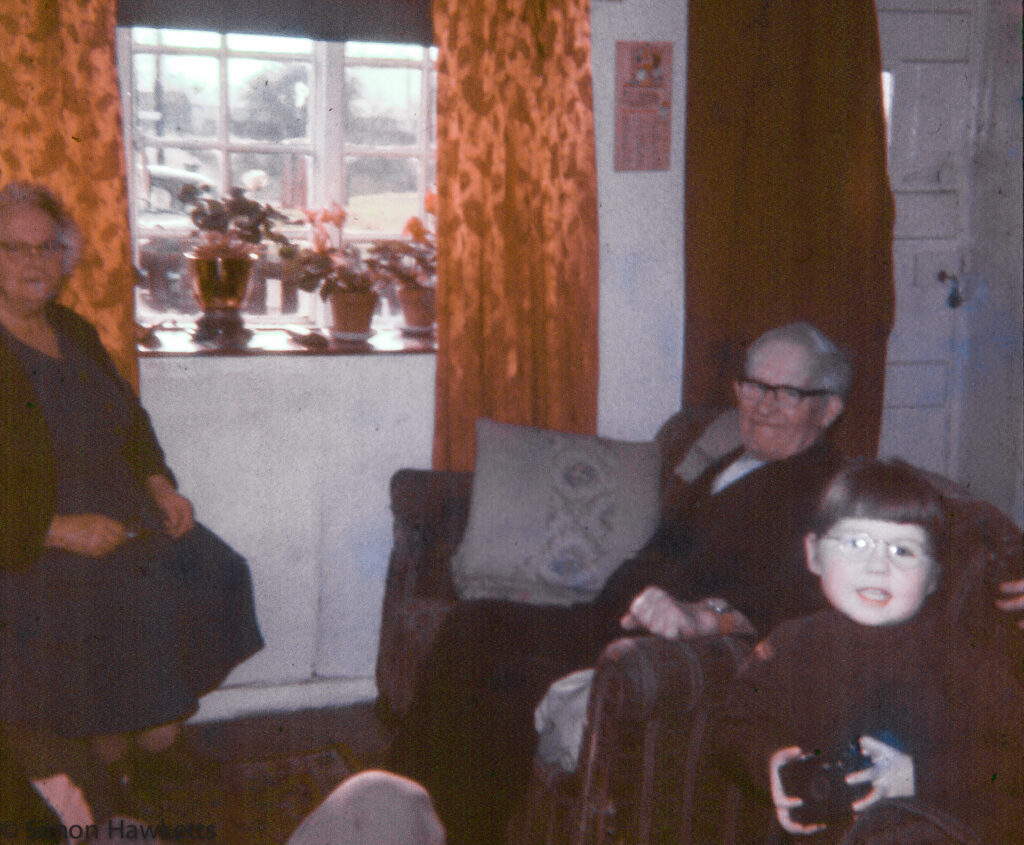
As a final step I revisited the basic tool panel and re-tweaked the contrast, black level and highlights.
The final result is, I think, better than the original, but it’s by no means a perfect result. However, considering these slides have been sitting in a damp shed for the last 10 years or so they are at least viewable.
Discover more from Everything Vintage
Subscribe to get the latest posts sent to your email.

