Vintage photography – film processing
This will be unusual because it’s not a photo post, it’s a brief walk back in time to a point before digital cameras and HD displays to a time when taking a photo was a purely analogue process involving chemicals, mechanics and light.
This will be unusual because it’s not a photo post, it’s a brief walk back in time to a point before digital cameras and HD displays to a time when taking a photo was a purely analogue process involving chemicals, mechanics and light.
Choosing the right film
When I go out with my Pentax k-5, I am fully equipped to deal with any photographic possibility – indoors or out, bright or dark, highly coloured or black & white – all of these can be dealt with by changing a setting.
When I used to shoot on 35mm film with a Zenit E or even an Olympus OM20, it was a different situation. Indoors, I needed a film balanced for tungsten light, if it was dark I needed a higher speed film and colour or black and white was a completely different technology!
As I remember, when I first took up photography I was a teenager and couldn’t afford to take colour photos, so it was invariably a reel of Ilford FP4 or HP5. FP4 was 125 ASA and HP5 was 400 ASA so the season of the year had a lot to do with which one was fitted to my camera.
Developing the Film
Once the pictures had been taken the fun really started.
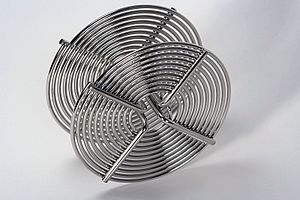
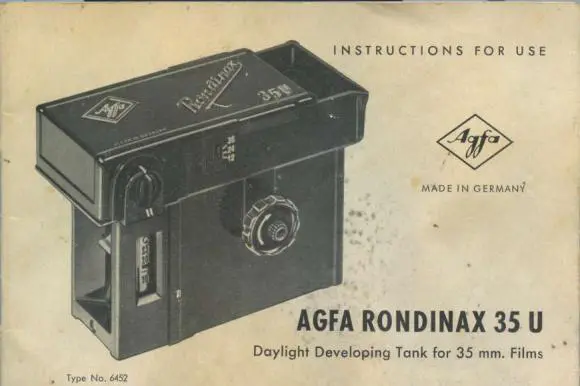
I had the use of a Patterson’s Universal developing Tank which my Dad owned. The universal tank was bigger than a 35mm tank because it could take 120 roll film or 35mm film. There was an internal spool which could be pulled apart to fit 120, or pushed together to accept 35mm.
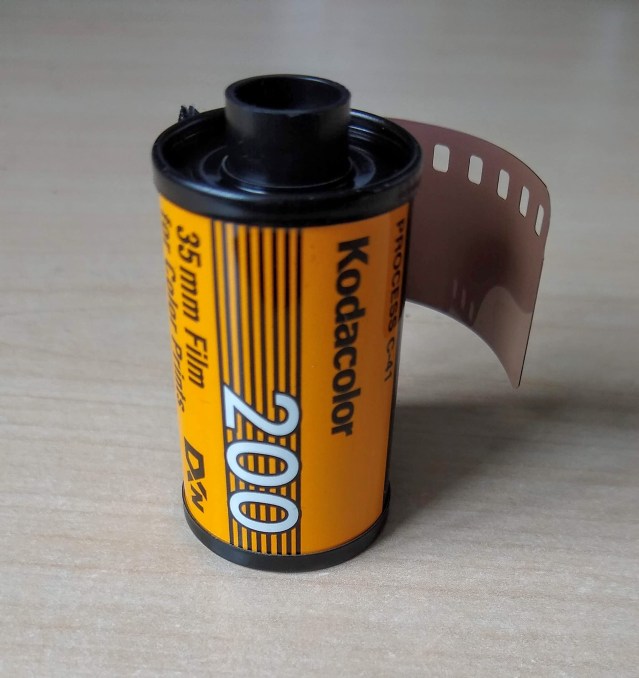
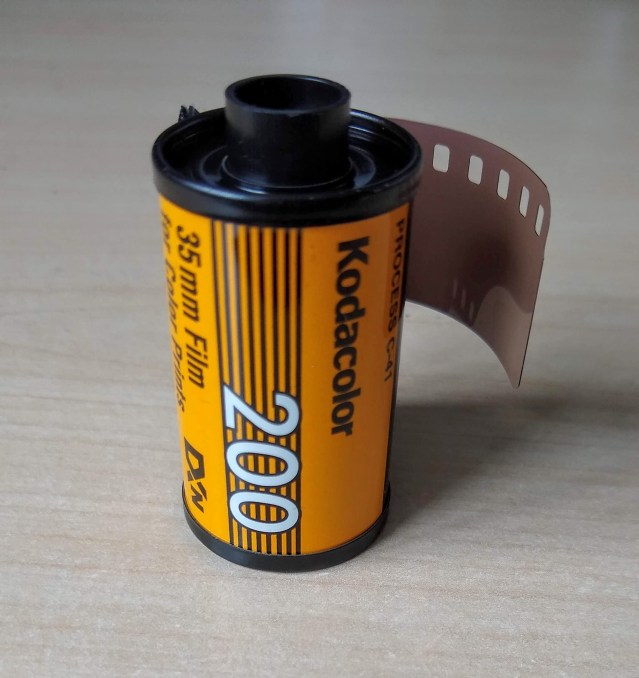
I remember you had disassemble the 35 mm cassette to extract the film, and then feed it into the tank spool. Once one end of the film was in-place, a twisting motion on the reel would wind the film into the spool. Of course all this had to be done in total darkness, so I used to squeeze into a small gap in the cupboard under the stairs and arrange everything I needed in front of me. Once I turned the light out, I would try desperately to remember where everything was and try to get everything done as quickly as possible before the film got fogged by the inevitable light leaking under the door! Many times I managed to drop some vital part and had to feel around in the dark with my hands trying to locate it. To improve on this, I later bought a changing bag which made the whole process easier. This was a black bag with armholes in which you placed the film, tank, spool etc and do the whole process whilst sitting at the kitchen table.
Once the film was in the tank the next step was the actual development of the film. There were two chemicals involved, a developer and a fixer. Since the whole process had to be at a strictly controlled temperature, I used to fill the kitchen sink with water at 20deg C and keep the tank sitting in the sink for as much of the development as possible.
First I’d pour some water in the tank and give it a good slosh around to make sure the film got wet with no air bubbles, then the developer went in. For the next few minutes the tank had to be turned upside down every minute to make sure all the film got evenly covered whilst watching the clock to get the development time right.
After the development process was finished the developer was supposed to be thrown away, but I used to keep it in a clean coloured wine bottle and re-use it, slightly extending the development time each use. This way I used to get about 5 films developed with one mixture.
Next the fixer went in which made any images on the film permanent. The fixer had a particular sharp smell which anyone who has developed their own film would remember. After a few minutes the fixer, like the developer, was poured out of the tank and into a wine bottle for future use. I then used to leave the tap gently running into the top of the tank for about 15 minutes to thoroughly wash the film.
Then it was the moment of truth – looking at the developed film. You had to be particularly careful with the film when it had just come out of the development tank because the emulsion was particularly soft and easy to scratch at this point, so I would carefully pull the film from the reel and hold it up to the light to see what sort of images I had. Although at this stage the pictures were all negatives, you could get a reasonable idea of the exposure and definition etc. Then the film would be pegged to a piece of string attached to the kitchen cupboard doors, so it could dry.
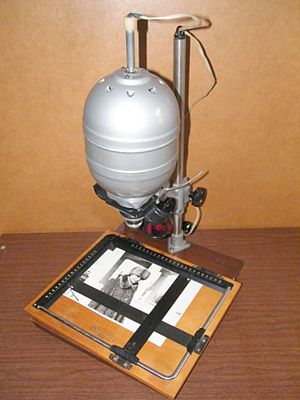
When the film was dry it could then be printed – but that’s another story….
Discover more from Everything Vintage
Subscribe to get the latest posts sent to your email.

